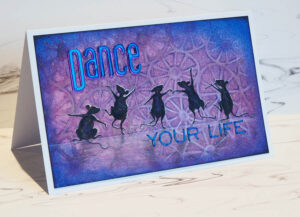
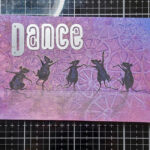
Today, former guest member of our design team, Uli Delli, takes us step-by-step through the process of making this lovely card featuring the dancing mice.
Step by Step
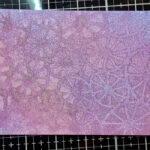
Spray white acrylic spray on multifarious card. Place the stencil on the wet card and spray periwinkle acrylic spray and mahogany twist mica spray over the stencil. Remove the stencil. Dry the background with a heat gun.
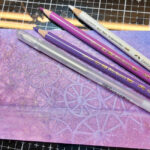
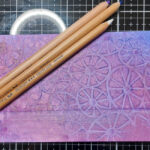
Highlight the pattern of the sprayed background with white color pencil (I used polychromos by Faber-Castell). Shade the edges of the pattern with purple and pink colour pencil. Draw a line with a ruler as edge of the stage. Enhance the edge with the purple colour pencil and shade the bottom part with the white colour pencil. Add a bit shine with a transparent glitter gel pen.
Add pastel shading and smudge with your finger.
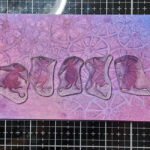
Place the stamps to estimate the layout.
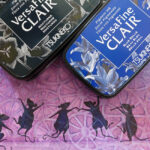
Colour the Stamps with Versafine Clair Blue Bell and add Noctourne on the edges. After stamping and drying, darken the edges with a black colour pencil
Imagine the light-source in above the stage. Add highlights with a transparent glitter pen. Colour shadows behind each mouse. Die-cut the letters and glue it on the card. For a more dramatic feeling, blend Versafine Clair Bluebelle and Noctourne around the edges.
A close-up of happy dancing mice
I hope you like the technique and give it a go.
Play and have fun!
Uli xx
Join our mailing list
Get all the latest news and offers
Subscribe and receive information and offers from Lavinia Stamps. Find out more here