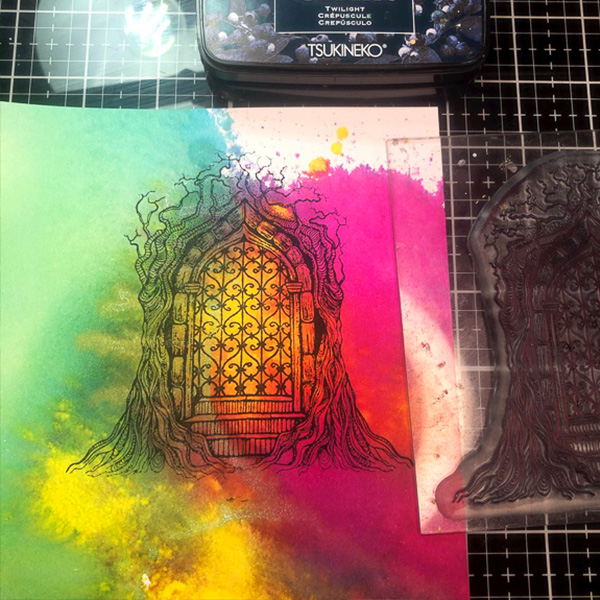


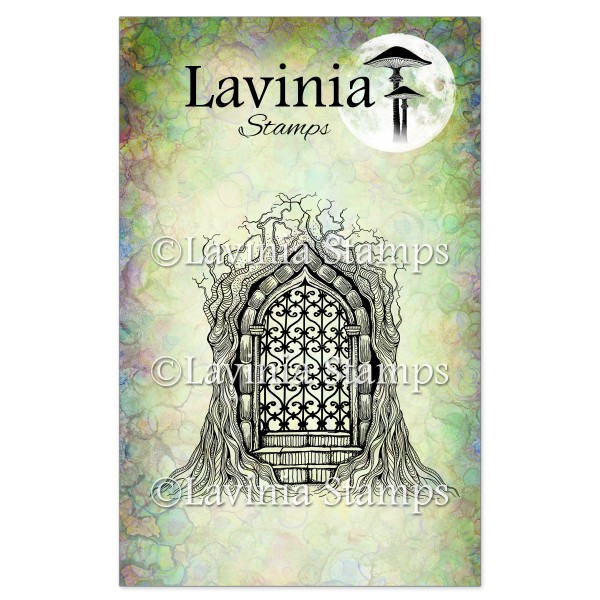
 Forest Temple Stamp
£13.80
Add to basket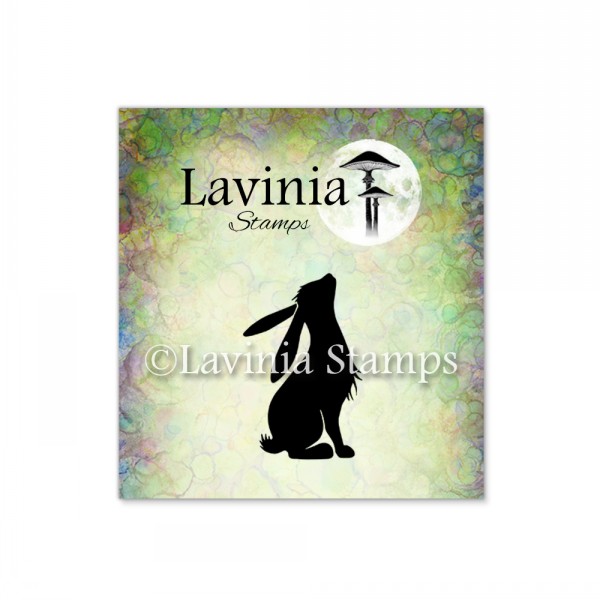 Pipin Mini Stamp
£1.10
Add to basket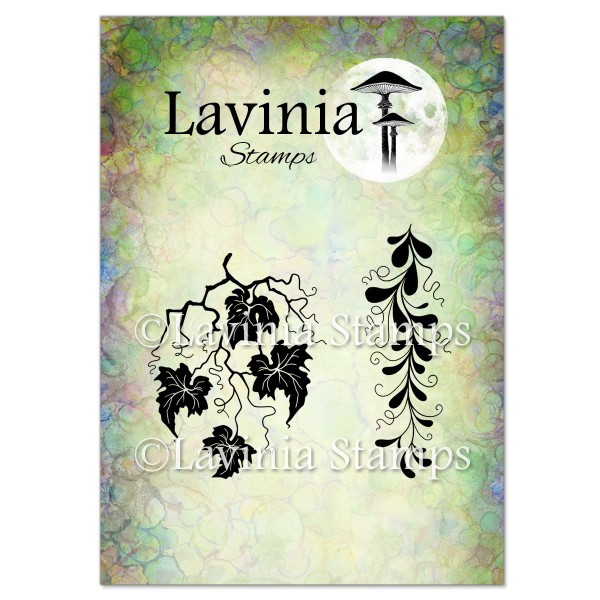 Twisted Vine Set Stamp
£5.80
Add to basket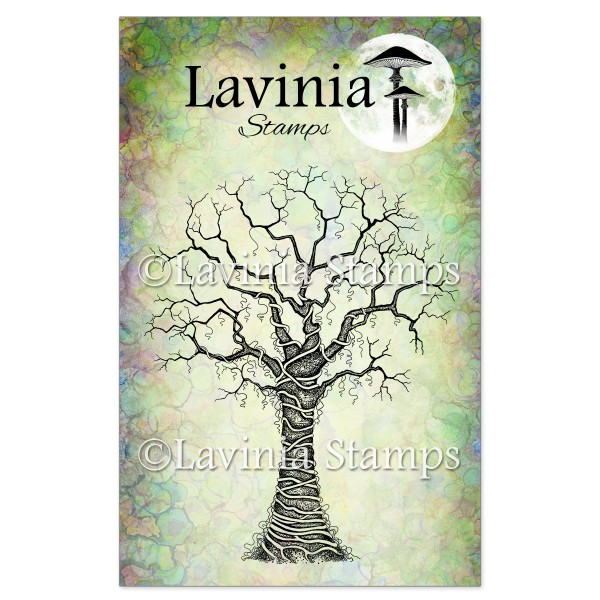 Tree of Dreams Stamp
£11.80
Add to basket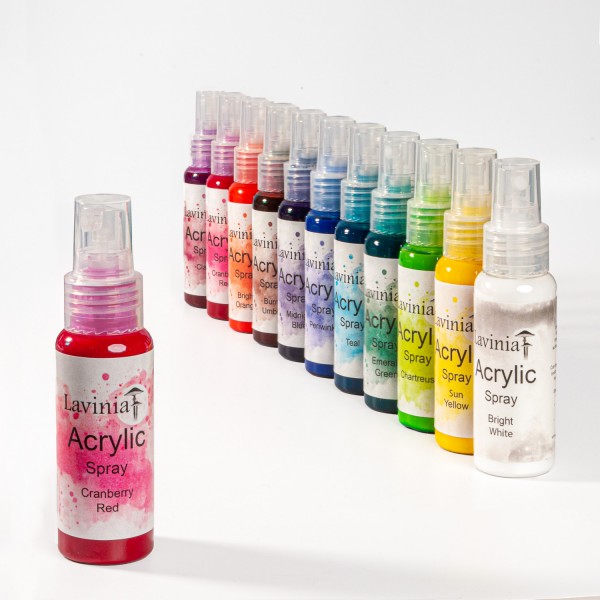 Acrylic Spray Cranberry Red
£6.29
Add to basket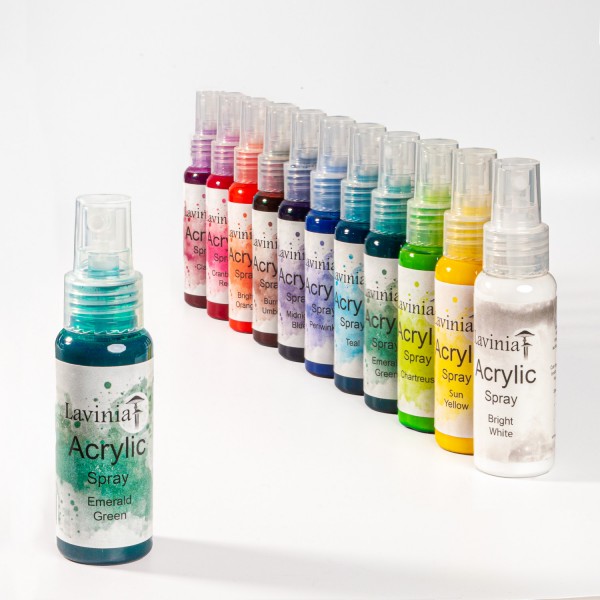 Acrylic Spray Emerald Green
£6.29
Add to basket Acrylic Spray Sun Yellow
£6.29
Add to basket Versafine Clair Ink Pad – Nocturne
£5.80
Add to basket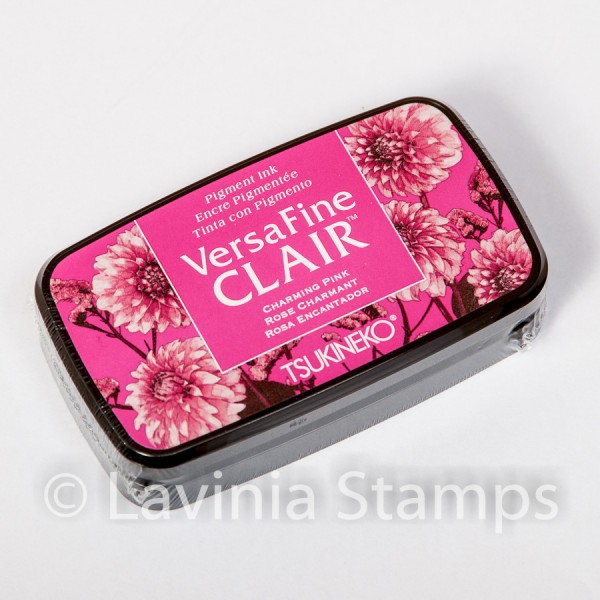 Versafine Clair Ink Pad – Charming Pink
£5.80
Add to basket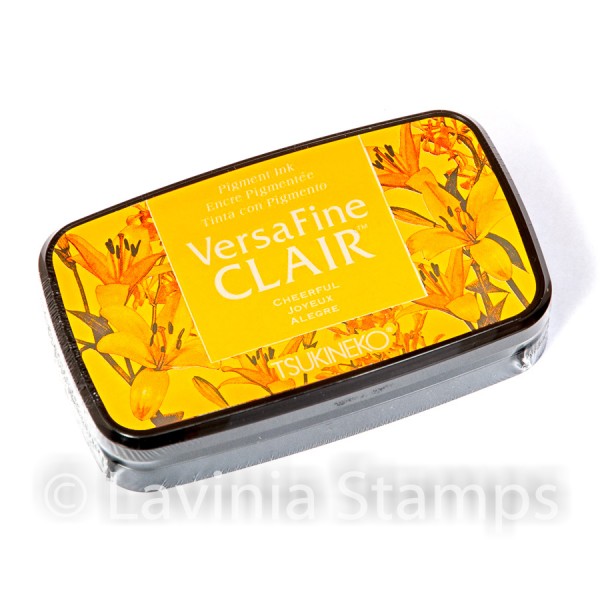 Versafine Clair Ink Pad – Cheerful
£5.80
Add to basket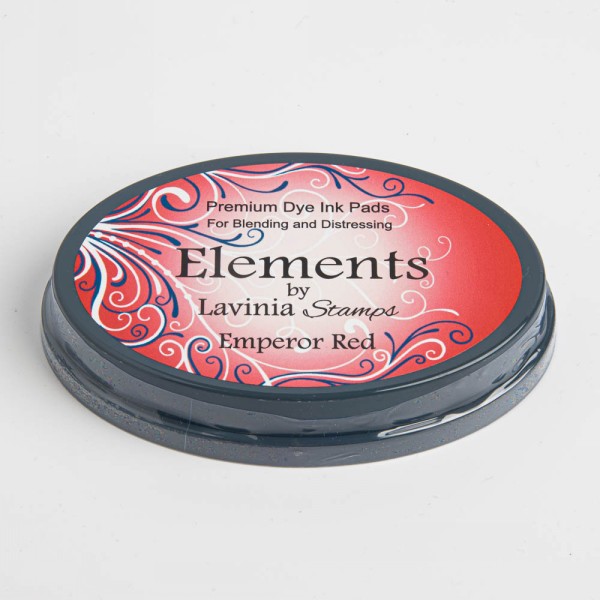 Elements Premium Dye Ink – Emperor Red
£5.85
Add to basket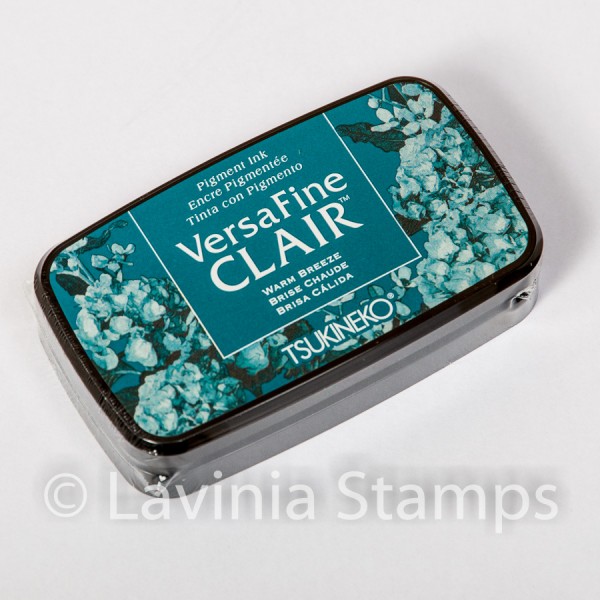 Versafine Clair Ink Pad – Warm Breeze
£5.80
Add to basket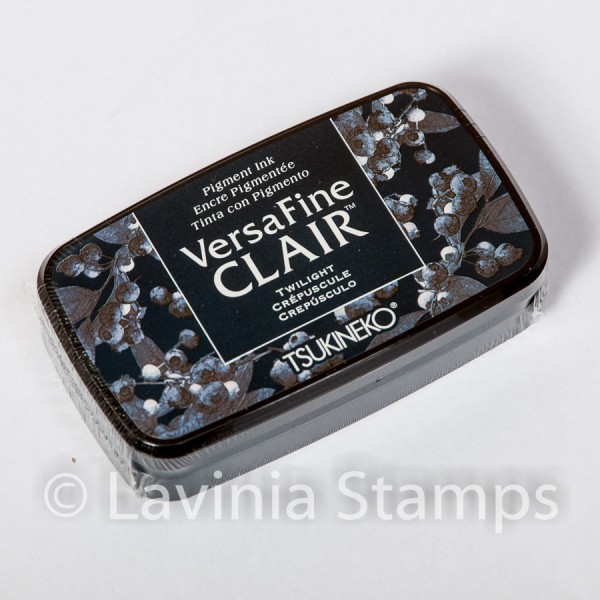 Versafine Clair Ink Pad – Twilight
£5.80
Add to basket Versafine Clair Ink Pad – Rain Forest
£5.80
Add to basket Multifarious Card – A4 White 20 Sheets
£11.40
Read more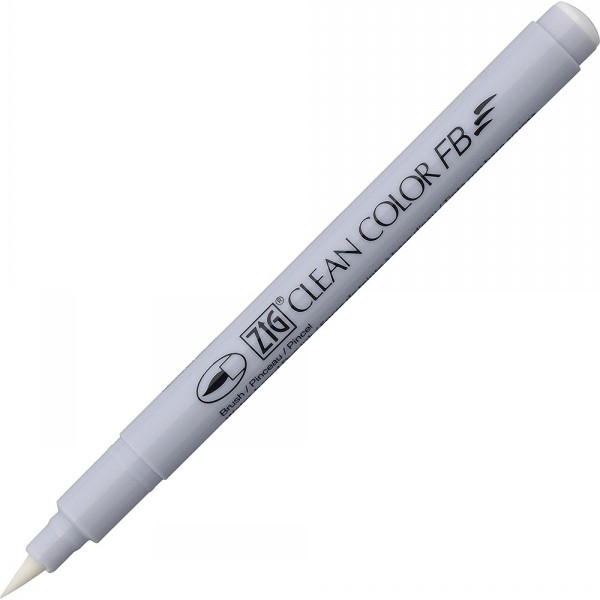 Kuretake Clean Colour Real Brush Blender
£2.99
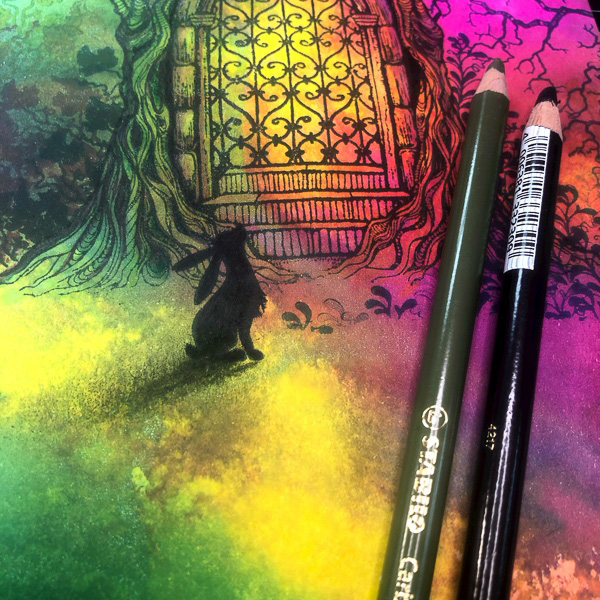
Add to basket Gioconda Soft Pastel pencils set of 48
£89.00
Add to basket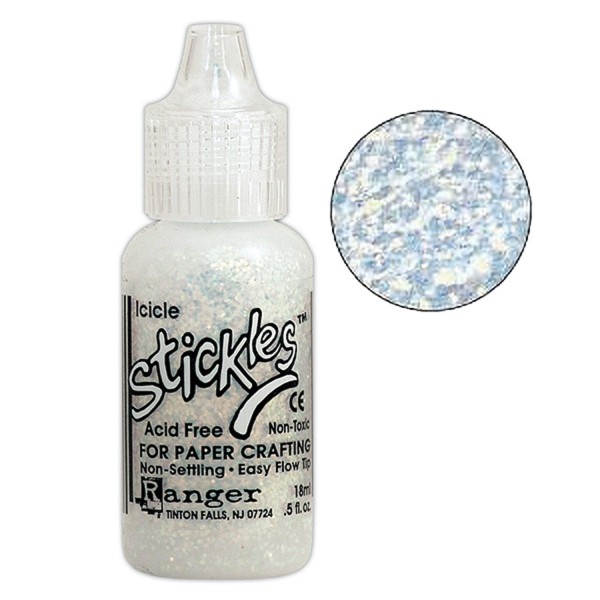 Stickles Glitter Icicle
£2.99
Add to basket Gelly Roll – Stardust
£2.26
Select options Posca Fine Tip Pens Summer Collection
£3.16
Select options