Hi everyone, we hope you enjoy this new tutorial by Sandy Colenutt our Recurring Creative Contributor for March.
Step 1.
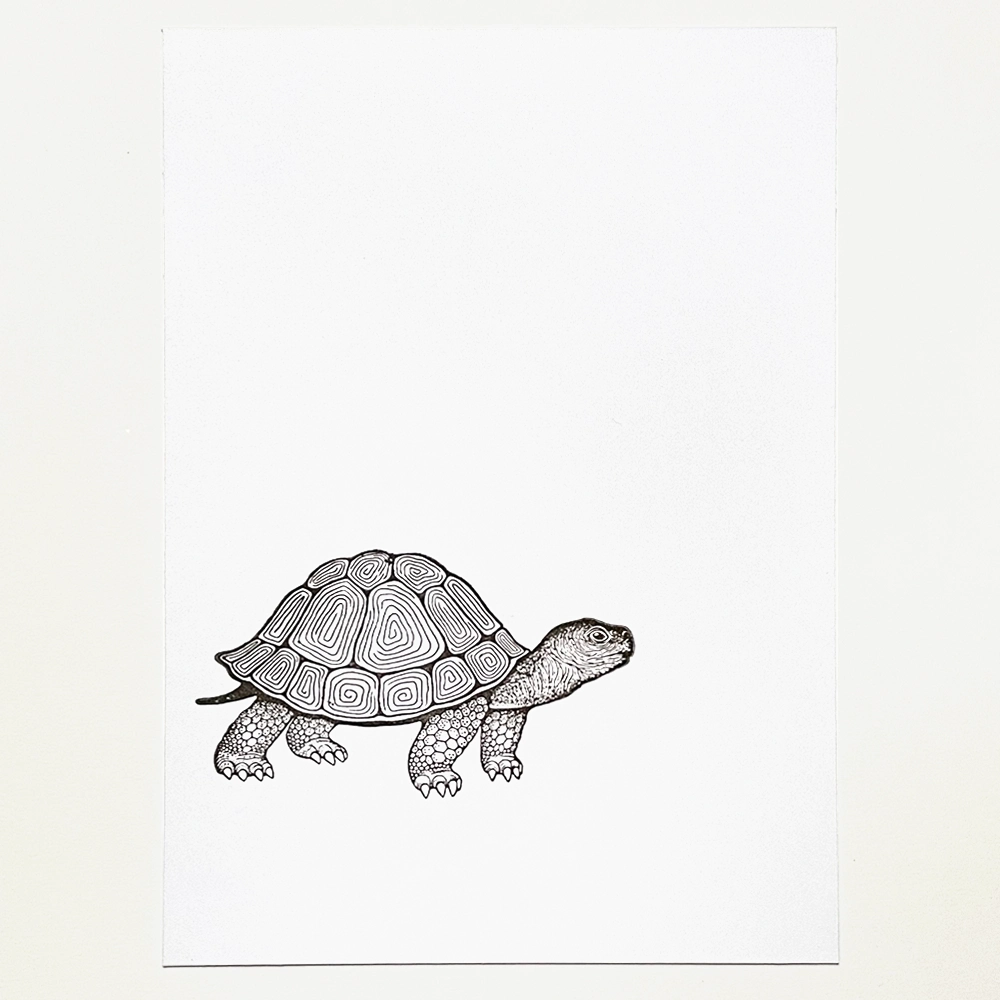
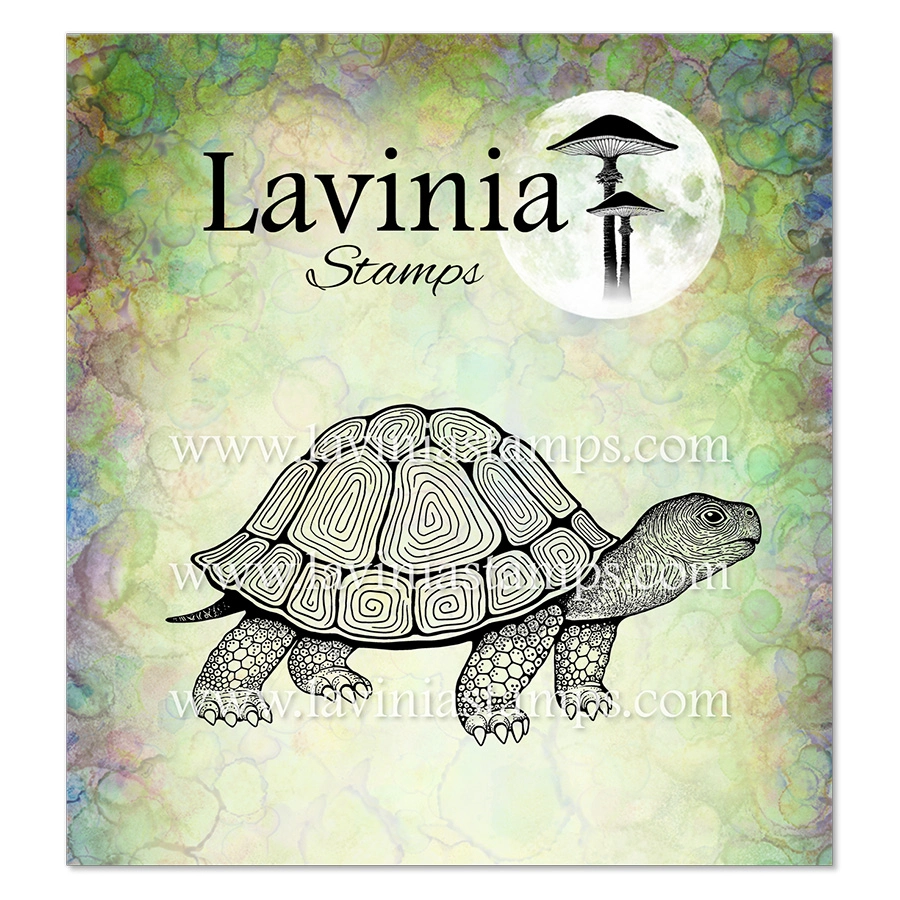
using LAV1029 Oscar, ink up the stamp in Versafine Clair Fallen Leaves and stamp him towards the bottom of the card over to the left.
Step 2.
Make a mask of Oscar by stamping again on copy paper & cut out, place this over Oscar. Put a little dab of Tape glue runner on the back of the mask so it stays in place while you are working on it.
Step 3.
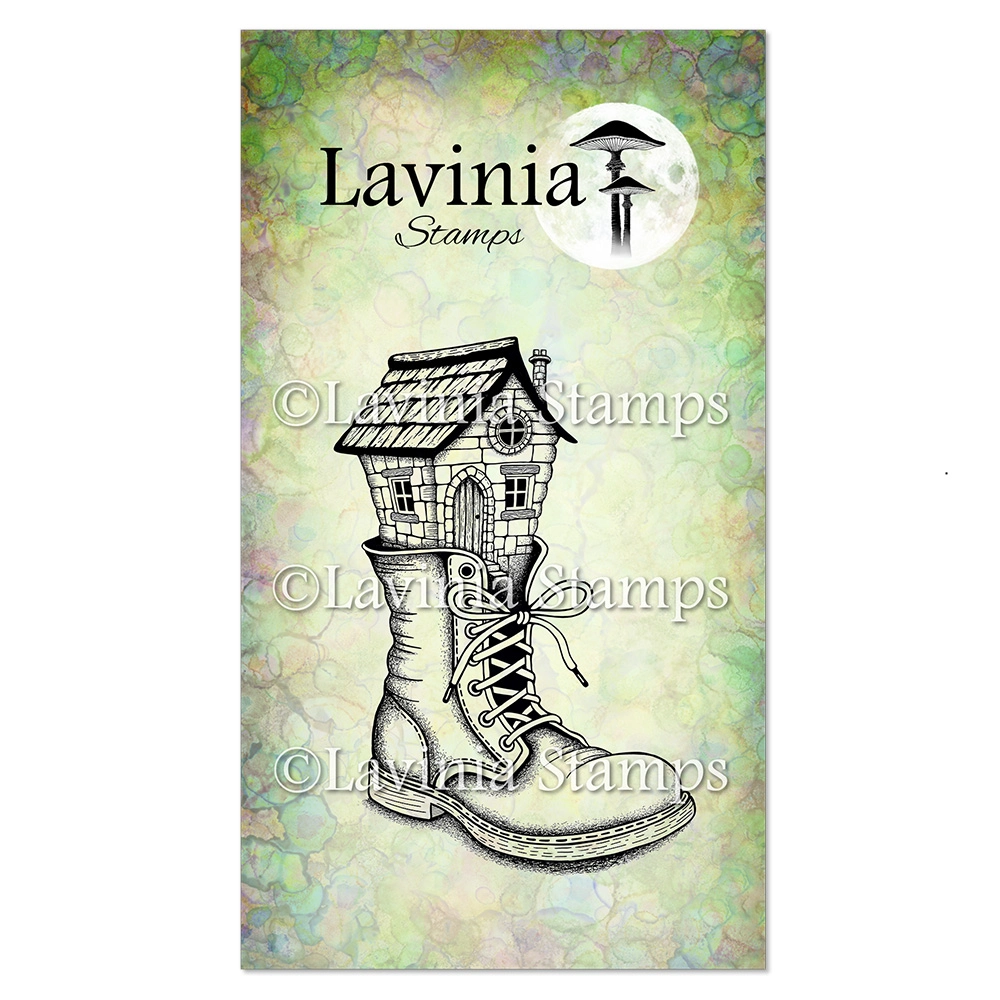
Next take LAV1013 Hobblehollow House and ink up only the house in Versafine Clair Fallen Leaves. Be careful you don’t have ink on the boot part of the stamp, if you have, wipe off with a baby wipe or cloth. Stamp this on the back of the tortoise (over the mask) so that you get the door to rest just on top of his shell.
Step 4.
Make a mask of LAV1013 Hobblehollow House. Cut the house off of the boot and place it over the already stamped house image on the tortoise. Leave the house mask in place.
Step 5.
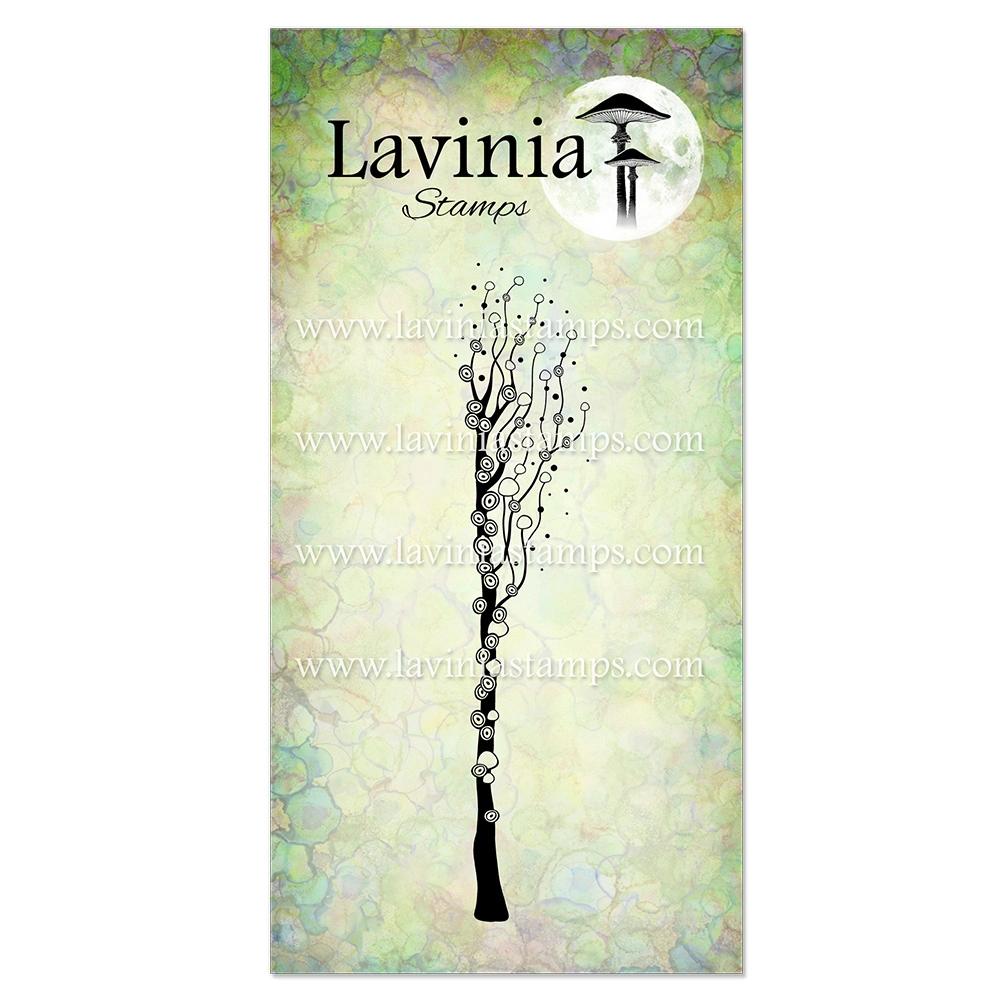
With both masks in place, use stamp LAV1033 Silversong Willow Right in Versafine Clair Shady Lane. The willow needs to be stamped three times so that it goes over the masked house and gives the impression of it behind the little house.
Step 6.
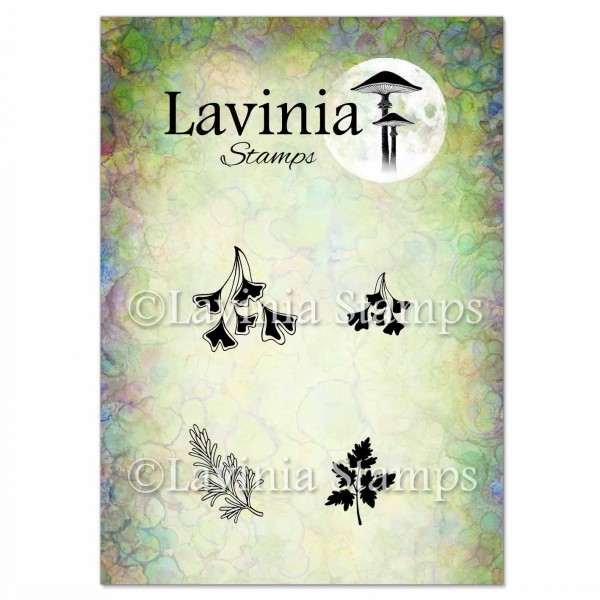
Now take LAV980 Wild Foliage. Using the small leaf, ink up in Versafine Clair Shady Lane. Stamp this around Oscar and the house, even some coming from his mouth as if he is eating it!
Step 7.
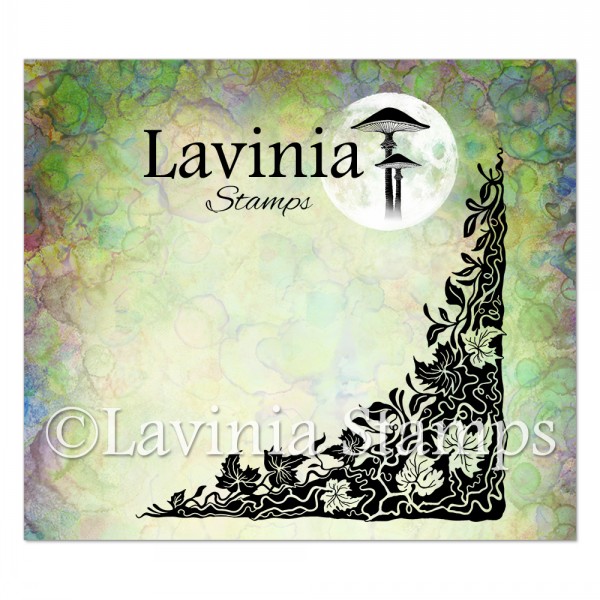
Next take LAV885 Wild Leaf Corner. Ink up in Versafine Clair Shady Lane (you might want to use a stamp press for this). Stamp in the bottom right corner and again in the top right corner so that you have a good impression.
Step 8.
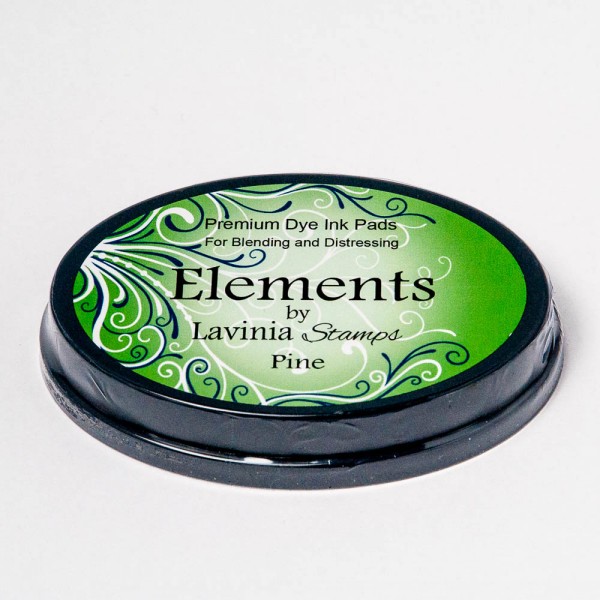
Using one of the Lavinia Acetate Hill Masks, lightly make a ground in Elements Pine ink using the large Lavinia Stamps Stencil brush.
Step 9.
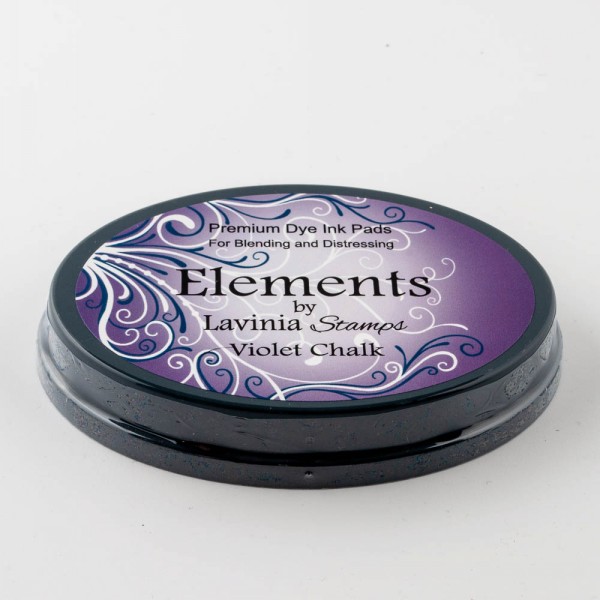
Shift the hill mask to a new position upwards and make a small background hill shape in Elements Violet Chalk.
Taking a Lavinia Acetate Circle, place this over the house and go around the outside of the circle with Elements Blue Atoll to make the sky, also a little Violet chalk around the circle too.
Wait a moment for the ink to set, then remove the masks to reveal Oscar and the house underneath.
Step 10.
Add colour to the artwork with Mondeluz watercolour pencils, using browns to colour in Oscar and greys to put shadows under his shell.
You can choose a colour for the house – I have used an olive green for the bricks and some reddish browns for the roof, doors and window frames.
For finishing touches, highlight some of the leaves on the Wild Leaf corner with a green posca pen and a Gelly Roll pen 700 on the swirly lines. I used some uniball Signo Sparkling pens to colour some more of the circles on the willow too.
Use white Posca pen for Oscar’s toe nails and the door frame and window slats.
Then if you want, splash water droplets over the card and dab off to give a speckled texture and the impression of haze in the background.
Step 11.
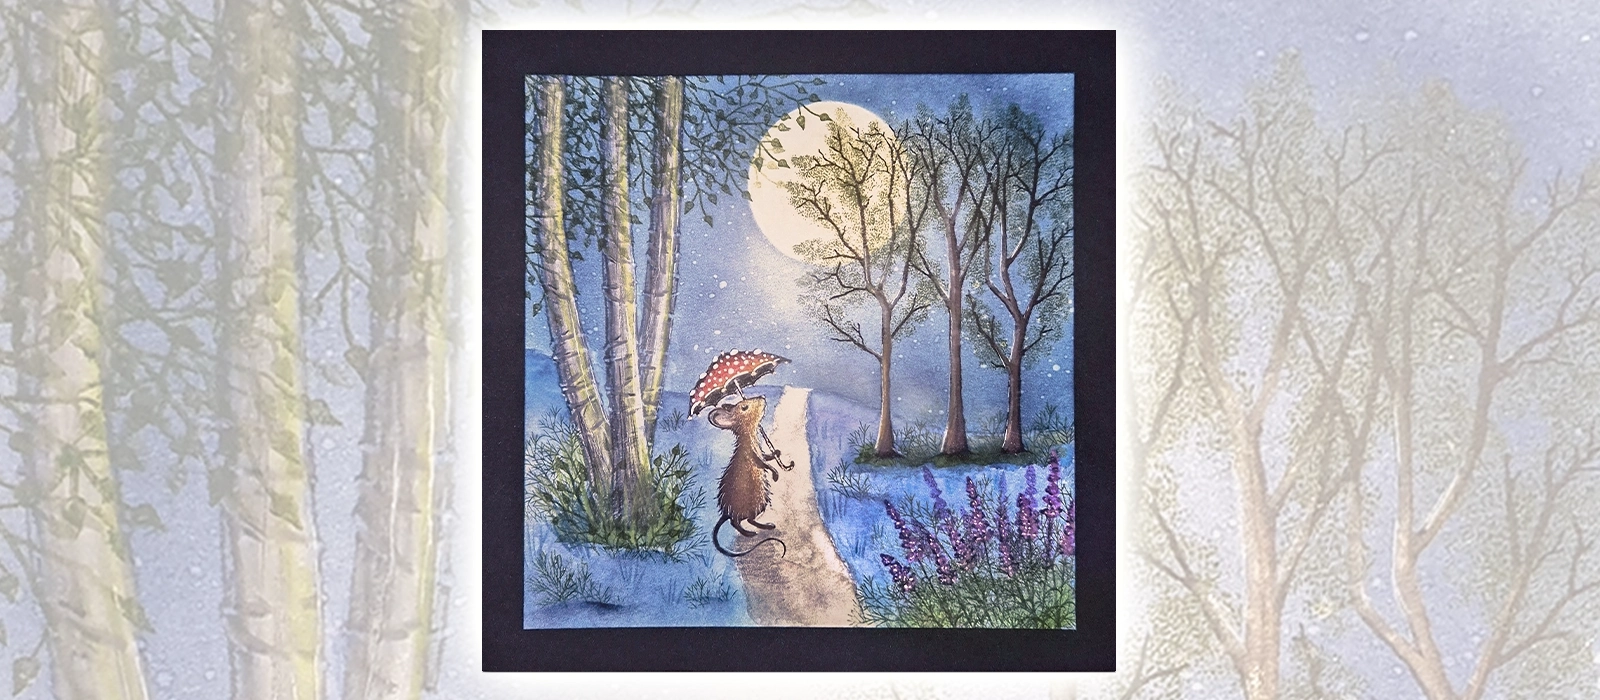
Here is the finished design, mounted onto blue card to tie everything together.