


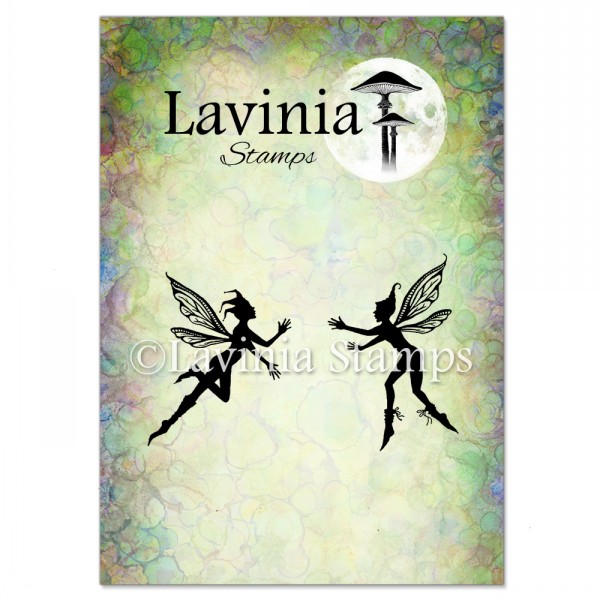
 Small Pixies Stamp
£6.80
Add to basket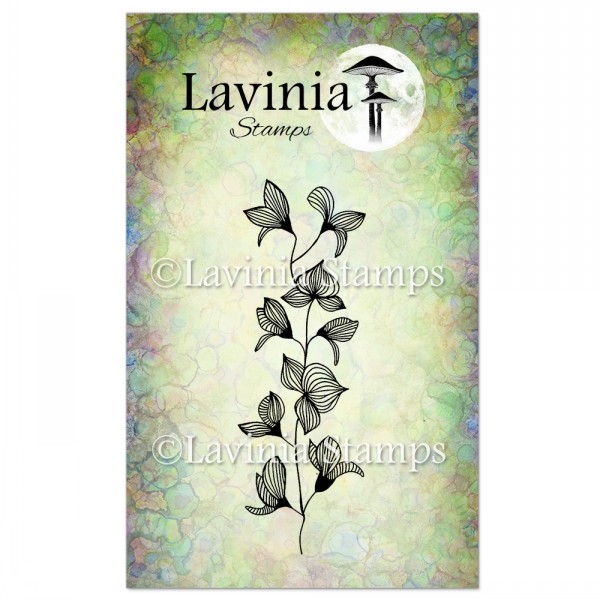 Orchid Stamp
£6.30
Add to basket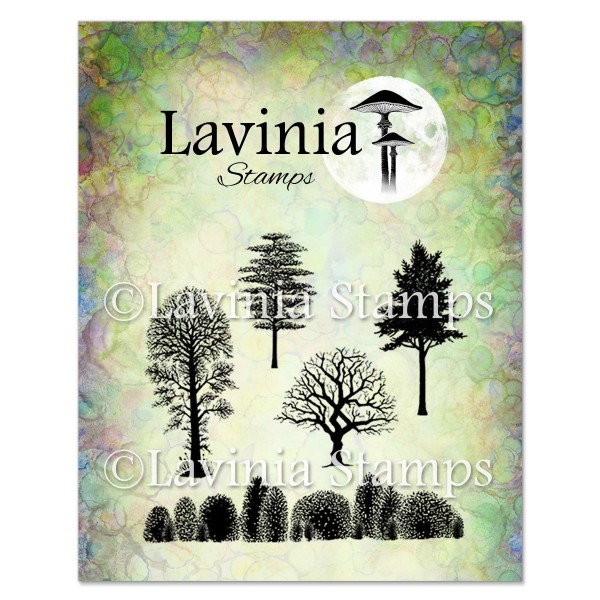 Tree Scene Stamp
£8.30
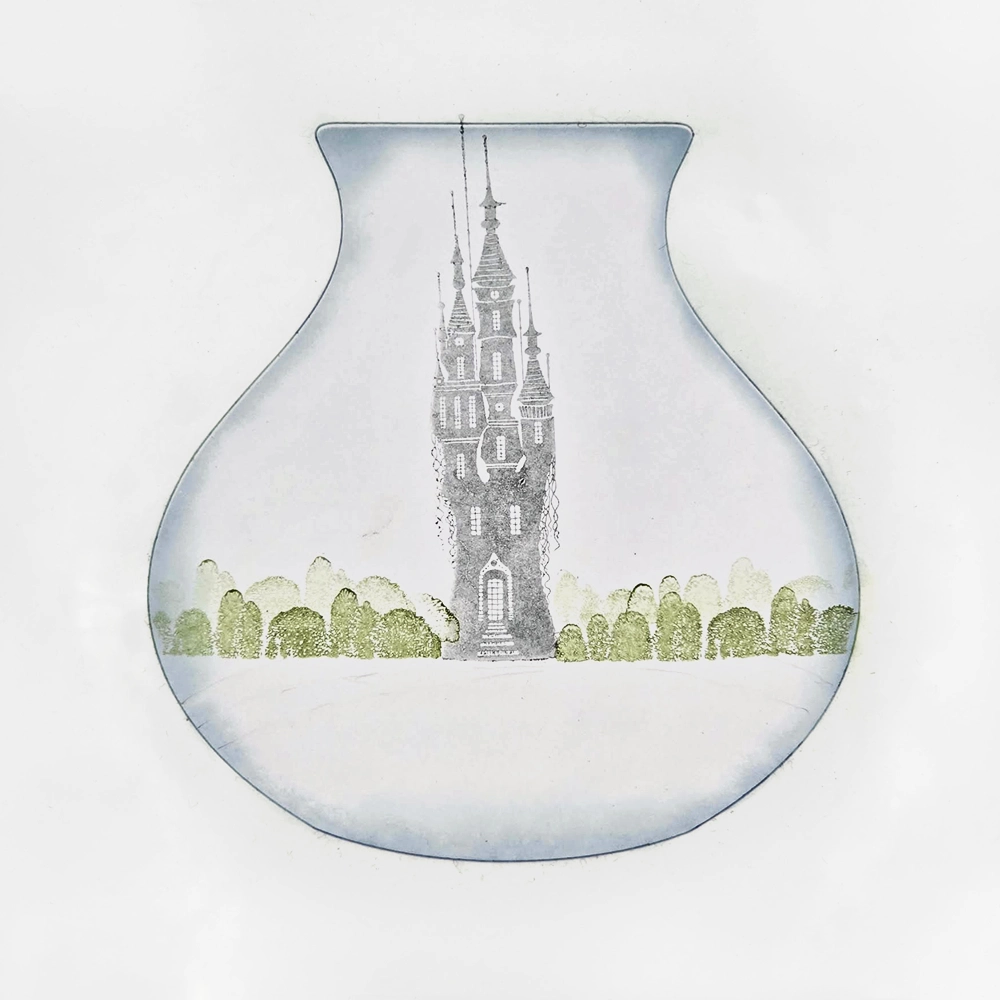
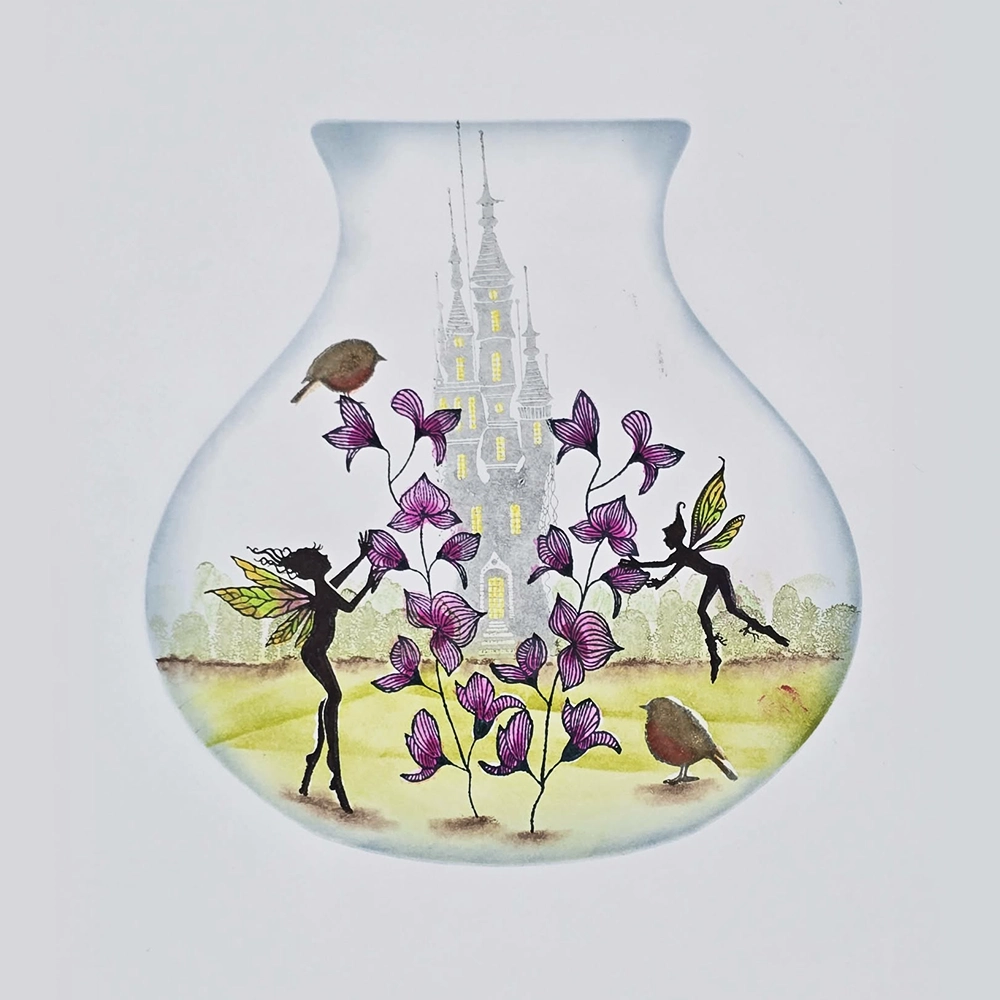
Add to basket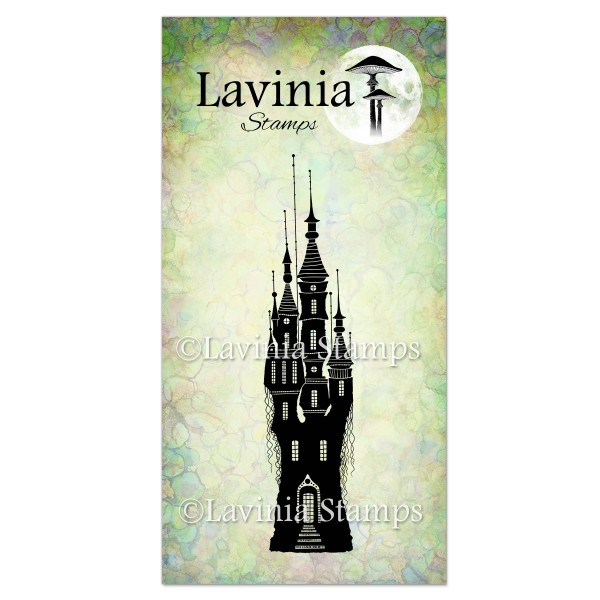 Far World Castle Stamp
£6.90
Add to basket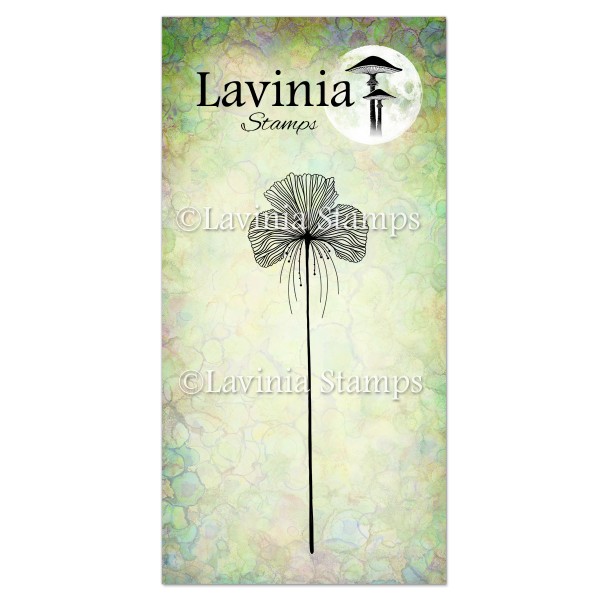 Single Fairy Orchid Stamp
£6.80
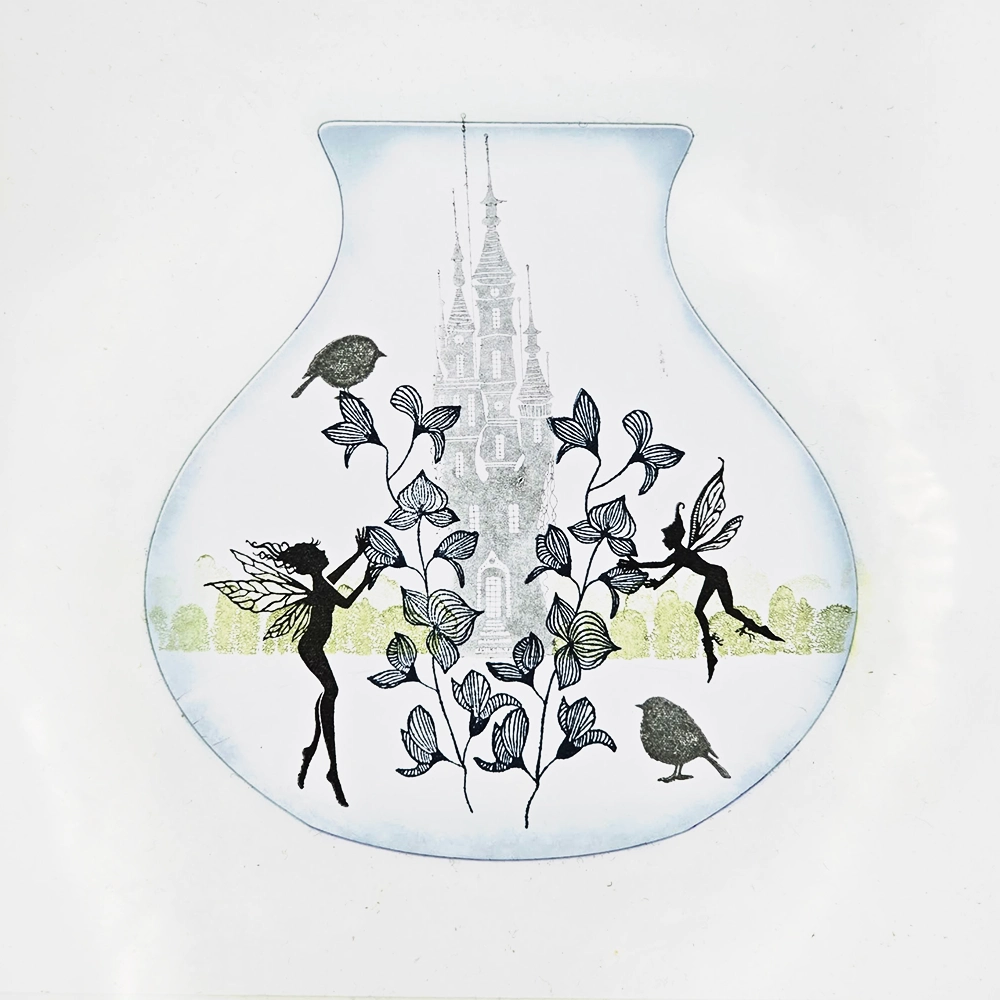
Add to basket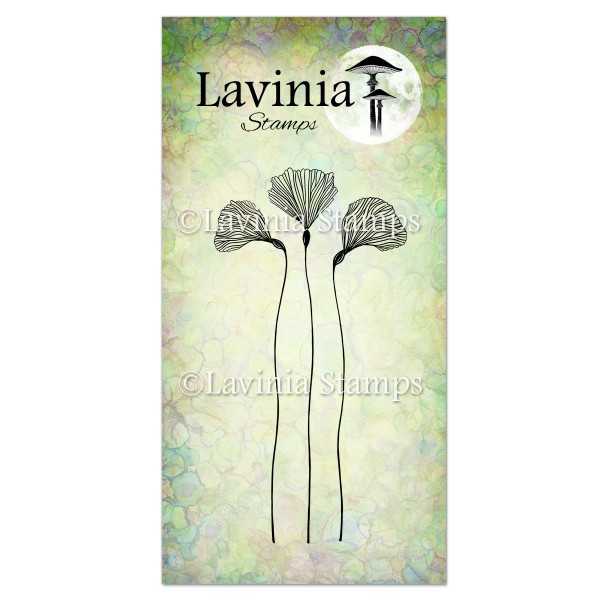 Fairy Orchid Set Stamp
£8.80
Add to basket Mia Stamp
£5.80
Add to basket Small Robins Stamp
£3.20
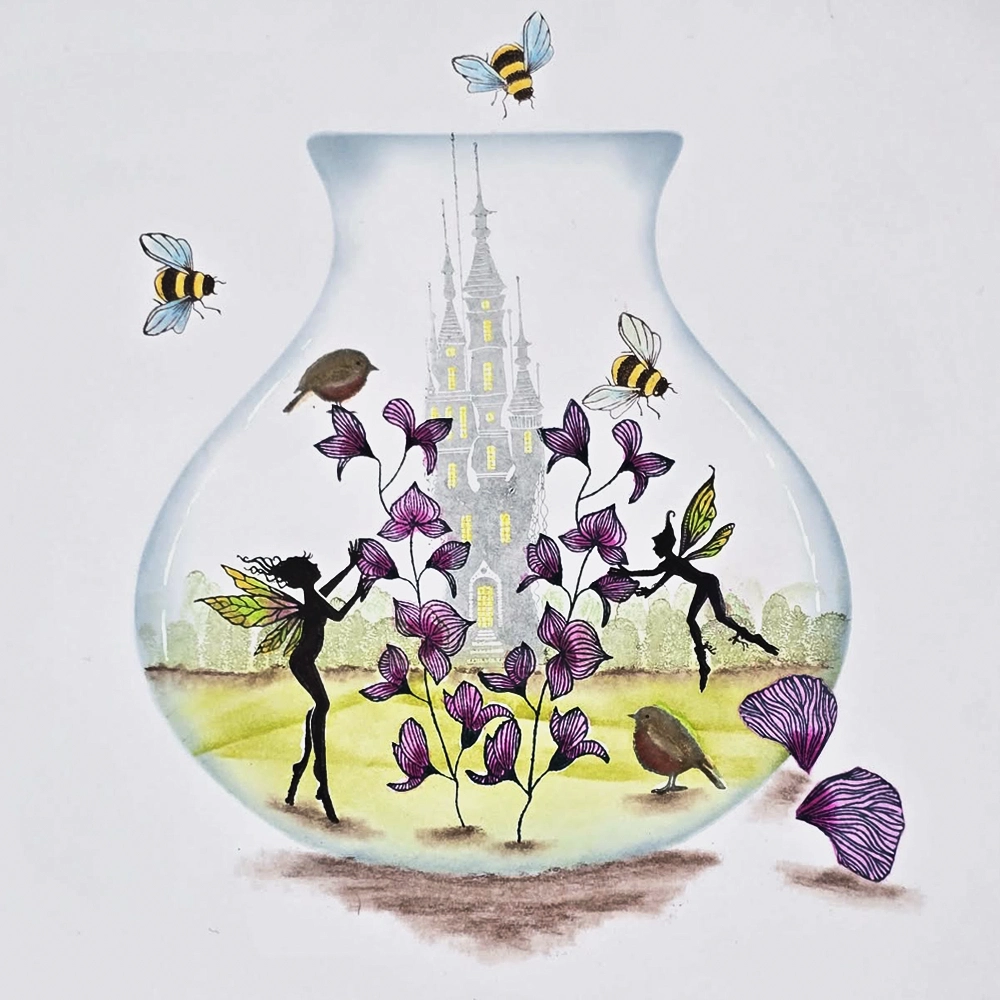
Add to basket Bee Miniature Stamp
£1.10
Add to basket Elements Premium Dye Ink – Dark Denim
£5.85
Add to basket Elements Premium Dye Ink – Greensleeves
£5.85
Add to basket Elements Premium Dye Ink – Pink Elephant
£5.85
Add to basket Versafine Clair Ink Pad – Nocturne
£5.80
Add to basket Versafine Clair Ink Pad – Morning Mist
£5.80
Add to basket Versafine Clair Ink Pad – Shady Lane
£5.80
Add to basket Versafine Clair Ink Pad – Pinecone
£5.80
Add to basket Mondeluz Watercolour Pencils 72 Set
£59.95
Add to basket Gioconda Soft Pastel pencils set of 48
£89.00
Add to basket Multifarious Card – 7×7″ White
£5.20
Add to basket Versafine Clair Ink Pad – Twilight
£5.80
Add to basket