Hello everyone
Mona here with my latest Step by Step tutorial called Birdsong. Hope you like it.
Step 1.
Multifarious card White size A5.
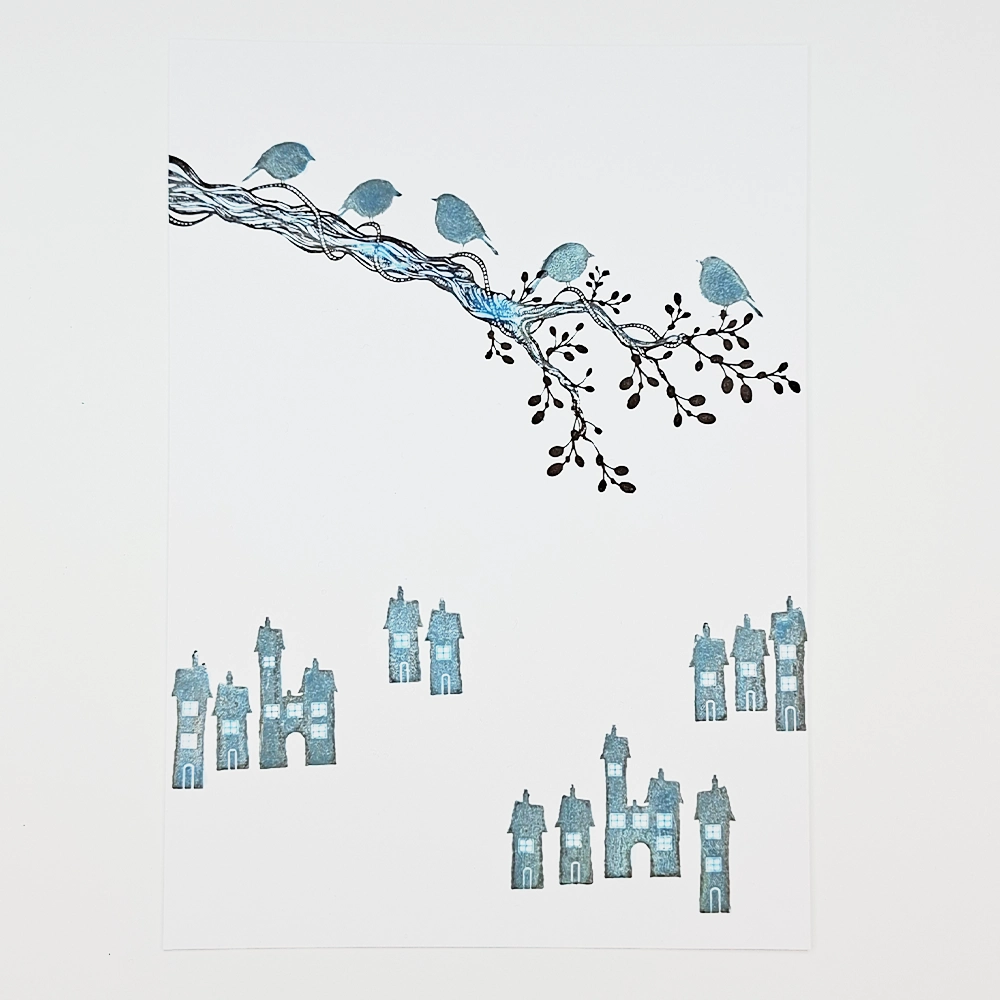
We start with stamping the Vine Branch LAV811 in Versafine Clair Pinecone and the Small Robins LAV928 and Small Dwellings LAV640 in Versafine Clair Morning Mist.
Cover everything in Liquid Masking Fluid.
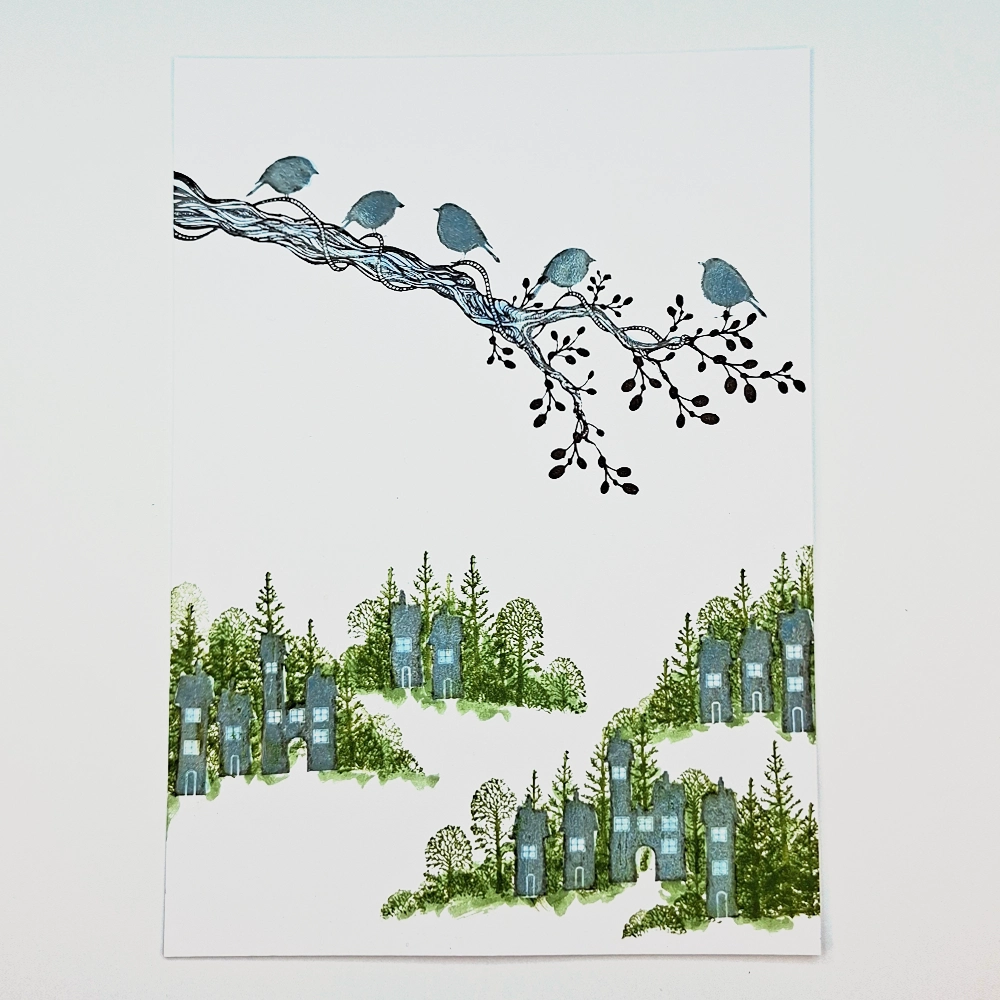
Step 2.
Make sure the Liquid Masking Fluid is dry before continuing with stamping.
Now for some trees and bushes we will use the Tree Scene LAV219 and the Fir Tree LAV094 stamped in Versafine Clair Shady Lane. To fill in the White gaps in between the branches we can use a Kuretake Clean Colour Real Brush Pen in a very light green colour.
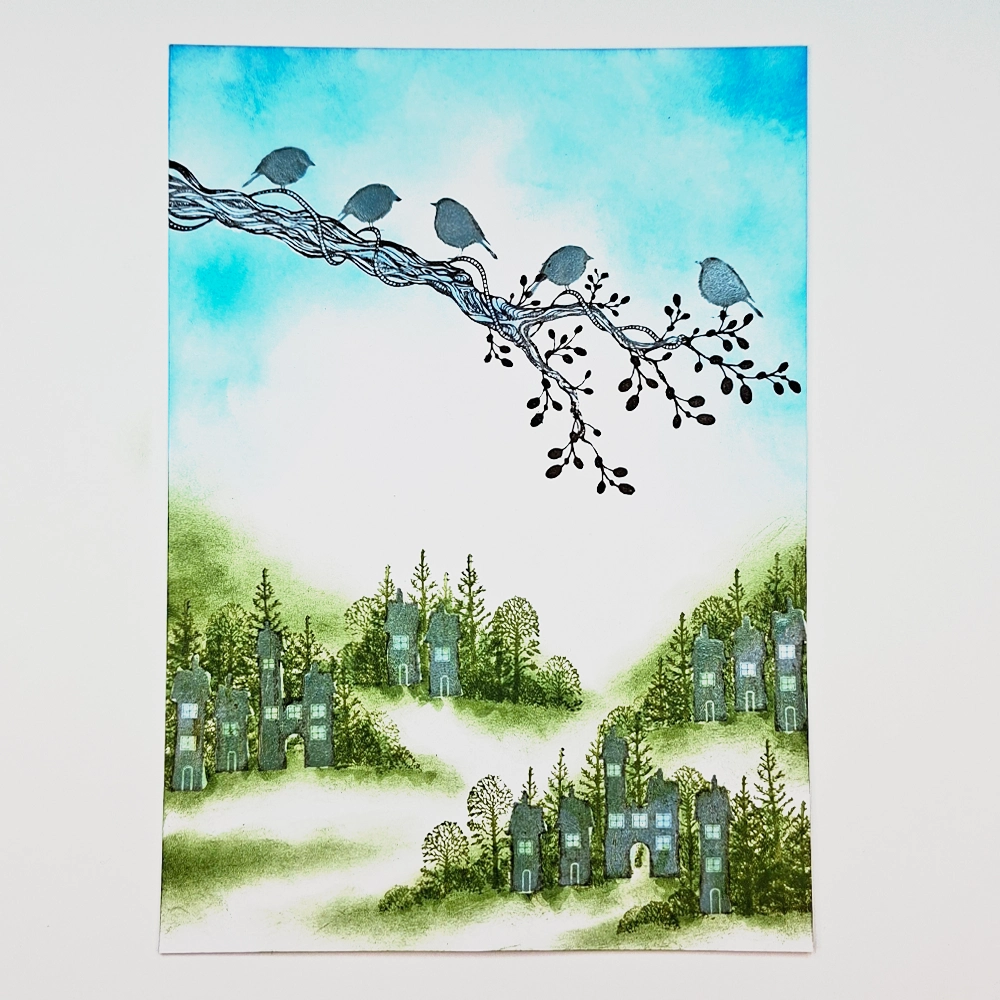
Step 3.
To create some hills and some texture to our ground we will use Elements Ink Olive and for our sky we will use Elements Ink Blue Atoll. Don't worry about putting the colour on evenly because we are going to use a waterbrush to move the colour.
Step 4.
Let's use our waterbrush to move the colour and create a more interesting looking sky and ground. After creating the hills we stamp the Tree Scene LAV219 in the far distance. To create the reflection, simply turn the stamp upside down and just make sure you get the tall trees across from the tall trees. It doesn't matter that the reflection is not perfectly correct. It will give the illusion of a reflection.
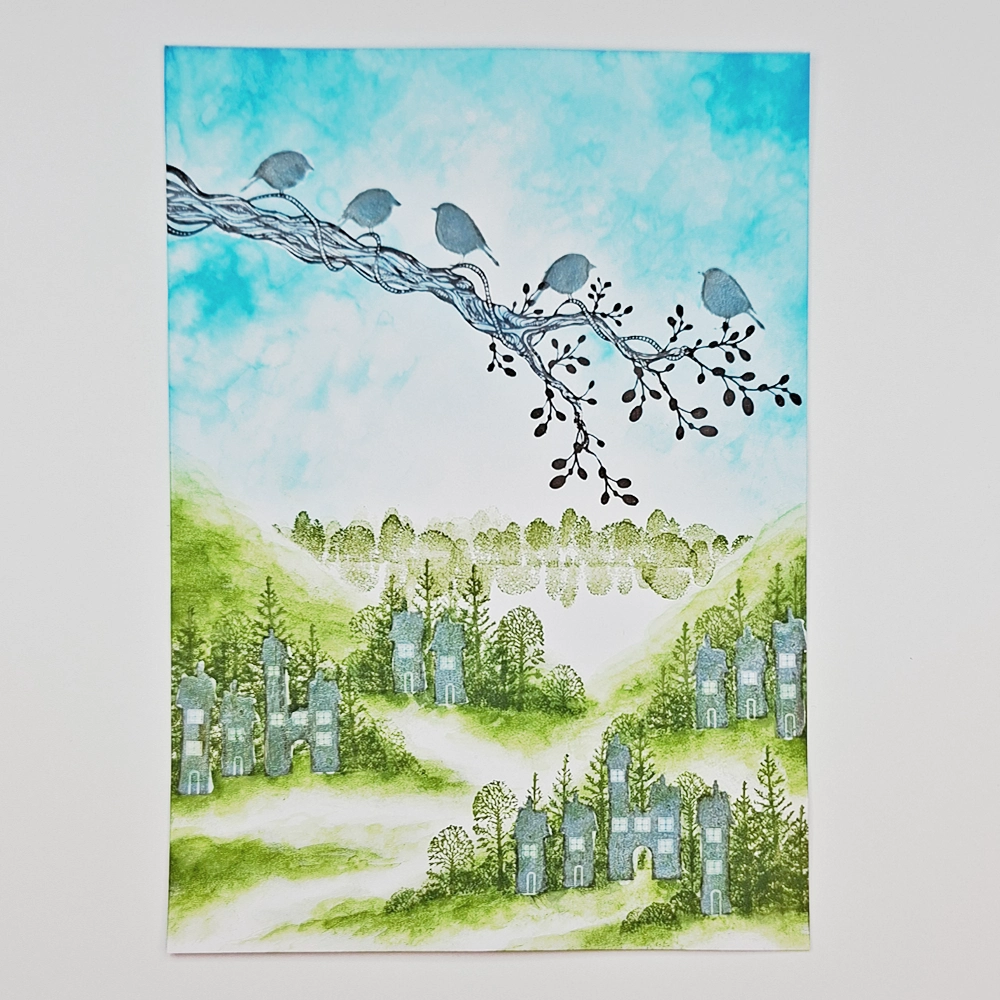
Step 5.
Now we will add some more hills and some more colour to our ground. Use a drop of Truffle re-inker ink and a waterbrush to do this. Start with a very watered down colour and add more when you see how it dries.
Step 6.
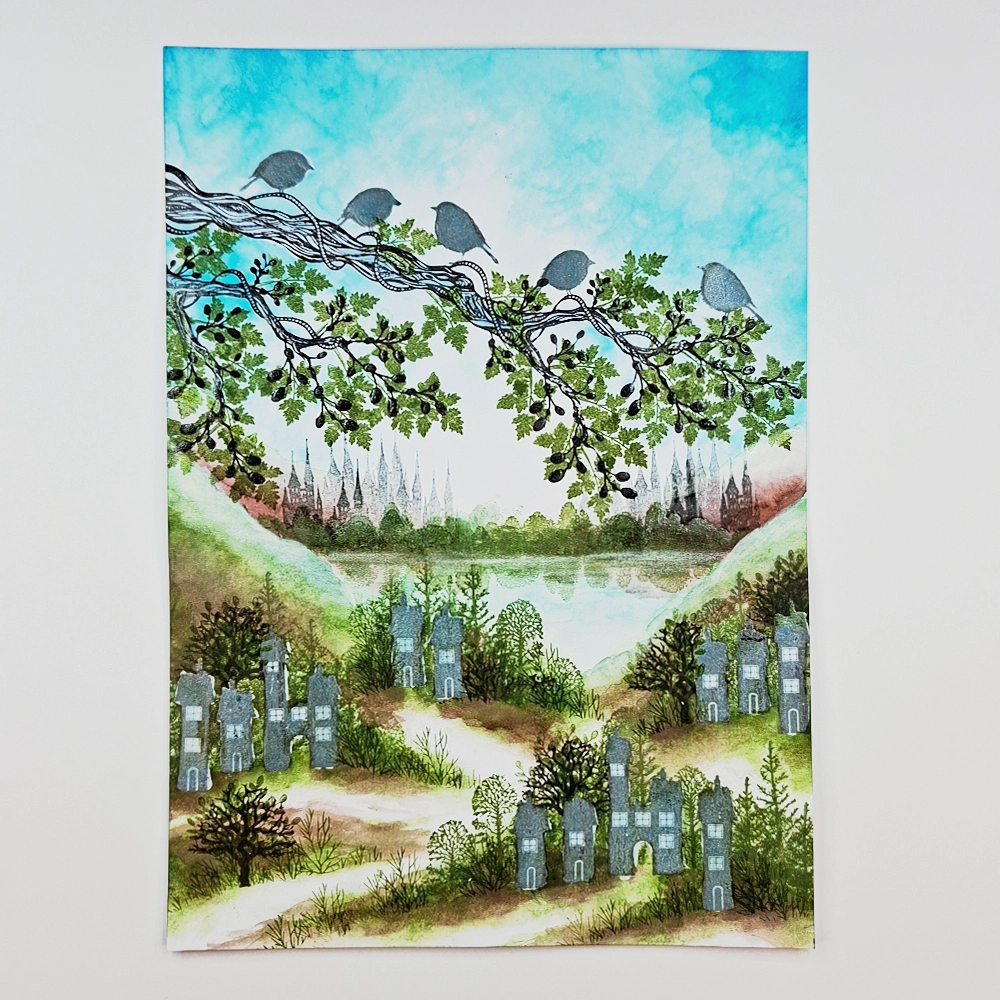
We need a little more of the Vine Branch stamped in Versafine Clair Pinecone and we will use the Wild Foliage LAV980 as leaves on our branches, stamped in Versafine Clair Shady Lane.
Castles are always great to have in the background. So we stamp the Castle Mini LAV215 in Versafine Clair Morning Mist. Stamp both first and second generation stamping. A few more trees are needed. Use the Tree Scene again, just a different tree stamped in Versafine Clair Pinecone. Add a little more grass on the ground with the Dill Stamp LAV938 stamped in Versafine Clair Shady Lane.
Use a tiny hint of Blue Atoll to colour the lake. And now use the White Posca pencil to draw the water line.

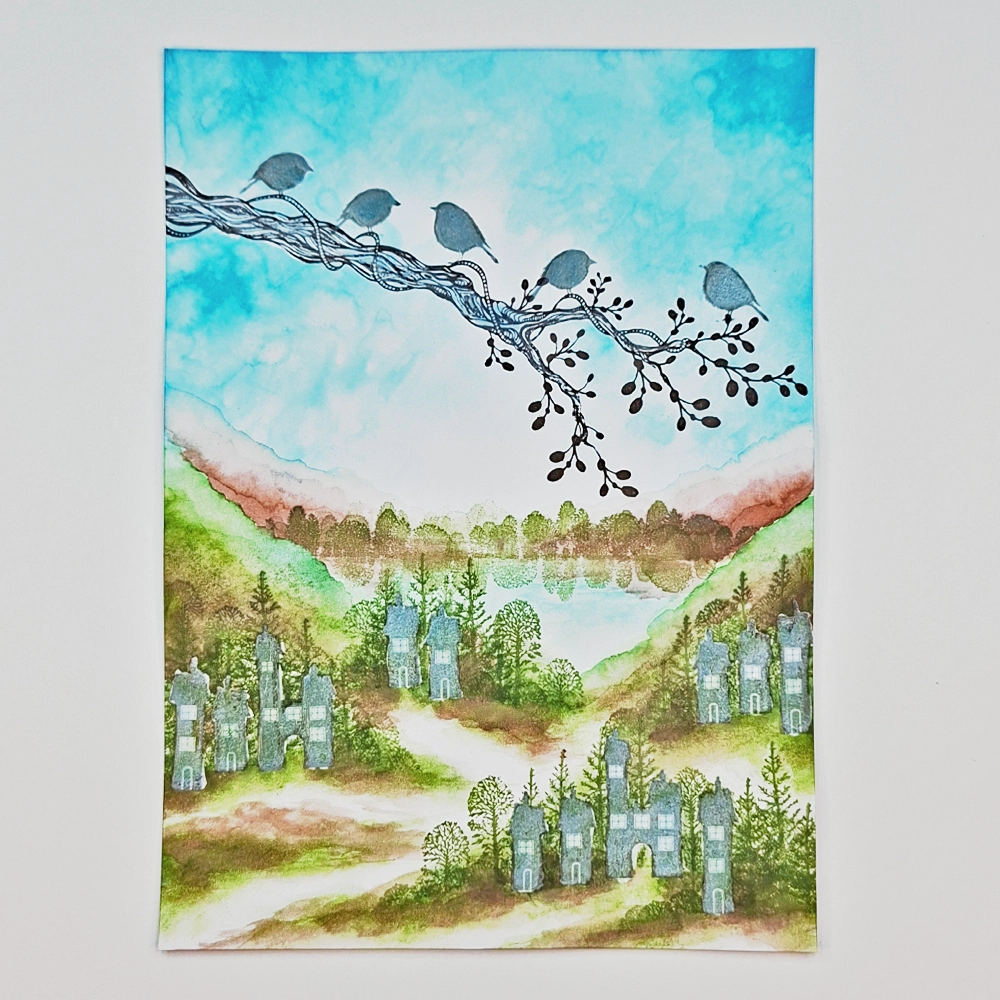
Step 7.
Time to remove the Masking Fluid. We just have to make sure that our card is dry all the way through or else the paper will rip. If you are unsure use a heat gun to make sure it is completely dry.
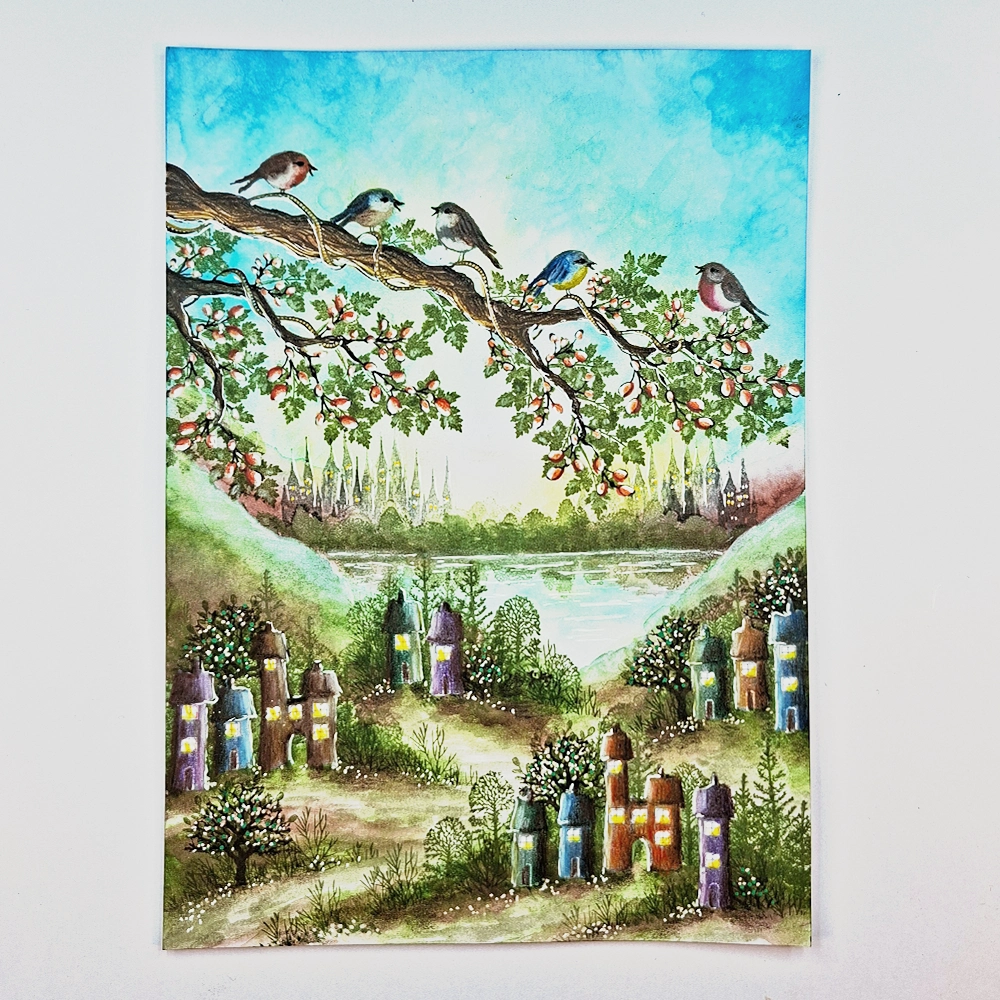
The Mondeluz Watercolour pencils are perfect for colouring. They are so soft, vibrant in colour and they blend so well even without water.
When colouring the different objects it is always good to use at least two colours, preferably 4-6 different shades and colours. This gives the objects more depth and it is more interesting to look at. For example on our berries on the trees we will first colour them with a Beige Posca pen. Let it dry and then use an Orange Mondeluz Watercolour pencil to colour half of the berry. Then use a red Mondeluz Watercolour pencil on a third of the berry and then some dark brown to give some shade. Finally, give each berry a tiny White highlight with a Signo Uniball Broad ink pen. With each step you can see how the berries look much more interesting.
To create a glow in our sky, we will use the Panpastel Hansa Yellow.
Also do some dots in the trees and on the ground. Use both the Beige Posca pen and the White Signo Uniball pen.
Step 8.
Now we will use our White Signo Uniball Broad ink pen to draw the lights on in all of the Small Dwellings Windows and the Castle windows, and to give it some warmth we will use a Yellow Posca pen to draw a tiny glow in all the Windows.
For Highlights on everything and some ripples on our lake we use the White Signo Uniball Broad ink pen. And now we will colour the birds. Because we stamped them in Versafine Clair Morning Mist they will be easy to colour in. I just googled small birds and looked at colour placement and then I made my own kind of bird.
Step 9.
We are almost done but we a few more details.
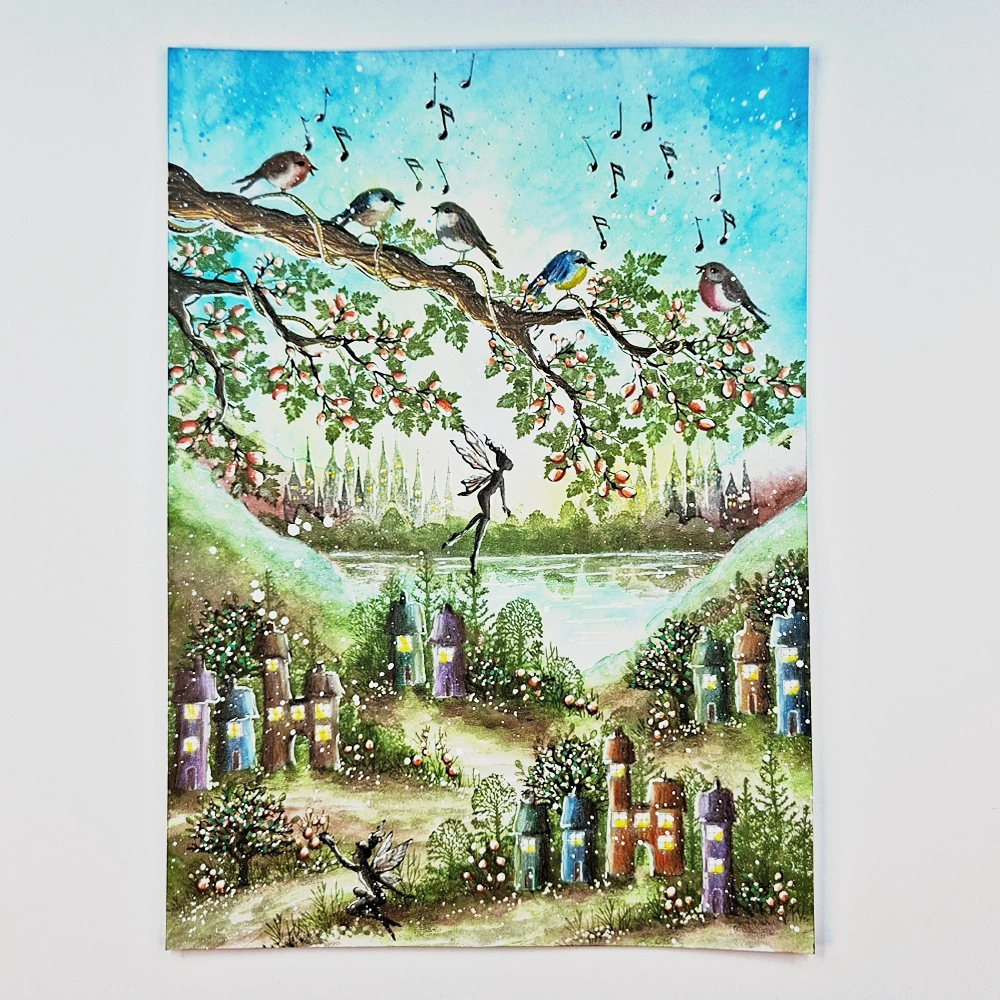
A few fairies will be nice. The Three Dancing Fairies LAV136 stamped in Versafine Clair Fallen Leaves is easy to add into our picture.
Then our birds wants to sing, use a dark grey Micron pen and just do a tiny line to indicate that the birds have open beaks and are singing. Now stamp the Musical notes LAV737 in Versafine Clair Morning Mist like you see in the picture.
And for our final touch we will do some Posca Pen splatters. White for all of the picture and some Light Blue only in the top part of the sky.
And now we have our finished card. I hope you enjoyed following my tutorial. If you have any questions, please just send me a message and I will answer as soon as I can.
Big hugs from Mona.