Hi Lavinians, we hope you enjoy this bright and creative new tutorial by Sandy Colenutt, our Recurring Creative Contributor for March. 🧚
Step 1.
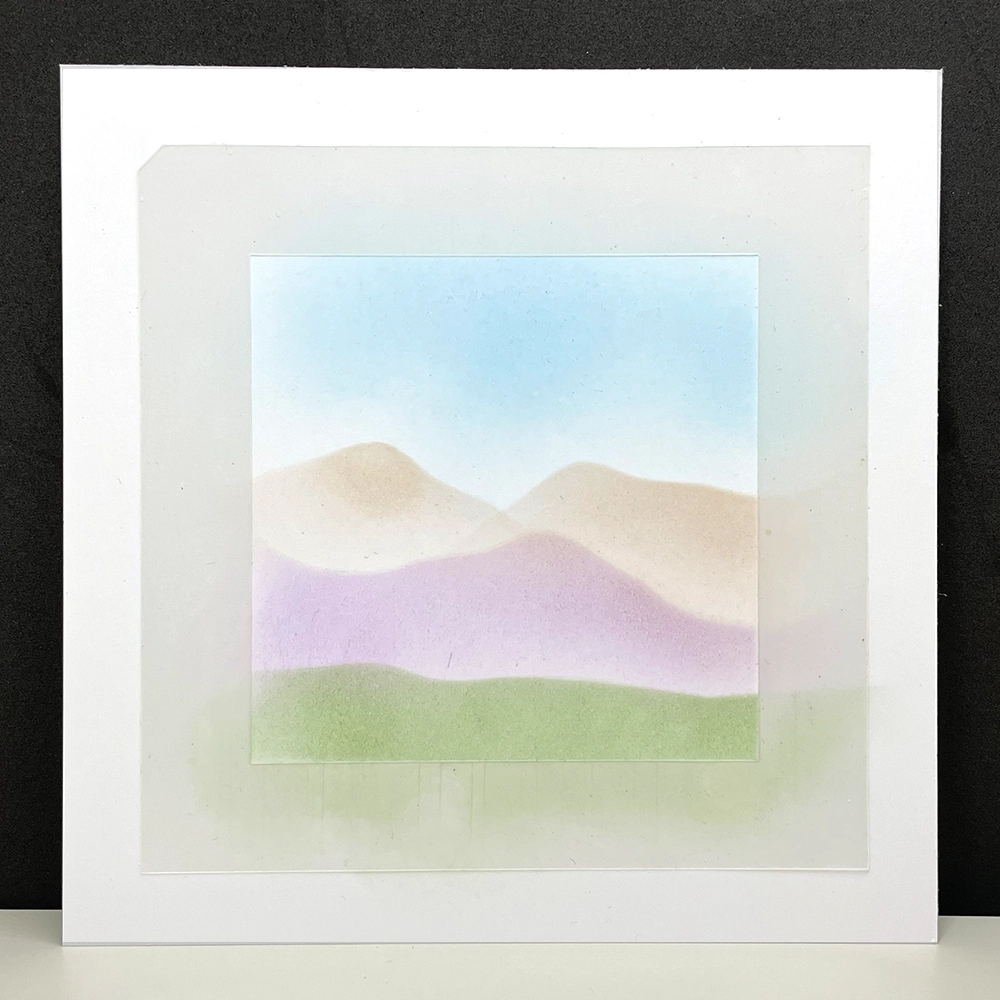
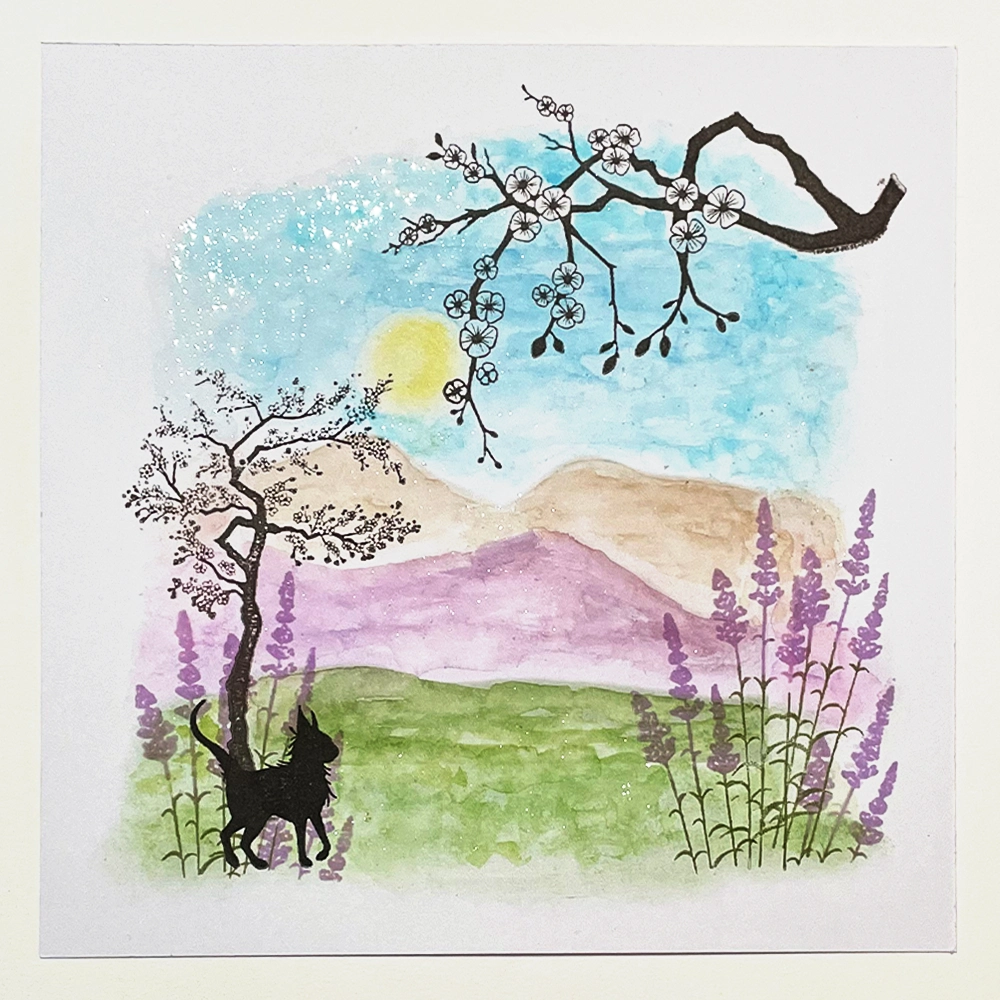
I started with the Lavinia Stickers Stencils 5 and the square template placed in the middle of the multifarious card.
Using the Lavinia Acetate Hill Masks, using the flatter one and a large stencil brush ink up lightly in Elements Pixie Green for the ground.
Then change to the slightly curvy acetate hill mask, position this above the ‘ground’ taking a large stencil brush ink up in Elements Flying Fig, again lightly brush over to make hill shapes but don’t brush the ink too close to the ground layer – leave a light space.
Next I turned the hill makes around so the shape was at a different angle, then using a large stencil brush and Elements Soft Cygnet, made the furthest hills and to give depth.
Then taking a large stencil brush and Elements Blue Atoll I lightly brushed this over the top part for the sky. At this point I did not want the ‘square’ look of the template so I extended the elements inks out slightly further.
Step 2.
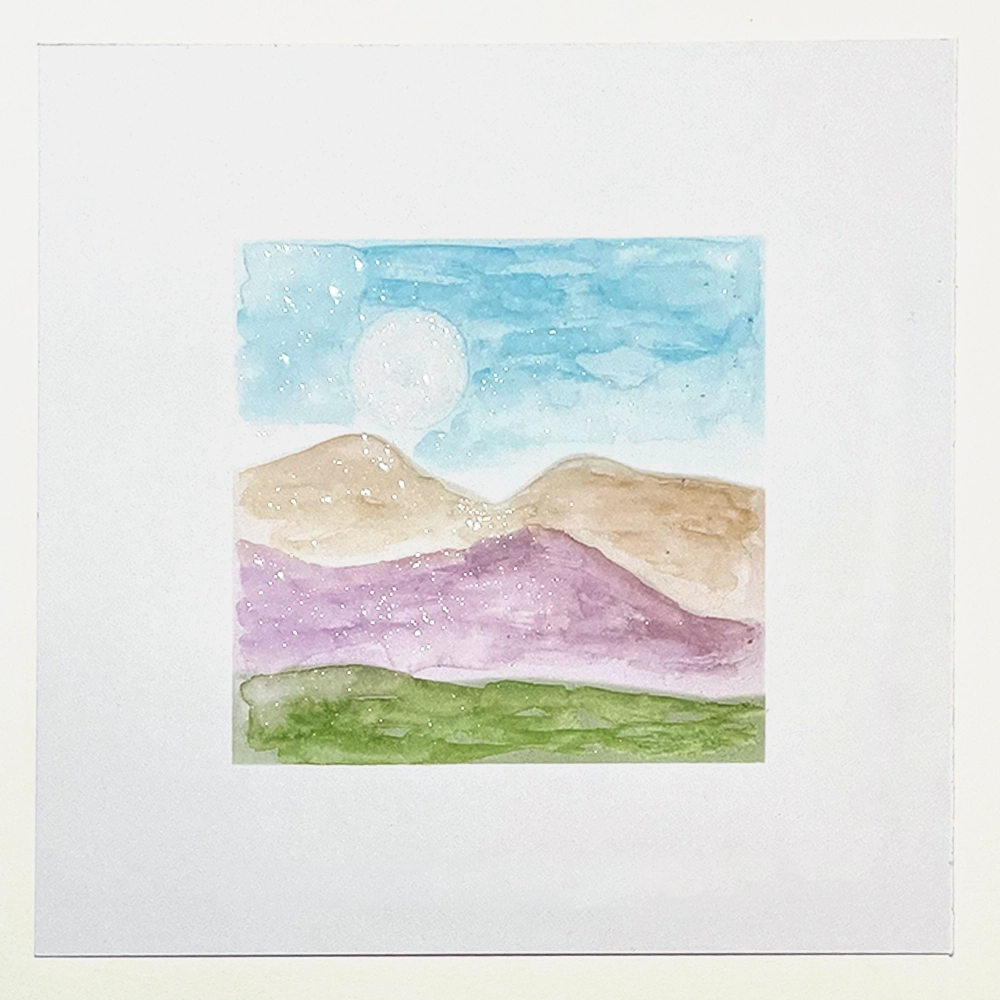
To make a Sun shape in the sky, I used a wet paint brush to lift out some of the Blue Atoll ink. To help with the shape you can use a small circle mask as a guide.
Now for some texture and sparkle effects! I took my paint brush and using a little pot of water with some Lavinia Stamps White Sparkle Mica Minerals mixed in.
I then gently went over the Pixie Green, the Flying Fig, the Soft Cygnet and Blue Atoll inks to give them the effect of shadows and movement, the mica minerals give the background a beautiful sparkle as it dries.
Step 3.
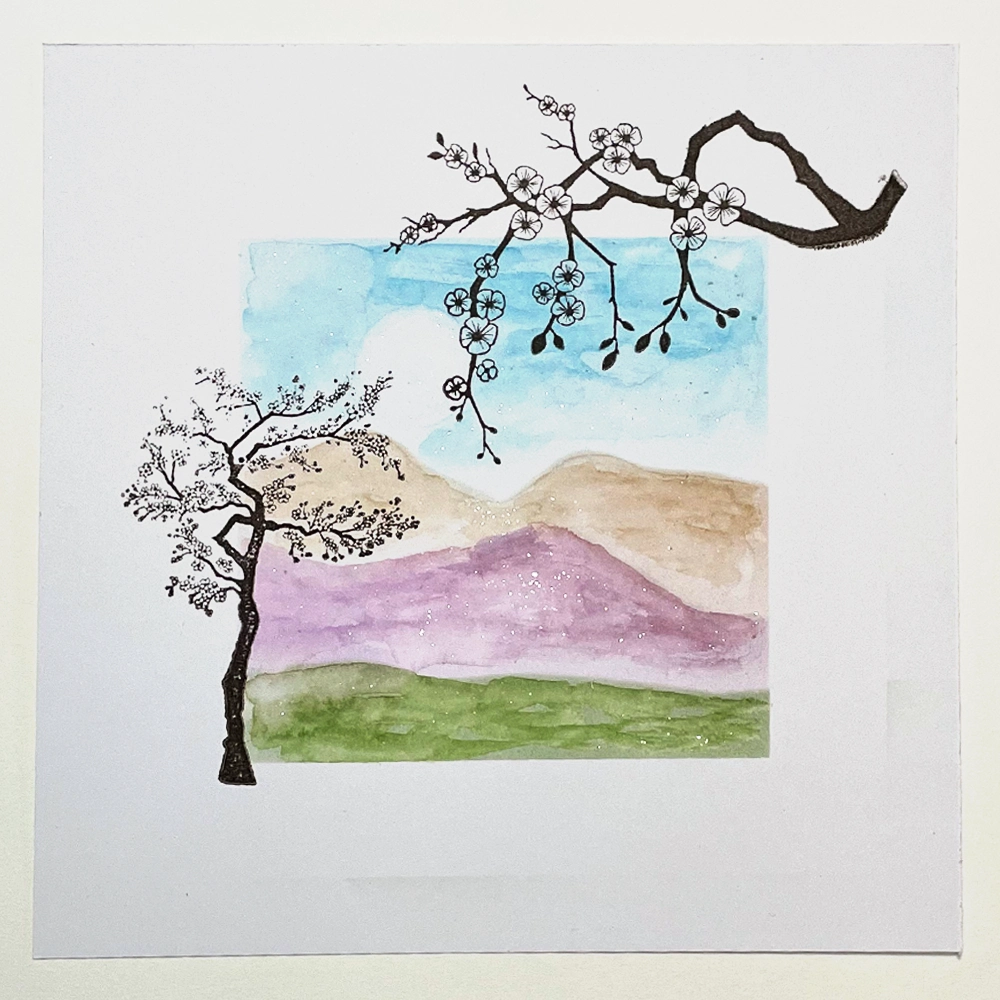
To begin stamping the composition, I stamped the LAV176 Cherry Blossom (branch) stamp on an acrylic block in Versafine Clair Fallen Leaves ink on the top right side of the card.
Then in the same colour, I stamped LAV015 Cherry Blossom Tree on the bottom left of the card.
Step 4.
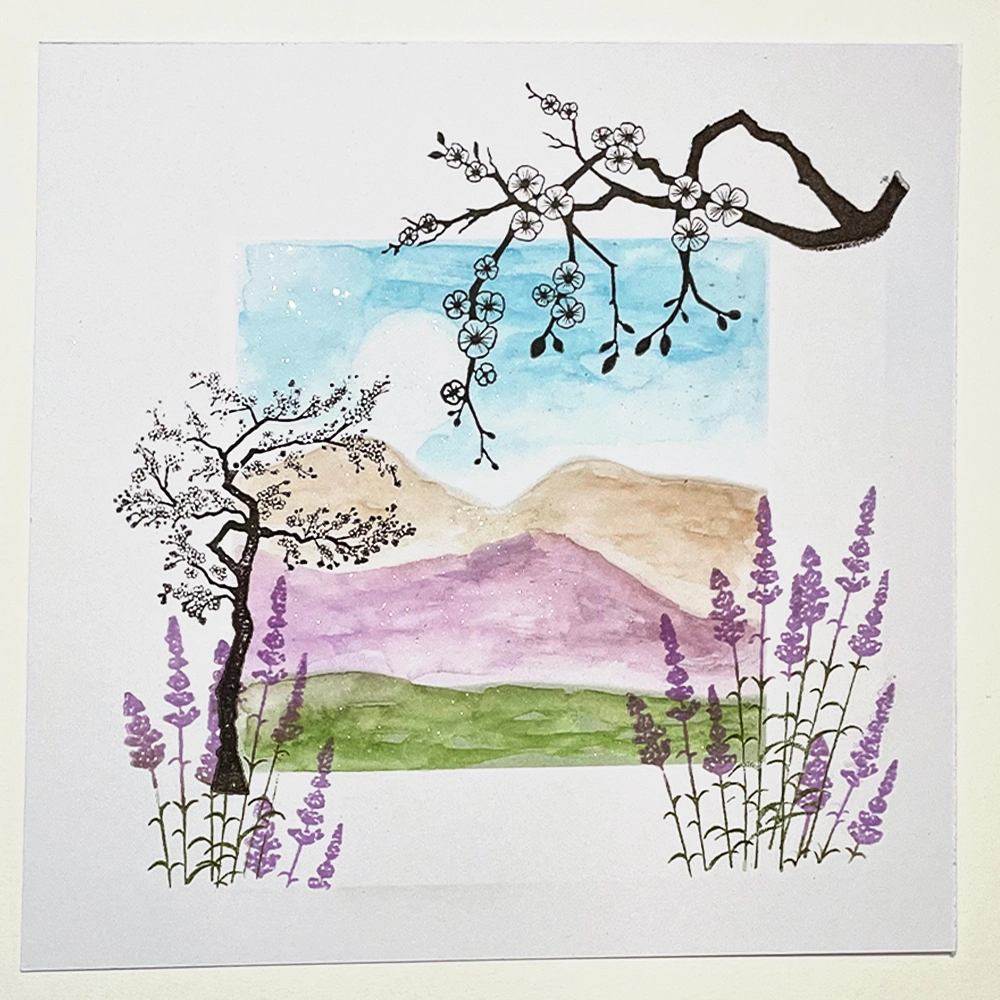
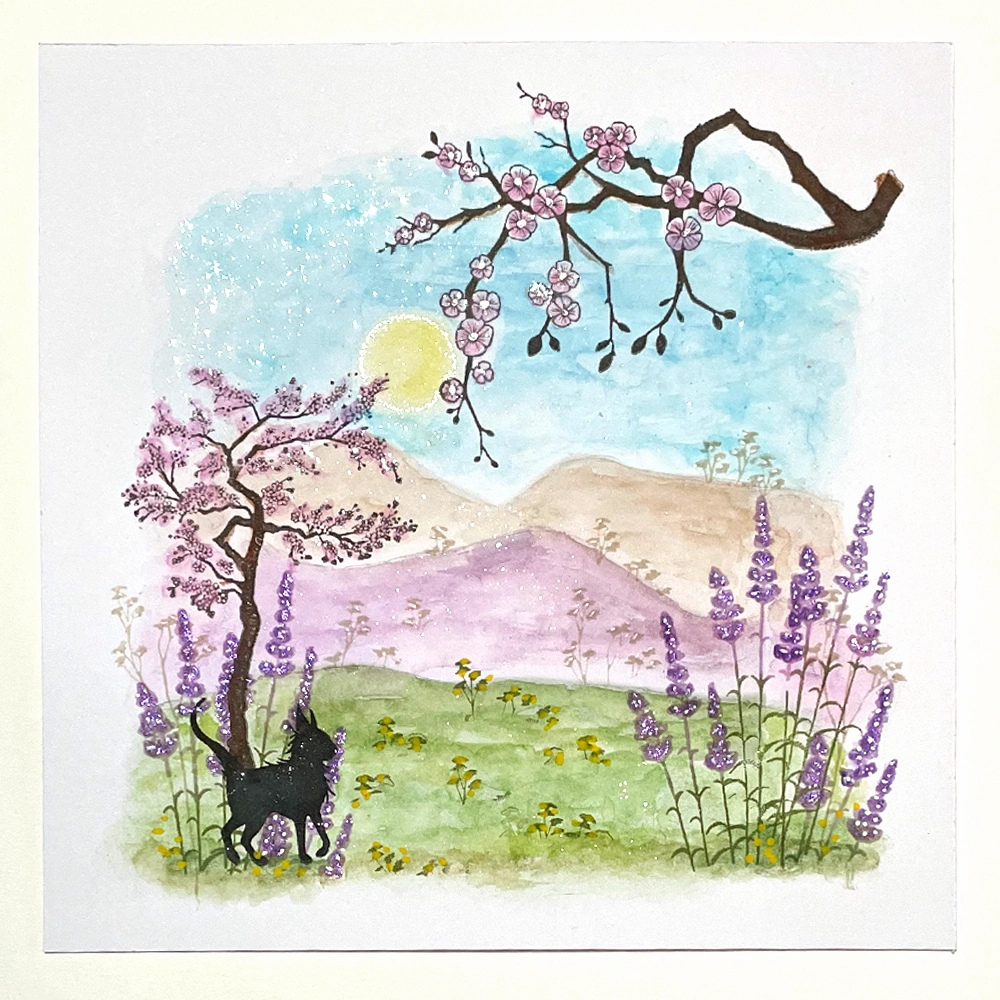
Now I used a double-inking method to place some flowers using the LAV093 Lavender stamp.
To do this I placed the stamp on a black, then applied Versafine Clair Shady Lane onto the stems/leaves, and lightly pressed the lavender flowers onto Versafine Clair Lilac Bloom. This gives you a two-tone stamp. Stamp this 4 times on the right and 3 times on the left by the foot of the tree, re-inking the stamp each time.
Step 5.
With LAV909 Hocus & Pocus cats, I used the cat on the left inked up in Versafine Clair Nocturne ink and stamped him at the bottom of the cherry tree.
Step 6.
At this stage I began to add some details:
I took LAV698 Flora set, using the right hand stamp, inked up in Versafine Shady Lane. Taking a piece of torn copy paper, I dotted just the top part of the stamp on to the ‘grass’ to make little clumps of leaves, and more over the hills in the distance with Versafine Clair Sand Dune.
I used the Mondeluz Water Soluble pencils to colour the sun yellow and blossoms pink, then a White highlight in the centre with a Zig Mangaka Opaque pen. Taking a Uni Posca pen in Yellow I dotted ‘buttercups’ in the grass, also the Uniball Signo Sparkling pens to highlight the lavender Flowers.

Step 7.
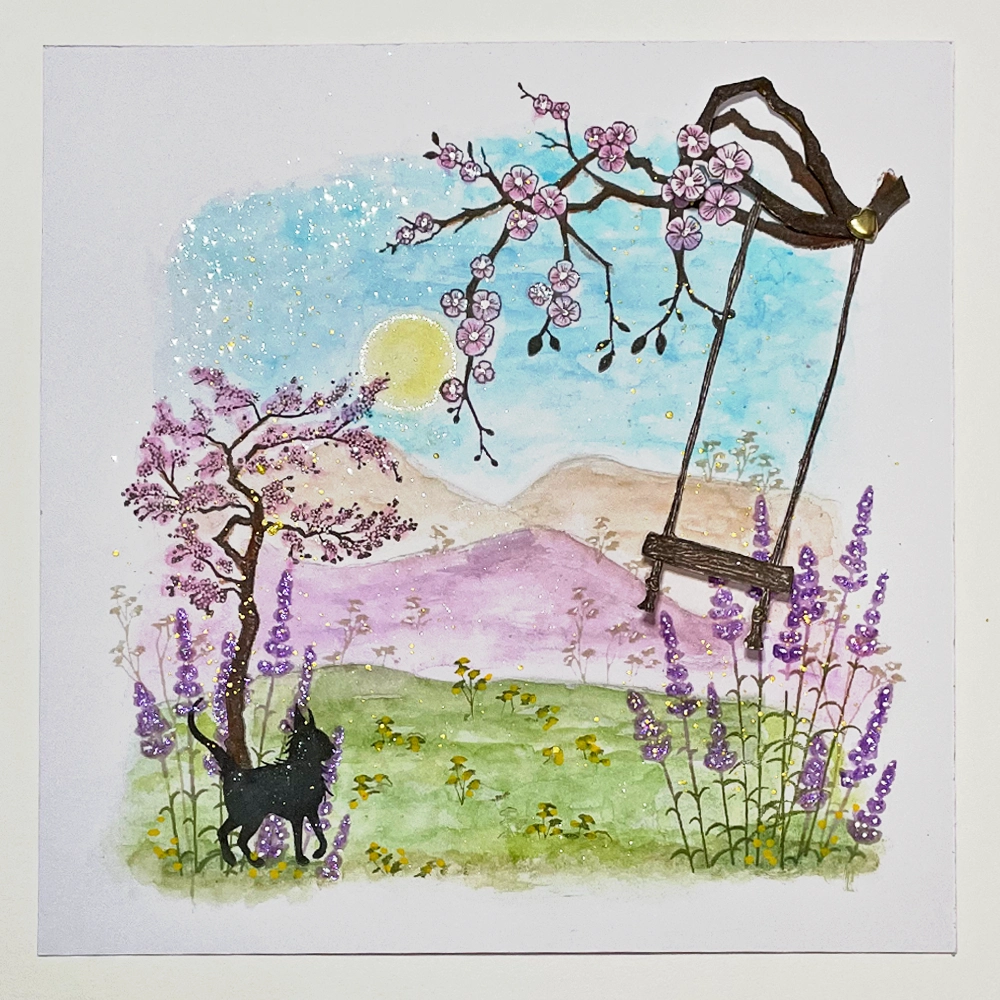
Now to make the swing, which when we’re done, will actually swing from a branch of the cherry blossom tree!
Onto a separate multifarious card off-cut, I stamped another Cherry Blossom LAV176 in Versafine Clair Fallen Leaves, leaving enough space below to stamp the LAV976 Swing onto the wide part of the branch.
This I then fussy cut, trimming the blossom so that I had just the branch with 3 blossom flowers on it and cut around the swing.
Step 8.
I attached the swing and branch together with a fastener.
I made a small hole in the card on the branch I had already stamped and pushed the fastener through the hole, keeping it loose after bending the ends over on the back.
Colour the blossoms in the same way as those on the base card with more Mondeluz pencils.
Step 9.
The card front was mounted using double sided foam tape so that the Swing would still move.
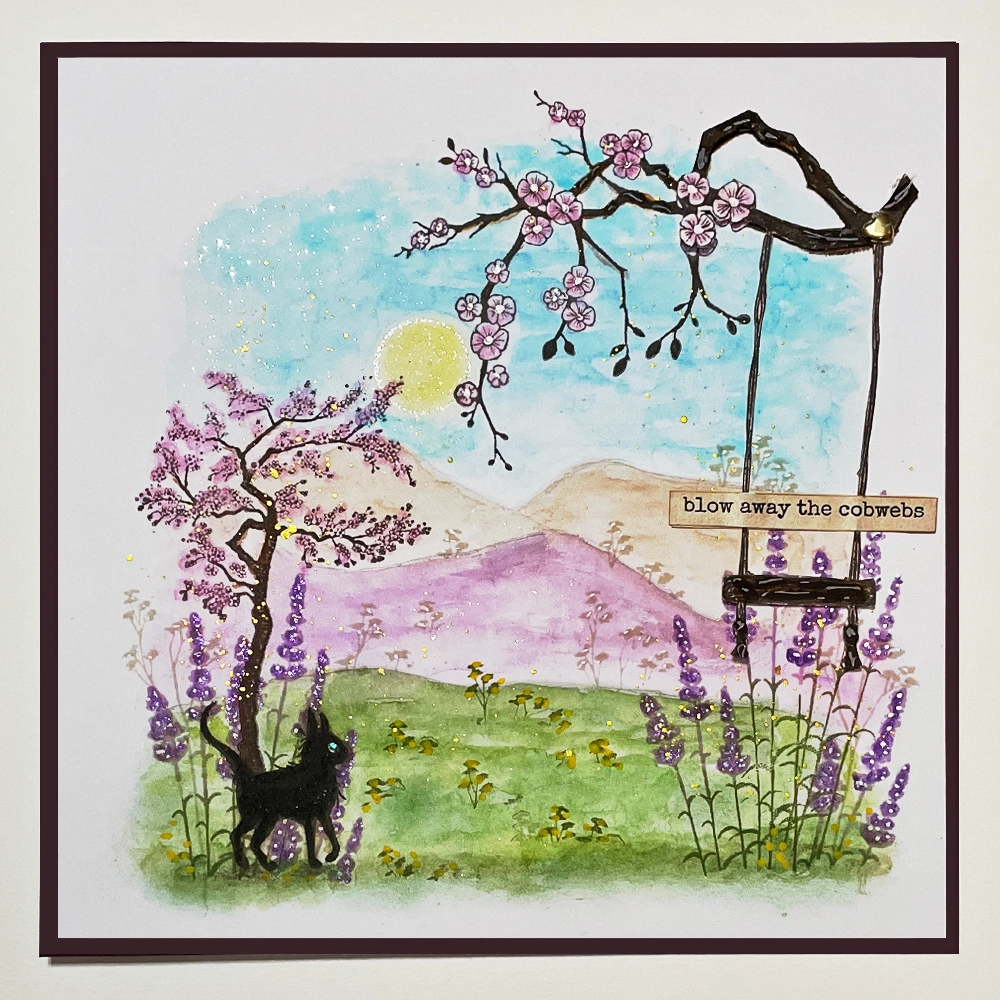
For the words I used the Lavinia Sentiment Stickers 6 in the beige colour. This will also work with a sticker from Sentiment Stickers 5 or Sentiment Journalling Stickers.
Since this would be sticky on the back after placing it on the swing, I cut a strip from the bottom of the sentiment stickers the same size and stuck it on the back of the word sticker, so that the swing would still move – the added weight will also help the swinging motion.
For final touches, try out some splattered gold Posca pen and some further highlights on the branch and swing with a white Zig Mangaka pen.
Kindest regards,
Sandy Colenutt