
MAGICAL FAIRY MUSHROOMS By Tina Ashton
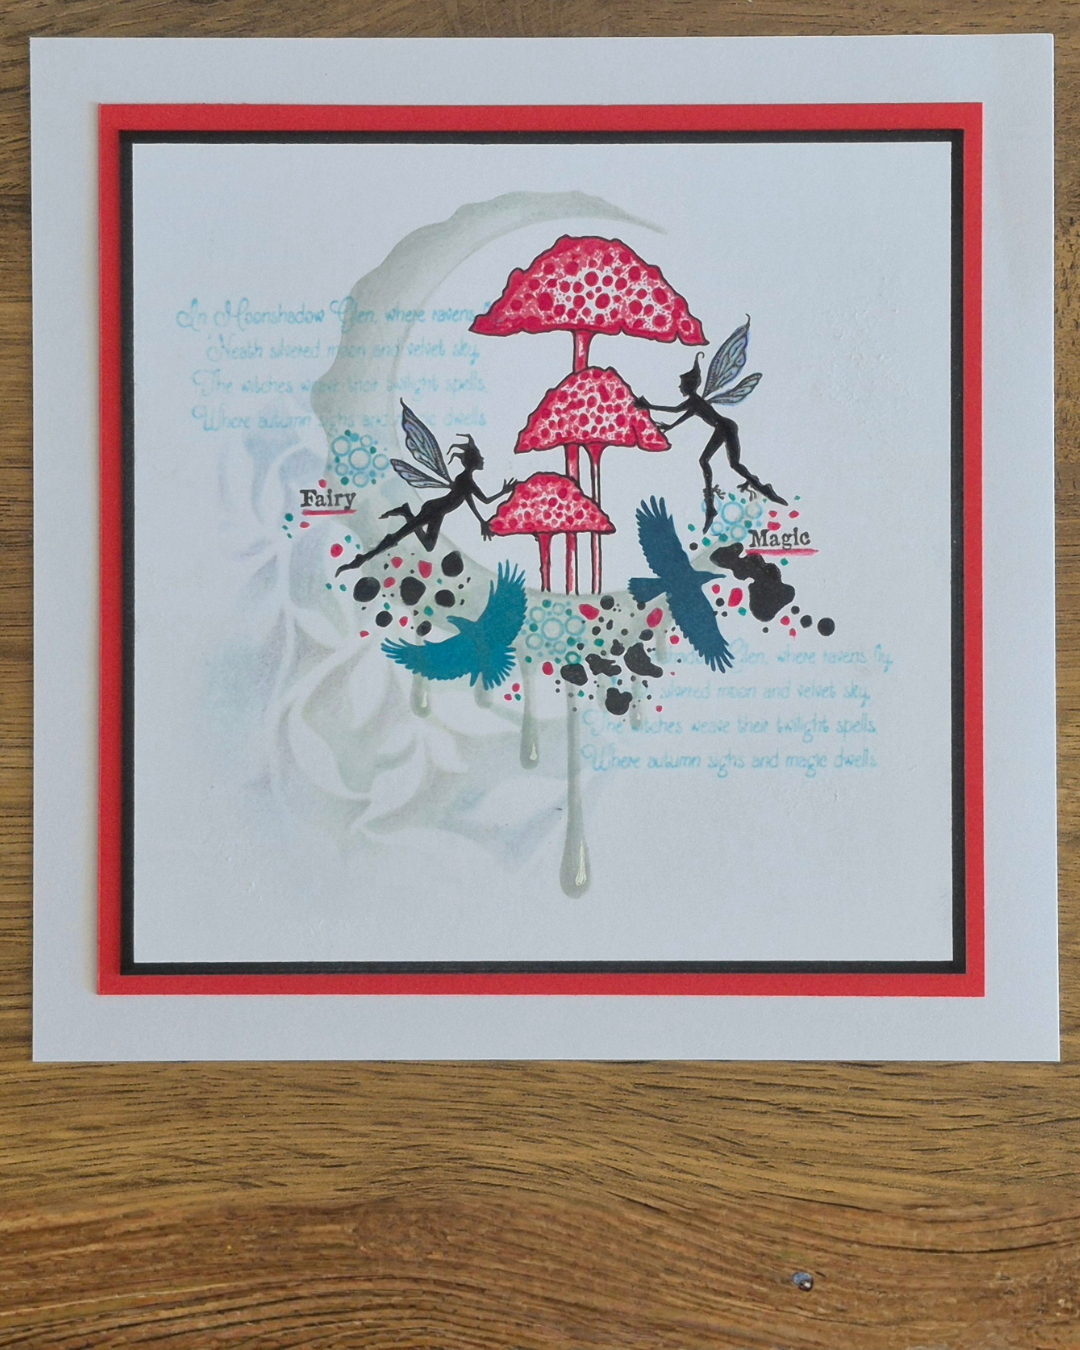
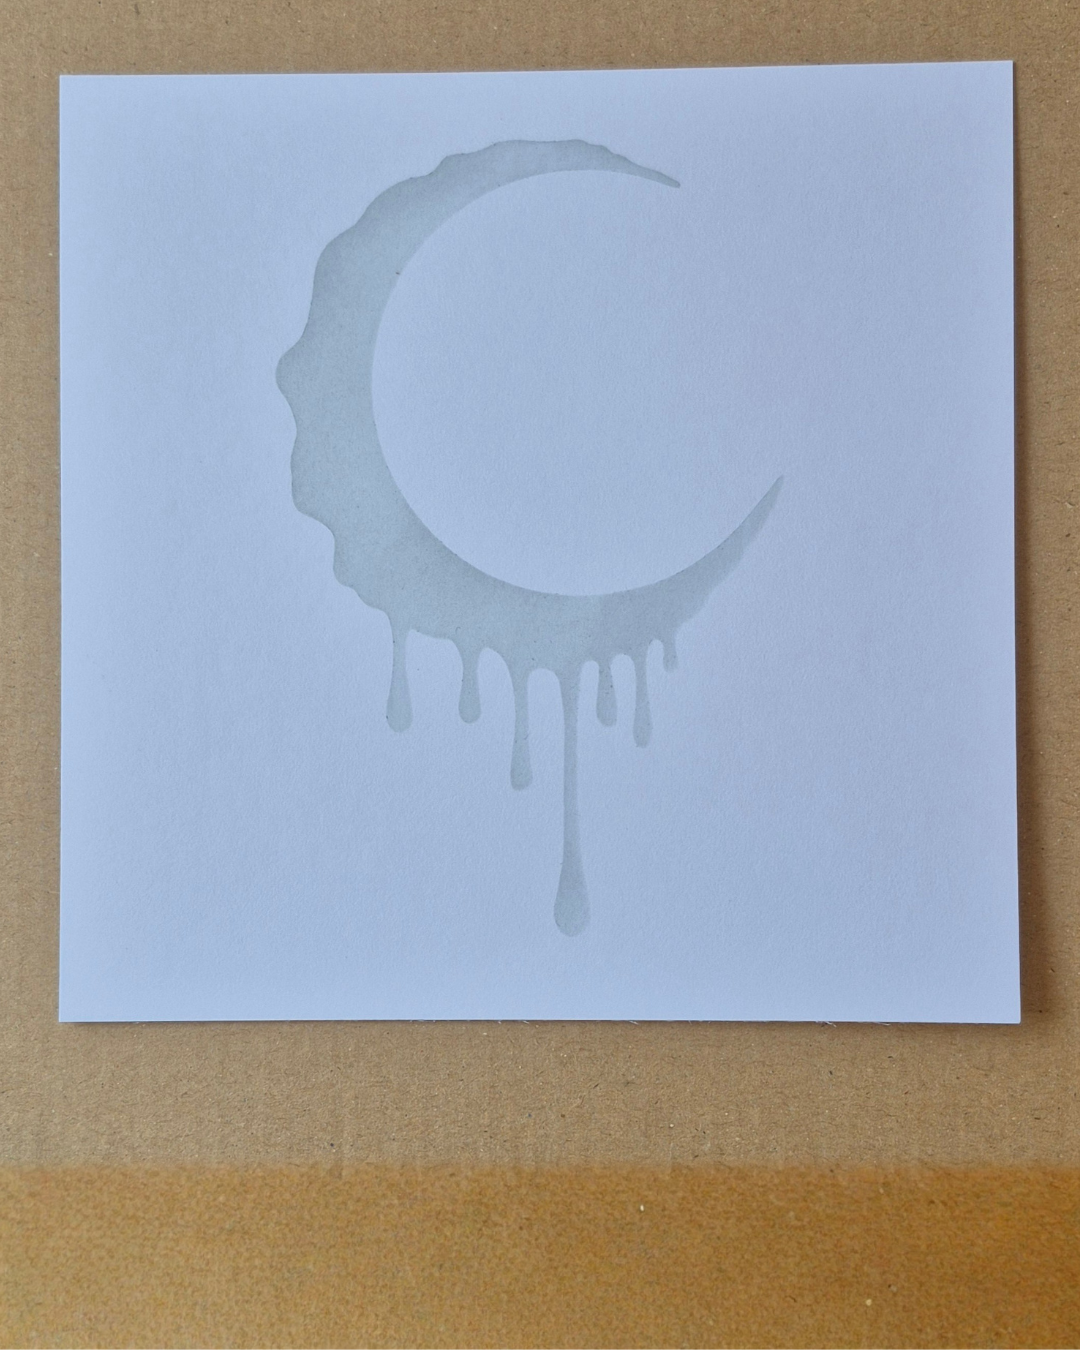
Step 1. Using a square piece of white multifarious card, stencil the Autumn Mist Collection dripping Crescent shape. I used Distress Oxide in Iced Spruce.
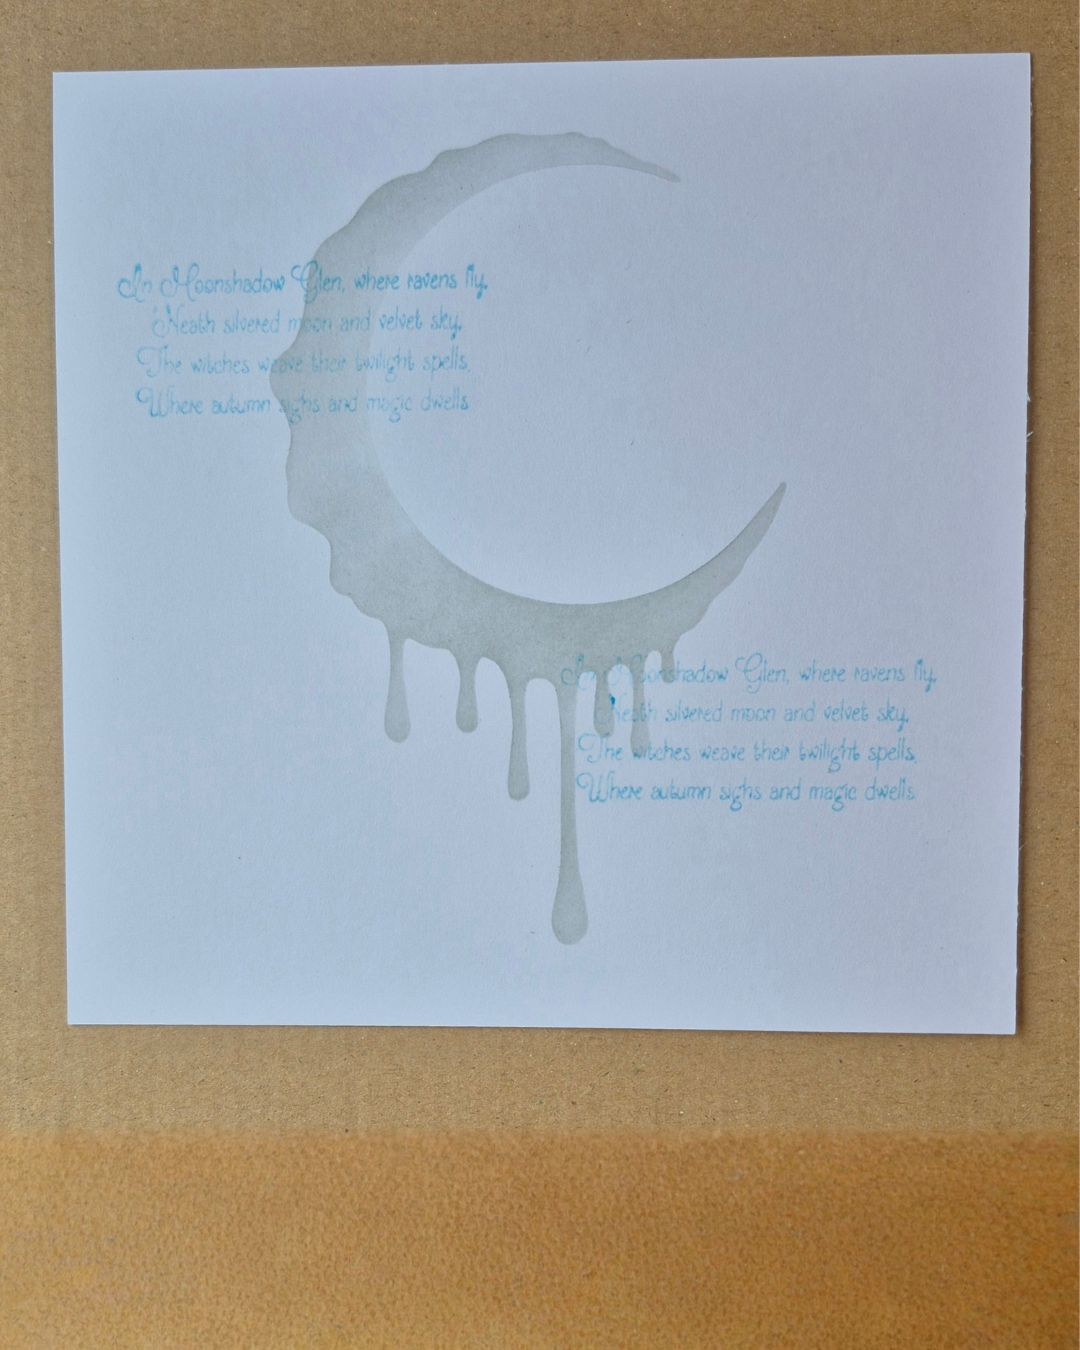
Step 2. Get ready to stamp over the dripping/crescent shape the words stamp called Magic Dwells (LAV1001). Stamp twice as per the photo using Versafine Clair Bali Blue. I stamped in 2nd generation stamping to give the words a fainter appearance.
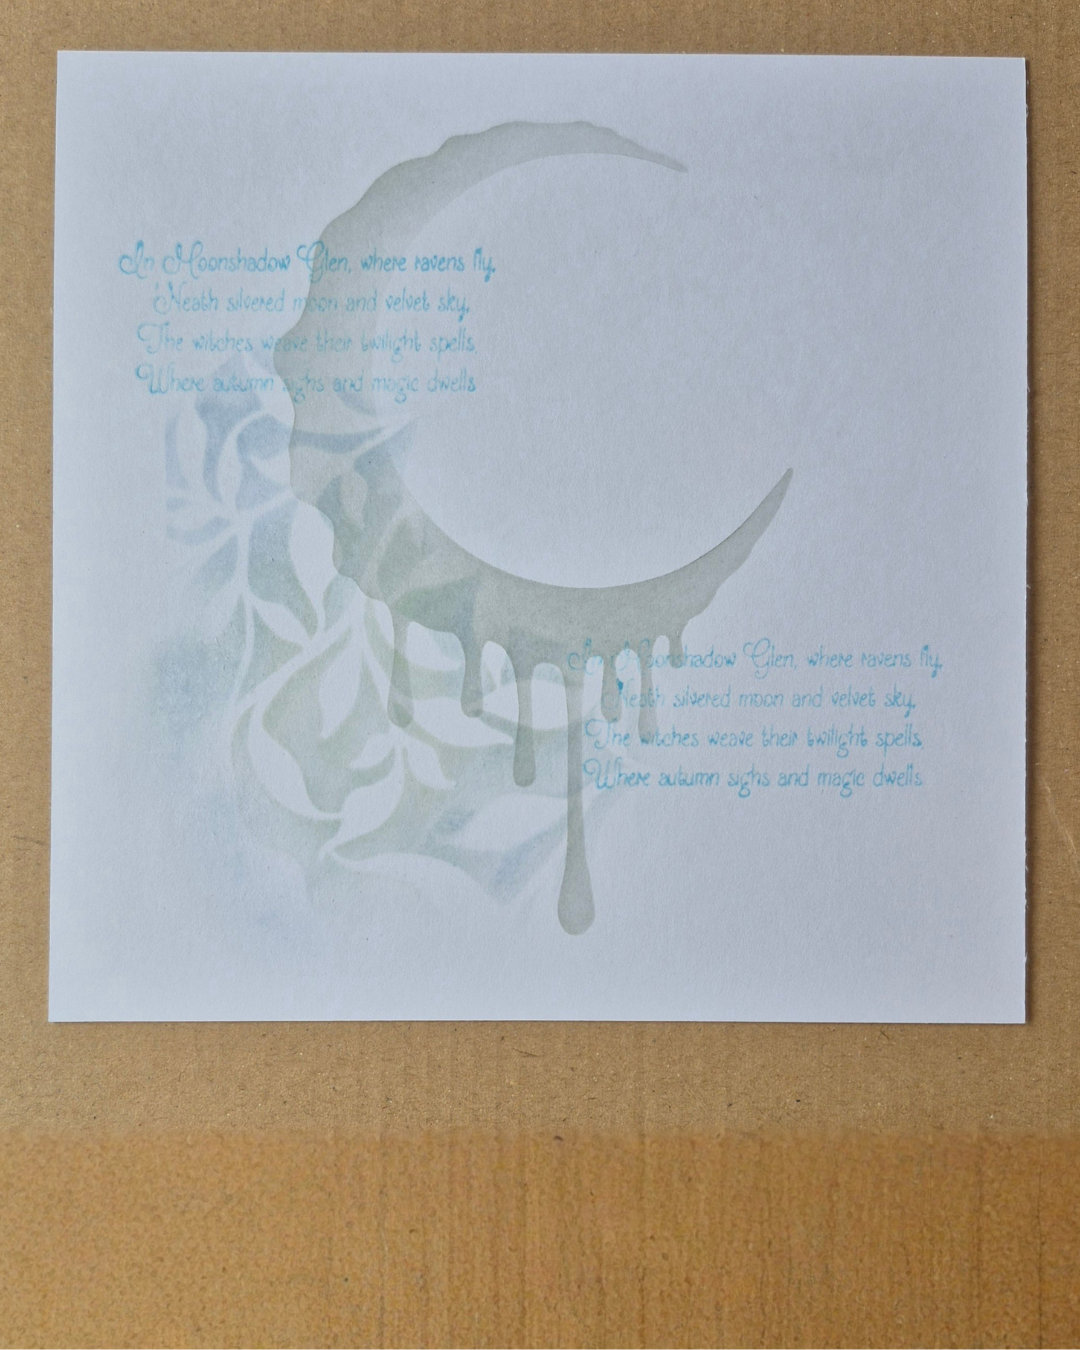
Step 3. Using a stencil of your choice, add some soft interest to the bottom left corner of the crescent shape. I used the Laurel Stencil, but pick whichever you fancy! I stencilled with Lavinia brushes and Distress Oxides in Iced Spruce & Shaded Lilac.
Step 4. By stencilling on a separate piece of paper make a mask of the crescent shape and cut out to cover the lower curve as per the photo.
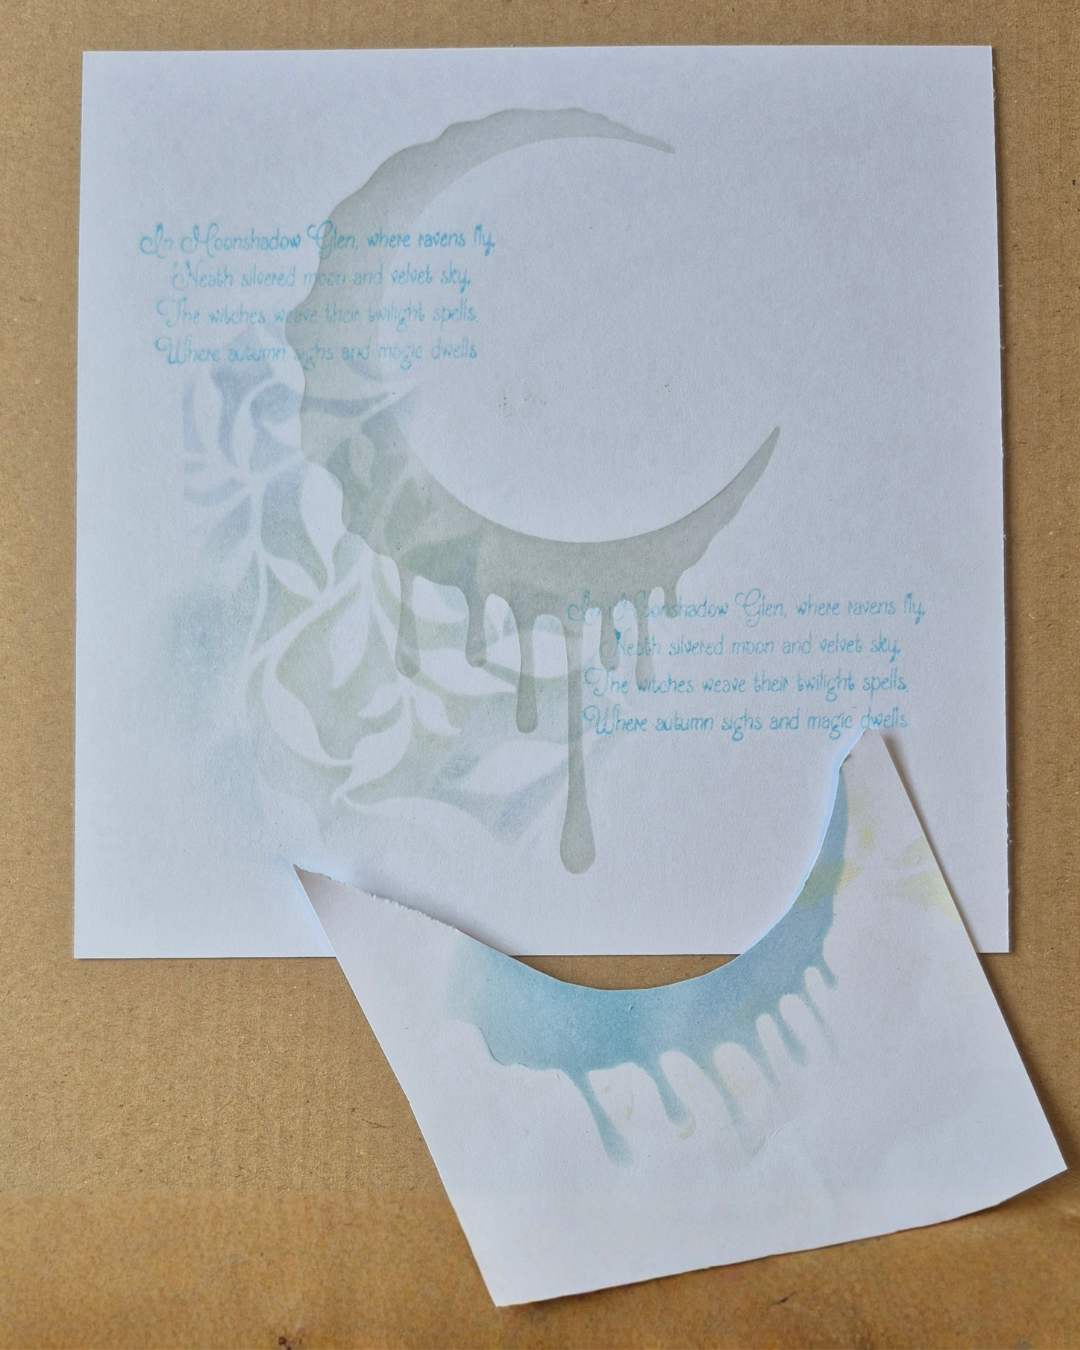
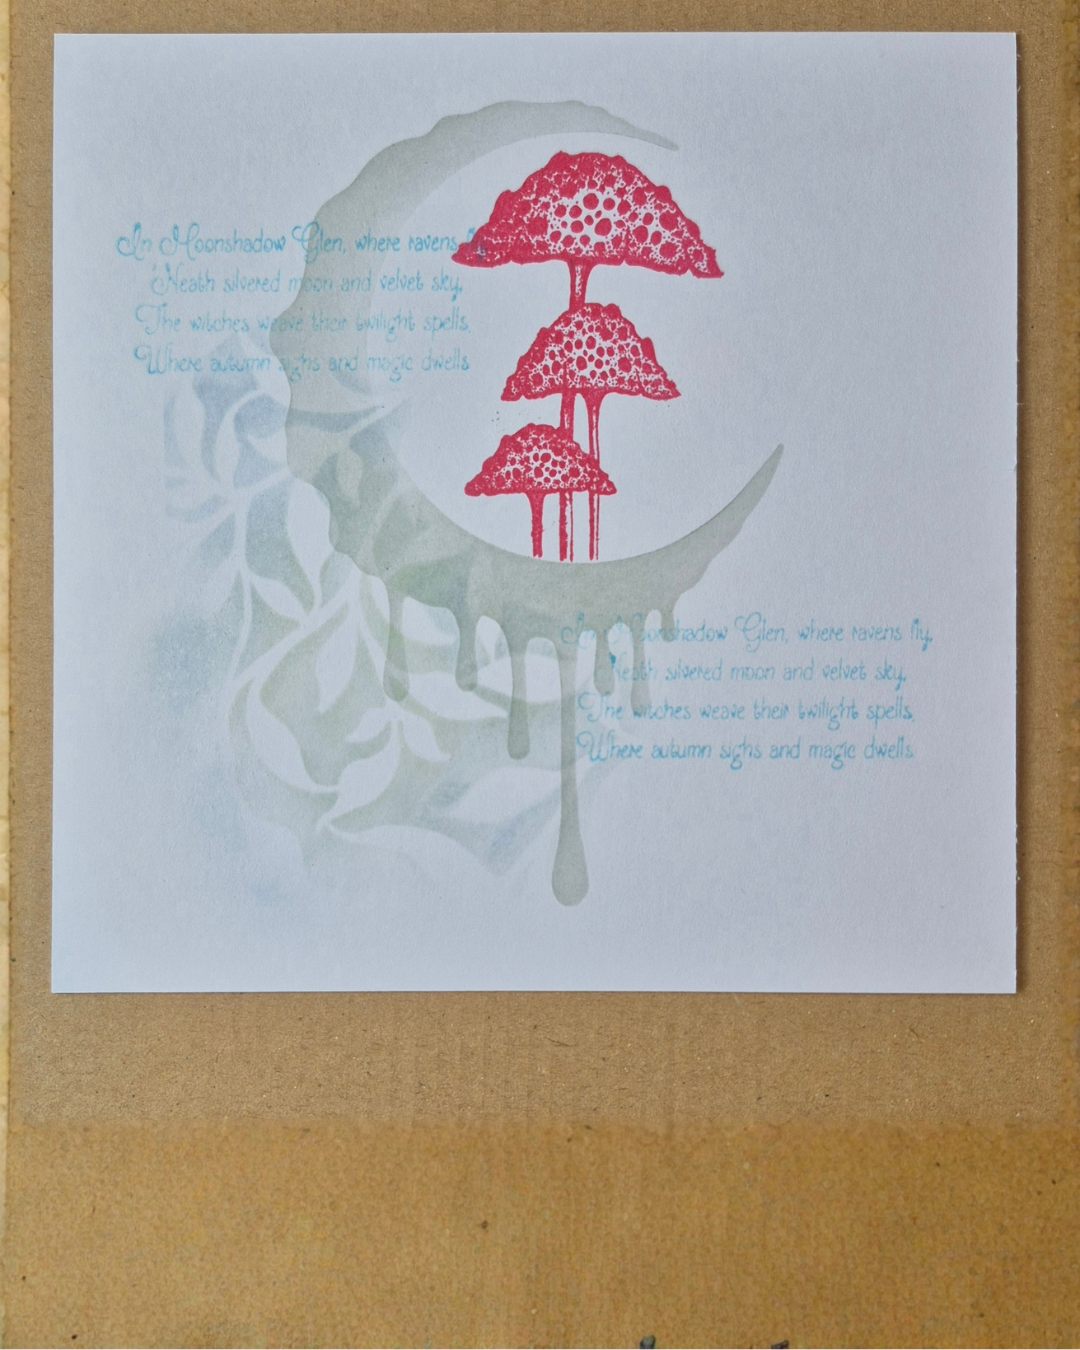
Step 5. Stamp on the the Elfin Cap Cluster (LAV877) using the mask you’ve just created for the bottom edge in Versafine Clair Strawberry.
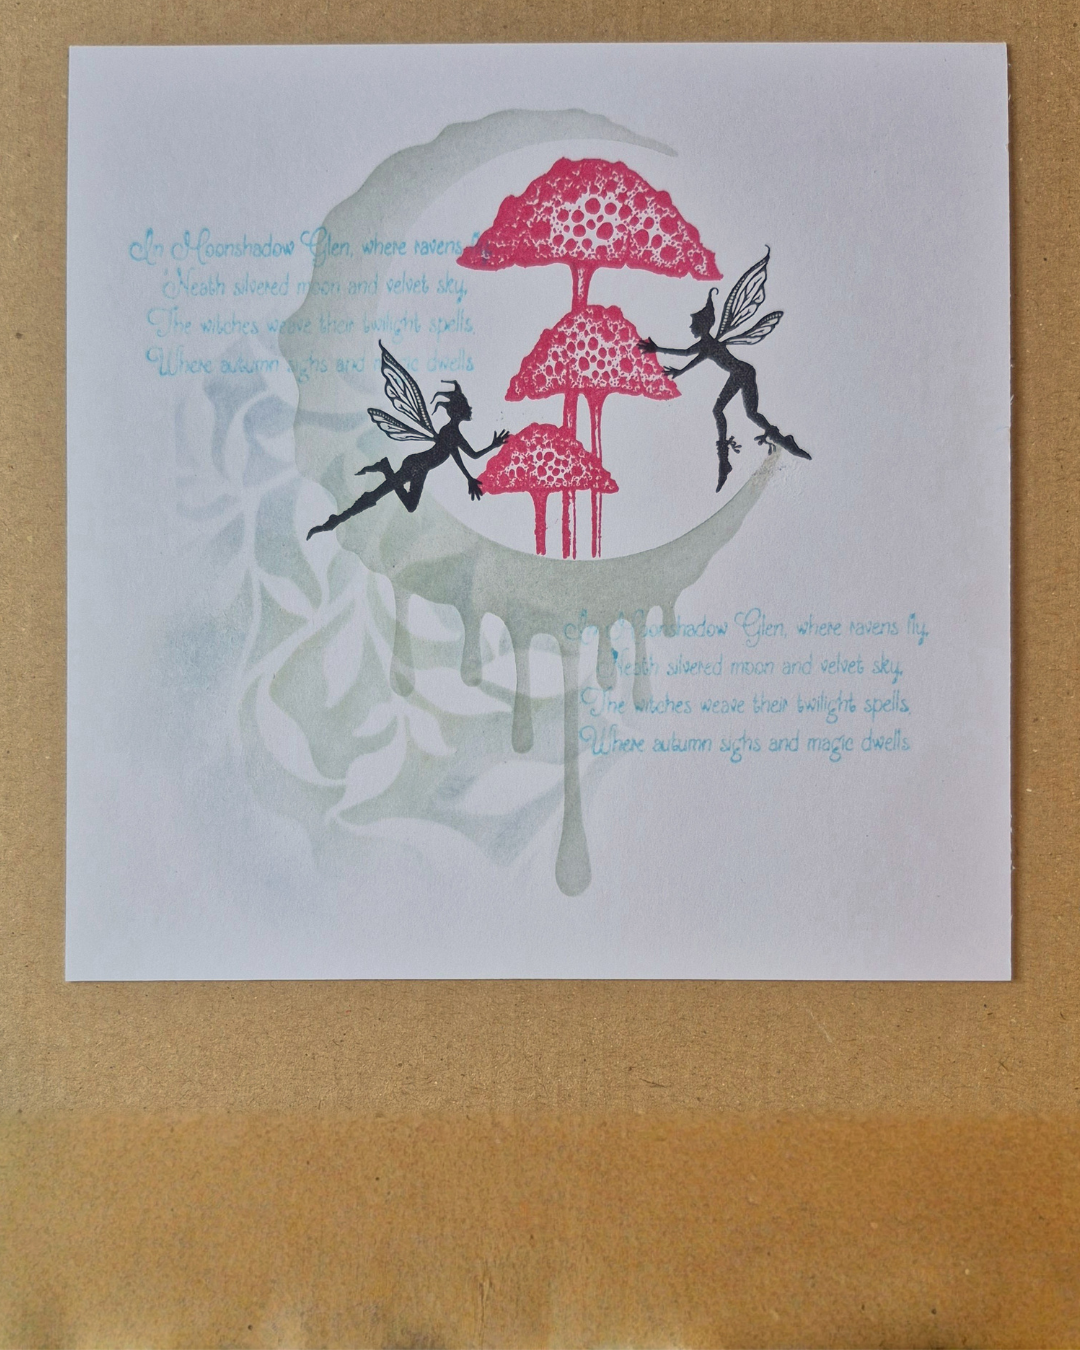
Step 6. Now stamp the Small Pixies (LAV204) in Versafine Clair Nocturne, one to the left and one to the right as per the photo.
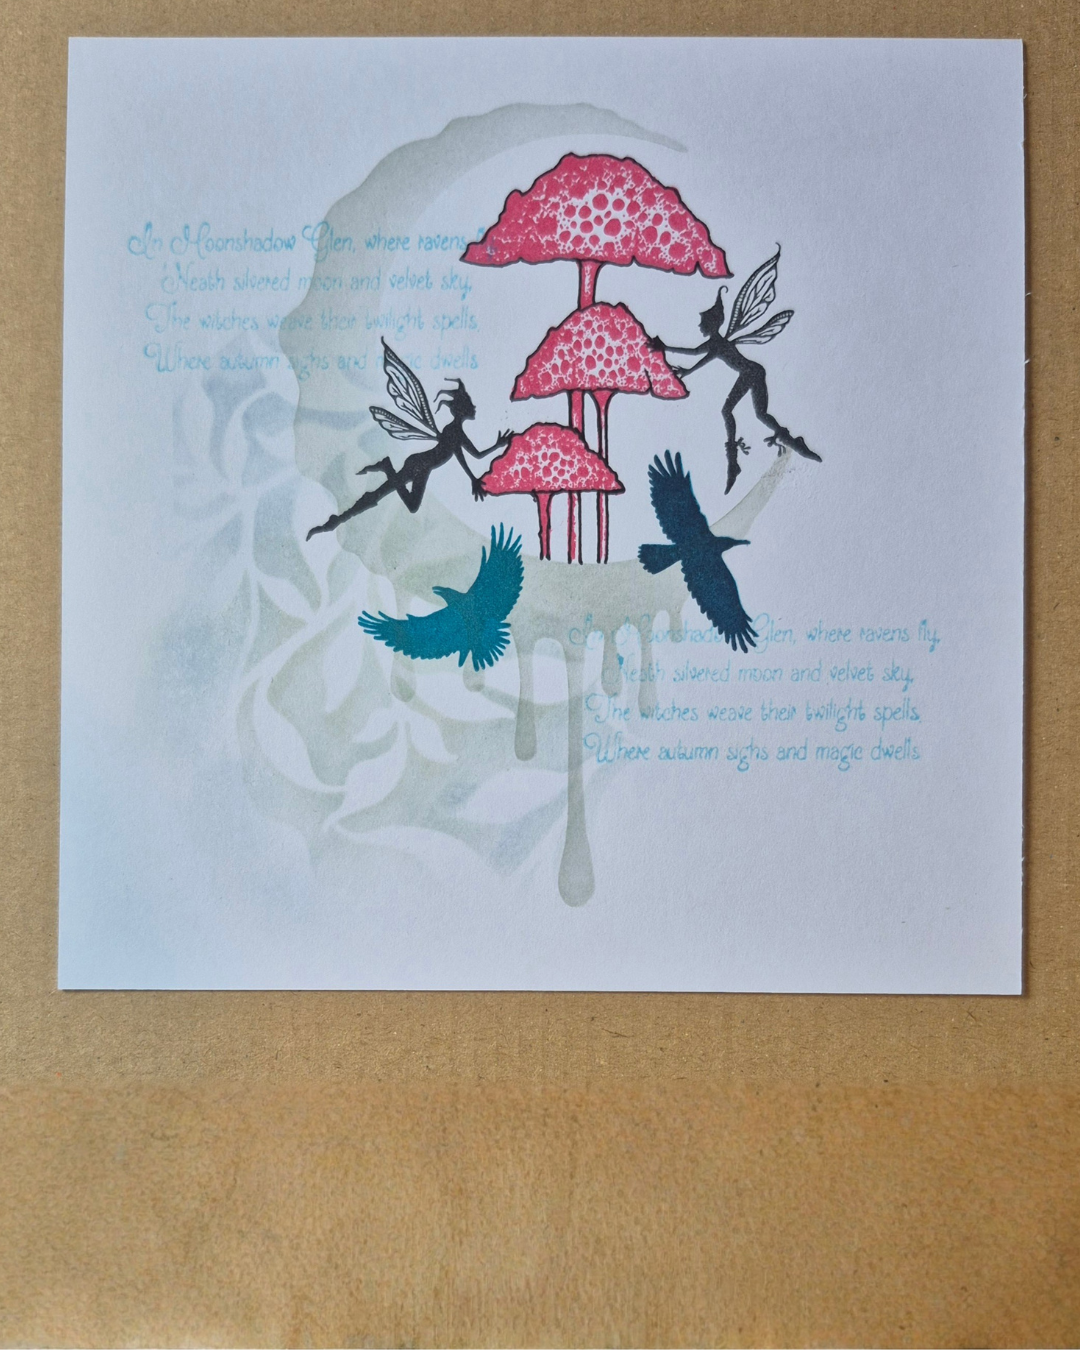
Step 7. Stamp 2 of the Ravens (LAV1005) one in Versafine Clair Warm Breeze and the other in Versafine Clair Twilight. Then outline the Elfin Cap Cluster with a black fine liner to give them more impact.
Step 8. Stamp on the Mailbox Names (LAV1014), I used Fairy & Magic, in Versafine Clair Nocturne. Follow by stamping the bubbles from the Bubbling Cauldron Stamp Set (LAV911) in Versafine Clair Bali Blue.
Finally add stamps of the Paint Spatters (LAV1002) in Versafine Clair Nocturne.
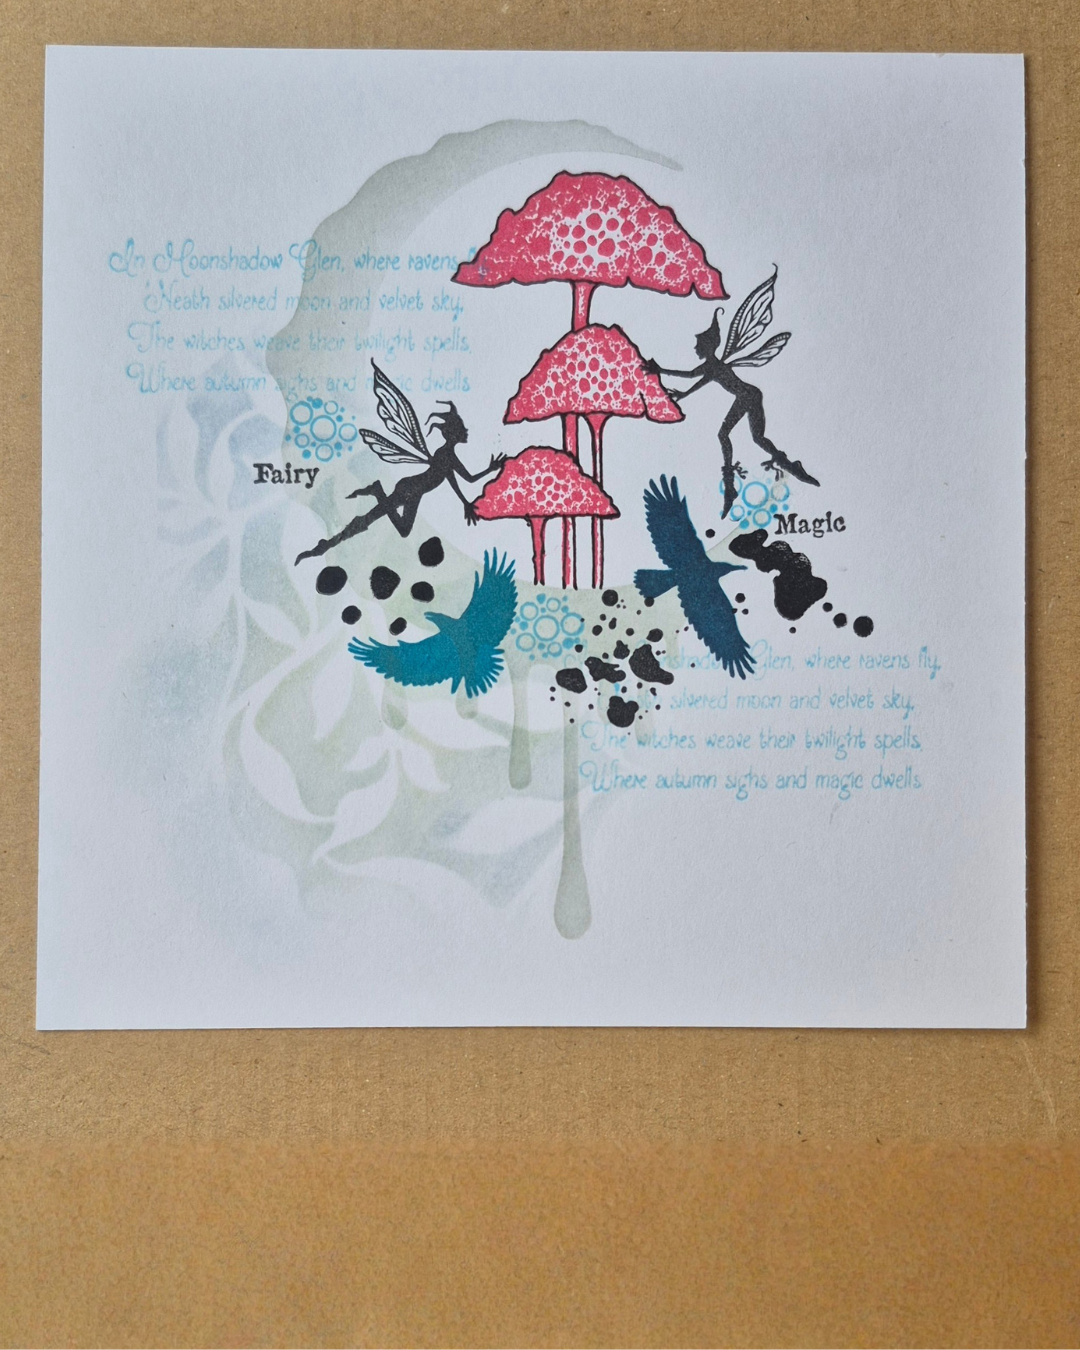
Step 9. Highlight and Deepen the edges of the Elfin Cap Cluster using a Deep Red Coloured Pencil or a Kuretake Brush Pen. Follow by adding highlight of a deeper grey to darken the edges of the crescent stencil and the drips, I used a coloured pencil softly.
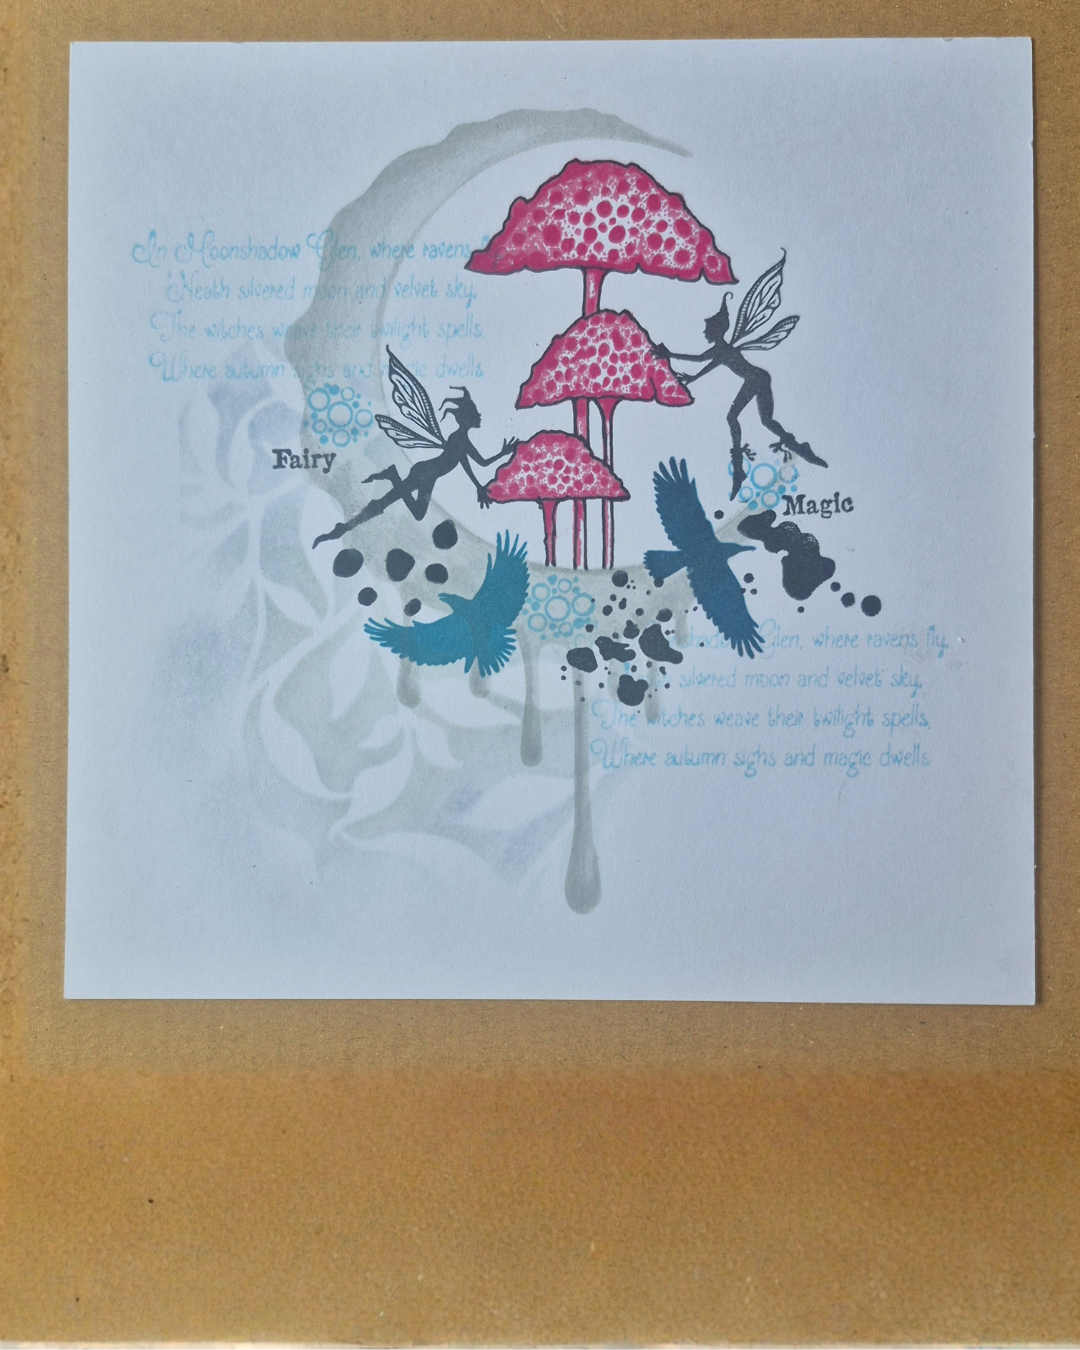
Step 10. Also add some deep red spots around the paint spatters using a coloured pencil or kuretake pen plus some gentle underlining of the words Fairy & Magic.
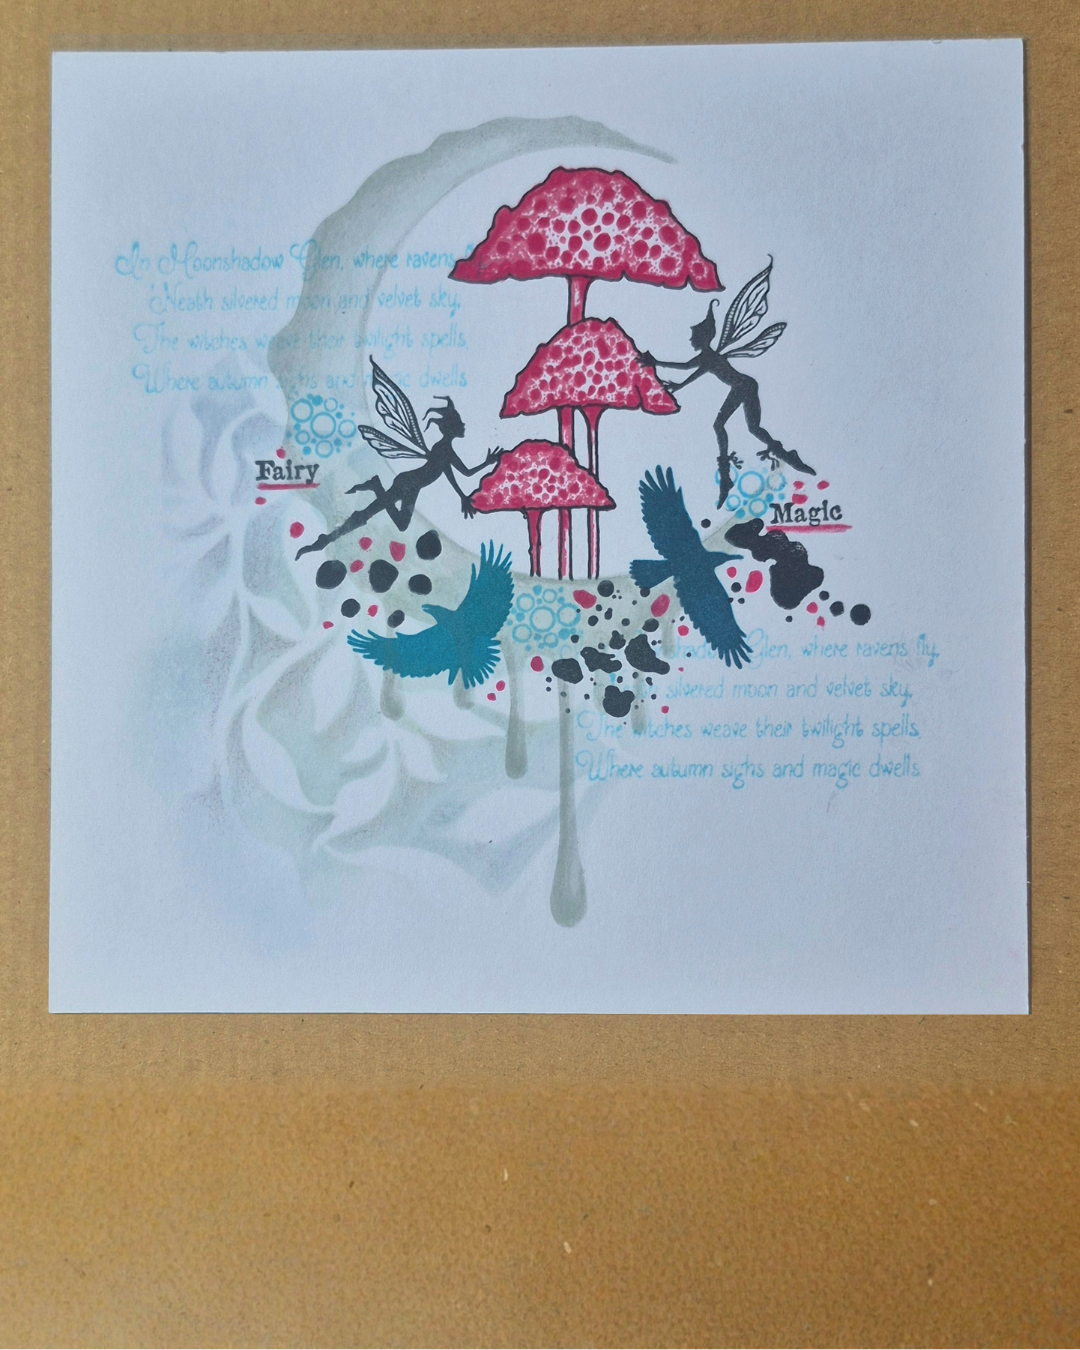
Step 11. Add a little lilac with a coloured pencil if you need to deepen some of your stencilled area to the bottom left of the crescent. Then add some colour to the Pixies’ Wings, I used Kuretake Brush Pens in Haze Blue (No302) and English Lavender (No803).
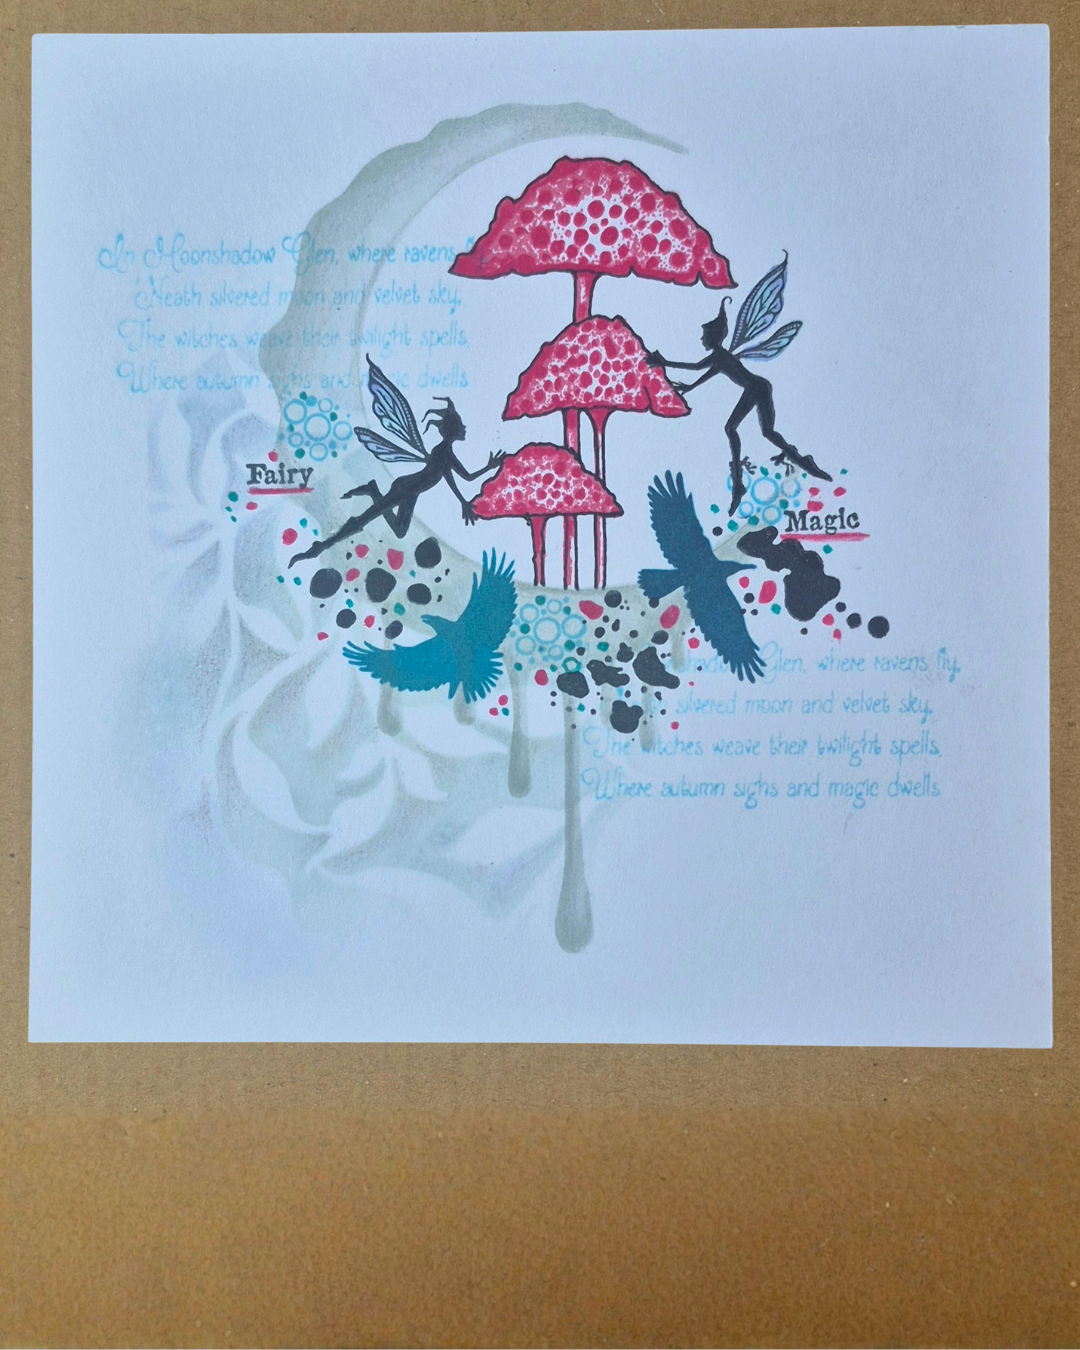
Step 12. Finally add a few more spots of turquoise, I used a Kuretake Pen in Turquoise Green (No042), plus I also added a little sparkle to the pixie wings with a Wink of Stella Pen. I also added some white highlights to the bottom right of the drips with a white gel pen.