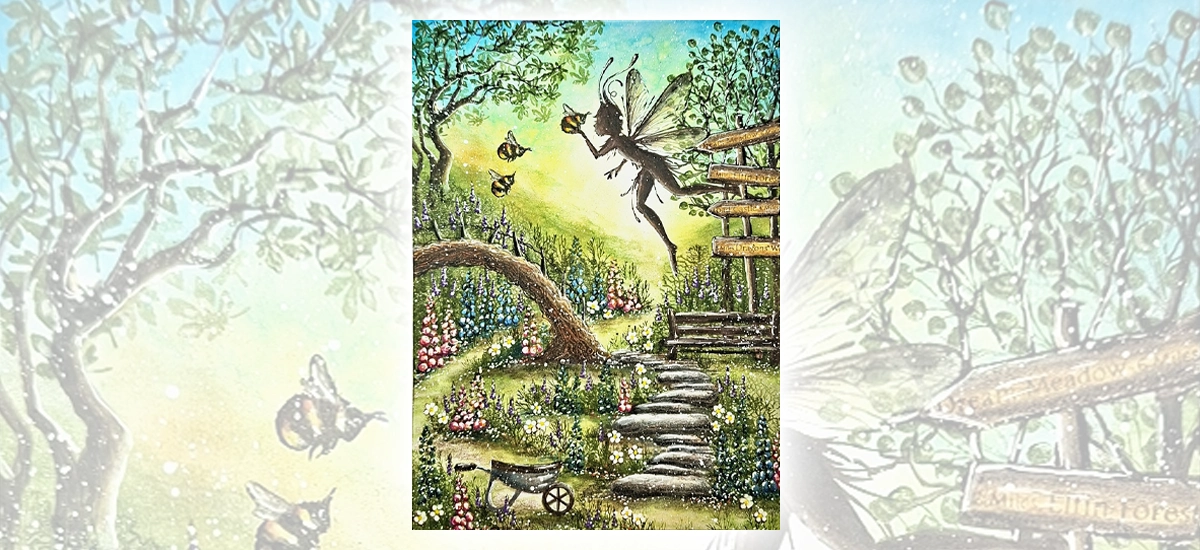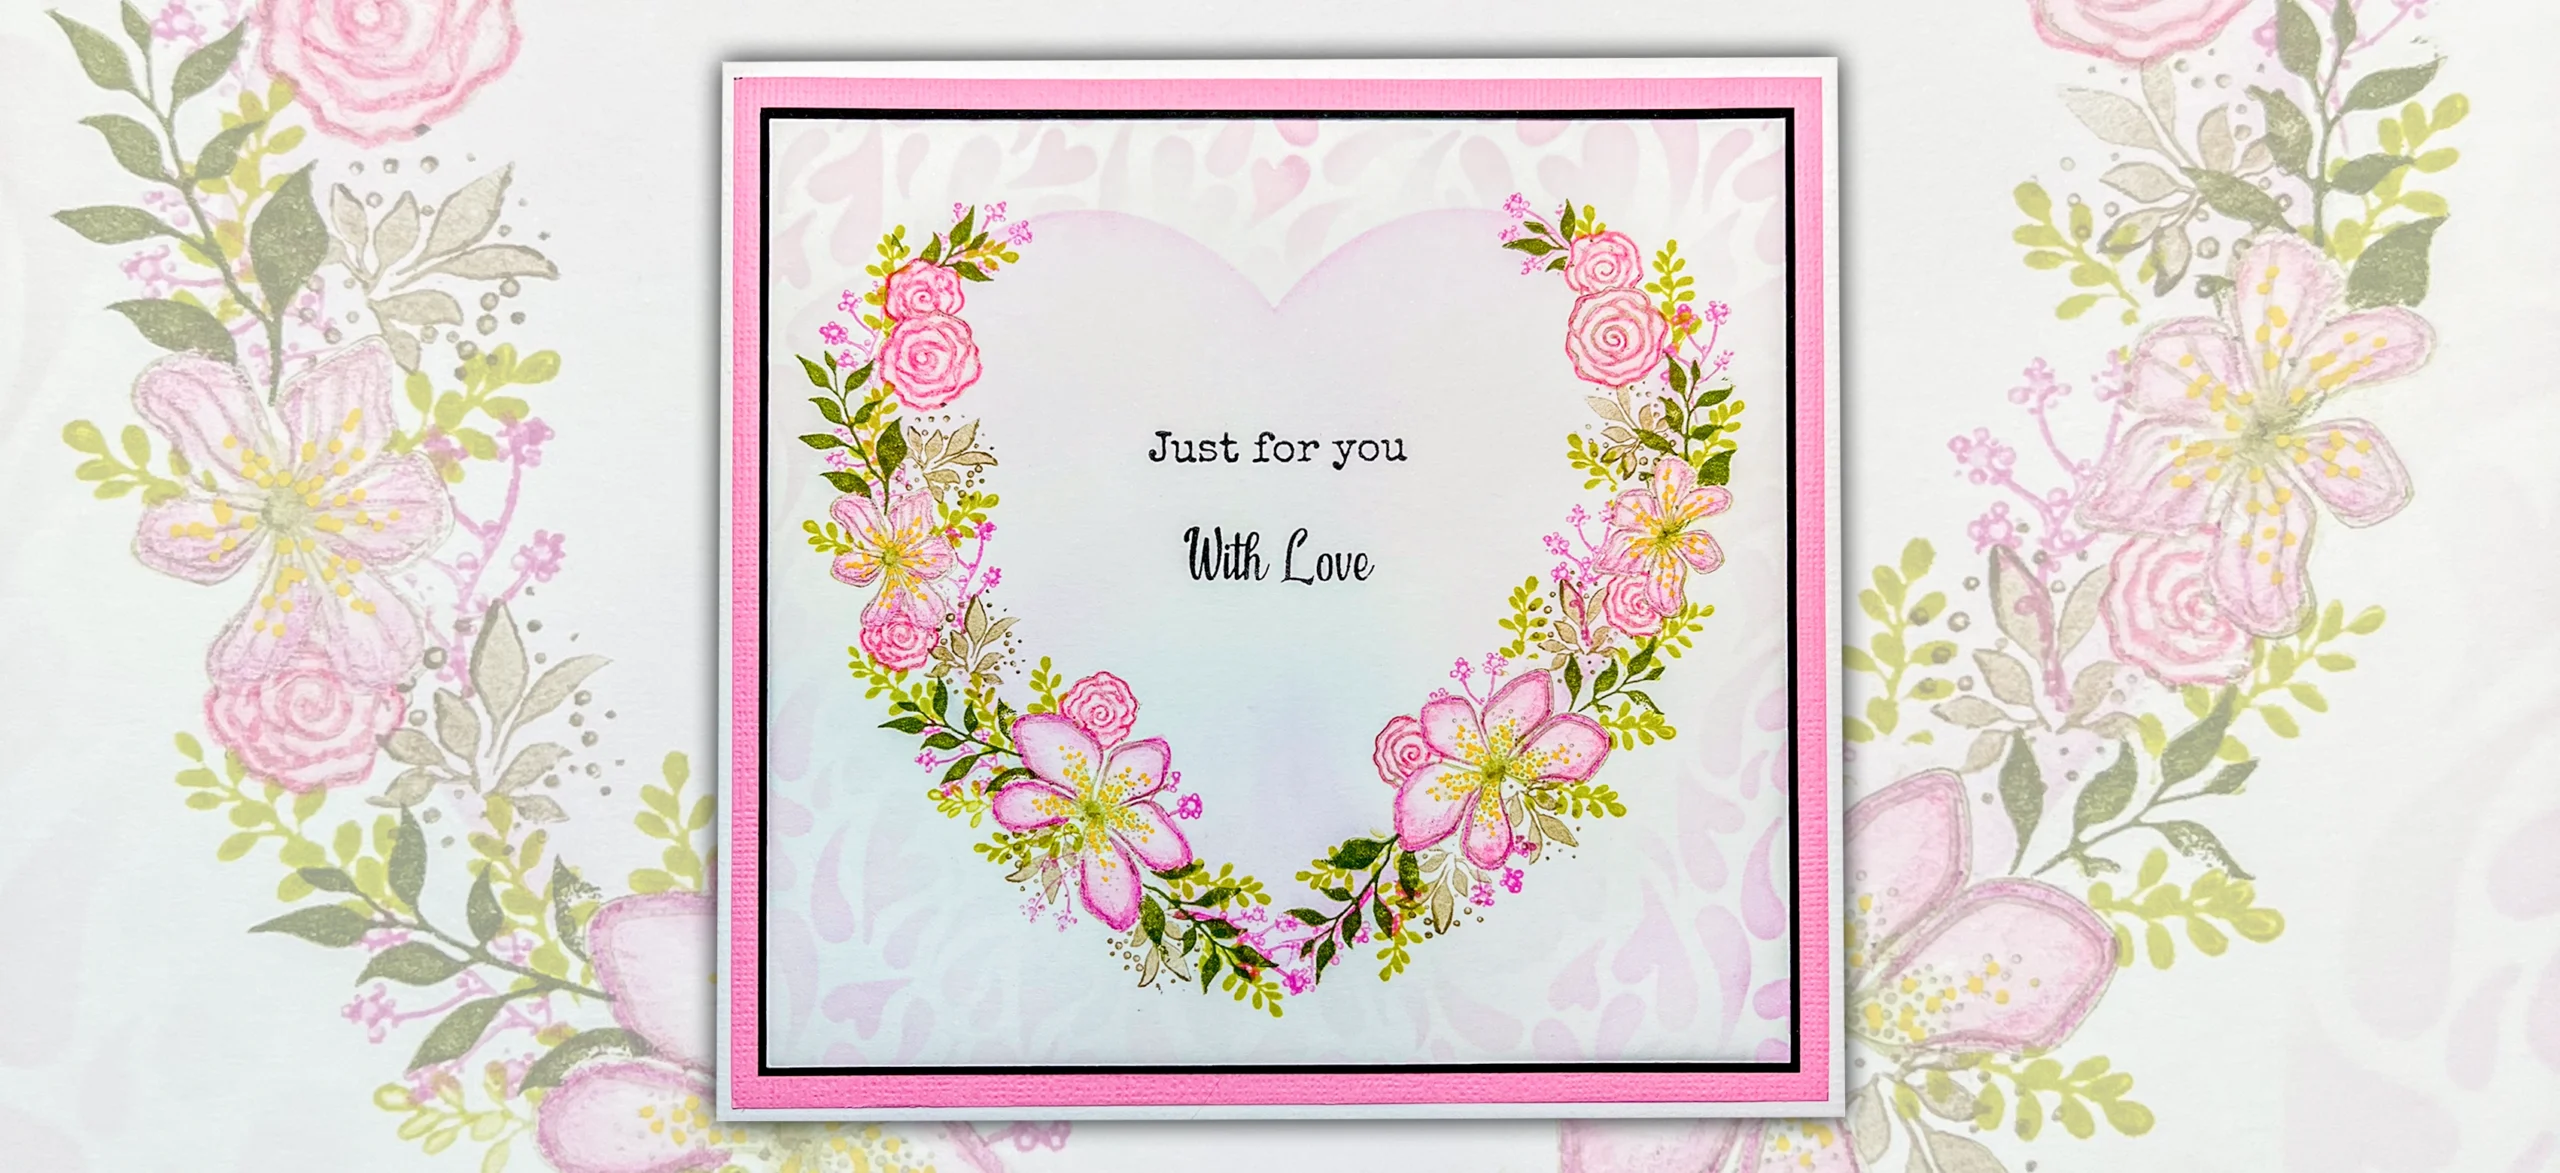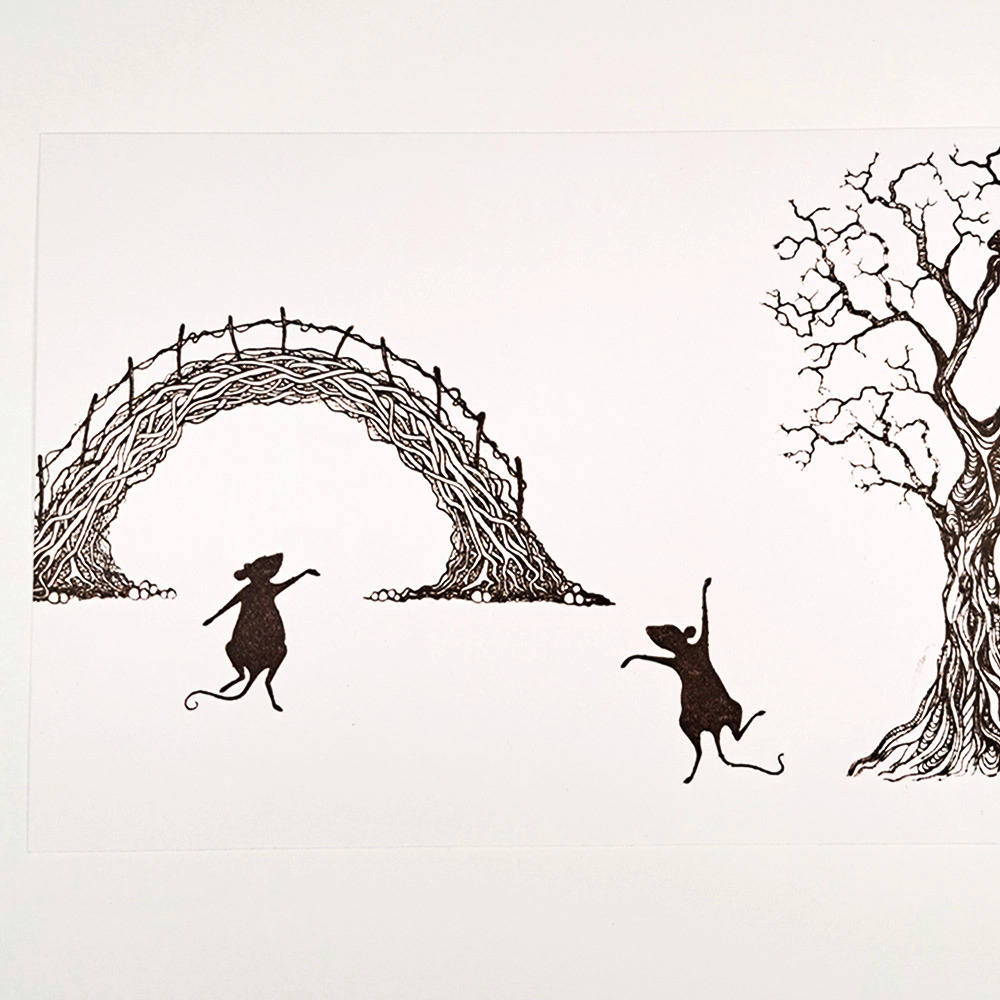
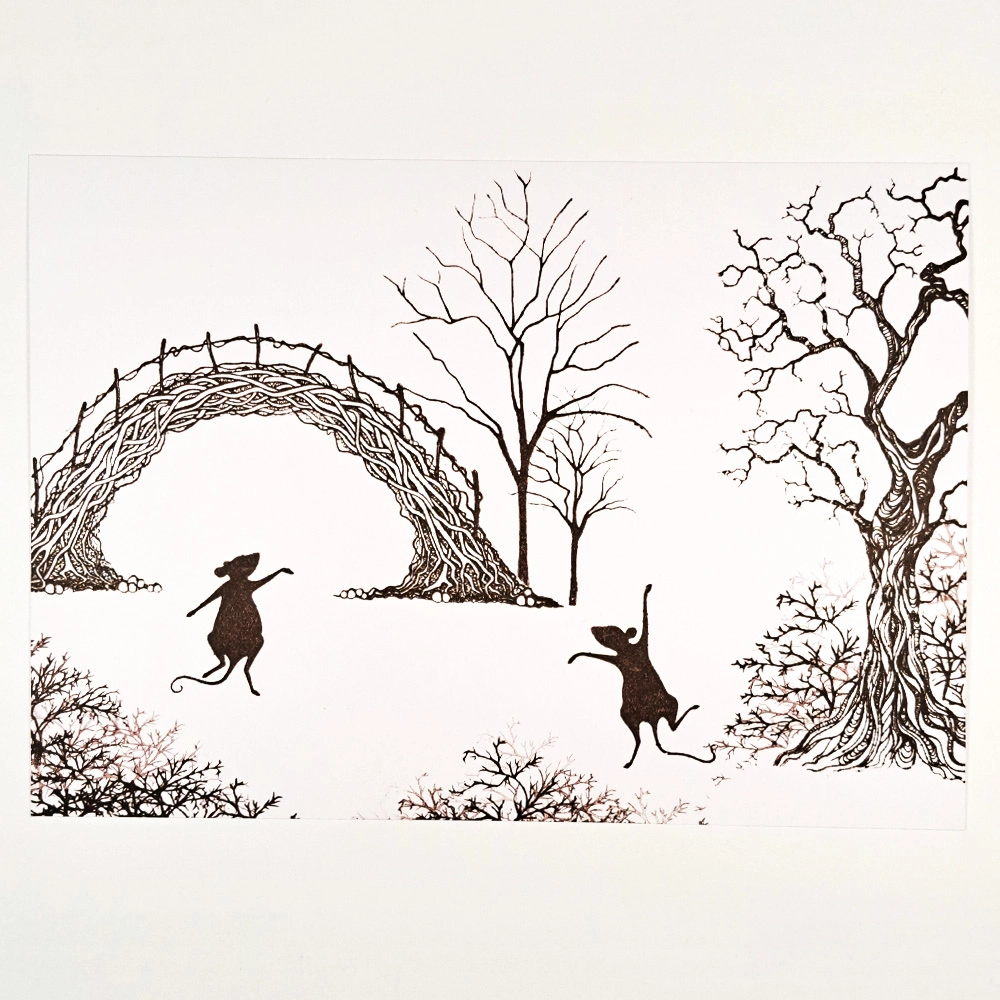
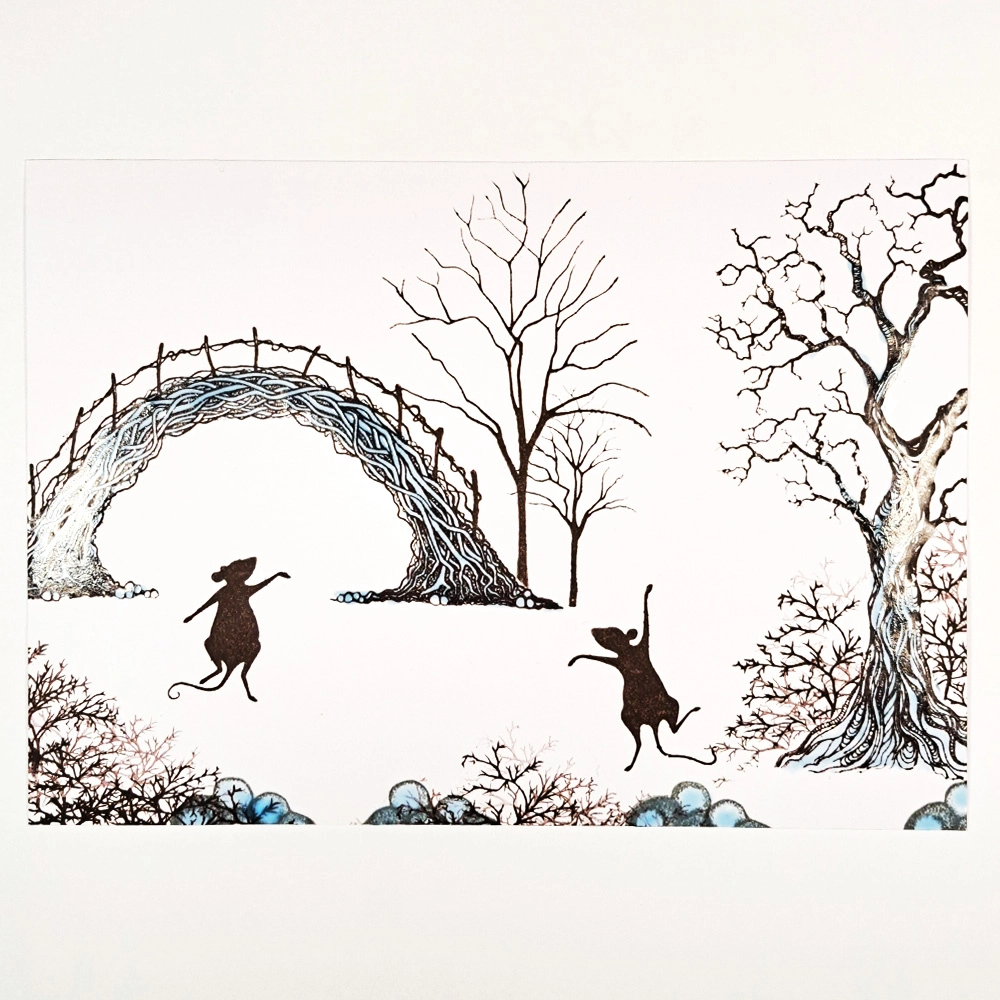
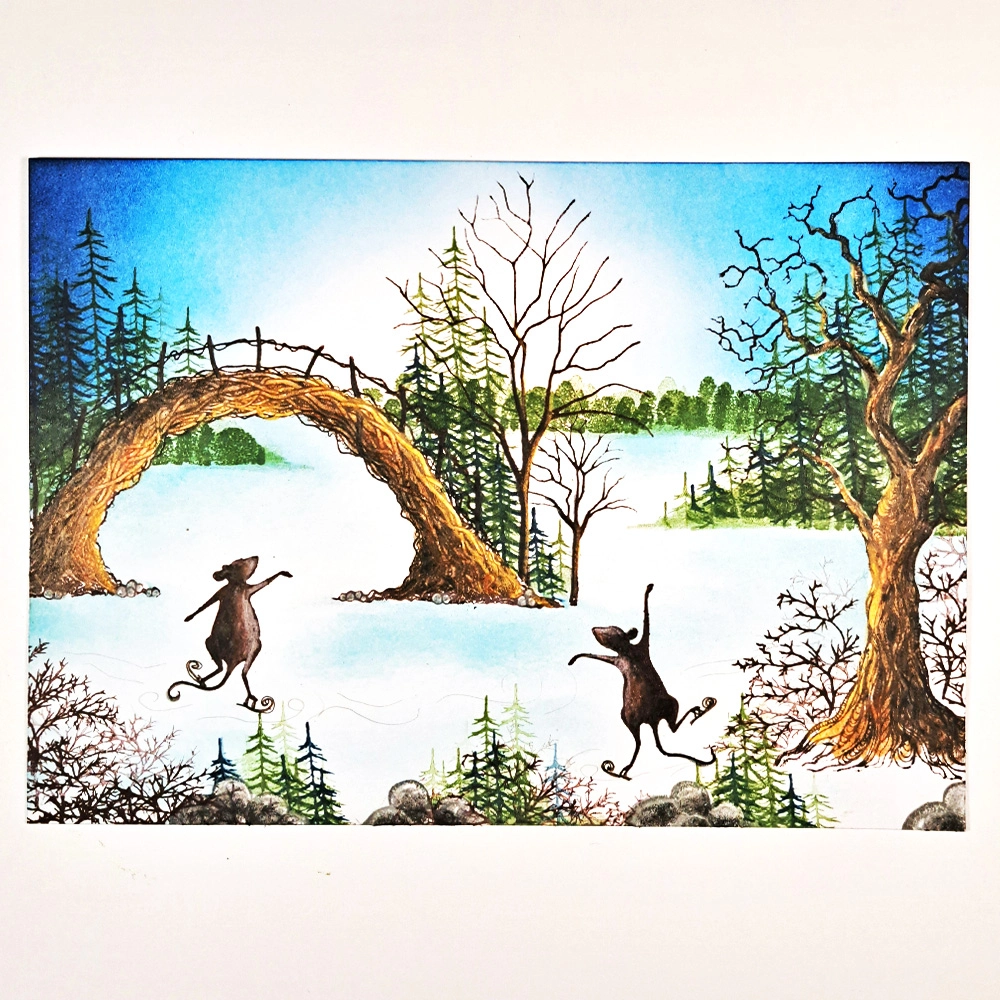


 Minni and Moo Stamp
£7.20
Add to basket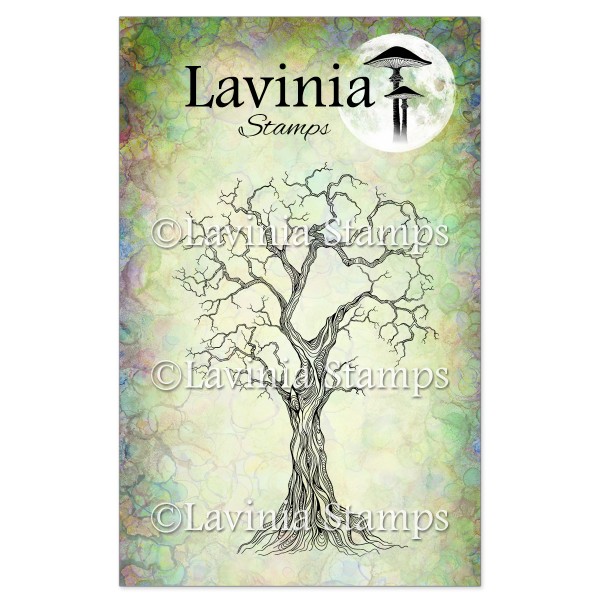 Tree of Wisdom Stamp
£13.80
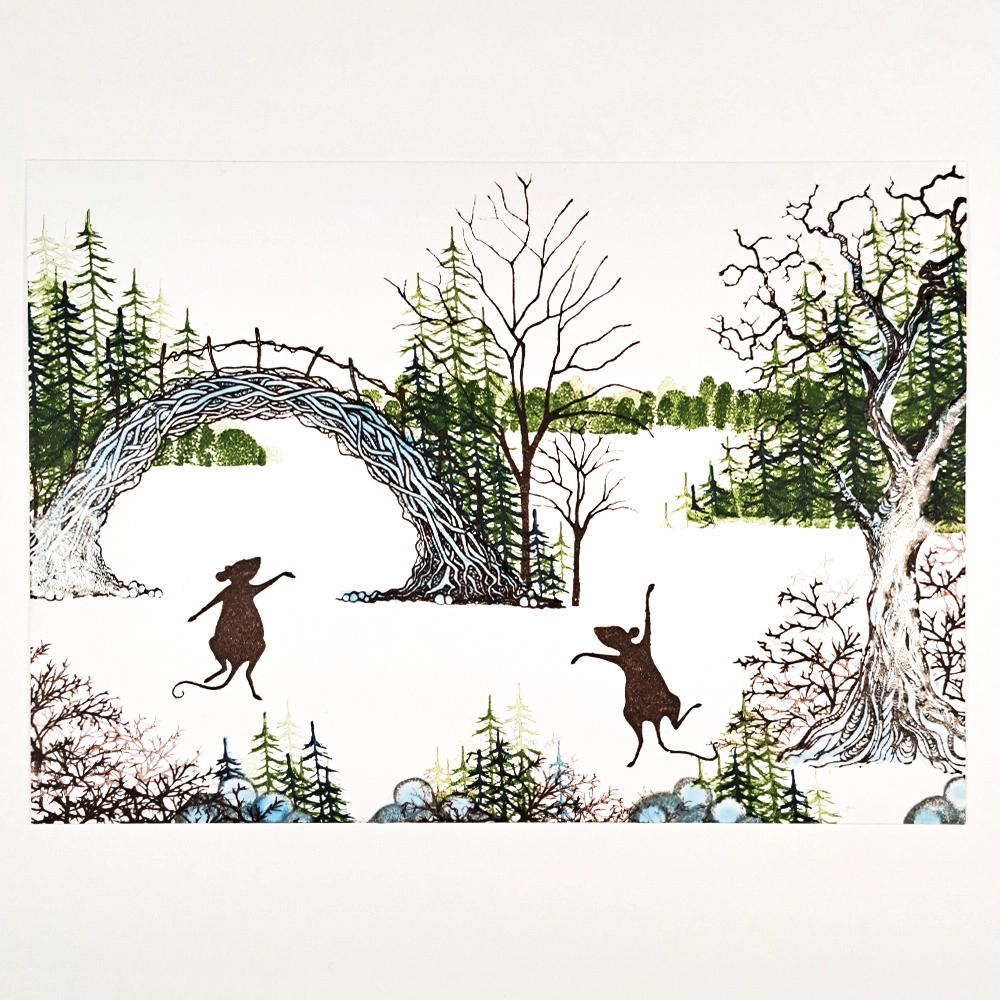
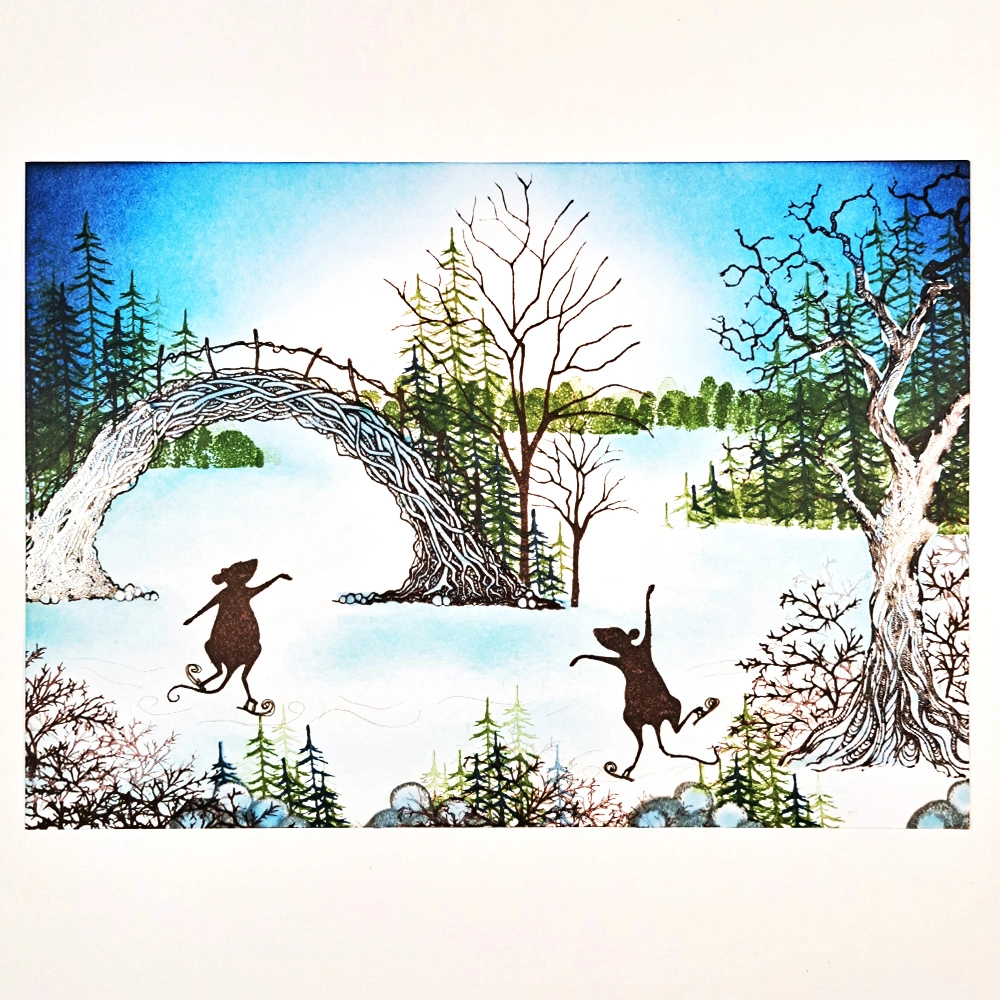
Add to basket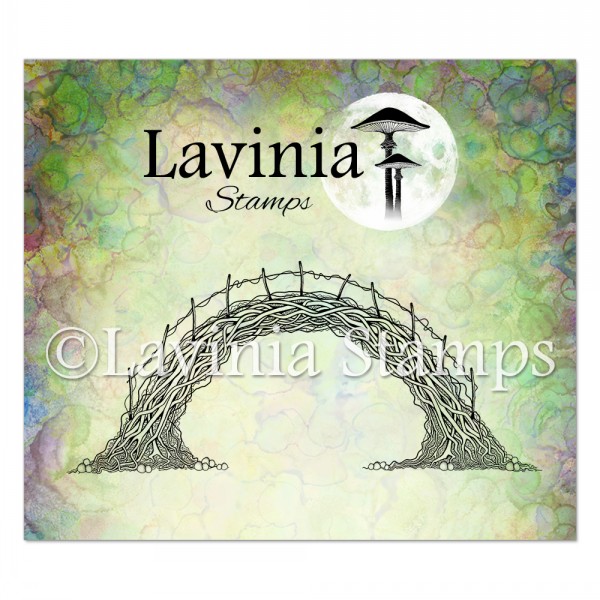 Sacred Bridge Stamp
£10.80
Add to basket Birch Stamp
£7.60
Add to basket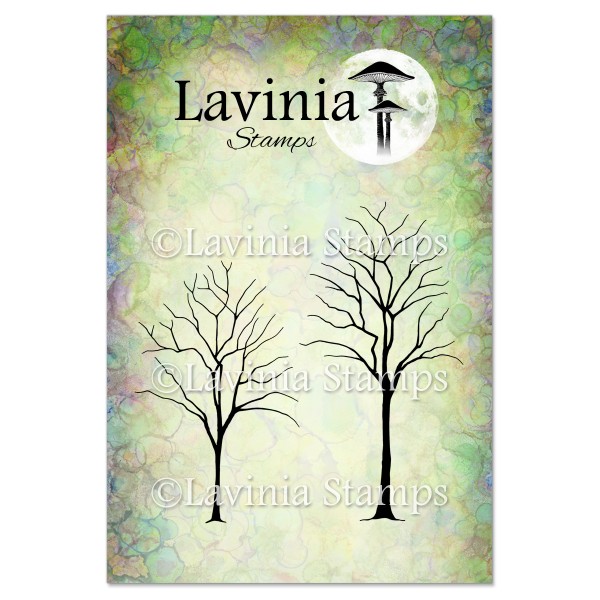 Small Trees Stamp
£7.30
Add to basket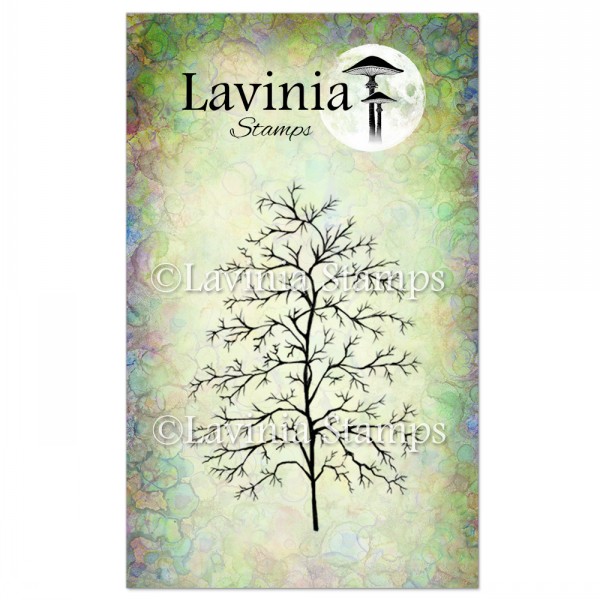 Fern Leaf Stamp
£7.00
Add to basket Forest Moss Stamp
£6.60
Add to basket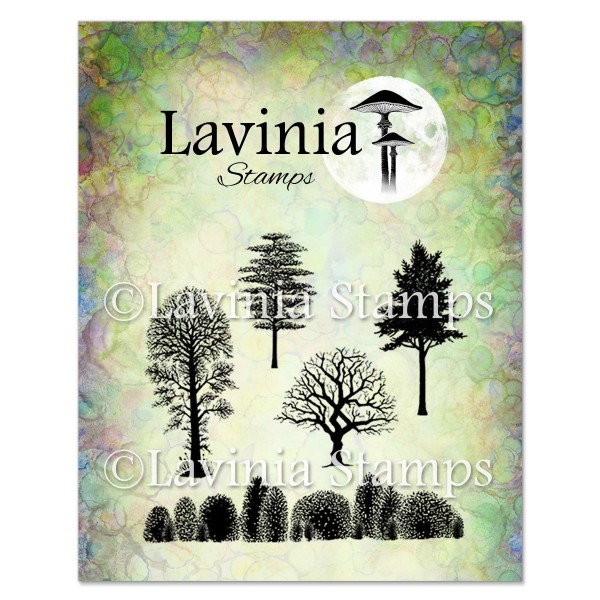 Tree Scene Stamp
£8.30
Add to basket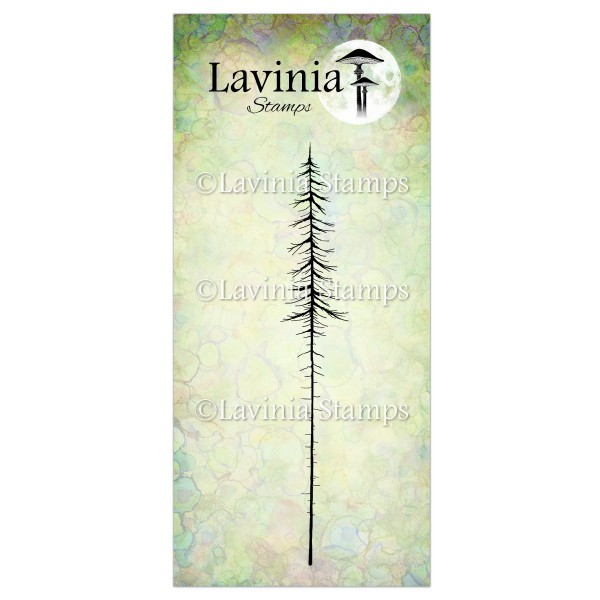 Red Pine (Small) Stamp
£6.30
Add to basket Versafine Clair Ink Pad – Fallen Leaves
£5.80
Add to basket Versafine Clair Ink Pad – Morning Mist
£5.80
Add to basket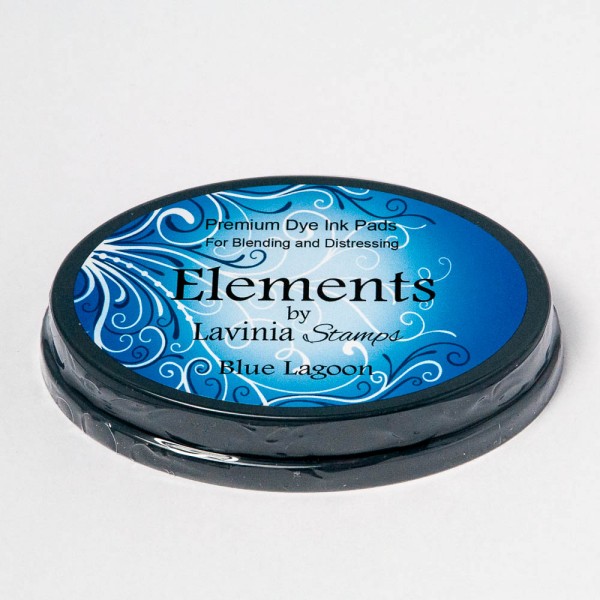 Elements Premium Dye Ink – Blue Lagoon
£5.85
Add to basket Elements Premium Dye Ink – Dark Denim
£5.85
Add to basket Elements Premium Dye Ink – Blue Atoll
£5.85
Add to basket Mondeluz Watercolour Pencils 72 Set
£59.95
Add to basket