

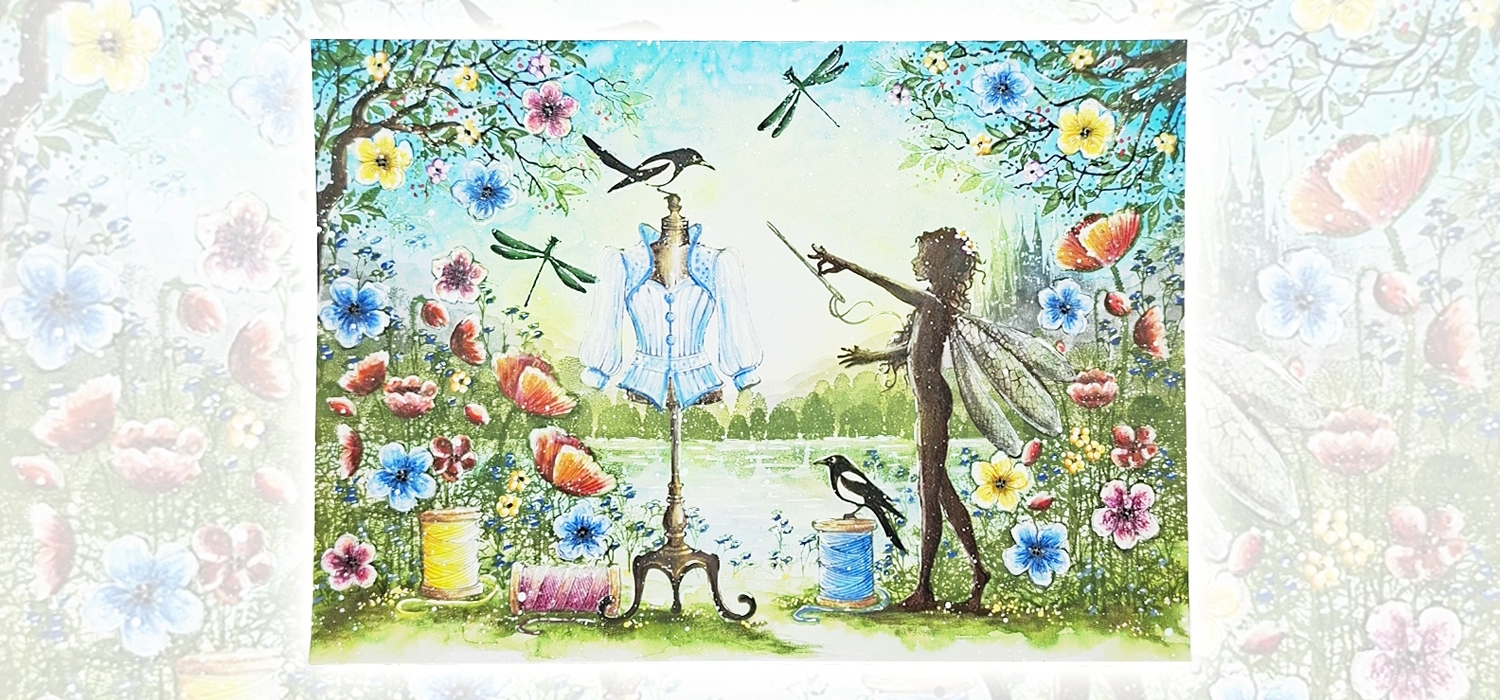
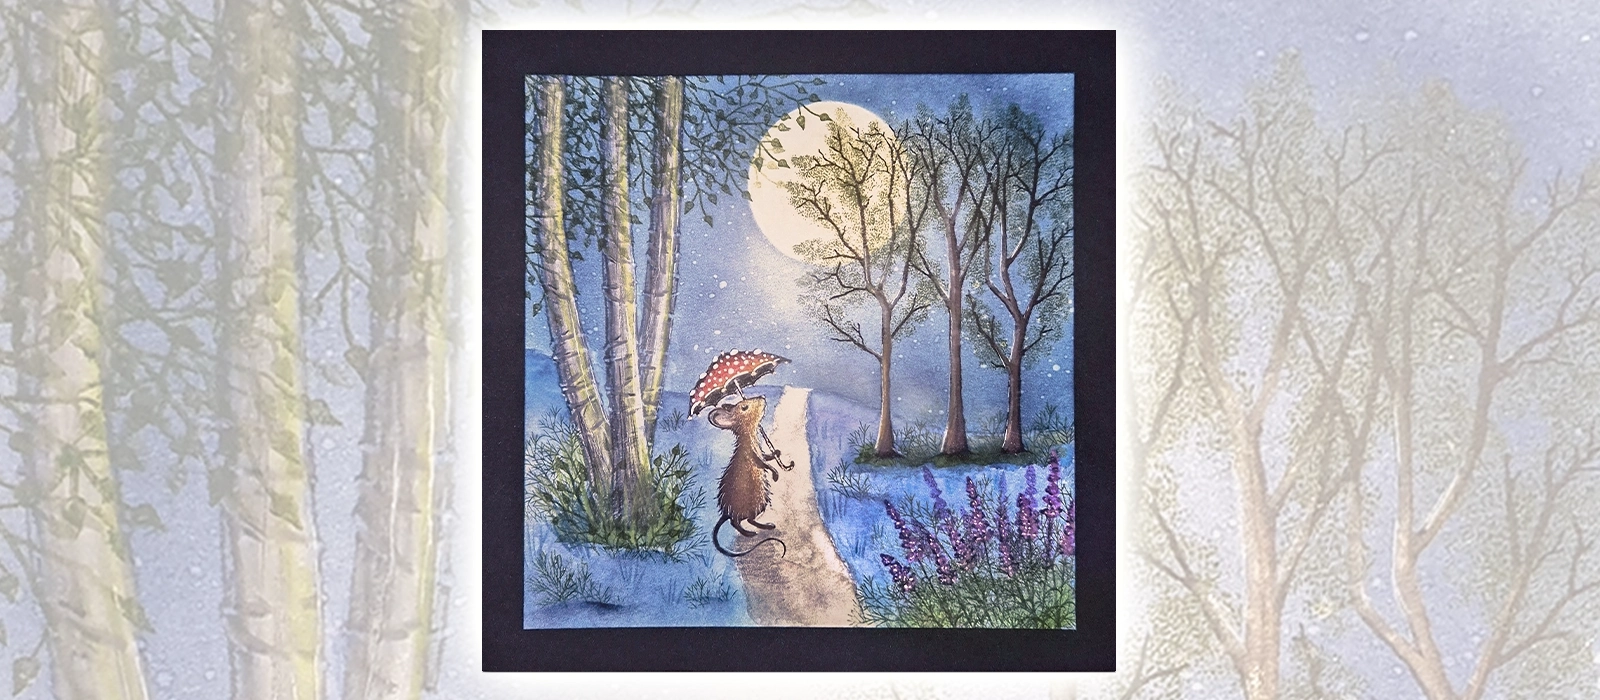
Step by Step by Judy Mathis
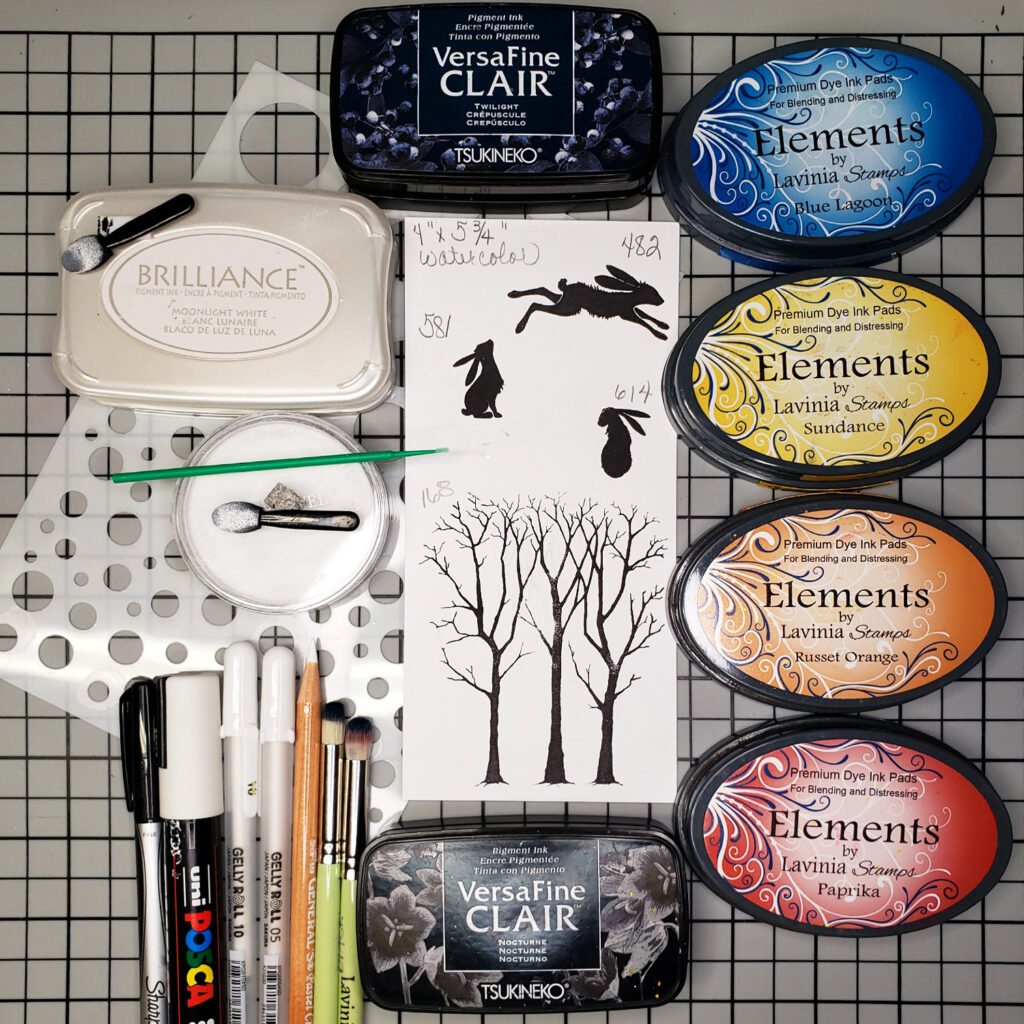
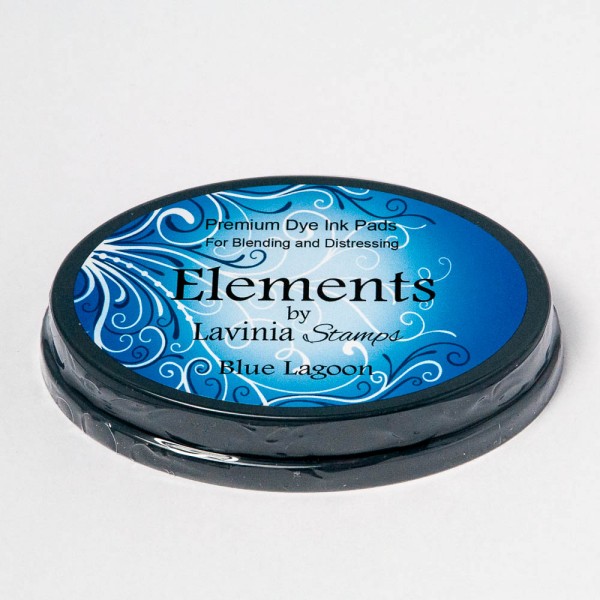
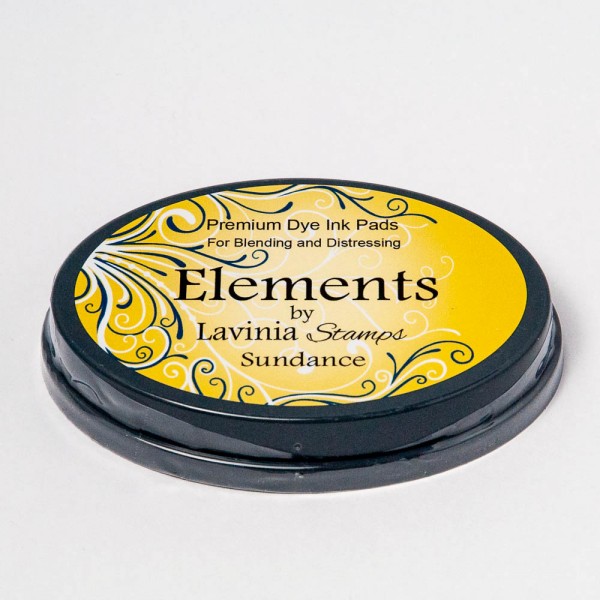
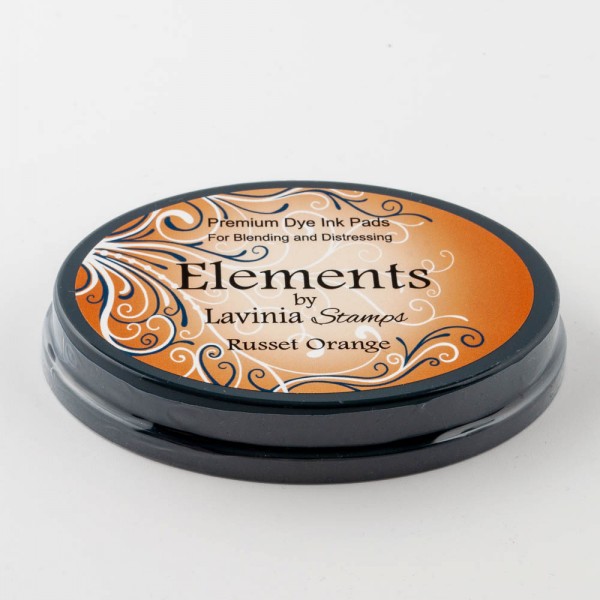
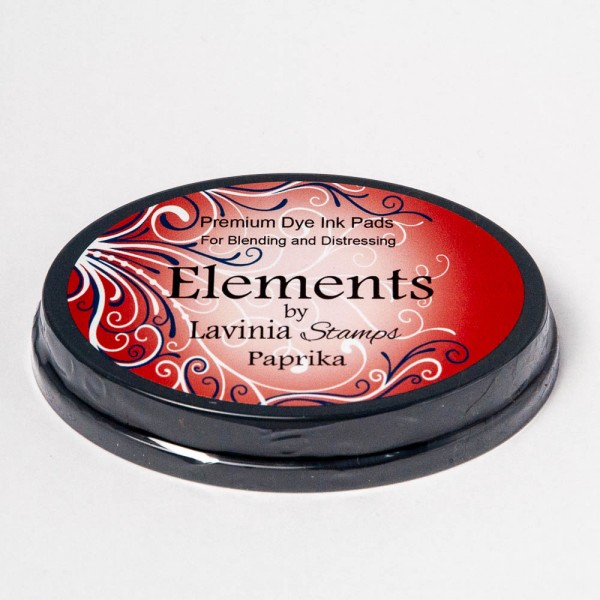
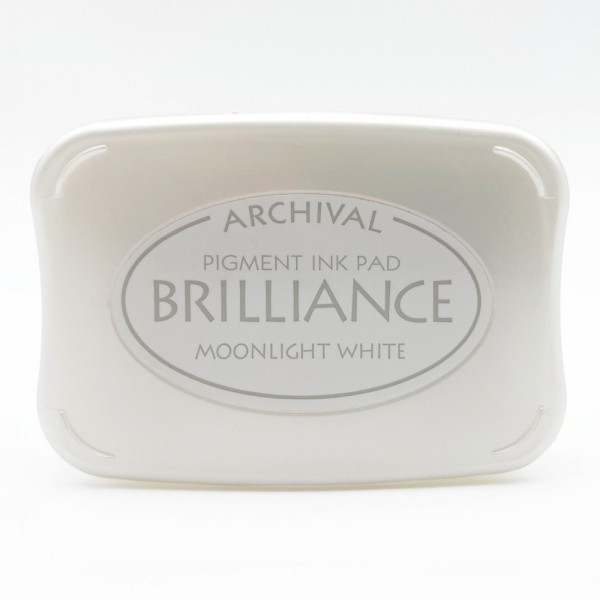
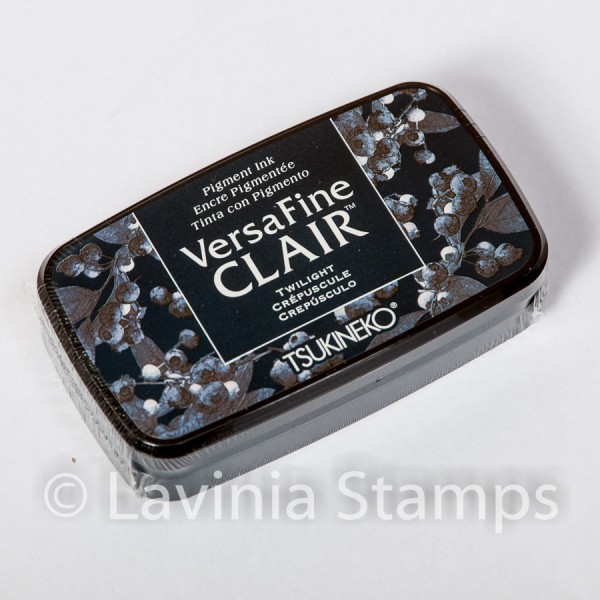
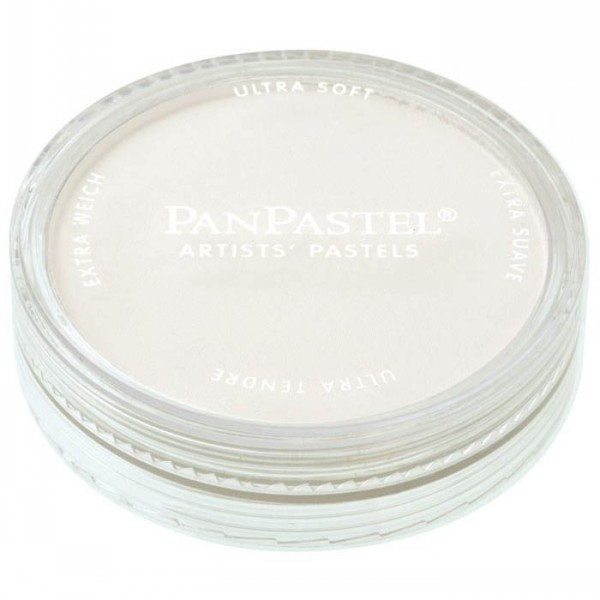
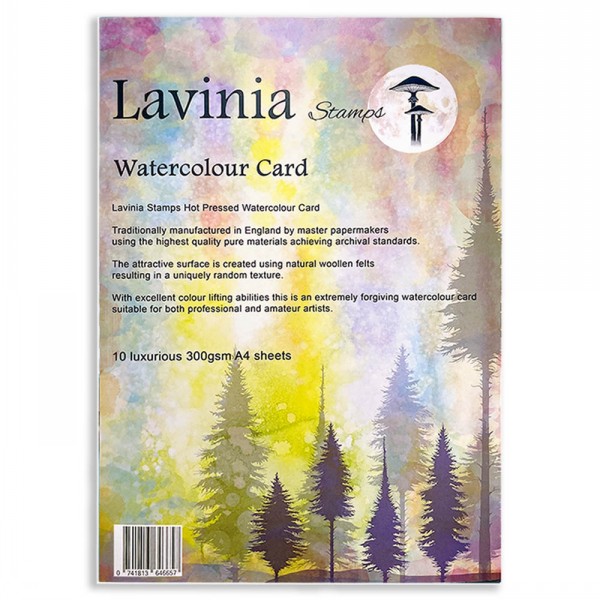
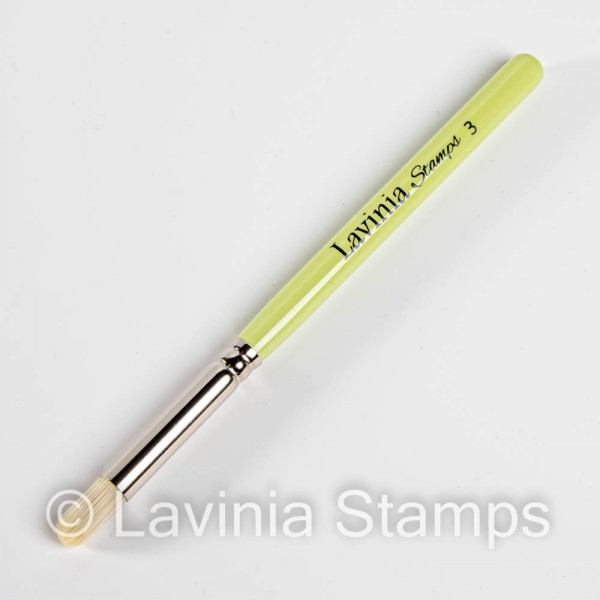
- Hello everyone, Judy here. For this make I have used watercolour cardstock 4″×5 3/4″ and includes these supplies: Elements Ink Blue Lagoon/Sundance/Russet Orange/Paprika. Masking Sheets Size 3 Stencil Brushes, Brilliance Moonlight White Ink and Versafine Clair Nocturne, Pan Pastel Titanium White, White Orbs Stencil, White Gelly Roll and Posca pen.
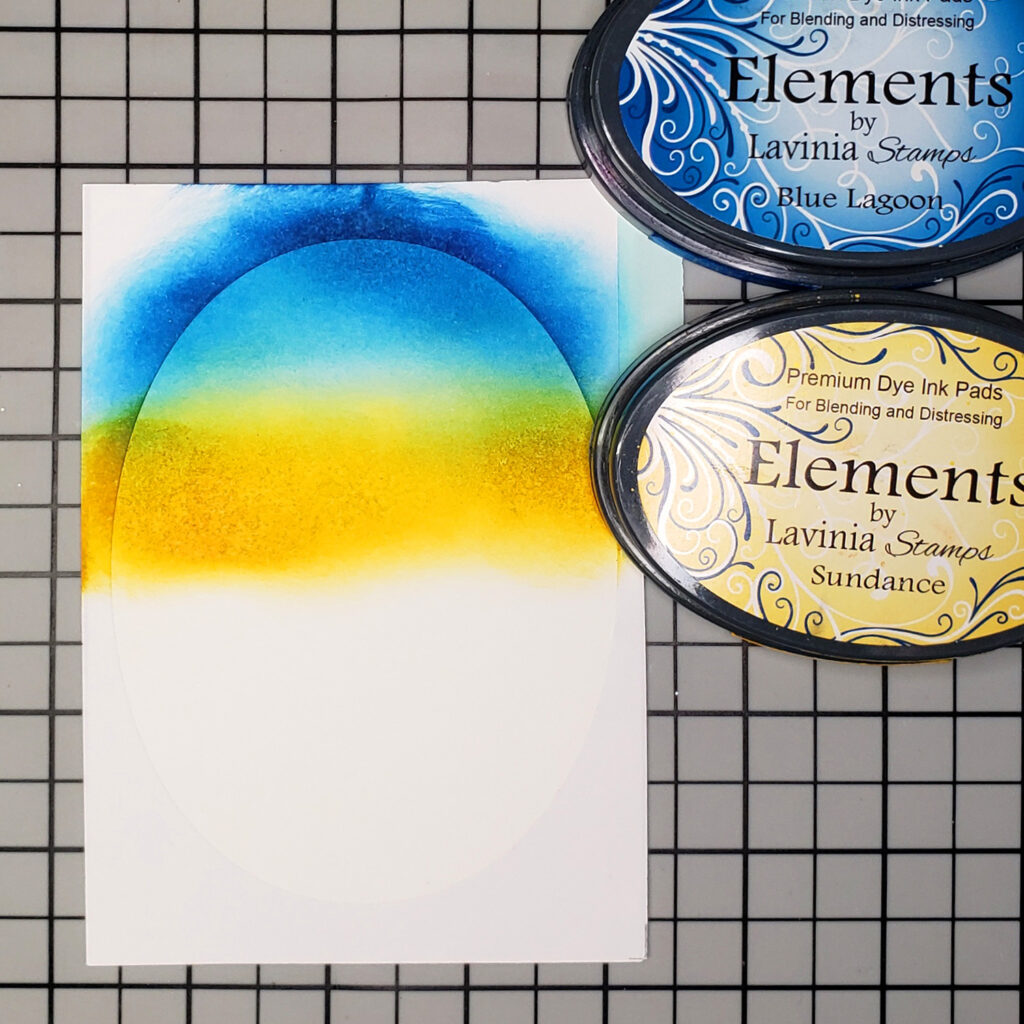
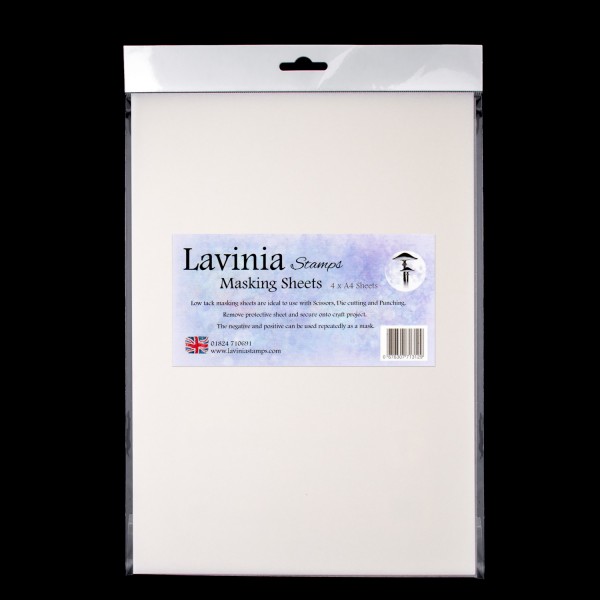
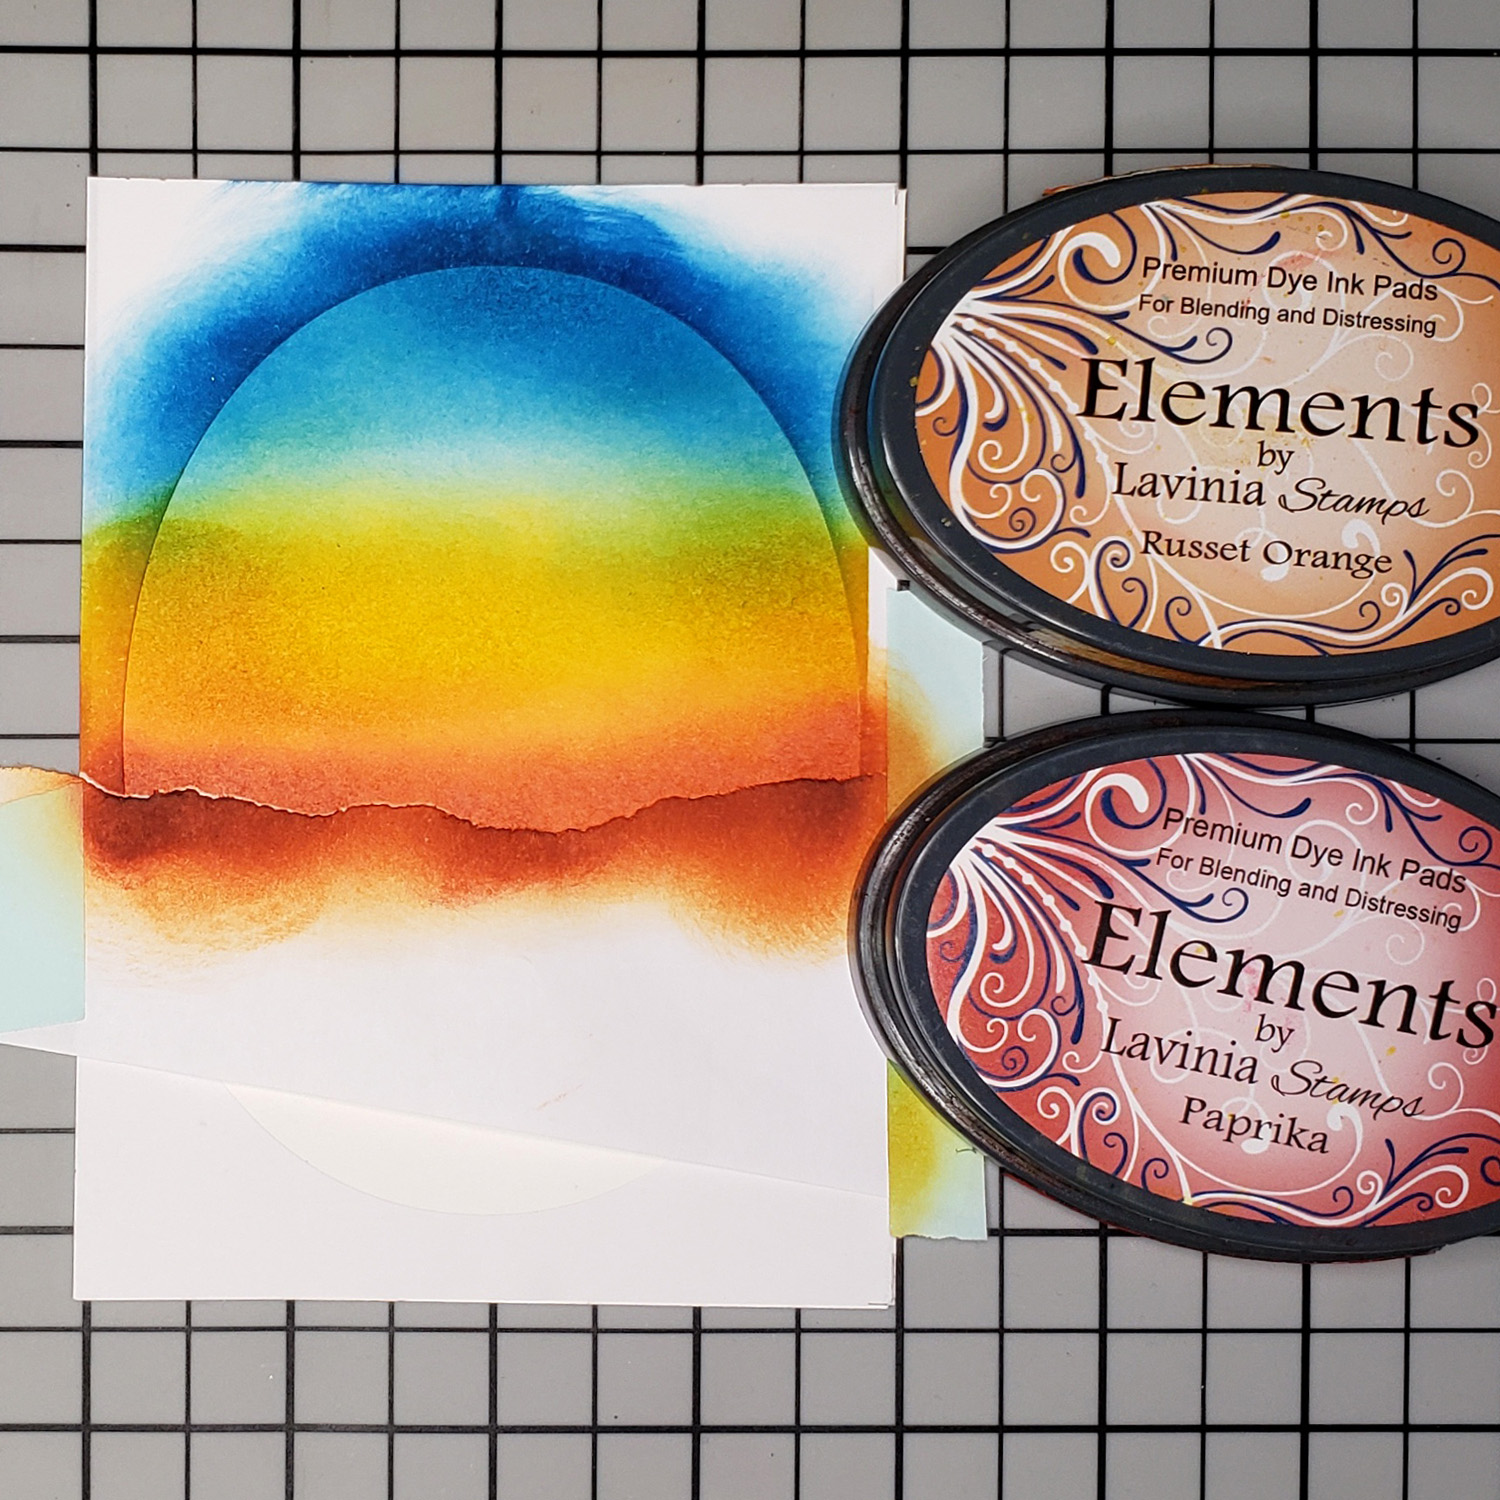
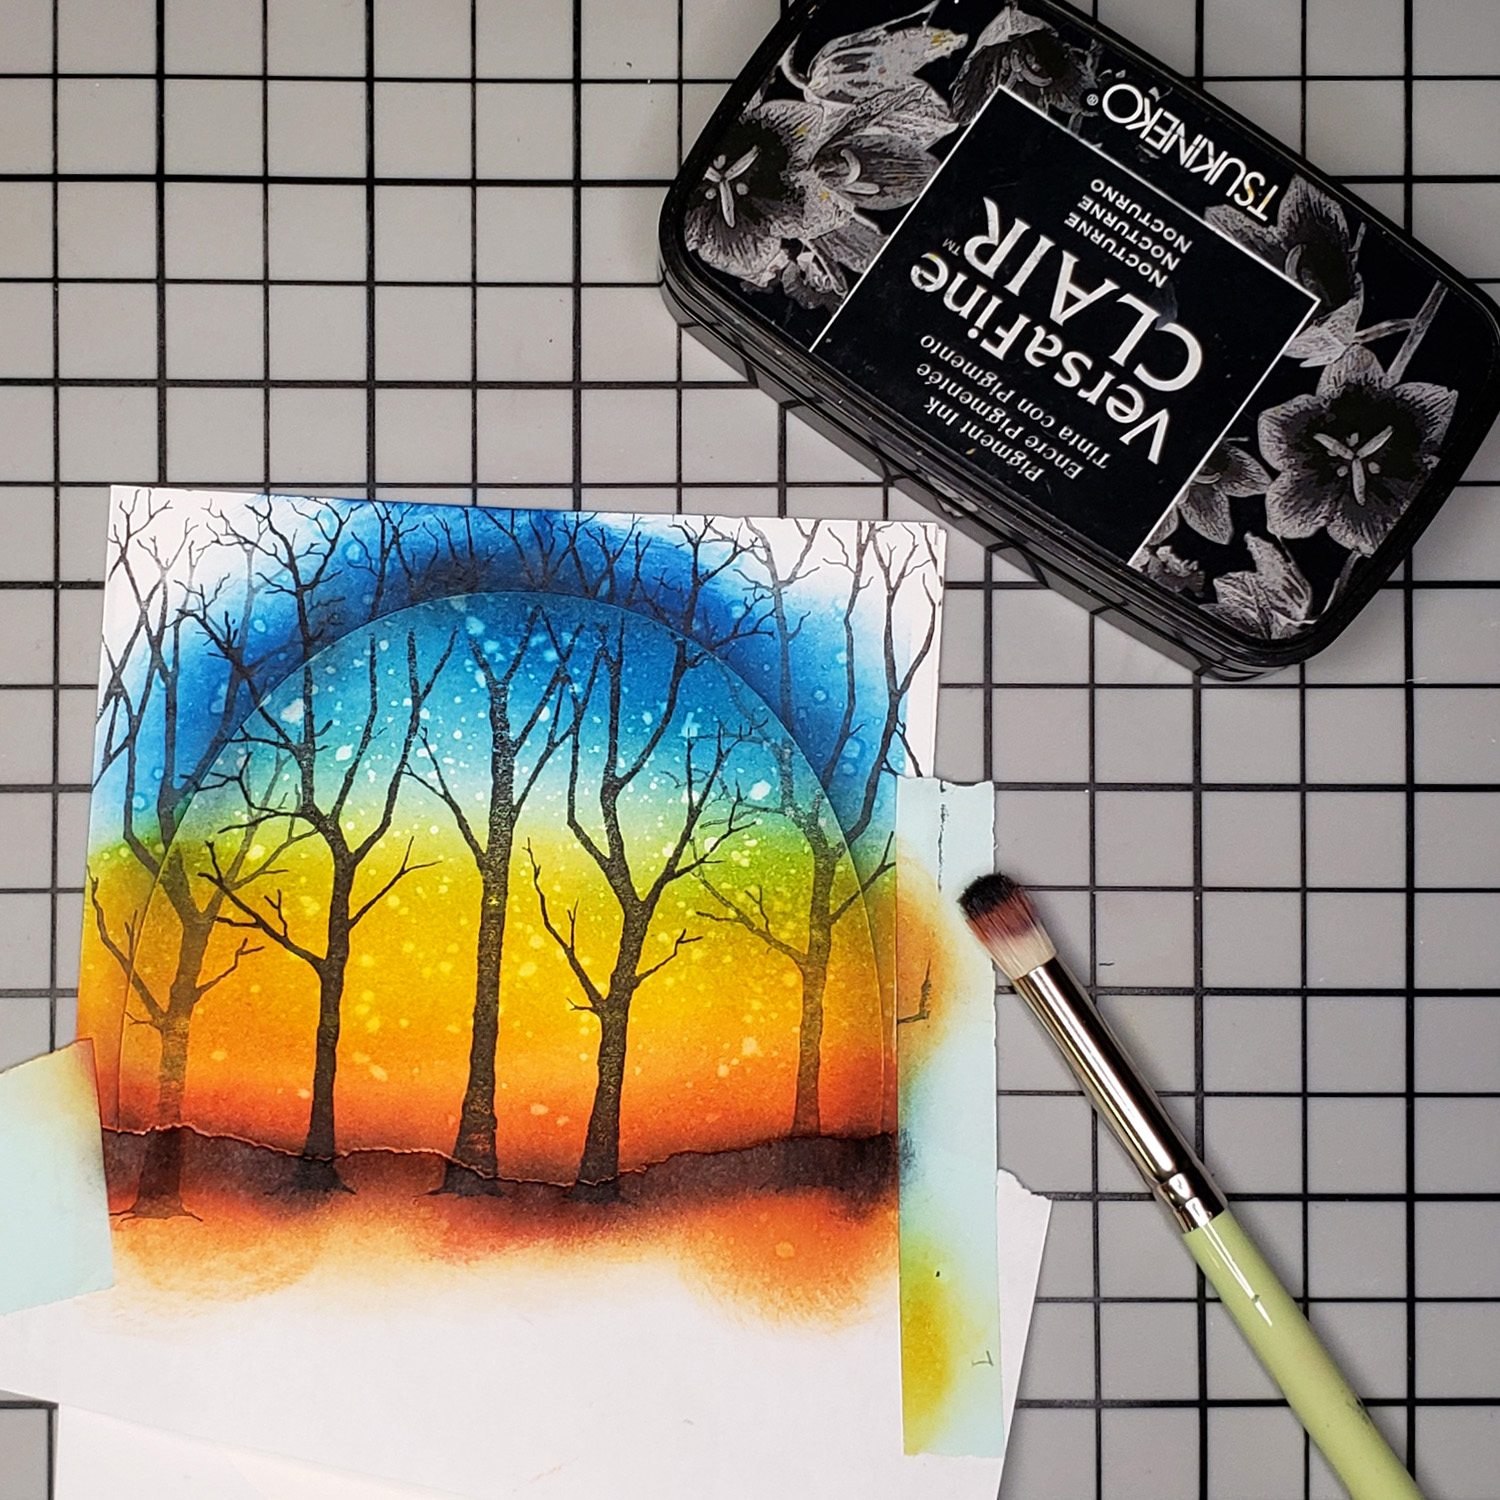
2. First of all cut a 3 1/2″ x 4 3/4″ oval from a piece of masking sheet and stick the oval frame to the watercolour card. This will keep the outside edges of the oval covered so that we can work in the oval shape. Apply Elements Ink Blue Lagoon and Sundance using Stencil Brush series 3. Start at the top with the Blue Lagoon and blend in the Sundance up to the centre of the oval.

3. Blend in some Elements Ink Russet Orange to the Elements Ink Sundance & tear some copy paper. Put the torn copy paper across the centre of the oval and apply Elements Ink Paprika for bottom of the sunset.

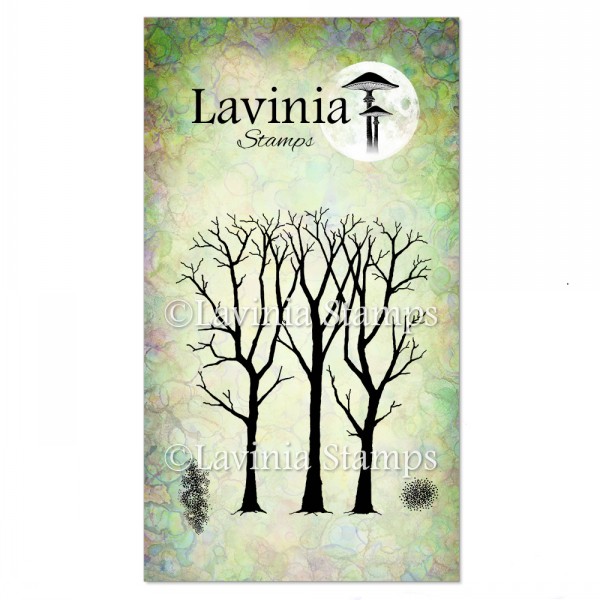
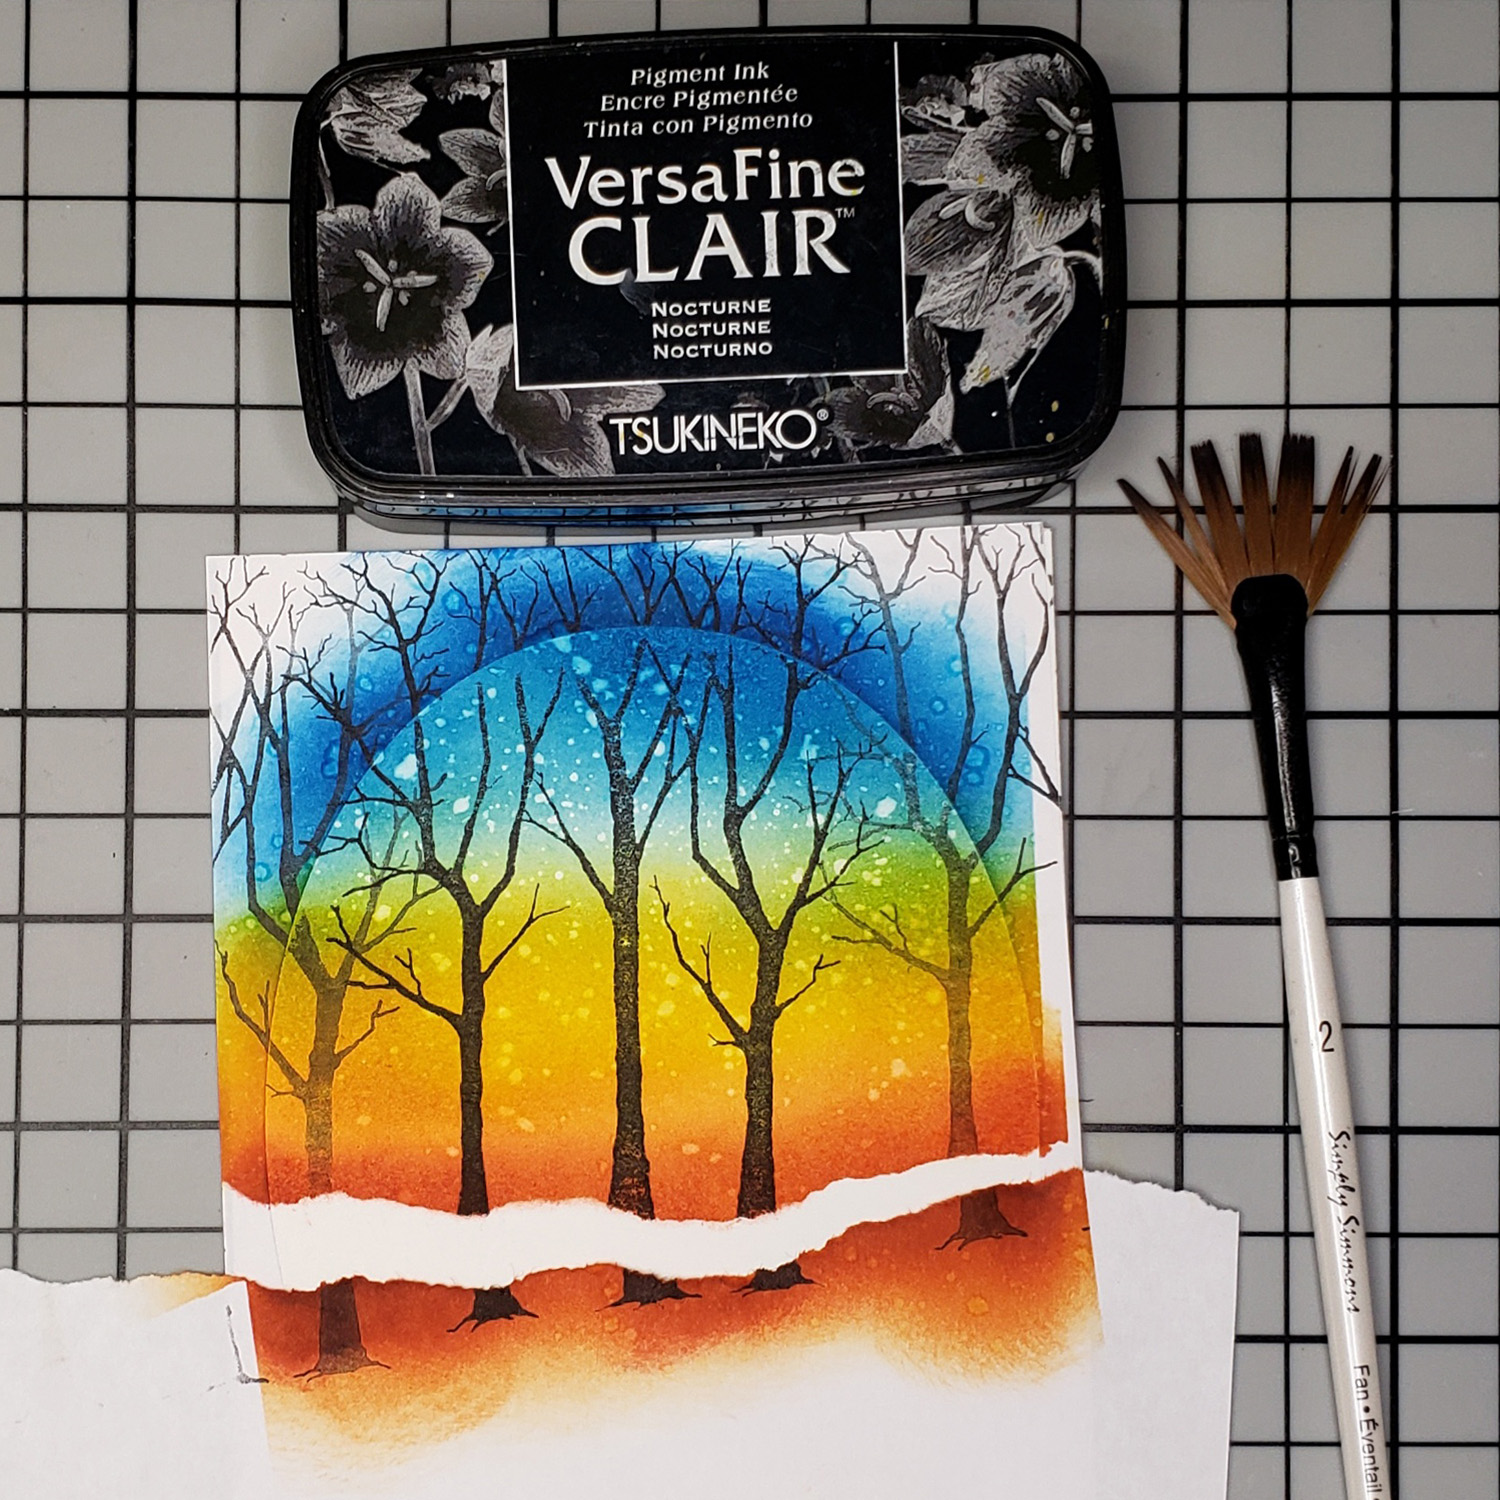
4. Sprinkle some water onto the design using a fan brush. Blot the water and dry using a heat tool. Now stamp the Spring Trees stamp in 1st and 2nd generation stamping with Versafine Clair Nocturne.

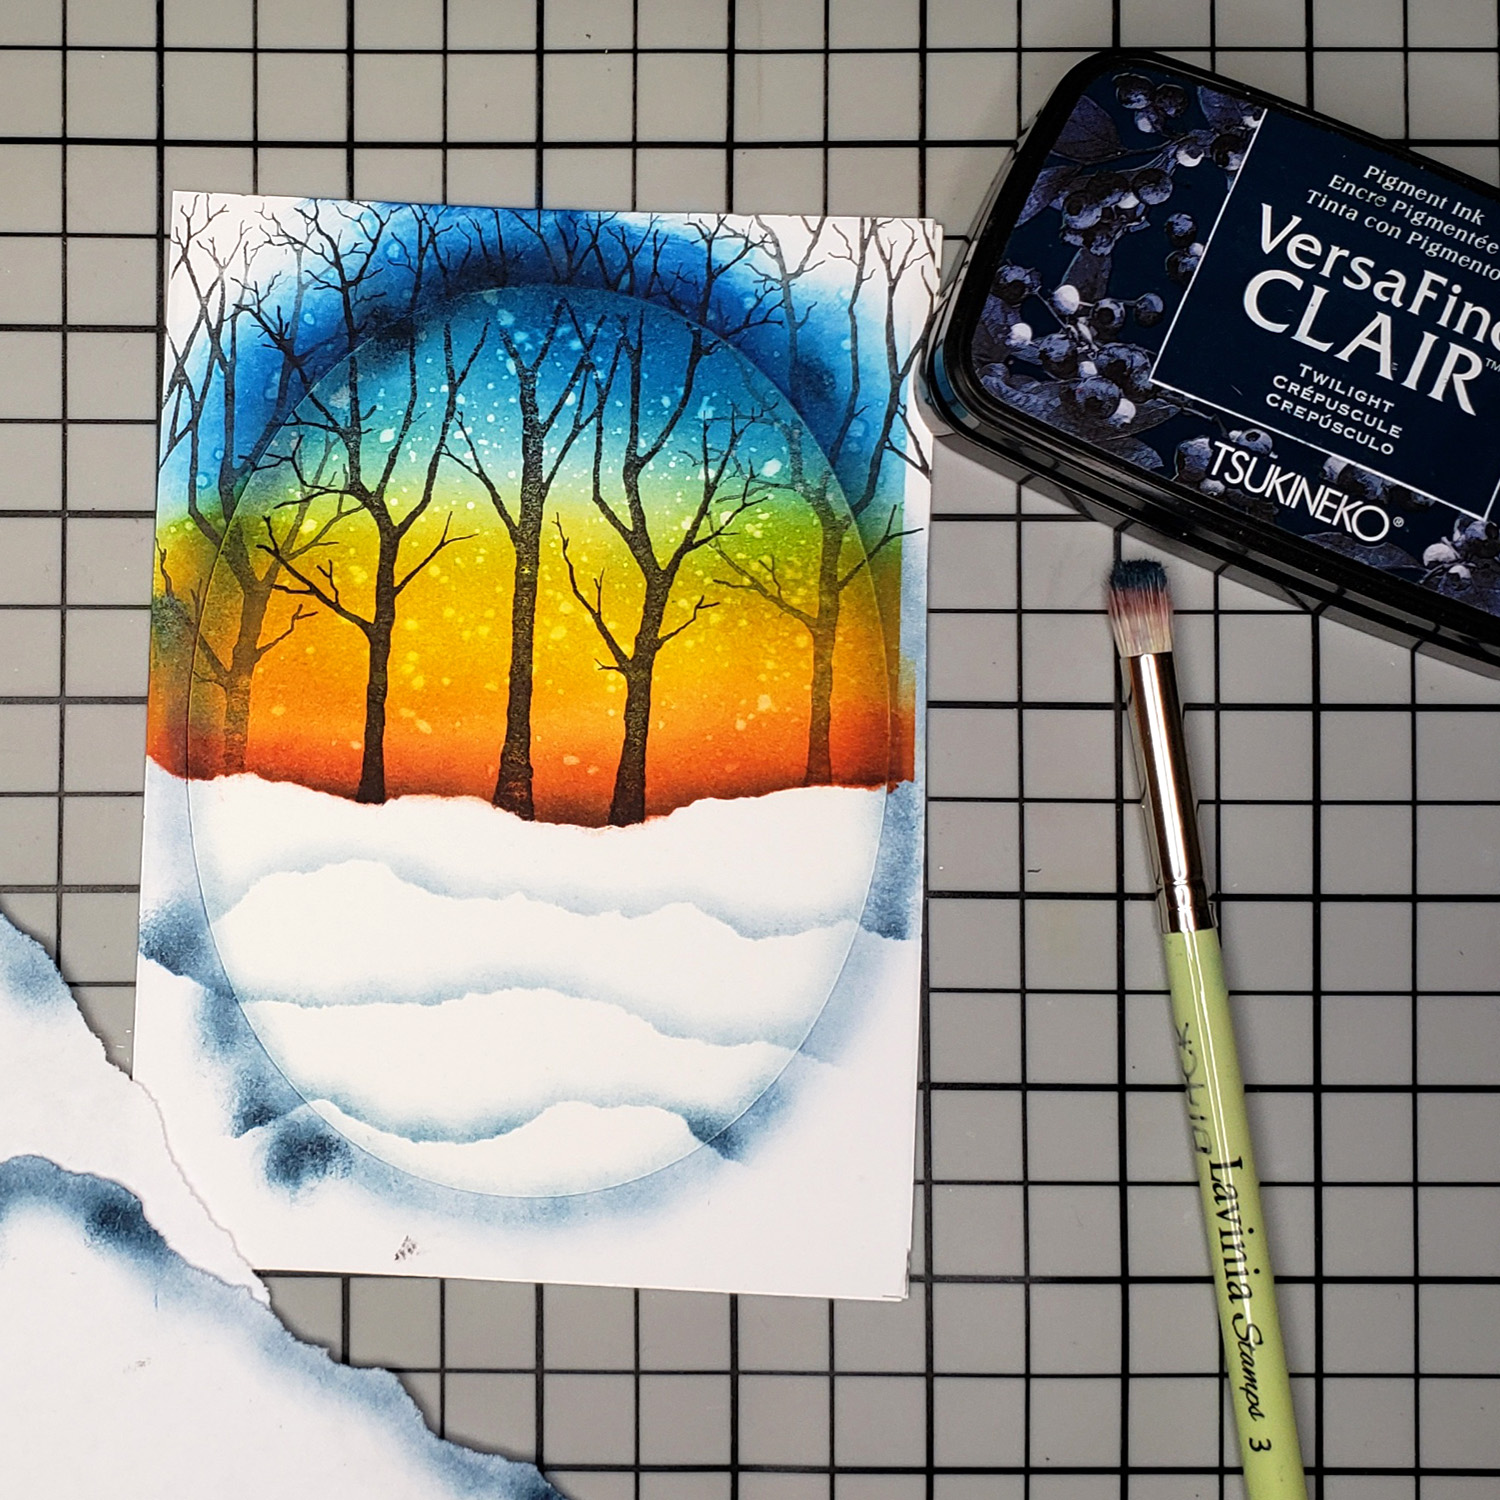
5. Now use Some Versafine Clair Nocturne and a Stencil Brush series 3 over the torn copy paper to make the horizon base.

6. Use Versafine Clair Twilight and a Stencil brush series 3 and some new clean torn copy paper, apply over the copy paper to create snow. Also go around entire oval with the remaining ink on the brush.
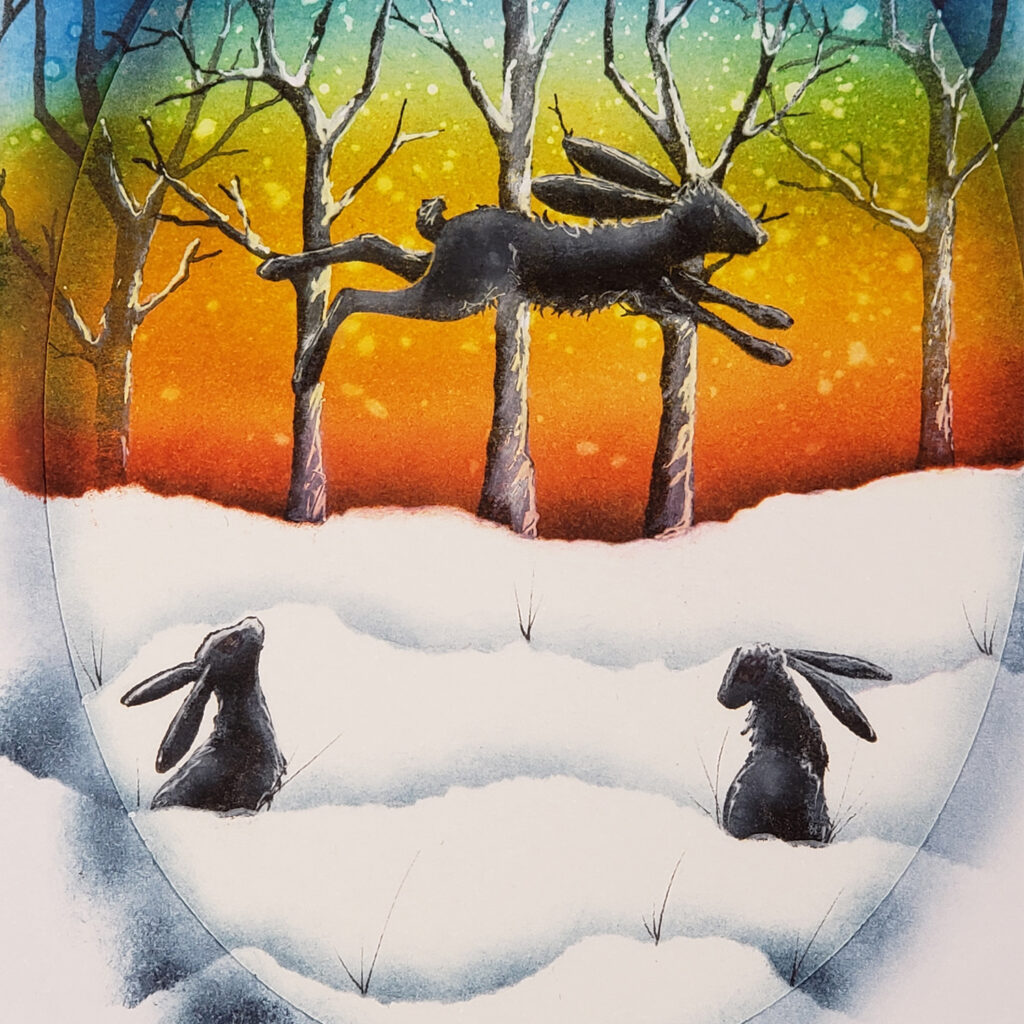
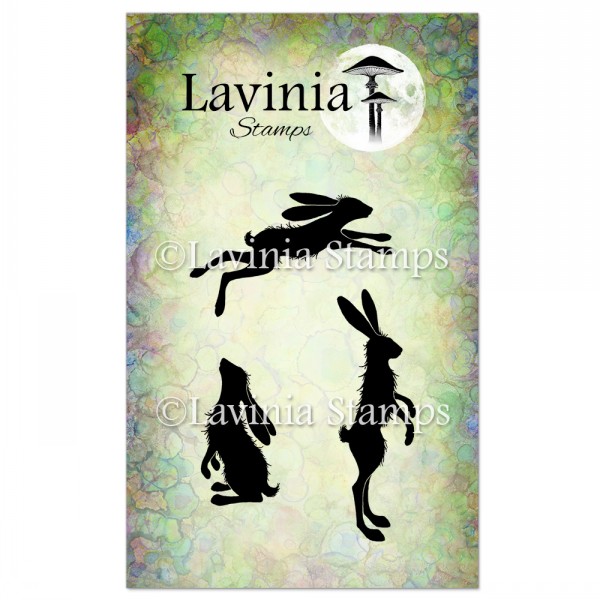
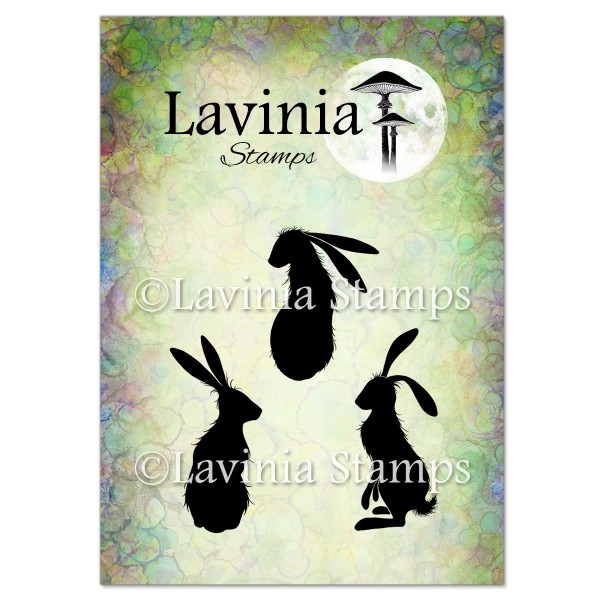
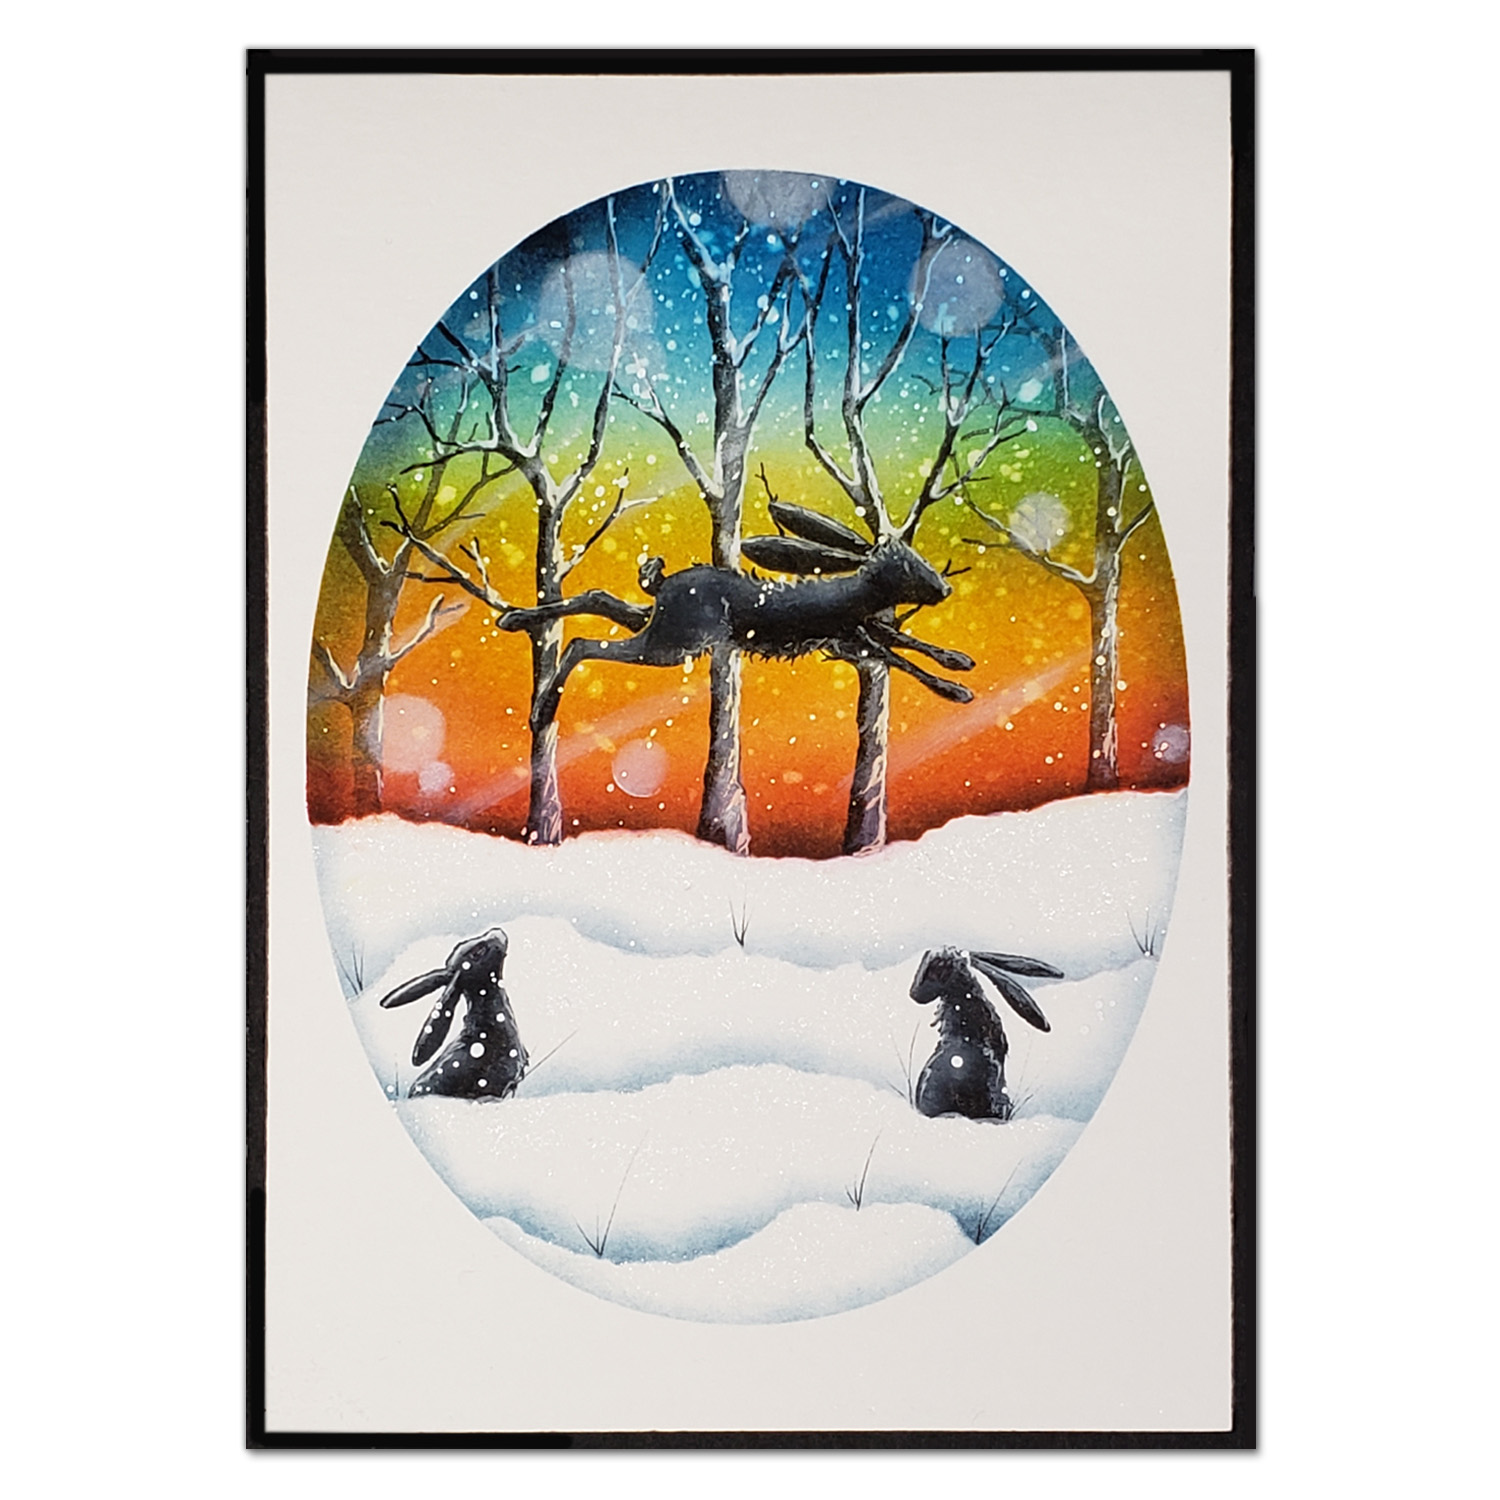
7. Using hares from the Whimsical Hares stamp set, Mini Pipin and Wild Hares set small, stamp hares with Versafine Clair Nocturne. Use a white chalk pastel pencil for snow on sides of trees and the highlights on the hares. Highlight the trees with a white gelly roll pen. Draw extra wispy twigs on the trees with permanent marker.
8. Apply through the White Orbs stencil either Pan Pastel Titanium White or Brilliance ink Moonlight White with small a sponge applicator. Finally splatter with a Posca pen for random snow effect.
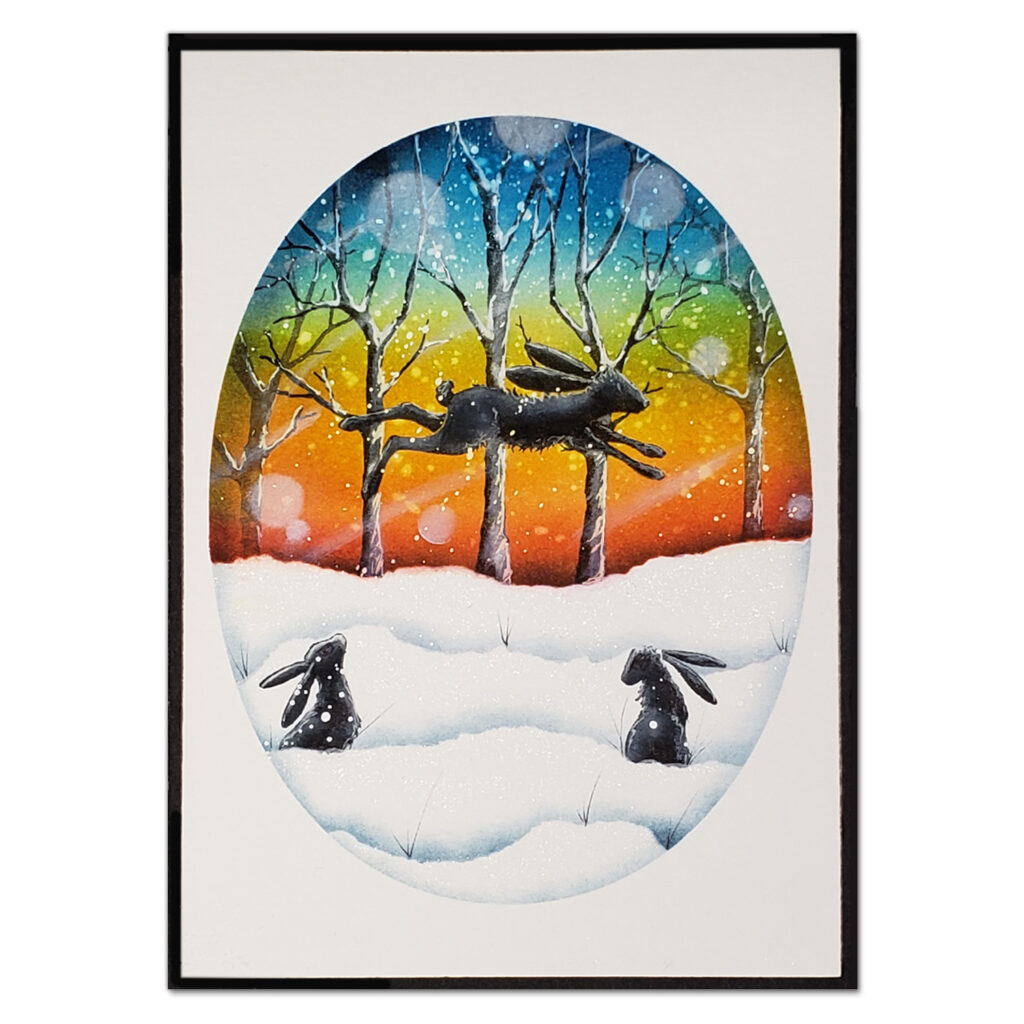
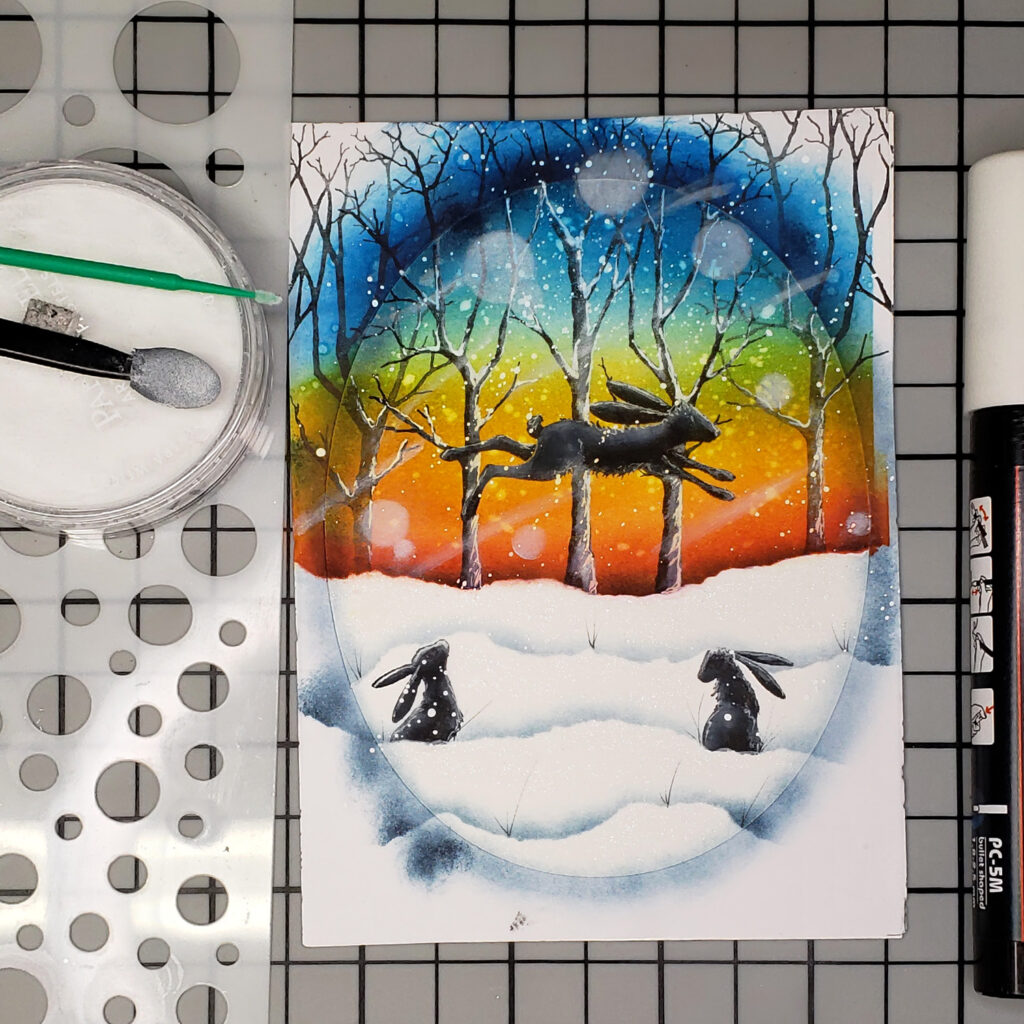
9. Remove the masking sheet and mount your design on black cardstock. The card is now complete!
I hope you enjoyed following my step by step. Thank you for watching.
Happy Crafting! Judy x


