


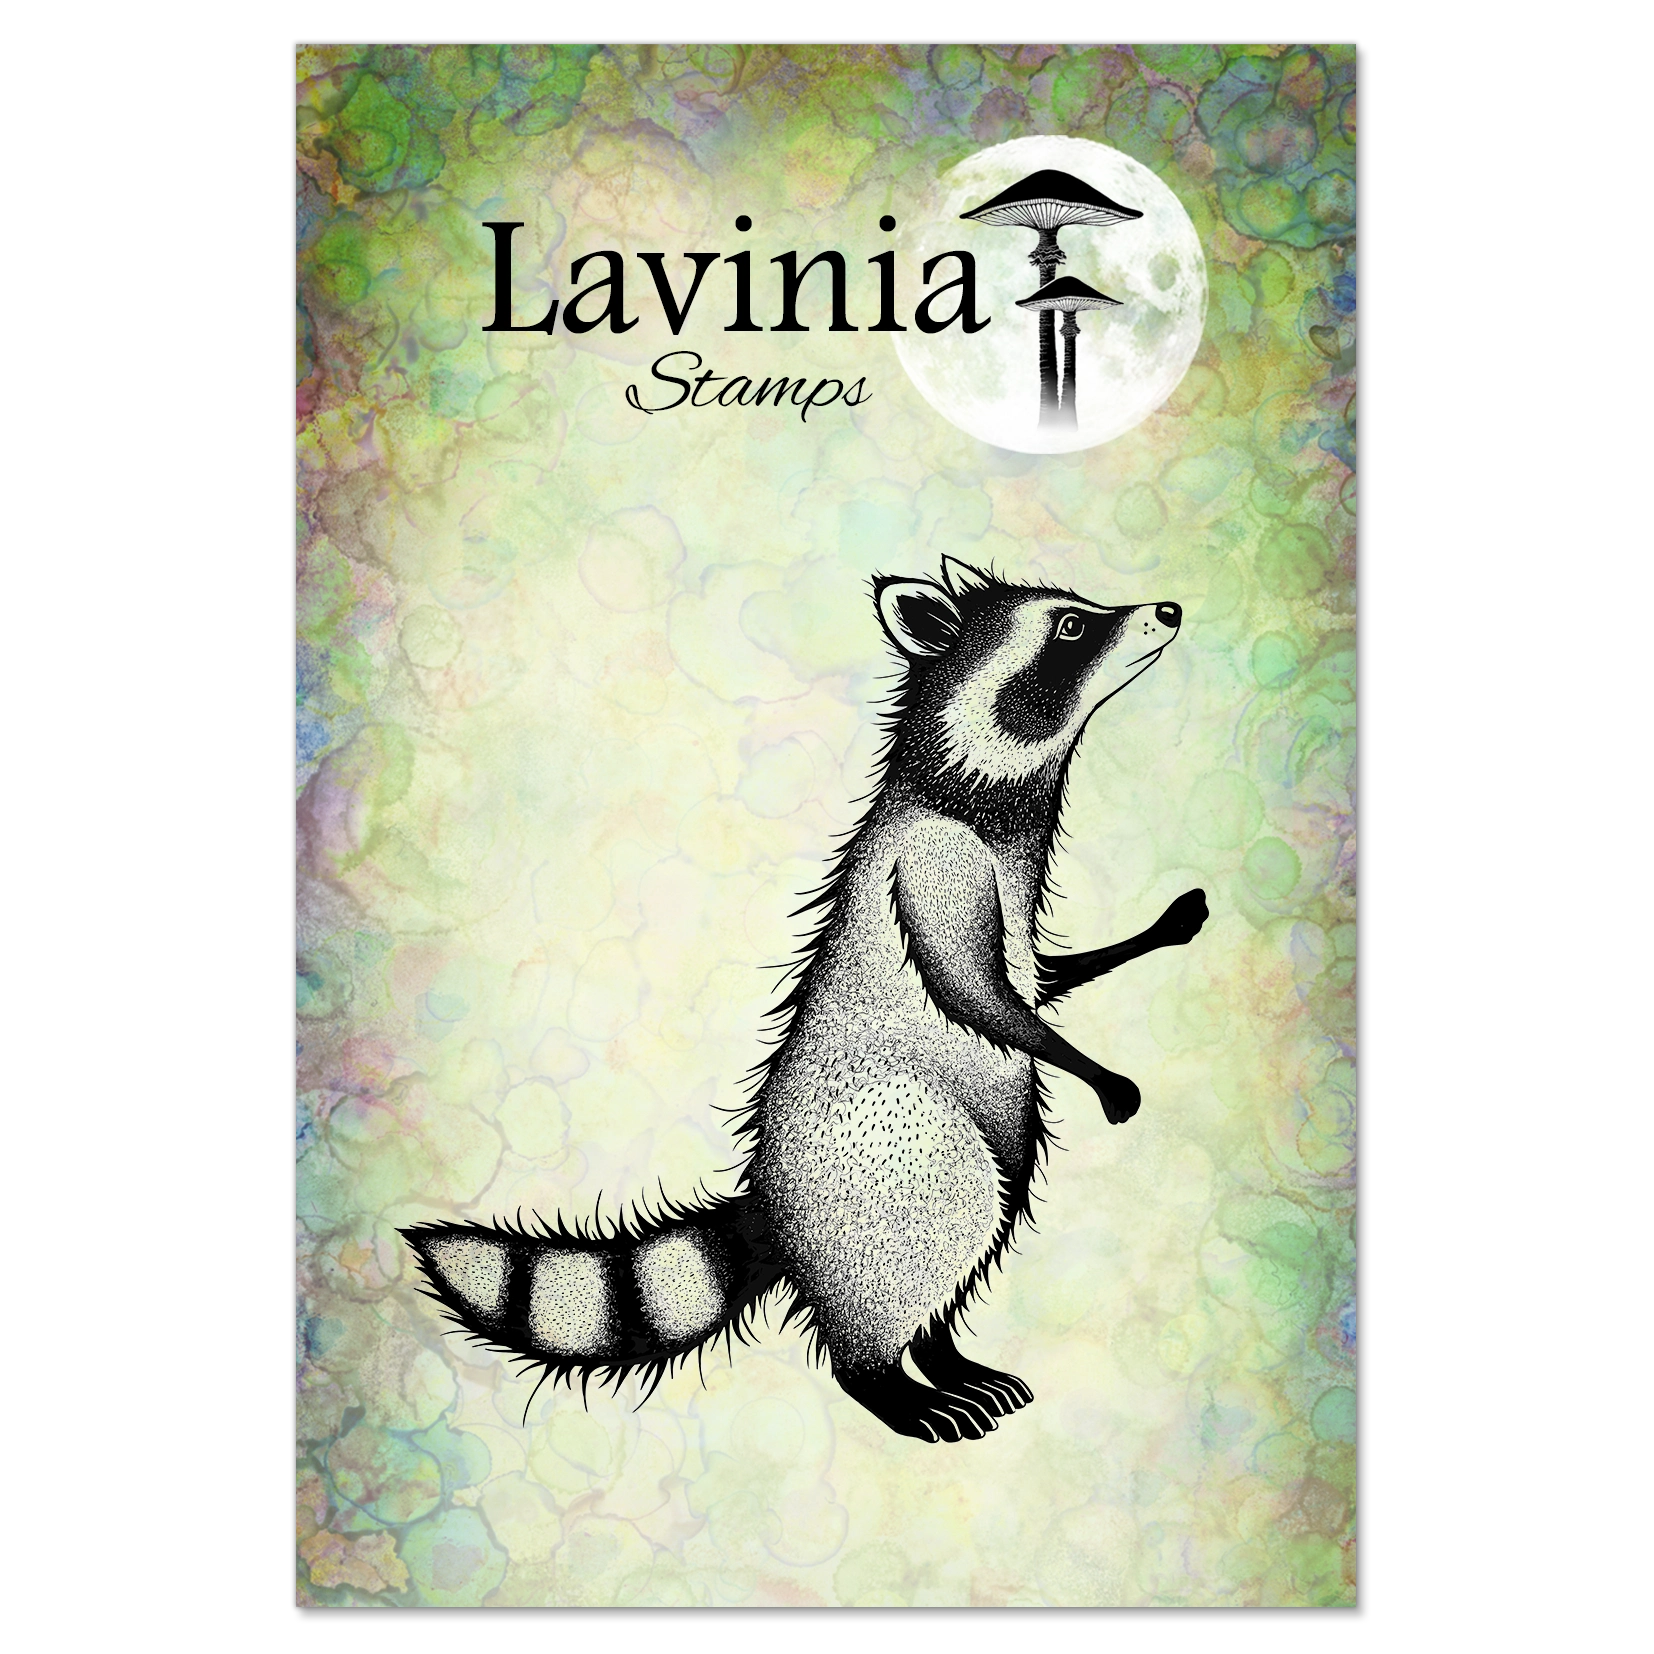
 Tumble Stamp
£8.90
Add to basket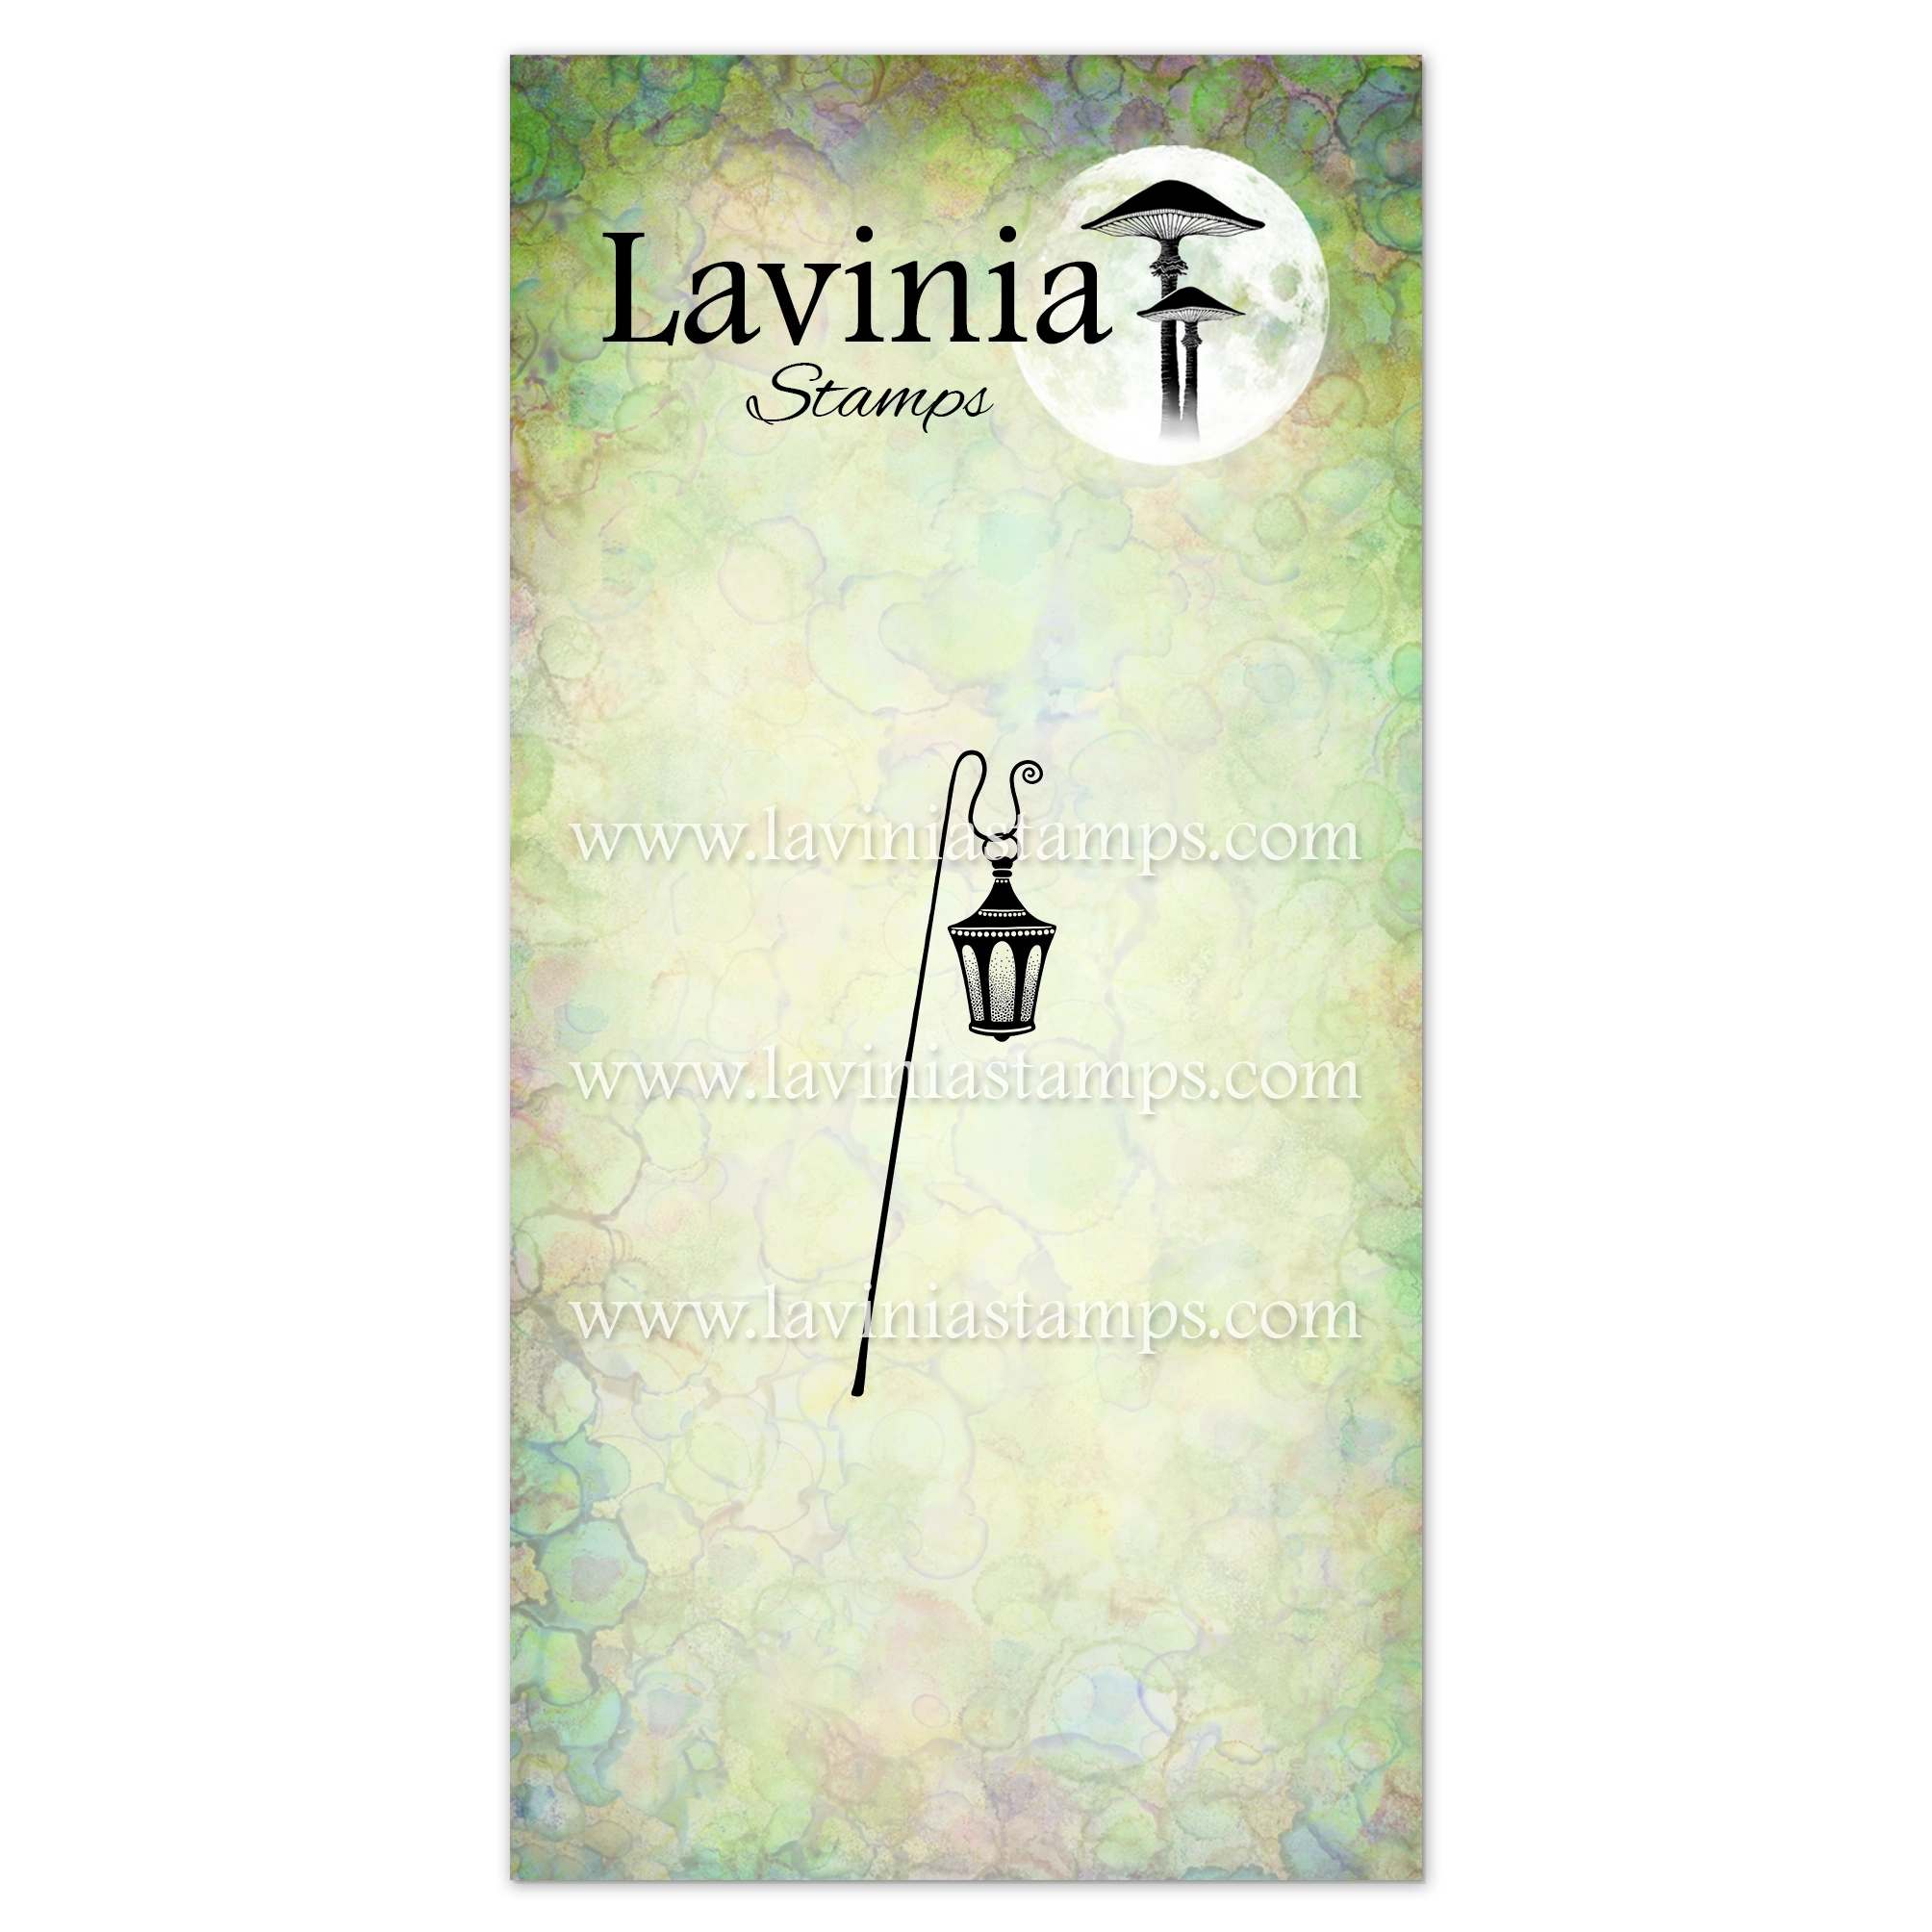 Tumbles Lantern Stamp
£6.90
Add to basket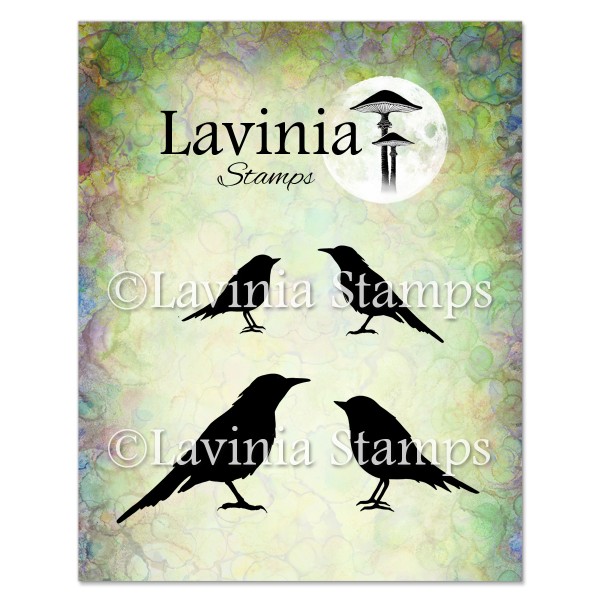 Bird Collection Stamp
£6.90
Add to basket Tree Branch Stamp
£6.90
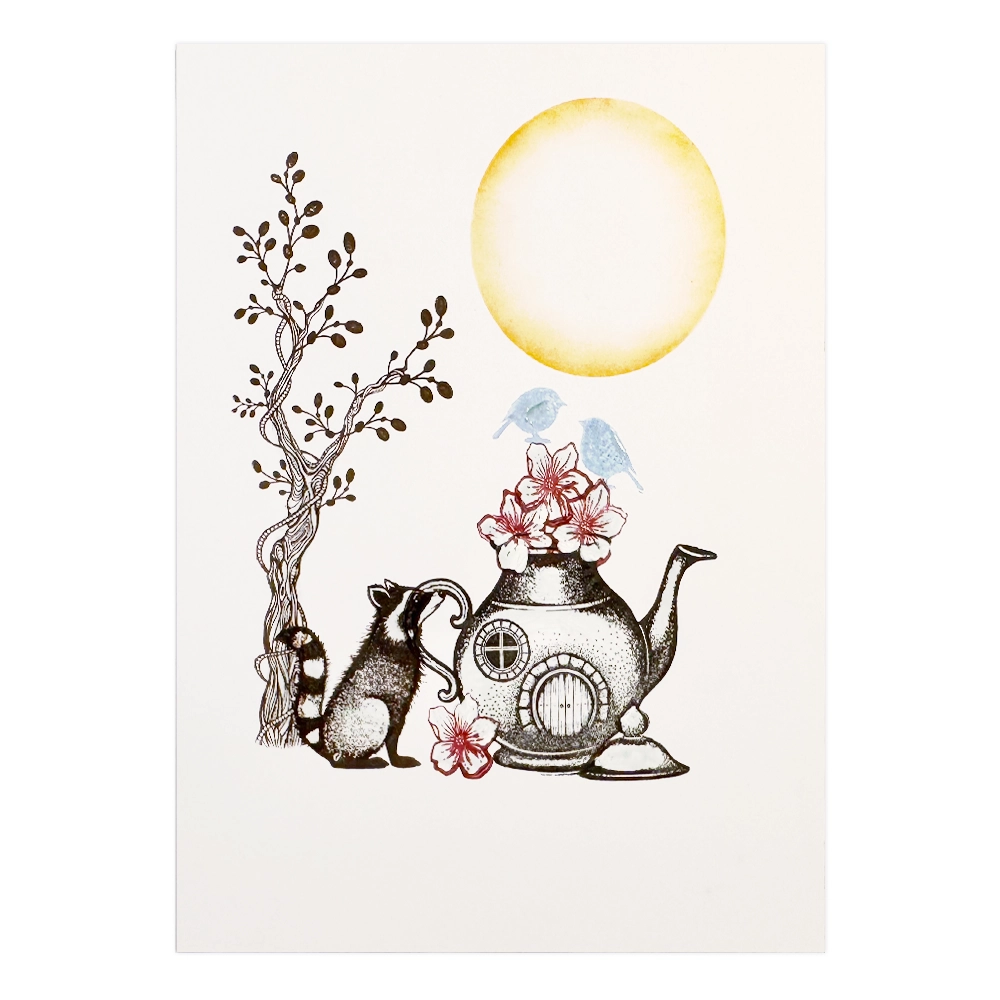
Add to basket Druid’s Inn Stamp
£13.80
Add to basket Orchard Grass Stamp
£5.60
Add to basket Silhouette Foliage Set Stamp
£7.20
Add to basket Wild Foliage Stamp
£6.30
Add to basket