Step by Step by Mona Hauge
Hello everyone, it’s Mona here with my latest Step-by-Step Tutorial called Spring Garden.
Hope you like it.

Step 1.
Multifarious card White size A5.
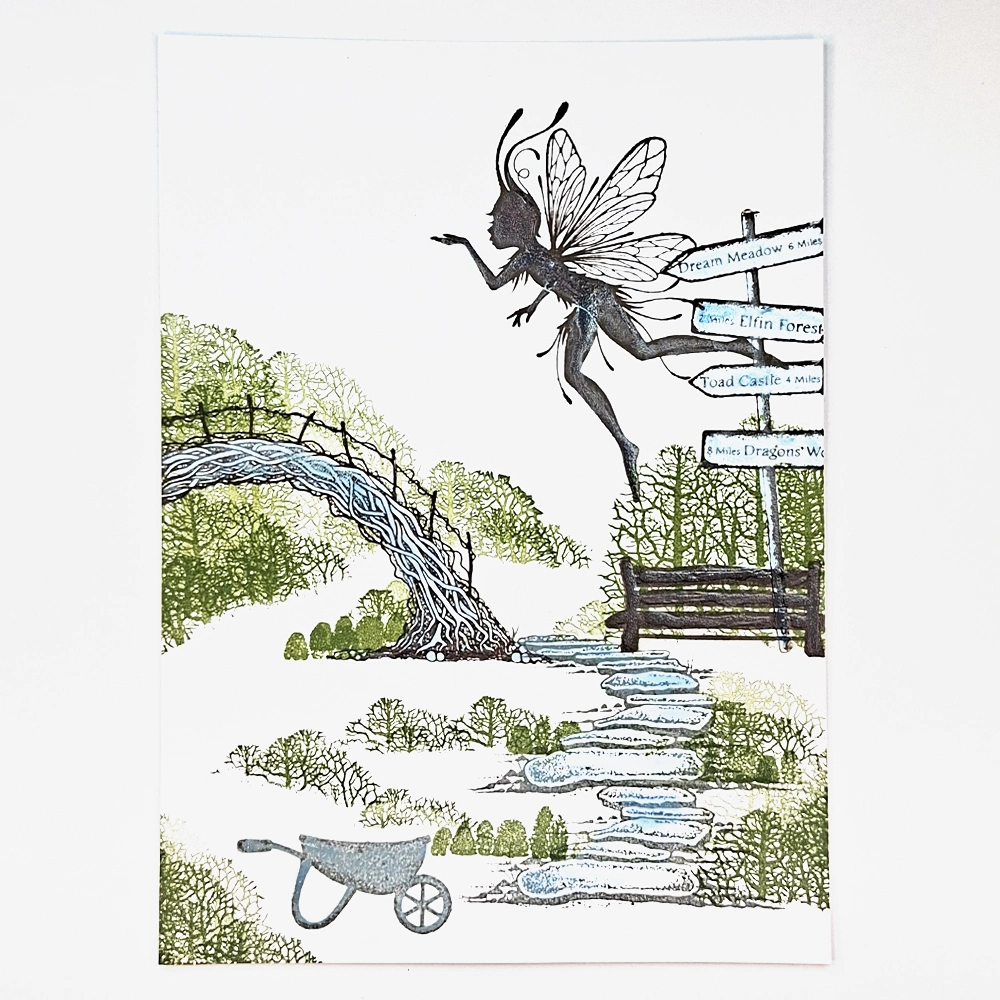
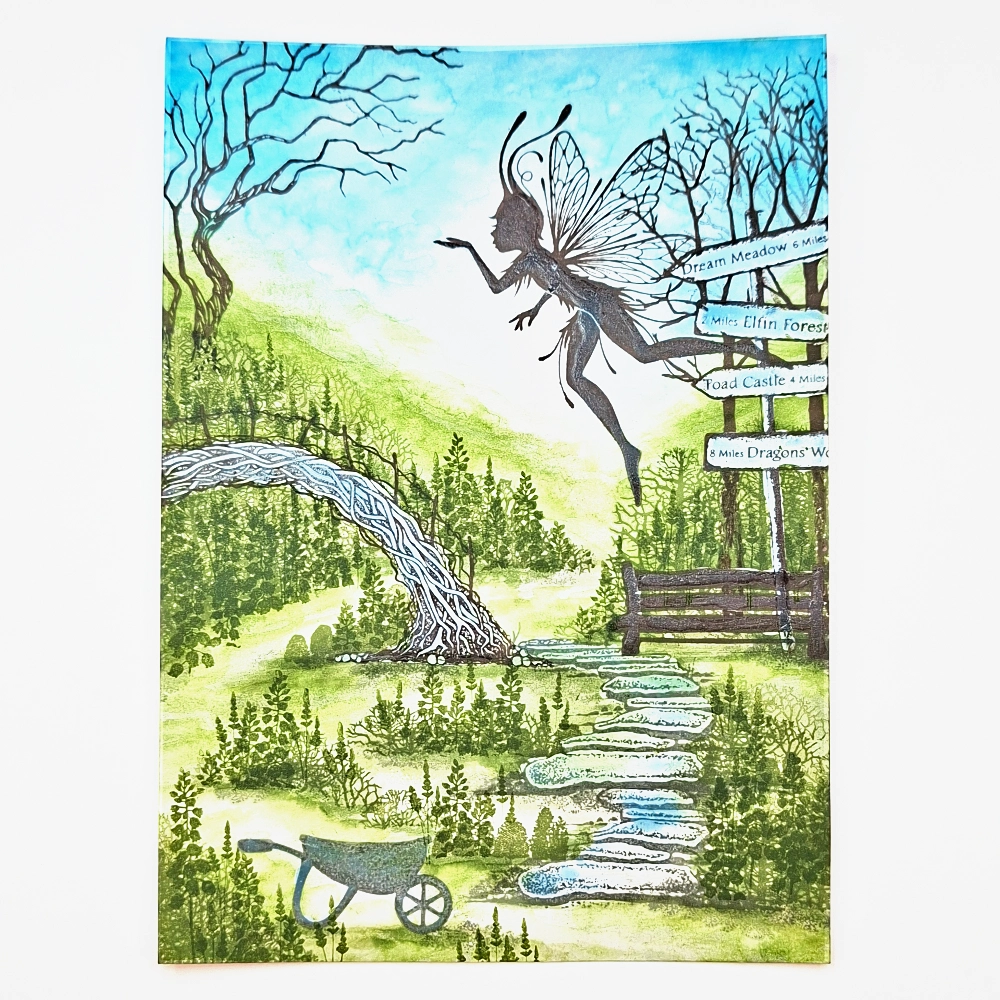
Let’s start with the Fairy Path LAV246. Stamp only the five biggest steps and then stamp the whole stamp above the first steps to create a longer Fairy Path. Stamp this using Versafine Clair Morning Mist.
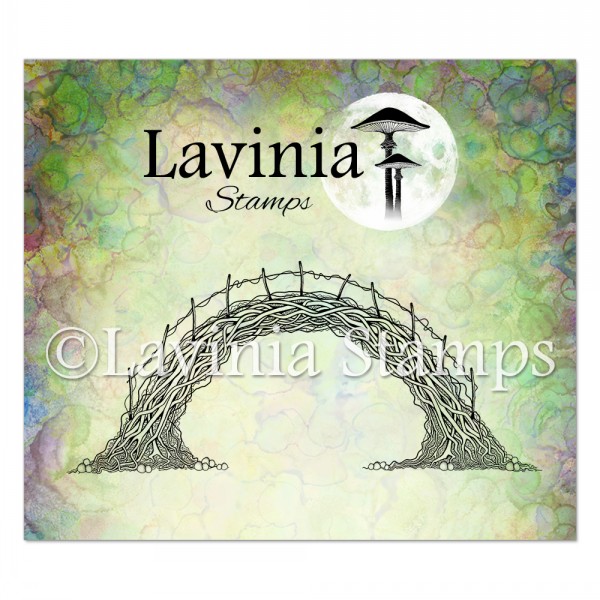
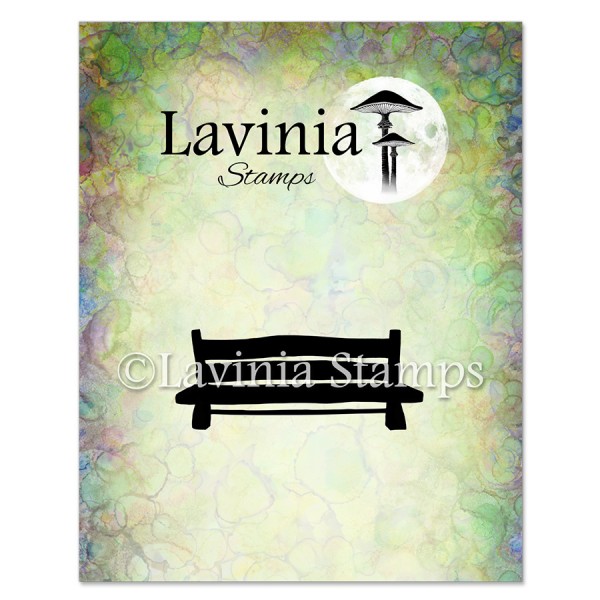
Stamp the following stamps in Versafine Clair Pinecone: the Sacred Bridge LAV865, the Bench stamp LAV937, the Wheelbarrow LAV954, the Fairy Towns stamp LAV768 and the Lumus Large stamp LAV897.
Cover all in Liquid Masking Fluid.
Step 2.
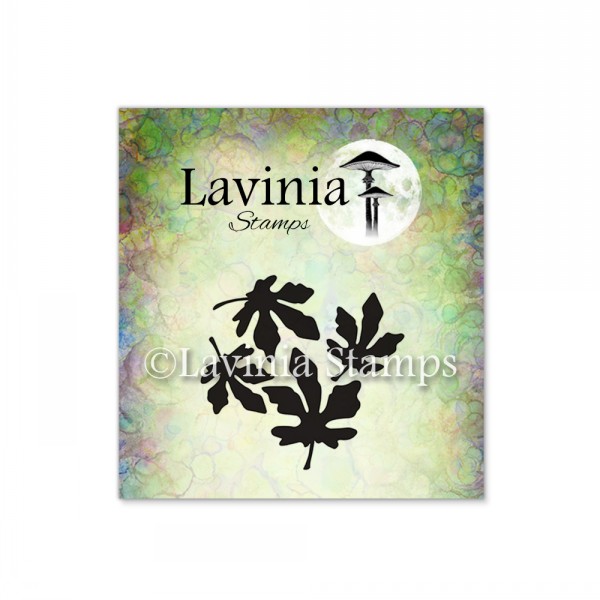
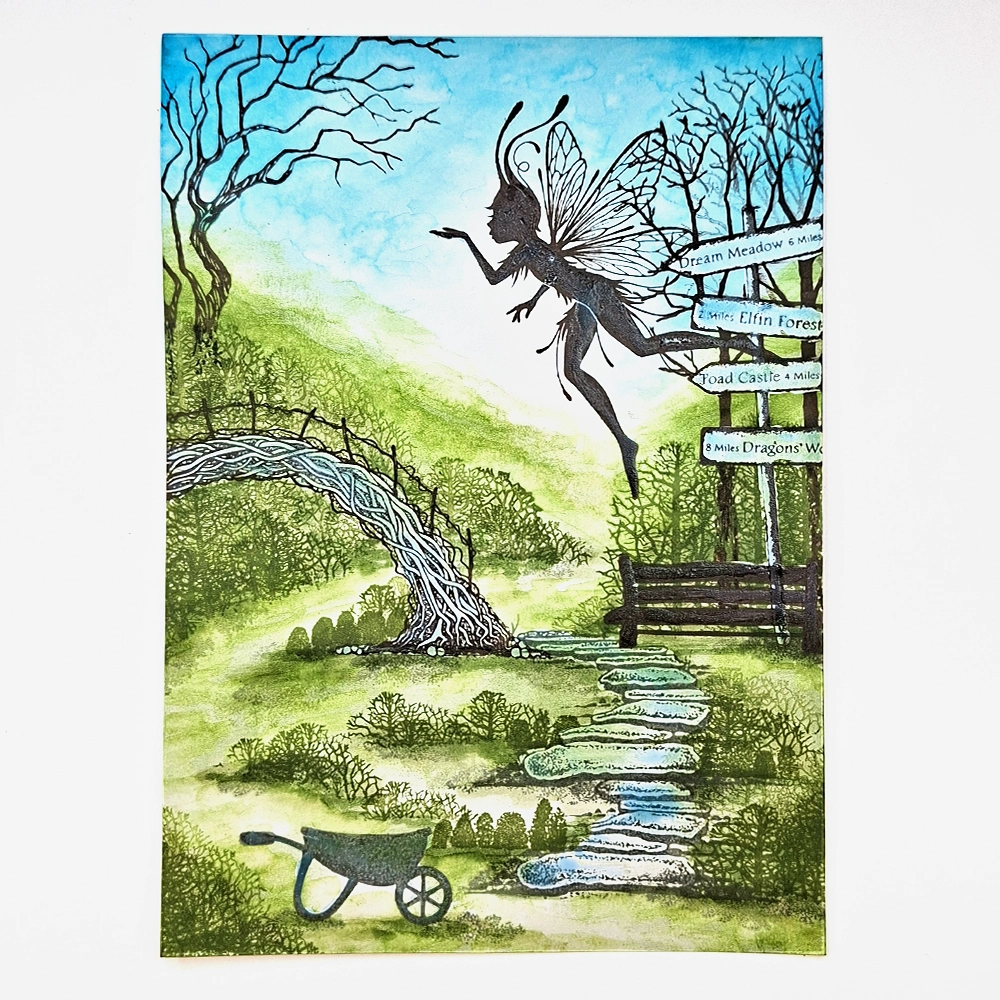
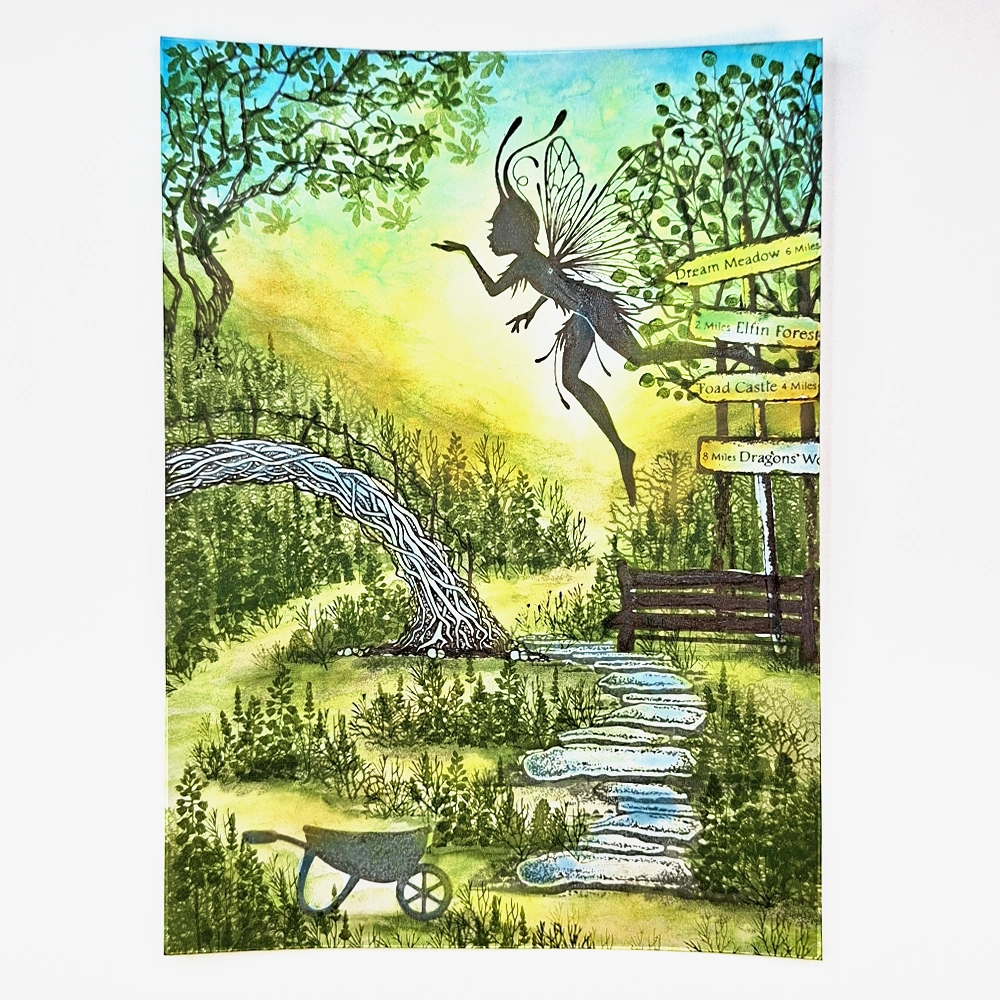
With our Tree Scene LAV219 and our Forest Scene LAV524 we will create some trees and bushes on our little hillside. Stamp in Versafine Clair Shady Lane and do both first and second generation stamping.

Step 3.
In the Spring Trees stamp LAV168 there are some small stamps we can use to create some more texture on the ground on our hillside. Use the longer stamp an stamp in Versafine Clair Morning Mist and do only second generation stamping. Now use the trees from the Spring Trees stamp and place them in the right corner behind the sign. Stamp in Versafine Clair Pinecone.
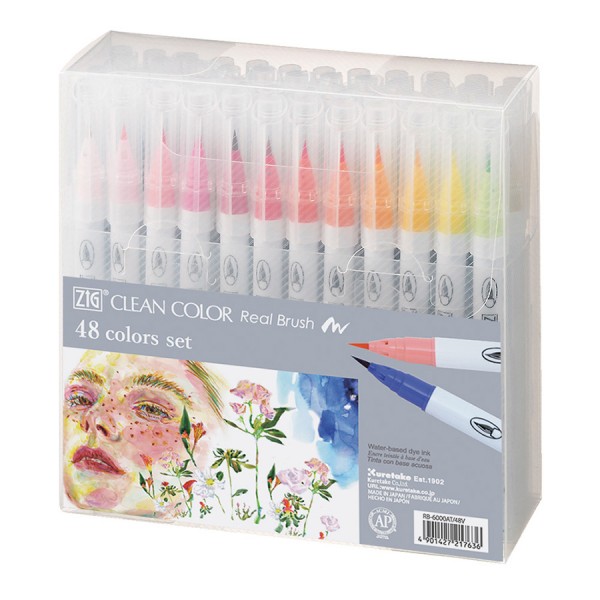
On the left side we stamp the Tree of Courage LAV657 in Versafine Clair Pinecone. Now we use the Zig Clean Colour Real Brush pens Pale Dawn Gray and Grass Green to colour so that our bushes and trees are not white between the stamped lines. We don’t want them to look see-through.
Step 4.
Now we will use some Elements ink Olive to colour our ground and create some more hills in the background. Make sure you apply less colour on our paths and more colour in the bushes. For our sky we will use Elements ink Blue Atoll. Apply more colour in the corners and the top an fade the colours in to the middle. Use a watercolour brush to create more texture in both the sky and the ground.
Step 5.
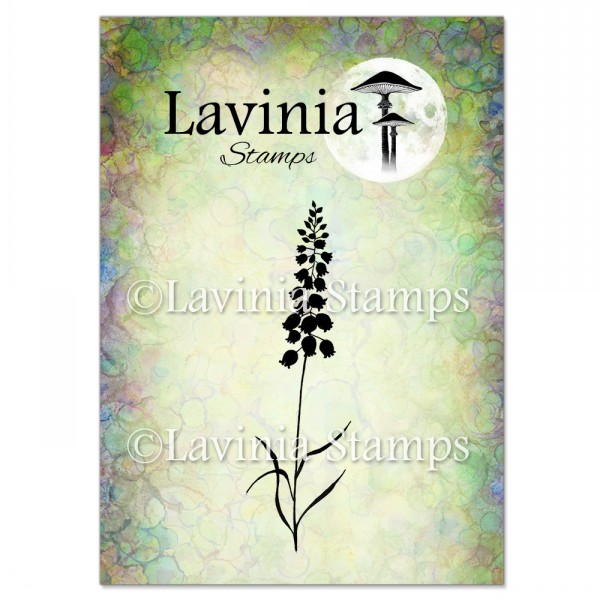
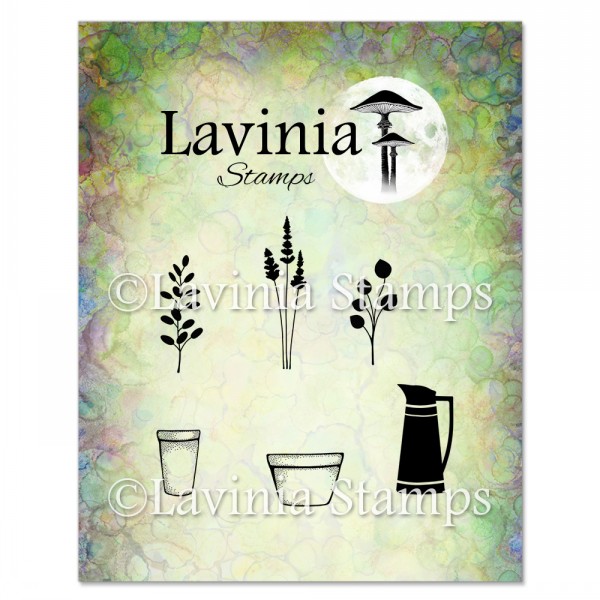
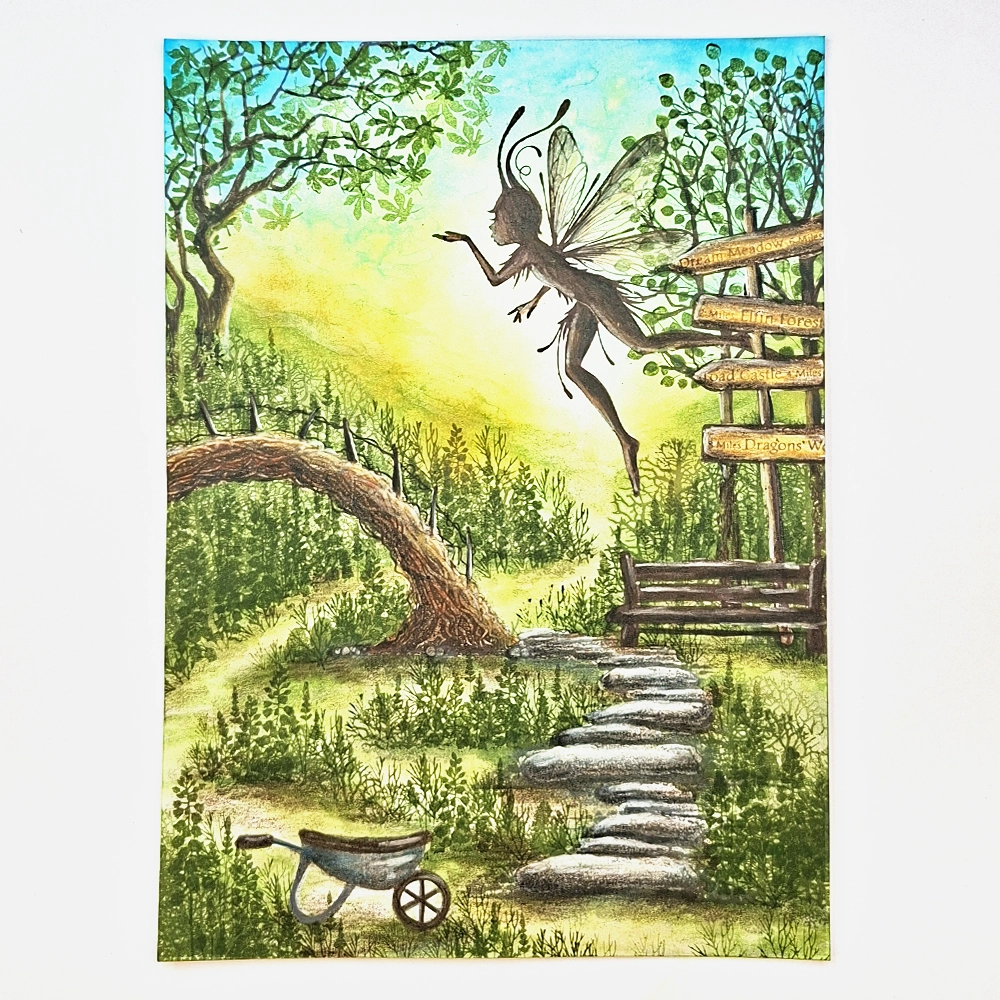
Some flowers are needed. Bluebells LAV002 and the tiny lavender from the Flower Pots stamp LAV826 stamped in Versafine Clair Shady Lane will look great. Don’t worry about that you don’t see them very well, because when we colour them they will stand out more.
Step 6.
For our leaves on the trees we will use the Silver Leaves Mini LAV891 on our Tree of Courage and the little flower from the Flower Pots stamp LAV826 as leaves on our Spring Trees. Both we will stamp in Versafine Clair Shady Lane . Do both first and second generation stamping. This helps to create some depth in our Tree tops.
Now we want to create a magical and warm light. We use our PanPastels Hansa Yellow and Orange.
Step 7.
Time to remove the masking layer. Make sure that everything on your card is completly dry. If there is a hint of moisture in the paper it might tear as you are rubbing off the masking layer. Use a heat gun if you are not sure that it is dry all the way through.
Now we can start colouring our card. We have the Bridge, the Sign, the Bench and our beautiful Fairy that are all going to be brown. So we need to choose different shades of brown to make them look different from each other. I love my Mondeluz Watercolour Pencils because they are so vibrant in colour and they blend so well even without using water. With them it is easy to create different shades using the same colours. We will colour our path and the Wheelbarrow with some grey and black.

Step 8.
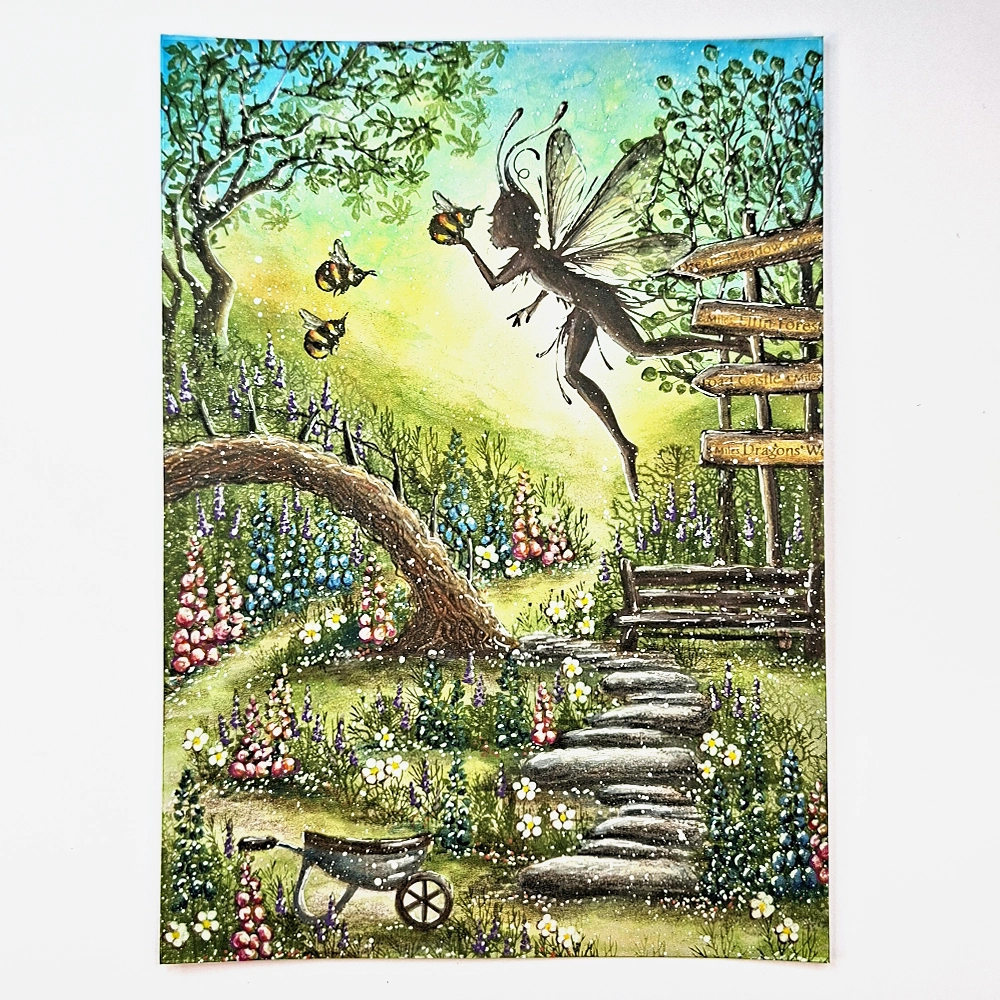
To colour all the flowers we will use Posca Pens and some Gelly Rolls. Just choose different colours for your flowers and if you use more than one colour on each flower, it will look more interesting. Now we add some daisies by marking just five dots in a circle with our White Signo Uniball pen and finishing off with a Yellow dot in the middle. So cute.
With our White Signo Uniball pen we will draw highlights on everything.
Step 9.
Almost finished, but who is Lumus talking to? Well she needs help from the busy Bumblehums LAV893 to keep her garden beautiful. Stamp the bees in Versafine Clair Fallen Leaves.
And for our final touch we will do some Posca pen splatters.
We are now done with this picture and I hope you enjoyed following my Step by Step Tutorial. If you have any questions I am happy to help. Just send me a message and I will answer as soon as I can.
Big hugs from Mona