Step by Step
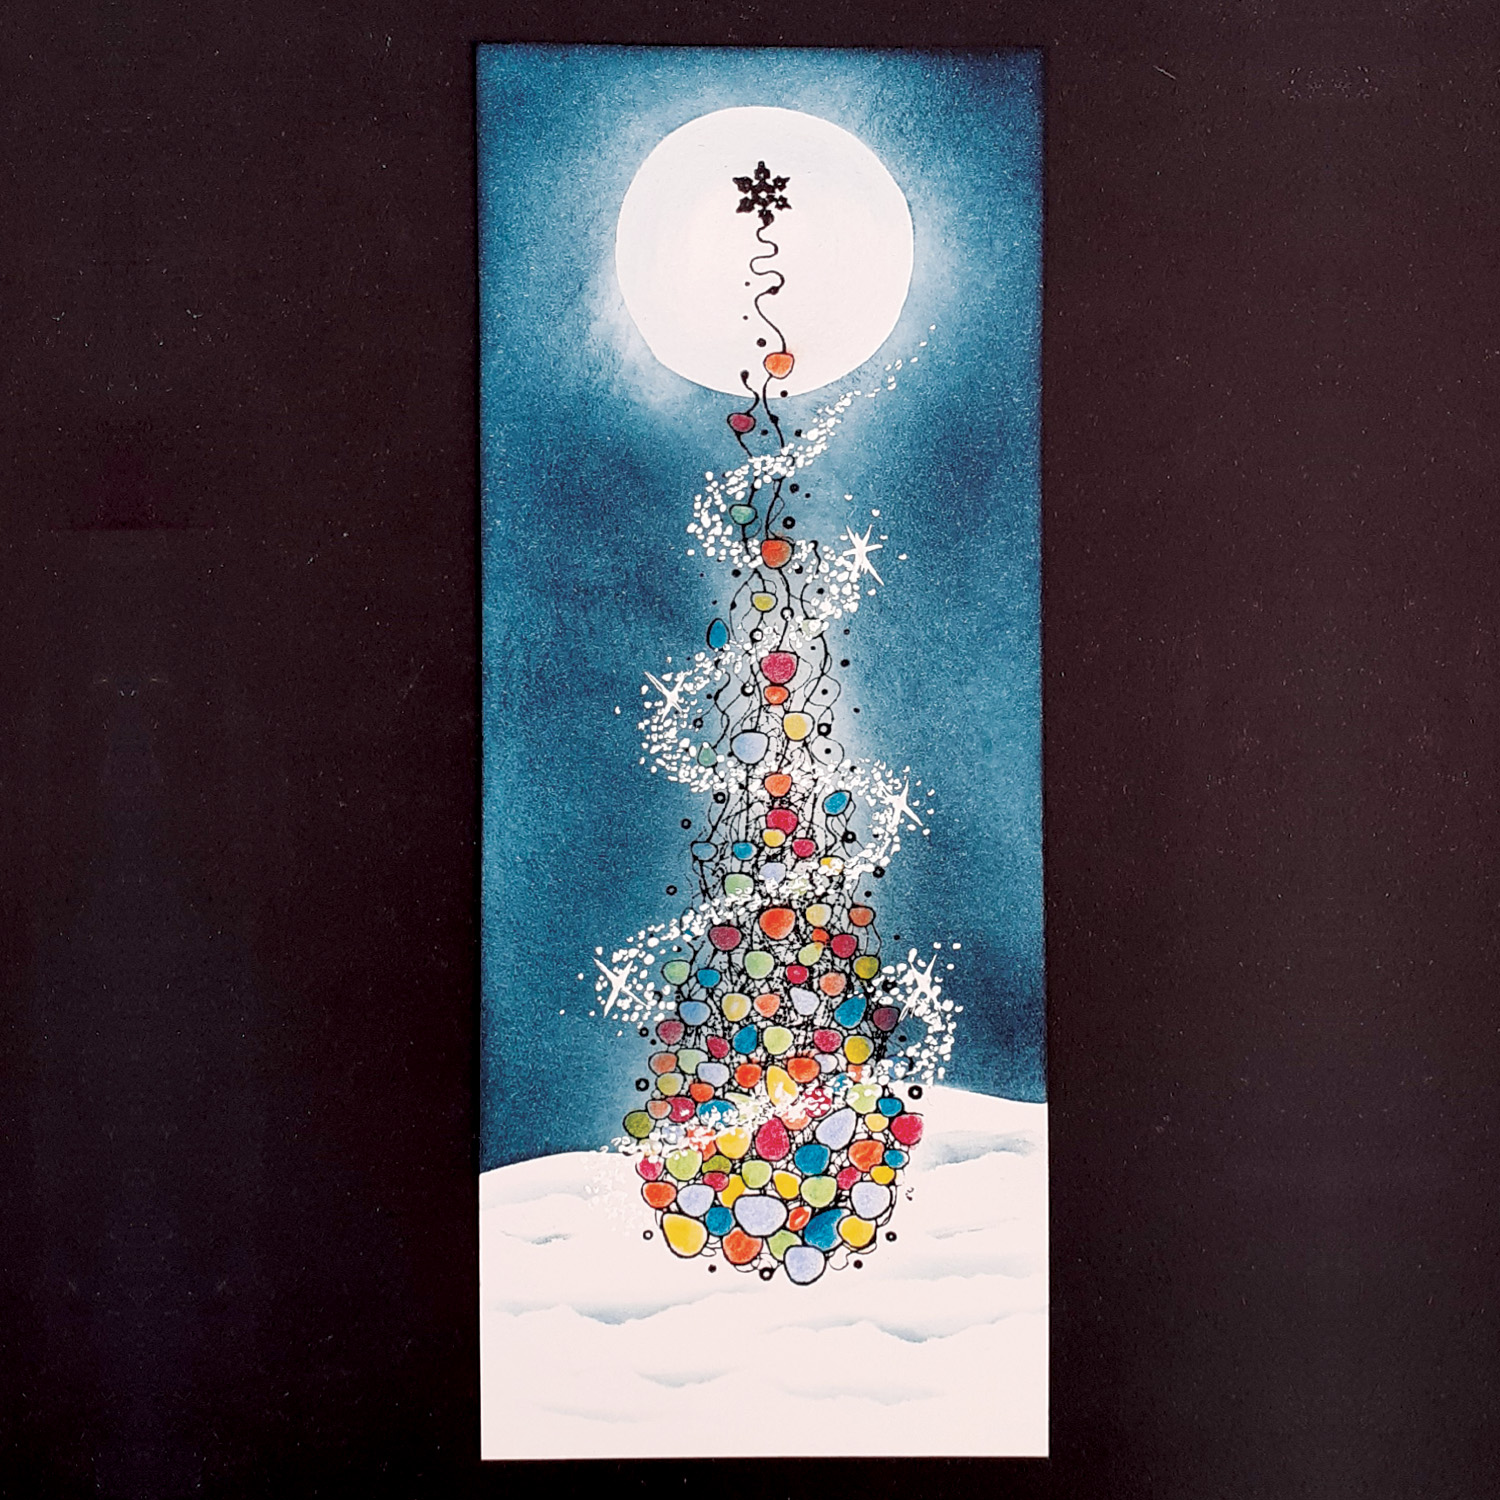
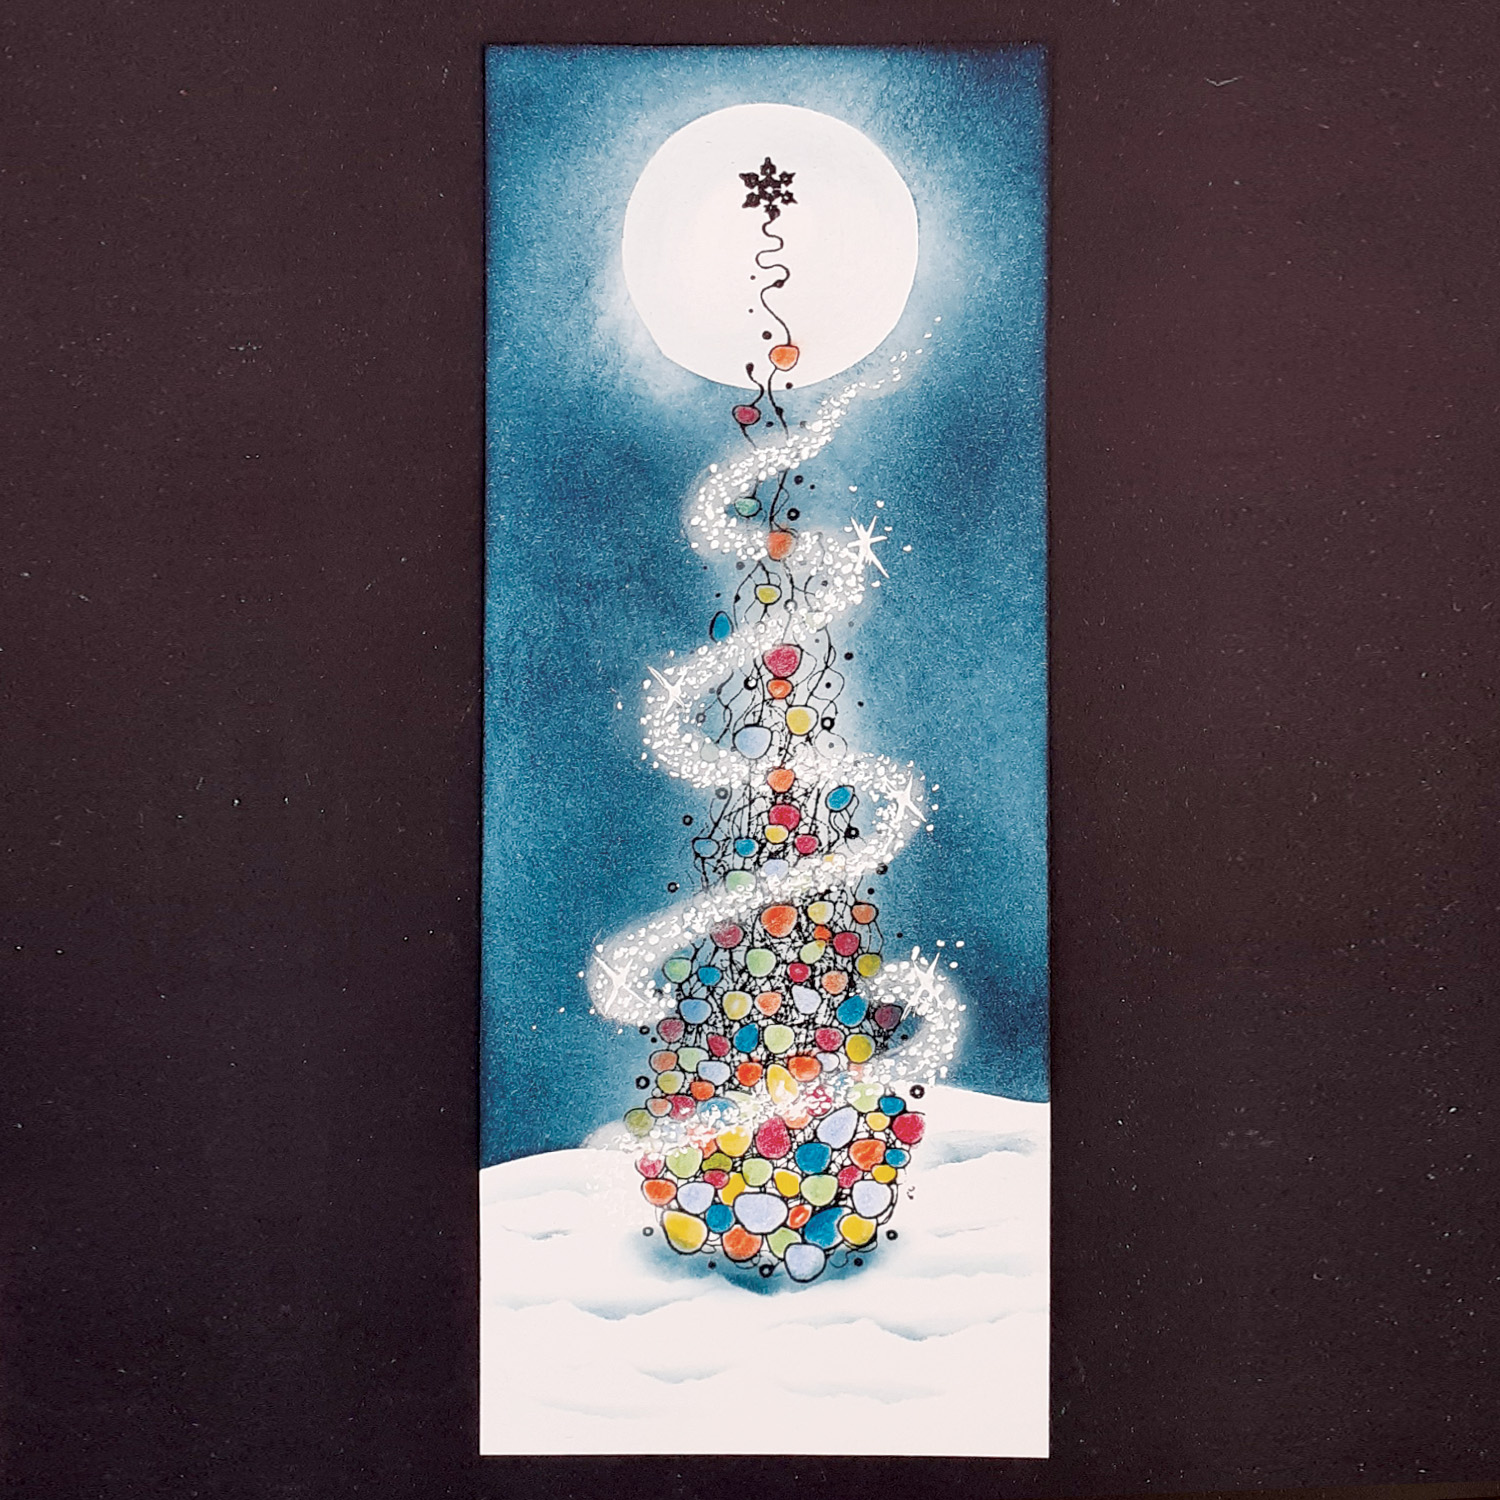
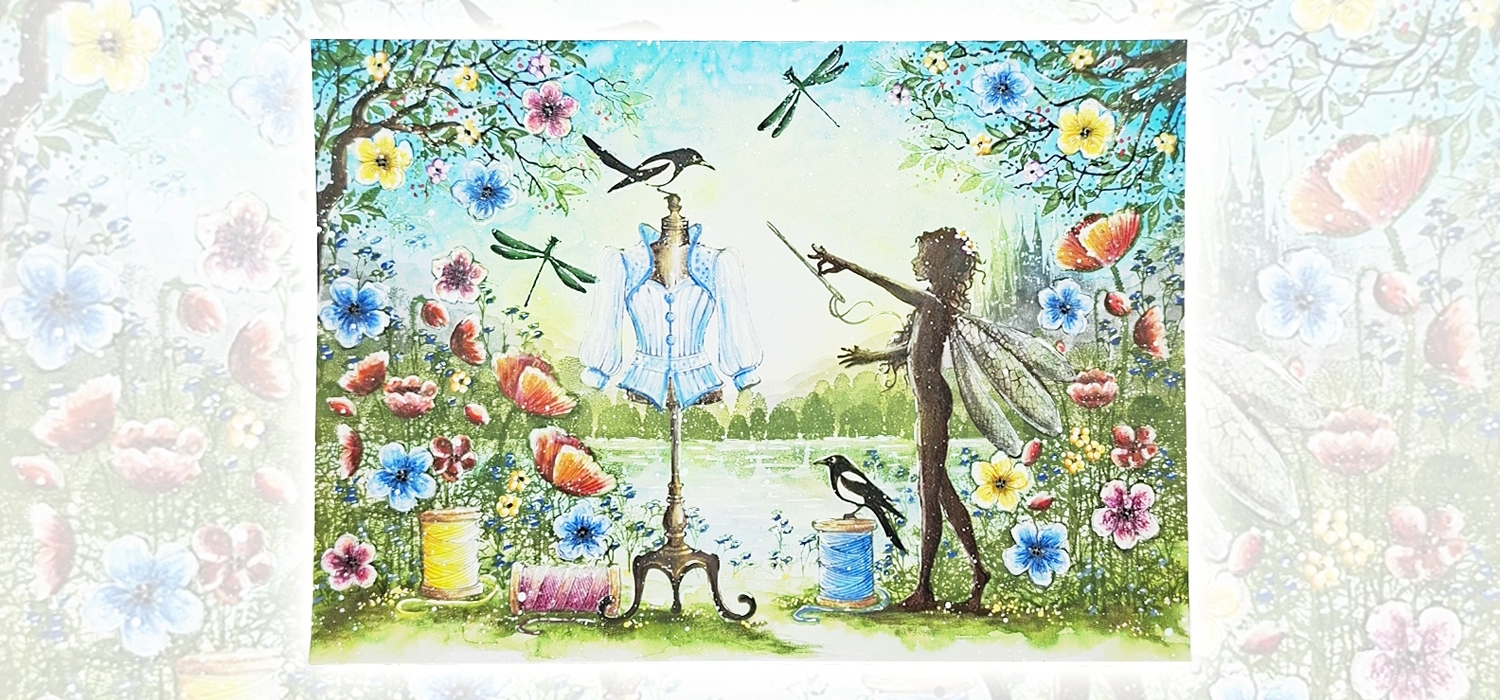
Using the white Signo/posca pen, add small highlights to the coloured areas.
This is optional of course but brings the stamp to life!
I hope you have enjoyed this tutorial.
Happy Crafting! Lainey


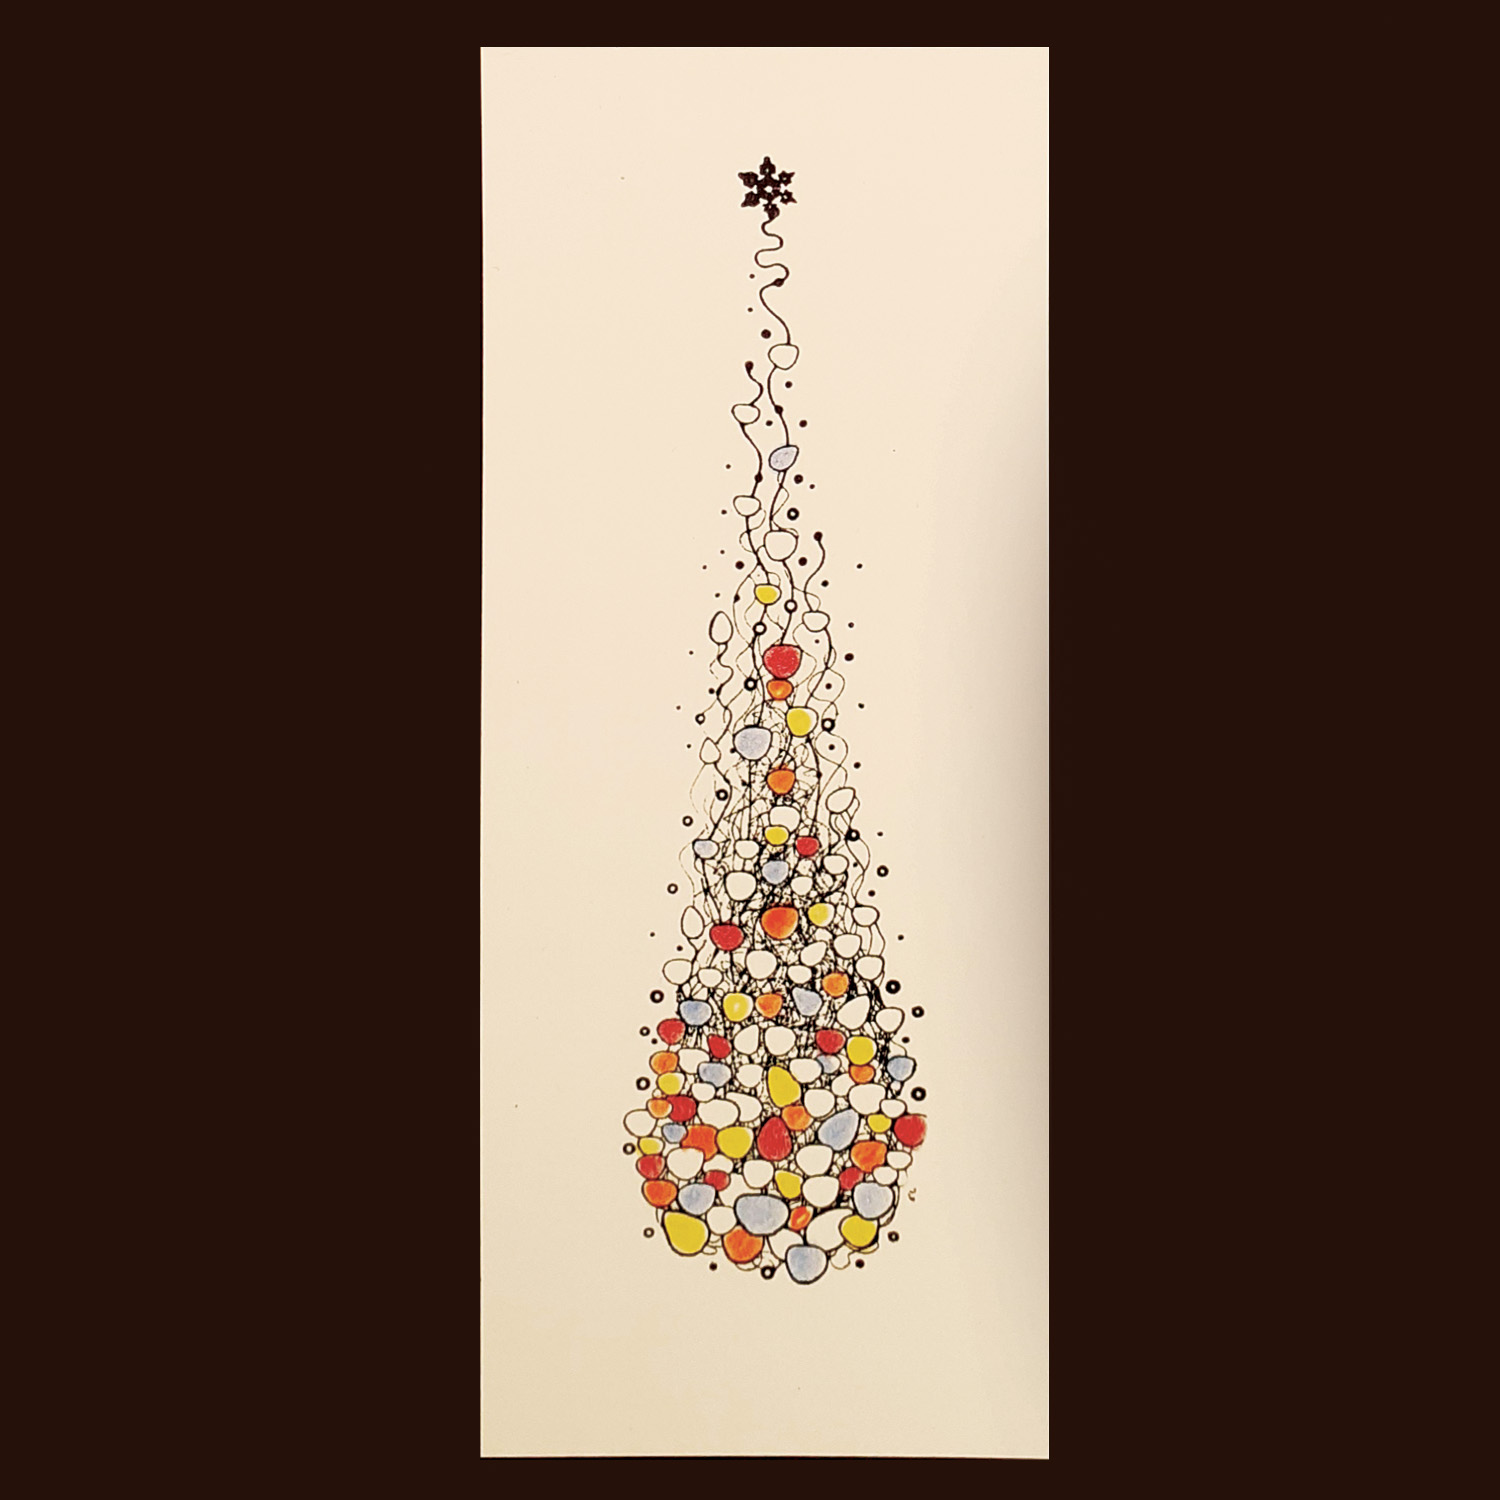
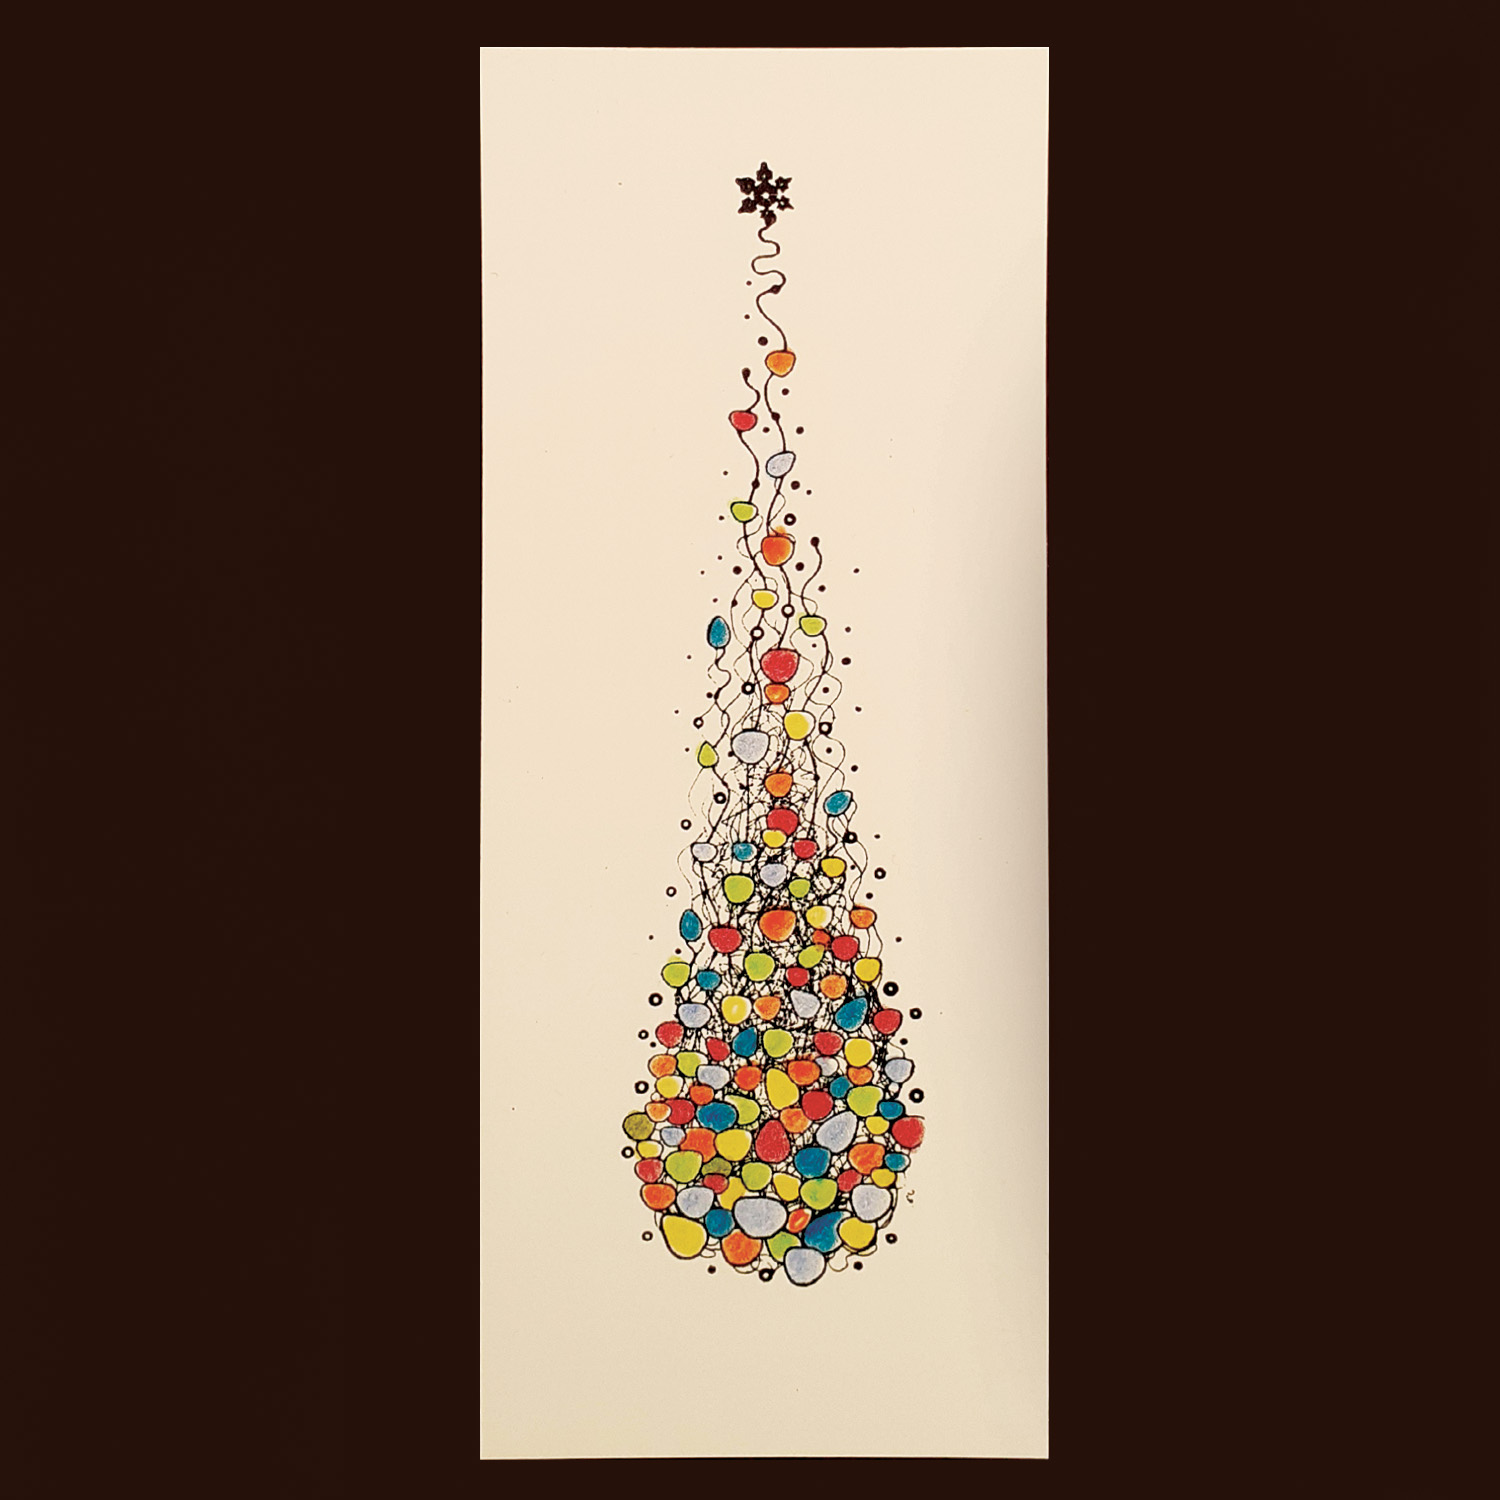
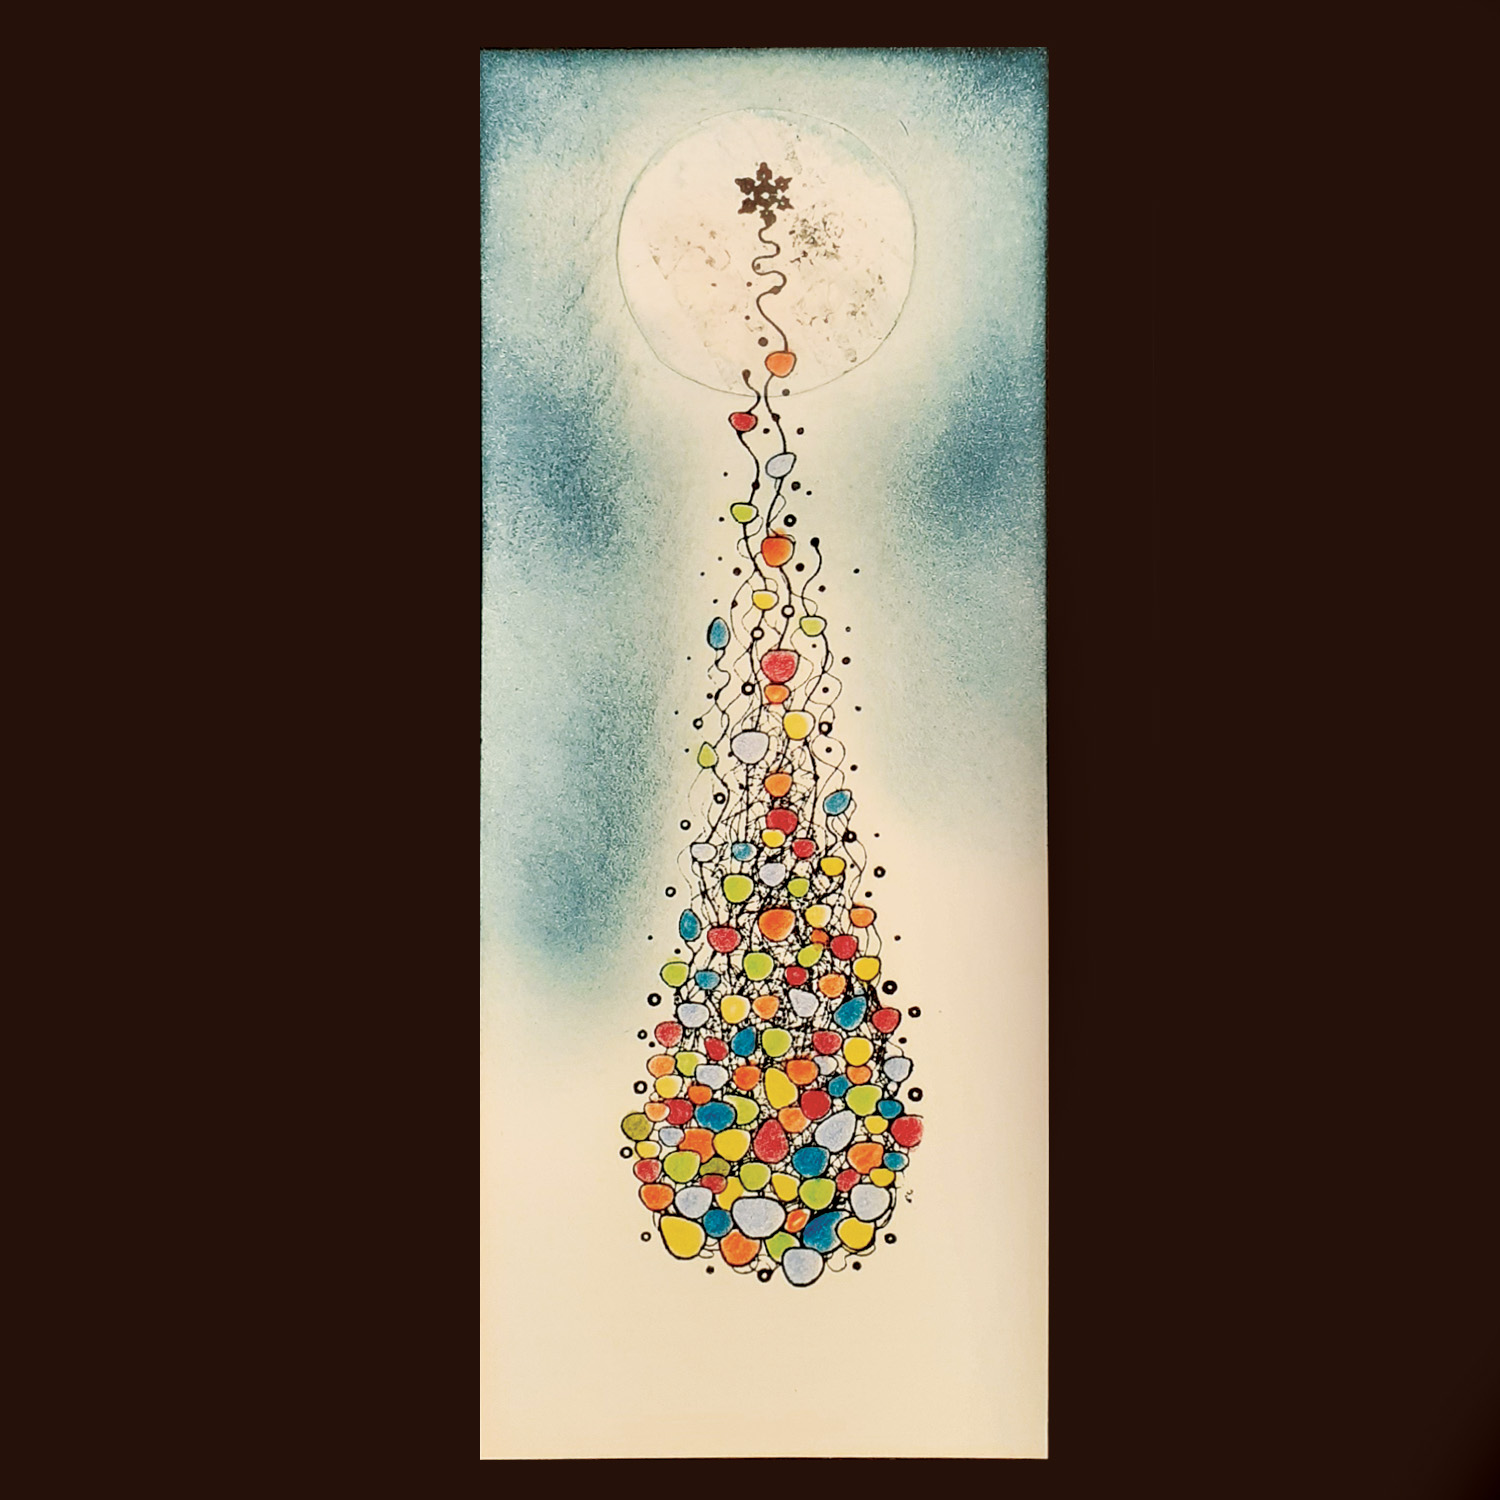
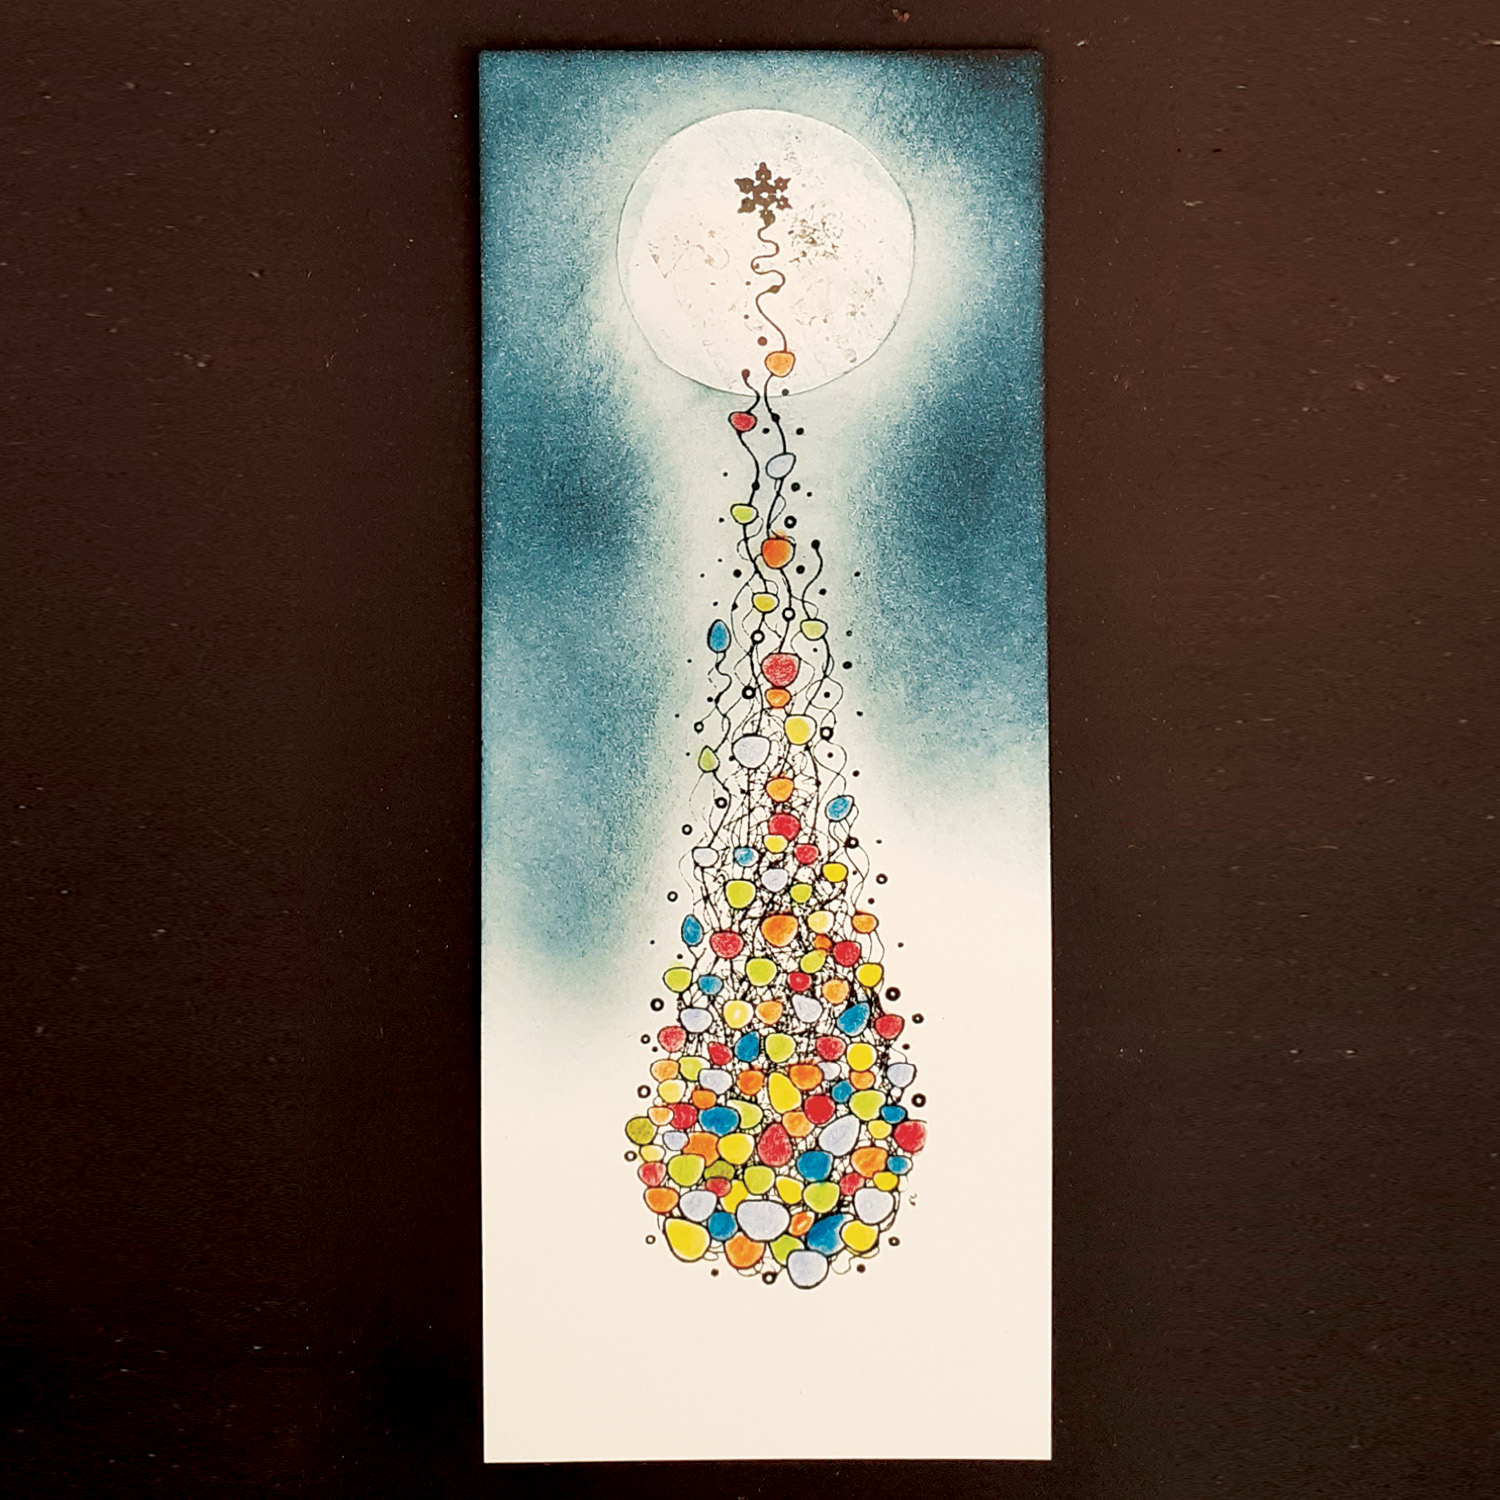
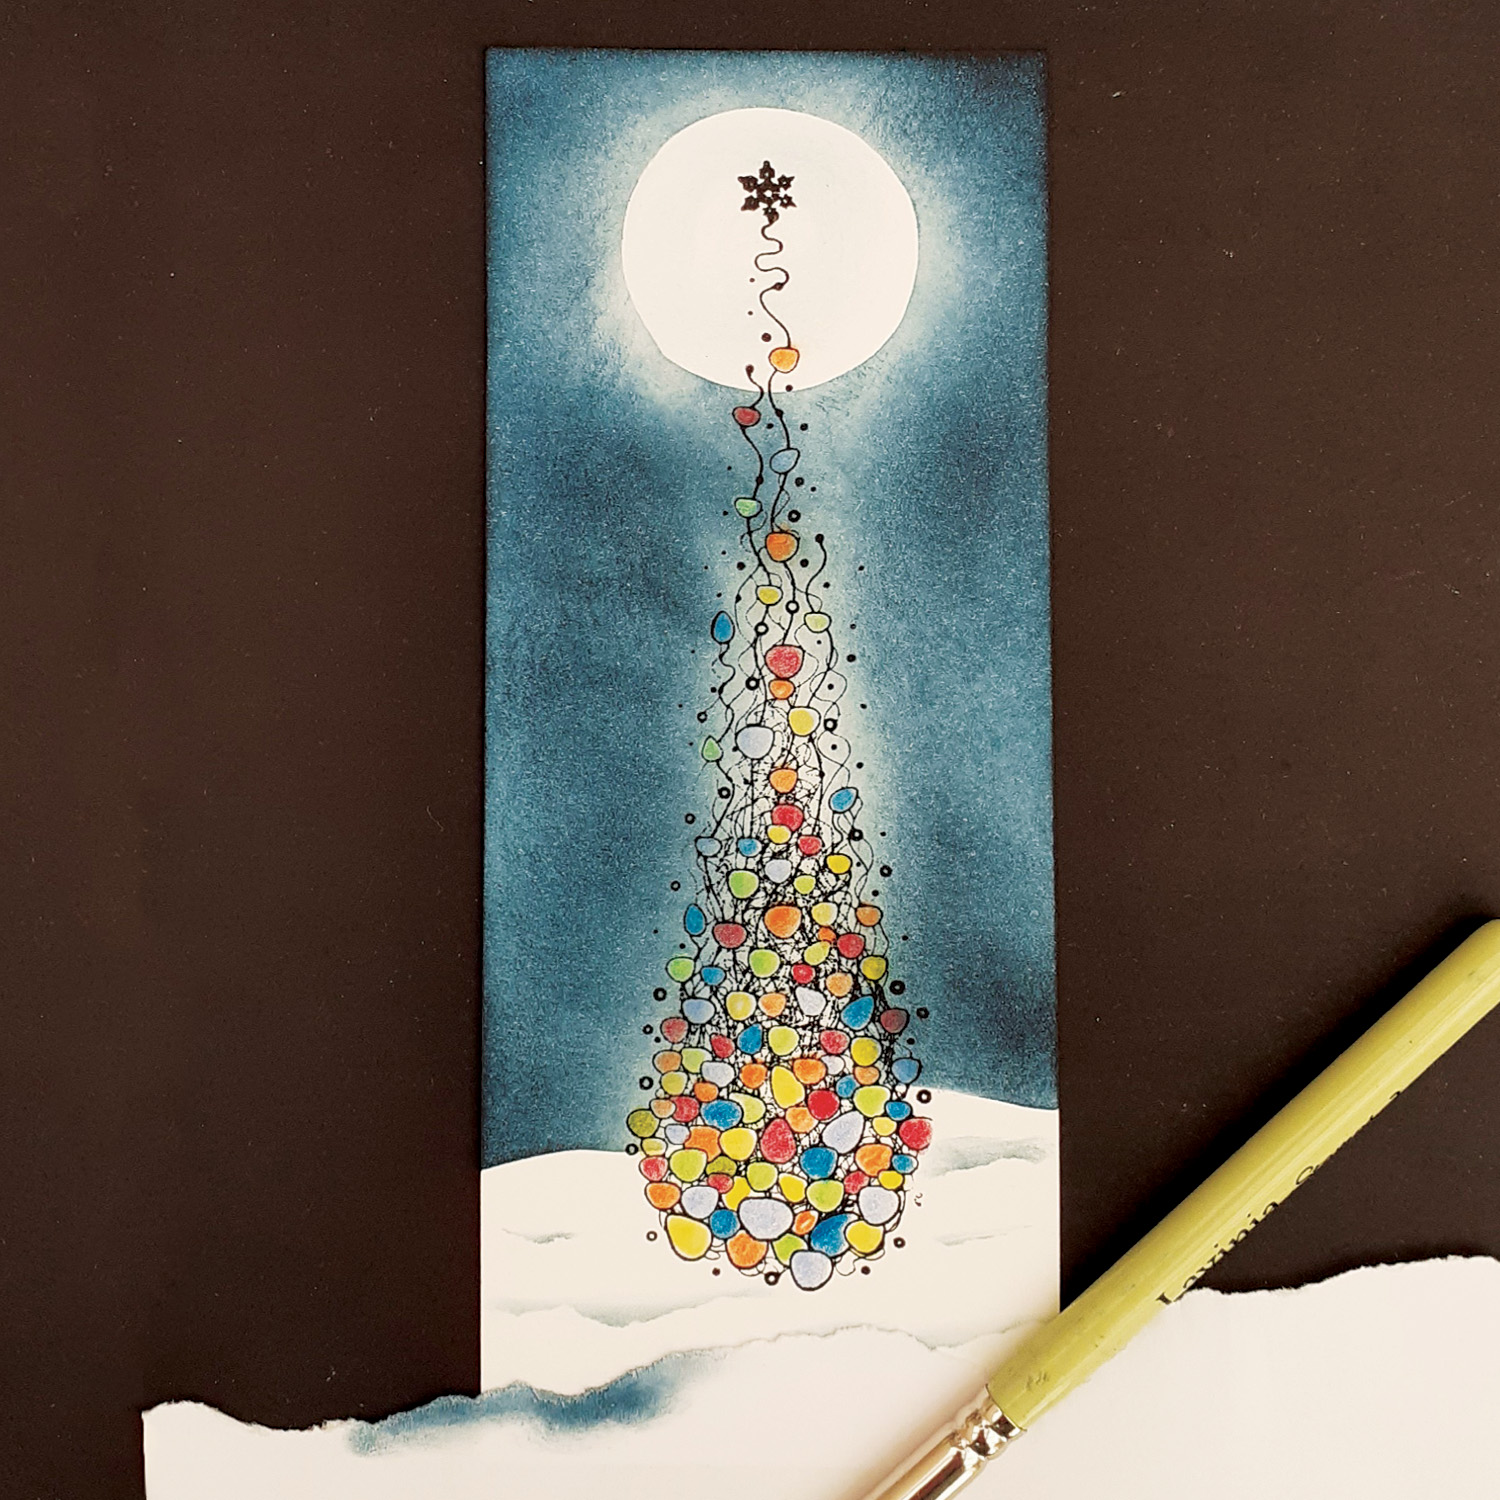
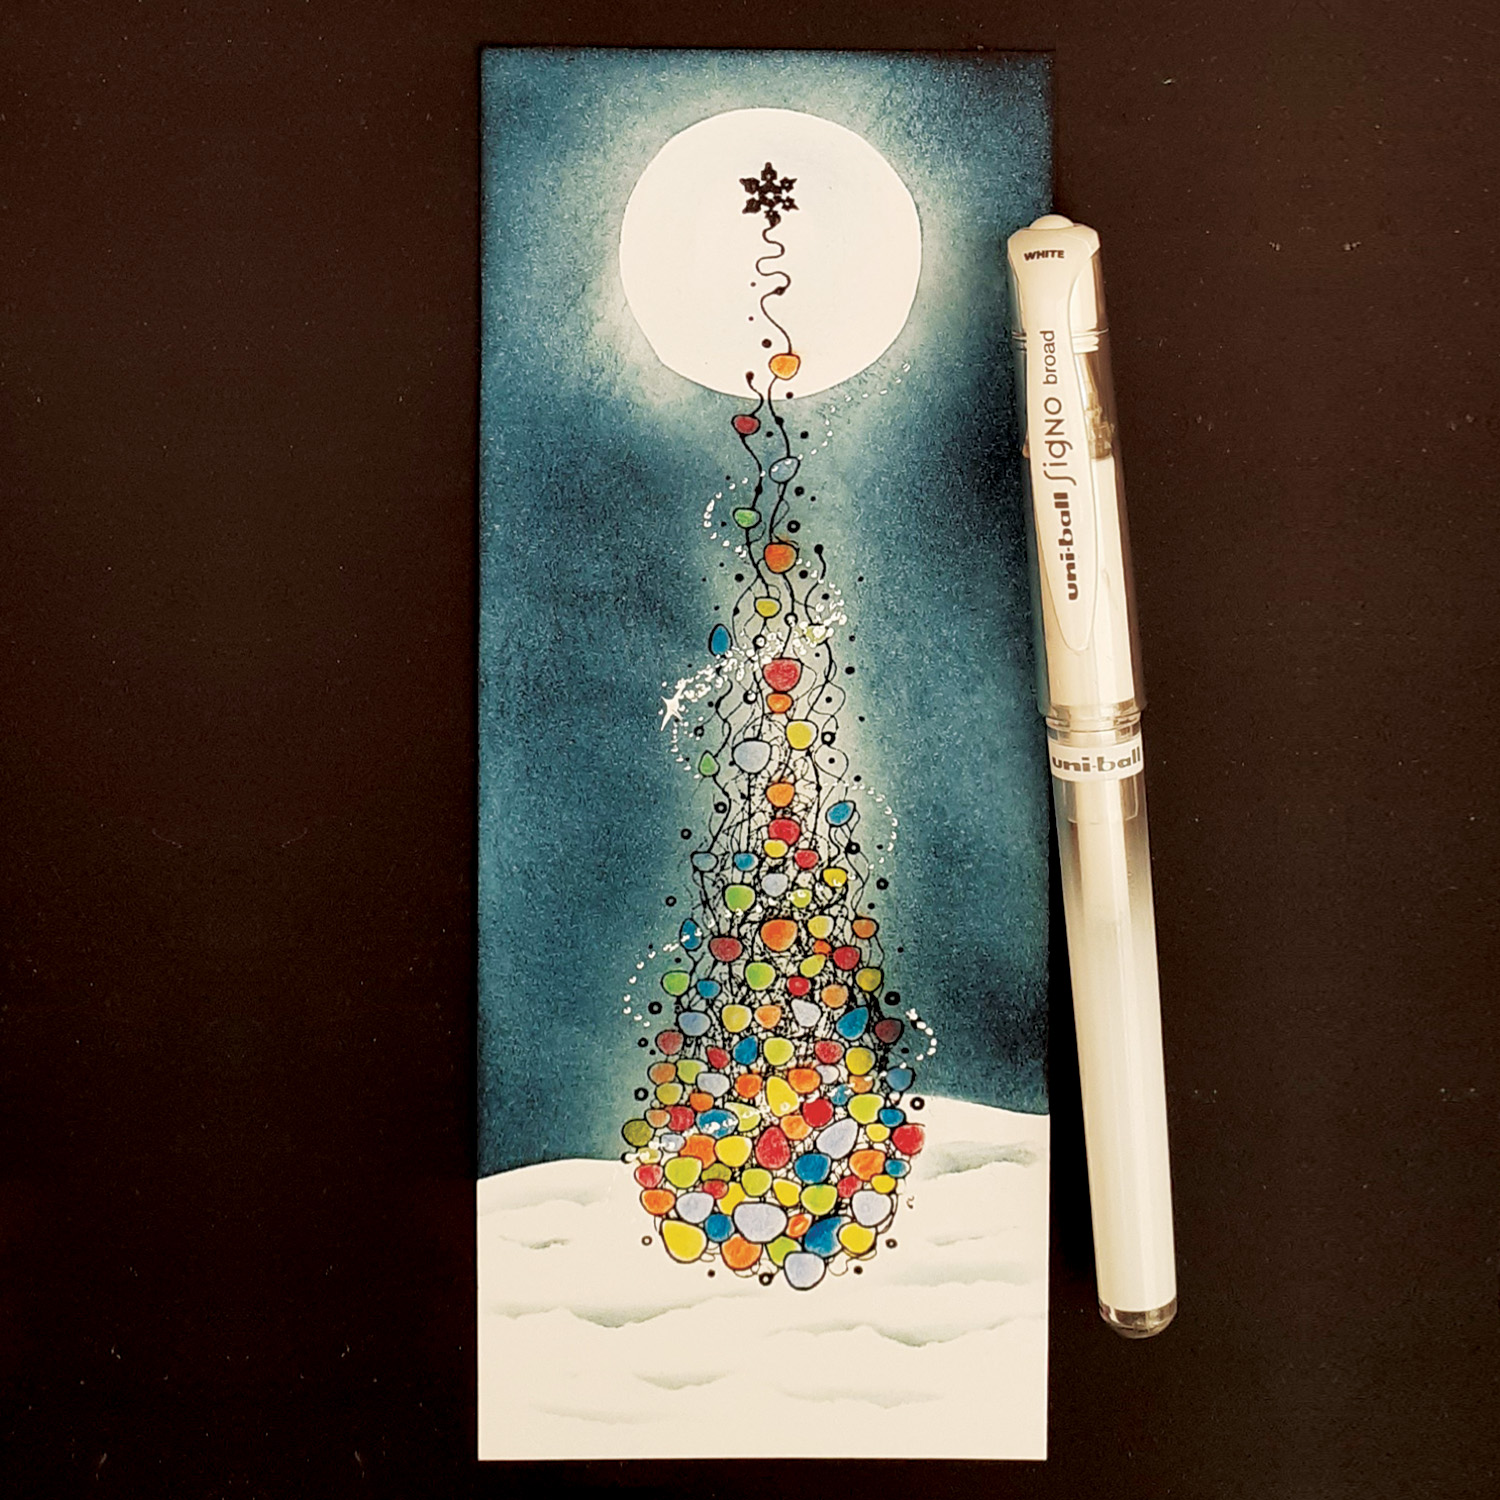
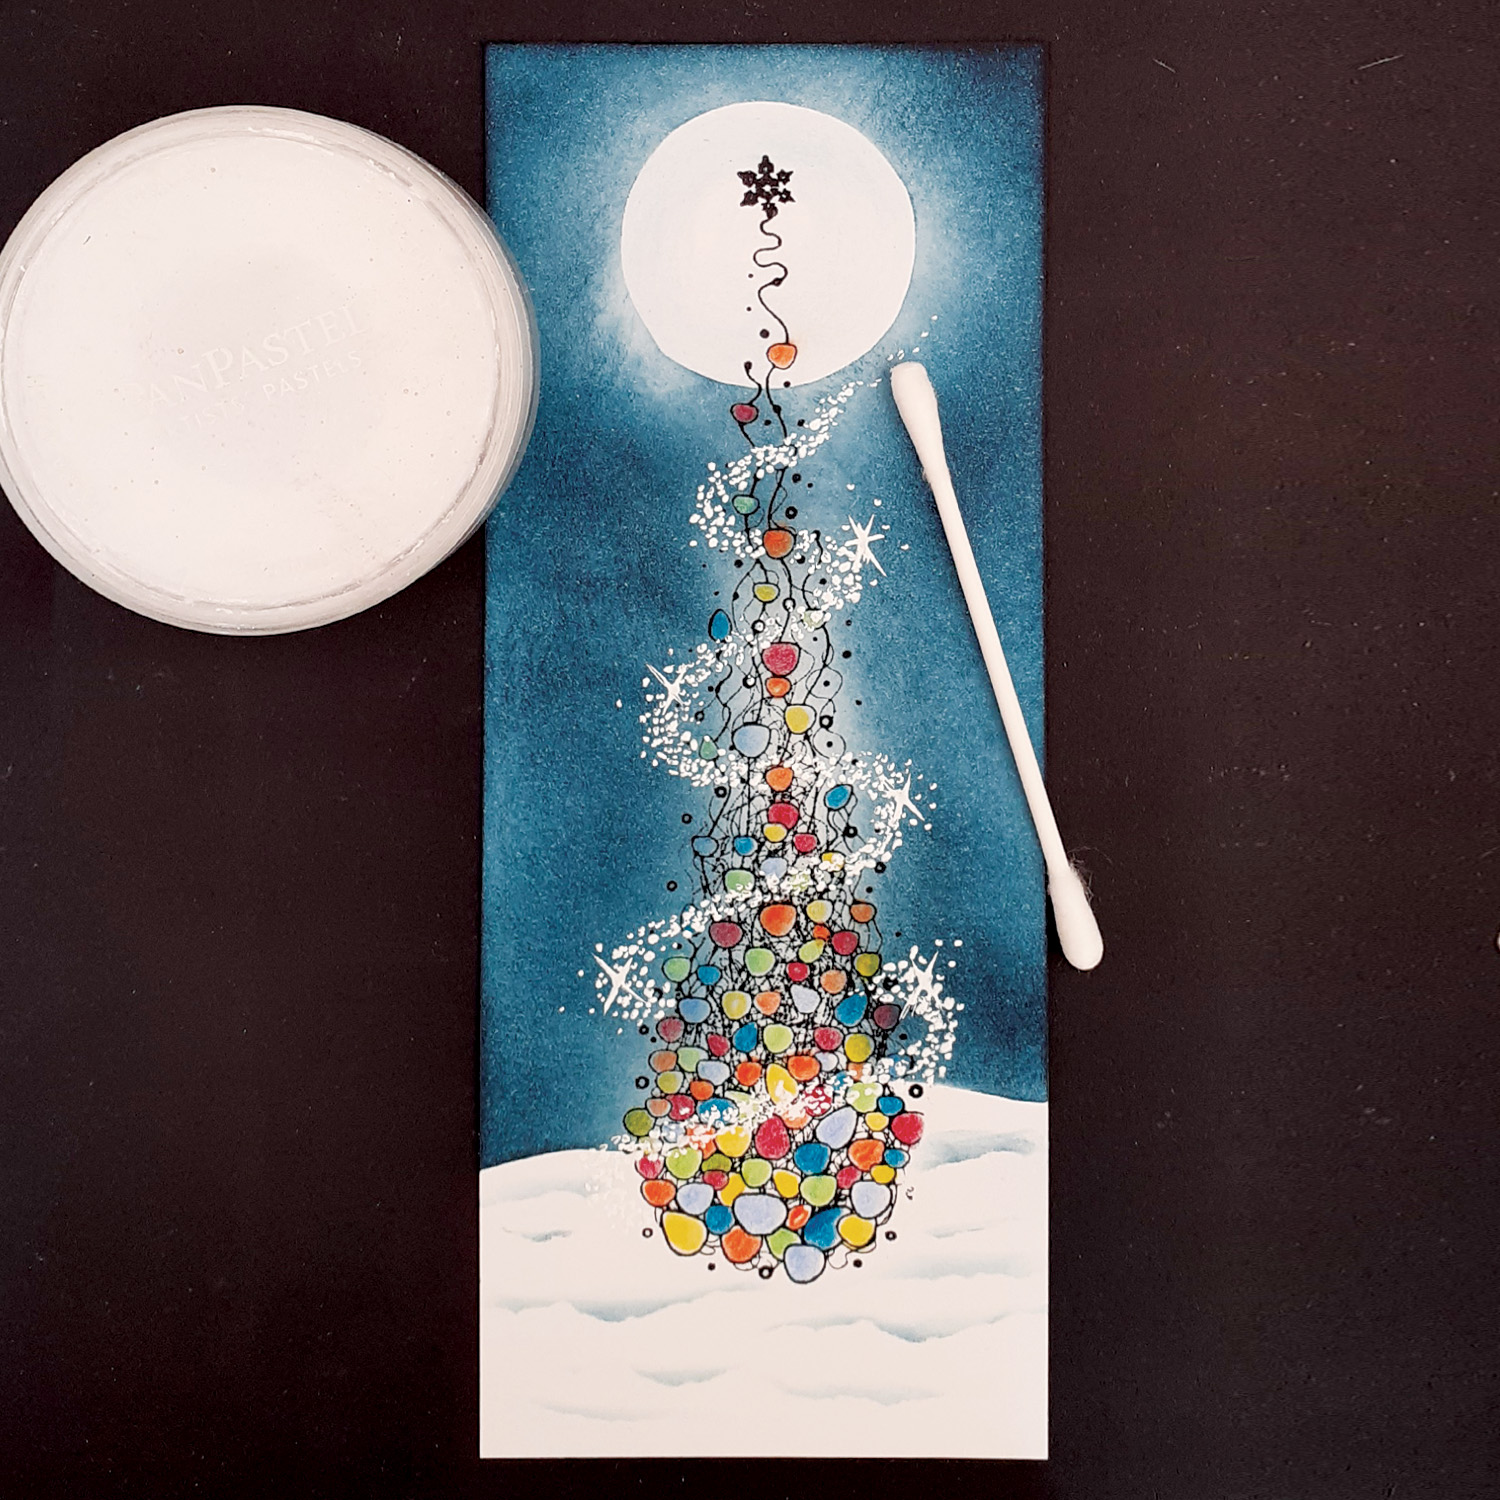
Using the white Signo/posca pen, add small highlights to the coloured areas.
This is optional of course but brings the stamp to life!
I hope you have enjoyed this tutorial.
Happy Crafting! Lainey
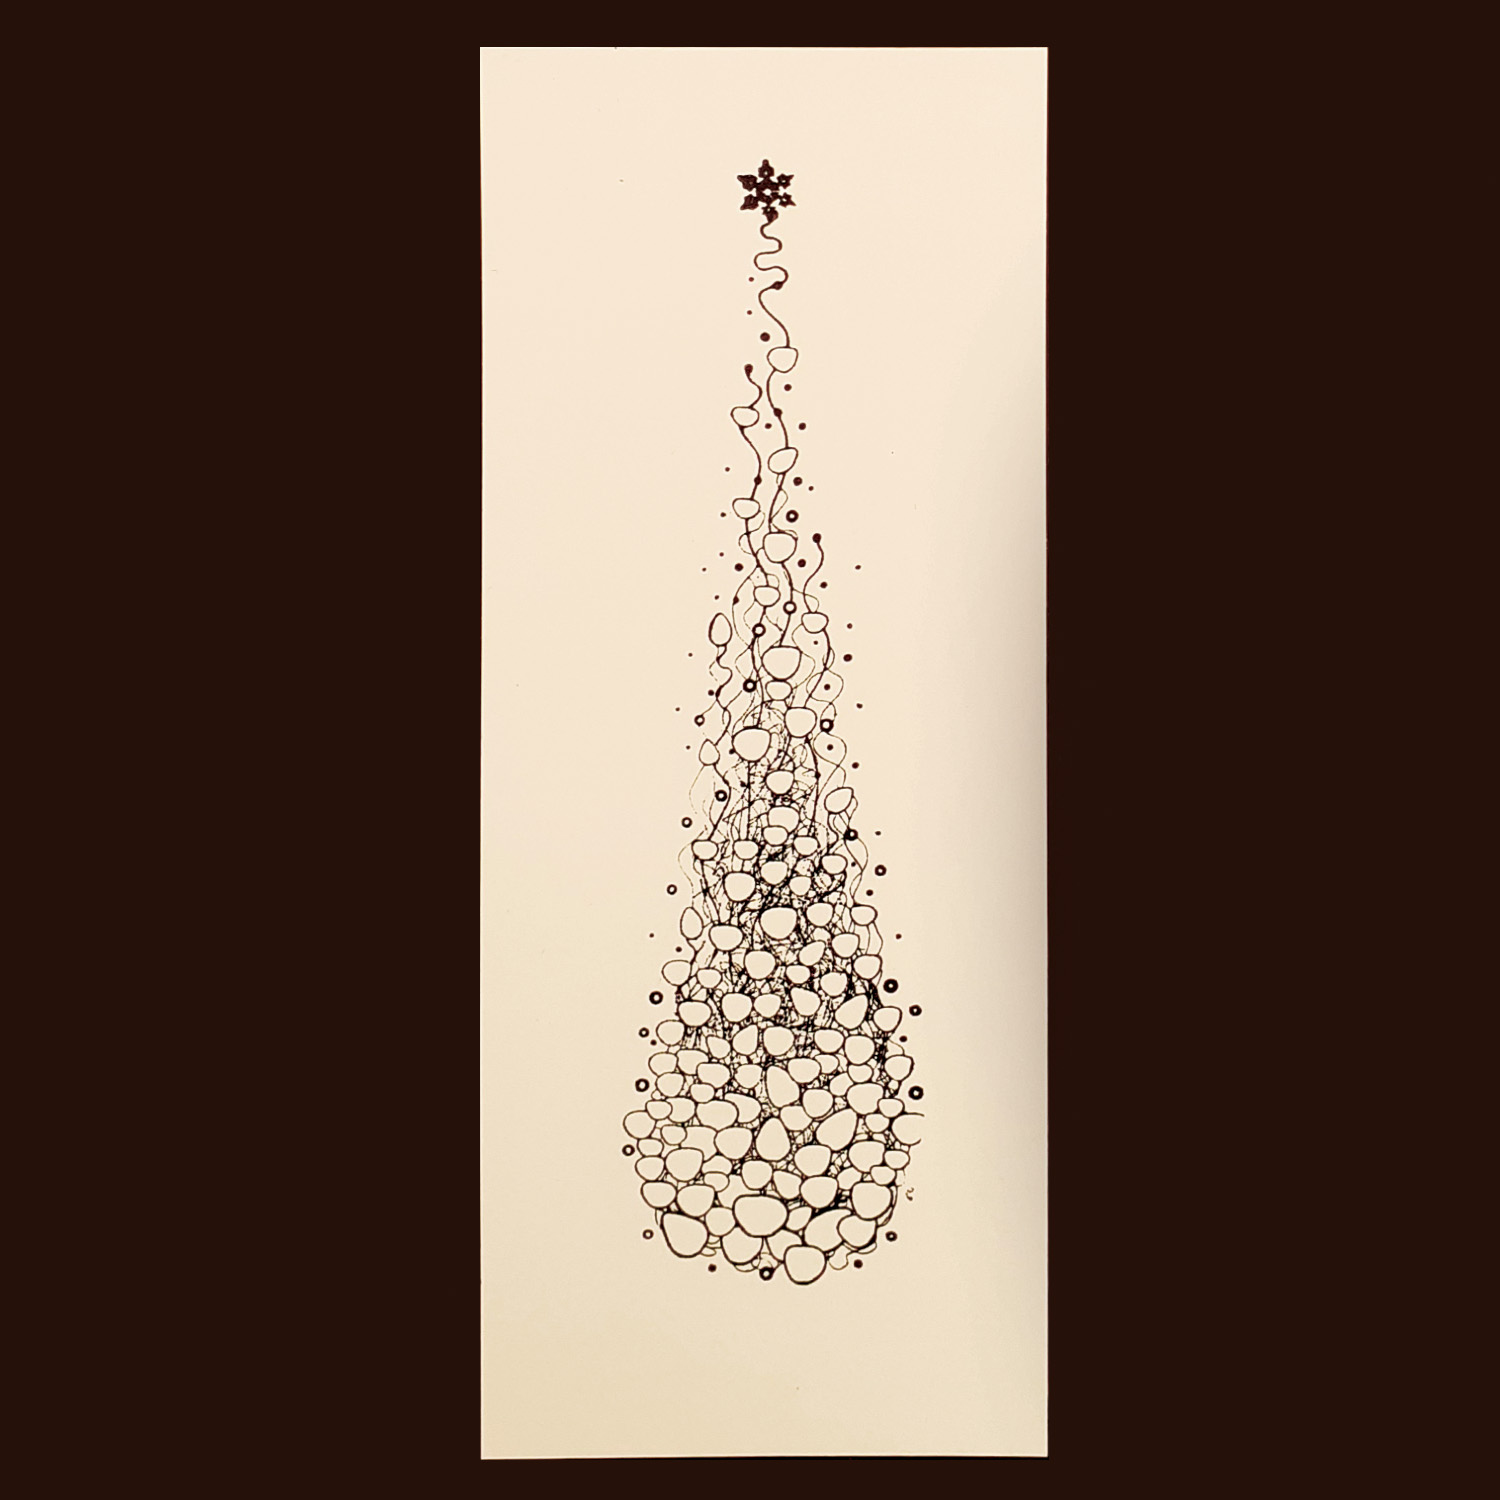
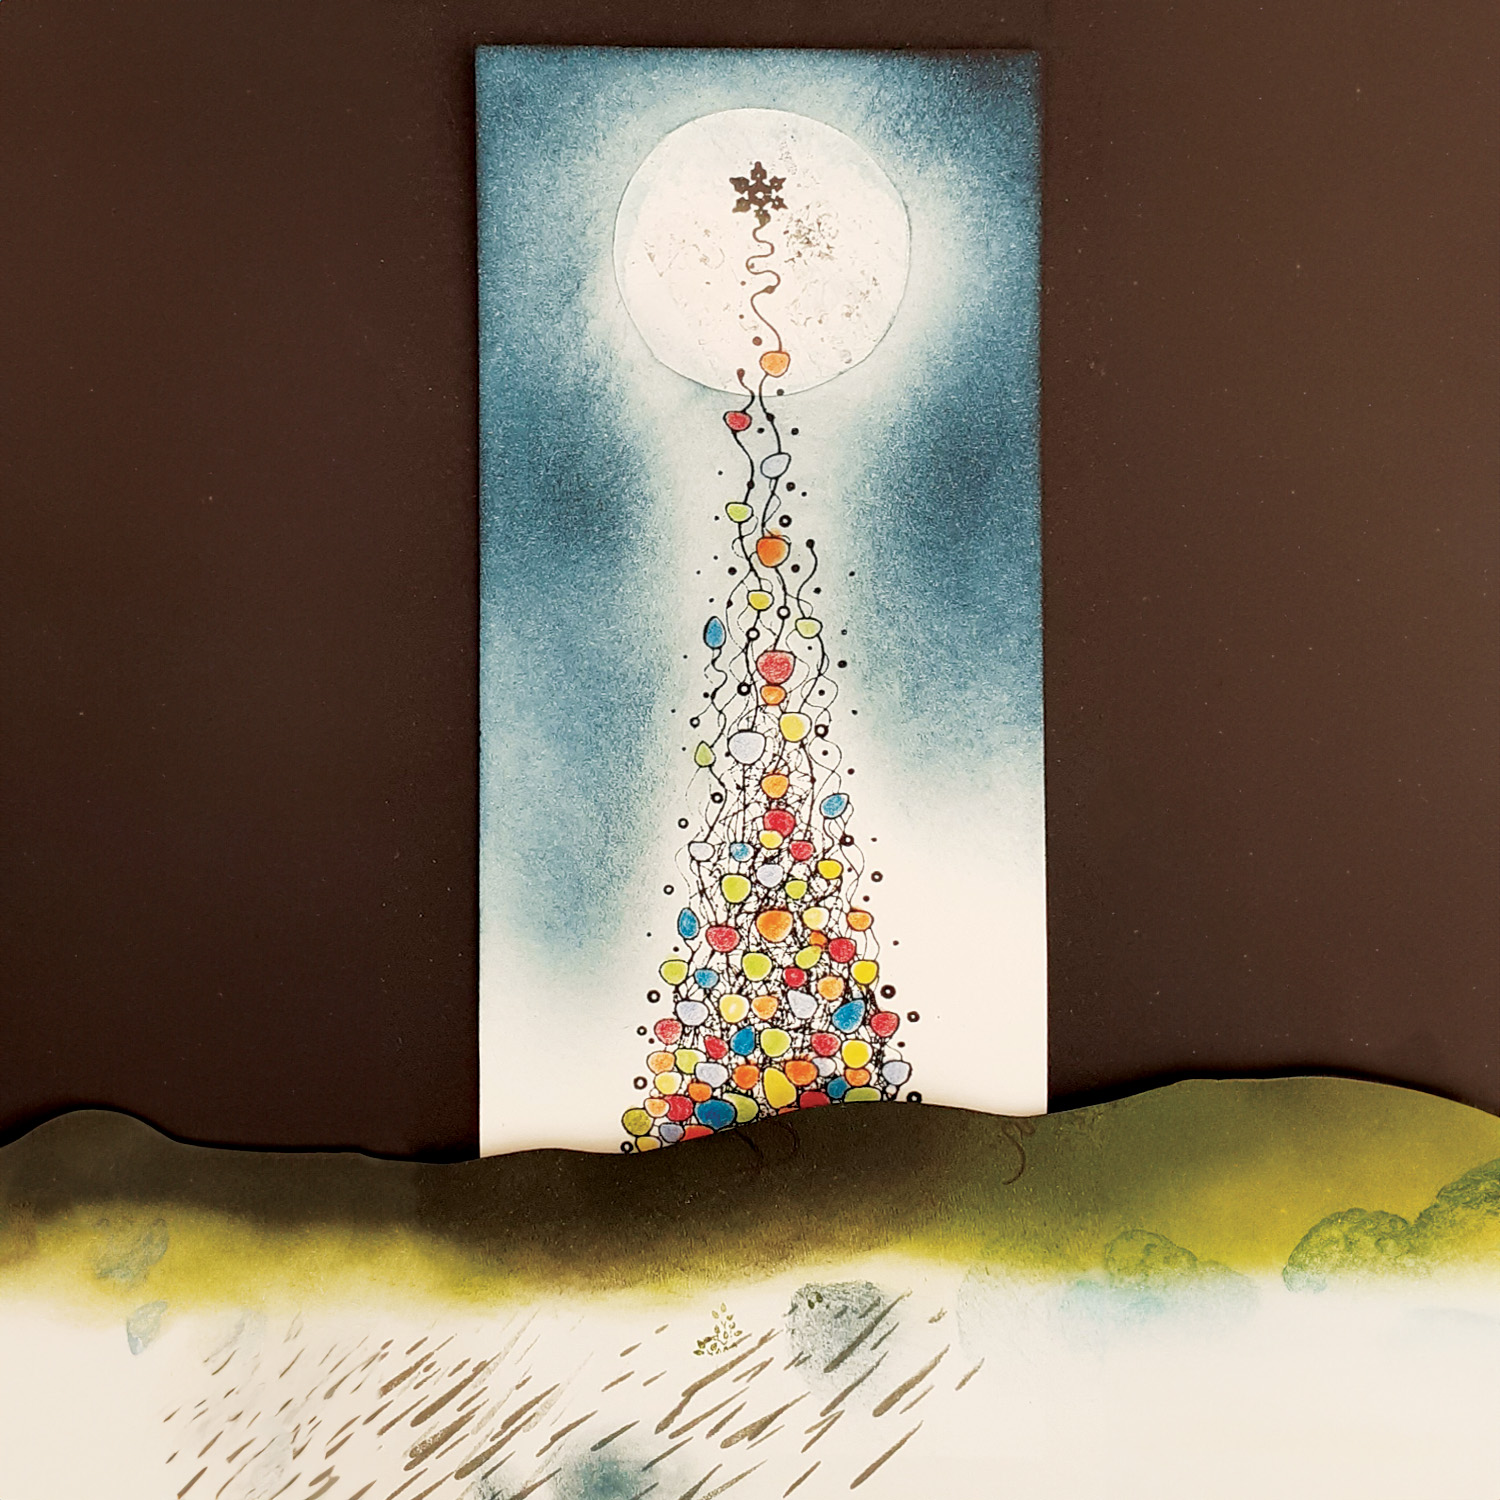
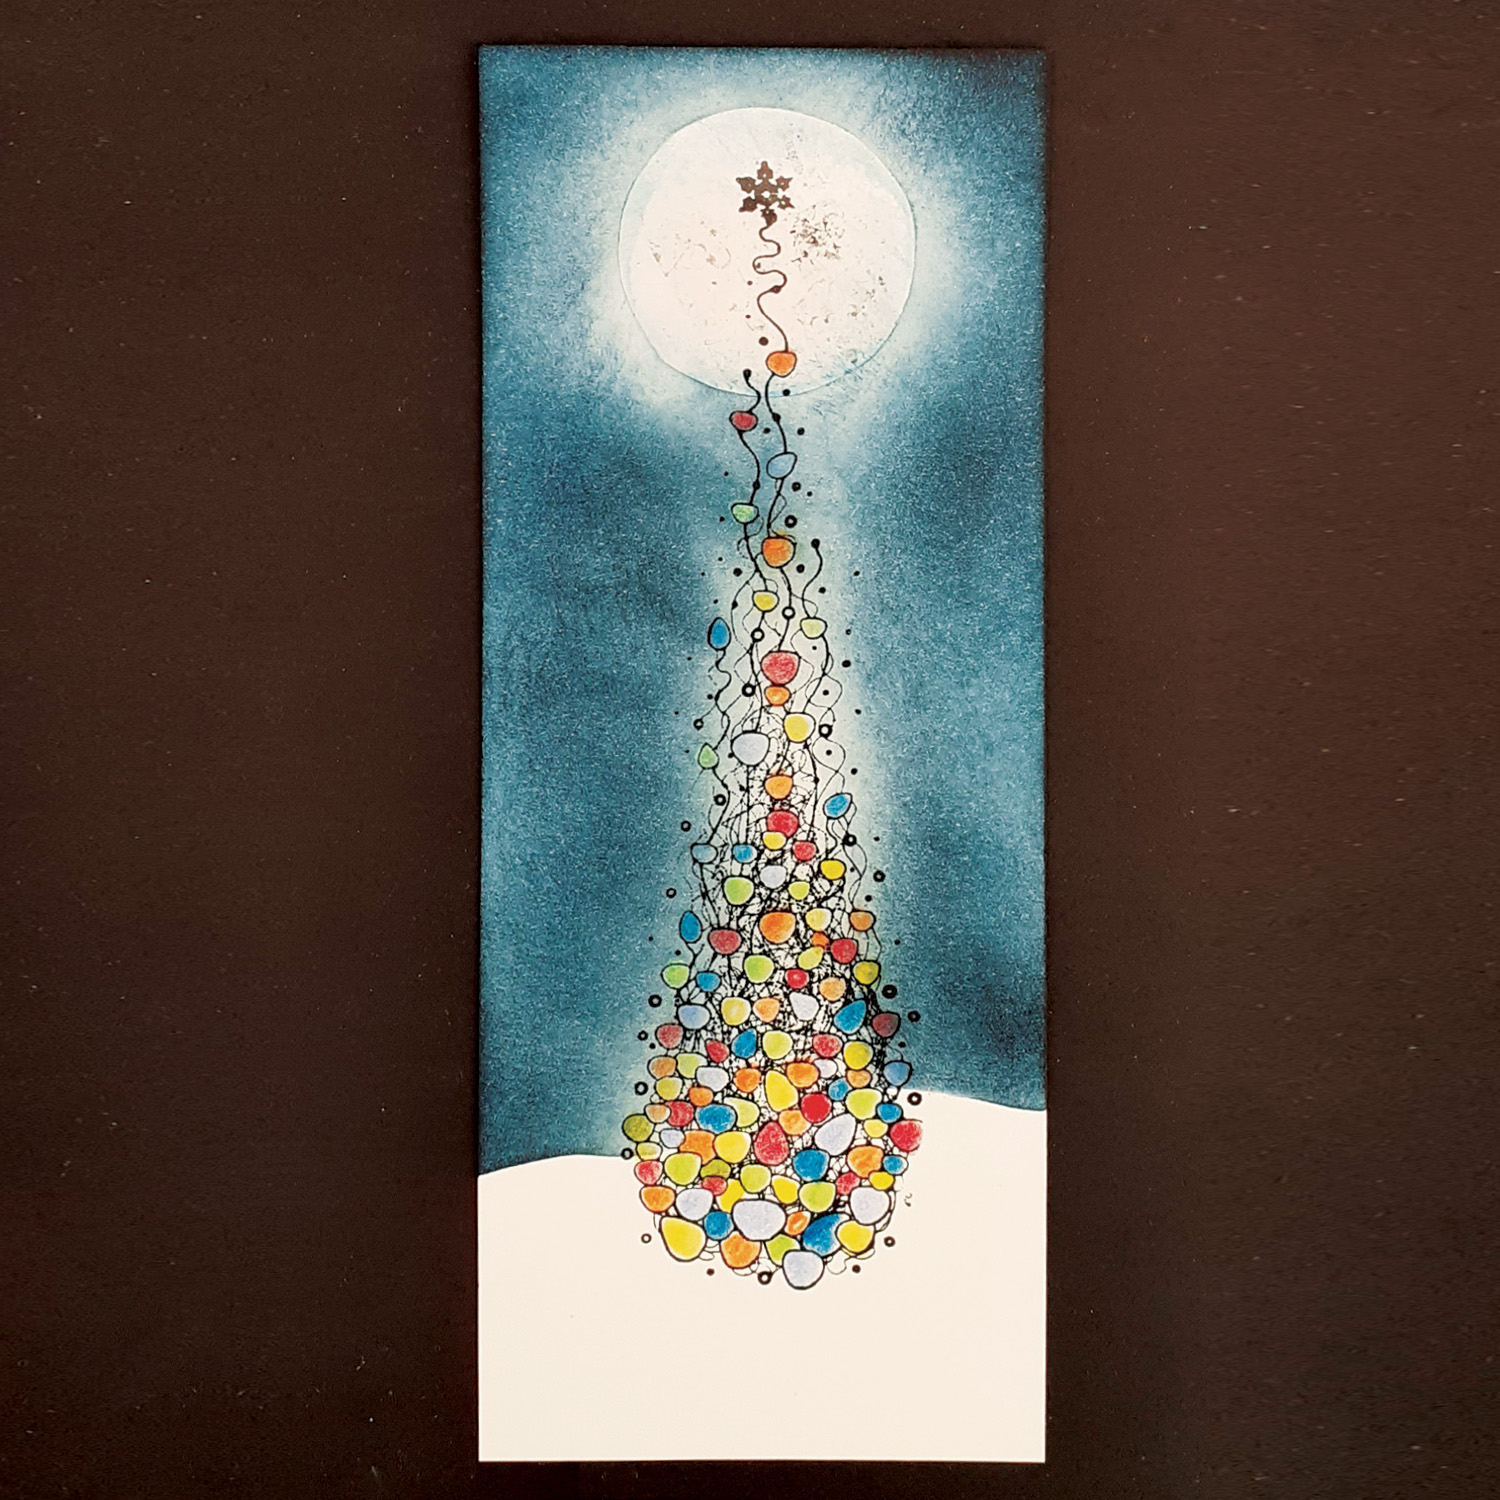
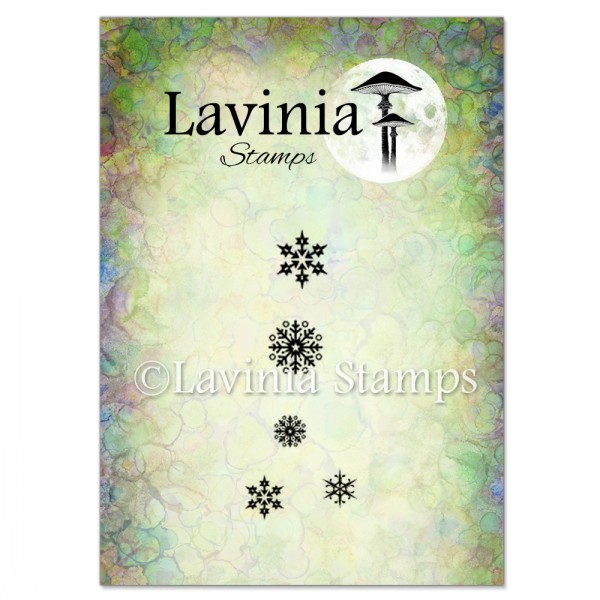 Snowflakes Stamp
£3.80
Add to basket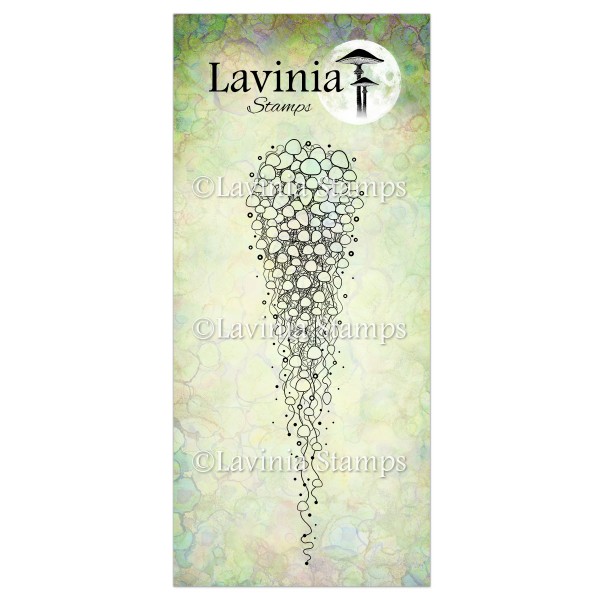 Leaf Bouquet Stamp
£8.60
Add to basket