Step by Step by Mona Hauge
Hi Lavinians 🧚♀️
Hope you are all loving these new Bridge your dreams stamps, I know I am!
Please do enjoy today’s tutorial named “A Magical Day”.
Let’s get stuck in!
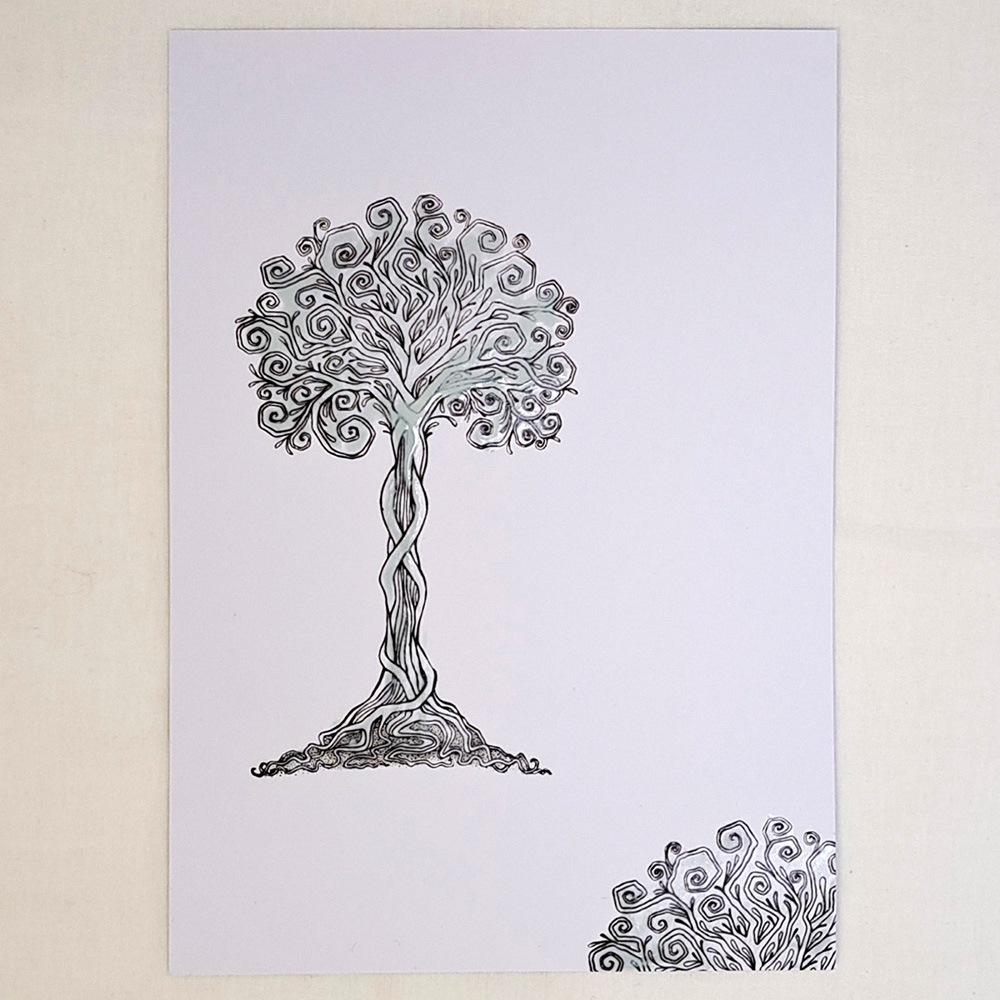
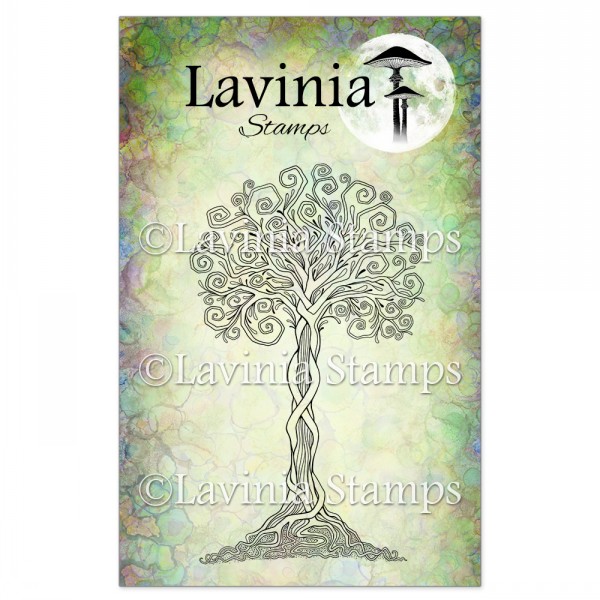
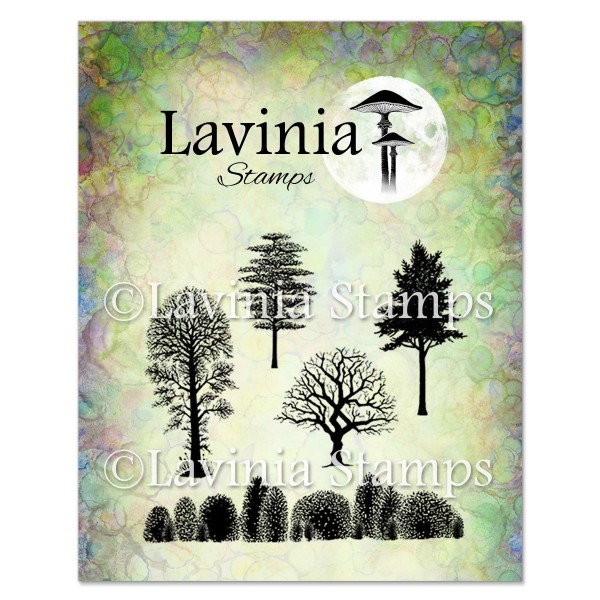
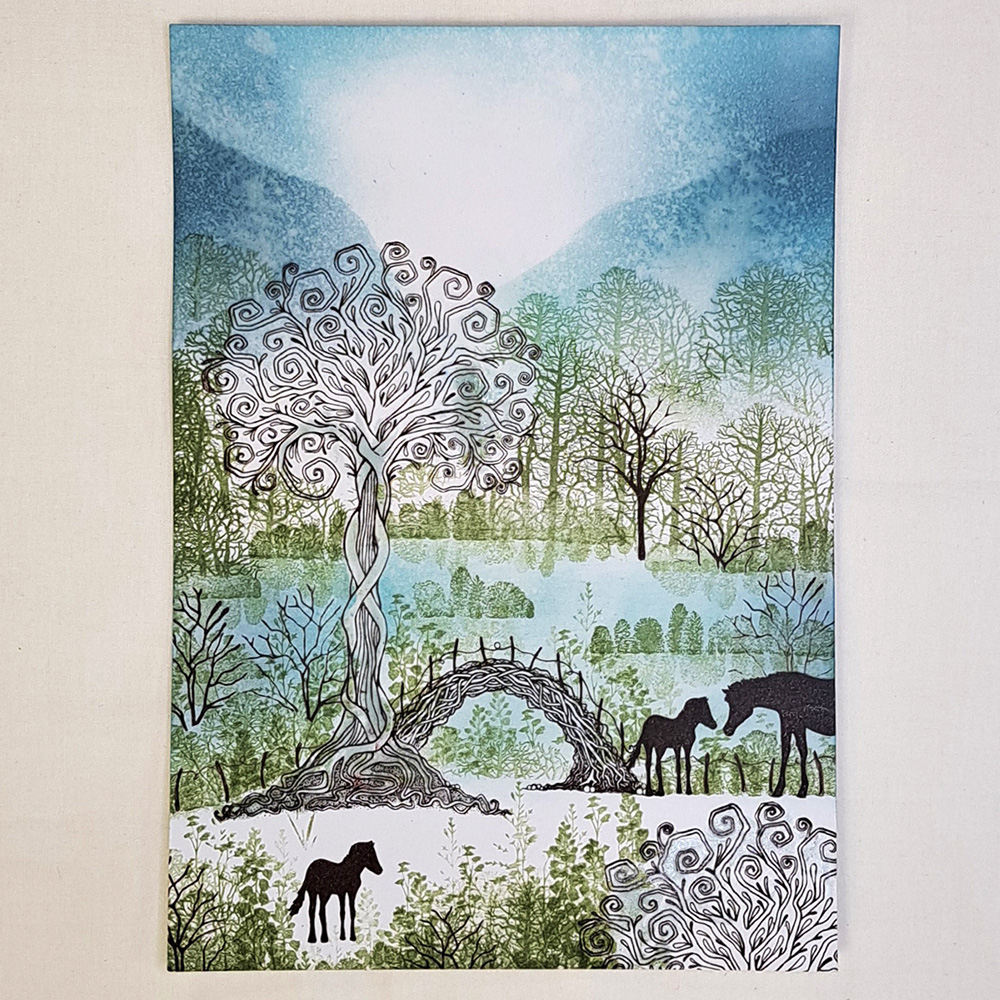
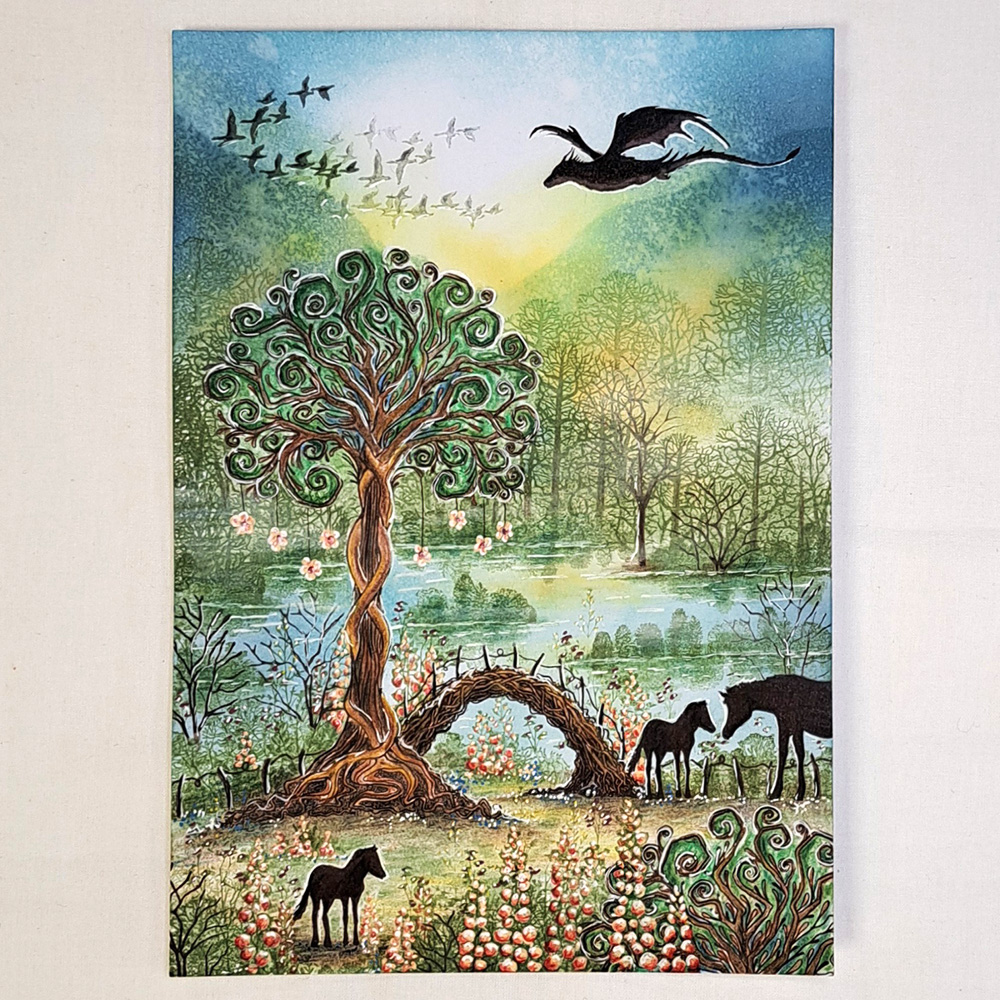
- Start with some A5 Multifarious white card and stamp the beautiful Tree Of Life in Versafine Clair Pinecone. Stamp a part of the top of the tree in the bottom right corner so it will look like a bush, also, in Versafine Clair Pinecone. Cover with Liquid Masking fluid when the ink had dried completely.
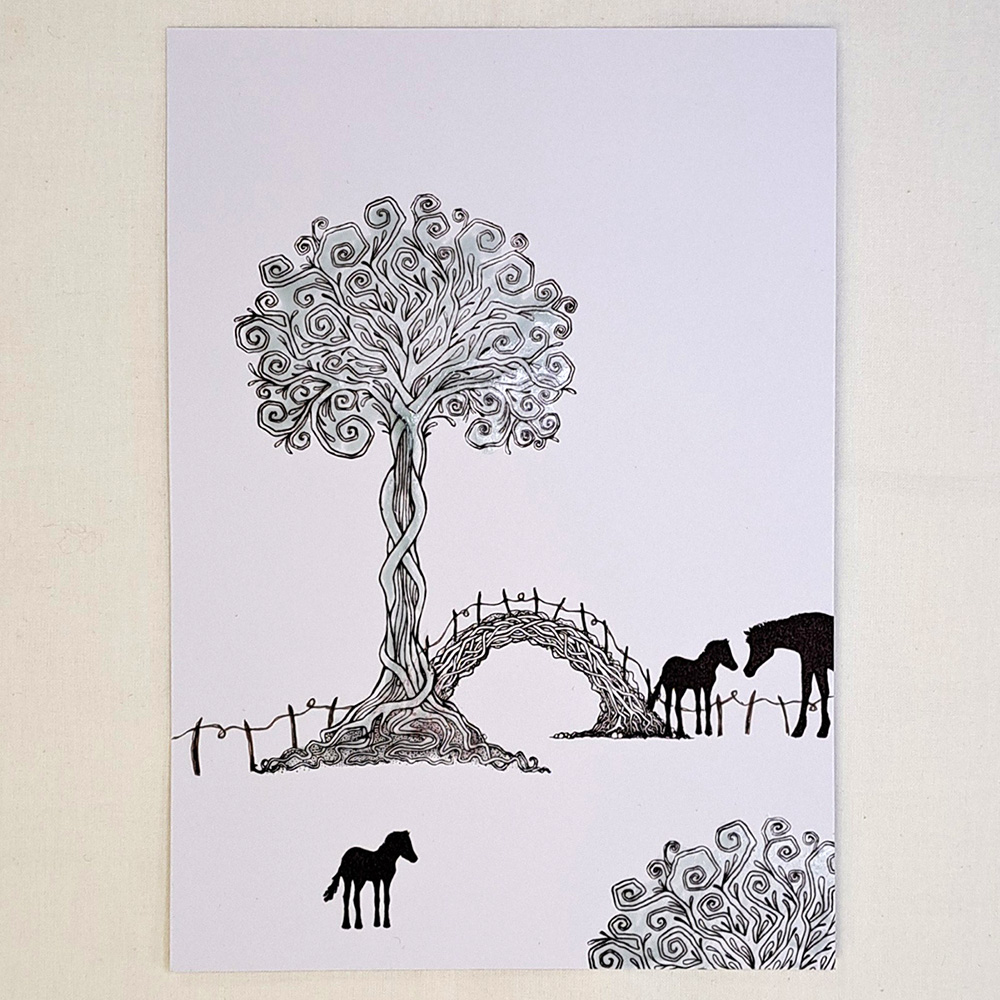
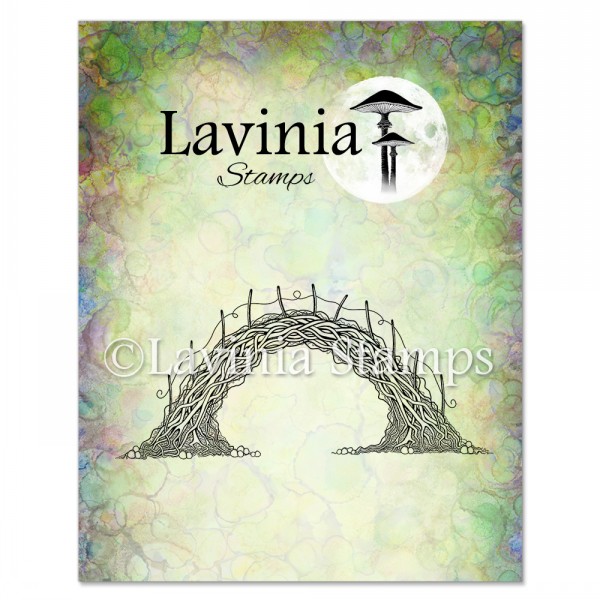
2. Stamp
the Sacred Bridge Small like you see in the picture in Versafine Clair
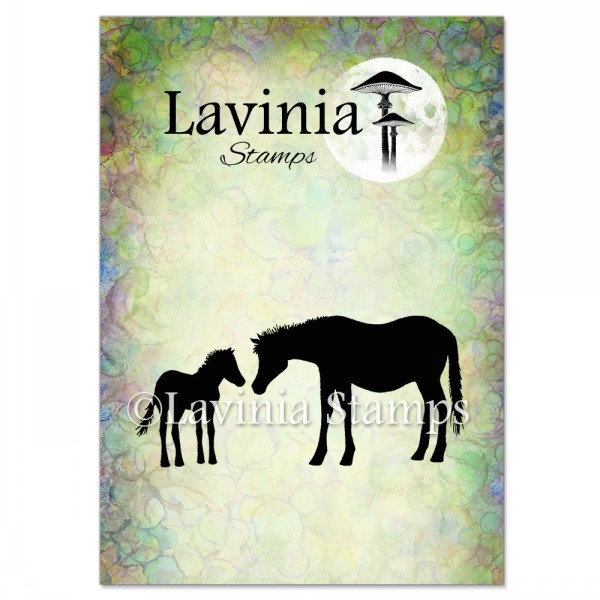
Pinecone. Now we want the sweet Horse and Foal LAV006 standing next to the
Bridge like you see in the picture. Then we put ink only on the foal and stamp
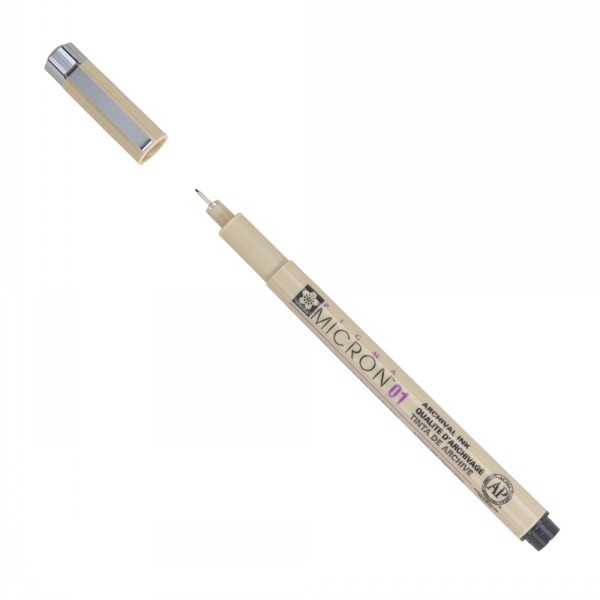
her in front. All in Versafine Claire Pinecone. With a Sepia Micron pen draw a
fence similar to the fence on the bridge. Cover all with Liquid Masking
Fluid when the ink is completely dry.
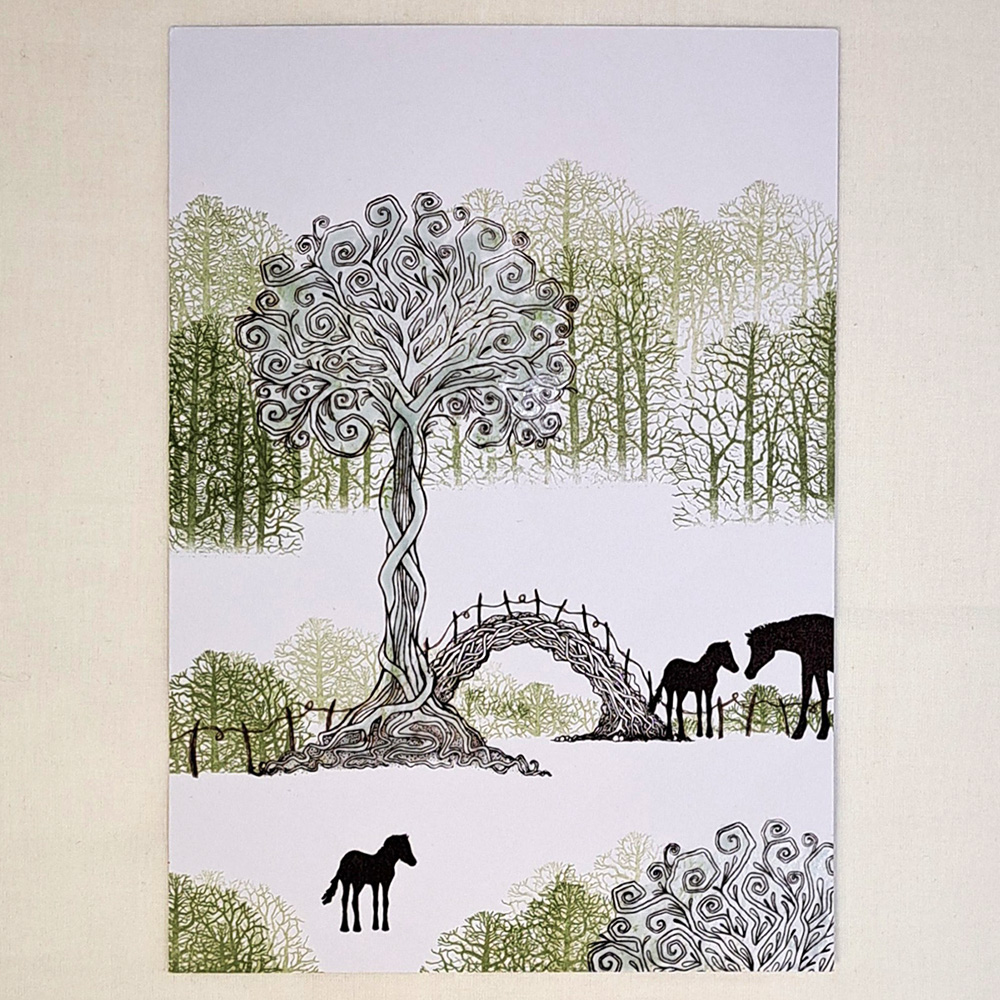
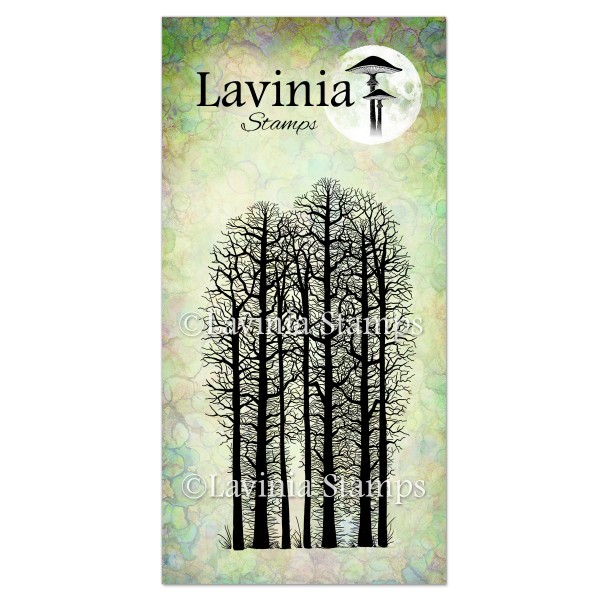
3. Now we will create the forest and bushes with the Forest Scene LAV524. As you can see we will not use the whole length of the stamp, some long and some short and both second and third generation stamping with Versafine Clair Shady Lane. Look at the picture for placement.
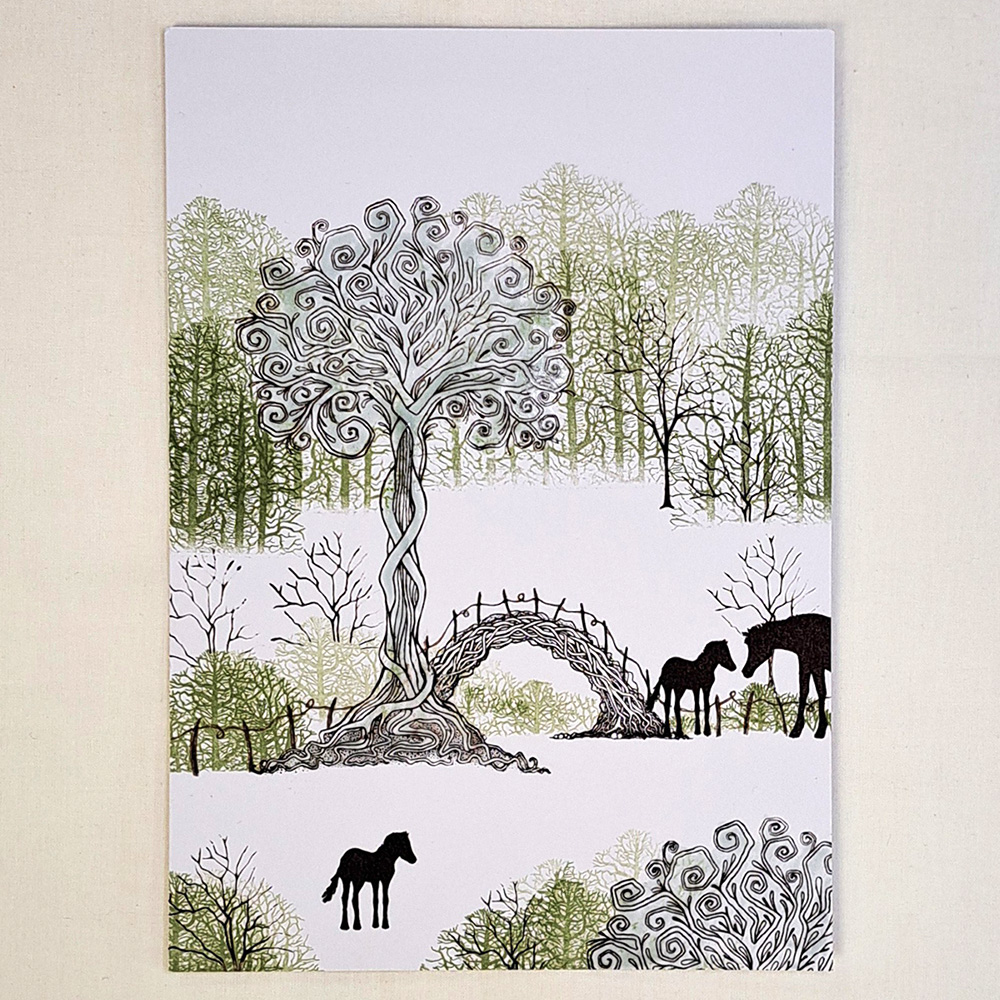
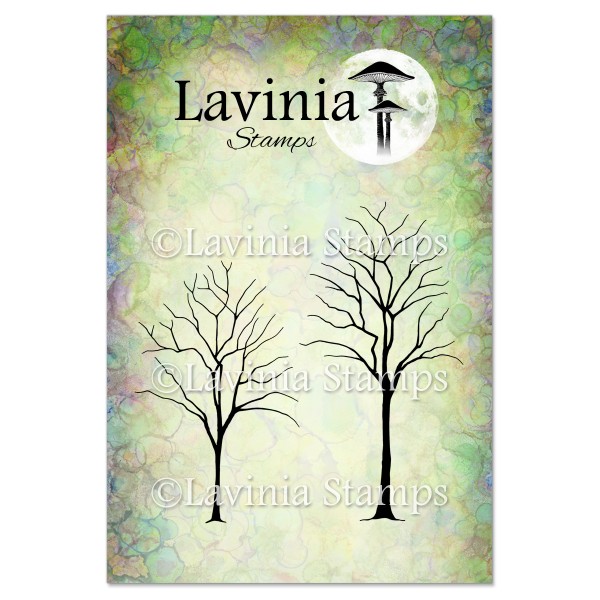
4. A few Small Trees LAV663 stamped in Versafine Clair Pinecone will help to create
a lovely forest scene.

5. With the Tree Scene LAV219 we will create small “islands” in the water and some small bushes along the water line. Stamp with Versafine Clair Shady Lane first generation stamping for the bushes, and do second generation stamping for the reflections. Just turn the stamp upside down and make it work with the shapes. It will not be a perfect match, but it really does not matter. It will be good enough for the illusion of shadows in the water.
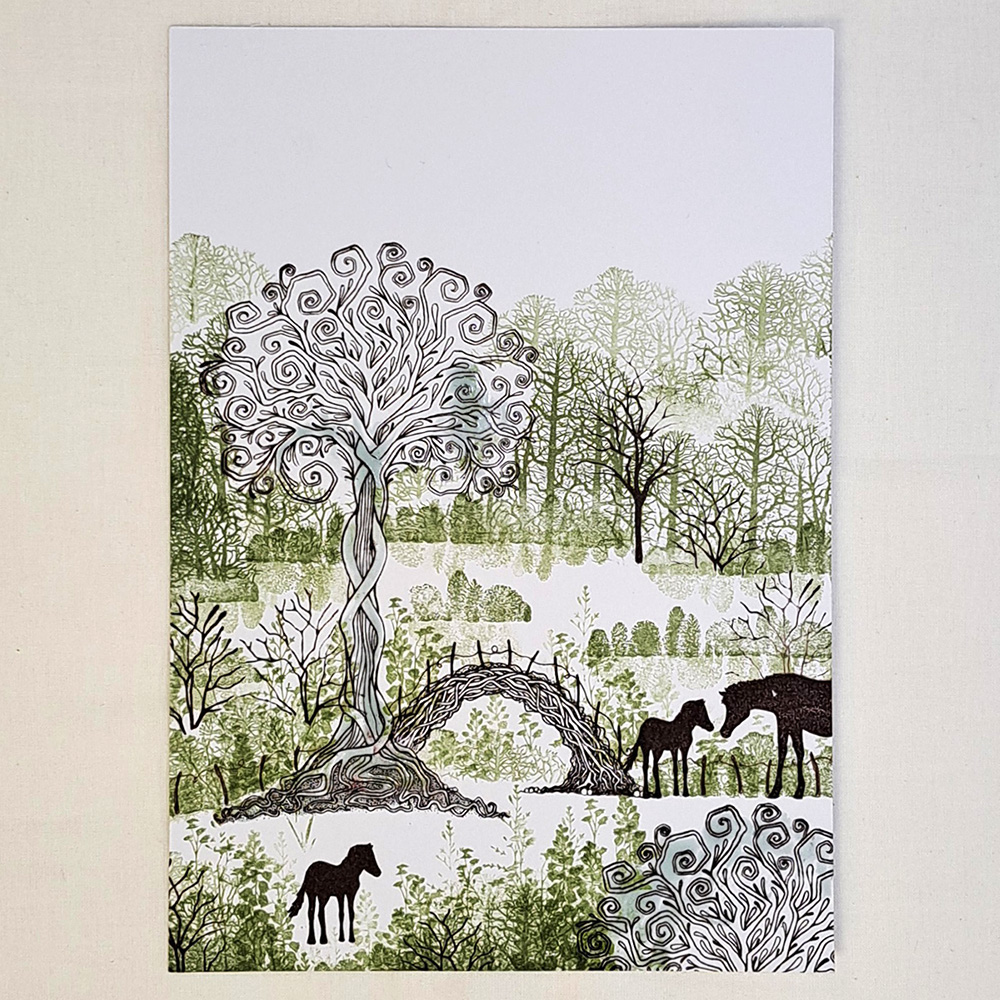
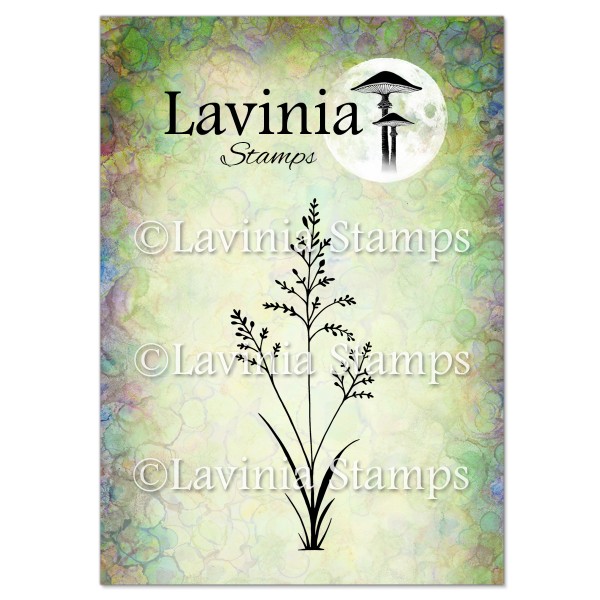
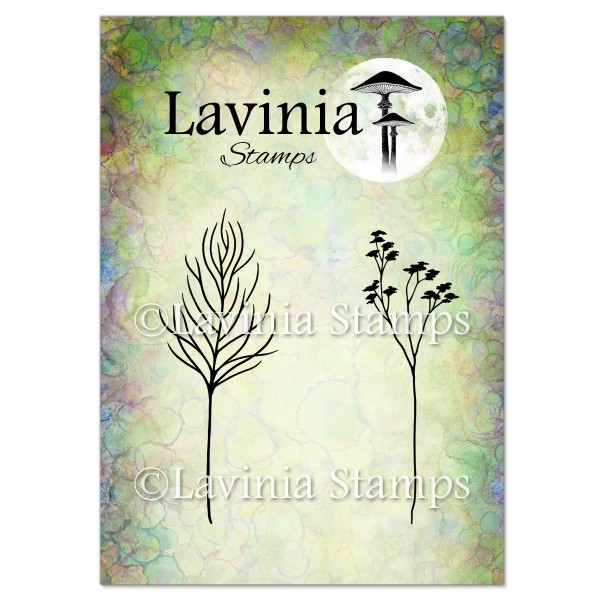
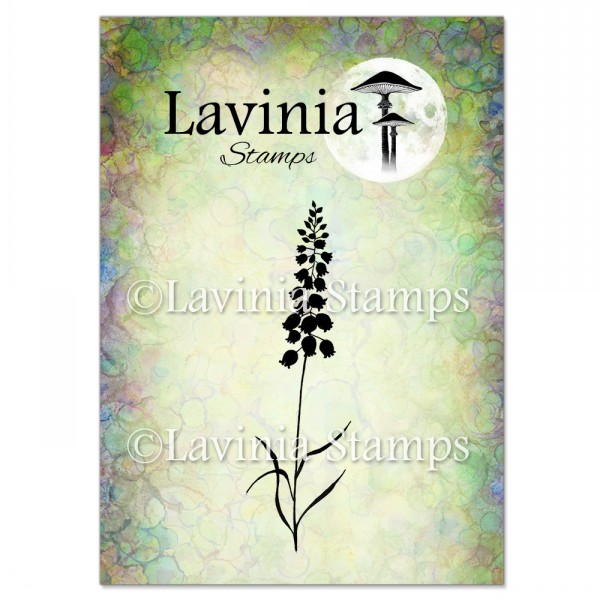
6. Flowers are needed and we will use Bluebells LAV002, Orchard GrassLAV672 and Flora Set LAV698 all stamped in Versafine Clair Shady Lane. Do both first and second generation stamping, this helps to create depth in our picture.
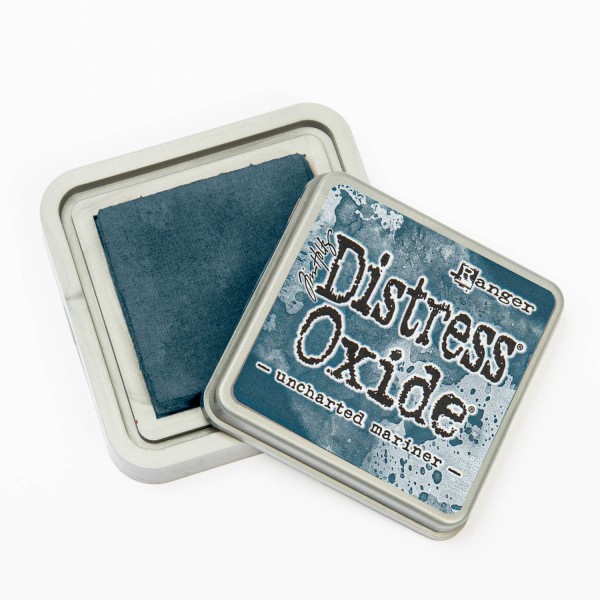
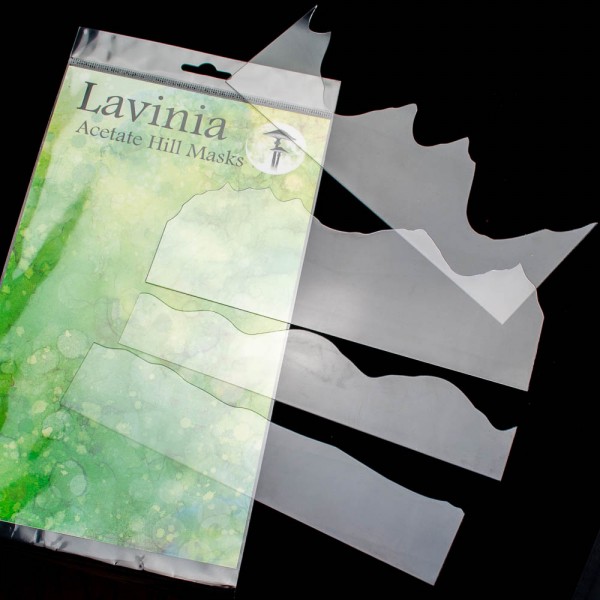
7. Use
the Hills Masks to create some mountains in the distance. Distress Oxide
Uncharted Mariner for the base colour on the mountain and then use a tiny bit
of Elements Dark Denim on top. Then use Elements Blue Atoll on the sky and
water. Do a little bit of Elements Dark denim on both sides of the water. Look
at the picture for placement. Be sure to make the colour darker around the
edges of the sky and mountains and leave the centre very light or completely
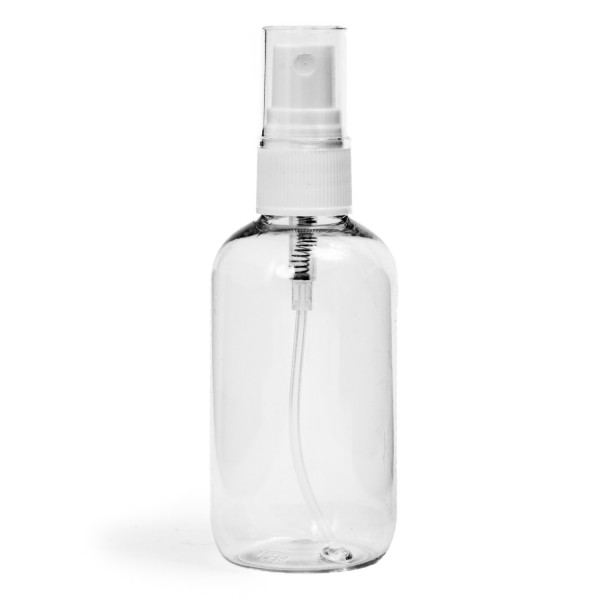
white. Spray some water on the sky and the mountains and let the magic happen.
Wait a bit before you dab of the water with a paper towel.
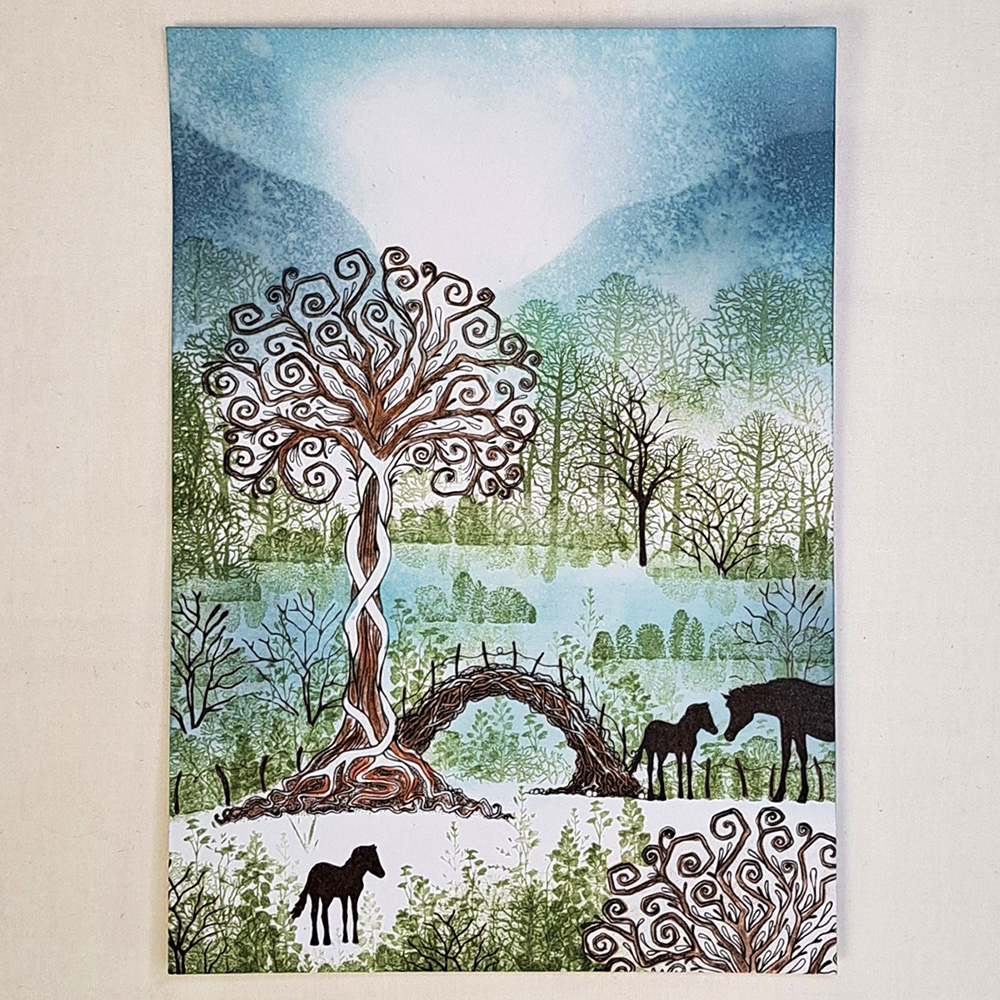
8. First we need to make sure our picture is completely dry. Use a heat gun if you have it .
Now we can remove the Masking . To colour the tree and bridge we will use 4 different colours. I use my wonderful Mondeluz Aquarelle pencils because they are so soft and so vibrant in colour. We will use a dark brown, brown, reddish brown and ochre. So in this picture I started with the dark brown and the reddish brown. So that you can see the placement of the colours. Next picture for the next colours.
9. In
this picture I’ve added the brown and ochre pencils. It may be hard to see
exactly where all 4 colours are, but it really makes a difference with multiple
colours. It gives the images more depth and life.

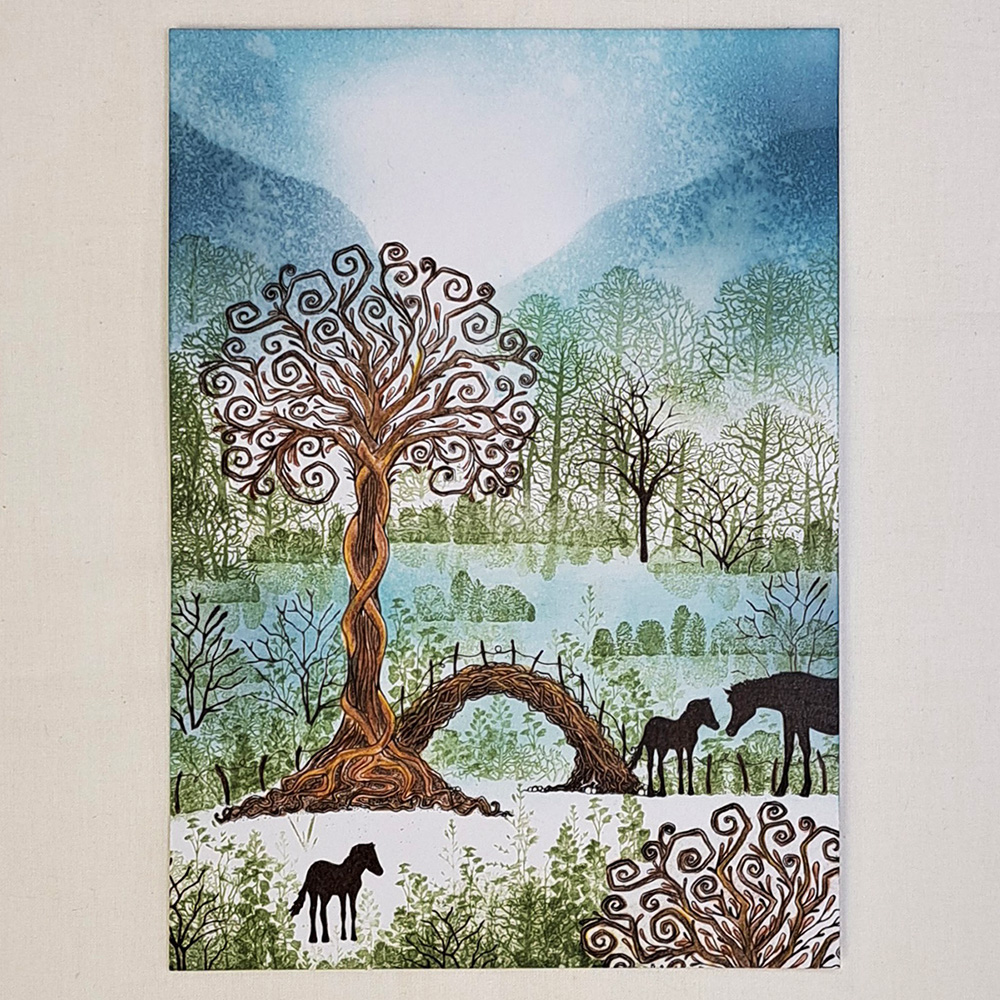
10. Now we want to colour the ground, using a light olive green, brown, ochre and a hint of Prussian blue Mondeluz Watercolour Pencils. Use a darker colour under the tree, the bridge and the horses. Look at the picture for placement. In our bushes on the water use a green similar to the Versafine Clair Shady Lane colour. Use the colour to colour in all the trees so that there are no more white spaces between the branches. Add a darker green to create some depth in the small bushes. Use a green and some blue to colour in our tree top and our tree bush.
11. Now use a Light Orange Posca pen to colour the Bluebelles and a Red Wine Posca pen to colour the Flora set flowers. Use a Yellow Posca pen to dot on some colour to the Orchard Grass.
When the Posca has dried use a dark orange colour pencil to create some shadow on the Bluebells. Also use a Blue Posca pen to do some small dots on the ground.

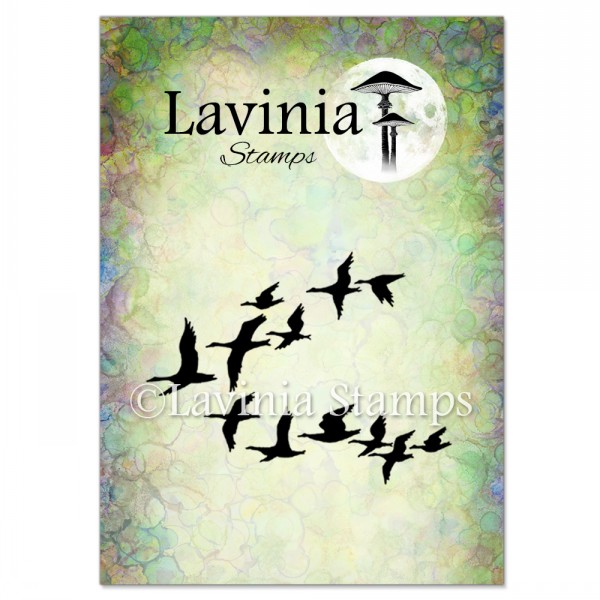
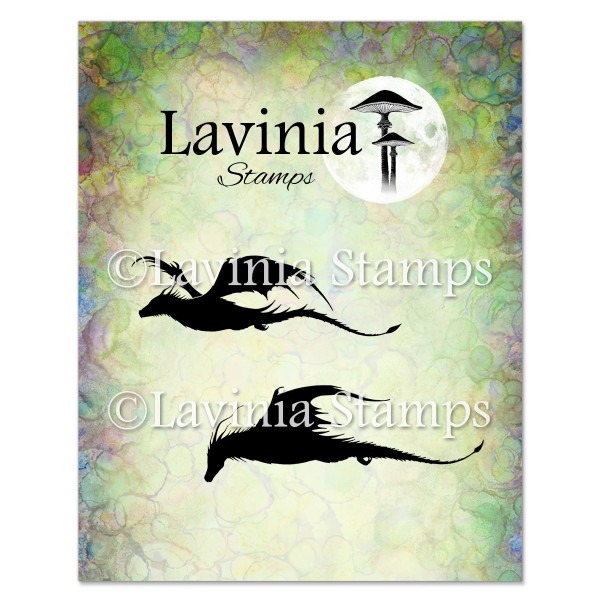
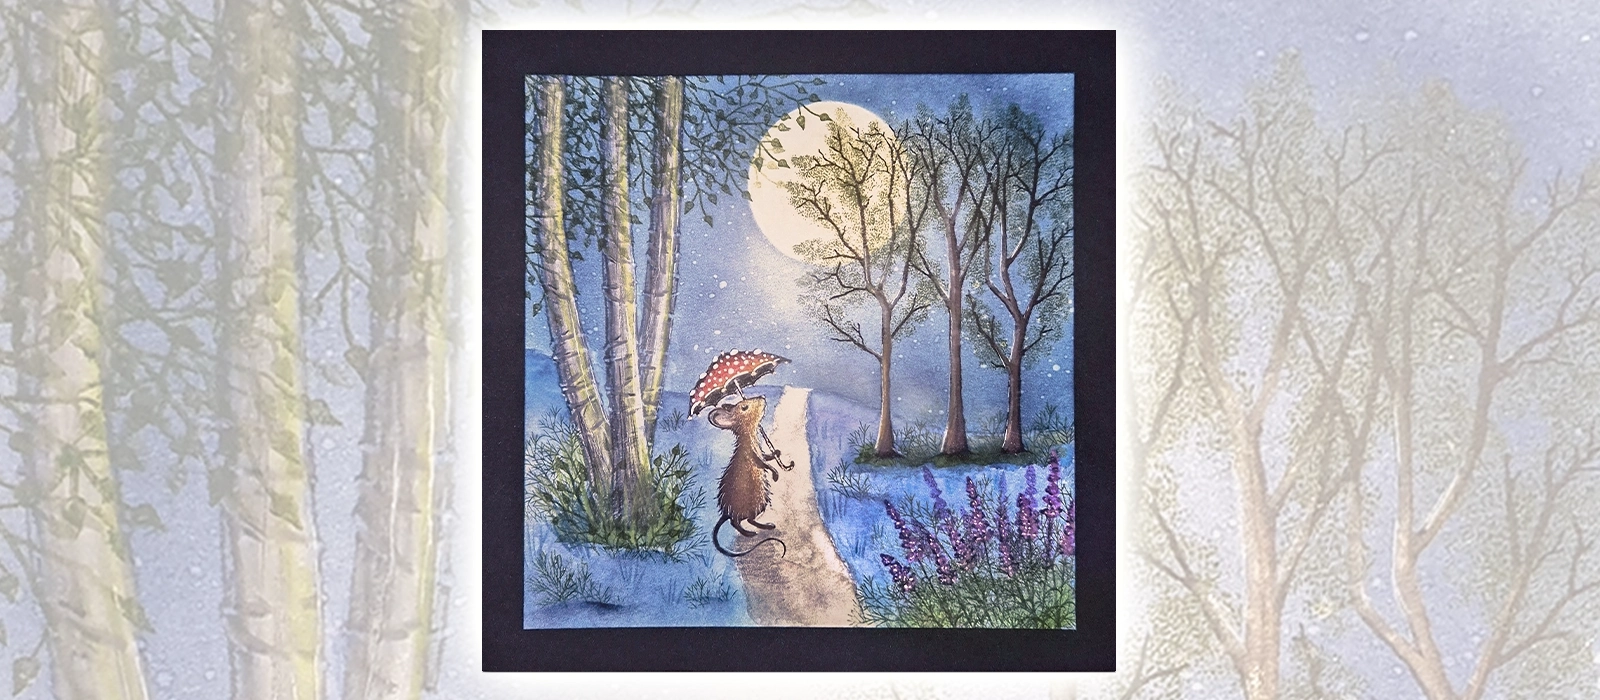
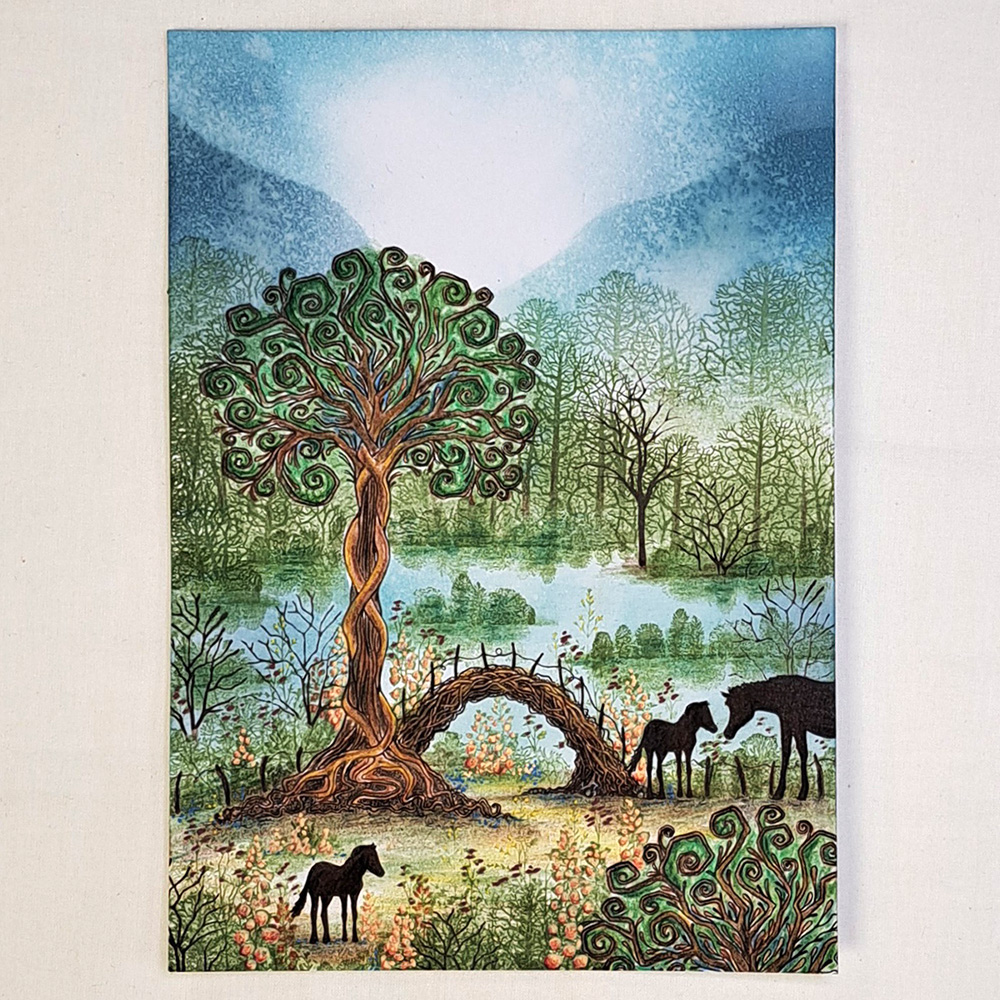
12. Now
we fill the sky with some more beautiful friends by adding one of the Dragons
from the Dragon set LAV552 and also the Ducks LAV247. The Ducks we stamp in
Versafine Clair Morning Mist. Stamp once in first generation stamping and then
one time in second generation stamping. The Dragon we stamp in Versafine Clair
Pinecone.
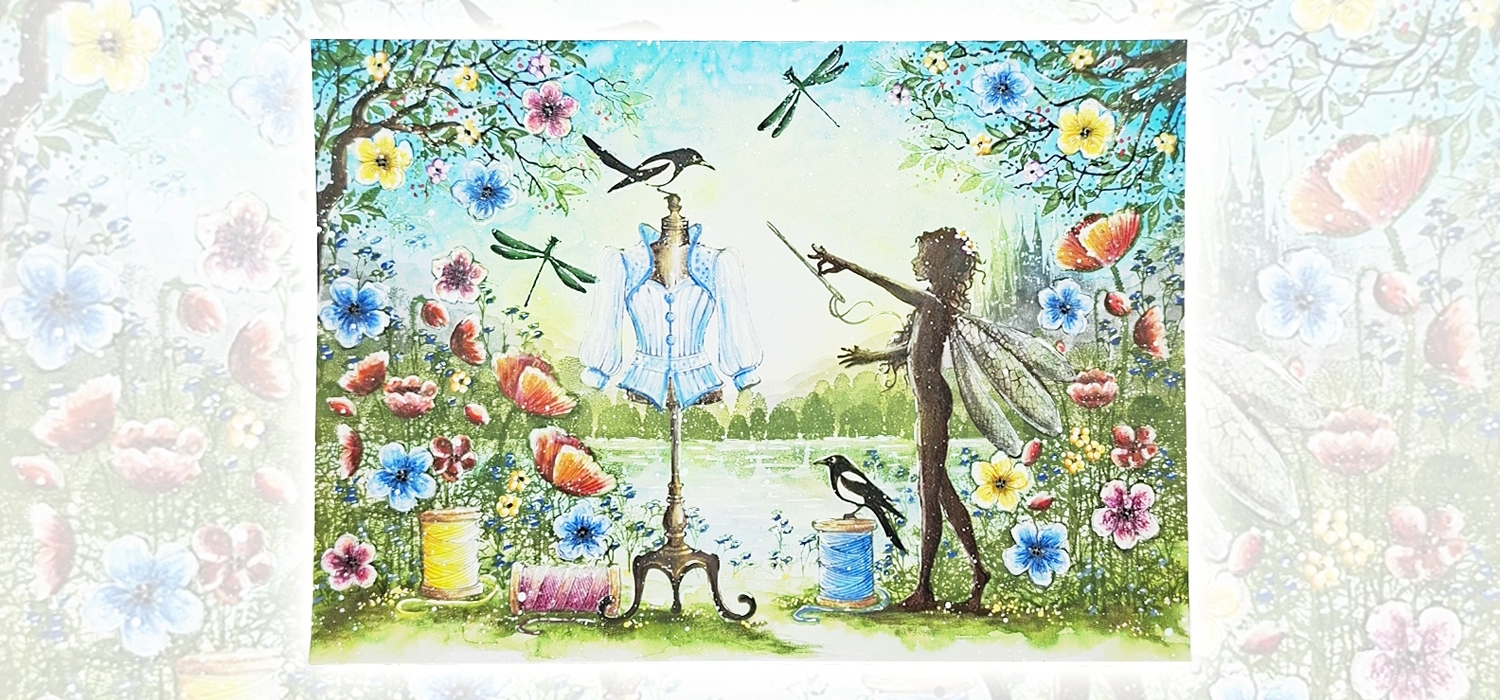
13. So a lot is going to happen in this final step. First colour in the animals. Using a colour like the Versafine Clair Pinecone, colour the Dragon and the horses. Add a black pencil to draw some shadows on them. Stamp more Bluebells LAV002 using Versa fine Clair Shady Lane. They may not be obvious now but when you colour them with Posca pens they will be. Colour as previous Bluebells in Picture 11. Add some flowers to the tree by doing five dots in a circle and a dot in the centre complete by drawing a line from the tree down to the flower with our Micron pen sepia colour. Now use Pan pastels Hansa Yellow and Orange to give it some magical Light. Add some white Posca pen highlights on everything, dots on the ground and lines in the water. Look at the Picture for placement. Finish with some white Posca pen splatters.
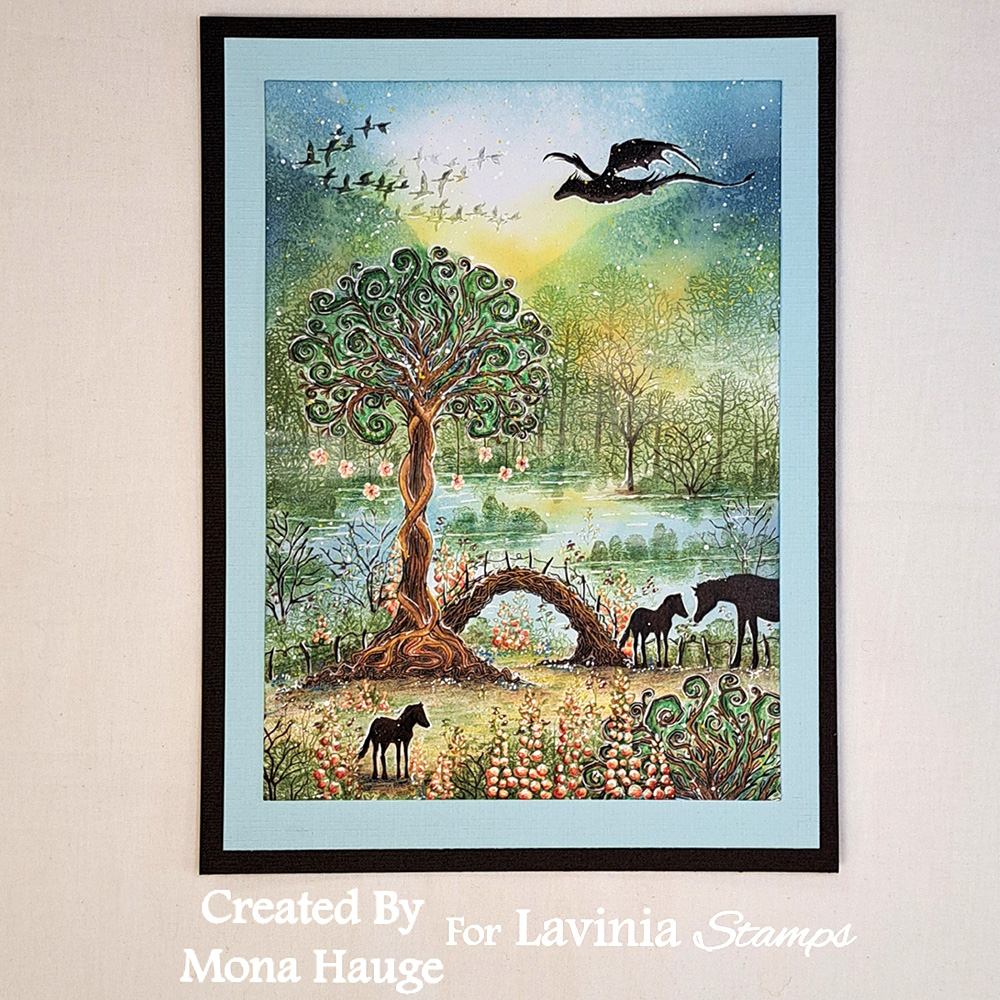
14. Now we have our finished picture. I hope you enjoyed making this with me. Thank you so very much for following my tutorial.
If you have any questions just ask me and I will answer as soon as I can.
Big hugs from Mona