Hi Lavinians 🧚♀️ Hope you enjoy today’s tutorial named “Hobblehollow House Tag” to show off the fantastic Hobblehollow House stamp. Let’s get started.
Step 1:
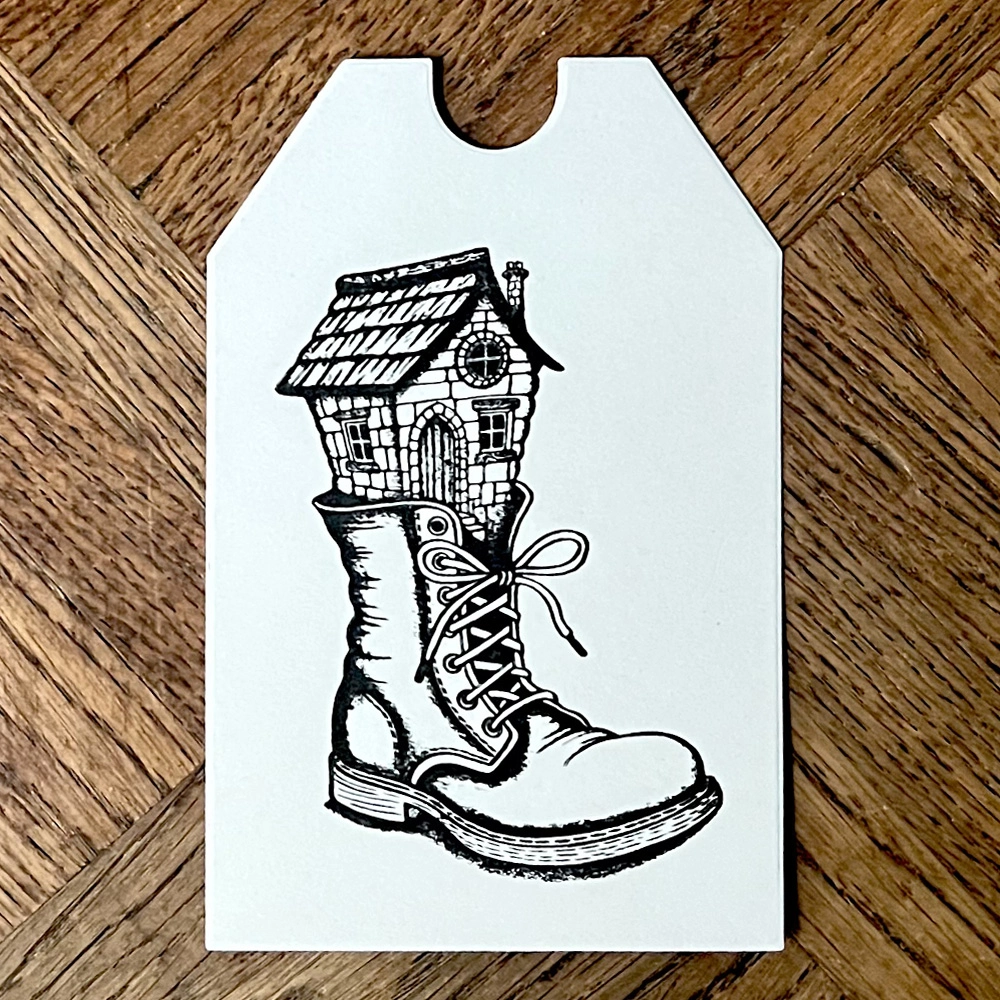
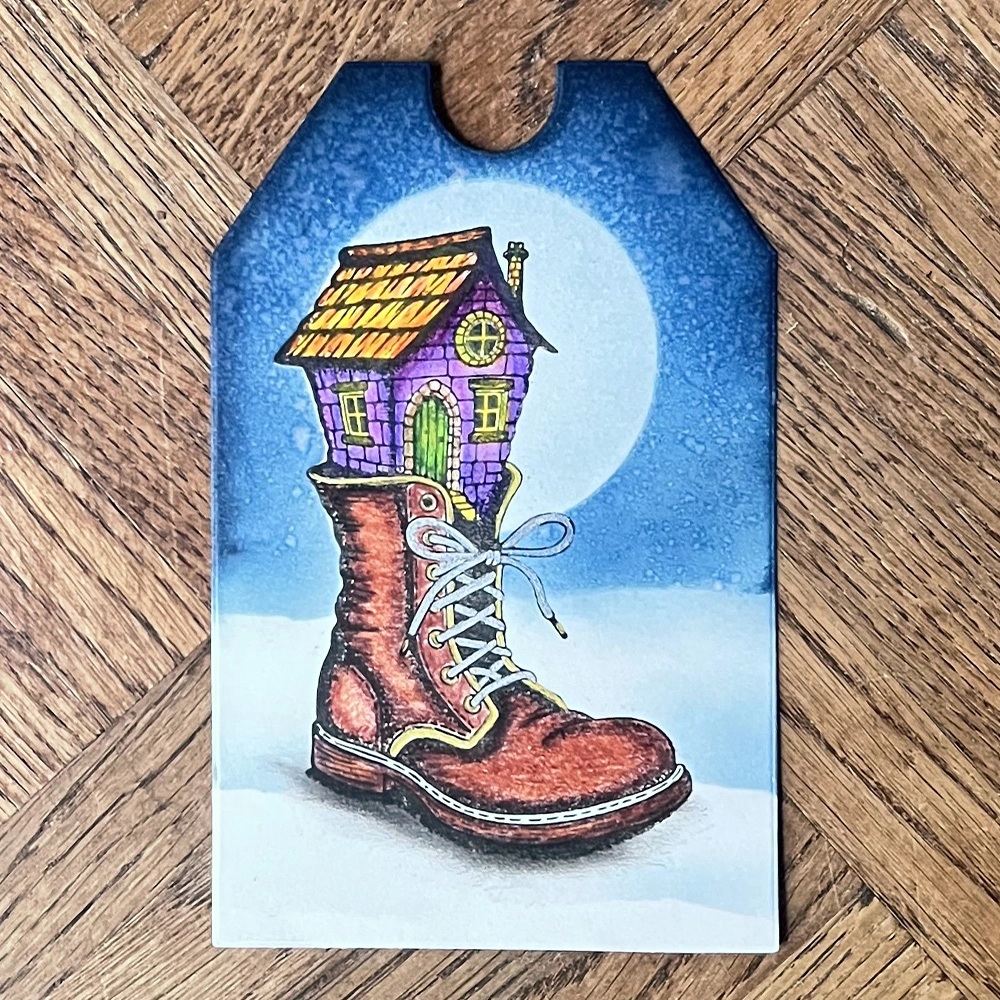
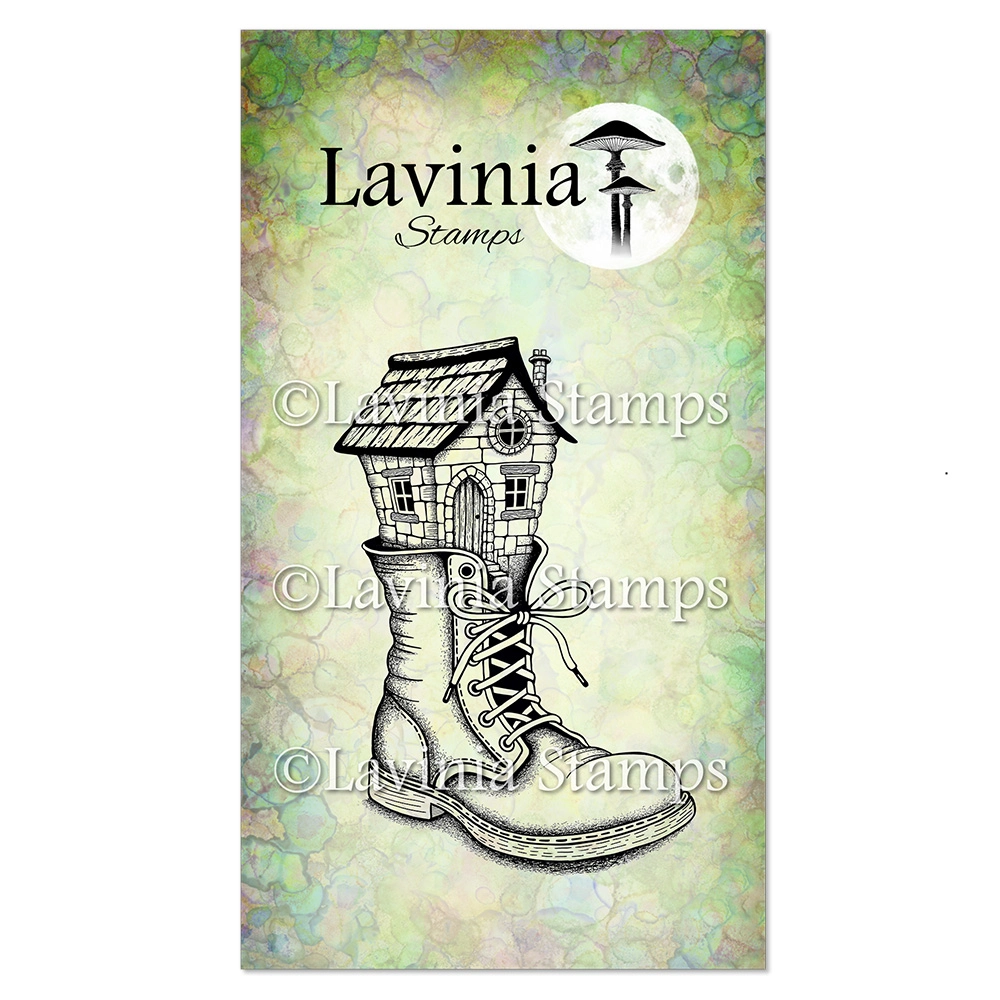
Create your tag using a pre-made diecut or a piece of Multifarious card and stamp the Hobblehollow House Stamp (LAV1013) with Versafine Clair Ink in Nocturne.
Step 2:
To make a mask for the Hobblehollow House Stamp (LAV1013), first stamp it onto masking paper using Versafine Clair Ink in Nocturne and cut it out. Place this mask over the stamped house on your tag to protect it from unwanted ink or colour.
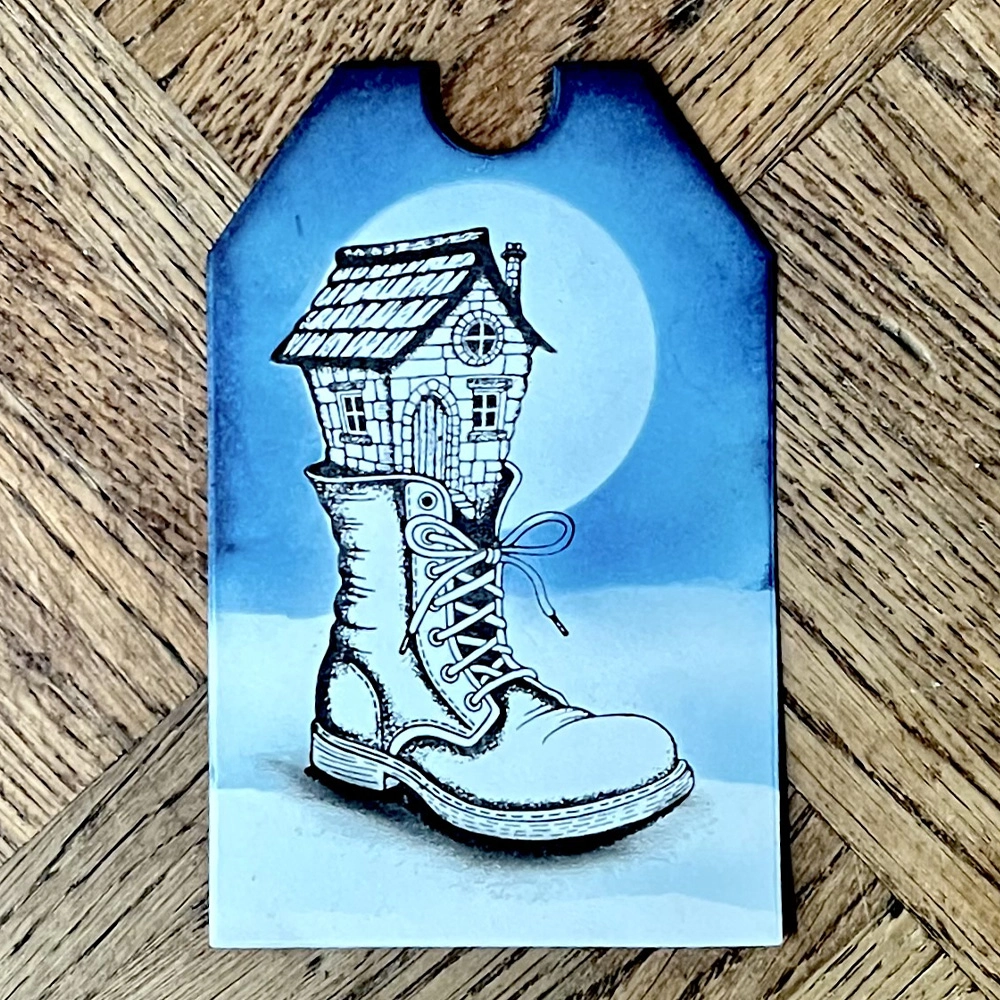
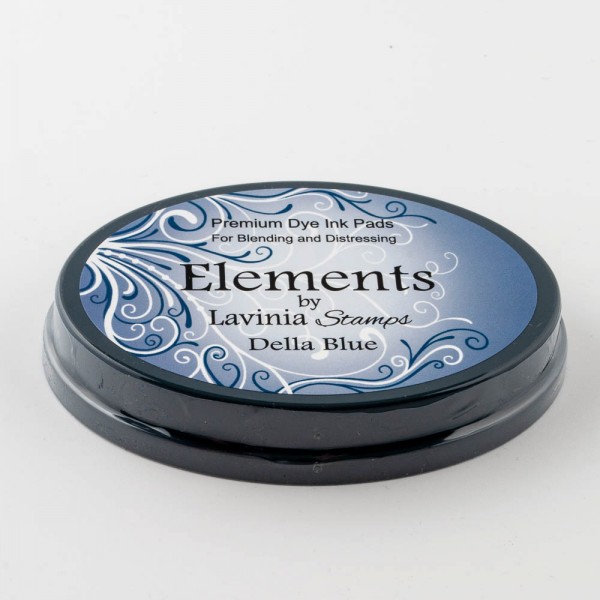
Next, take the smallest circle mask from the Acetate Circle Masks pack and position it just behind the house to represent a moon. With both the house and circle masks in place, use Elements Ink in Della Blue to create the night sky. Apply a light layer around the moon, using a No7 Lavinia Stencil Brush, then build up additional layers toward the edges of the tag to darken them, creating a soft glowing effect.
Step 3:
Tear plain paper into mountain and valley shapes and use them as masks to create mountains, valleys, and small hills in the “snow.” Apply Elements Ink in Della Blue with a No. 3 Lavinia stencil brush, using a soft hand and light pressure for subtle shading and detail.
Step 4:
Remove the mask from your tag, then add shadows beneath the shoe using a No. 3 Lavinia Stamps detail brush and Versafine Clair Ink in Nocturne, applying very lightly.
Step 5:
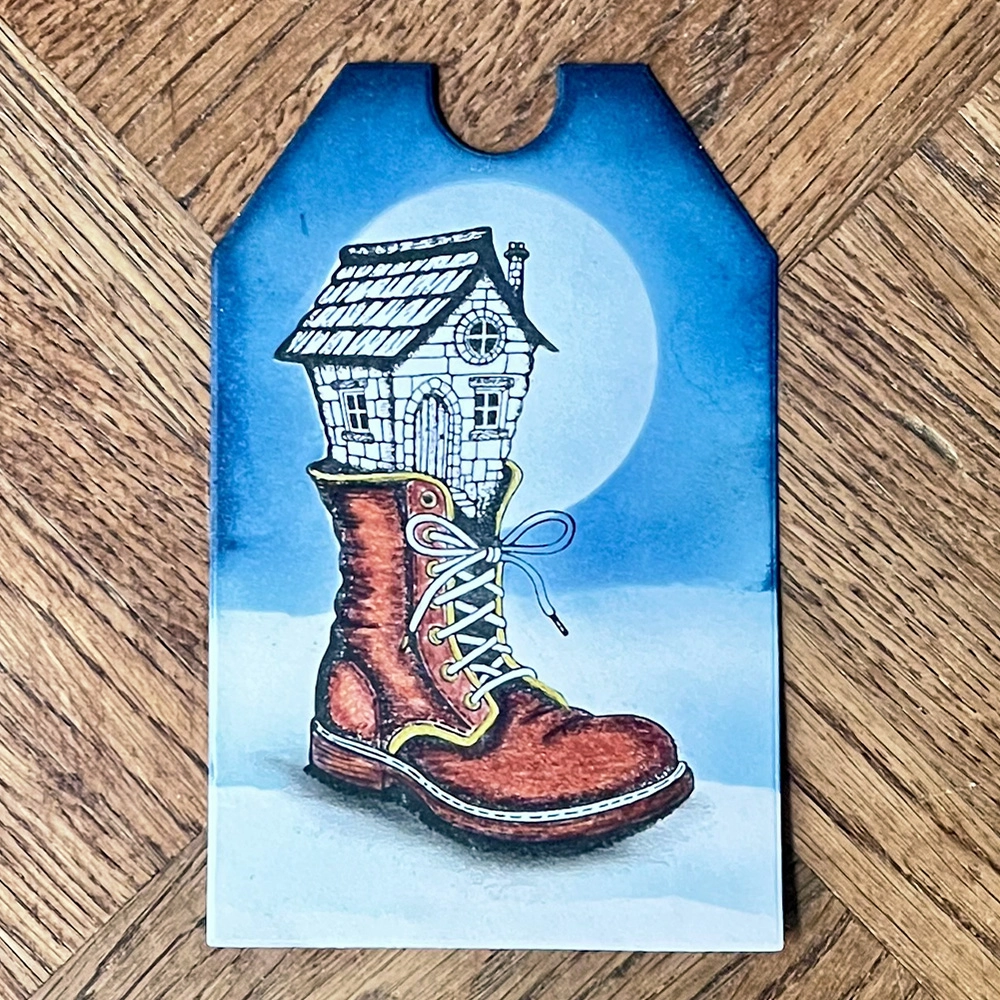
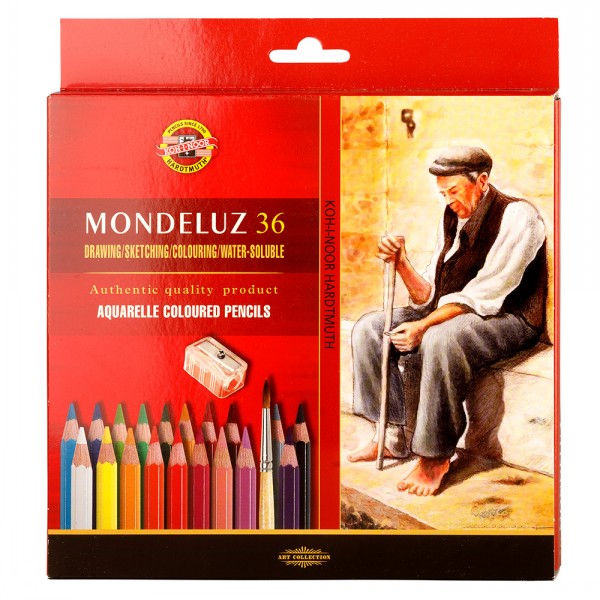
Colour the boot with Mondeluz Watercolour Pencils, using a blend of browns, yellows, and black for depth and dimension.
Step 6:
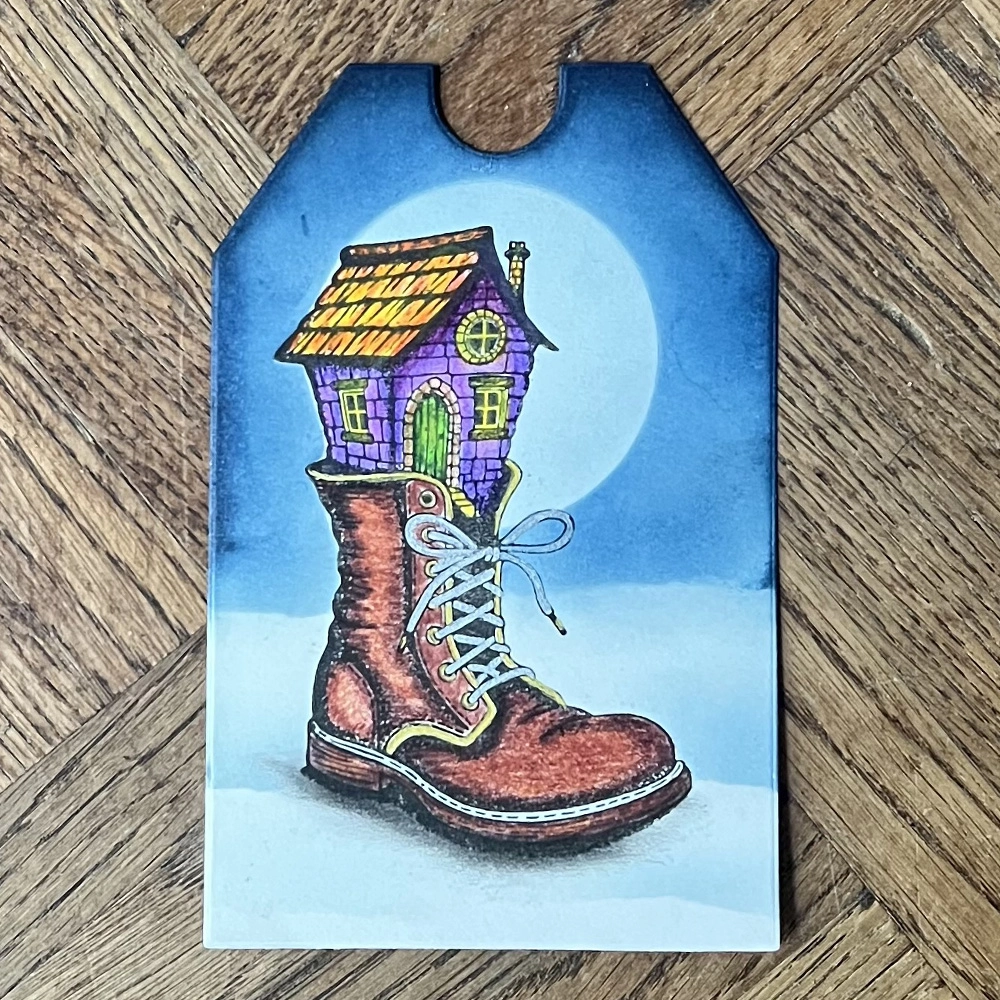
Colour the house at the top of the boot with the Mondeluz Watercolor Pencils, using a mix of yellows, purples, greens, and other shades. Add a touch of metallic shimmer to the ends of the shoelaces and the doorknob using Stickles Glitter Glue in Gold.
Use silver and gold gel pens to colour the laces and the decorative edge around the shoe.
Step 7:
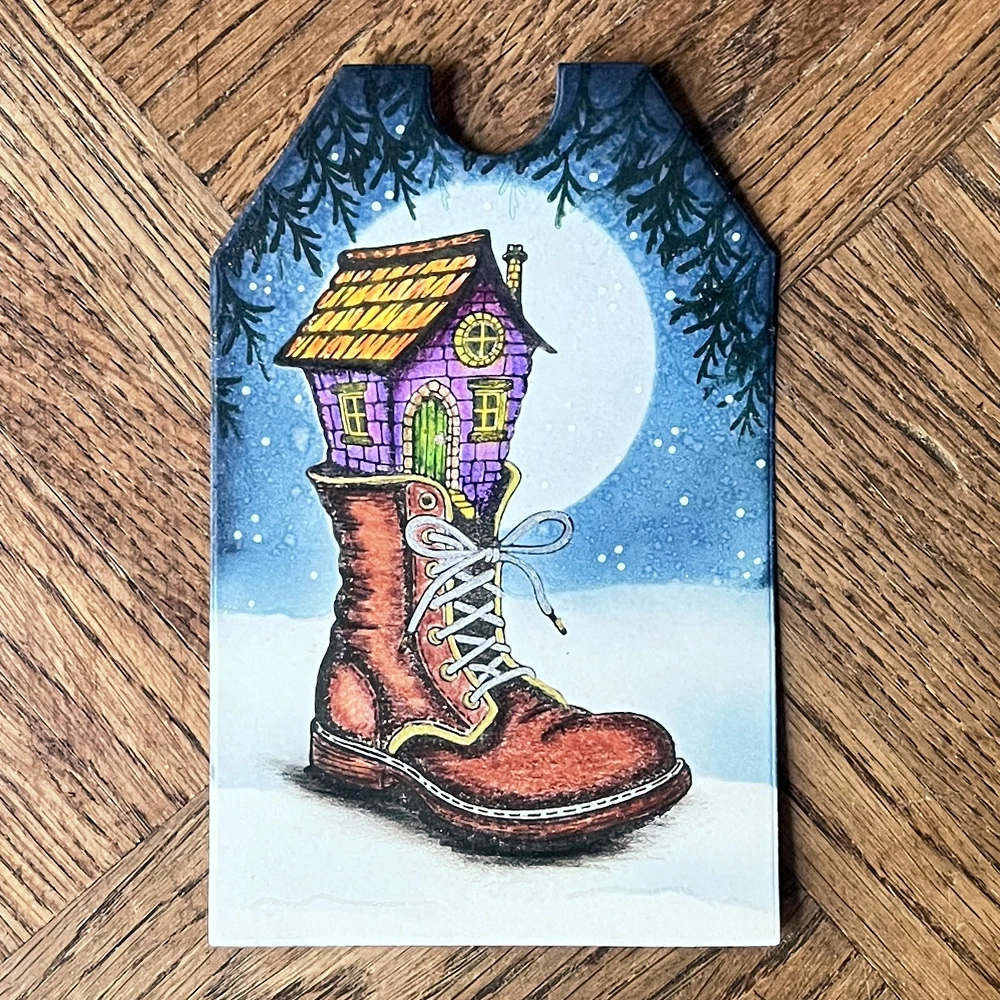
Place the Hobblehollow House mask and the small circle acetate back onto the tag. Mist lightly with water so it reacts with the Elements Water-based Ink, creating a starry texture to enhance the night sky.
Step 8:
Stamp the small sprig from the Winter Foliage Stamp Pack (LAV1022) at the top of your tag using Versafine Ink in Rain Forest, referring to the picture for placement. Then, use a white Posca pen to add dots in the night sky area to mimic stars.
Step 9:
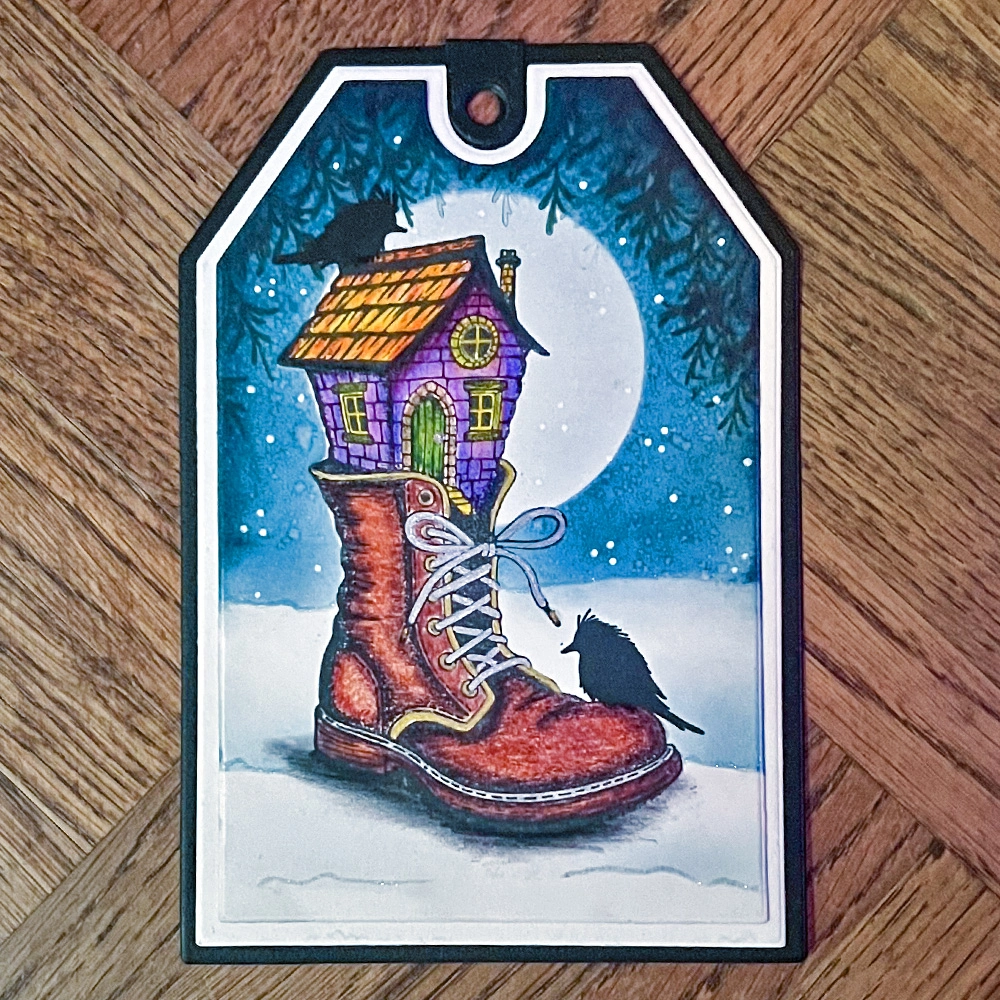
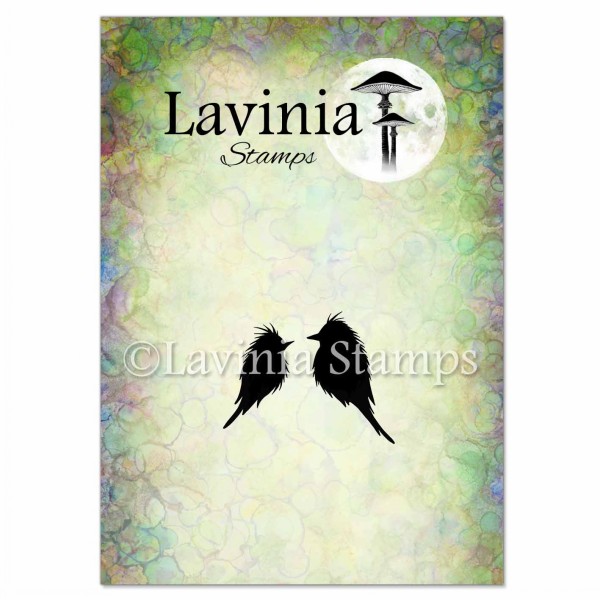
Finally, stamp the Fledgelings Birds (LAV965) using Versafine Clair Ink in Nocturne, following the placement in the picture. Add sparkle to the edges of the horizon and snow using Mica Minerals in Iridescent Blue.
To complete your tag, mount it onto a slightly larger tag for a neat, sturdy presentation. Optionally, adhere it to an additional tag for extra layering.
I hope you enjoy creating this tag as much as I did!