Step by Step by Janet Blaauw
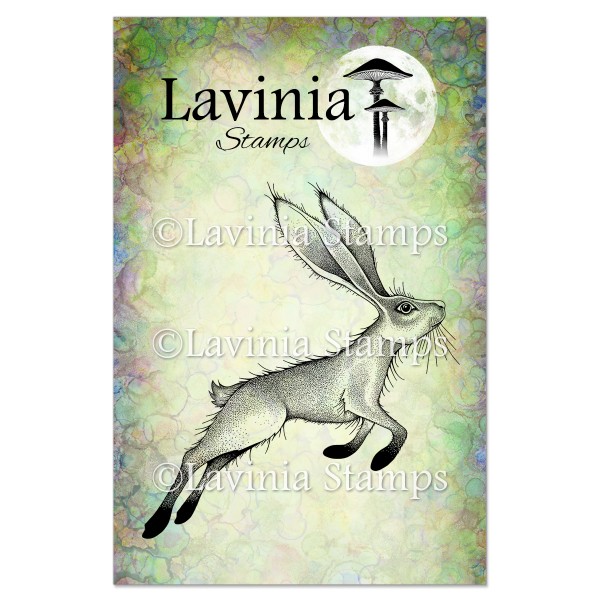
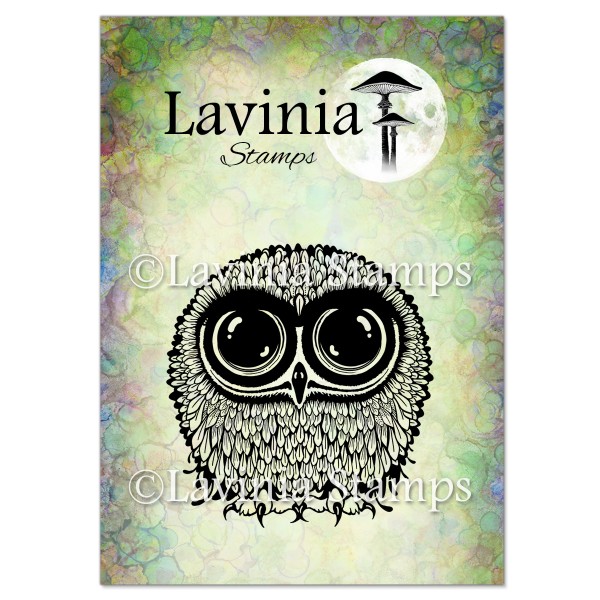
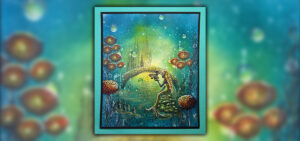
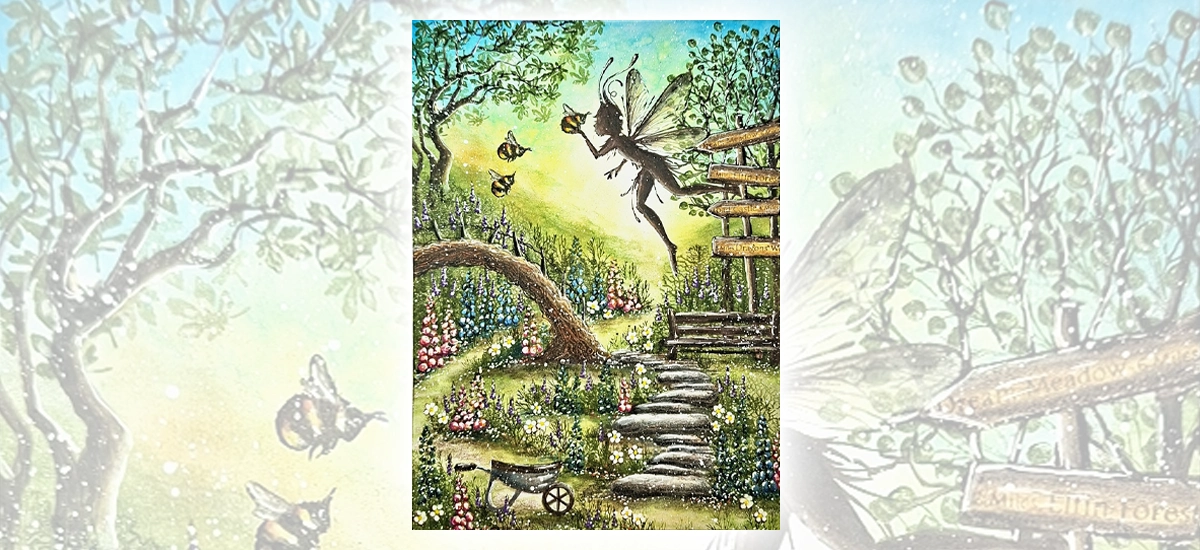
Today, Janet Blaauw takes us, step-by-step, into the forest to discover the Bumble Lodge and Honeysuckle Cottage. When we get there, we sure have a big surprise to find Logan the hare and Bijou the wide-eyed, wise little owl, are keeping watch over the tiny houses until the fairies return.
Step 1.
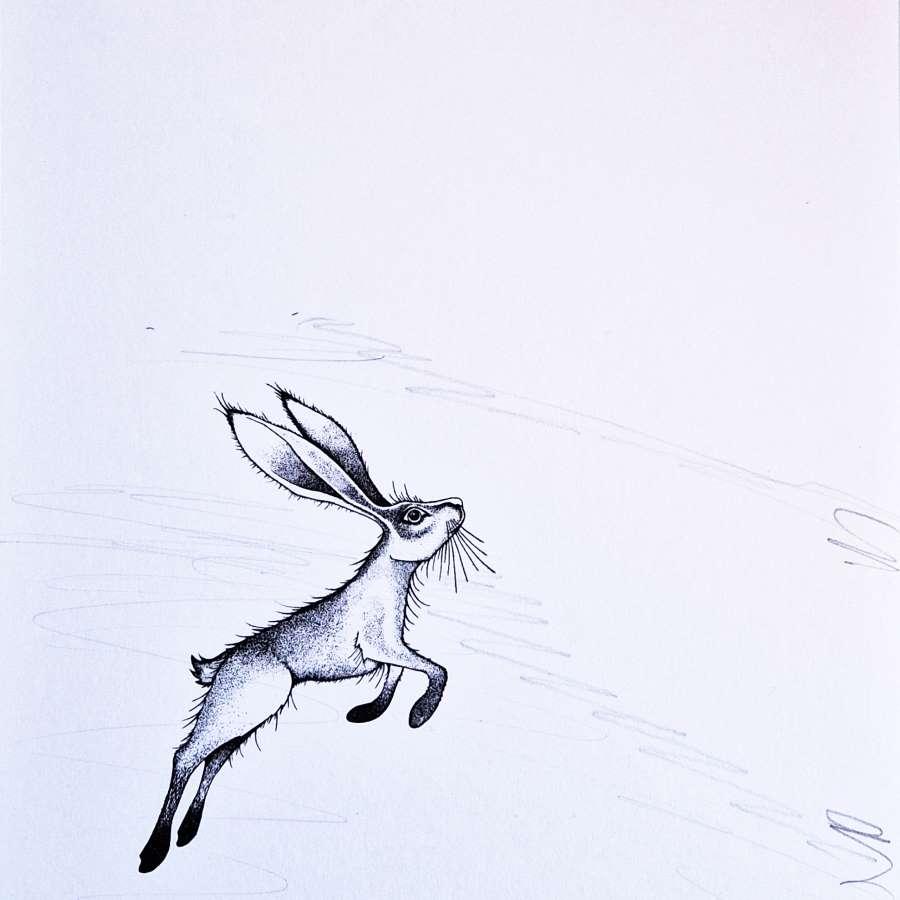
On a piece of A5 Multifarious card, draw a path with a pencil and stamp Logan the hare using Versafine Clair Nocturne.
Step 2.
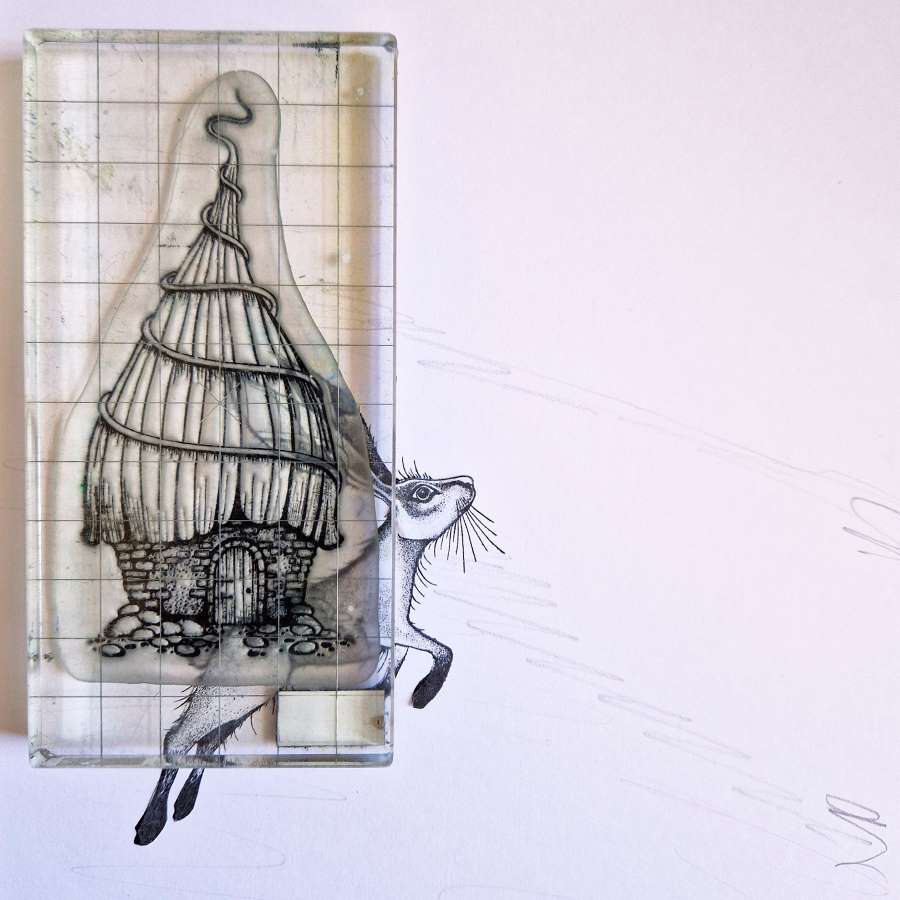
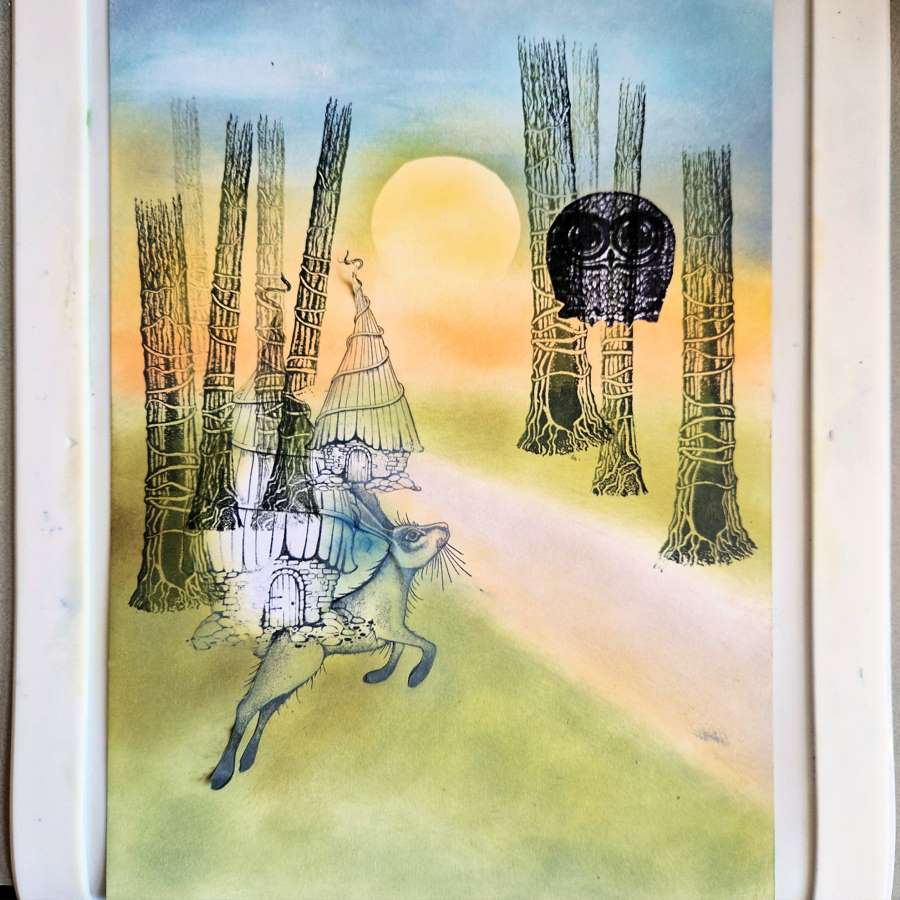
Place the stamp Bumble Lodge over the hare to see where they will overlap. Stamp Logan the hare and then use masking sheets to stick this over the original stamped hare.
Step 3.
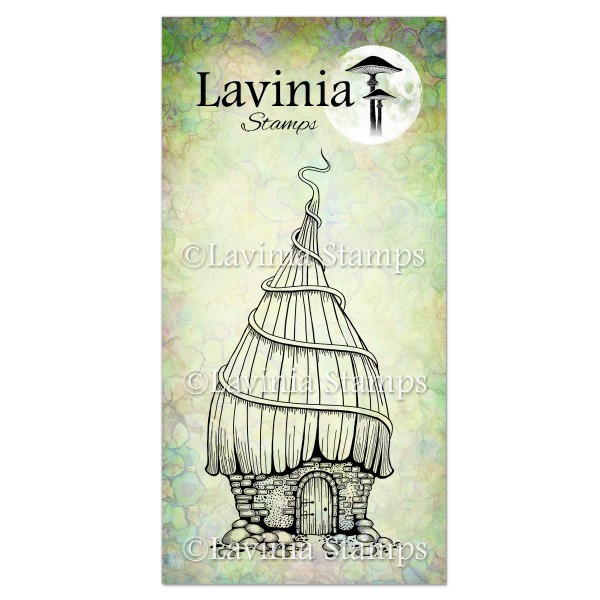
Stamp Bumble Lodge using Versafine Clair Nocturne onto the paper above the hare. Use masking sheets to create a mask of Bumble Lodge by stamping and cutting it out. Stick the mask over the cottage. It is now masked.
Step 4.
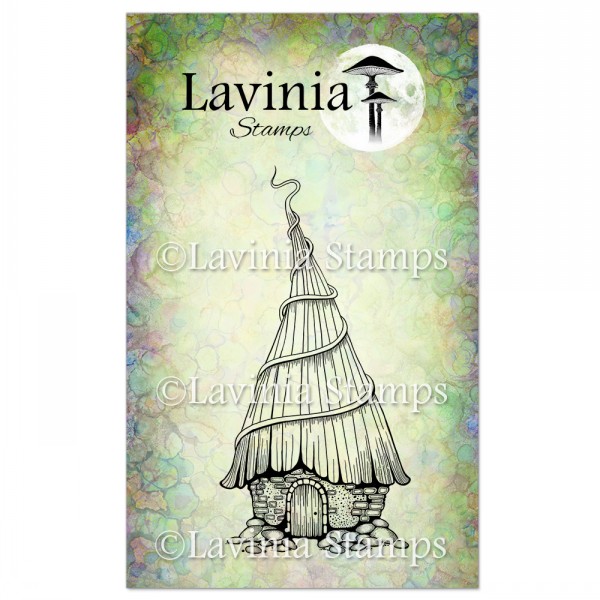
Stamp the second cottage Honeysuckle Cottage in Versafine Clair Nocturne. Use masking sheets to create a mask of Honeysuckle Cottage by stamping and cutting it out. Stick the mask over the cottage. It is now masked.
Step 5.
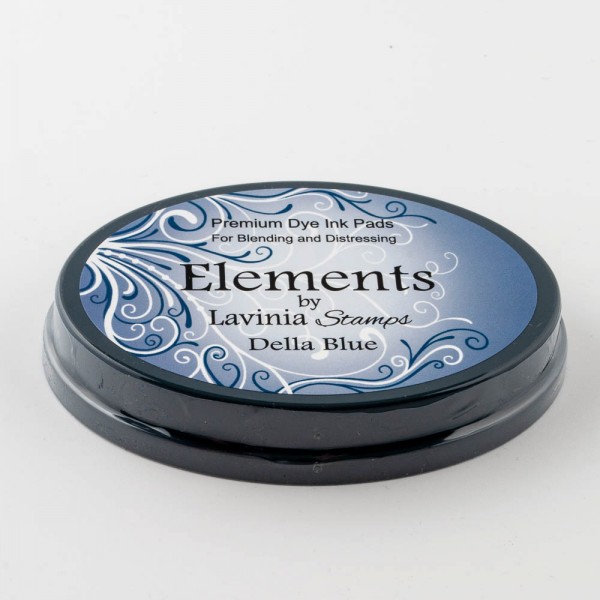
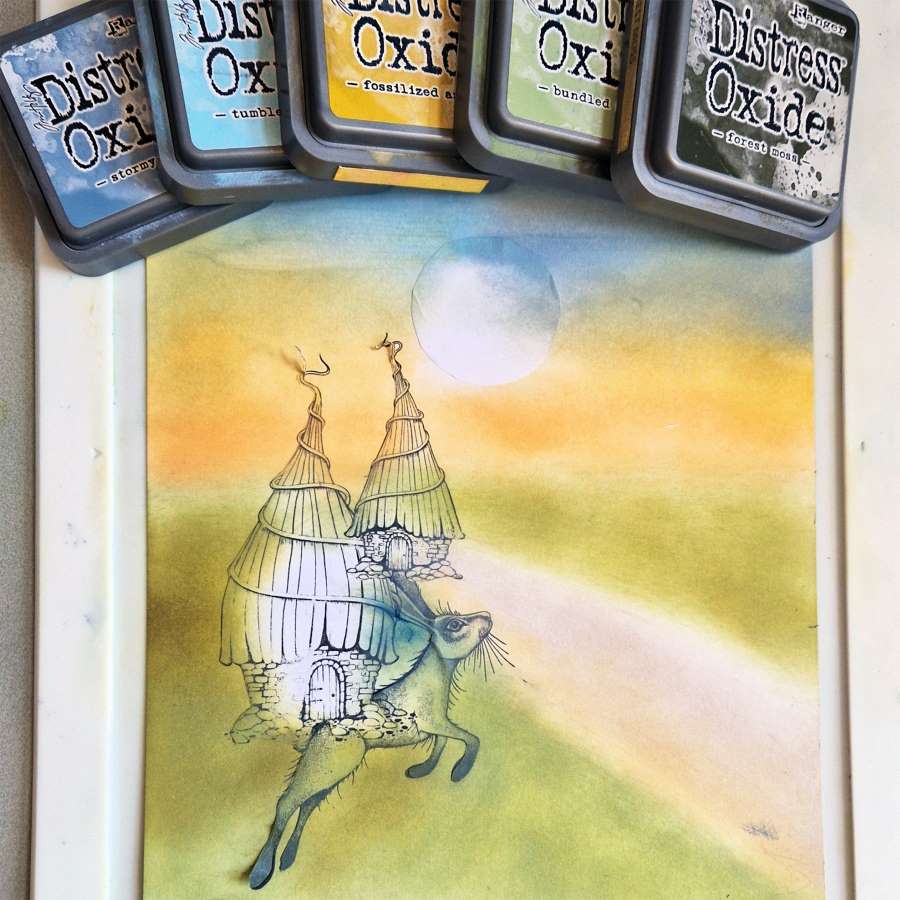
Now apply a circle mask for the sun and colour everything with Elements Inks. Start with Dark Denim at the top and blend into Della Blue at the top of the Sun. Next blend in some Sahara from left to right to create a horizon that goes through the tops of the houses and a small hint to mark the path. Use Elements Inks Olive to colour the grass.
Step 6.
Remove a little Ink in the blue part of the sky with a wet paper towel to make some clouds.
Step 7.
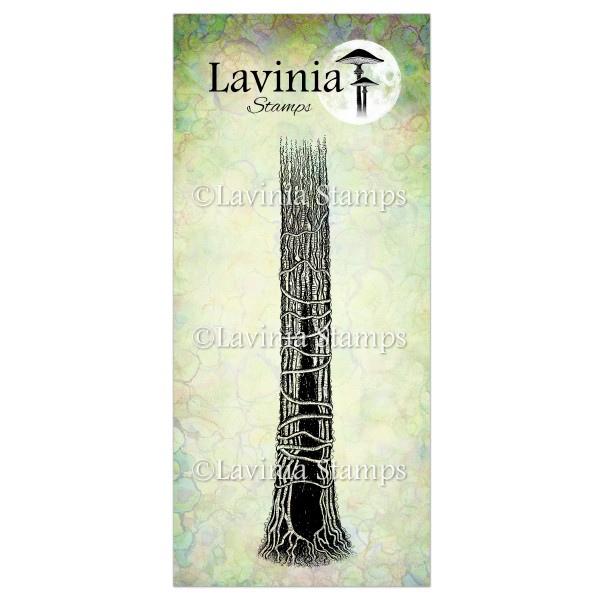
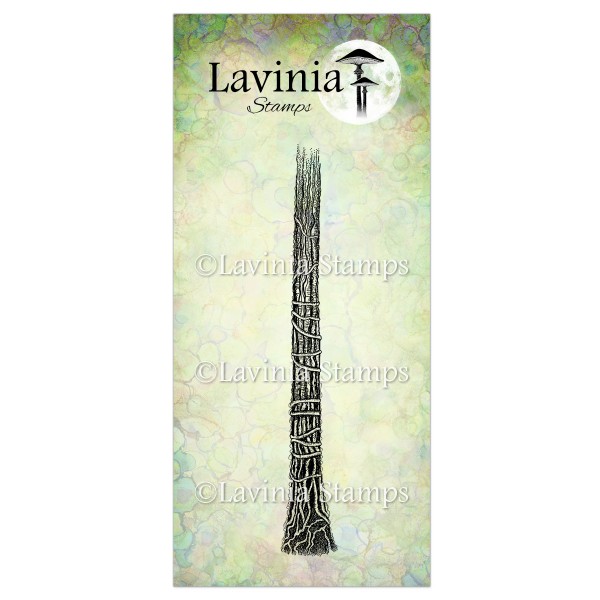
Stamp Bijou the owl and use masking sheets to create a mask of Bijou by stamping again and cutting it out. Stick the mask over Bijou the owl. It is now masked. Stamp the trees using Versafine Clair Nocturne ink and Tree Den and Tree Stem stamps.
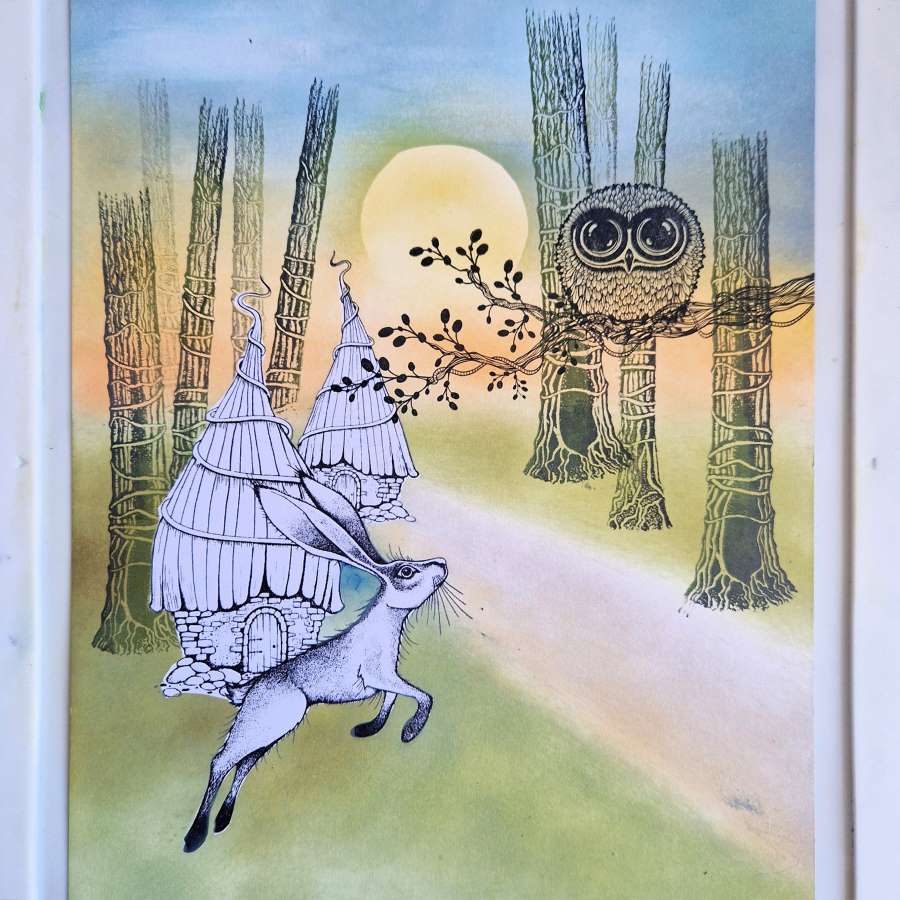
Step 8.
Using Versafine Clair Nocturne, stamp the Vine Branch under the owl.

Step 9.
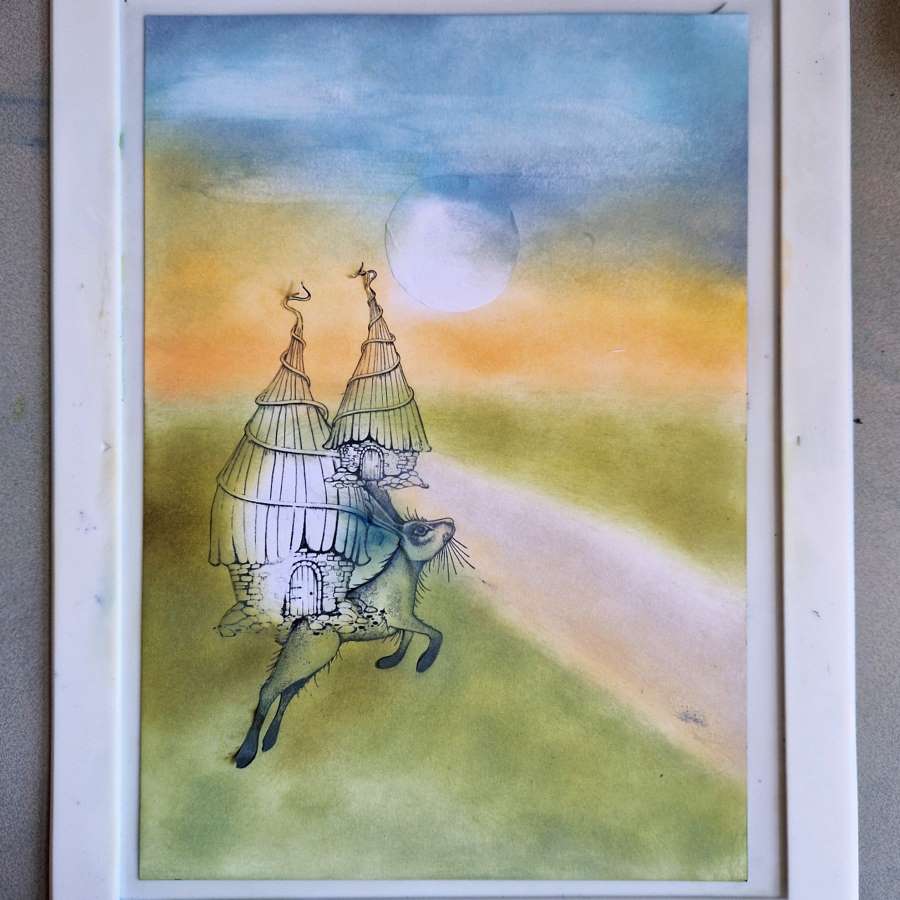
Remove all the masks and colour inside all of the stamps with e.g., watercolour, water-markers or diluted Posca pen inks.
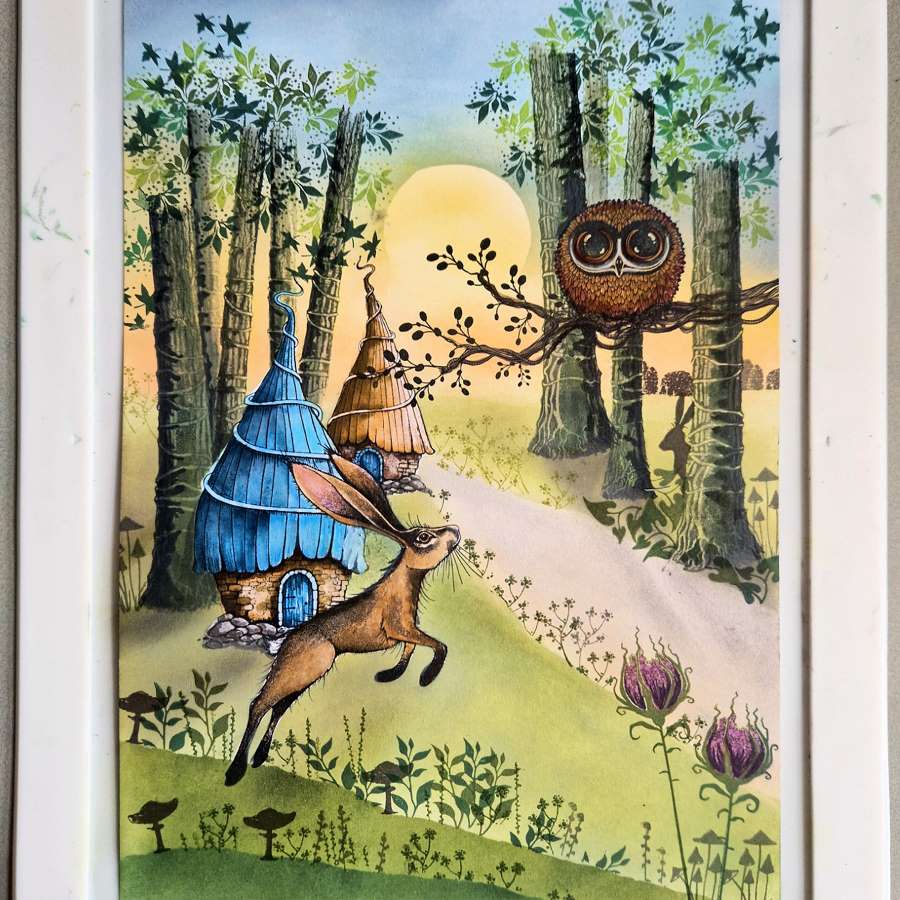
Step 10.
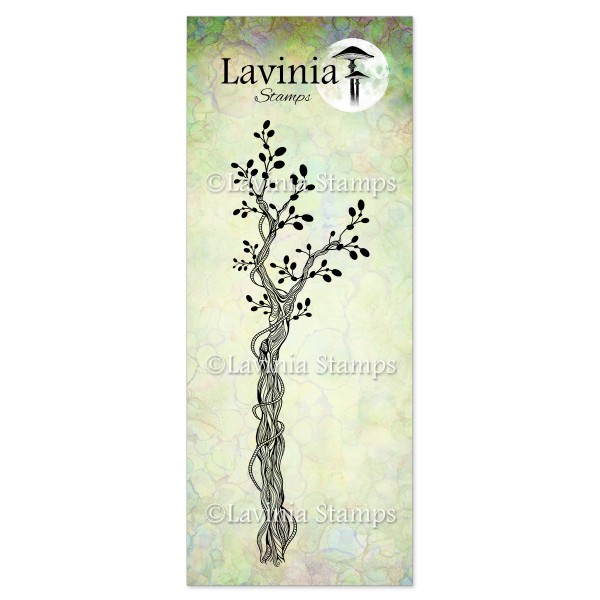
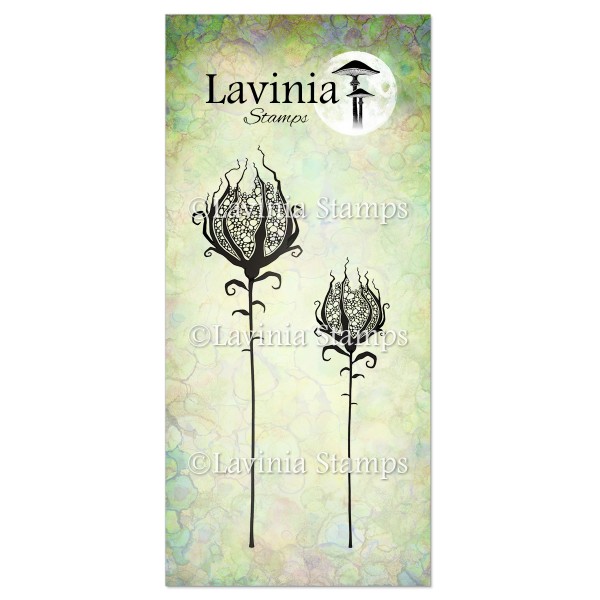
Stamp all decorations. Forest Flower and Vine Set in Versafine Clair Shady Lane and Versafine Clair Rainforest. Then stamp Mini Toadstool in Versafine Clair Nocturne, then Foliage Set and Slender Mushrooms in Versafine Clair Shady Lane. Add Foliage Set 2 in Versafine Clair Verdant and Rainforest. Tree Scene in Versafine Clair Nocture in second generation stamping. Stamp Wild Hares Large set, masking part of the stamp so only the head shows from behind a tree.
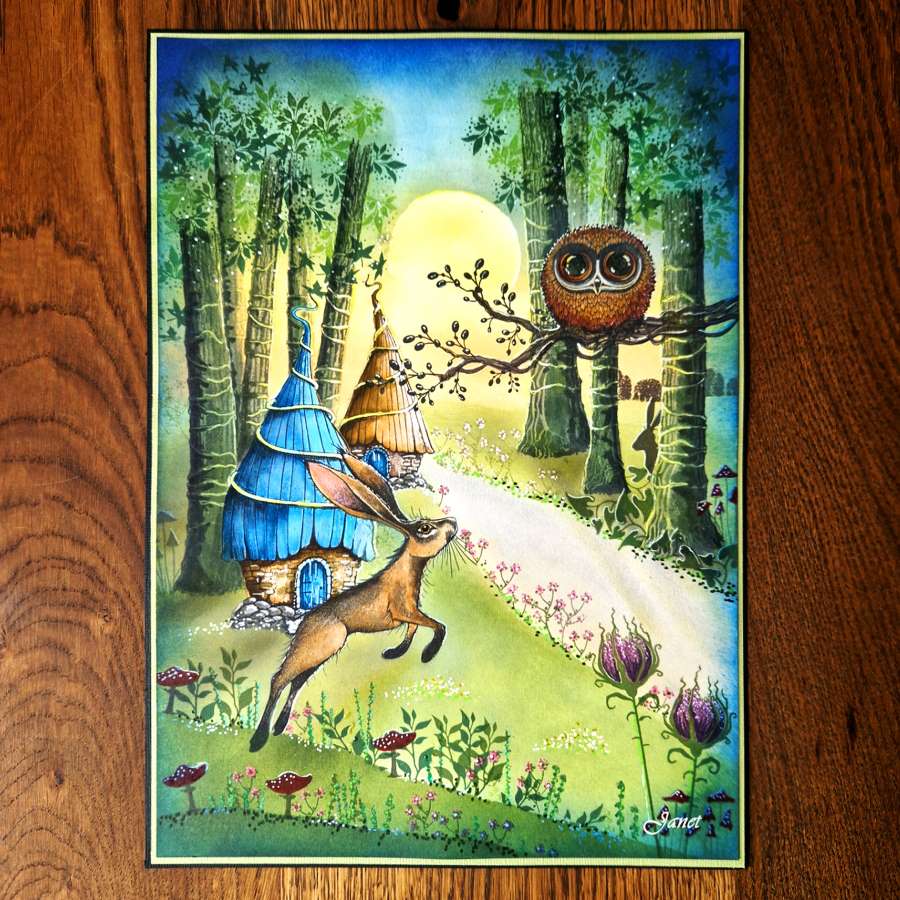
Step 11.
For final details, add dots and dashes here and there with light-coloured Posca markers and gel pens. Using a smaller stencil brush, add a soft layer of Elements Ink Blue Lagoon around the top border and a hint at the sides.
I hope you enjoyed this Into the Forest tutorial. Thank you for Following.
Janet. 🧚♂️
Happy Crafting!