 Bria Rose Stamp
£7.20
Add to basket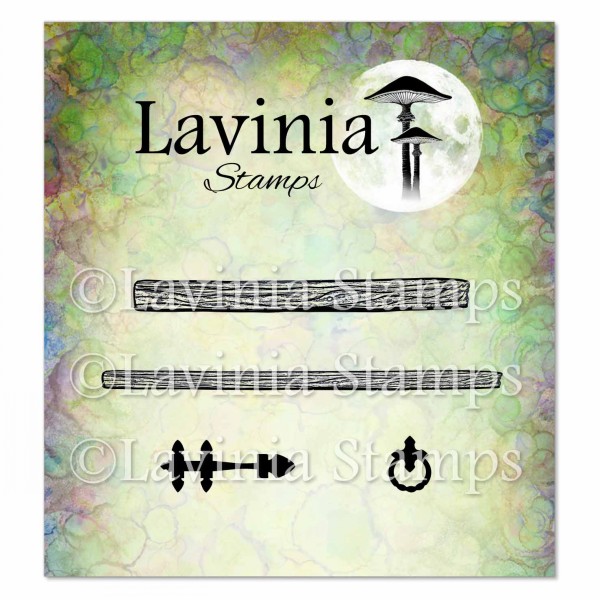 Hobbits Door Accessories Stamp
£7.20
Add to basket Tree of Courage Stamp
£10.80
Add to basket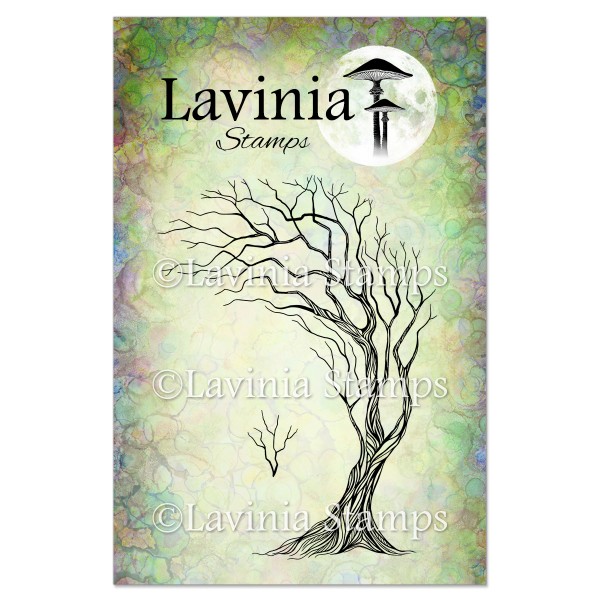 Tree of Hope Stamp
£10.80
Add to basket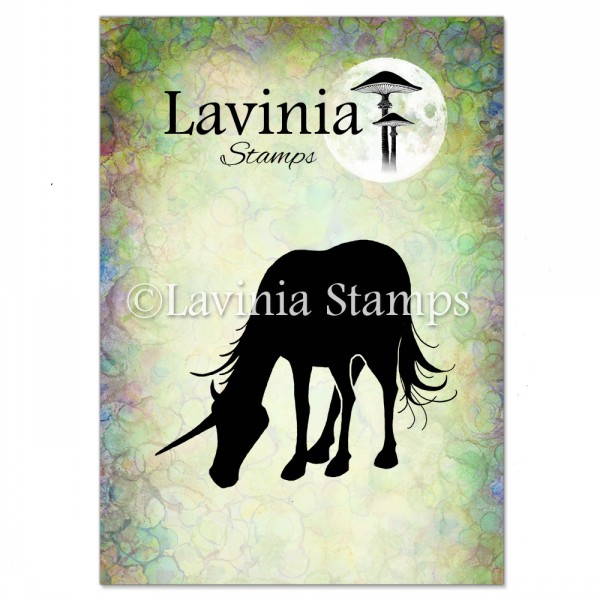 Unicorn 2 Stamp
£6.80
Add to basket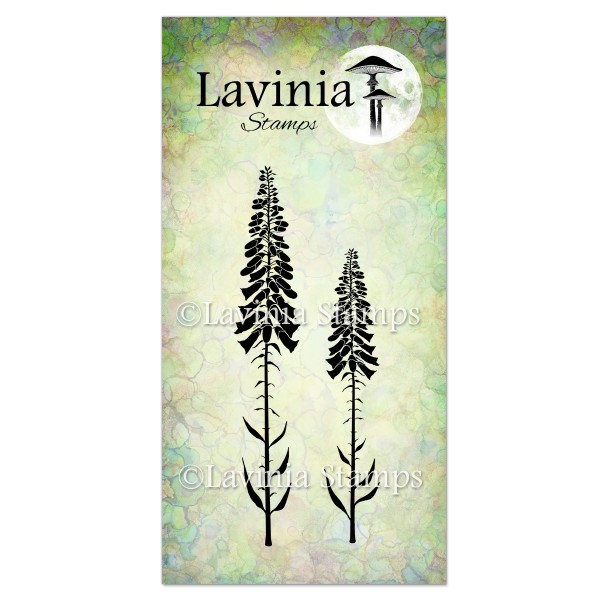 Foxglove Stamp
£7.90
Add to basket Elements Premium Dye Ink – Dark Denim
£5.85
Add to basket Versafine Clair Ink Pad – Shady Lane
£5.80
Add to basket Elements Premium Dye Ink – Blue Atoll
£5.85
Add to basket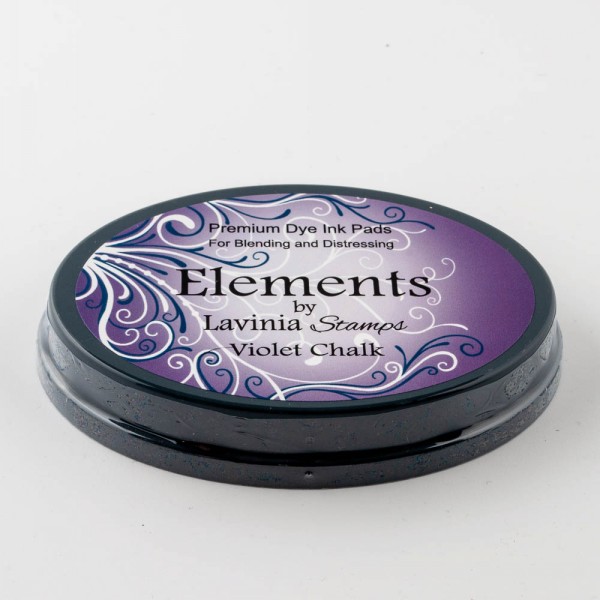 Elements Premium Dye Ink – Violet Chalk
£5.85
Add to basket Elements Premium Dye Ink – Olive
£5.85
Add to basket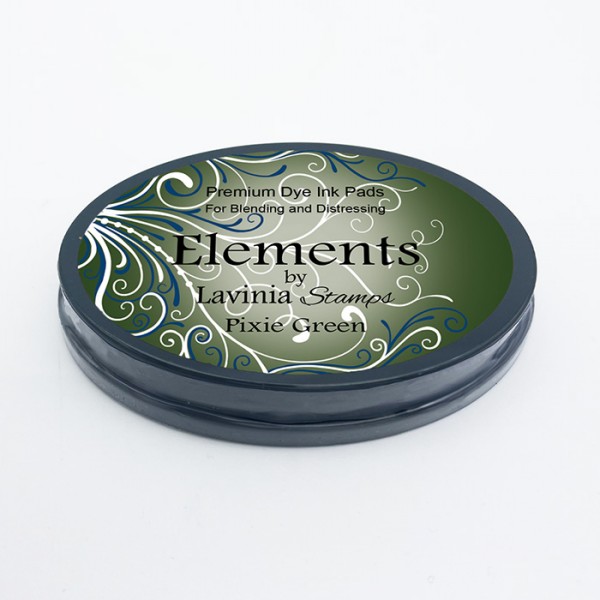 Elements Premium Dye Ink – Pixie Green
£5.85
Add to basket Versafine Clair Ink Pad – Pinecone
£5.80
Add to basket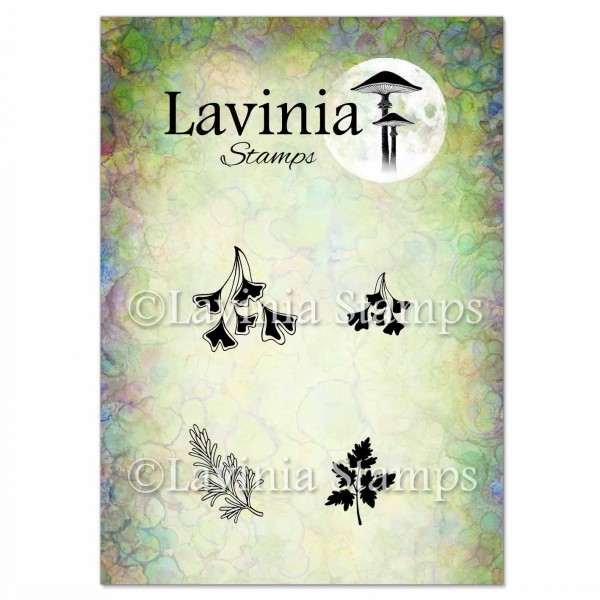 Wild Foliage Stamp
£6.30
Add to basket PanPastels – Hansa Yellow
£9.30
Add to basket