Step by Step by Nicole Jongkind
Hi everyone! It’s Nicole here with my first step by step tutorial called ‘Spooktacular Starbox’. Hope you enjoy it! You can find all the products I used listed on the right-hand side! 🧚♂️

Step 1.
For the box template, you can use any strong card, any colour you like; I will be using a brown colour. For the decoration pieces it is best to use multifarious card.
- For the sides and lid: x 4 sheets of DL size card (21 cm x 9 cm).
- For the base: 12 x 12 cm square card.
- For decorations: 8 x A5 sheets or 4 x A4 sheets of multifarious card.
To create the lid, take a sheet of DL size card (21x9cm) and face it landscape.
Use a ruler to score vertical lines every 5 cm along the long side (5cm, 10cm, 15cm and 20cm) leaving a smaller tab to the right.
Score a horizontal line starting from 2cm up from the bottom corner, drawing across the whole piece.
Repeat the above steps on a second piece of DL card.
Step 2.
Using a pencil, draw a cross in the long sections. Then draw straight lines from the top centre of each section to the intersection.
Score these lines, then darken all of the lines with ink.

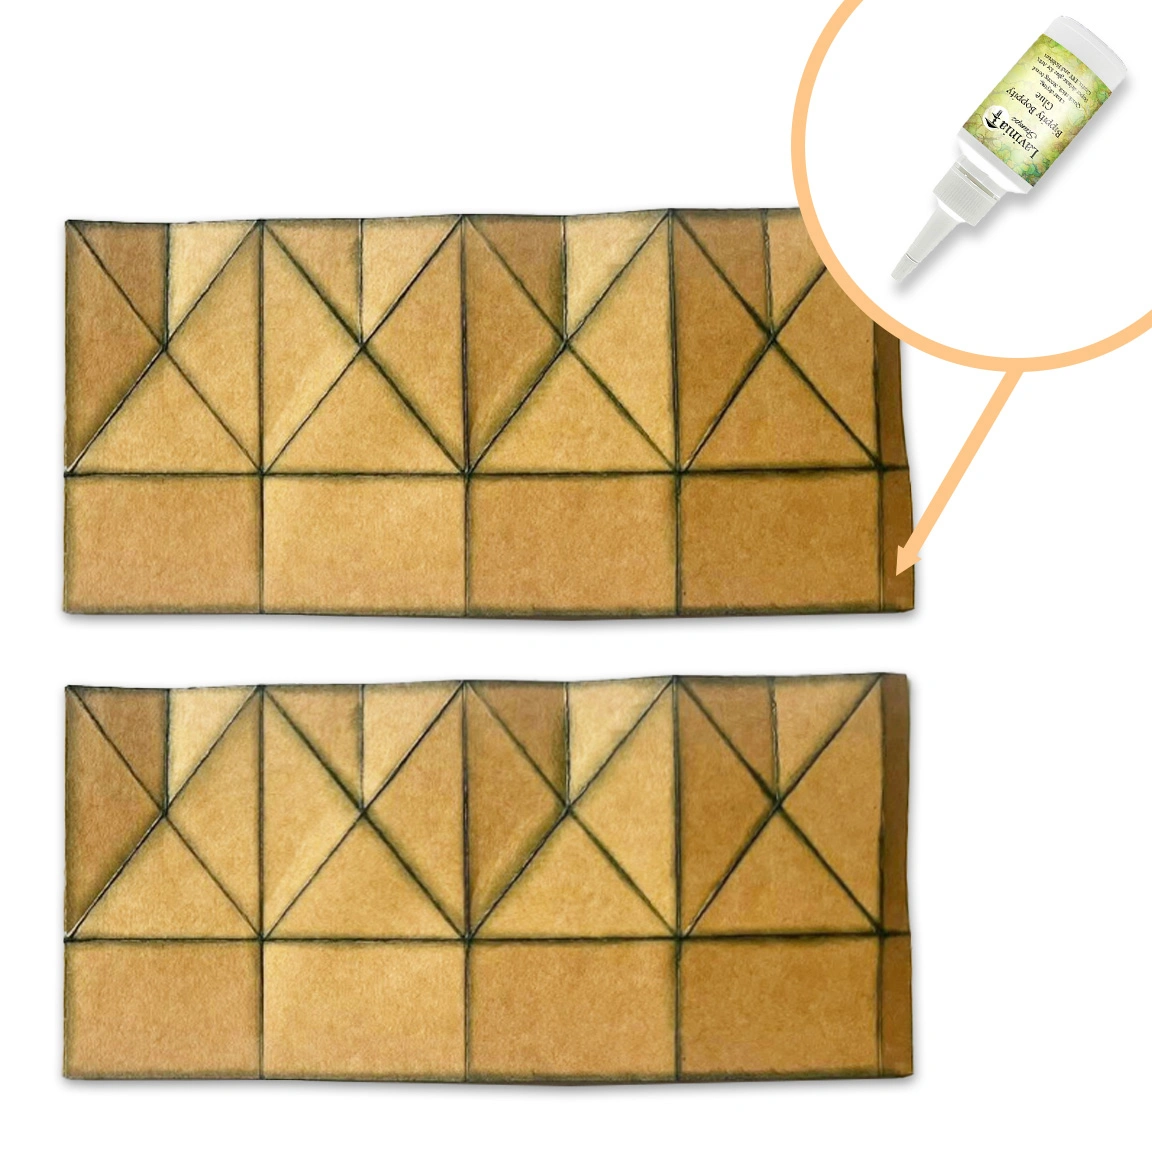
Step 3.
Apply some Bippity Boppity glue to only one of the end tabs and stick the two pieces together to make the longer shape pictured.
You now have your lid template ready.
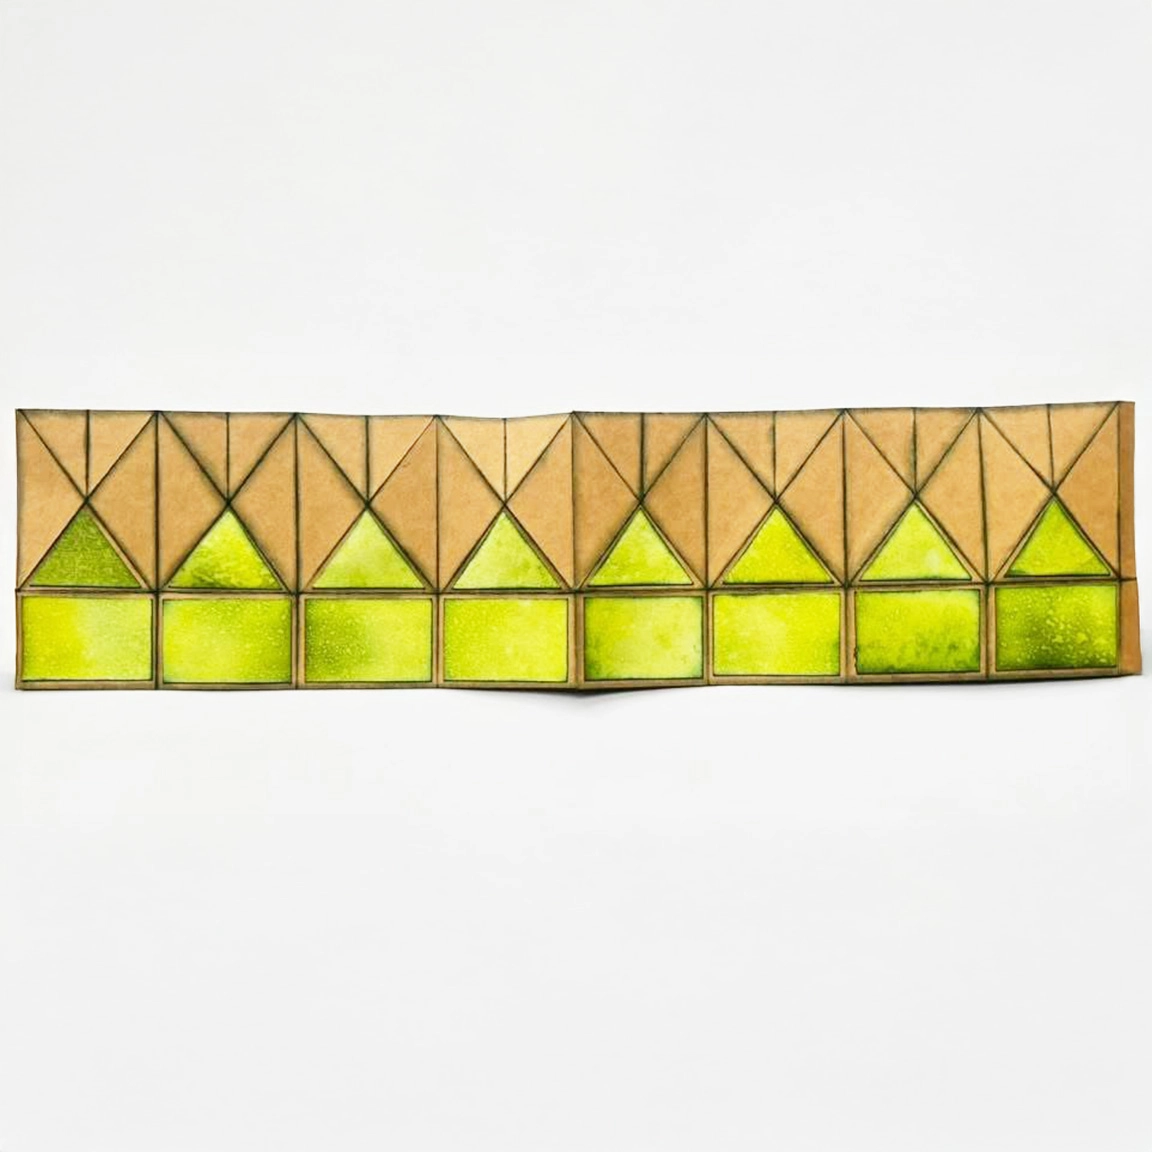
Step 4.
Apply a wash of colour to another sheet of paper or card with a stencil brush and a mix of Elements Inks colours Greensleeves and Olive. Spray some water on the ink to create a faux bleach texture.
Cut the coloured paper into triangles and rectangles for the lid as shown in the picture. To cover the areas shown you will need 8 rectangles sized 4.5 cm W x 2 cm H, and 8 triangles, sized 4.5 cm W x 3 cm H.
Once cut, glue them onto the template with some Bippity Boppity Glue.
Step 5.
Now we are ready to begin folding the lid into shape.
Make sure all score lines are sharp and straight. This is very important!
Curve your lid template into a cylinder and join it together with some glue on the small tab.
Step 6.
You now have two options for different shape styles for your lid. If you like you can try both styles before fixing with glue to decide which you like best.
Method a) Fold the vertical lines between each triangle inwards towards the centre, and fold the diagonal sides of the triangle outwards.
Method b) Fold the vertical lines between each triangle outwards, and fold the diagonal sides of the triangle inwards towards the centre.
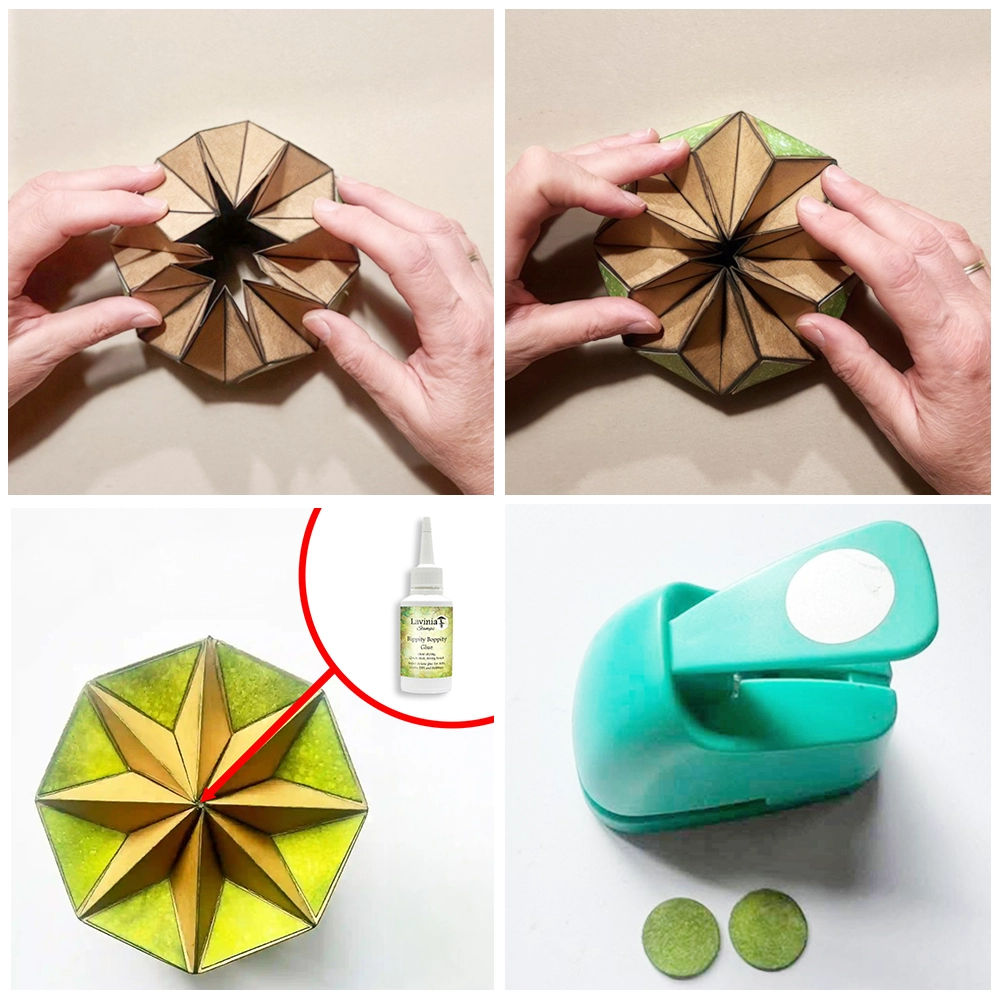
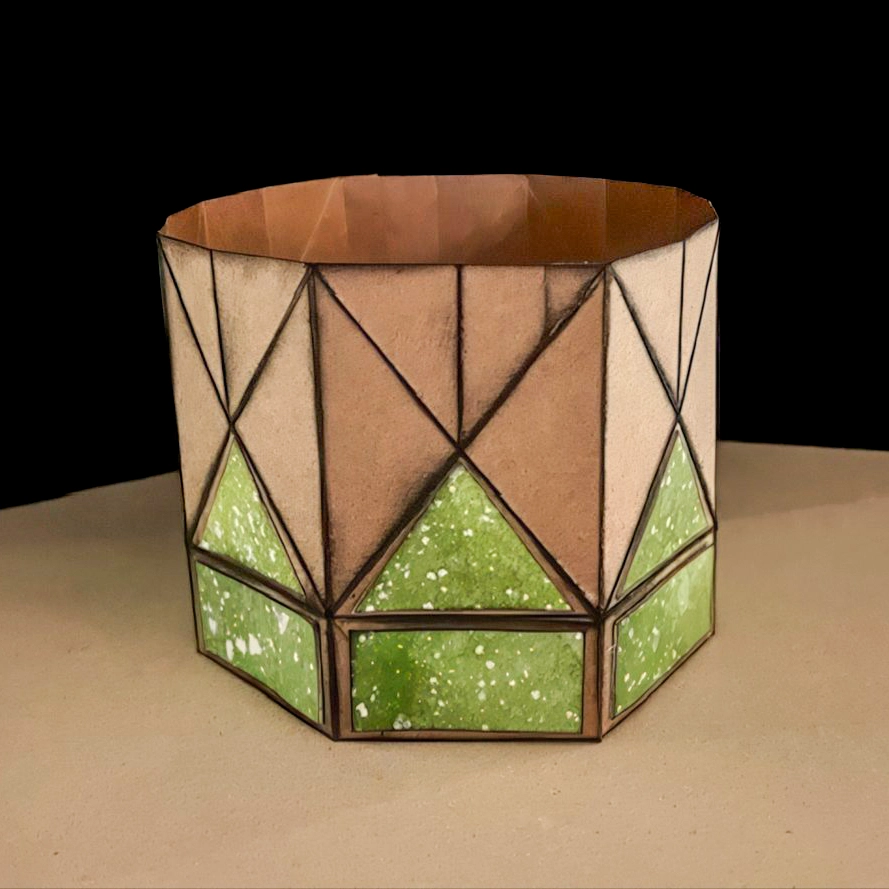
Step 7.
Now gently press the top parts of your lid into the centre so that all the dots meet and form a star! Glue it in place!
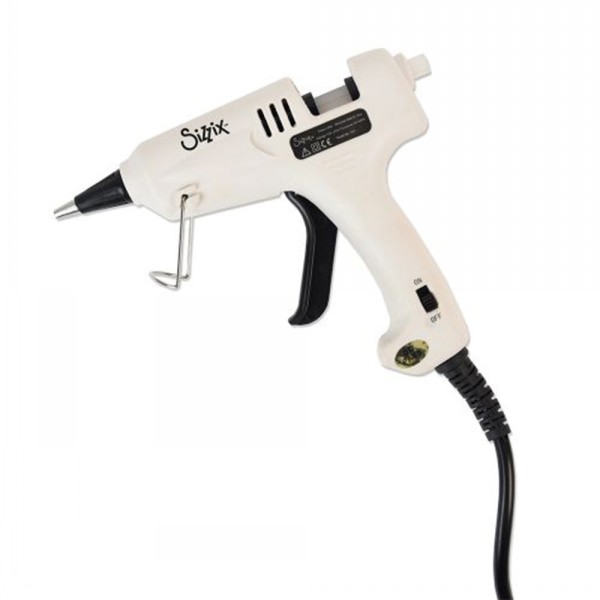
You can do this with a glue gun or strong glue.
Optional: Glue two punched-out circles to the top and bottom of your lid, where the dots meet. This isn’t necessary, but if the dots don’t meet properly, it conceals this.
Step 8.
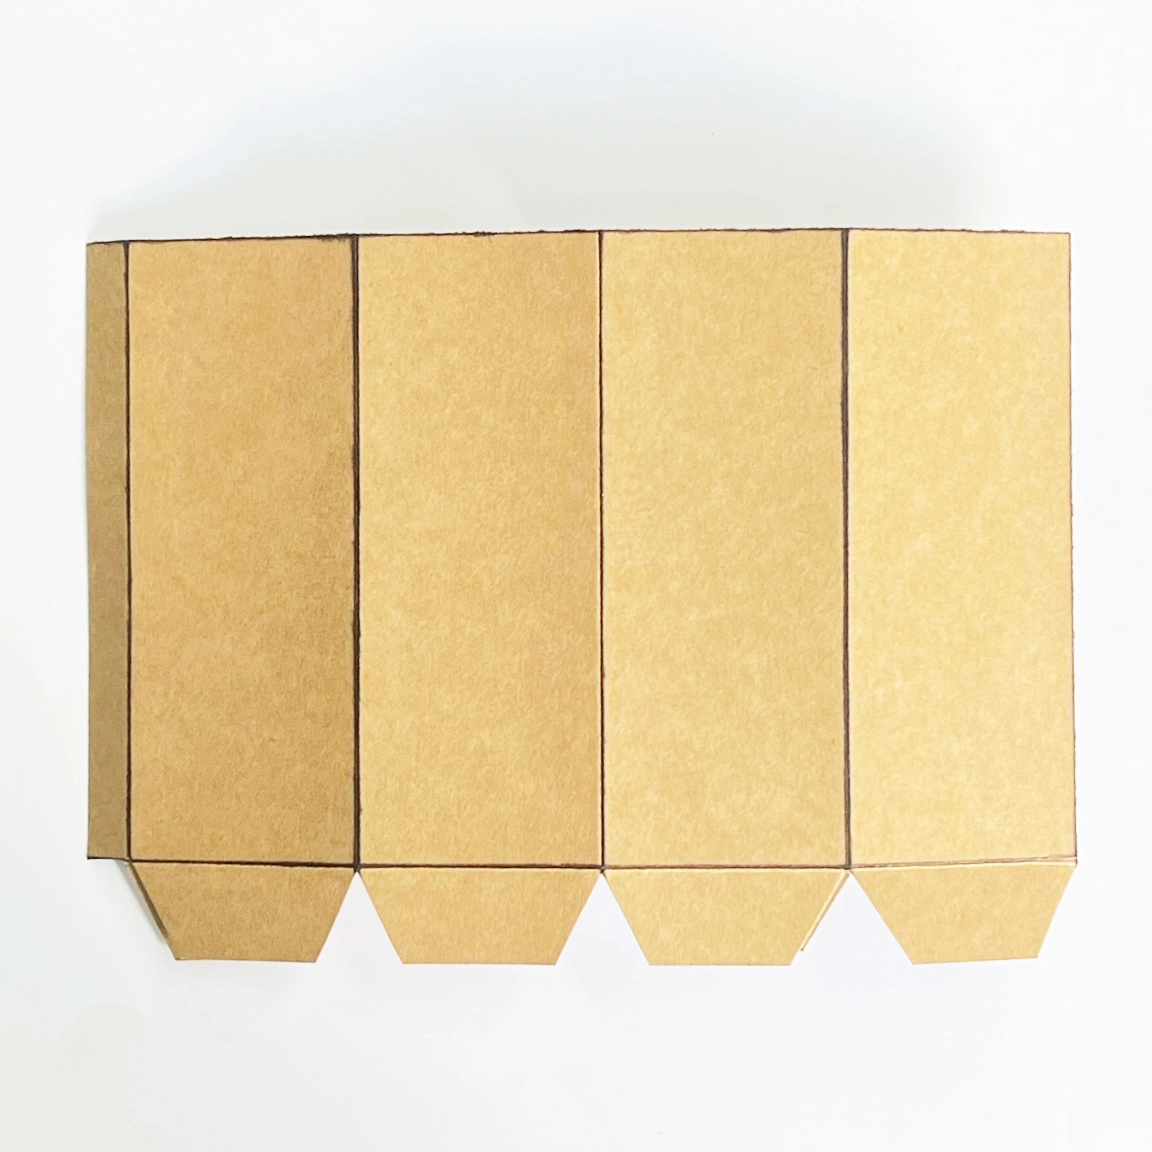
Now we will build the sides of the box!
Cut two pieces of card to size 19.6 cm W x 14.8 cm H.
Score vertical lines with the following spacings from the long side: 4.9 cm, 9.8 cm, 14.7 cm, 19.6 cm.
Be as precise as you can with these measurements. This will ensure the lid fits well over the top.
Score a horizontal line across the short side, starting 2 cm from the bottom corner.
Cut wedges out of the bottom, meeting the end of the score lines to make four tabs as pictured.
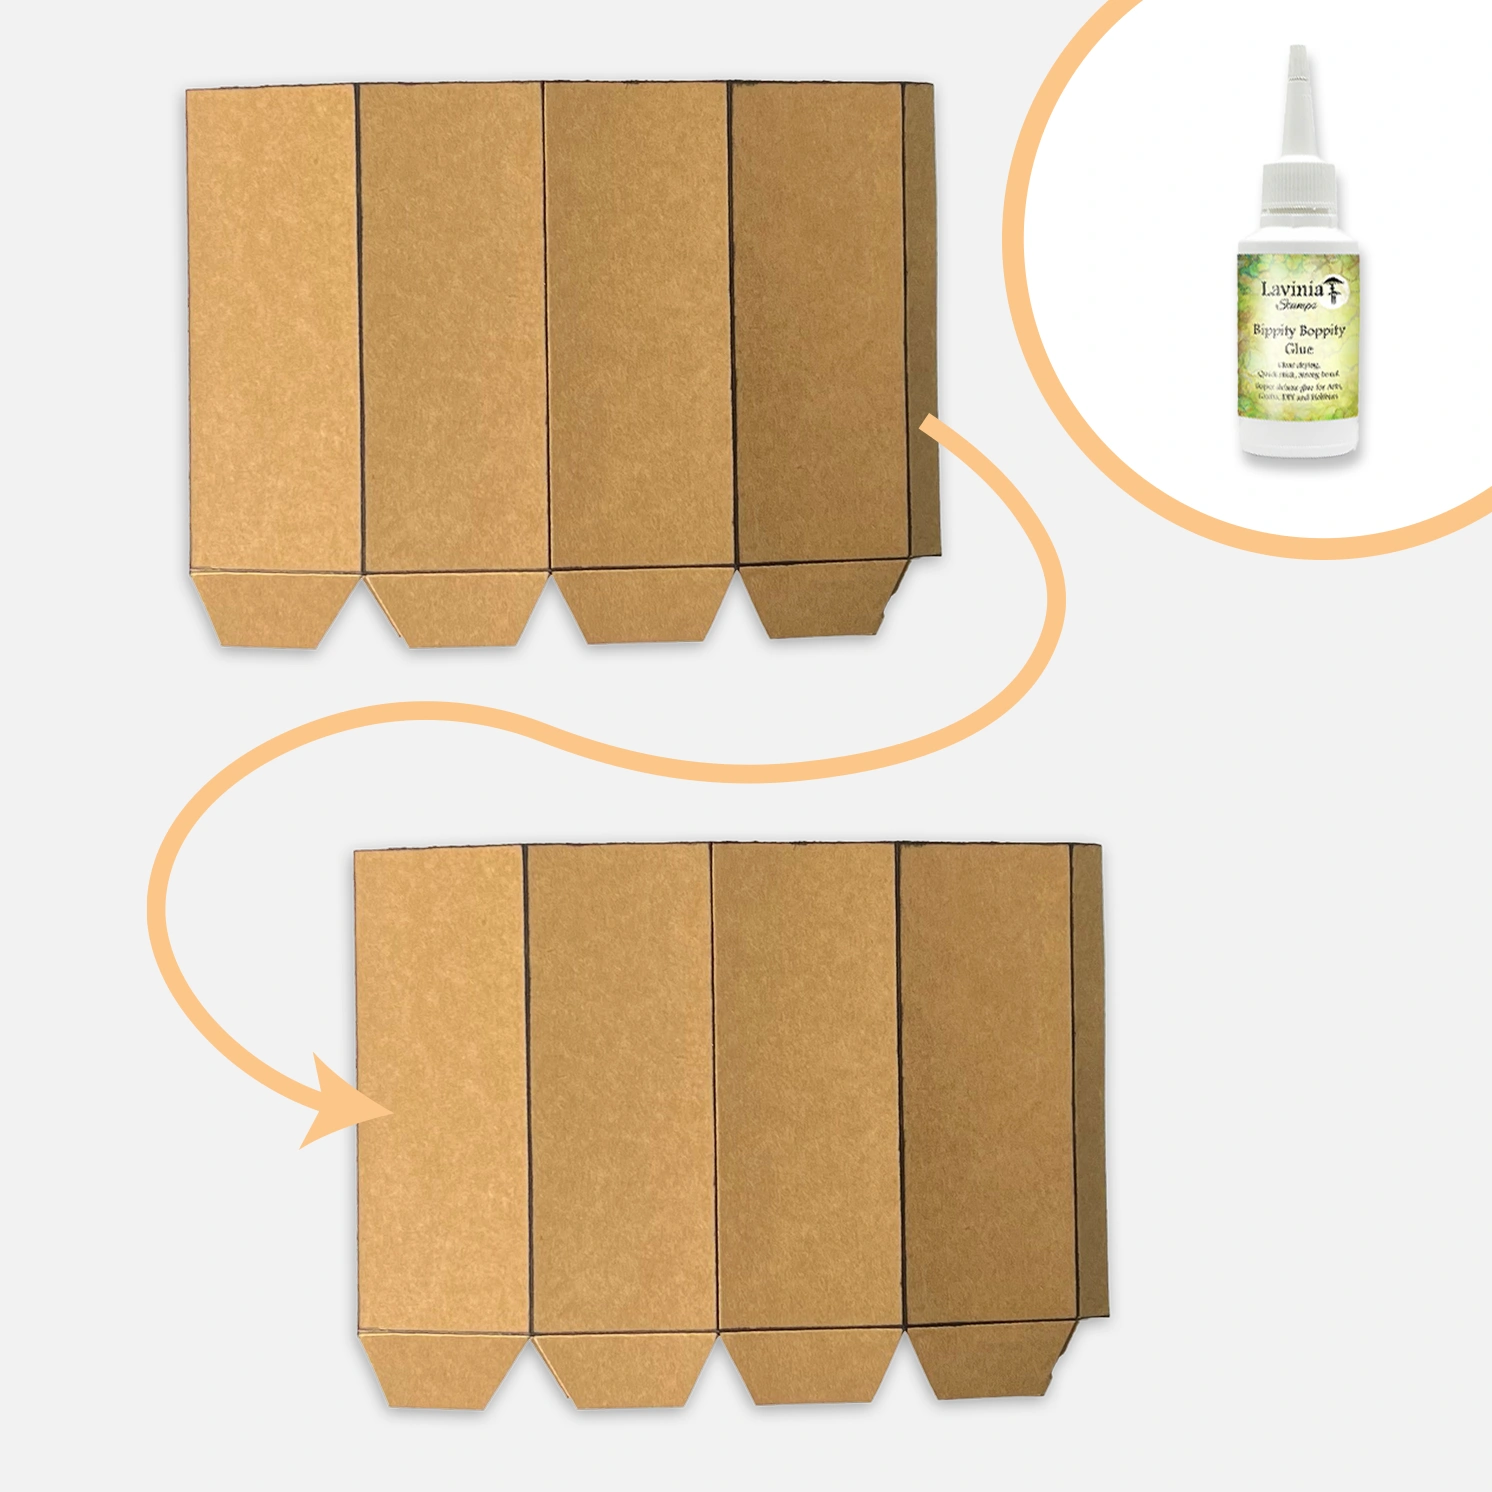
Step 9.
Ink all the lines and then join the two pieces with glue at the short edge to create a long piece.
You have now created your template for the box sides.

Step 10.
Take some more sheets of card and score out 16 rectangle shapes, all sized 12 cm x 4.4 cm.
Colour the cards with Elements Ink colours Greensleeves and Pine, darkening the outer edges with Olive.
This is for decorating both the inside and outside of your box.
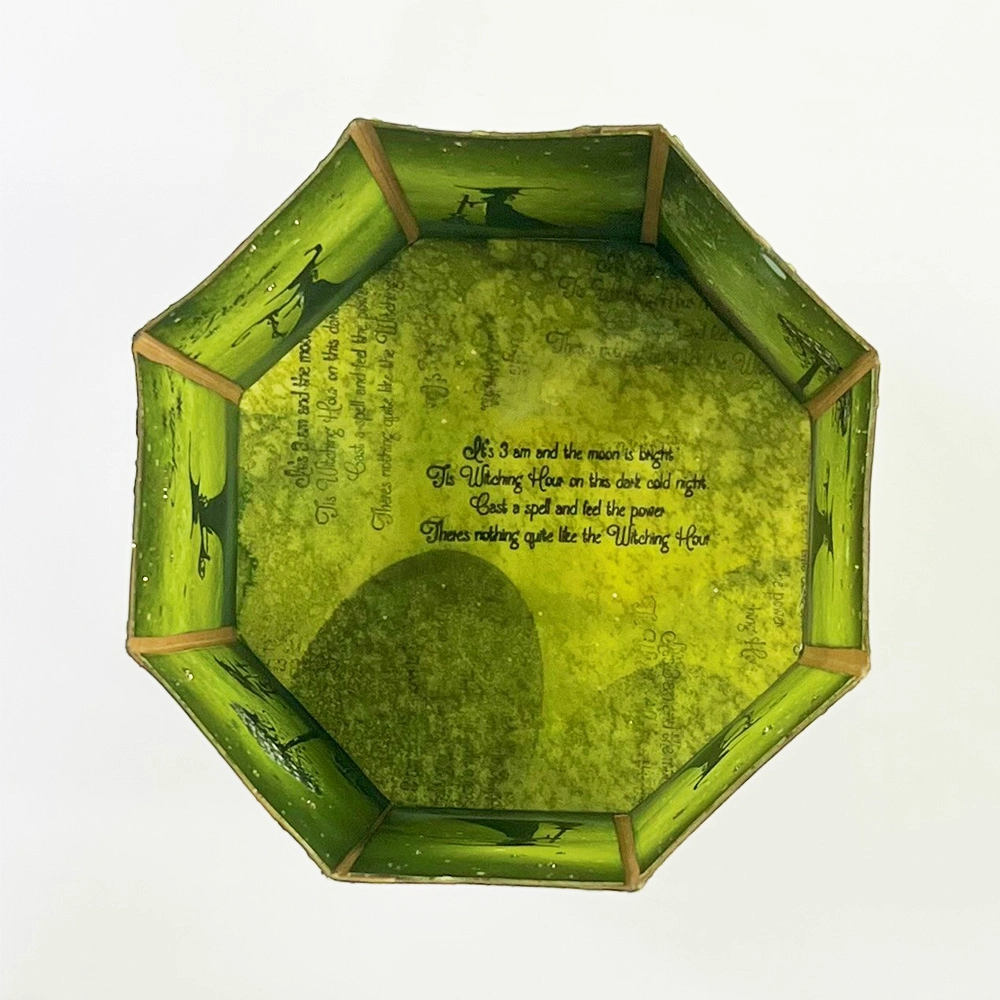
Step 11.
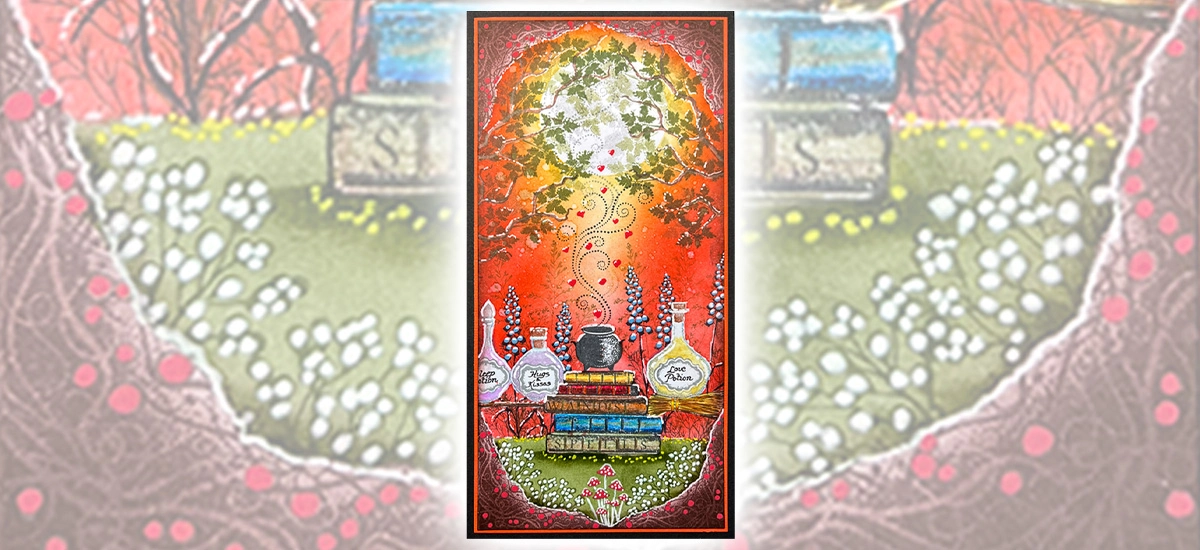
For the inside design, I have used the following stamps:
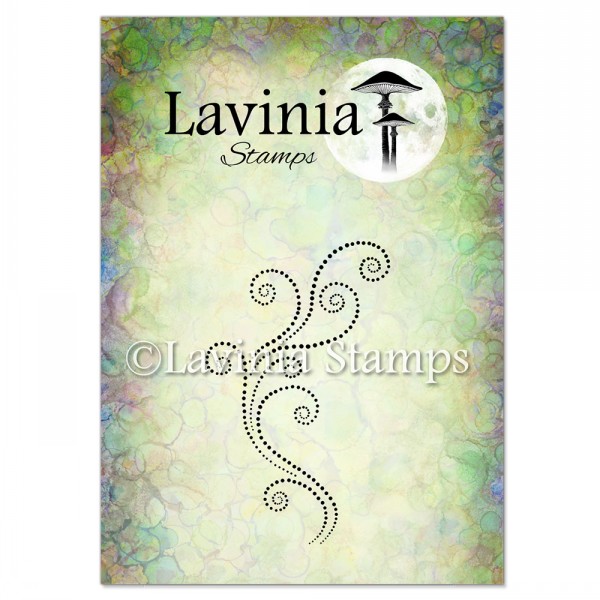
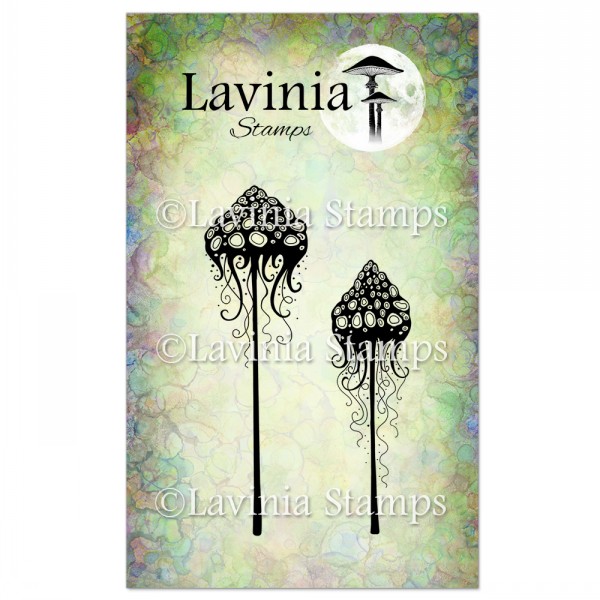
Coven of the Blue Moon LAV912, Bubbling Cauldron LAV911, Magical Mist LAV910, Mushroom Lantern Single LAV597, Mini Meadow Mushroom LAV561, Fairy Bugs LAV471, Book of Spells LAV959 (only the words) and Mushies LAV945.
All are stamped in Versafine Clair Nocturne ink.
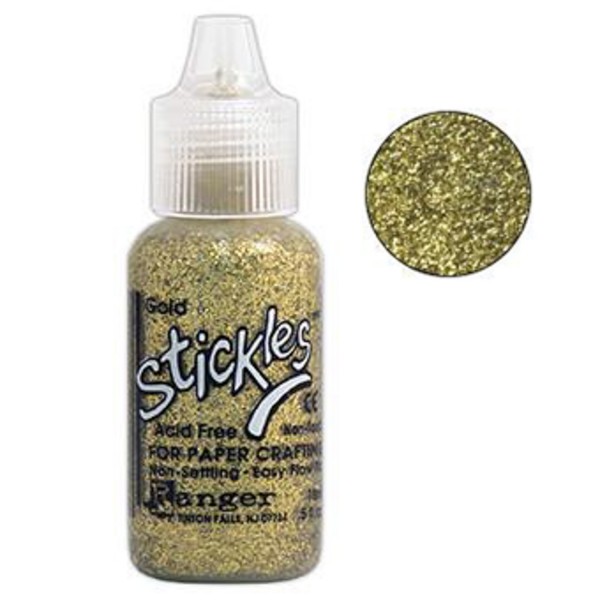
I have added gold Stickles to accent the mist, the cauldron and a few dots in the air.
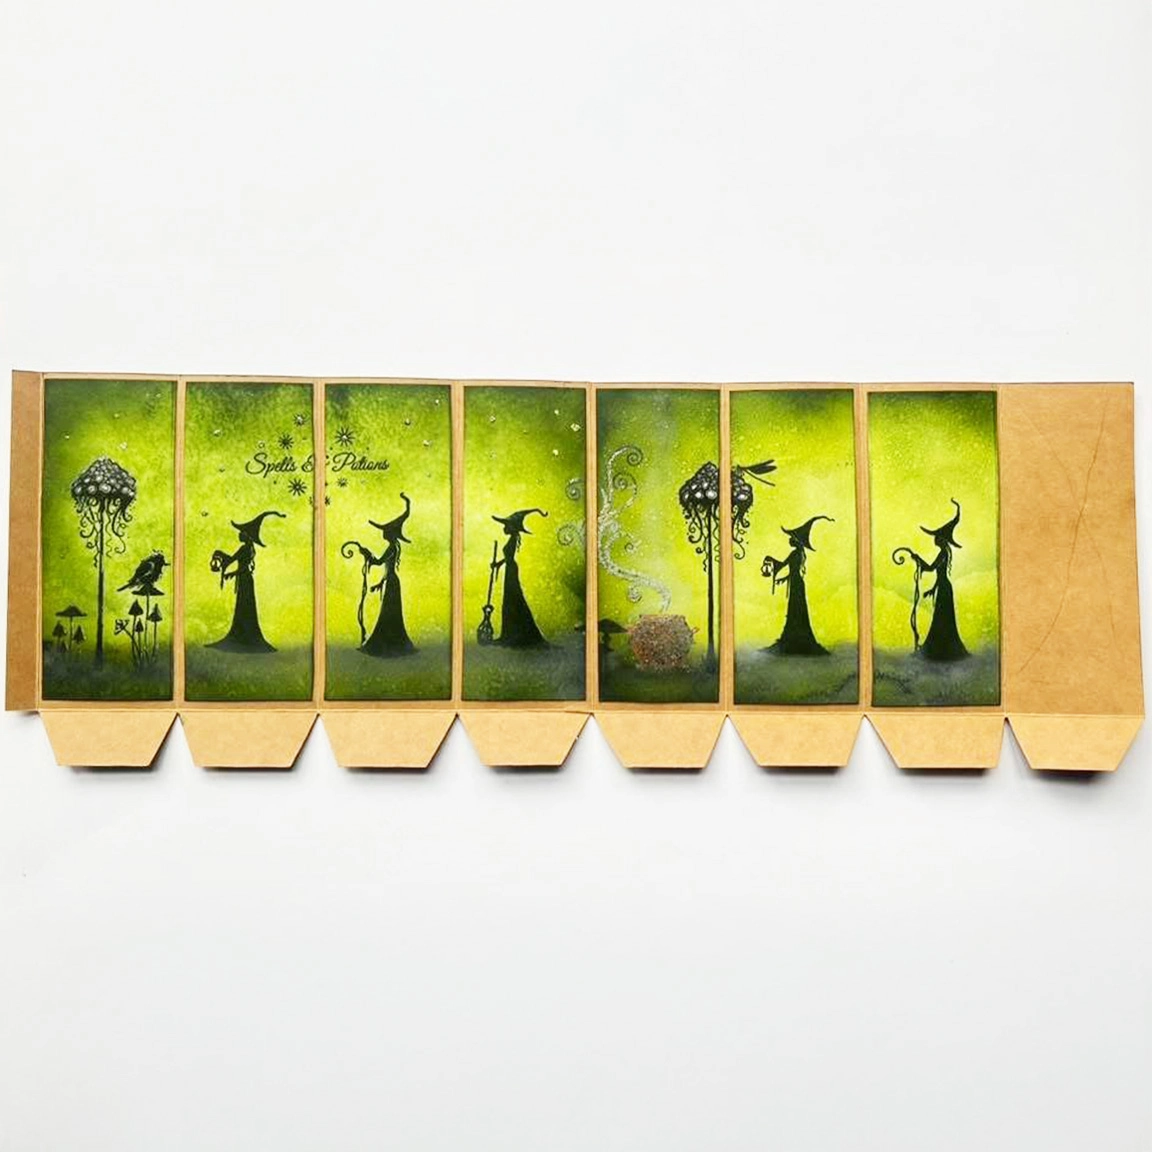
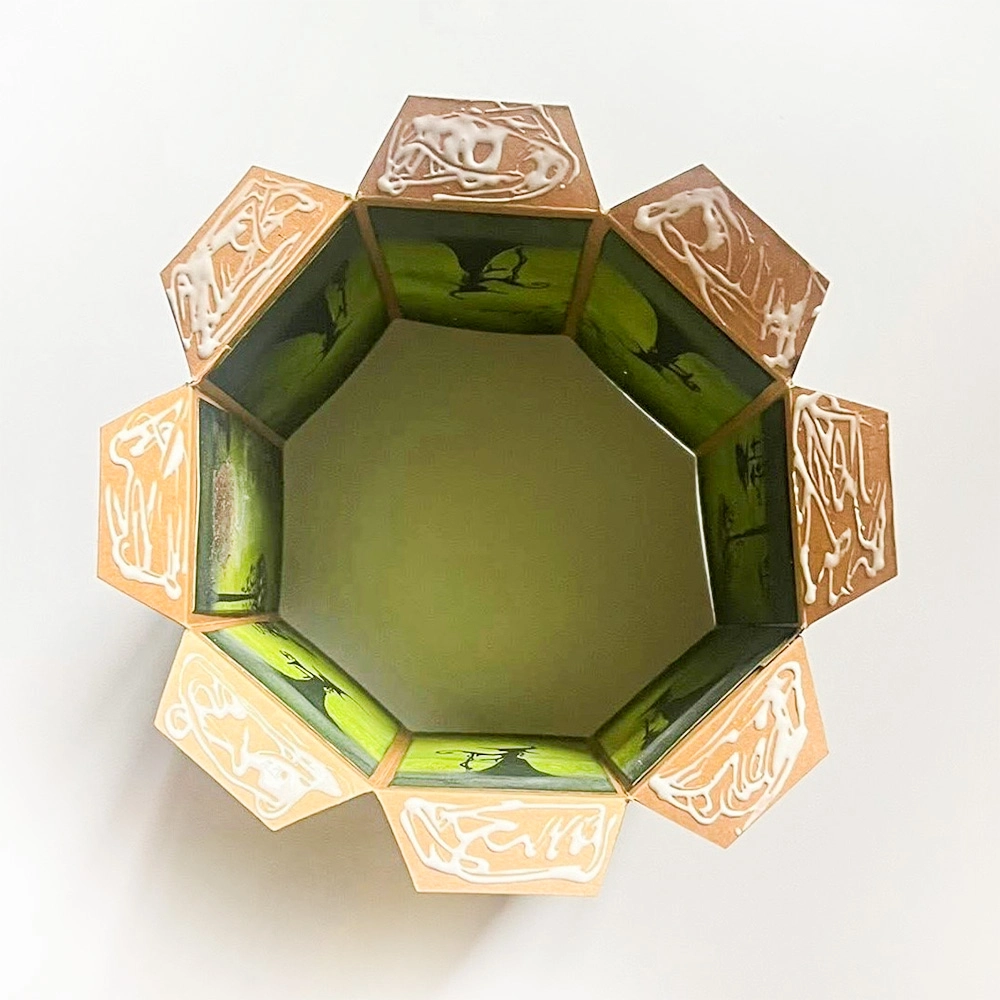
Step 12.
Once finished, we cut along the score lines and glue the pieces to the template, except for the last one on the end – keep this safe for now!
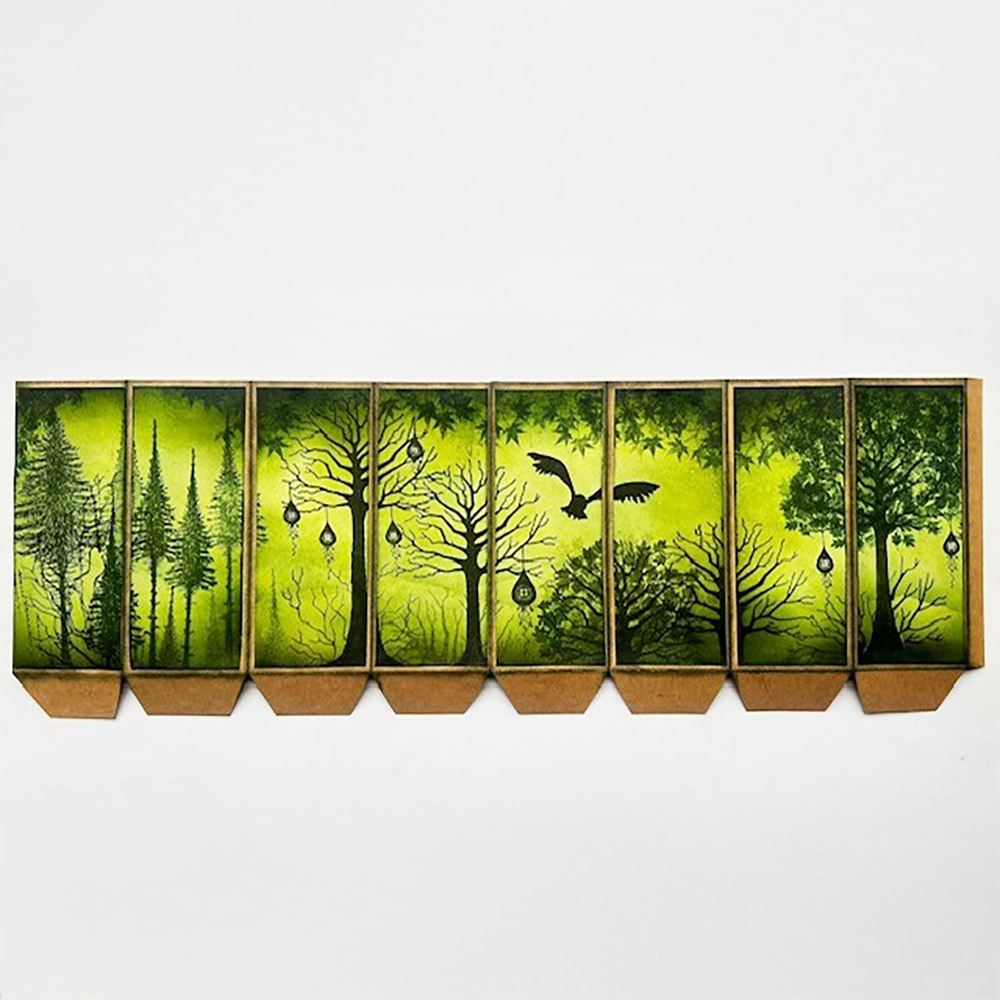
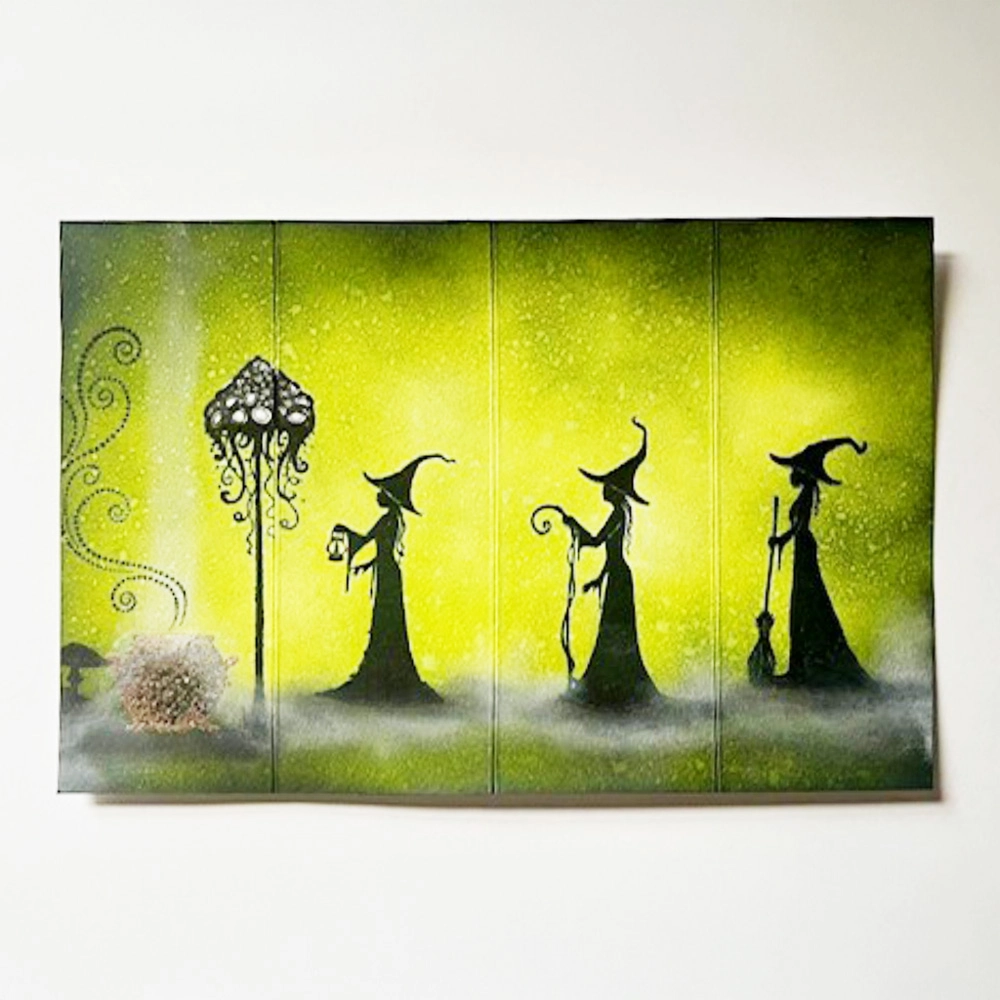
Step 13.
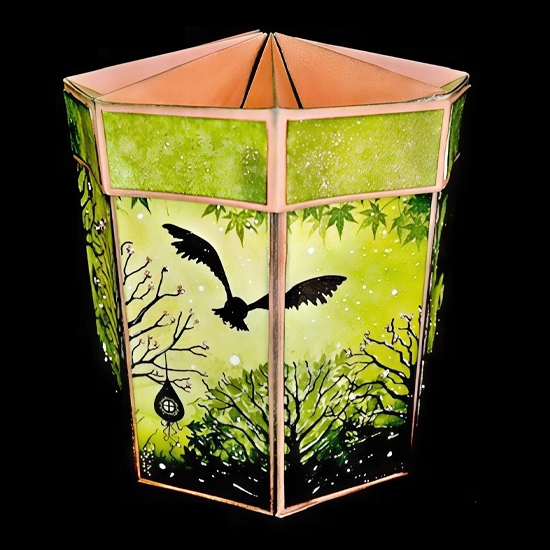
Now to create a story for the outside of your Star Box!
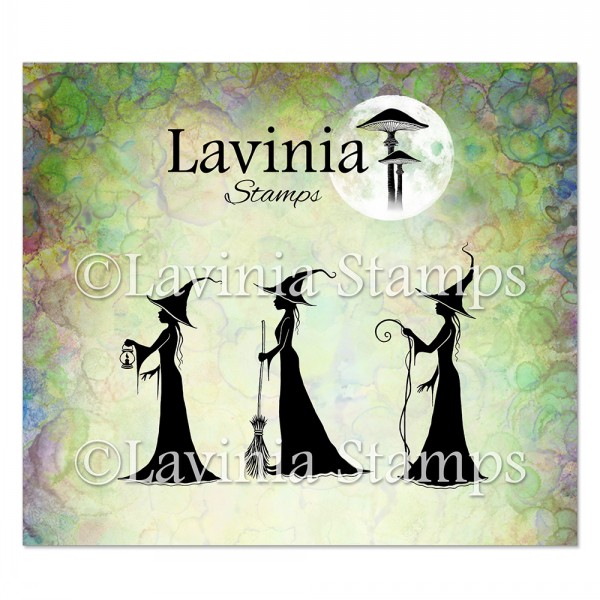
I used the following stamps: Tree of Spirits Small LAV 919, Tree of Spirits Large LAV918, Fairy Fir Tree LAV478, Fairly Fir Tree 2 LAV477, Brodwin and Maylin LAV639, River Leaves Mini LAV890, Mini Leaf 5 Stamp LAV512 and Tree Hive Set LAV600.
Once you are finished stamping and decorating the outside design, cut the score lines and glue all the pieces onto the opposite side of the template
Step 14.
Bend the template so that the score lines fold until it forms a loop, then join the loop with glue on the small tab.
Now we can glue the final 12 cm x 4.4. cm section onto the inside, covering the join.
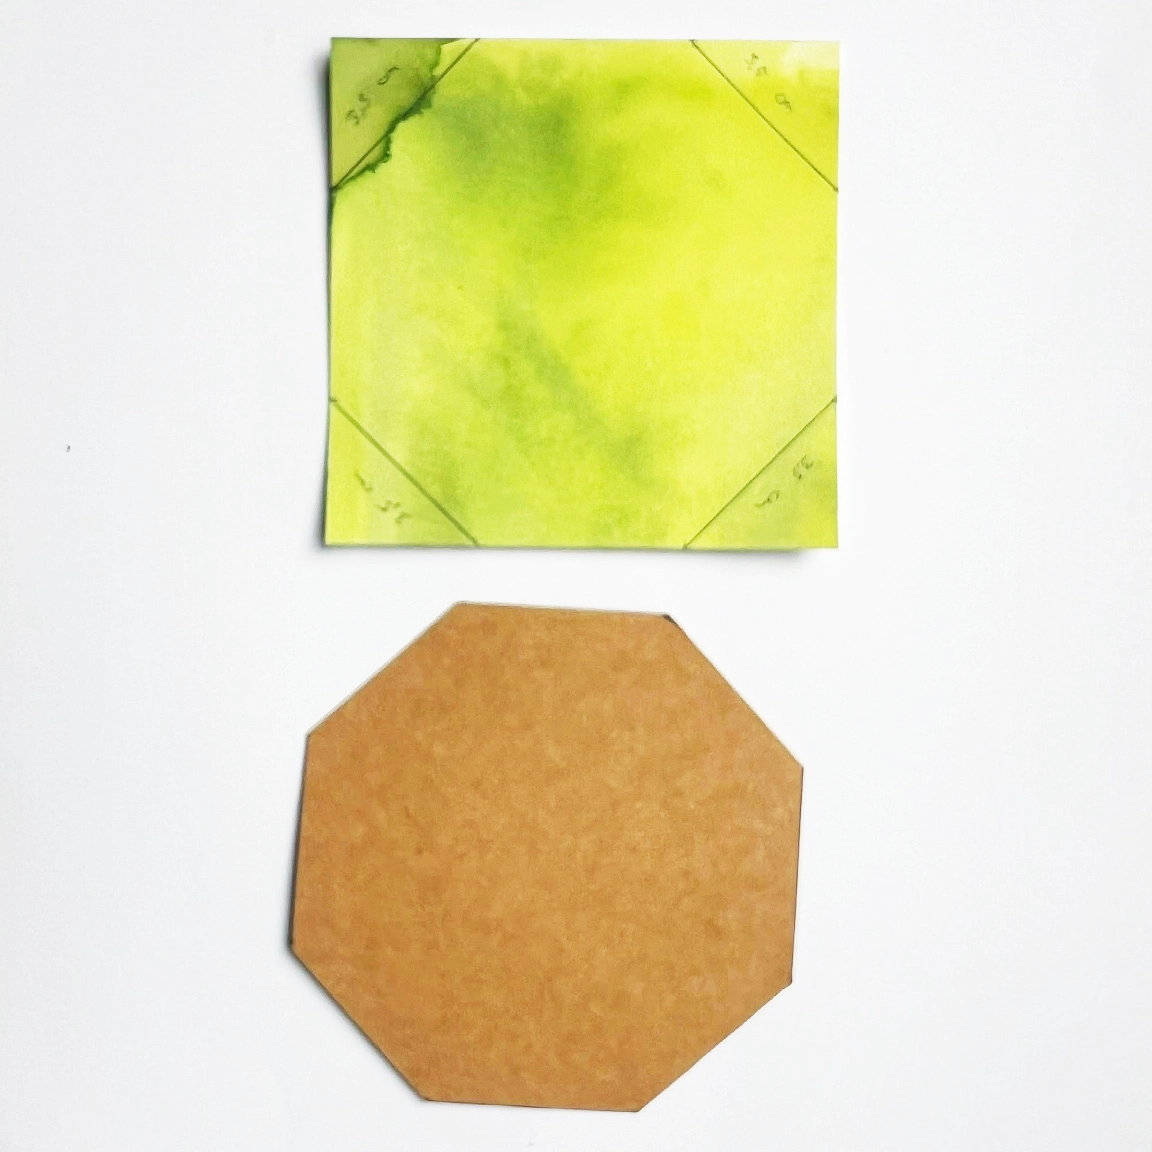
Step 15.
To make the box base, cut some strong card into a 12 cm x 12 cm square.
Draw diagonal lines cutting each corner of the square, measuring 3.5 cm from each corner for the start and end points of each line.
Cut along the diagonal lines to form an octagon shape for the base.
You may wish to decorate the inside of the bottom with a Dreamscape paper, or you could create a similar design with green Elements inks and stamps to match the lid and sides.
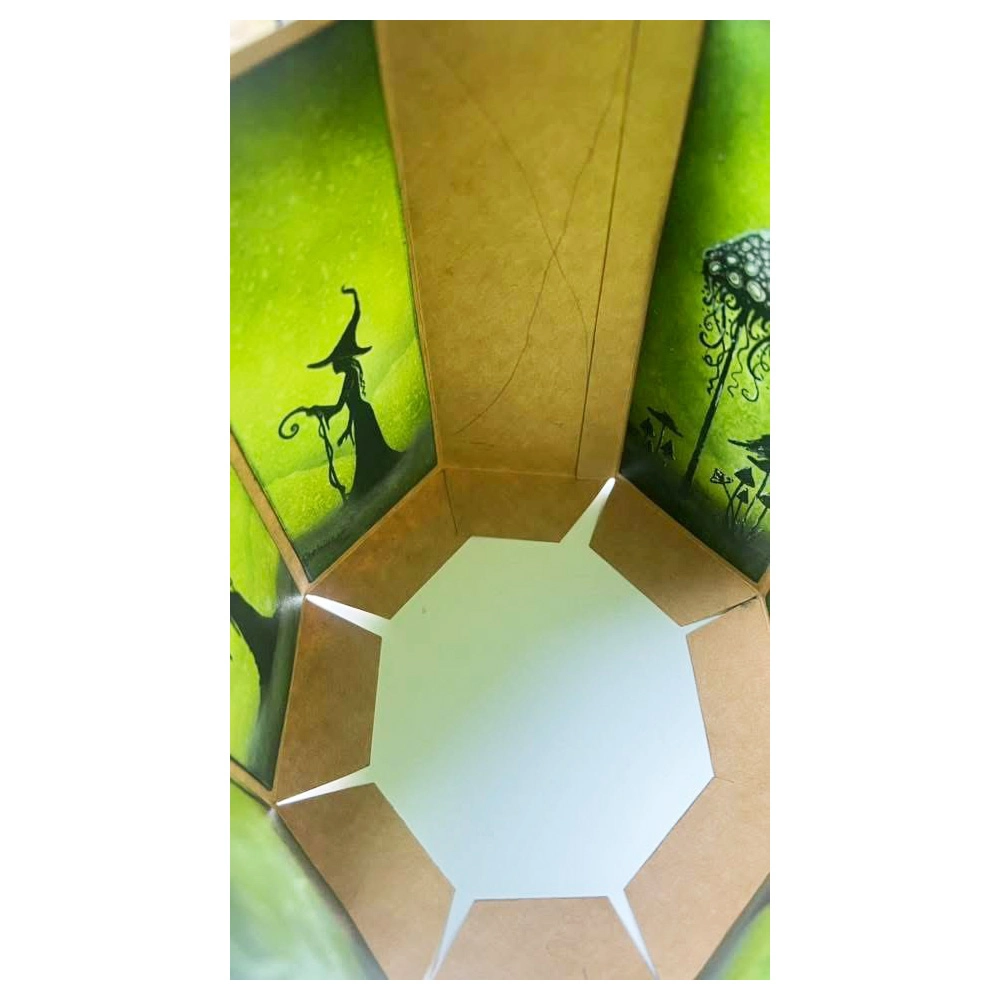
Step 16.
Turn your box upside down and fold the adhesive edges outward. Apply glue to the adhesive edges, fold them inward, and turn your box over.
Place the base into the bottom of the box and press it down on the adhesive tabs to fix in place.
Step 17.
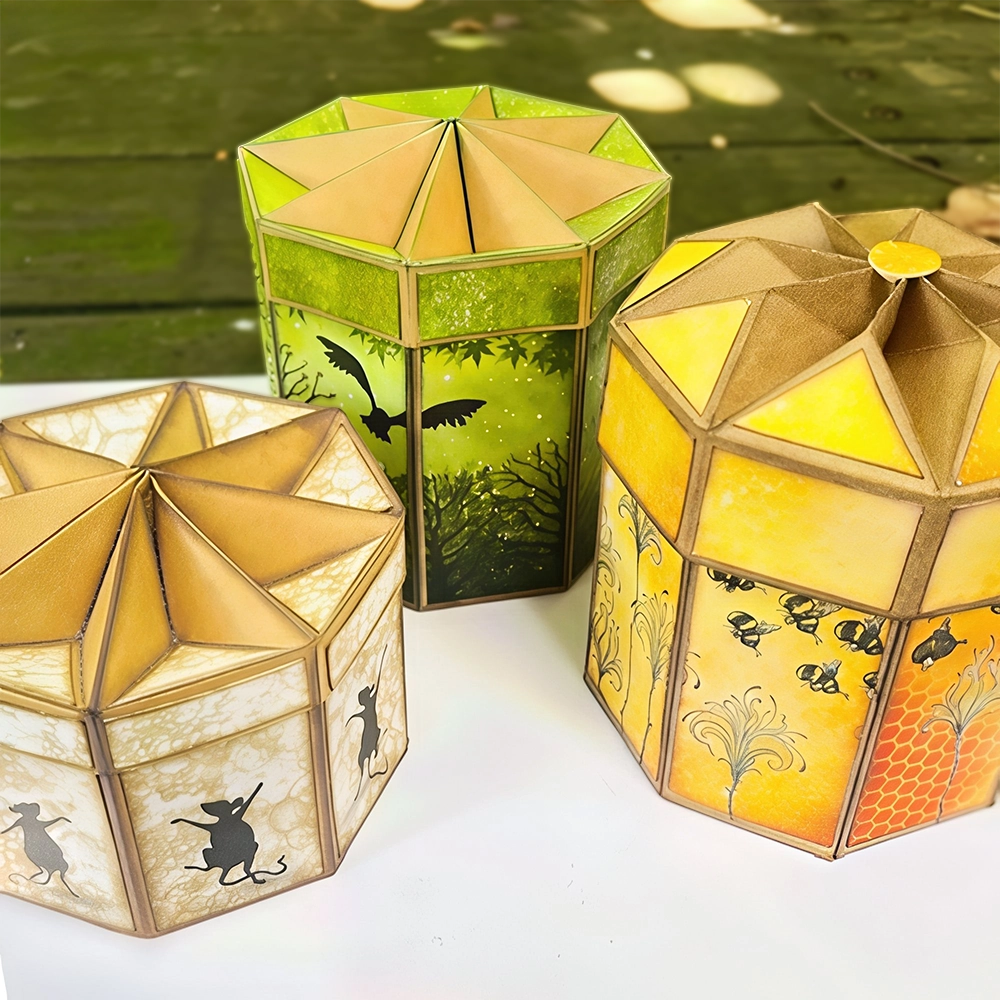
Basically, your star box is now finished! But once it’s looking like this, you might want to embellish it a bit with something like Stickles or a Posca pen.
I’ve made a bunch of different boxes, and they all turned out so cute!
Good luck with the creation. Will you share the fun with us when it’s finished?
And you can always adjust the height of your box to whatever you like!
Nicole Jongkind