Step by Step by Ellie Evans
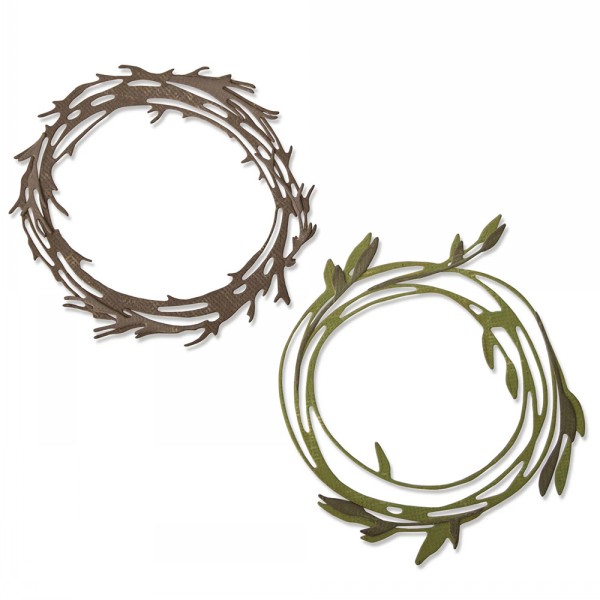
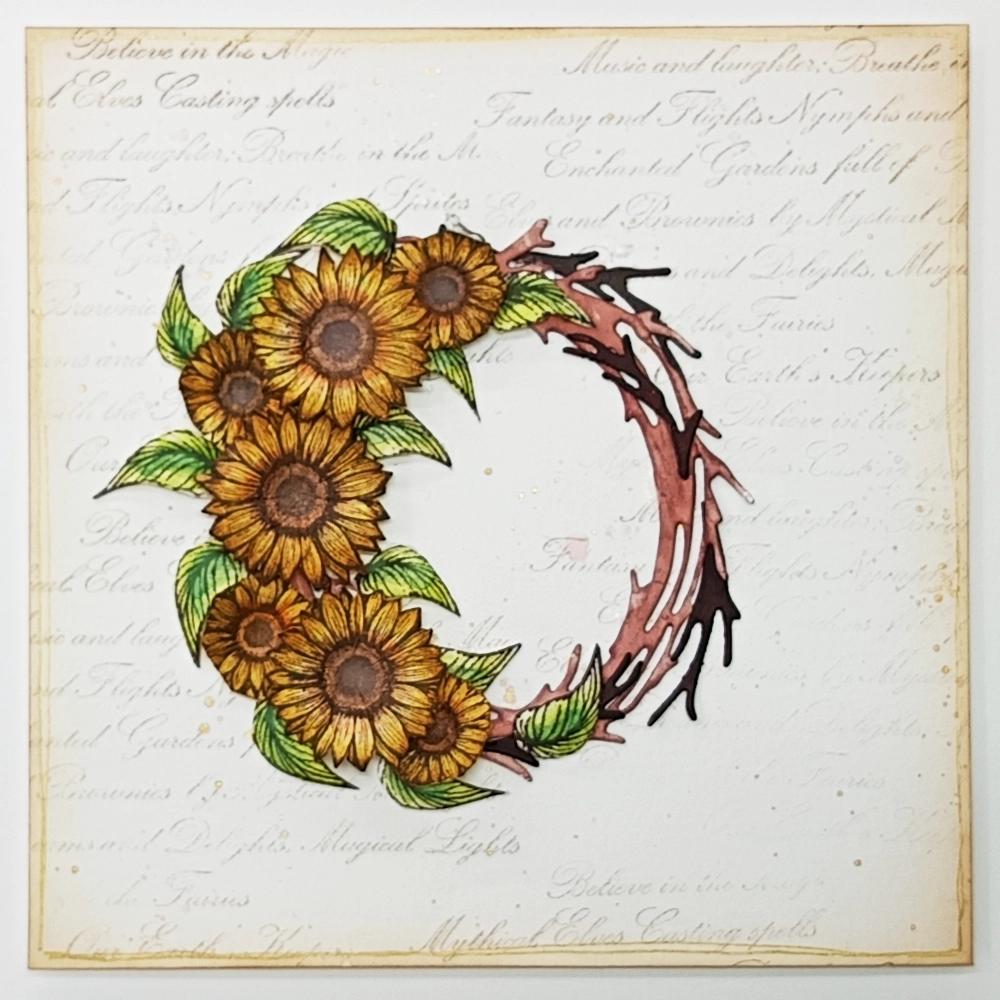
Hi everyone, Here is my step-by-step for the Sunflower Wreath using the Sizzix Tim Holtz Cutting die, Funky Wreath. I hope you like it. 🧚♂️
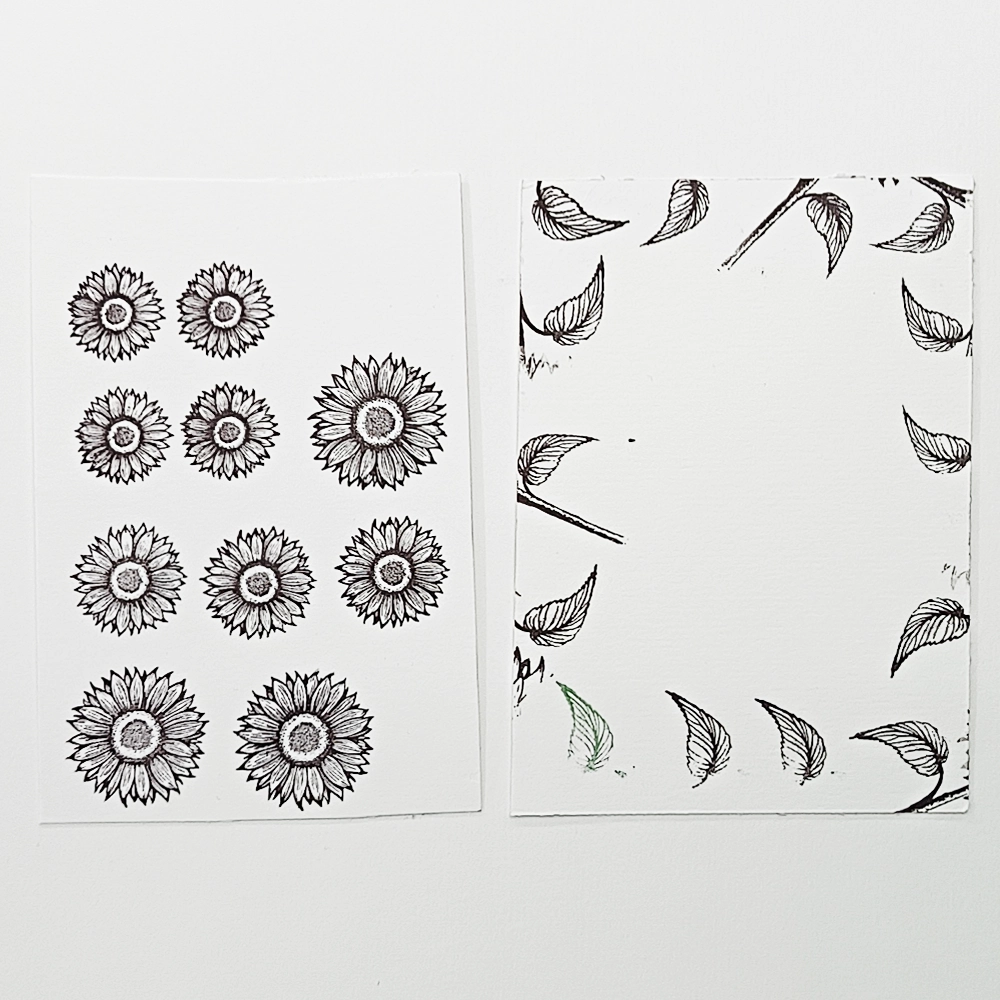
Step 1.
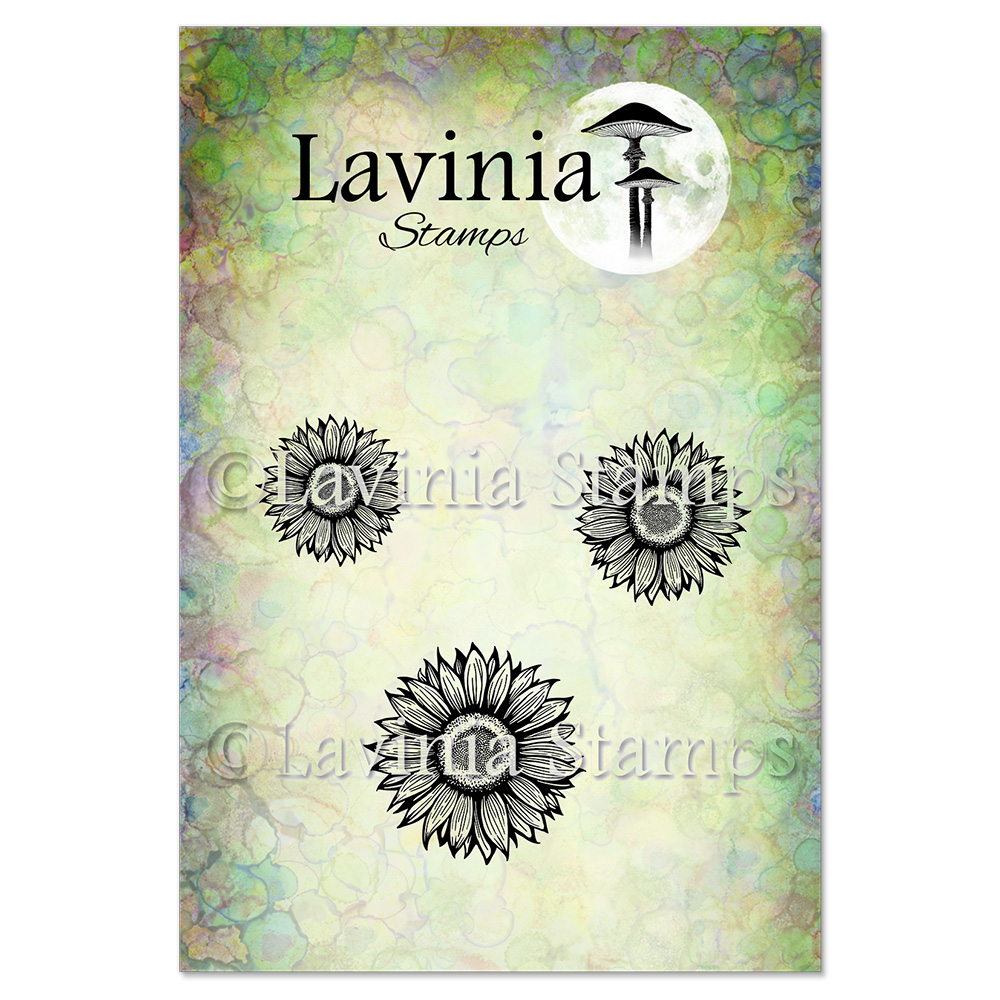
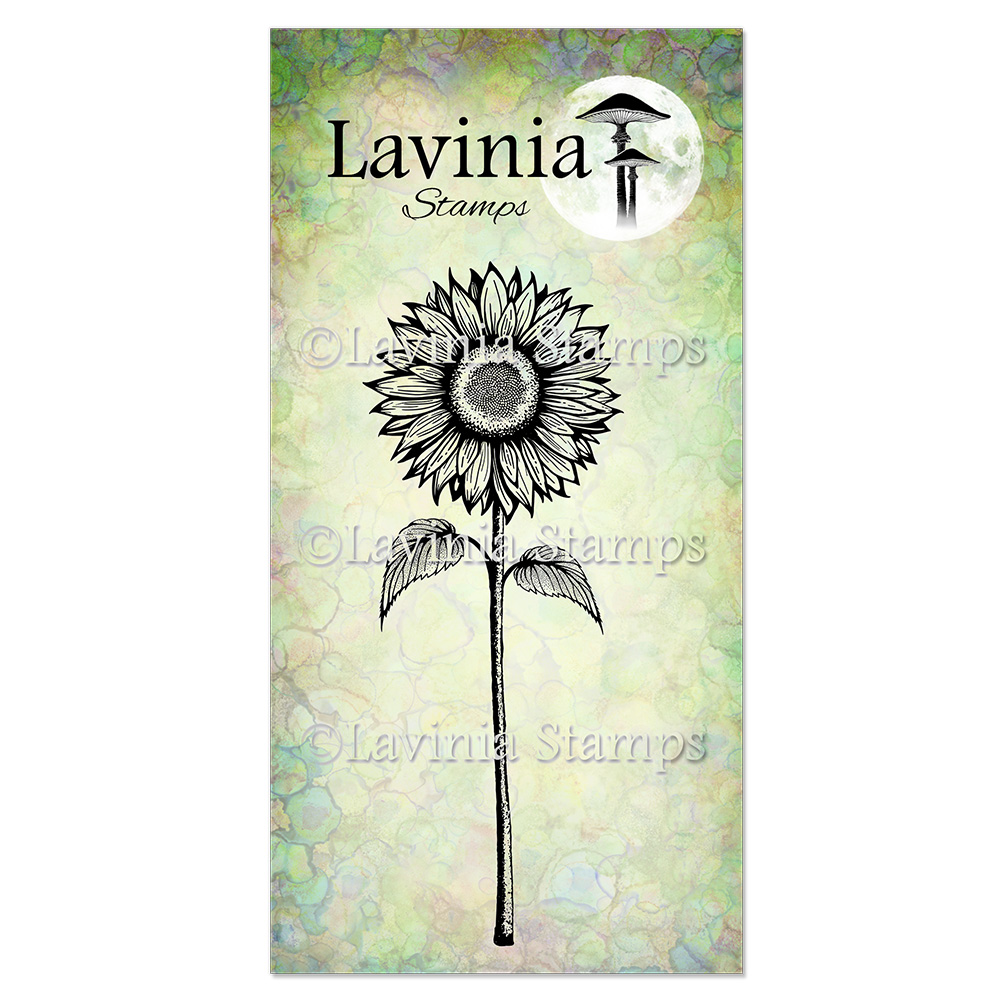
Step a few of the Sunflower Heads LAV933 and the leaves from the Open Sunflowers LAV986.
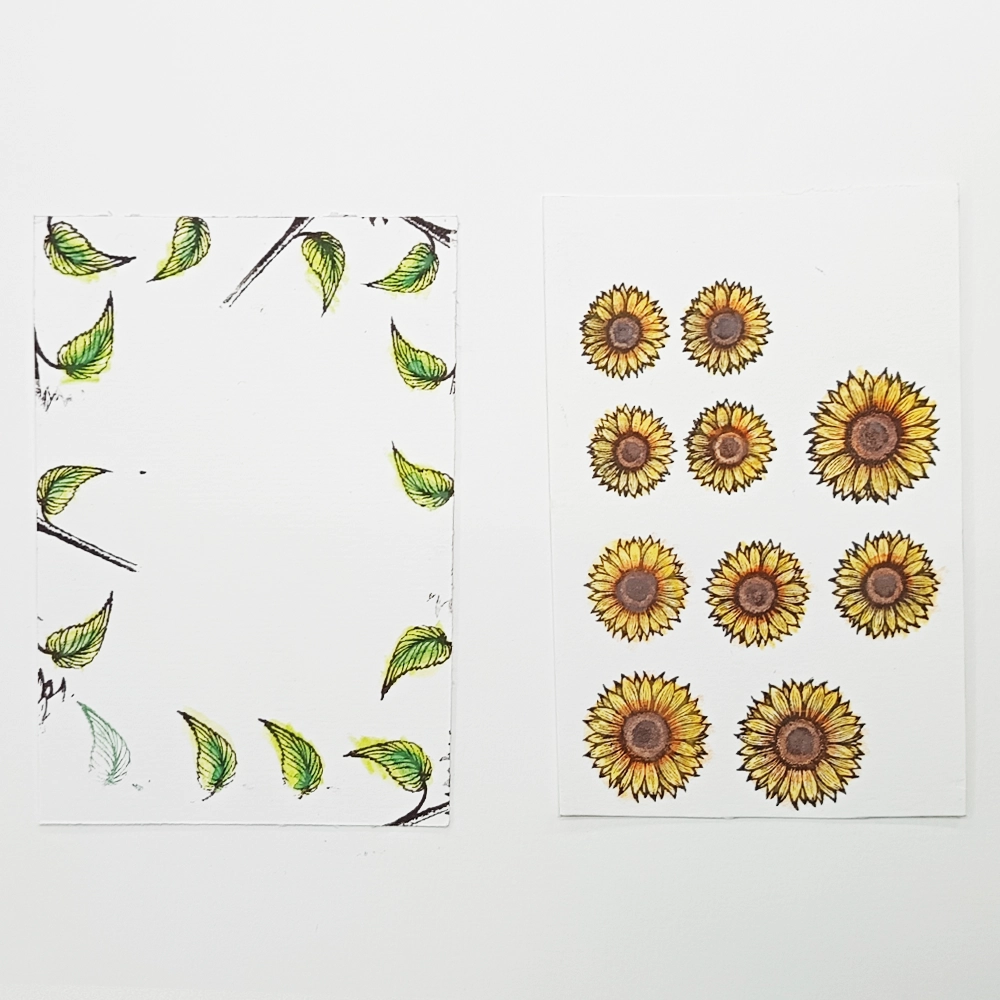
Step 2.
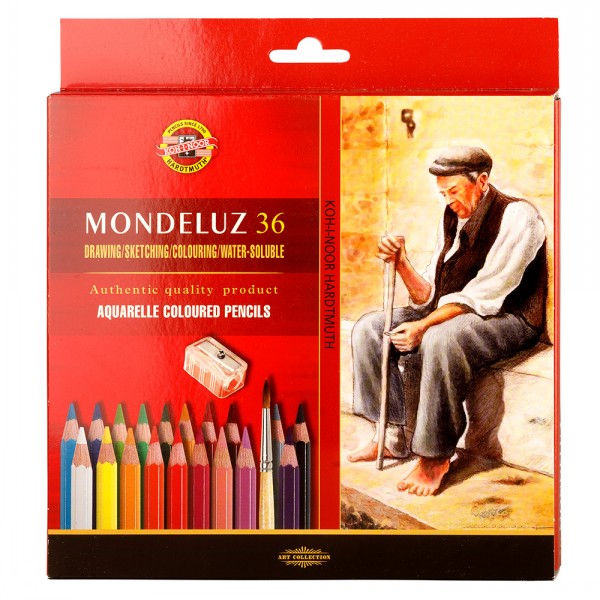
Next, I coloured them in. I used the Mondeluz watercolour colour pencils to colour them using a yellow and brown for the sunflowers. For the leaves I used a green and a yellow and blended them together.
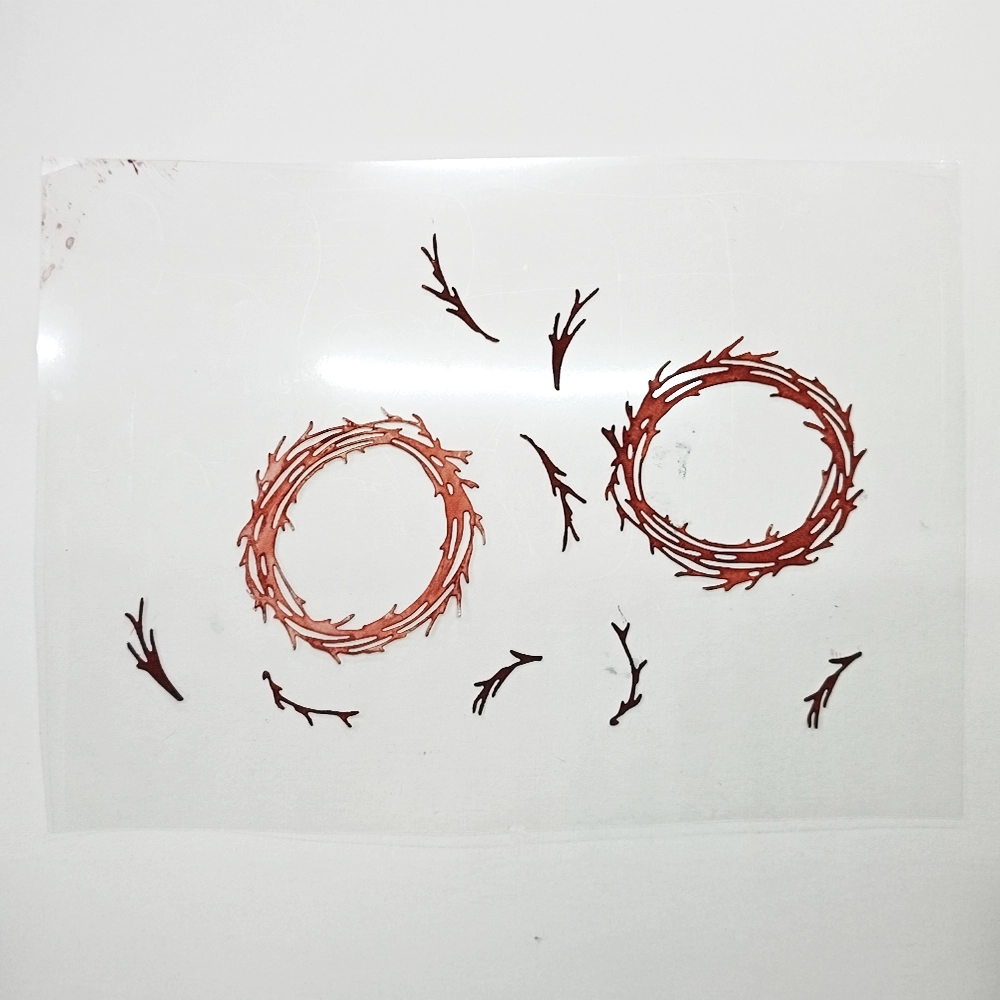
Step 3.
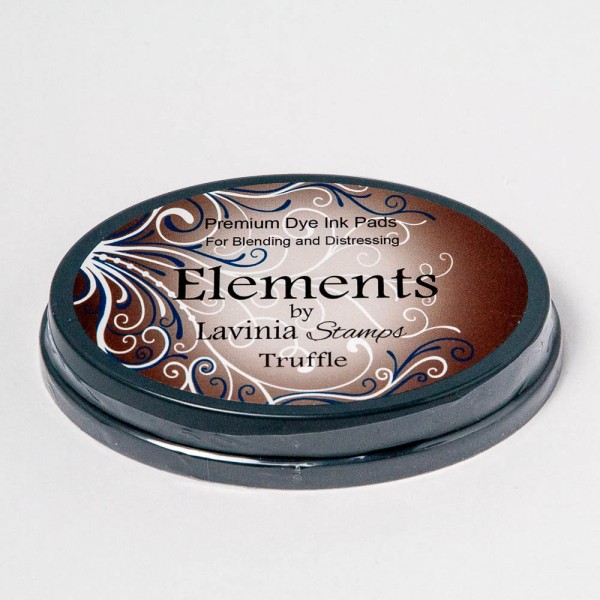
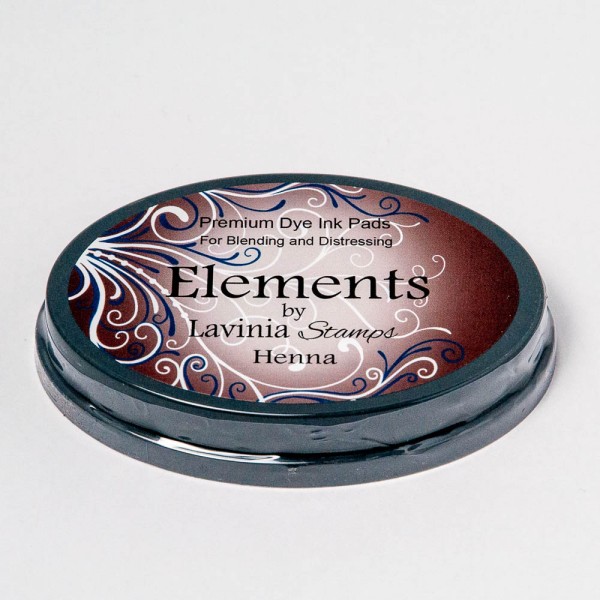
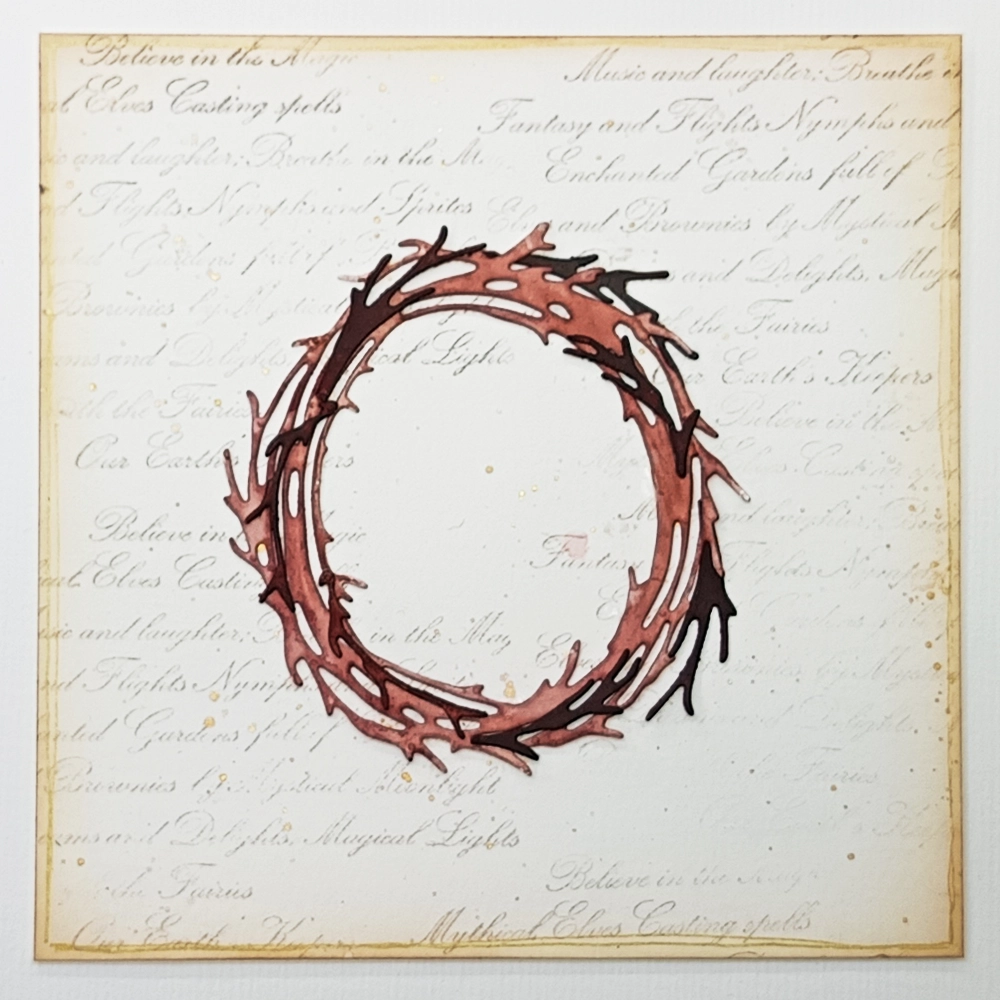
Next Die cut two of the same funky wreath and the bits that go along with it. I used Elements Truffle and Henna on my glass mat with some water to watercolour the die-cuts. You will need one funky wreath to be lighter than the other and the extra bits to be darker.
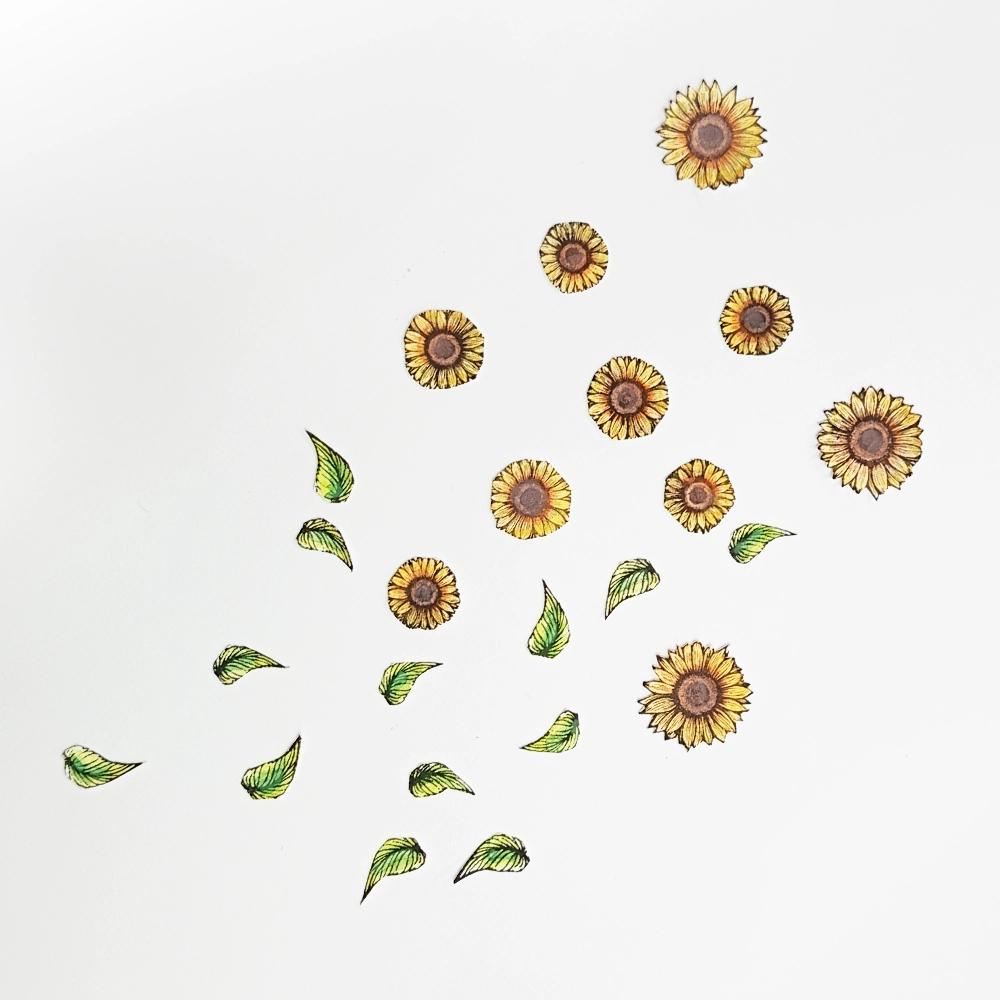
Step 4.
Time to cut the leaves and sunflower heads out.
Step 5.
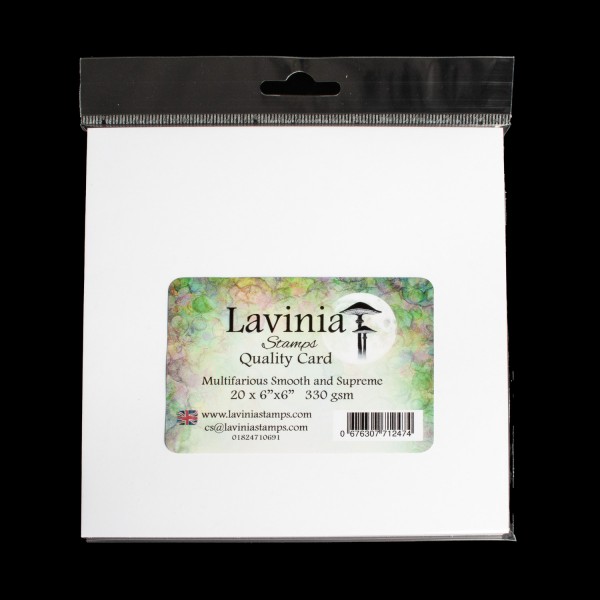
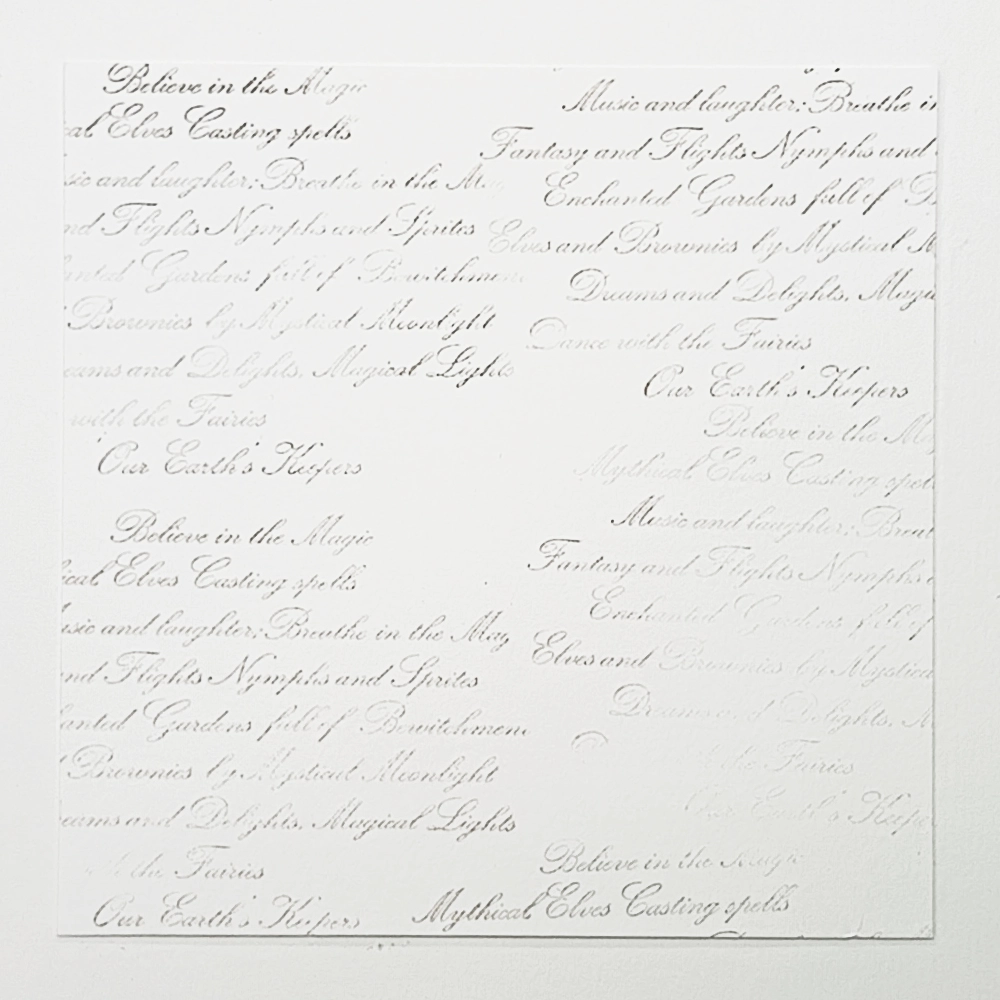
Cut a piece of 6” x 6” white Multifarious card to 5½ ” x 5½” and stamp the Sacred Spell LAV465 in Versafine Clair Morning Mist in second generation stamping. Stamp it over the sides of the card as shown in the photo.
Step 6.
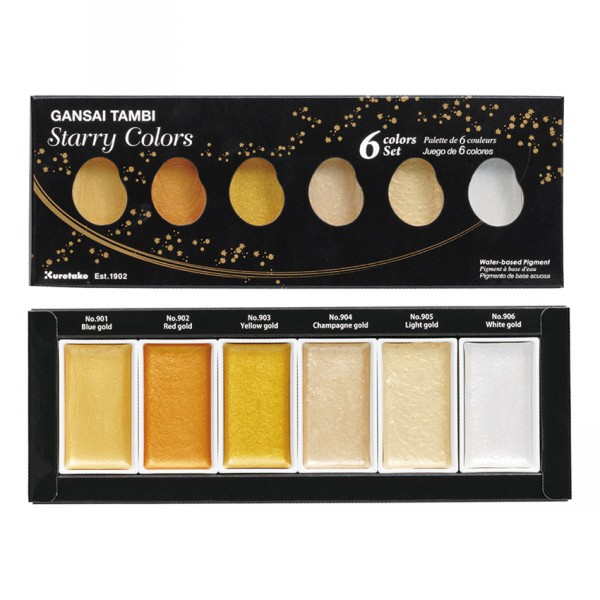
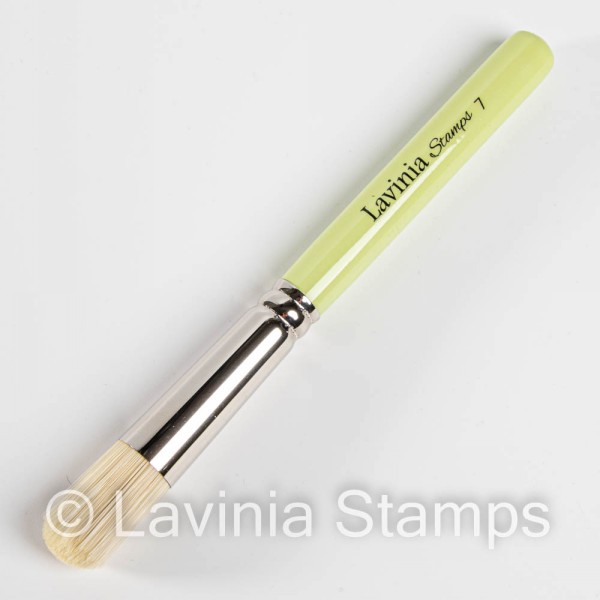
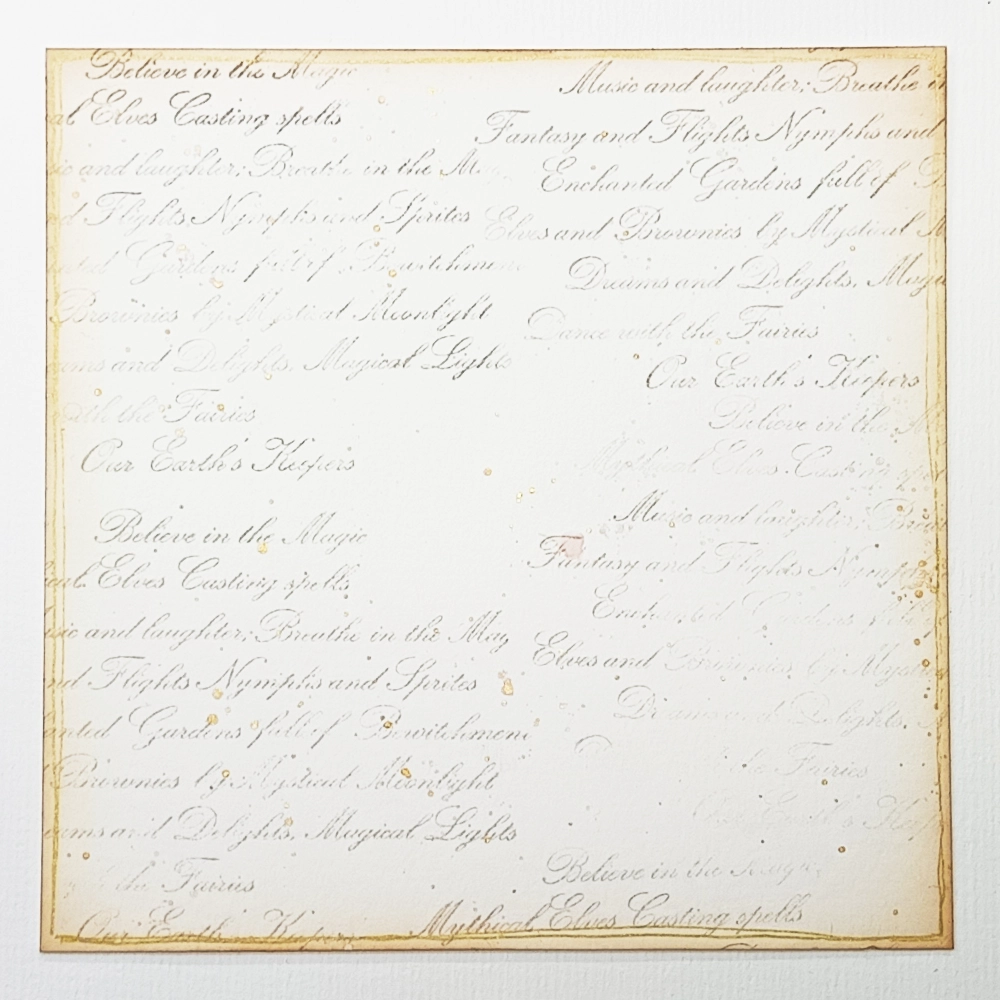
Next blend lightly around the edge of your card with a series 7 stencil brush using Elements inks Truffle. Now use a gold gel pen to draw a line around the edge to help to create some interest to the card and add some gold flicks. For the gold flicks I used the Gansai Tambi Starry Colours watercolour paints with quite a bit of water and flicked it onto my card. You can let it dry on it’s own or with a heat gun.
Step 7.
Have a play with the Funky Wreaths. I ended up using the light-coloured wreath with the dark bits as accents glued down onto the card.
Step 8.
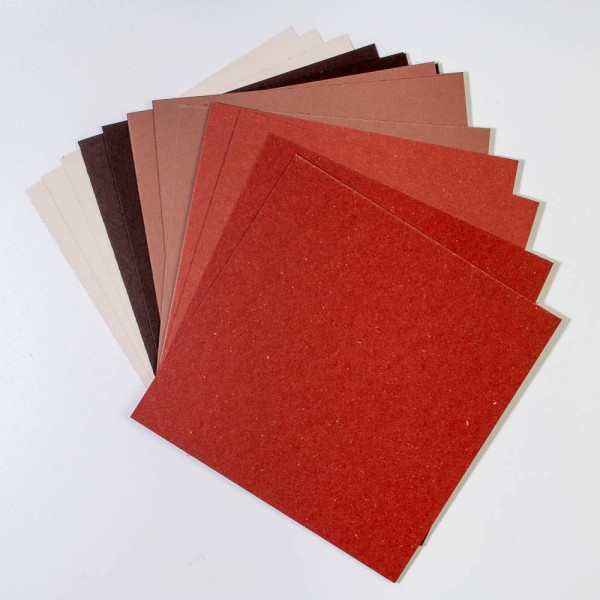
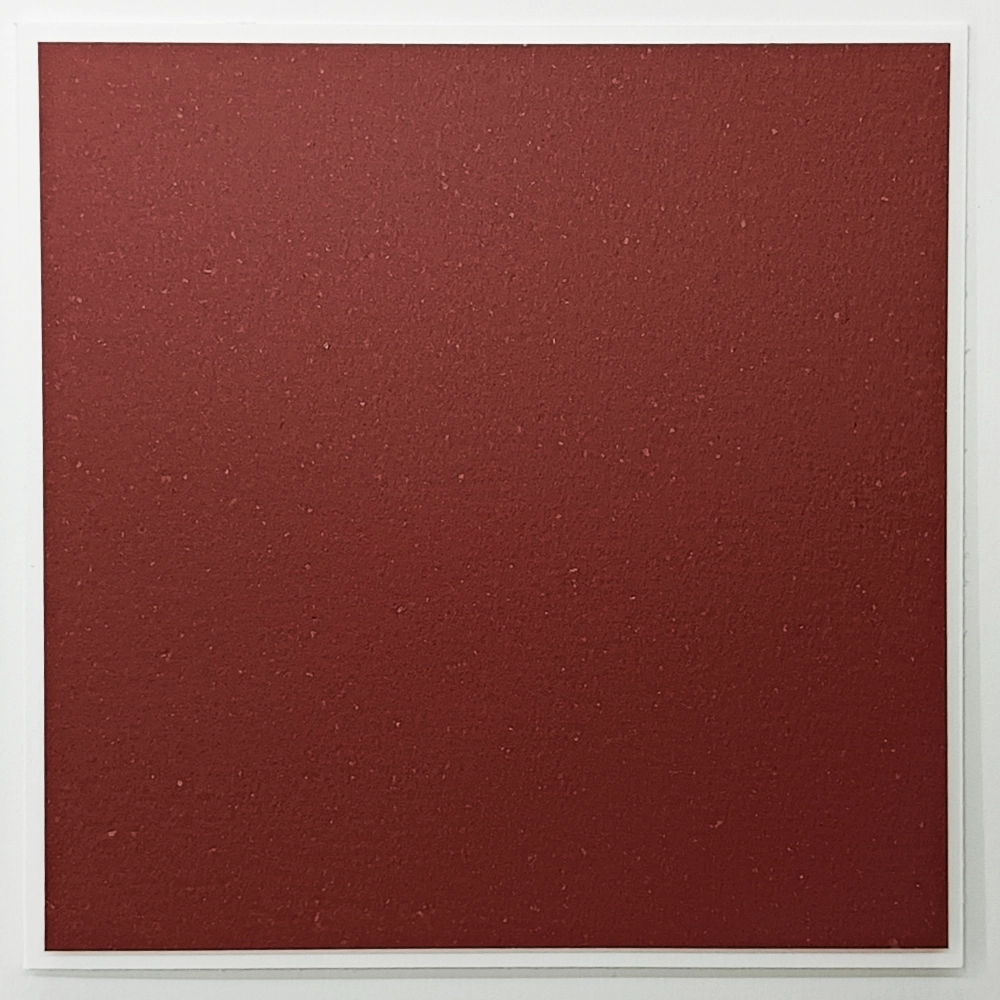
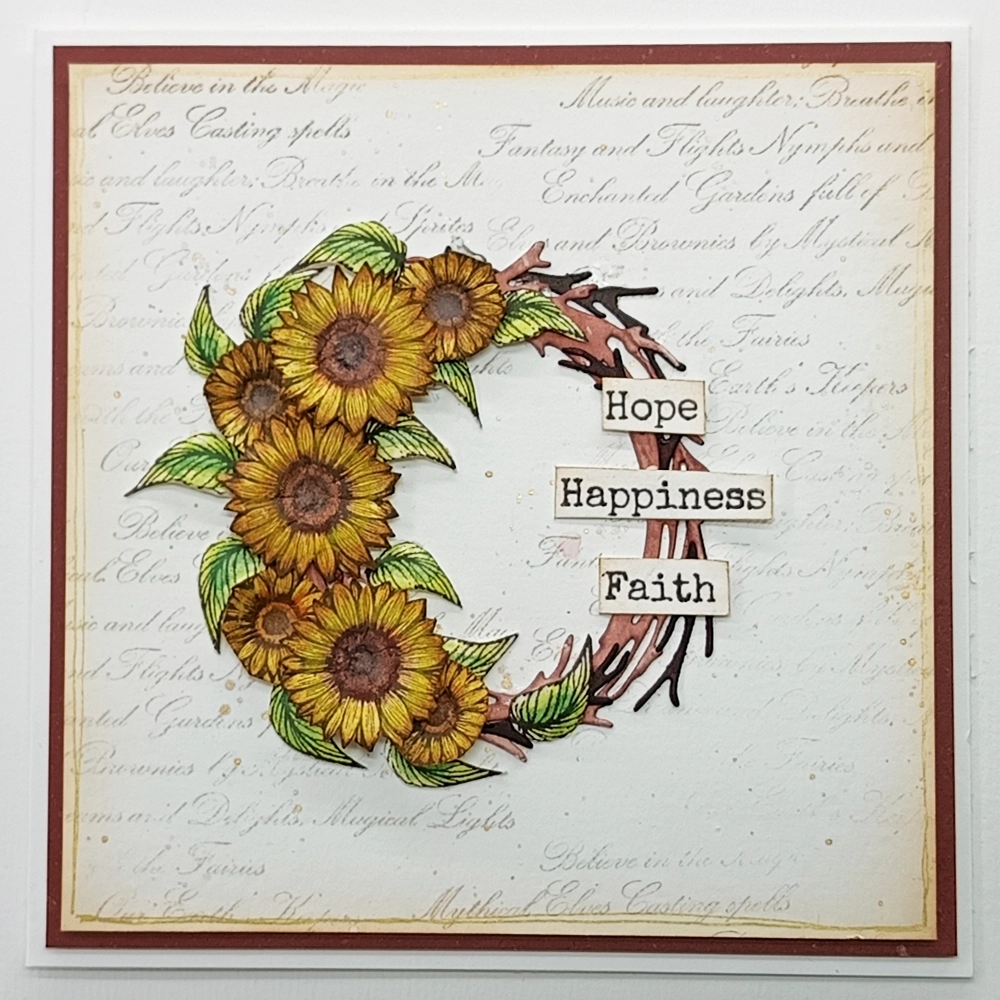
Using a 6” x 6” card blank add a piece of card measuring 5¾” x 5¾”. The Burnt Amber card set has a lovely Bitter Chocolate card available from Lavinia Stamps Website. I used foam pads to stick the card onto the card-blank.
Step 9.
Going back to the wreath and added some of the sunflower heads and the leaves. Shaping them as I glue them down to create some dimension.
Step 10.
Put some foam pads on the back of the wreath card and use a bit of glue on them so you can position the card in place.

Step 11.
Stamp the words from Three Blessings LAV673 using Versafine Clair Fallen Leaves. Cut them out and gently blend some brown ink on them using the same brush we used for when we inked the edges of the card.
Step 12.
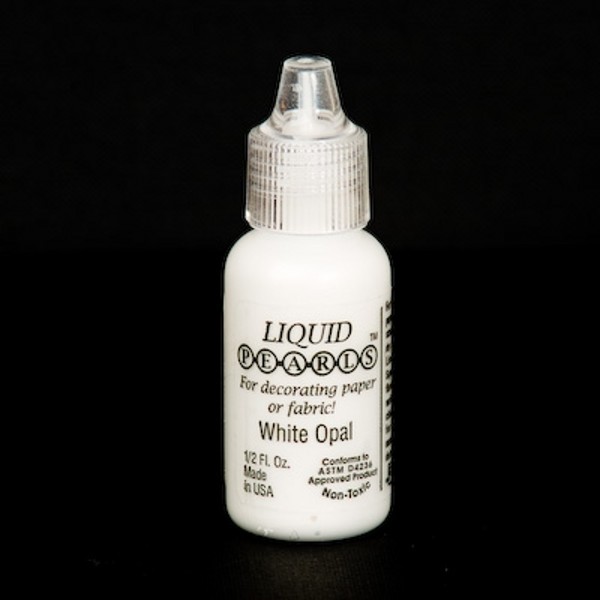
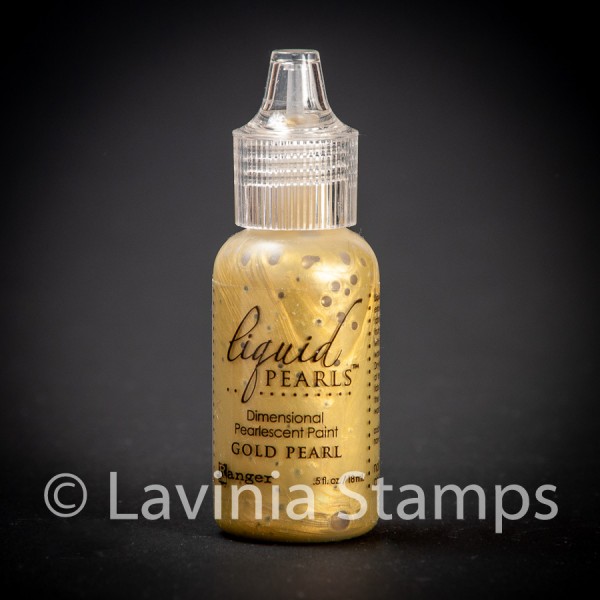
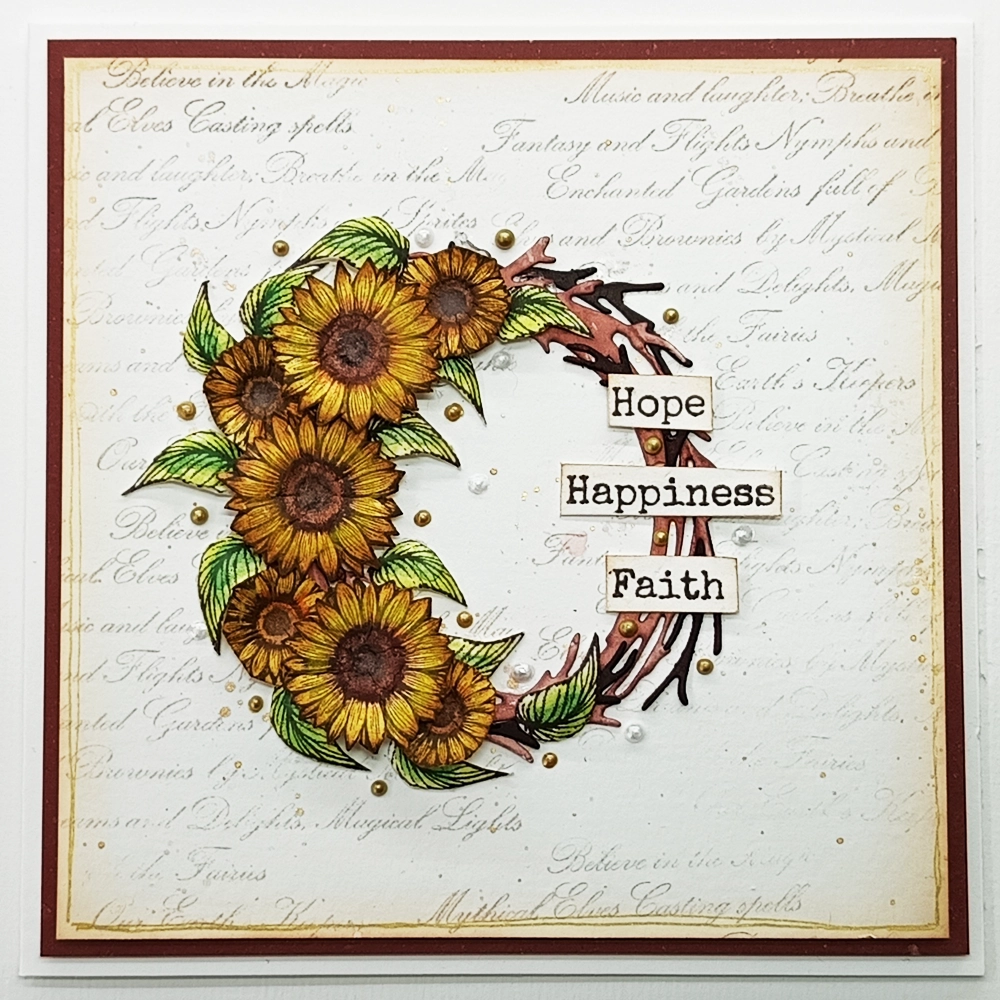
Glue them onto you wreath. Then use some Liquid Pearls to do some dots with around your wreath to create some interest to the card. I used White Opal and Gold Pearl.
The card is now finished. I hope you enjoyed the tutorial.
Happy Crafting to you all.
Eleana x