Step by Step by Tina Ashton
Hi everyone, Tina here with a new picture tutorial. In this one we make a lovely picture of a Tea Leaf dwelling and create its own frame. I hope you enjoy it! 🧚♂️
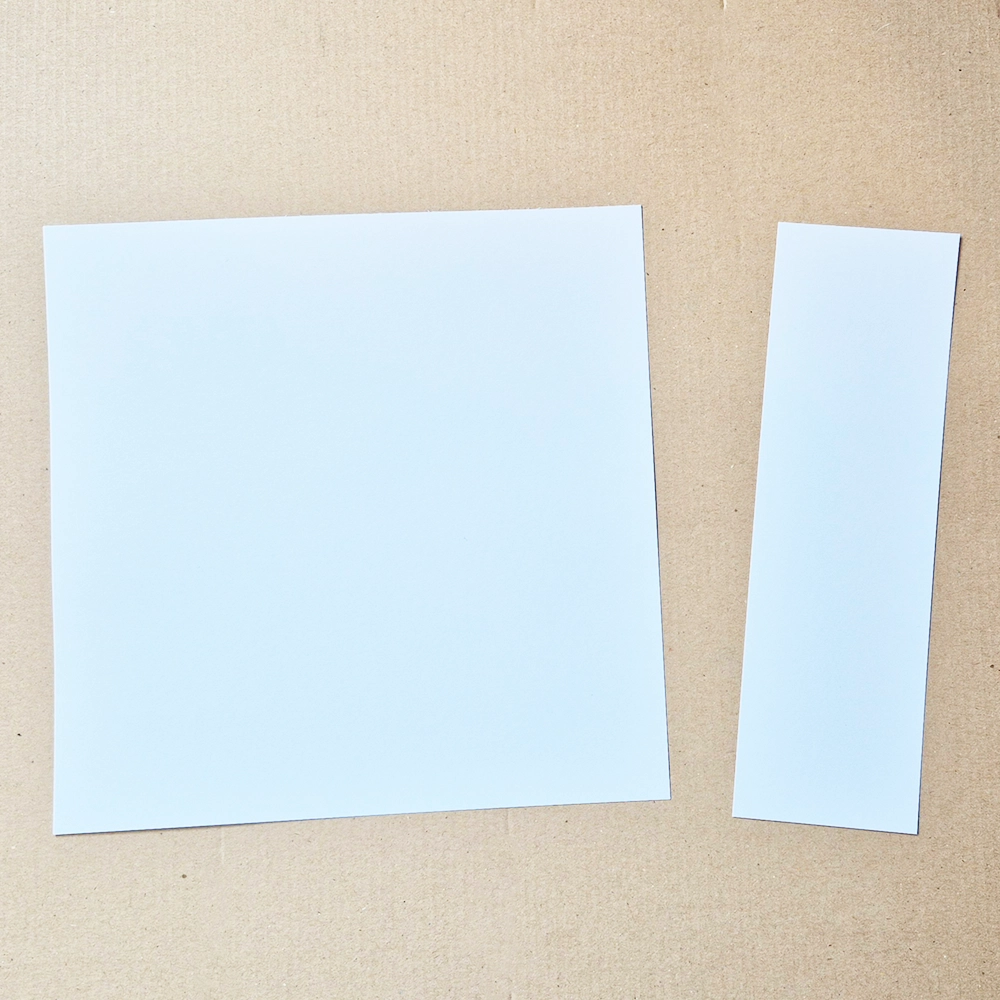
Step 1.
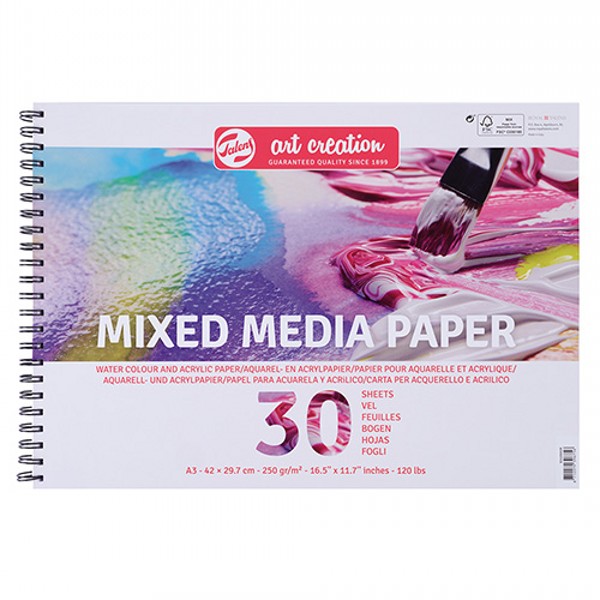
With one piece of A3 white card cut it down to 24cm square. Prepare a 2nd piece of card and cut to 21.6cm x 6.35cm for your stand.
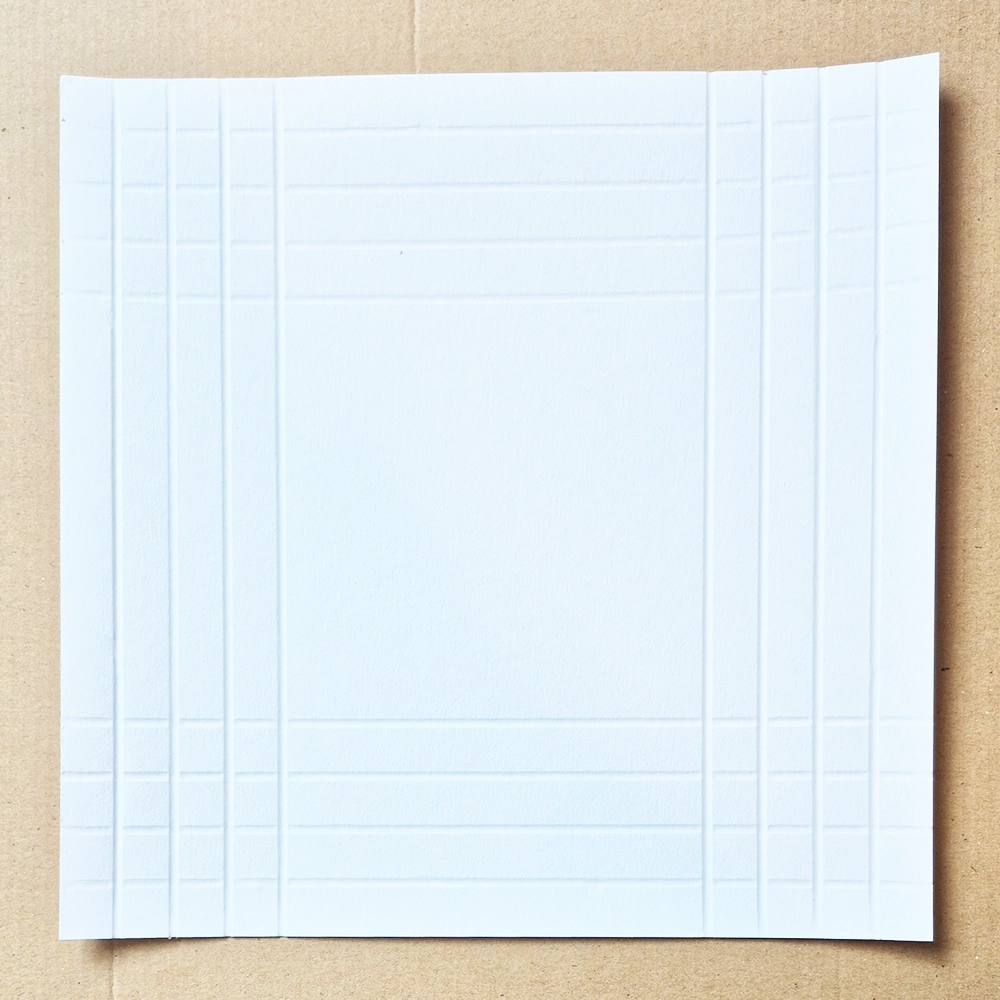
Step 2.
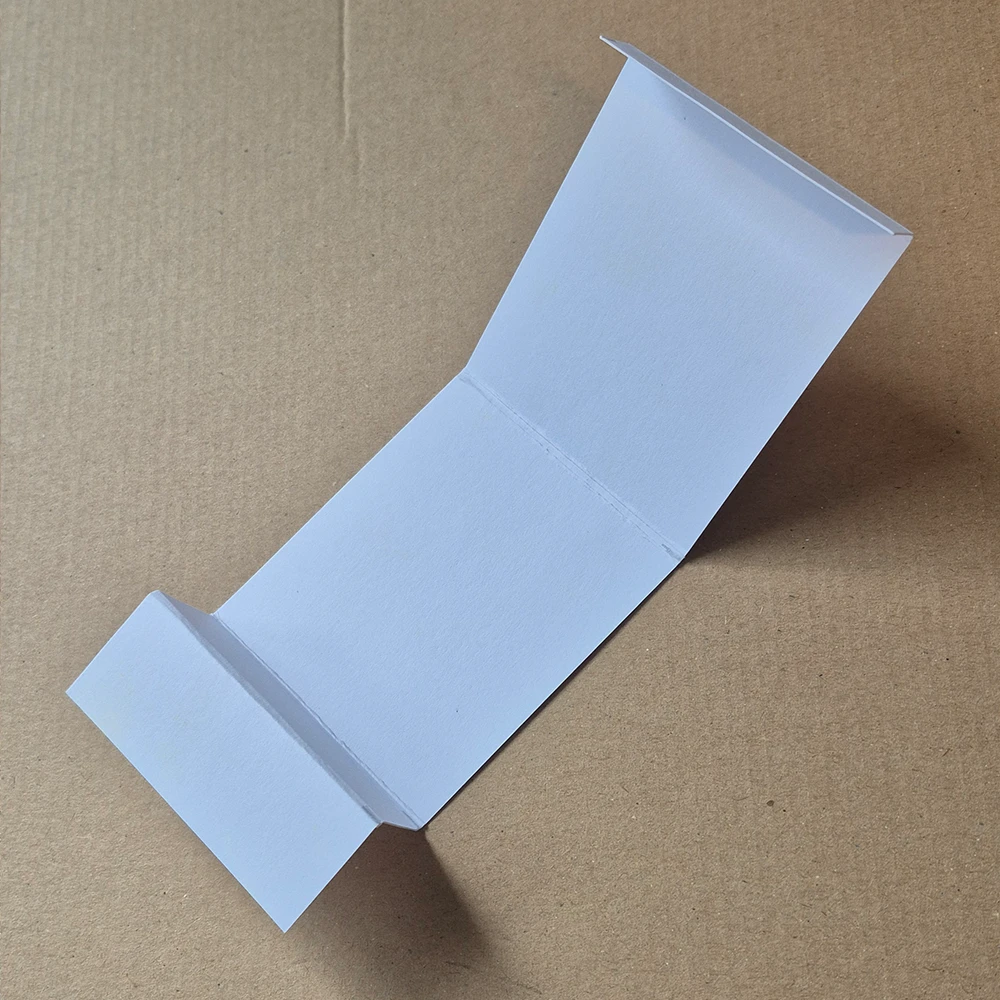
Score the large square piece of card at the following positions in from the edge of the card; 1.3cm, 2.5cm, 3.8cm and 5.1cm. This will mean you are scoring a total of 4 times.
Repeat this on all 4 sides of the card.
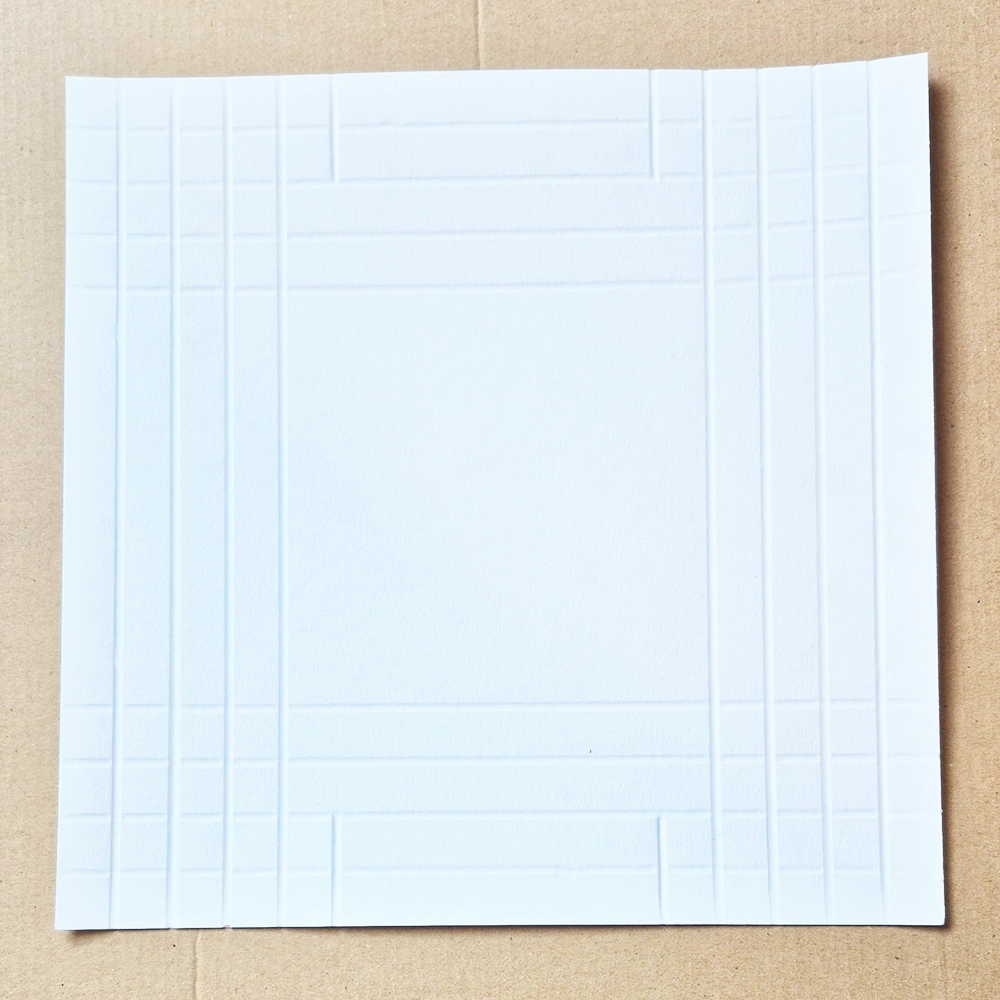
Step 3.
Add 2 additional score lines at position 6.4cm from the left edge and 6.4cm from the right edge inwards, but this time the score line must only go up to the 2nd score line. Repeat on the opposite side only. See the picture for placement.
Step 4.
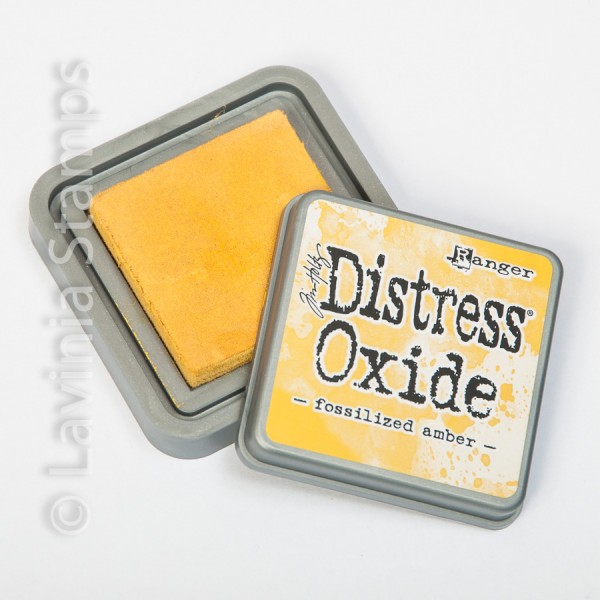
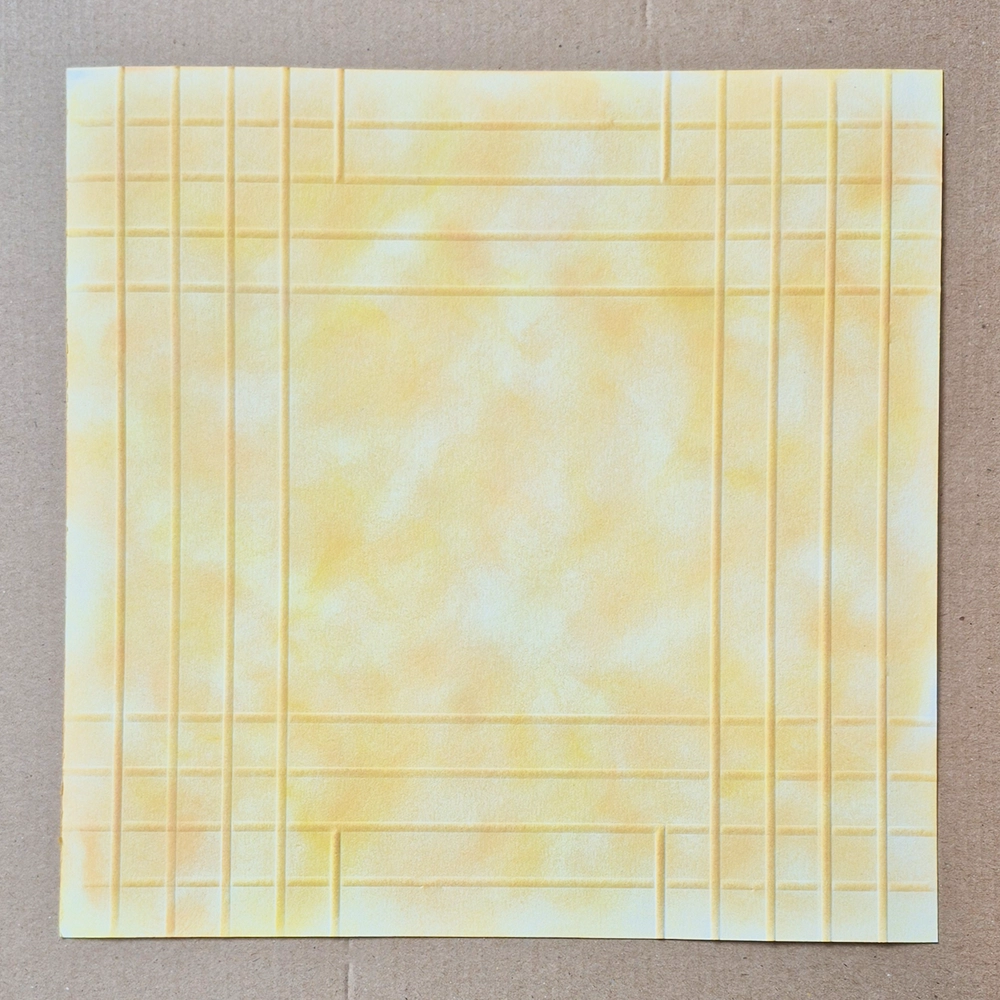
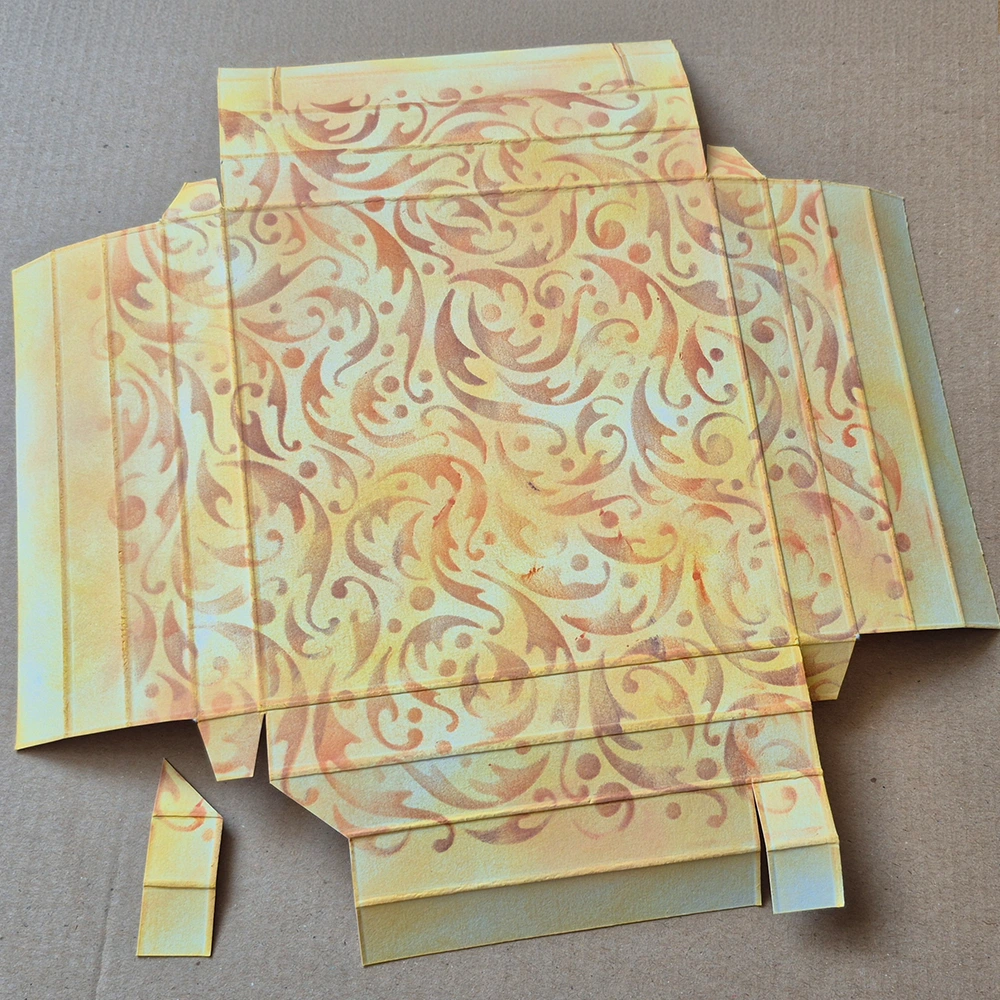
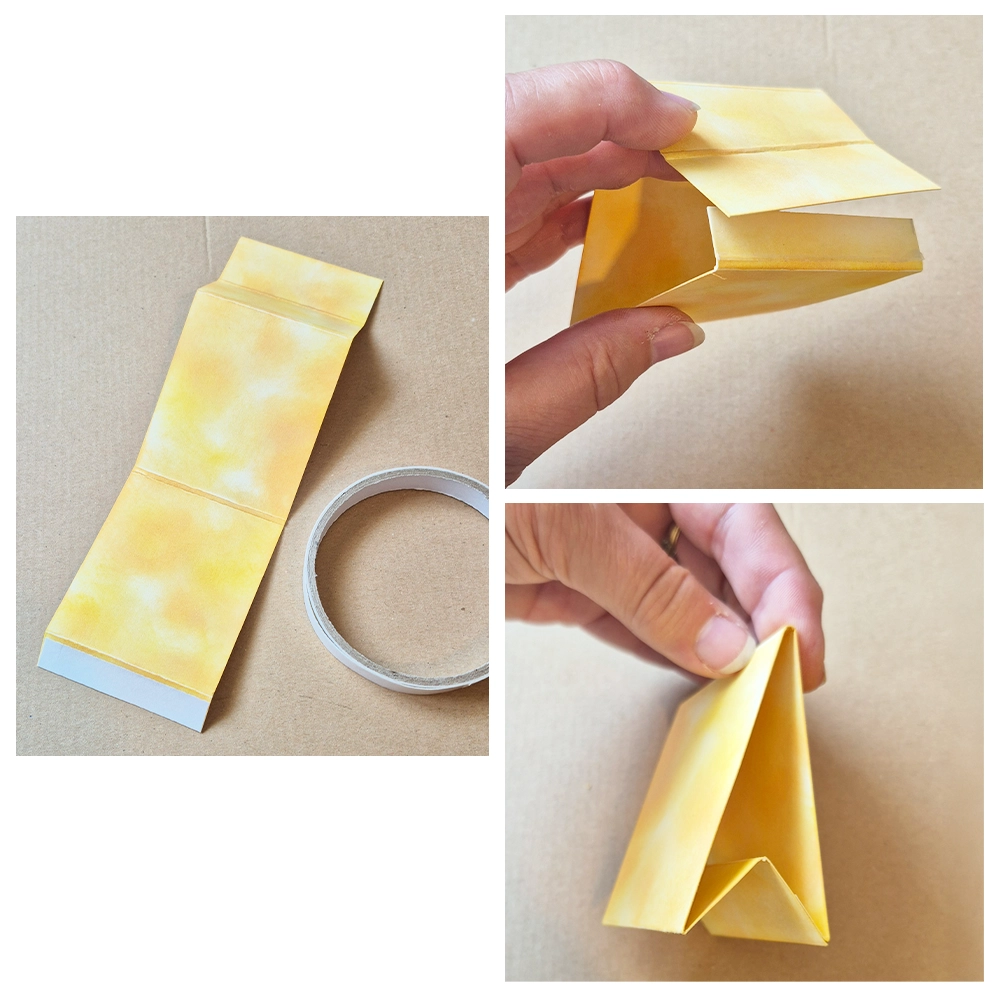
Once all your scoring is all done you can now add your design. I coloured the background using a series 9 stencil brush and a light blend of Elements ink Lemon Drop, then brushed on some Distress Oxides Fossilized Amber and Elements ink Russet Orange
Step 5.
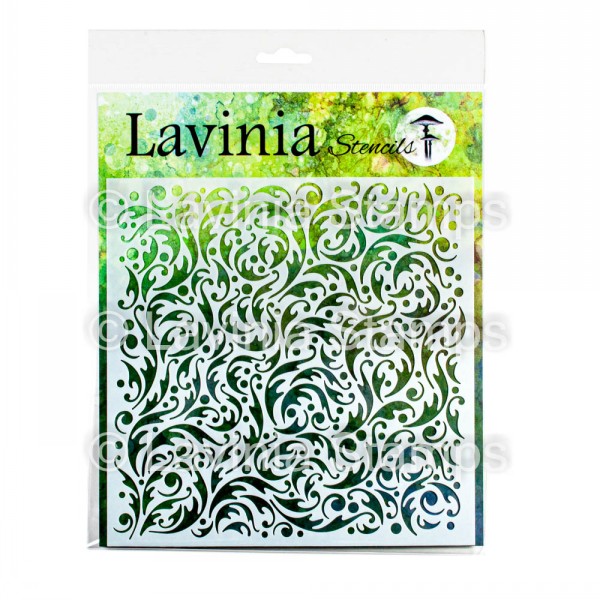
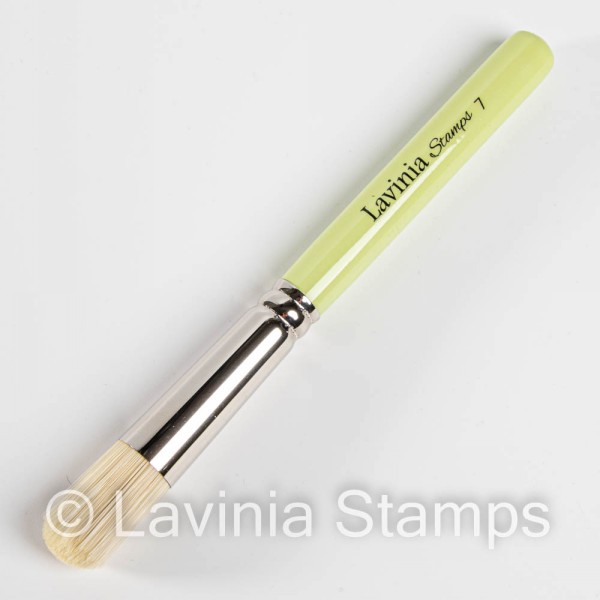
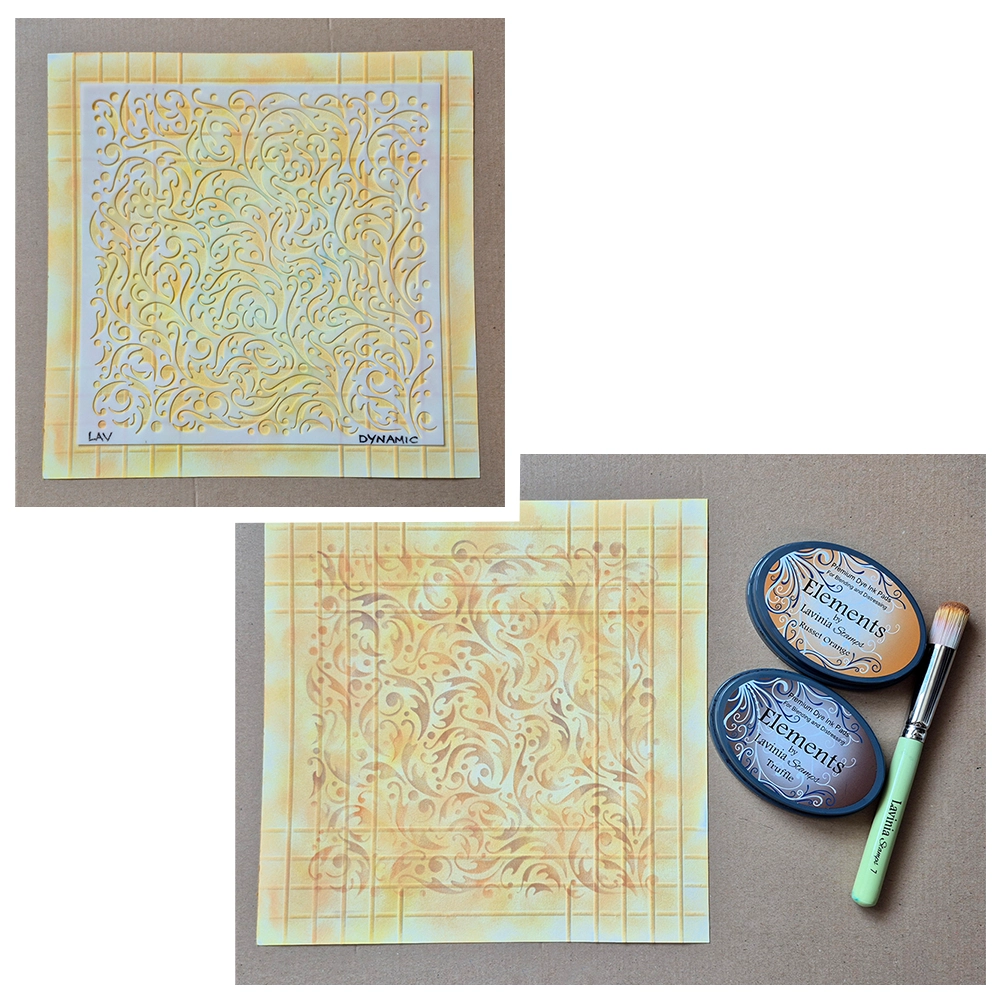
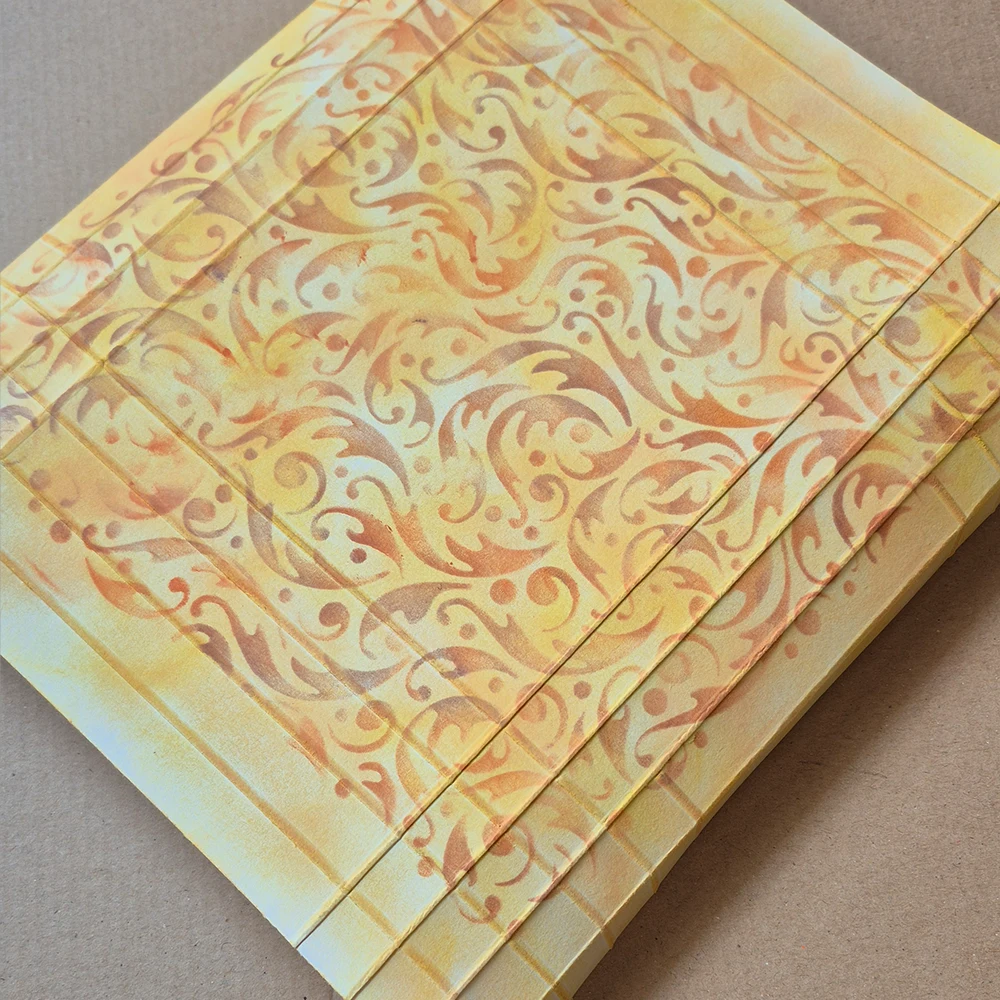
Once you have inked and dried your background add a square Lavinia Stencil, for this one I used the Dynamic stencil. I used Elements Ink in Russet Orange and Truffle to add my stencil design with Lavinia Brush 7.
Step 6.
Fold and burnish all the folds you have created, folding them all in the same direction inwards so that the design will appear on the outside of your shadow box and the blank white is on the inside.
Step 7.
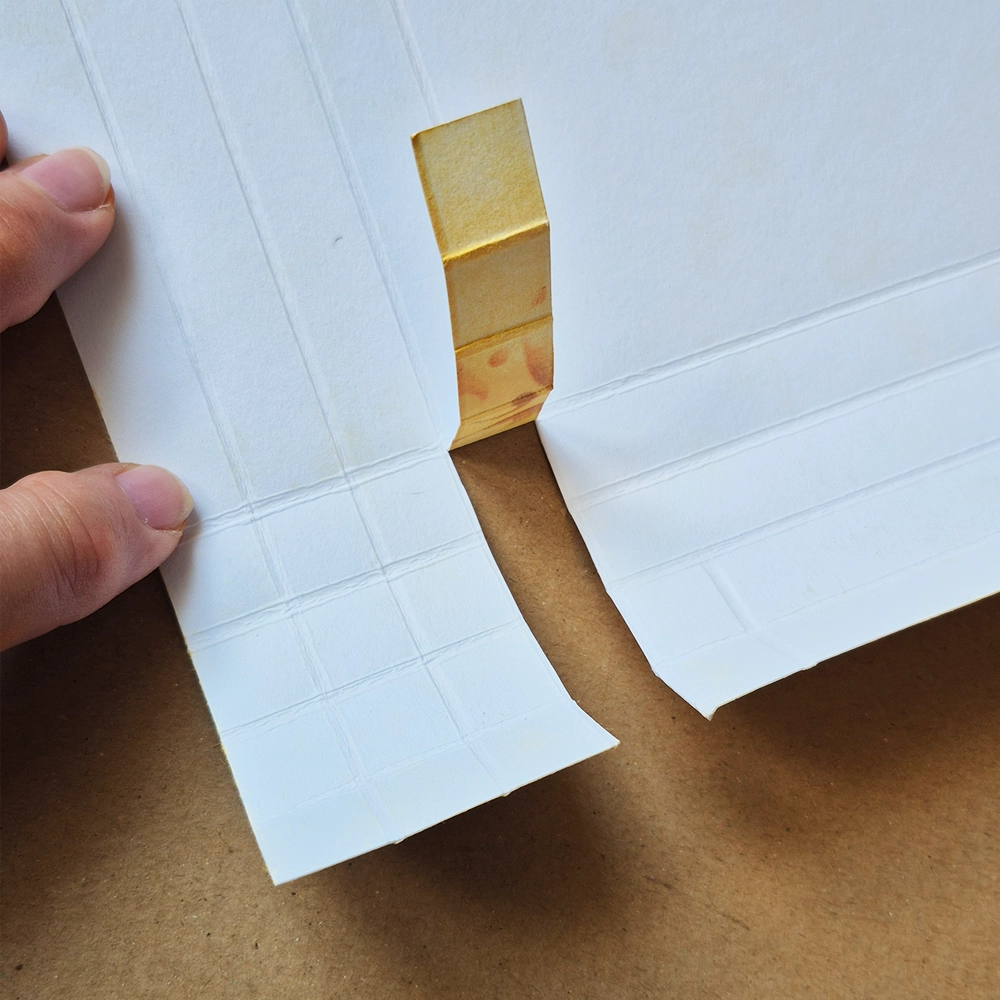
On one of the sides which has the additional 2 score marks (this is PARTICULARLY important to get right), cut in with scissors 3 rows in and 4 rows up. Then make a 2nd cut 4 rows in and 4 rows up. It leaves you with a long hanging strip as in the picture.
Step 8.
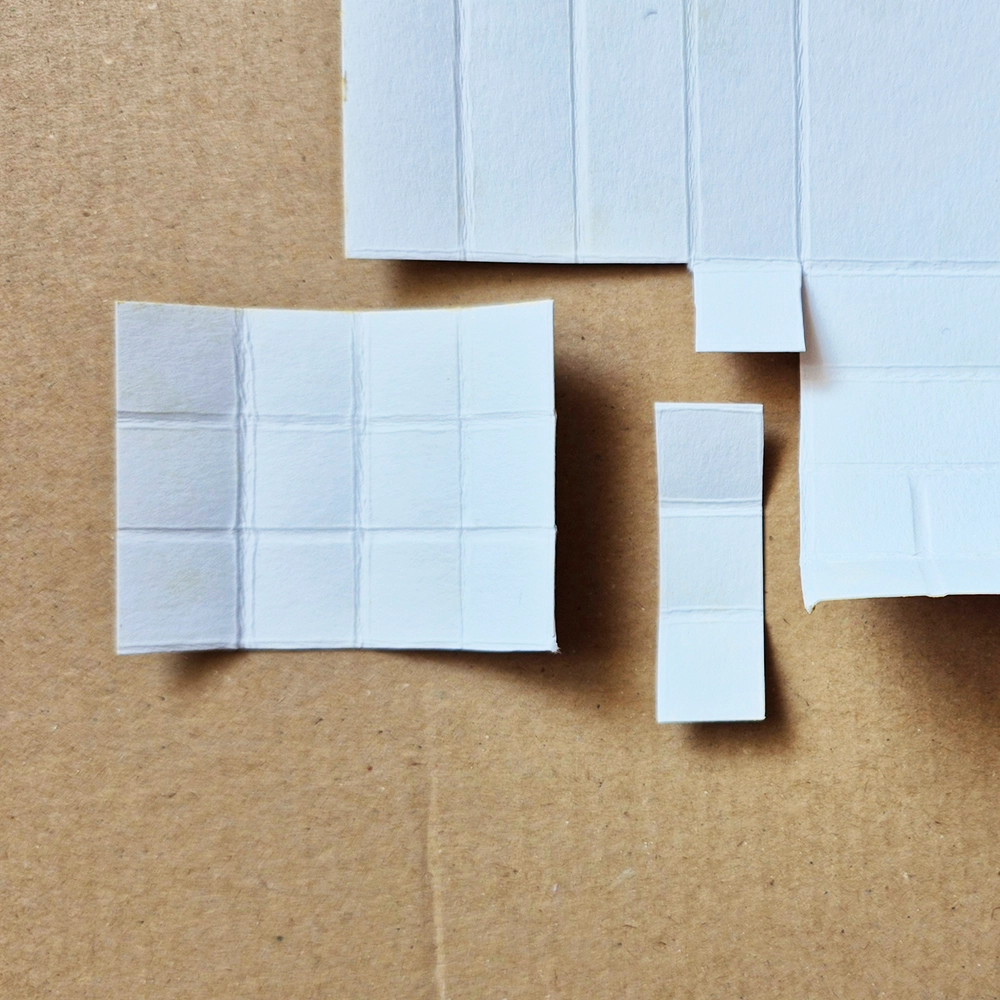
Cut away the whole section to the side of your long hanging strip which is 4 rows across and 3 rows up. Then cut off 3 squares from the long hanging strip so that it leaves you with one square which will be used as a tab, refer to photo.
Step 9.
Follow steps 7 & 8 for the other corner of this same side and then repeat again on both corners of the opposite side only (again the side which has the 2 additional score marks).
Step 10.
Cut a tiny sliver off the edges of the square tabs so that they can slot in better, see photo for example. Repeat for all 4 of the square tabs.
Step 11.
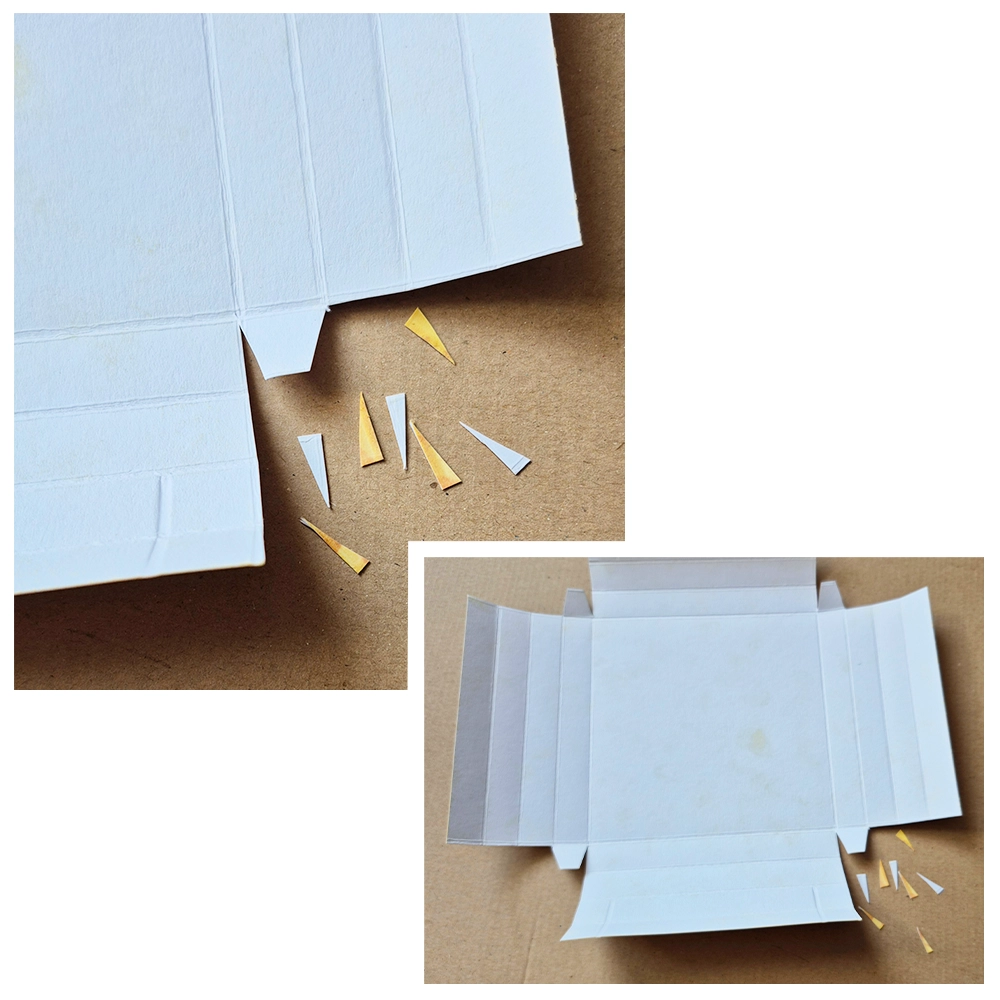
I turned over my card at this stage so that the design was facing me. Then I made a cut up the two extra short score lines we created. Repeat for all 4 of these short score lines. Then on one of these cuts, make a diagonal cut that goes from 2 score lines up (where you cut to) then a cut that goes 1 score line up and across 1 score line diagonally towards the tab side. See photo for better visual of how to cut this.

Step 12.
Repeat the diagonal cut from Step 11 on all 3 of the remaining short cuts we made at the beginning of the previous step, so all 4 have the diagonal cut made. See photo.
Step 13.
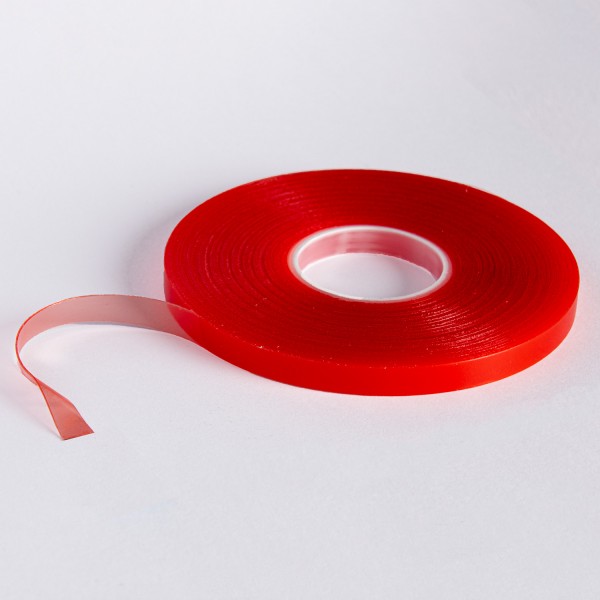
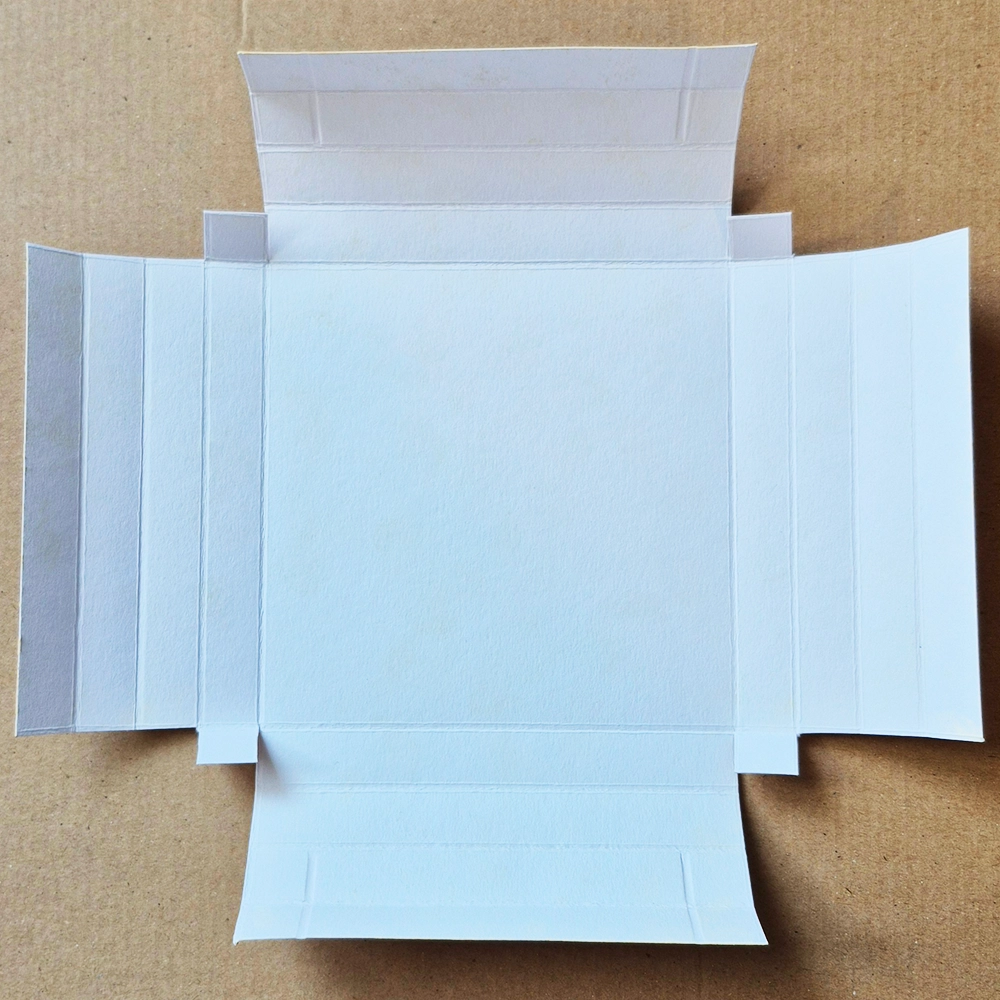
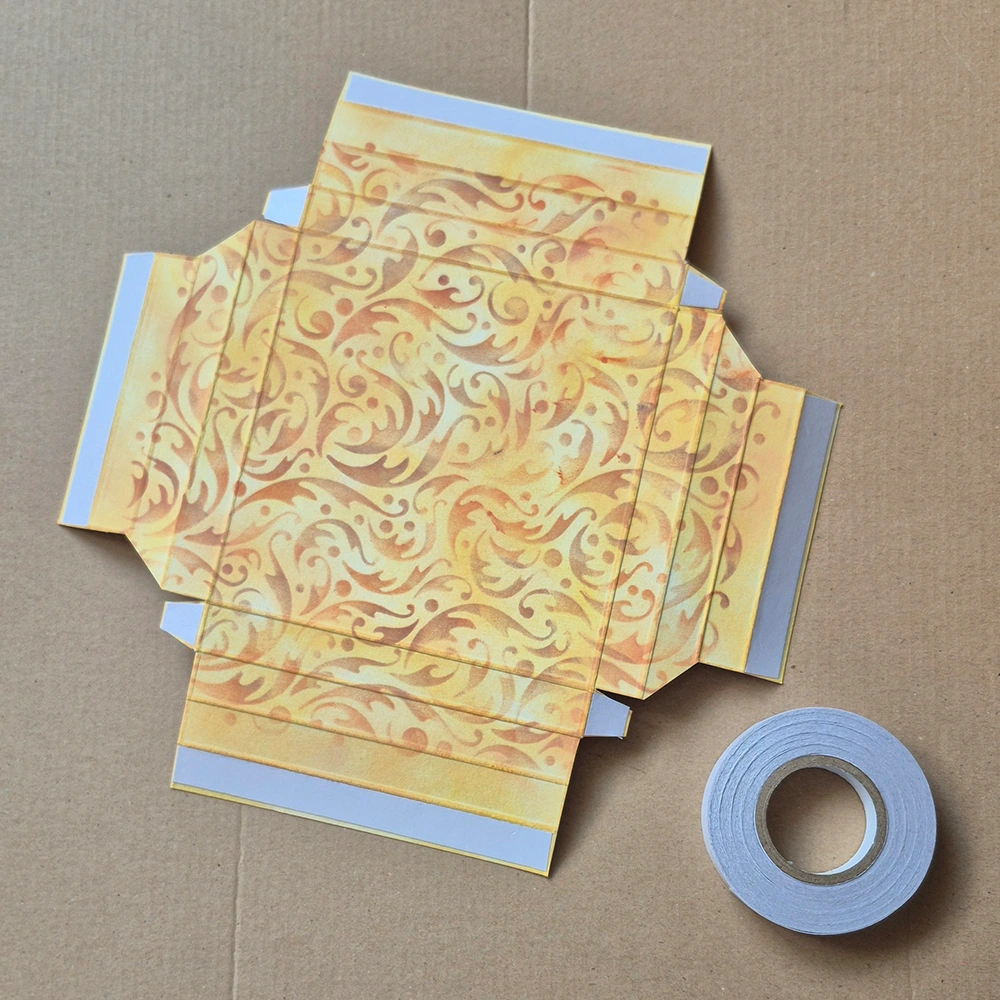
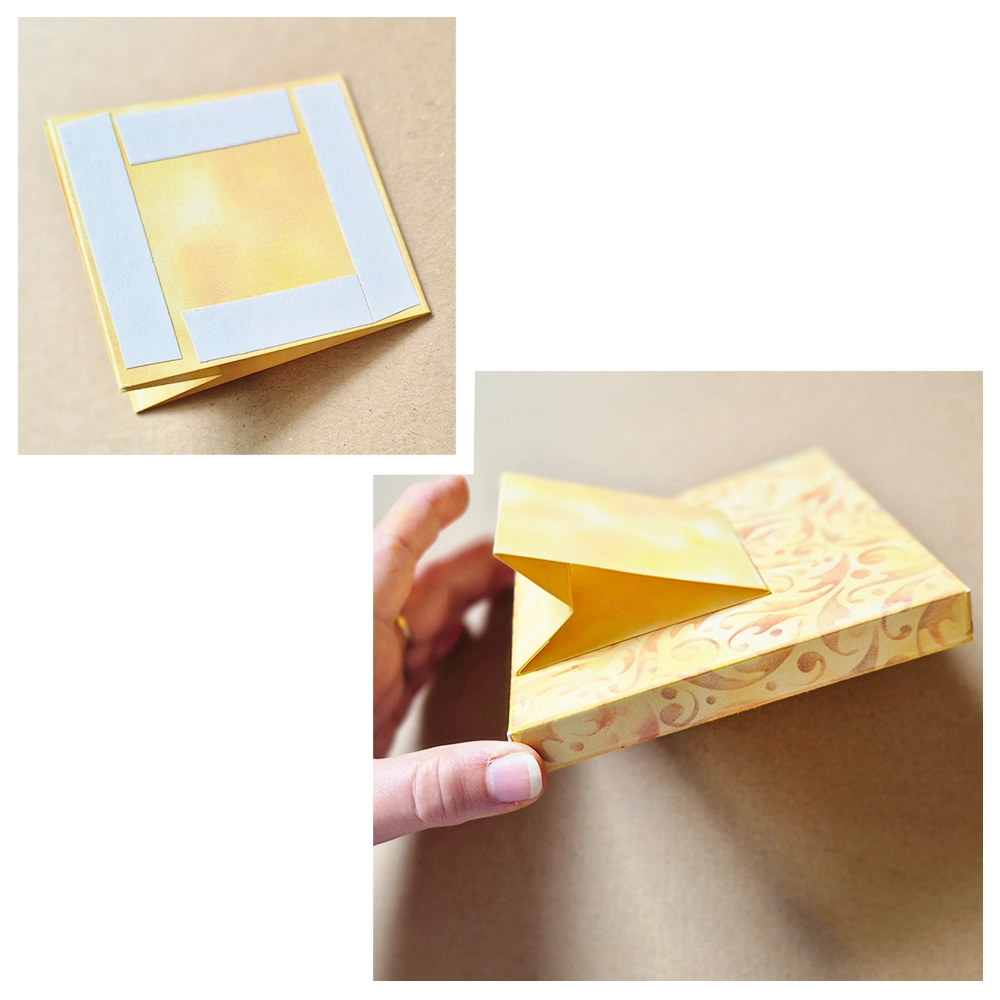
Now our box is folded and cut ready, and we can apply the double-sided tape. Add a length of tape to all 4 outer edges, ensuring the tape butts up against the score line. Then add a small piece of tape to each of the 4 tabs.
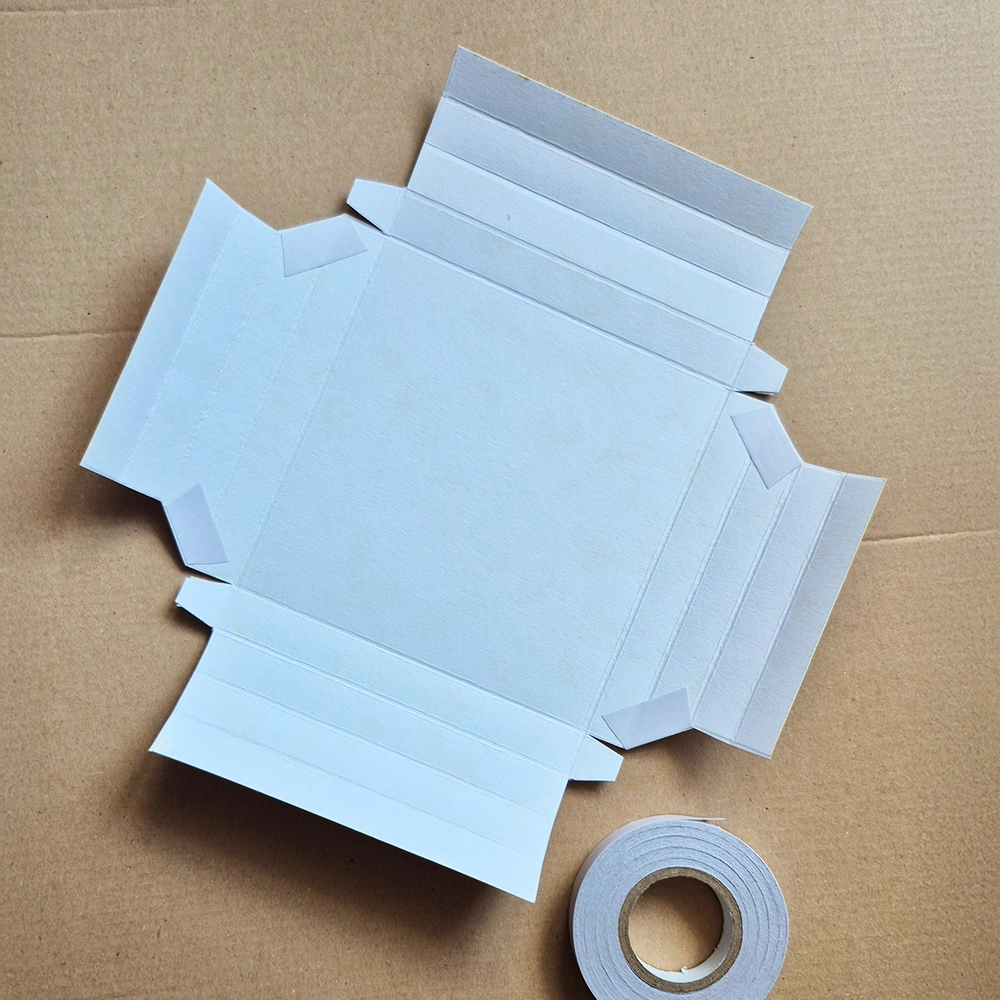
Step 14.
Turn over your card and add double-sided tape on the diagonal sections as shown in the photo.
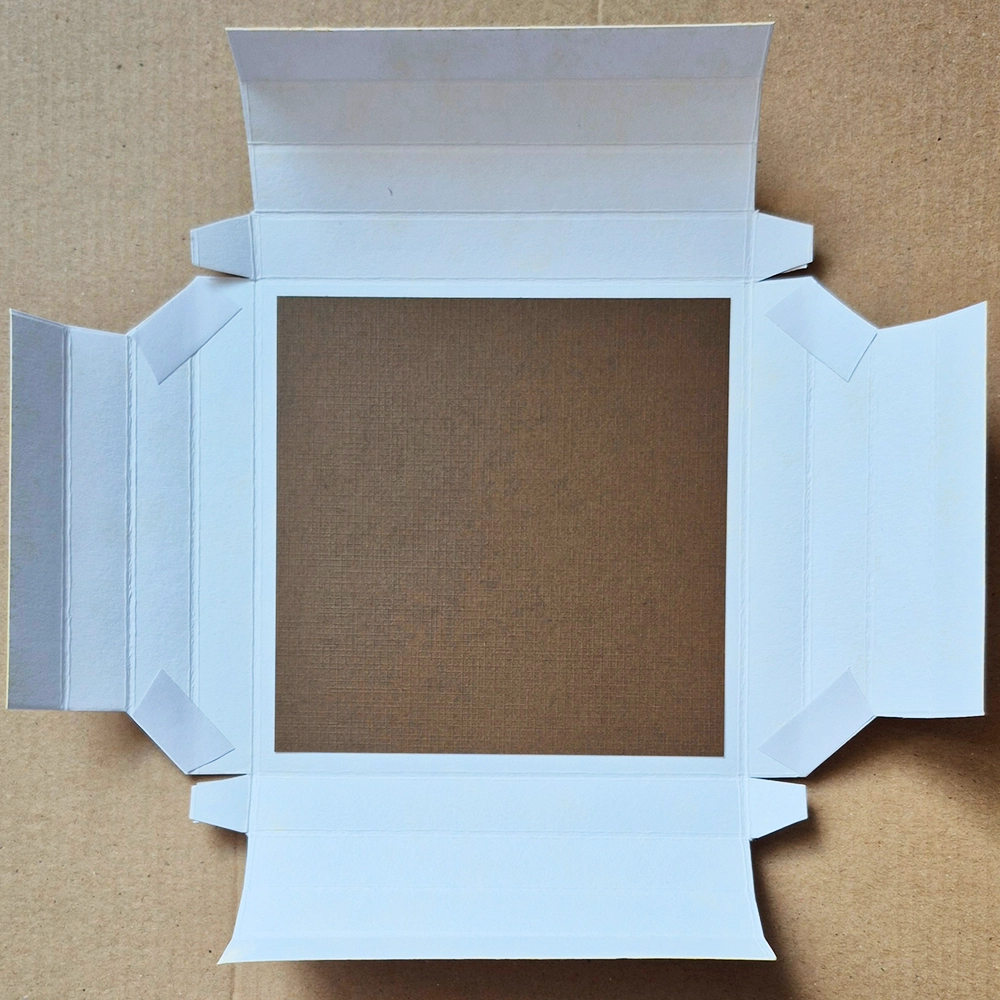
Step 15.
At this stage I added a piece of brown card, approximately 11cm x 11cm square, to the back central panel. You can use any colour that will co-ordinate with your project, but a darker colour is better for your top design to stand out.
Step 16.
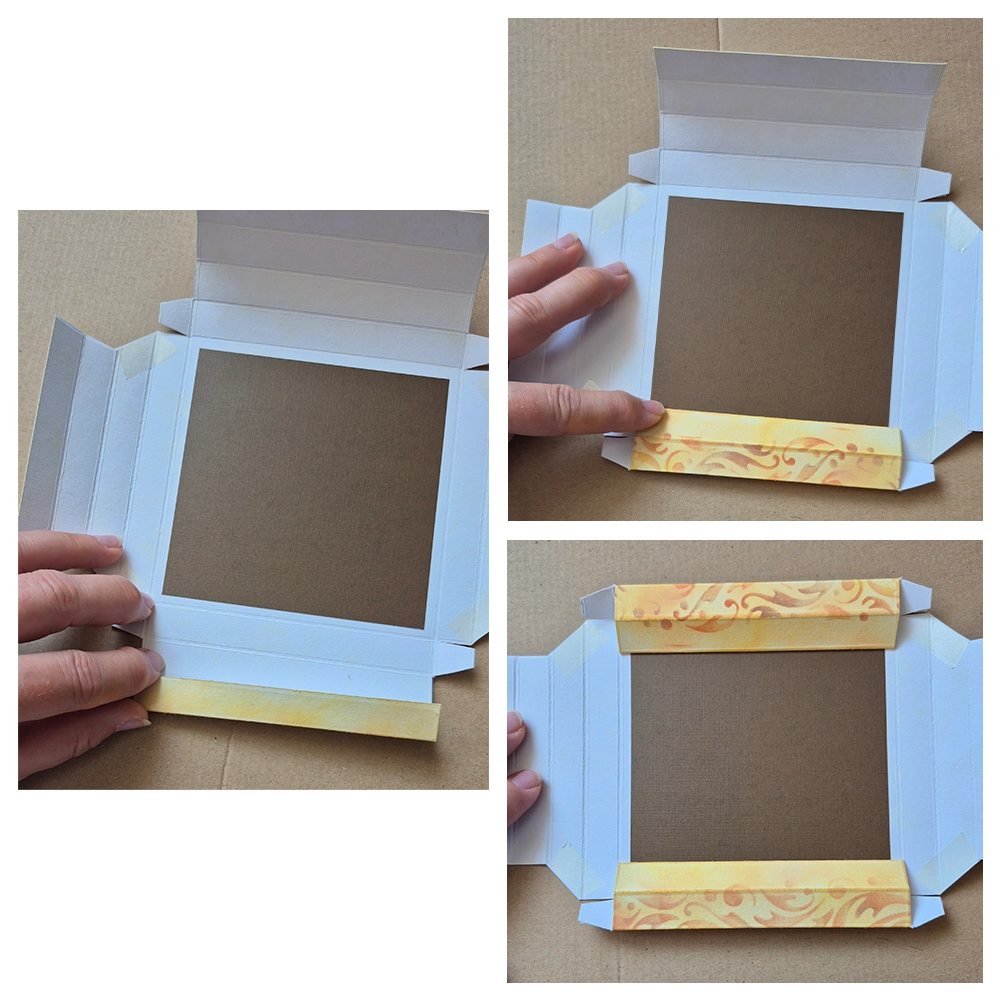
Now we can start to fold in our box and assemble it. I removed all the double-sided tape and got started on one of the edges without the diagonal section. Fold in the first row and then fold two further rows inwards and stick them down, see photo. Repeat this stage on the opposite side of the card.
Step 17.
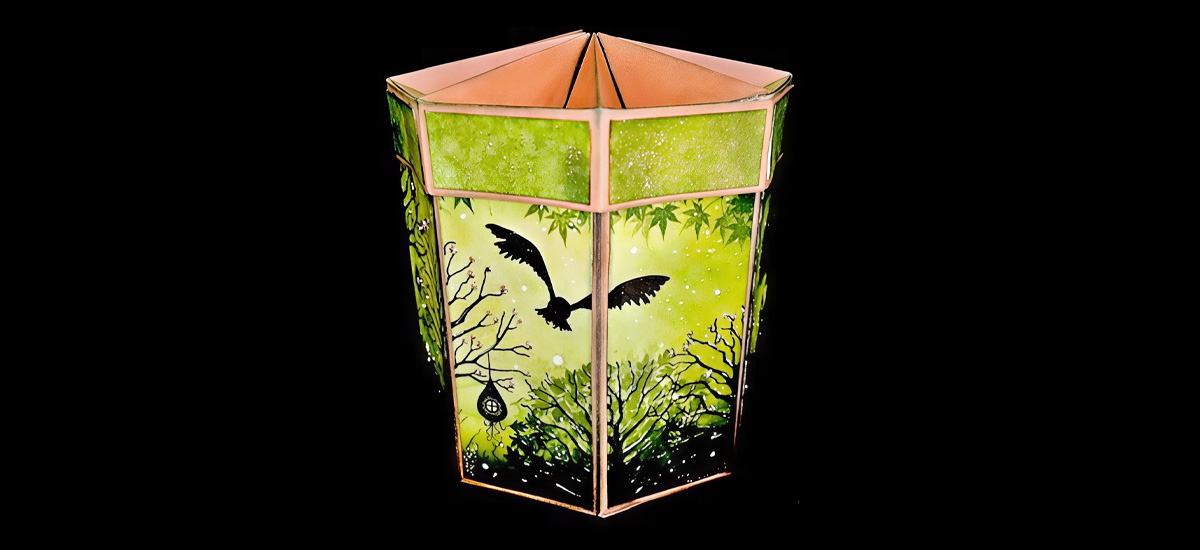
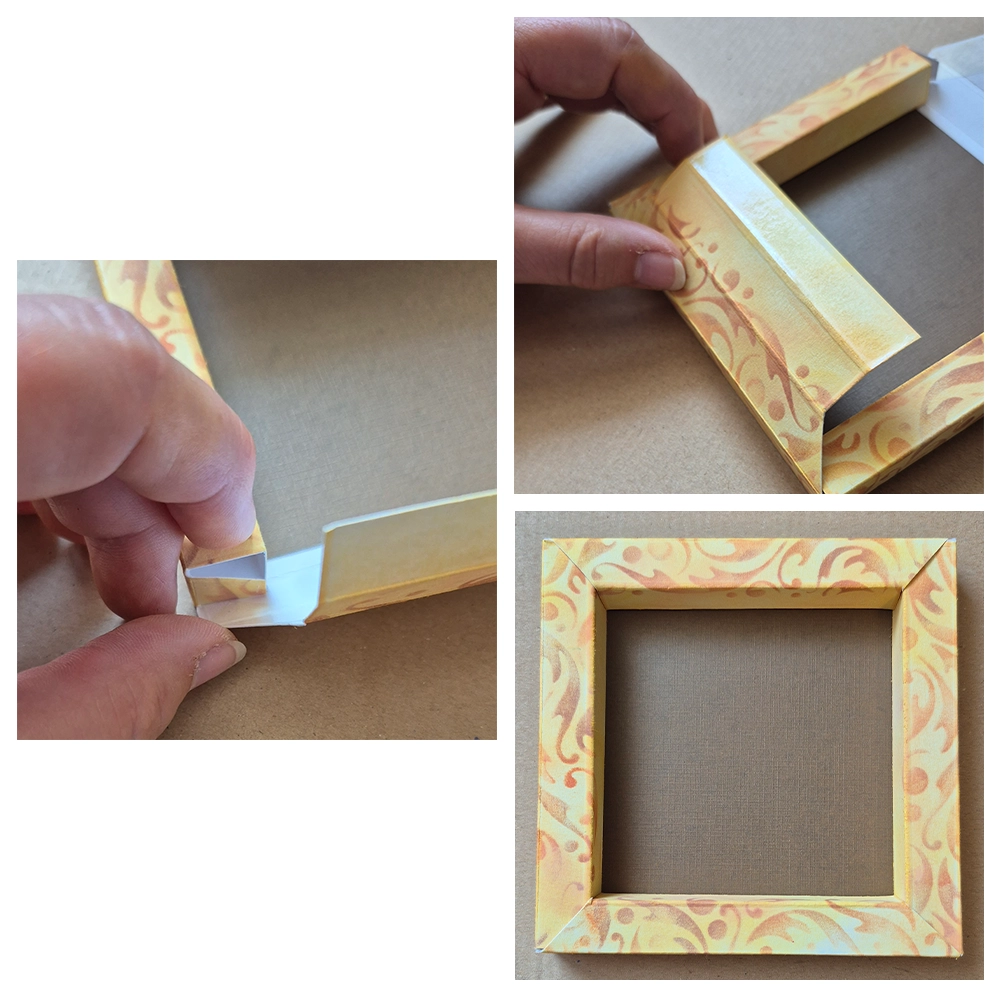
Then turn to the other edge and fold in the two tabs and line them up neatly with the diagonals on each corner. Do both at the same time so that the whole section is lifted in towards the centre. Bring the whole section in rolling it inwards and under so that the lovely design comes to the top and your box edge forms its shape. Slowly and calmly is best, but it’s not as tricky as it sounds as it seems to naturally want to go this way! Repeat this on the opposite side. You now have your completed shadow box frame.
Step 18.
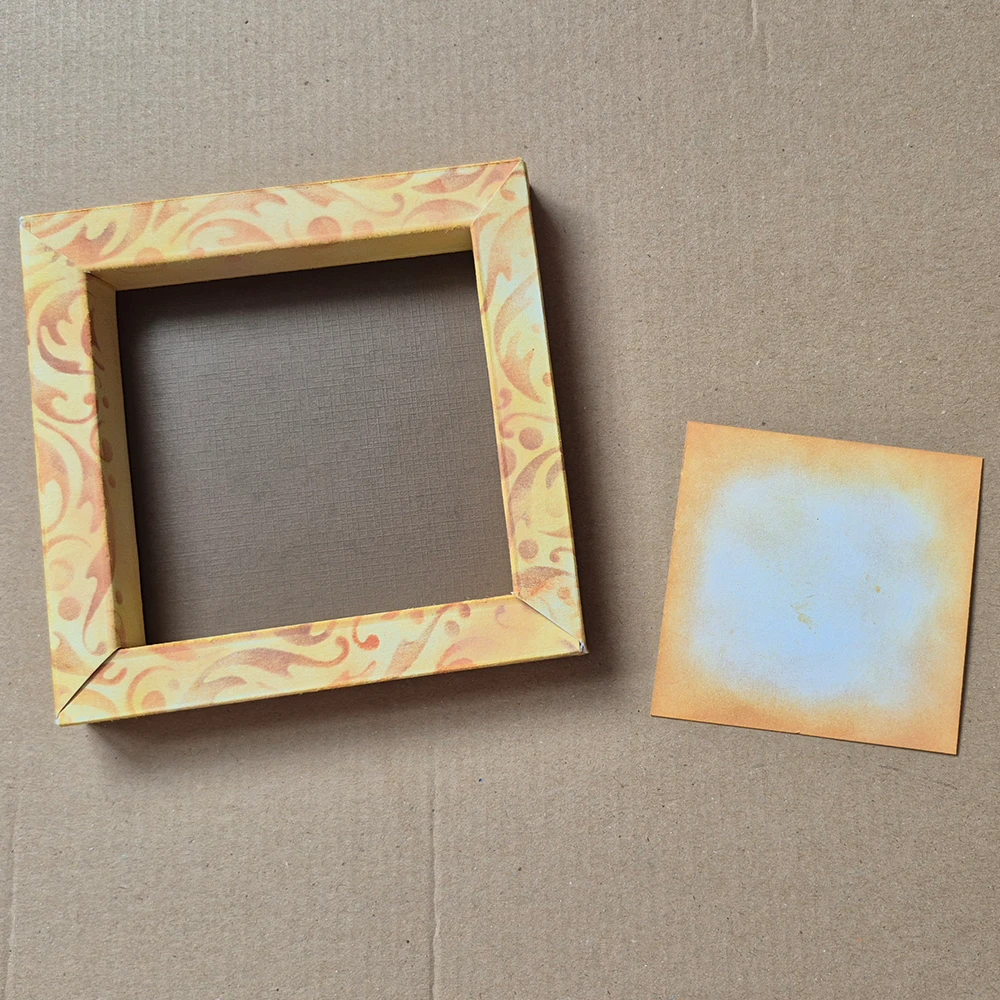
Now to create your picture for the frame, take a piece of A6 white multifarious card and cut to 7.5cm square and add Elements ink in Russet Orange with a series 7 stencil brush softly around the four edges.
Step 19.
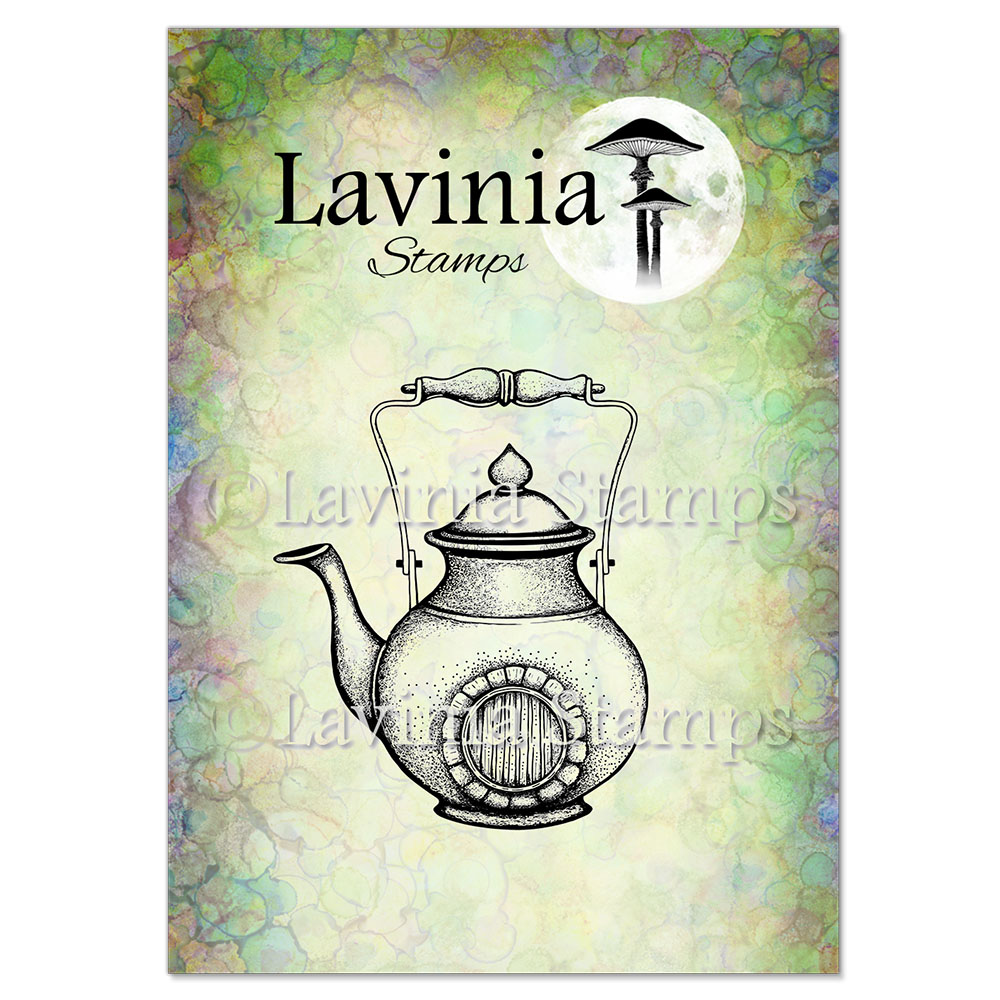
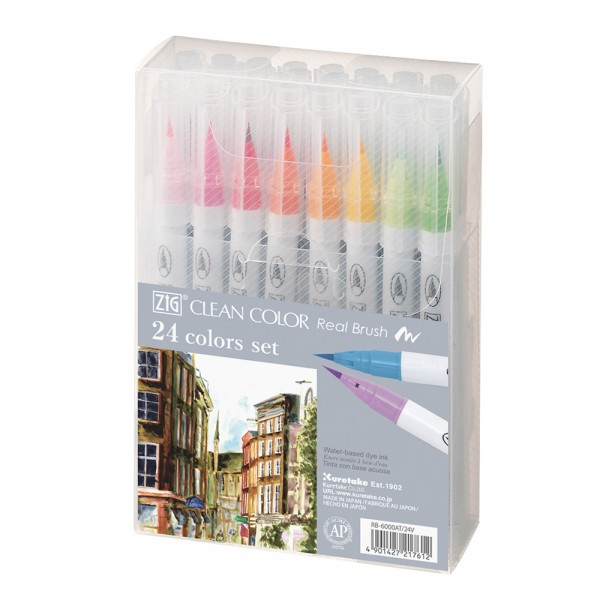
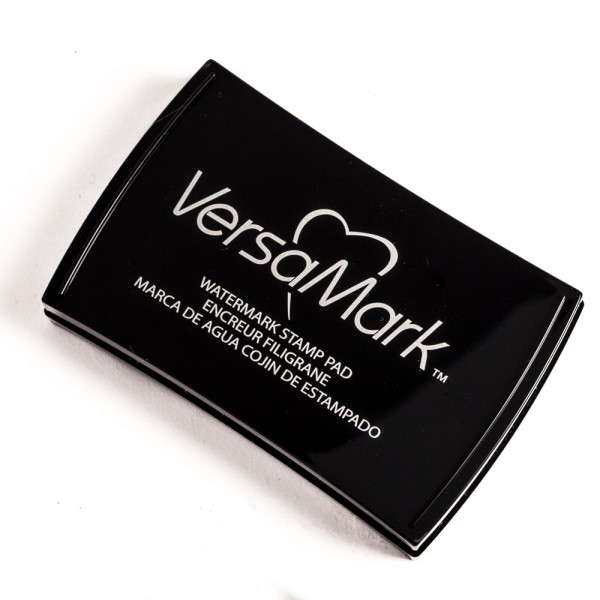
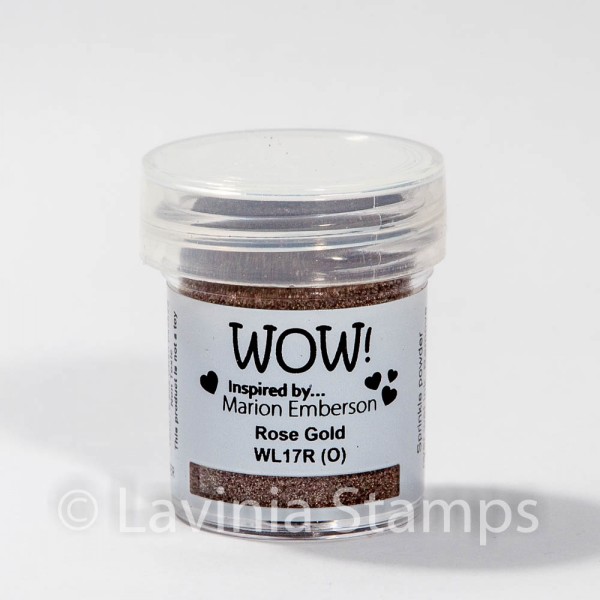
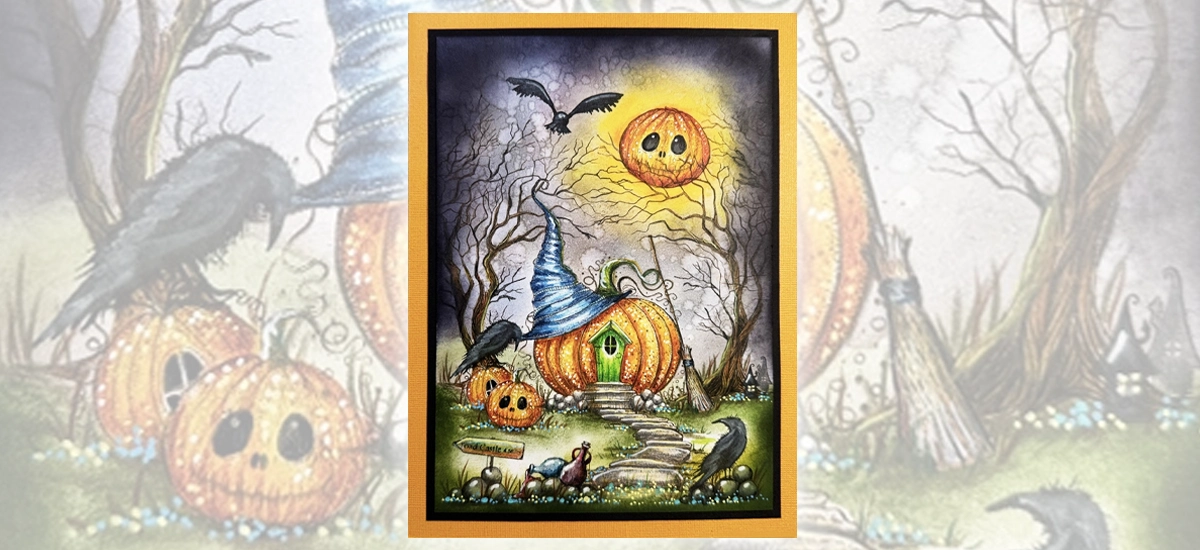
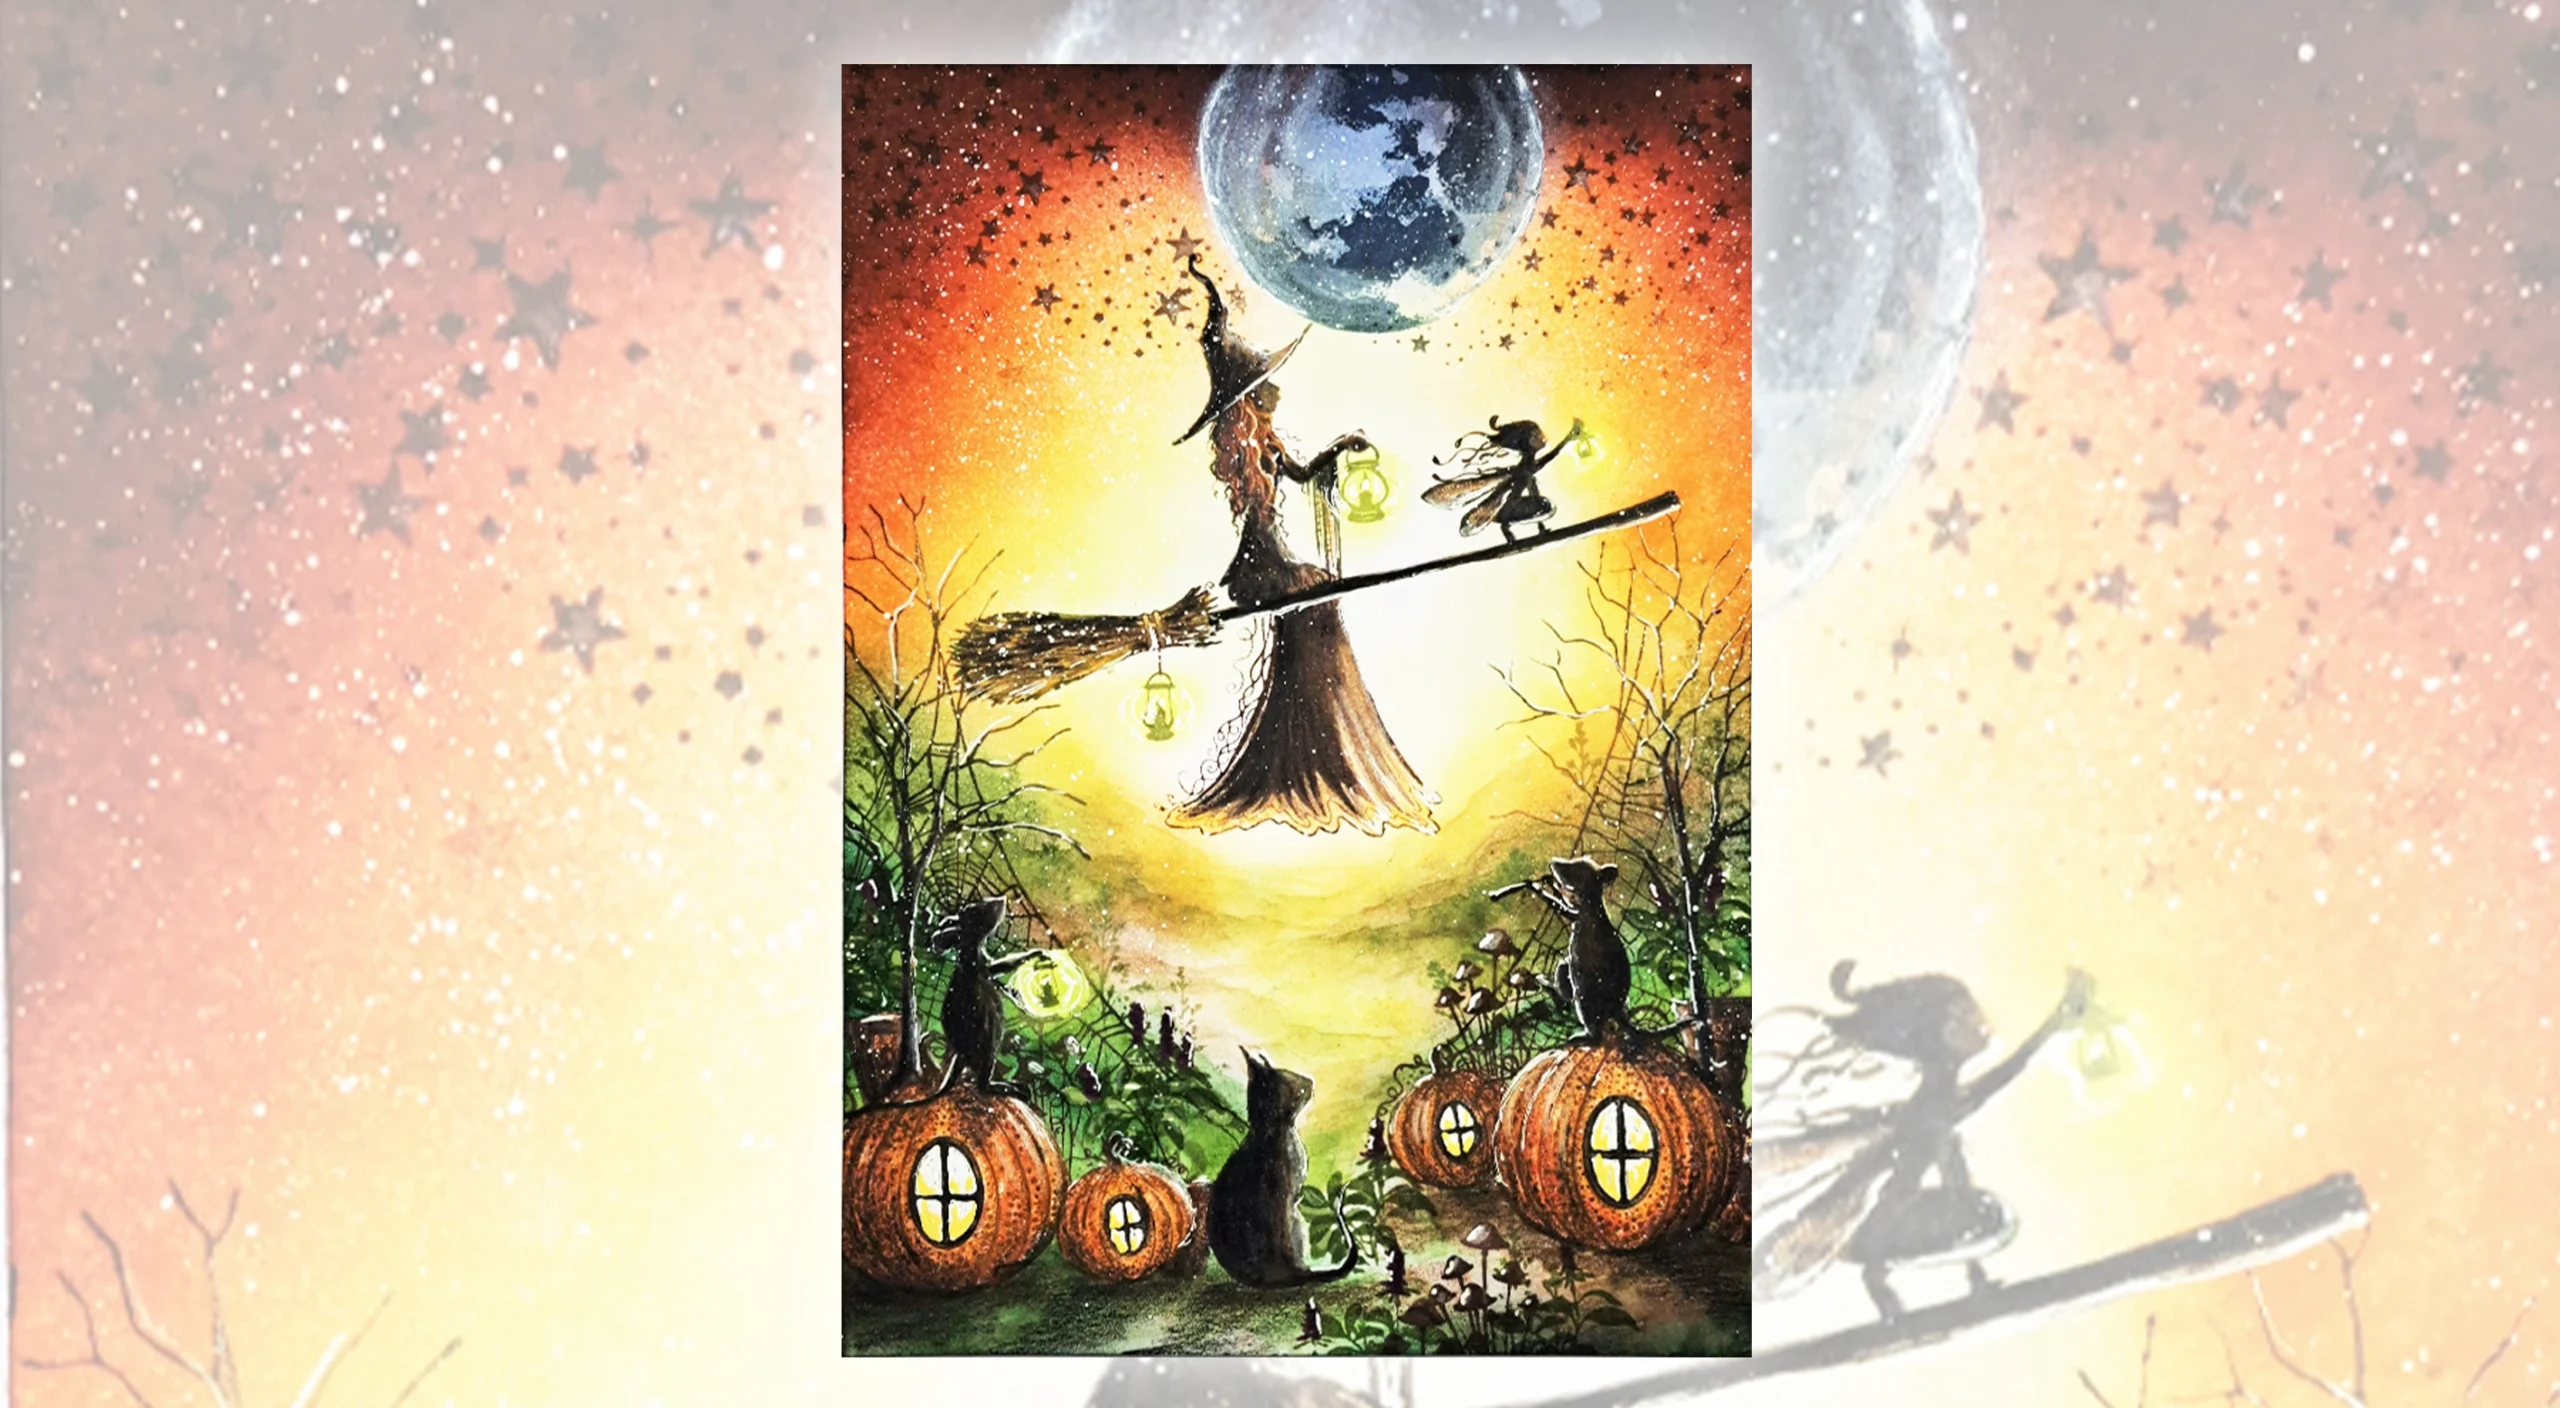
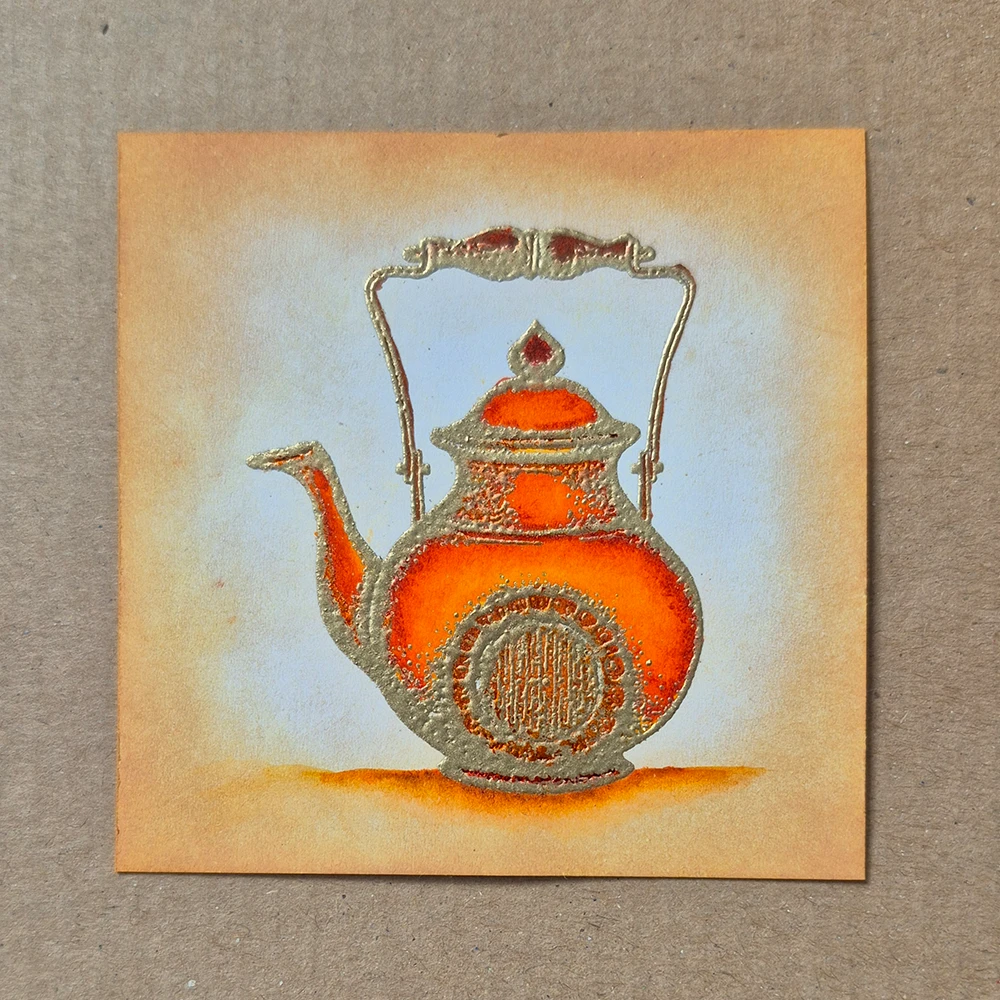
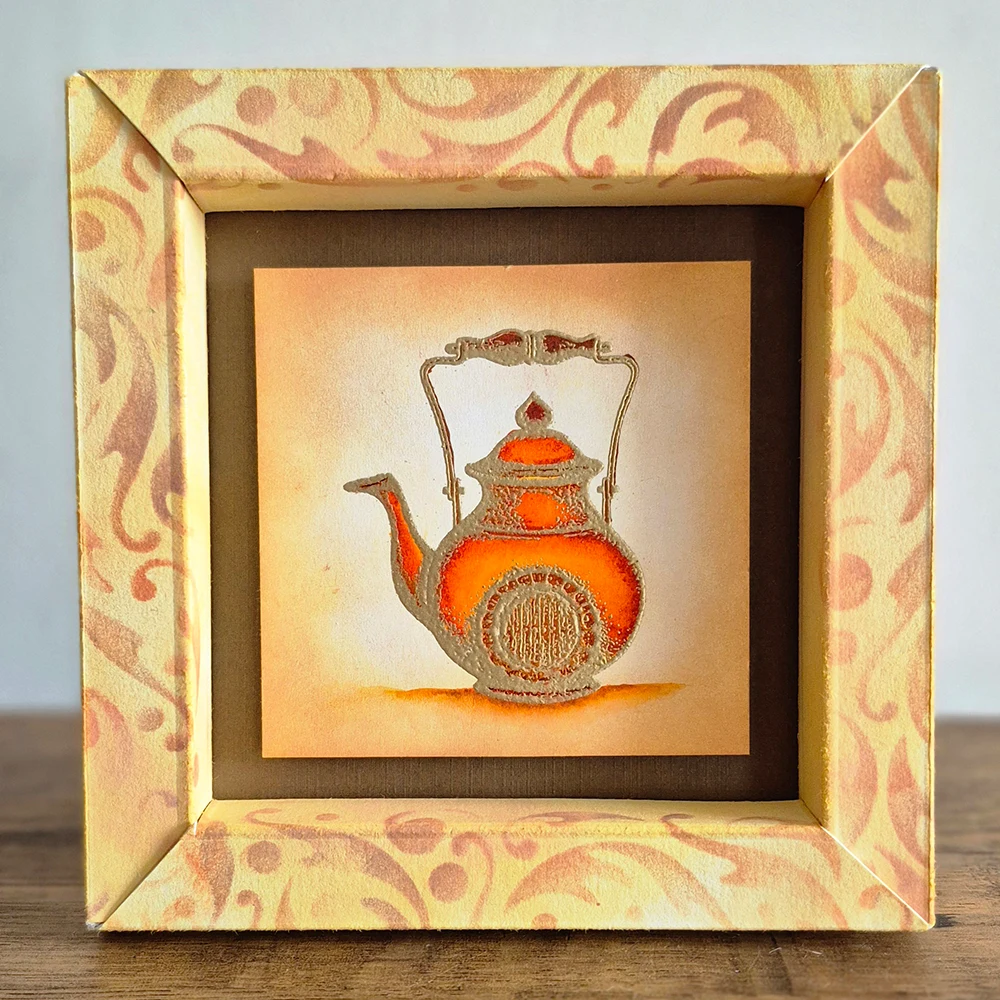
Then once dry I stamped the Tea Leaf Dwelling Stamp in Versamark Embossing Ink and I then added a Gold Embossing Powder and heat embossed it. A copper colour would look lovely too for this stamp! Once this was cool and dry, I added colour to my design using a selection of Oranges, browns and red from my Kuretake clean colour brush pens. I wanted a bright glowing design. I also added some colour at the base of the Tea Leaf Dwelling to ground it.

Step 20.
Once dry I added double height of foam sticky tabs or double-sided foam tape to the back of my design, peeled off the backing and then set it into the centre of my box frame. You can use these little box frames for all sorts of designs, but this one is a perfect fit for the teapots in the Twilight Tea collection!
Step 21.
To make a little stand for your frame, use the 2nd piece of card 29.7 cm x 6.35cm and score it at the following positions: 2.5cm, 5.1cm, 12.7cm and 20.3cm. Then fold and burnish it. Fold the first 2.54cm backwards, but all the other score lines inwards in the opposite direction. See photo.
Step 22.
I decided to ink up my kick stand on both sides to match my frame as per Step 4 above. Then once dry I added one strip of double-sided tape to the bottom half inch fold. Next, I peeled off the adhesive backing and stuck down the little half inch fold as shown in the photo. This will create your little stand.
Step 23.
Run some double-sided tape around all 4 edges of one of the sides and stick down to the back of your box frame, lining up the bottom edge of both.
Step 24.
Now you have a little framed piece of art, in a tiny hand-made shadow box frame that also stands up. I hope you enjoy making yours!