Step by Step by Mona Hauge
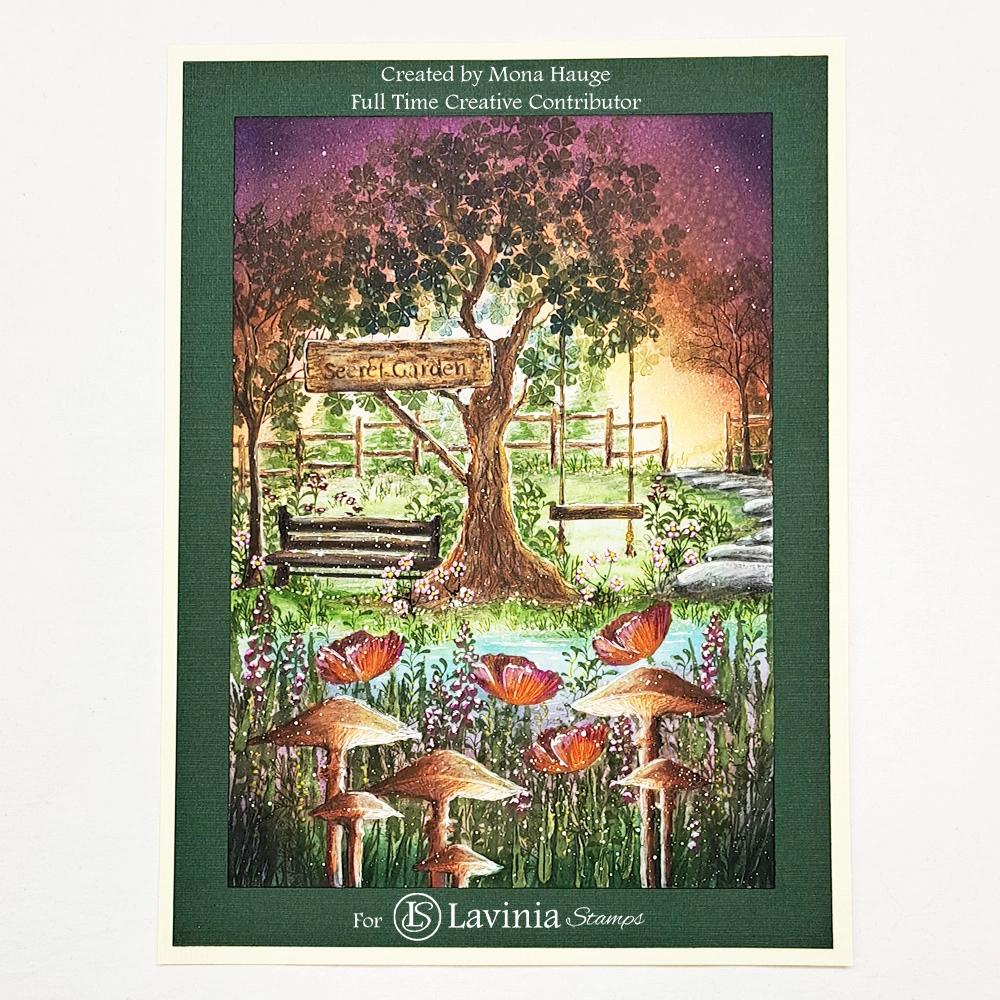
Hi everyone 🧚♀️ Mona here with my latest Step by Step tutorial called “The Peaceful Garden”. I hope you like it.
Step 1.
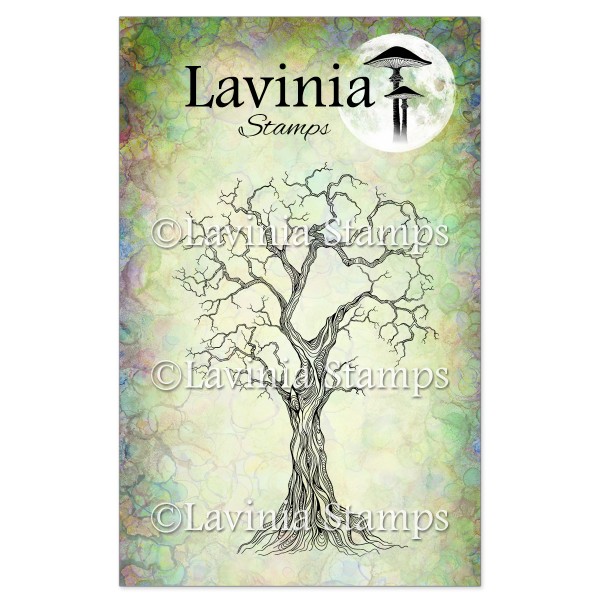
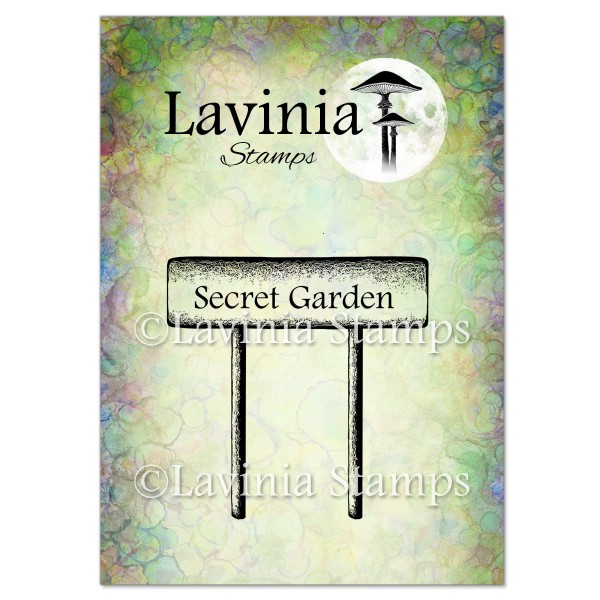
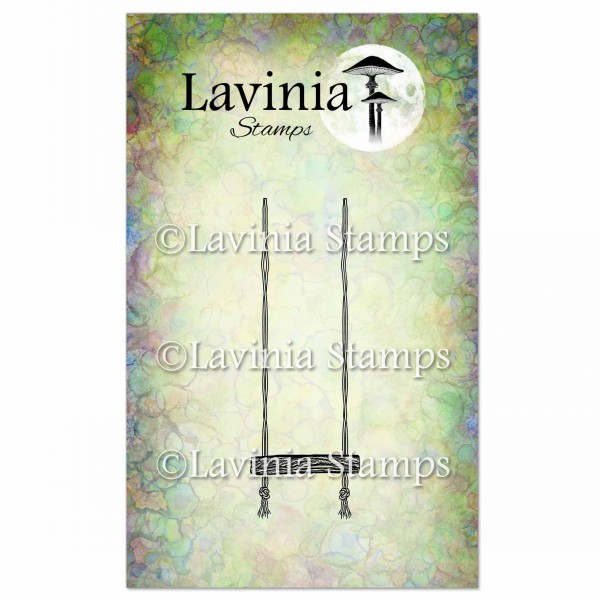
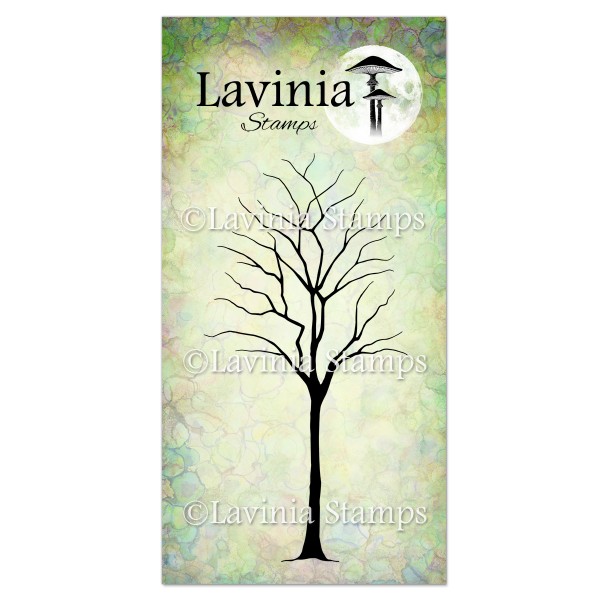
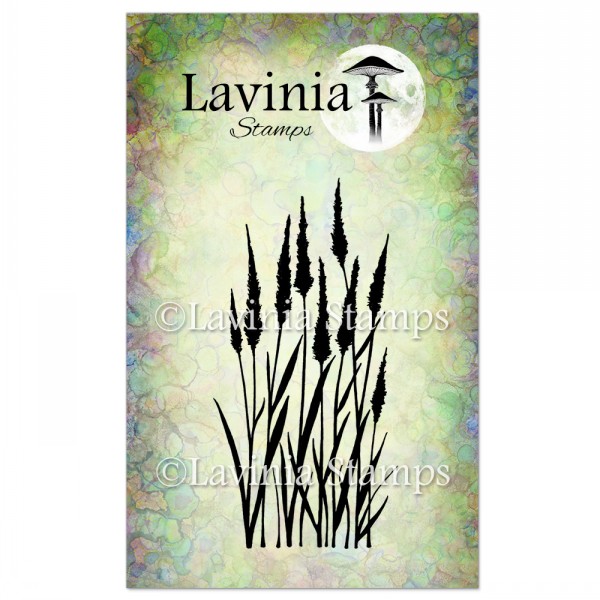
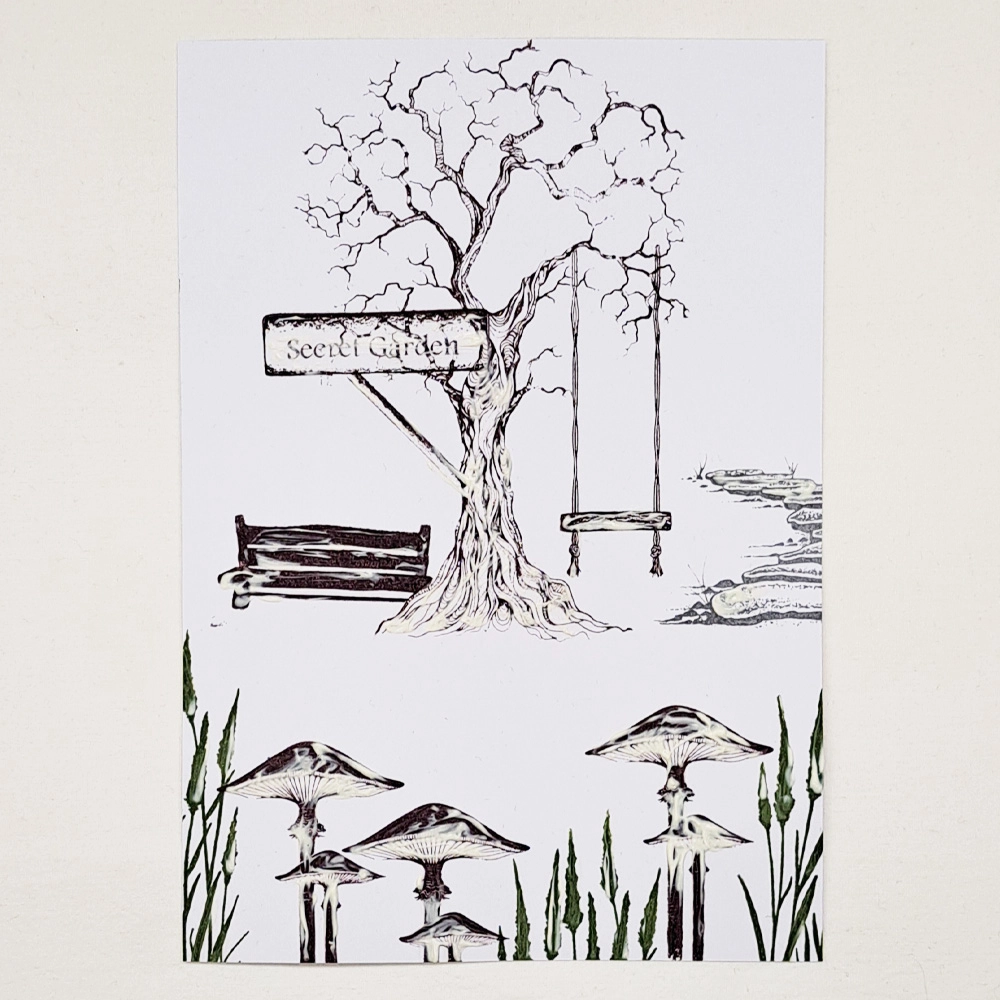
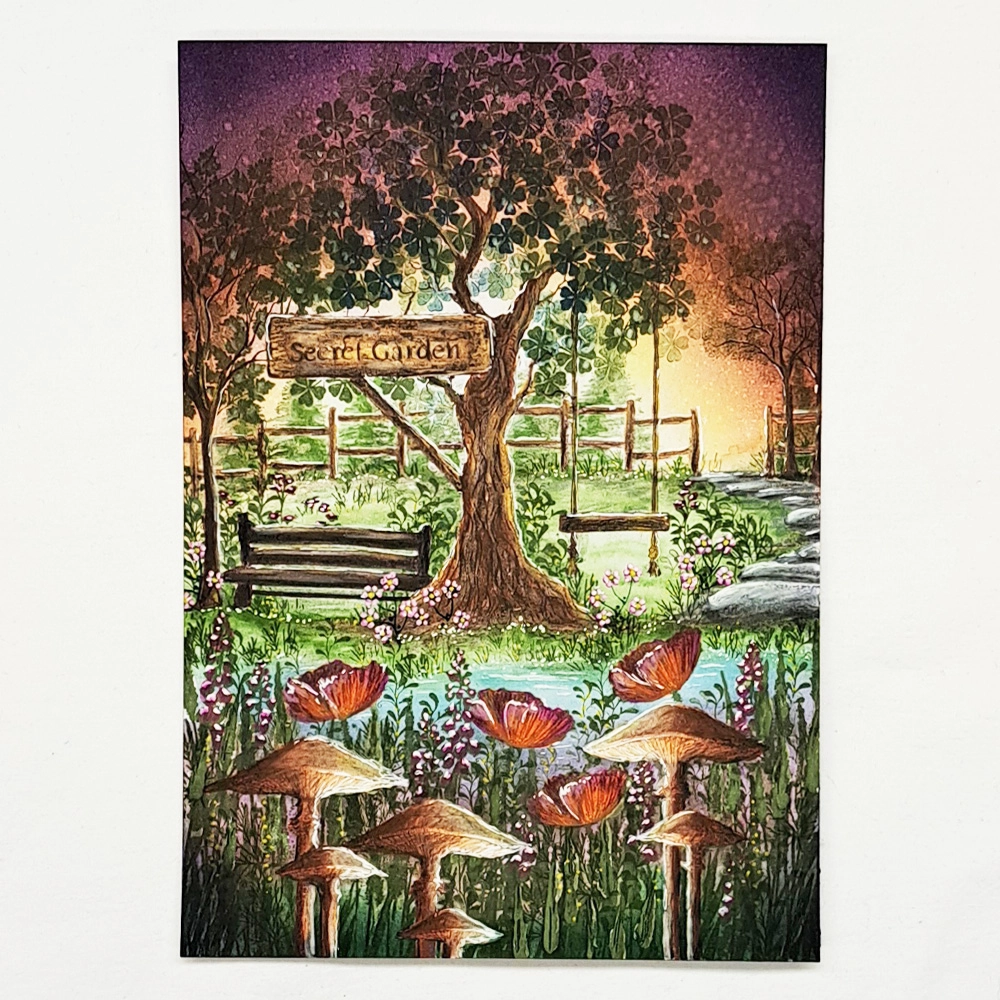
Using an A5 piece of white Multifarious card stamp the Tree of Wisdom LAV609, Secret Garden Sign LAV746, the Swing LAV976, the Bench LAV937 and the Meadow Mushroom LAV563 in Versafine Pinecone. The Fairy Path LAV 246 we stamp in Versafine Clair Morning Mist and the Meadow Grass LAV387 we stamp in Versafine Clair Shady Lane. See the picture for placement. Now we cover everything in Liquid Masking Fluid.
Step 2.
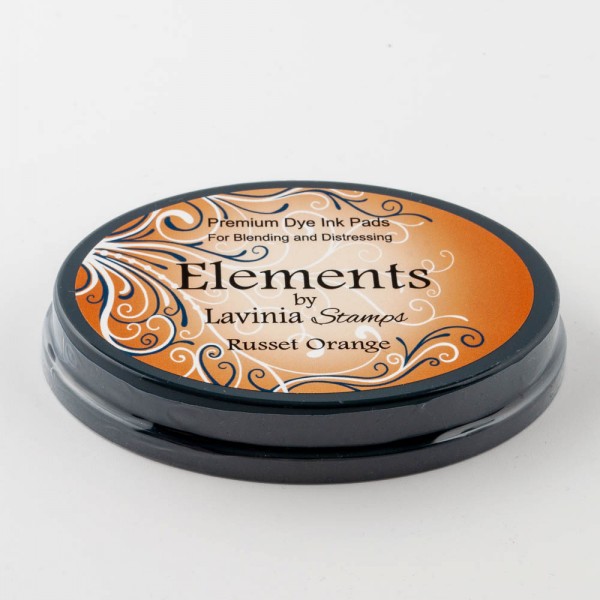
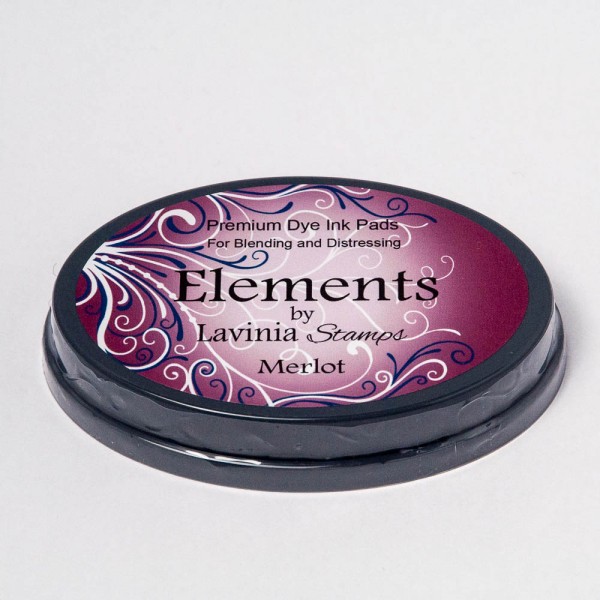
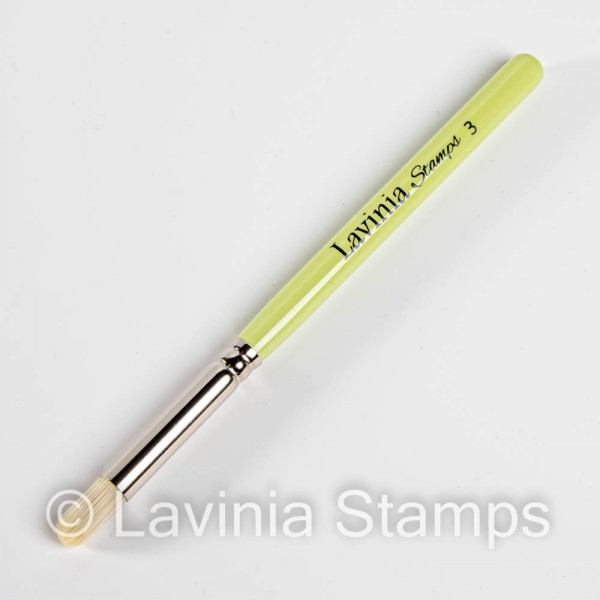
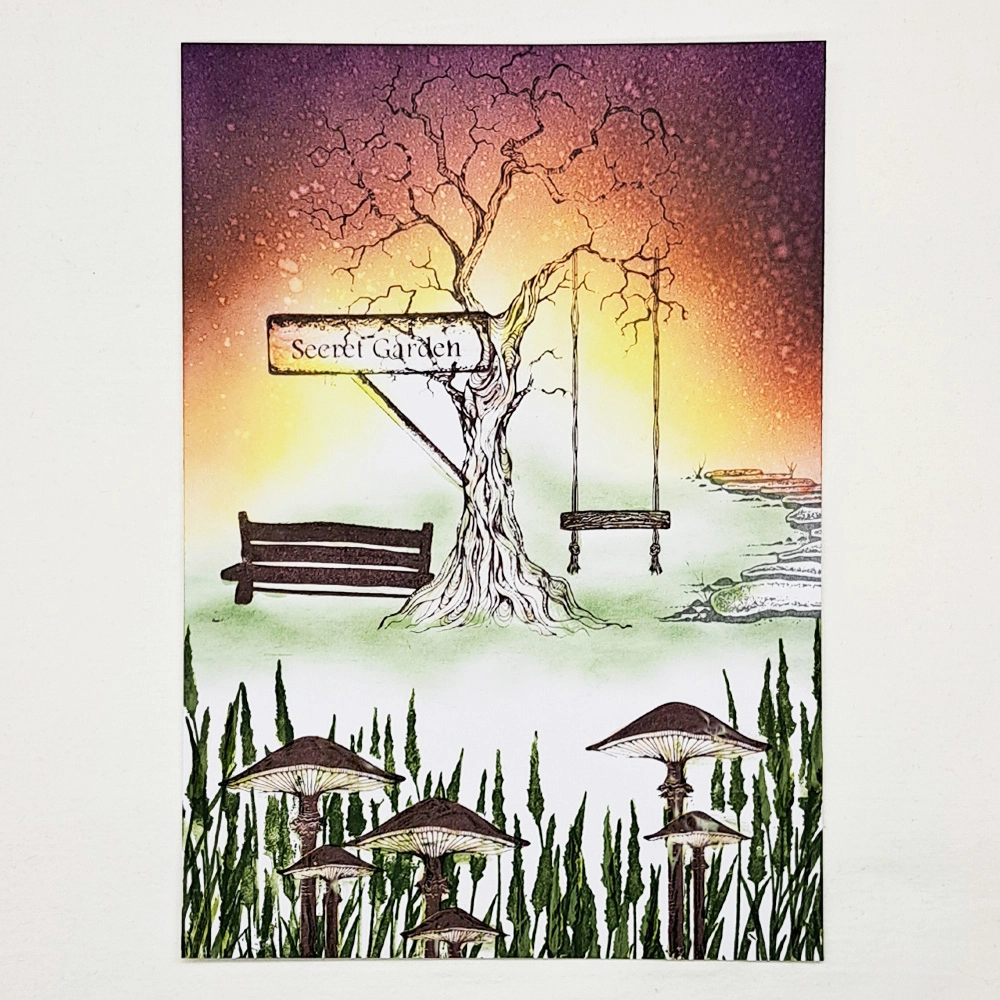
For our sky we use Elements Russet Orange and Merlot. Apply Spray some water on the sky and let the magic happen! Dry the card before adding some Hansa Yellow PanPastel for some sunset glow. Use a Lavinia Stencil brush series 3 to apply the PanPastel, this makes applying it easy. Now Brush on some Elements Olive like you see in the picture.
Step 3.
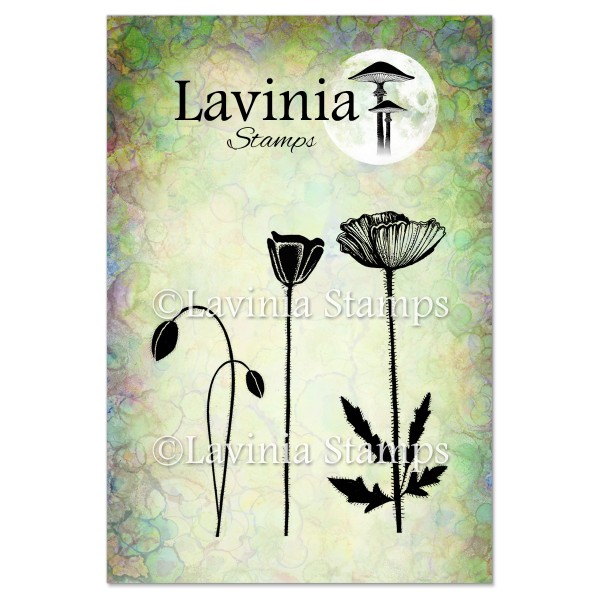
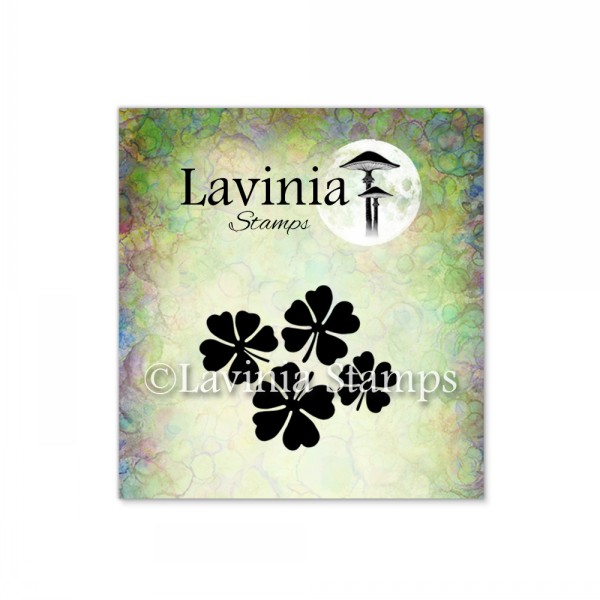
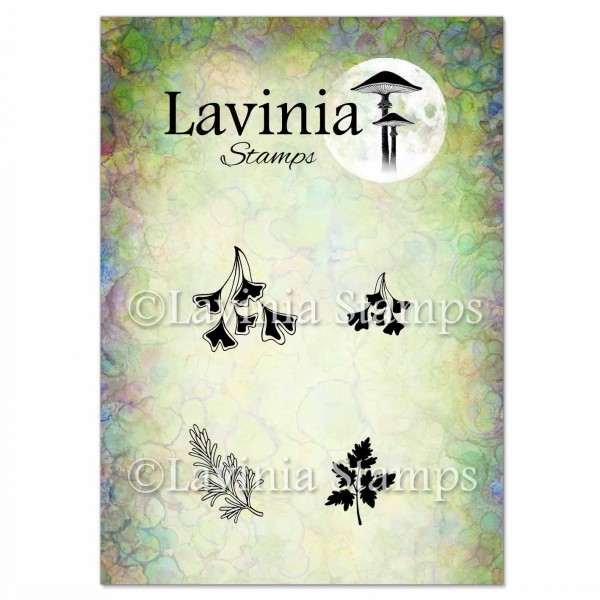
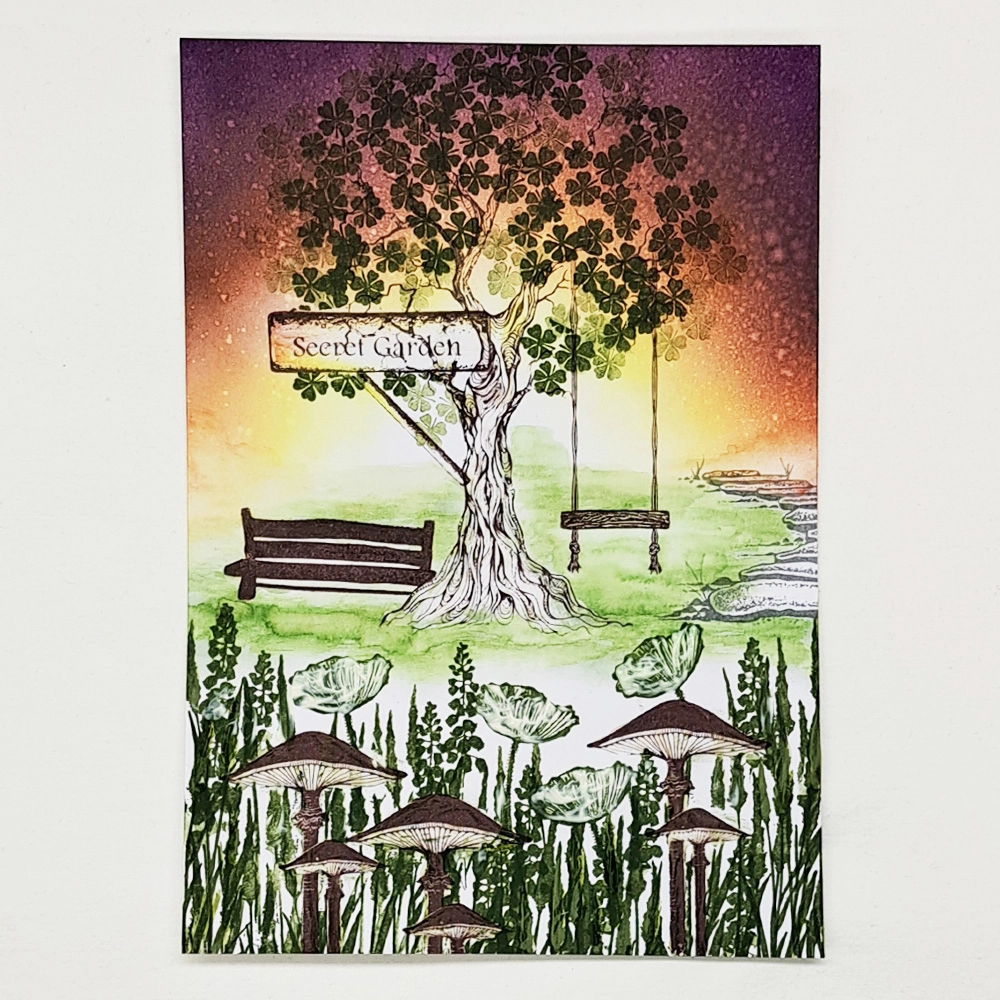
Stamp some Bluebells LAV002, some Group Poppies LAV112 and Mini Lucky Clover LAV889 all in Versafine Clair Shady Lane. Do both first and second generation stamping with the Mini Lucky Clover. Cover the Poppies in Liquid Masking Fluid. Use a Water brush to make some movement in the green ground surrounding the tree.
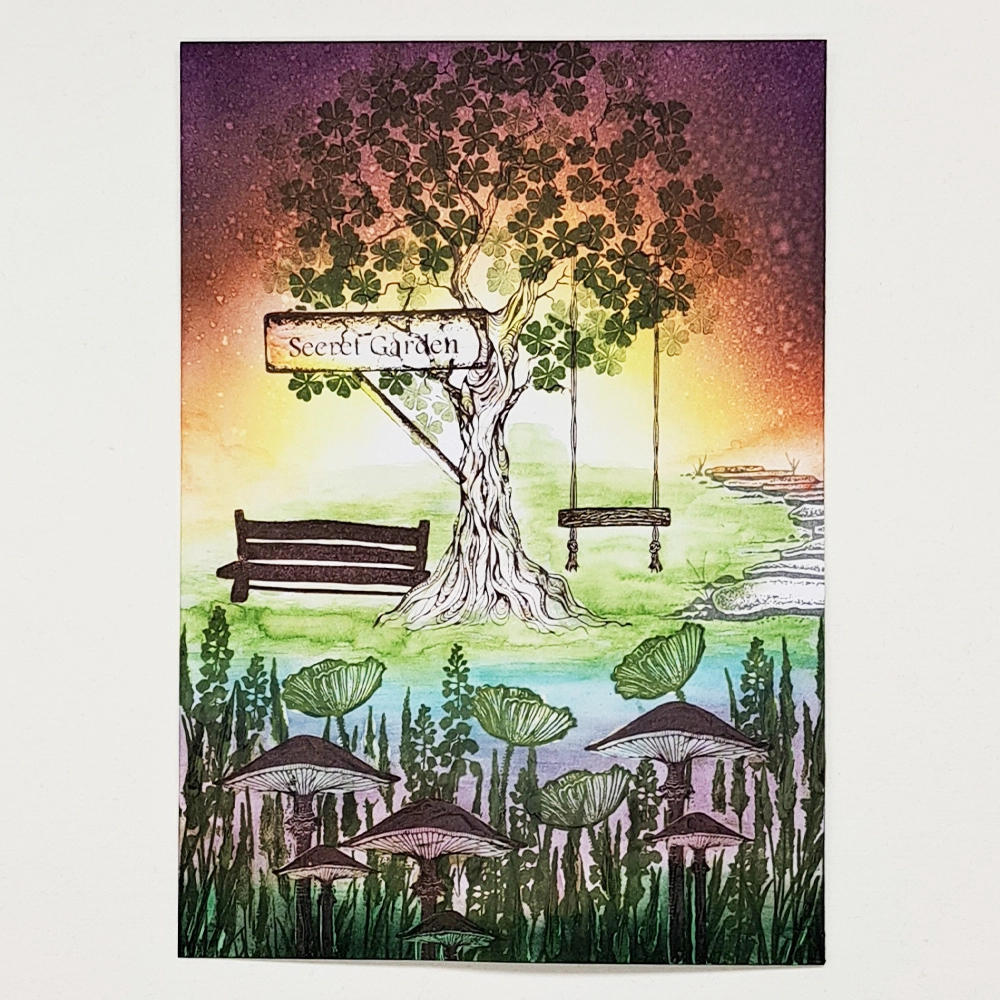
Step 4.
For our water we will use some Elements Blue Atoll and some Elements Merlot. Blend it lightly using a Stencil brush series 3 for just a little bit of colour.
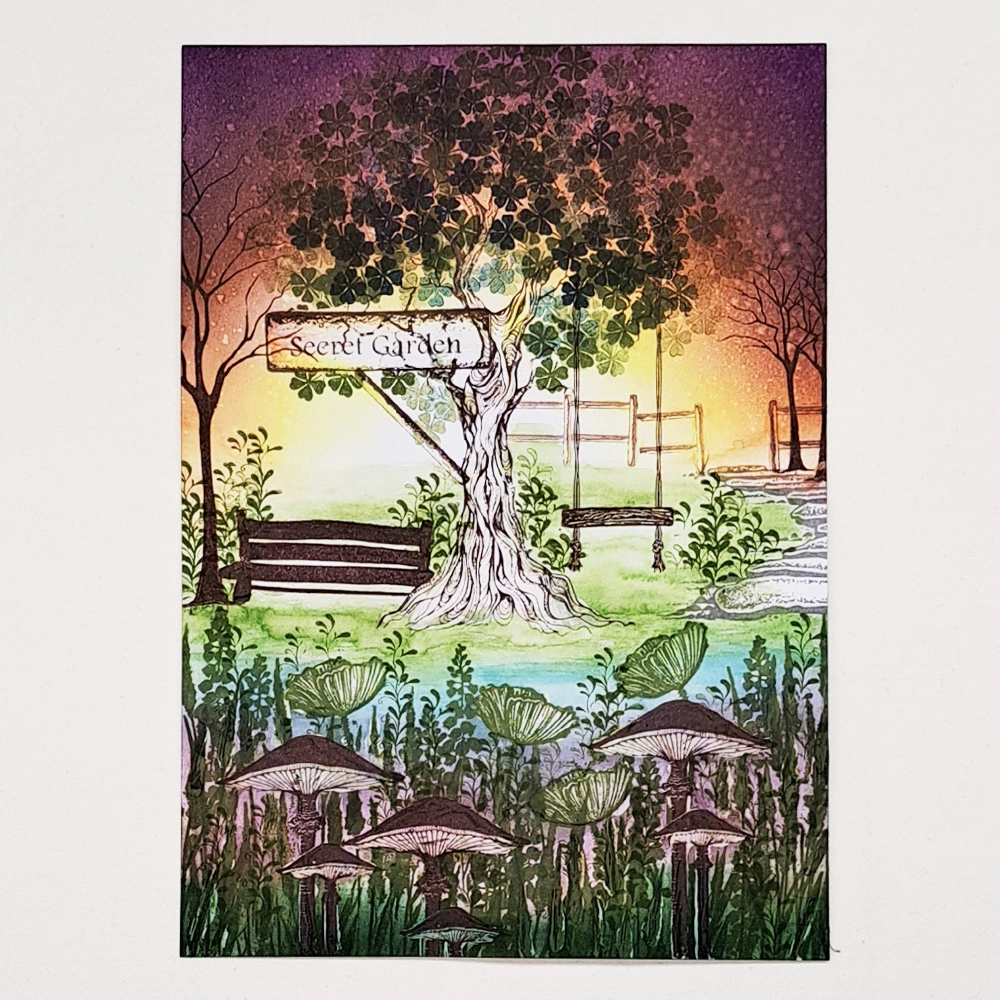
Step 5.
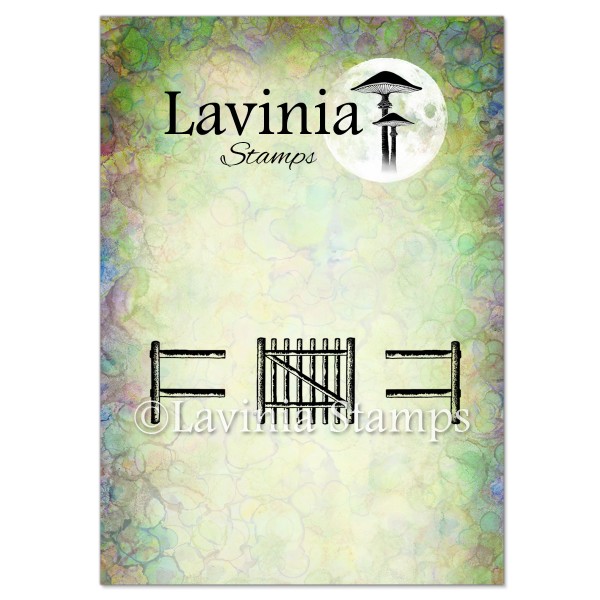
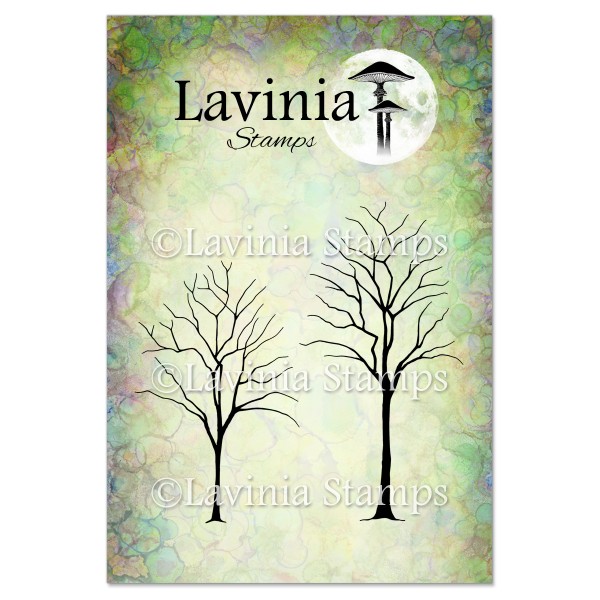
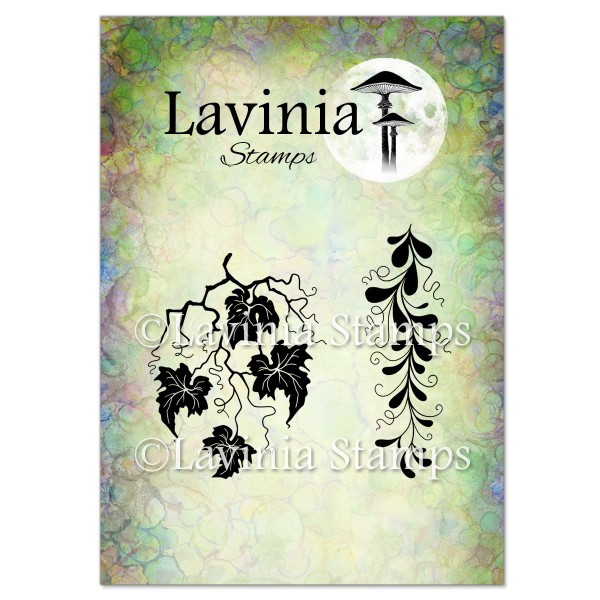
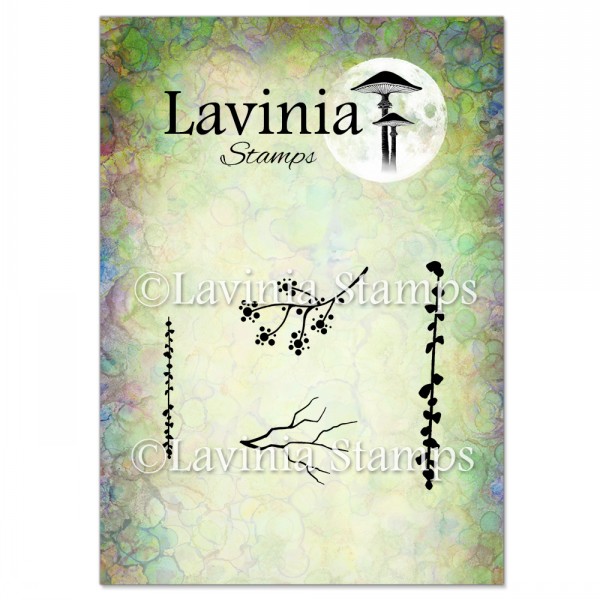
Stamp the Gate And Fence LAV752 in second generation stamping, Small Trees LAV663 and The Birch LAV649 all in Versafine Clair Pinecone. For some more foliage we stamp the Twisted Vine Set LAV613 in Versafine Clair Shady Lane.

Step 6.
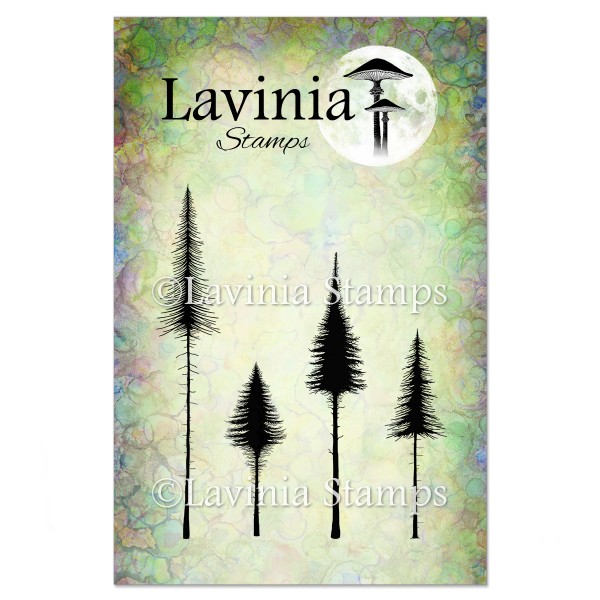
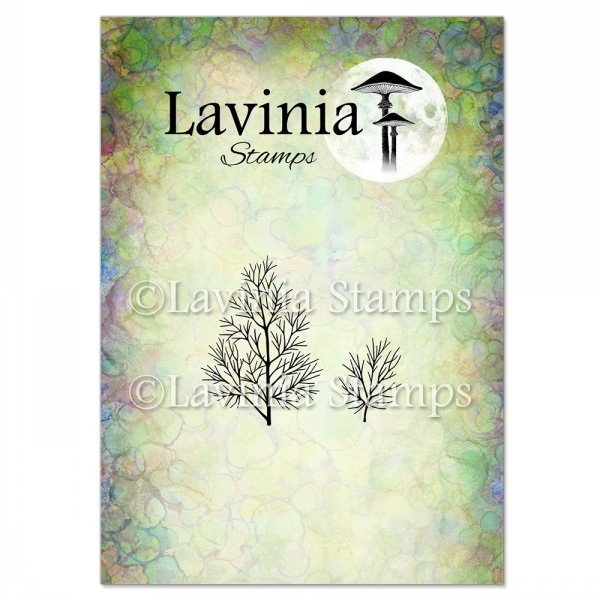
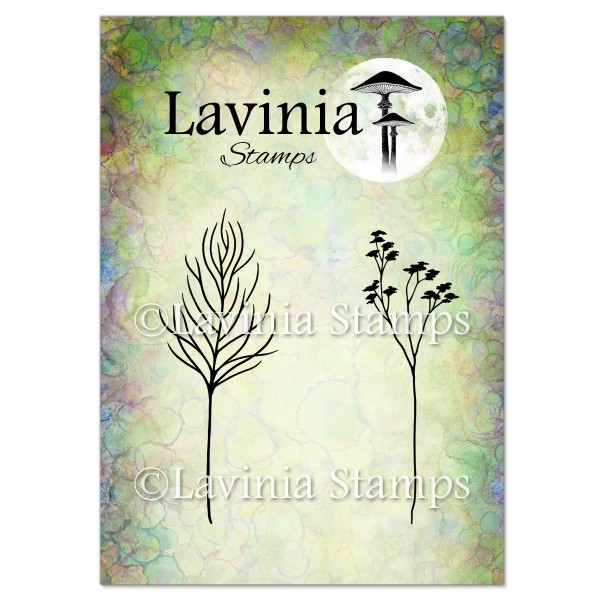
Stamp the rest of the Gate and Fence LAV752 in second generation stamping in Versafine Clair Pinecone. We want it to look like there is a forest behind the fence so we stamp one of the Small Pine Trees LAV863 only second generation stamping in Versafine Clair Shady Lane. We need some more greenery on the ground and the tops of the Dill Stamp LAV938 is perfect for some grass. Stamp in Versafine Clair Shady Lane. A little bit of leaves on our Birch is needed. Stamp some Wild Foliage LAV980 in Versafine Clair Shady Lane.
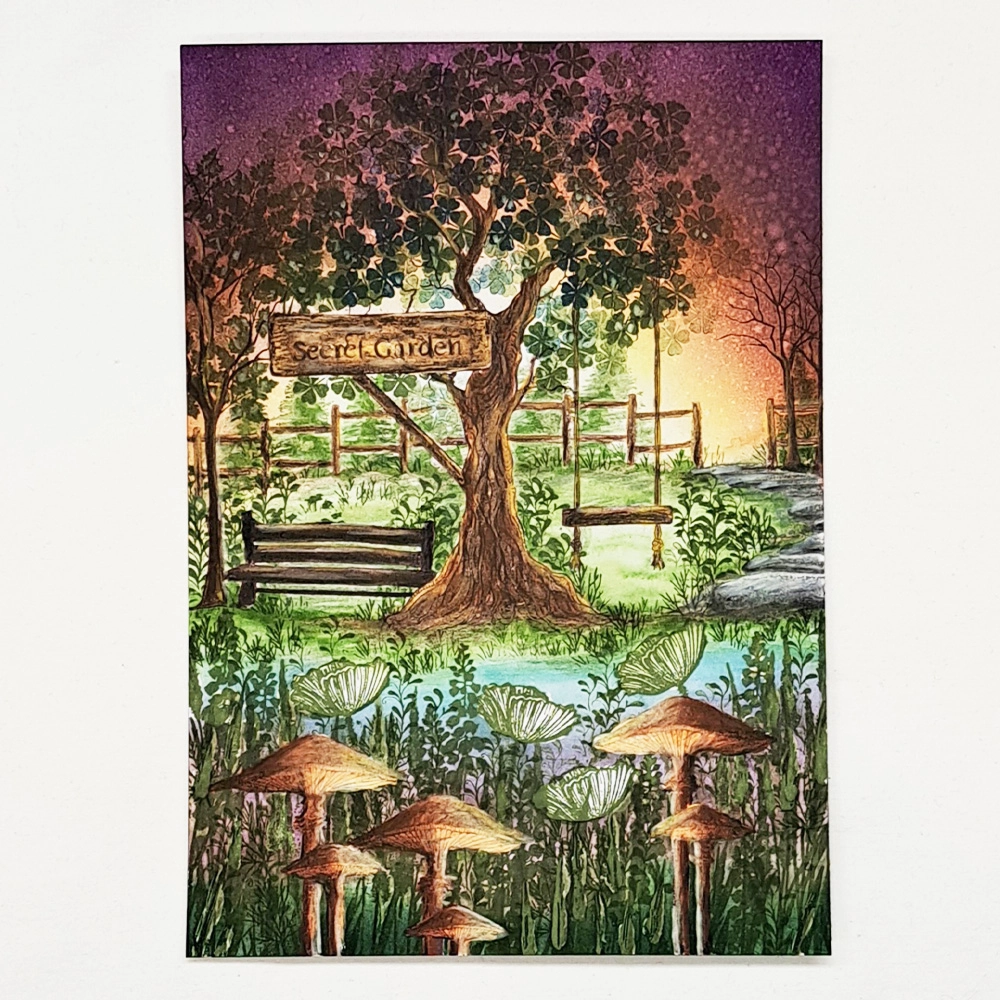
Step 7.
Now it is time to rub away all the masking fluid, but, before doing that we need to make sure our paper is dry all the way through. If there is any moisture in our paper it will rip when you take off the masking fluid. Use a Heat tool to make sure everything is 100% dry. Now it will be so easy to remove the masking. Let us start to colour all the brown things. The Mondeluz watercolour pencils are perfect for this kind of colouring because they are so soft and vibrant in colour. They also blend perfectly dry as well as with water. We need to use a dark Brown, a Brown, a Red Brown and an Ochre colour for all our Brown objects. Using multiple colours gives them more life and depth. Do the Bench with more of the darker colour and the Fence needs softer colouring.
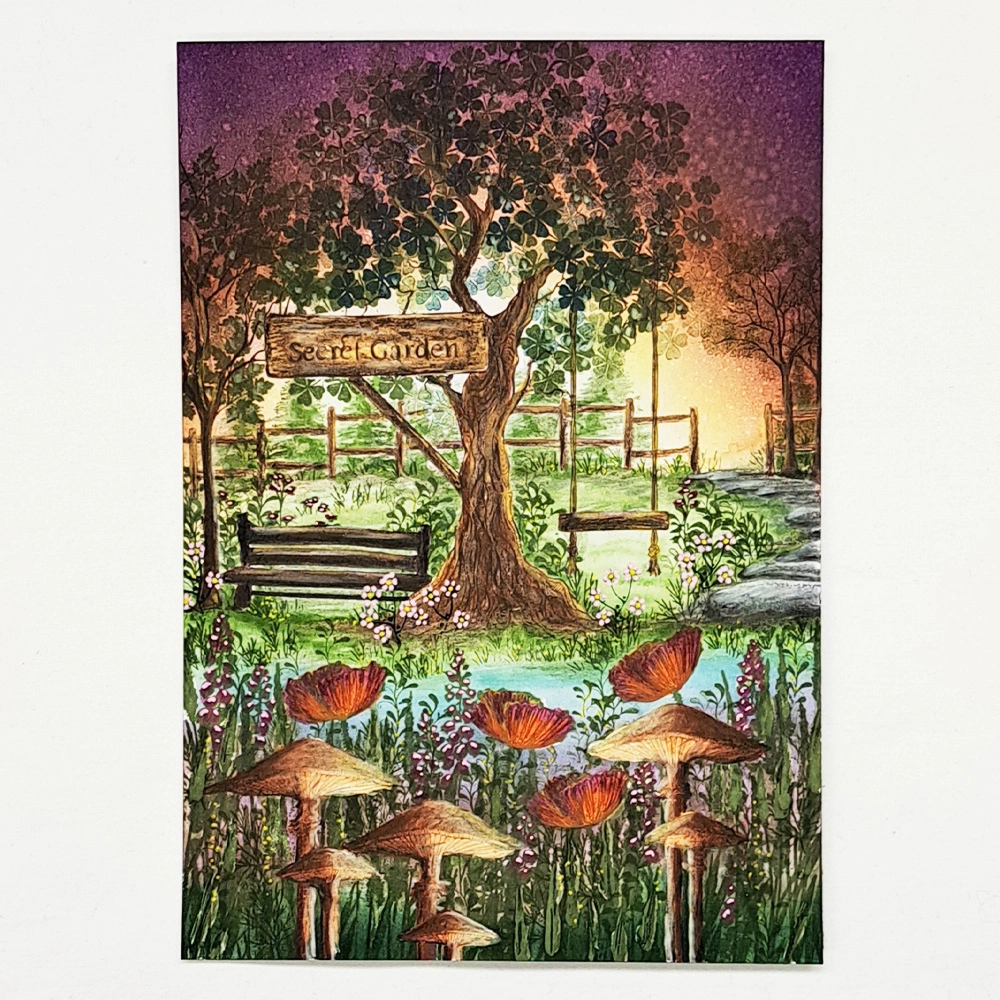
Step 8.
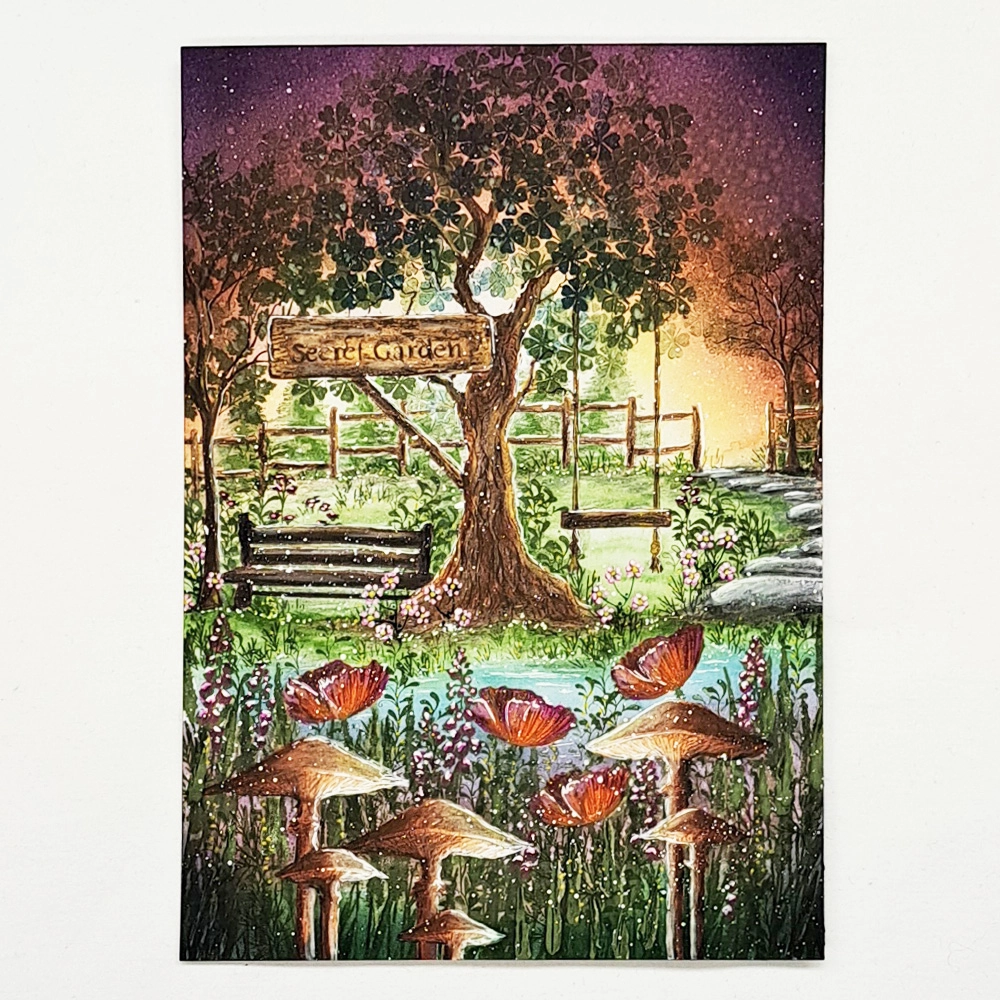
Let’s add a few more flowers. Stamp the Foliage Set LAV679 and just a few Flora Set LAV698 in Versafine Clair Shady Lane. The Beautiful Poppies I coloured with Purple and Orange and the sweet Bluebells I coloured with a purple Mondeluz pencil and then did some highlights with a Light Pink Posca pen. The Foliage Set flowers get some Light Pink and Yellow Posca Pen. The Flora set Flowers also get some purple with some Light Pink Posca pen. A few dots of Yellow Posca pen here and there gives it a feeling of more different flowers.
Step 9.
And now for some highlights on everything. I love my Signo Uniball pen for this but a white Posca would do too. Look at the picture for placement. Add a few lines of white in the water as well. See the picture for placement.
Step 10.
For our final detail we will use a White Posca Pen to do some splatter. Just a little bit to give the picture some movement. Now we have completed our picture. I hope you have enjoyed following my Step-by-Step Tutorial. If you have any questions, just send me a message and I will answer as soon as I can.
Big hugs from Mona.