Step by Step by Mona Hauge
Hello everyone 🧚
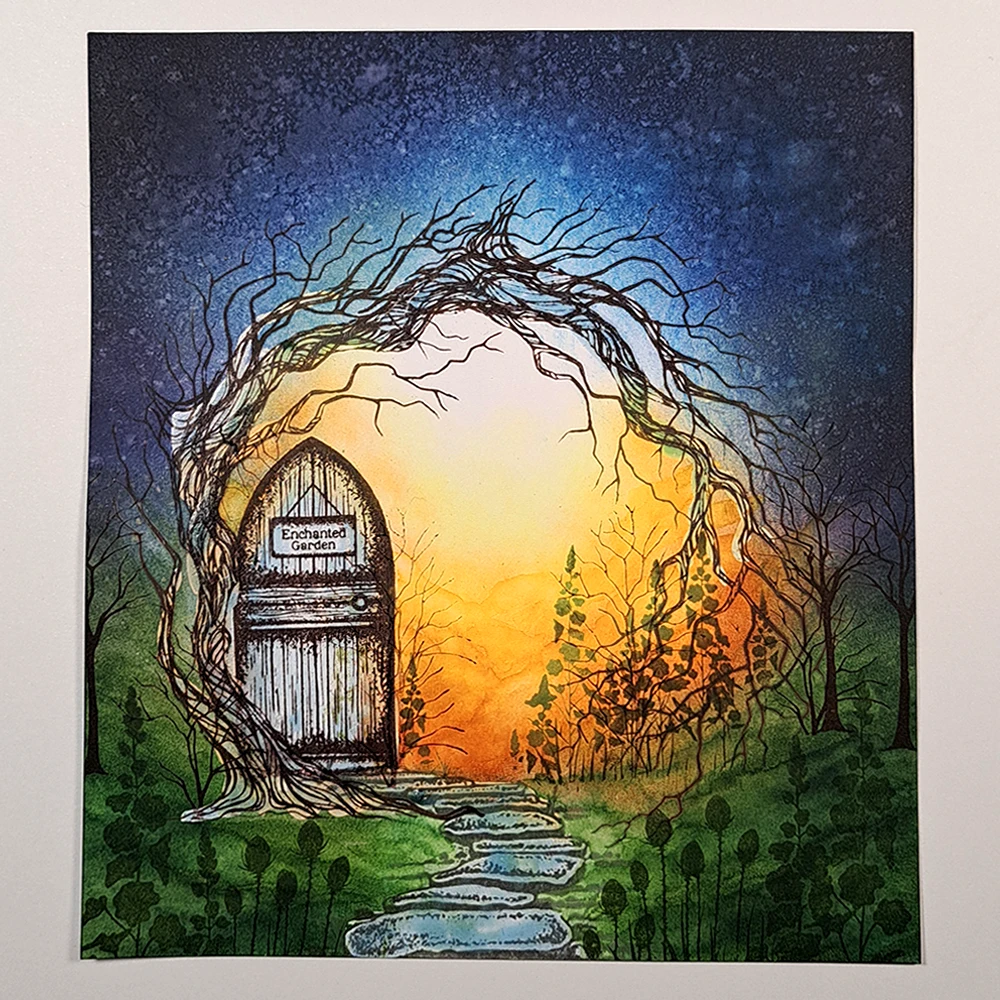
It’s Mona here with my latest Step by Step tutorial called “The Secret Path.”
Hope you like it.

Step 1.
Start with some white A5 Multifarious card white cut to size 15 cm x18cm. Stamp the Tree of Courage LAV657 in Versafine Clair Pinecone. Stamp it 3 times to create a curve and an archway. Cover in Liquid Masking fluid.

Step 2.
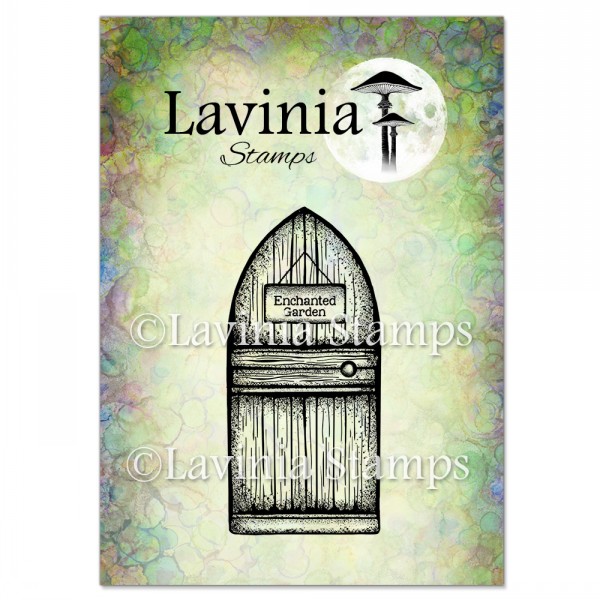
Stamp the Fairy Path LAV246 in Versafine Clair Morning Mist and then stamp the Inner Wooden Door LAV880 in Versafine Clair Pinecone. Cover them in Liquid Masking fluid.

Step 3.
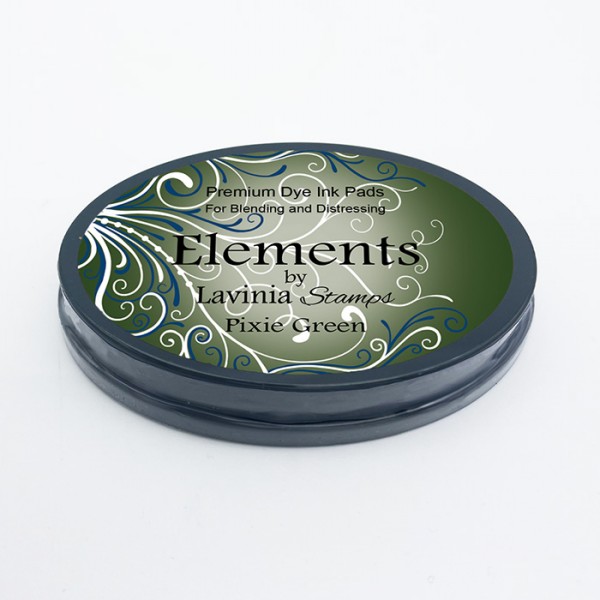
For our sky we will use Element Ink Midnight Blue. On the ground we will use the new Element ink Pixie Green. Apply the colours using a series 9 stencil brush like you see in the picture.

Step 4.
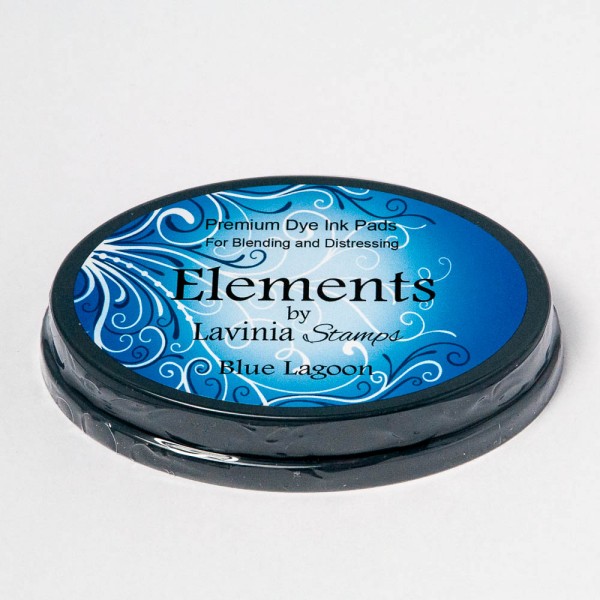
To create more depth and life to our sky we will use Element inks Dark Denim and Blue Lagoon as well. To make sure the colours blend well together use a series 9 stencil brush and blend by overlapping the colours a little. On the ground we will blend in some Element Ink Olive to the outside edges.

Step 5.
I wanted to try something new this time. Spray water on the sky and put some table rock or sea salt on the card were it is wet. Let the card dry and then brush away the salt. The salt will react with the Ink and create a beautifully textured sky.

Step 6.
Use a watercolour brush to move the green ink and then you will have some beautiful layers on the ground.

Step 7.
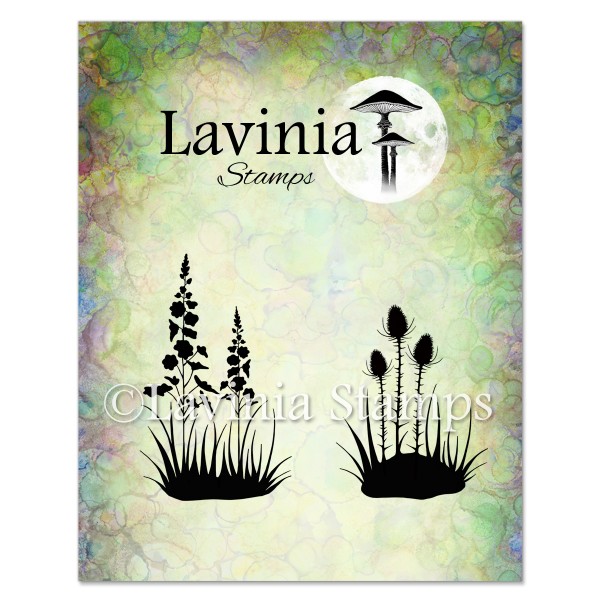
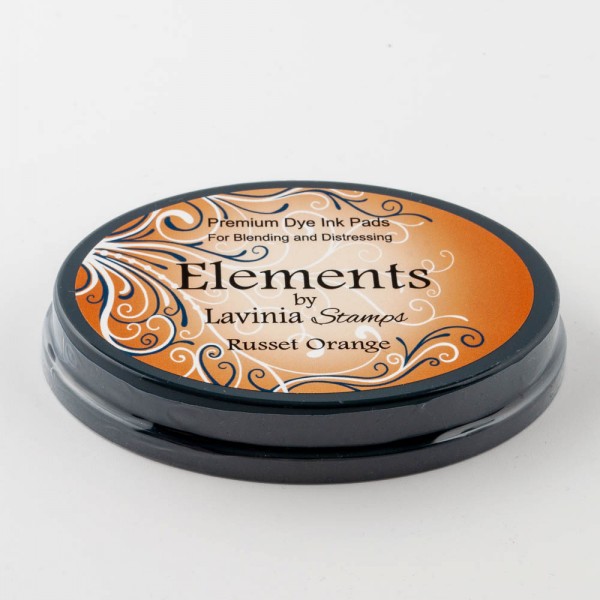
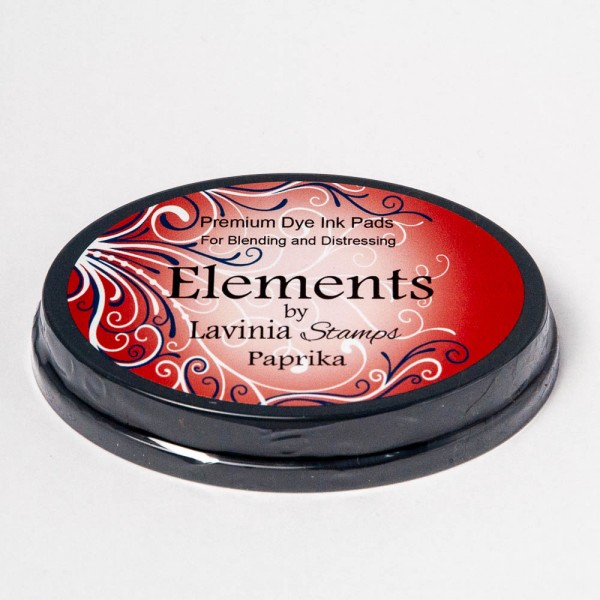
Now we will use some Element Ink Russet Orange and some Element Ink Paprika to create the glowing light in our archway. Some flowers are needed too. We want some Silhouette Foliage Set LAV683 and some Wild Flower Stamp LAV188. Stamp all in Versafine Clair Shady Lane.
Step 8.
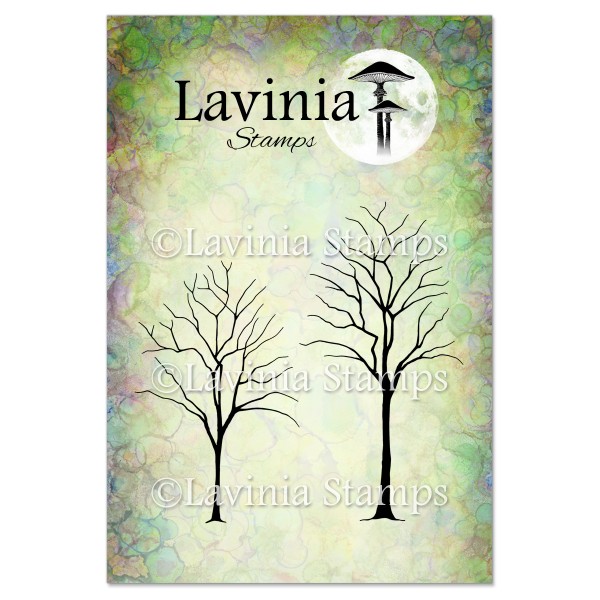
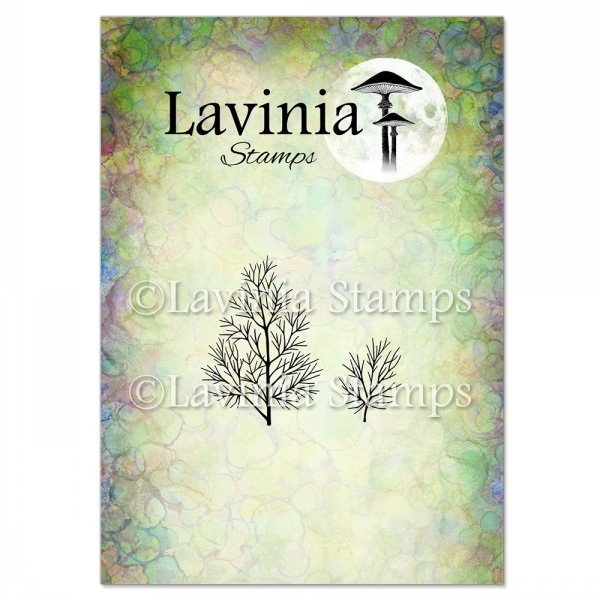
A few Small Trees LAV663 stamped in Versafine Clair Pinecone is needed too. Now use a watercolour brush to create some hills in the background by moving the water over the yellow and paprika inks.

Step 9.
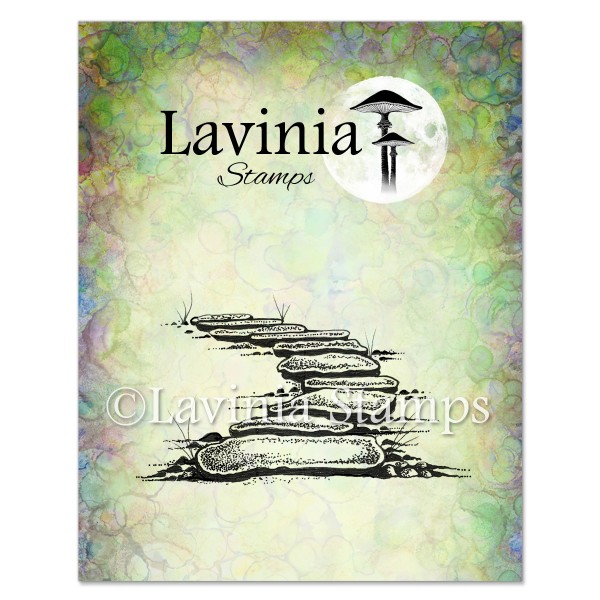
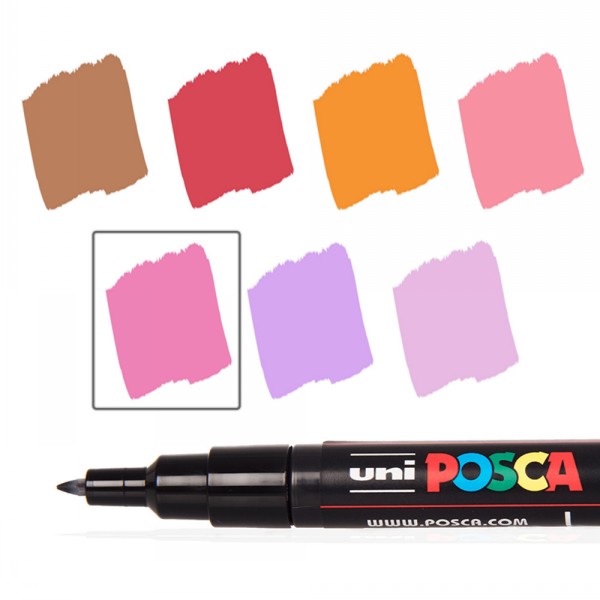
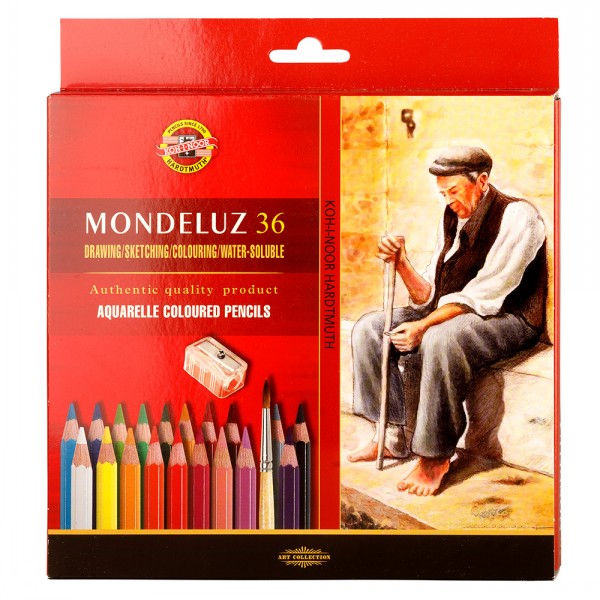
Next, we remove all the masking. It is very important to make sure that our card is completely dry all the way through, or else the paper will rip. But when everything is completely dry there is no problem to remove the Masking at all. Now we add colour. Use a Beige Posca Pen to colour all the flowers. While the Posca pen dries colour the trees and the door. The Mondeluz Watercolour pencils are perfect for this as they blend so well. Use several shades / colours for each object. It gives more depth and life to the different elements in the picture. For the trees and door, I use dark brown, brown, reddish brown and ochre. Also add a bit of black to give some very dark shadow to one side. For our steps we will use dark grey, light grey, black and white.

Step 10.
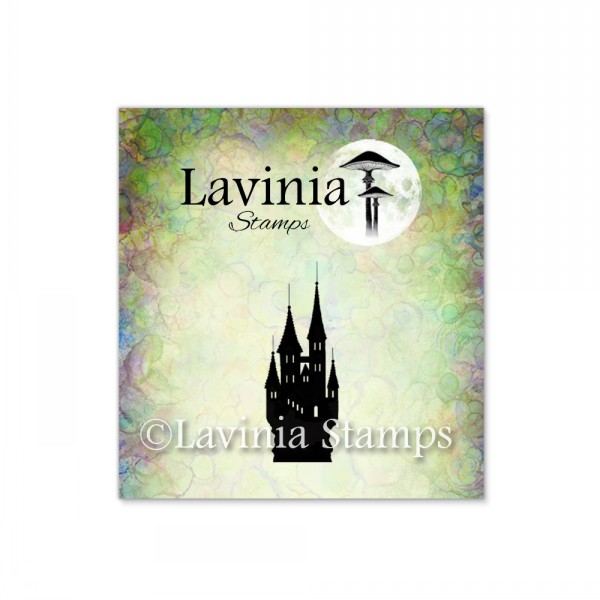
Now that the layer of Posca pen has dried we can colour on top of it. For all the flowers on this card I chose red and Orange. Look at the picture for placement. In the far distance we will have a magical Castle Mini LAV215 stamped in Versafine Clair Morning Mist and in 3rd generation stamping. Stamp several times next to each other to make it a “bigger” Castle.

Step 11.
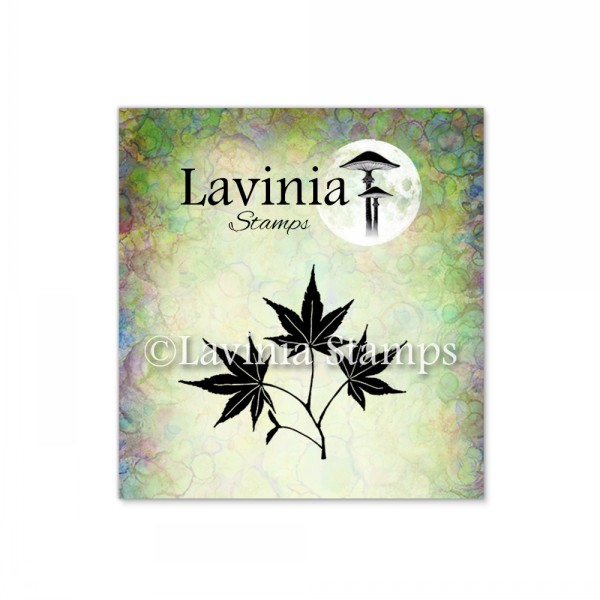
We need some more foliage and leaves on the trees. The fabulous Dill stamp LAV938 is perfect to use as grass and leaves on the Small trees and this time we will use the Mini Leaf 5 stamp LAV512 for Leaves on our tree arch. All stamped in Versafine Clair Shady Lane. Do both first and second generation stamping for the leaves.
Step 12.
We are almost finished but we will add the last and very important details. Start by using a white Mondeluz Aquarelle Pencil to draw some highlights on the leaves. Next use either a Signo Uniball pen white or white Gellyroll or white Posca pen to do highlights on everything else. For the final touch we splatter some White Posca Pen.
Now we are done with our card and I hope you enjoyed following my Step-By-Step Tutorial. If you have any questions, just send me a message and I will answer as soon as I can.
Thank you so very much for your time.
Big hugs from Mona