


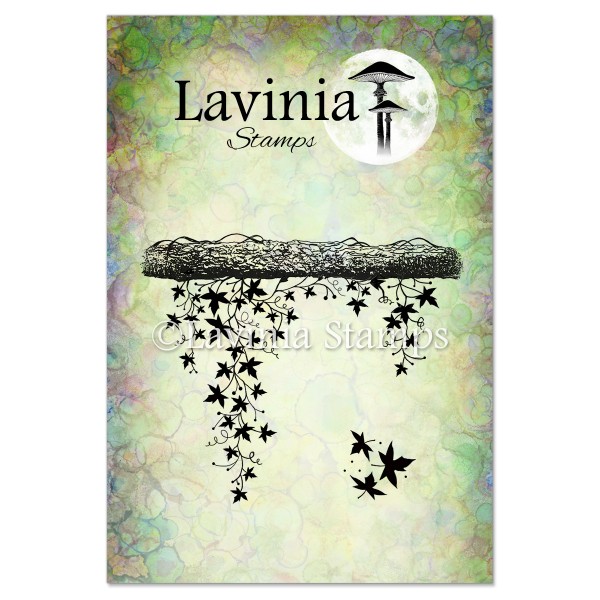
 Creeping vine Stamp
£8.56
Add to basket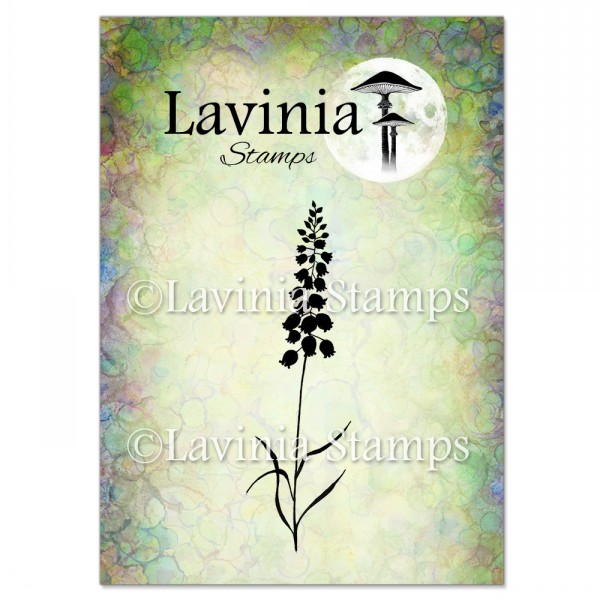 Bluebells Stamp
£6.10
Add to basket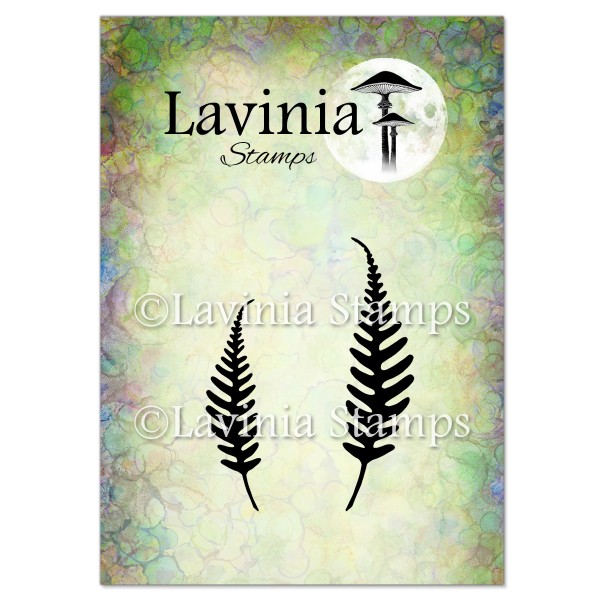 Woodland Fern Stamp
£4.55
Add to basket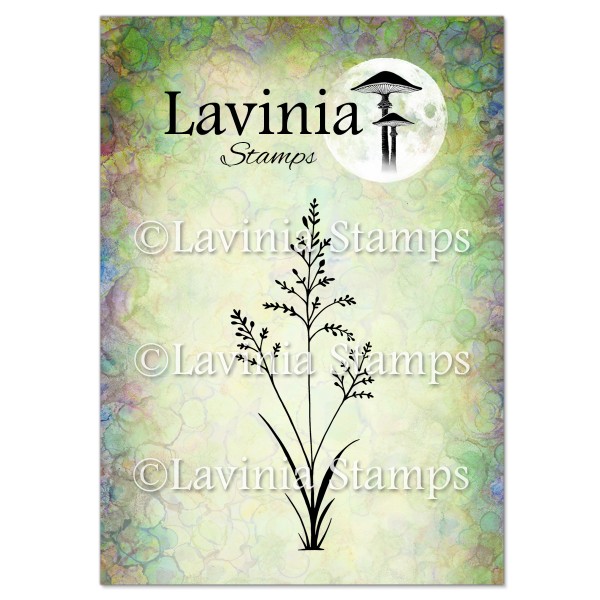 Orchard Grass Stamp
£5.90
Add to basket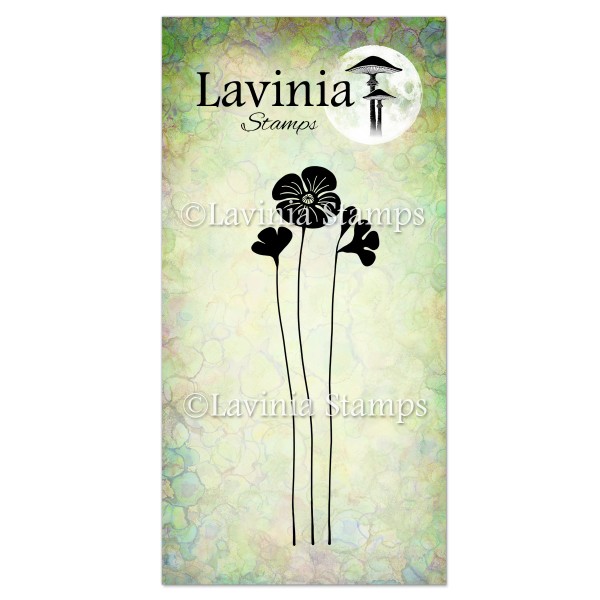 Garden Poppy Stamp
£7.36
Add to basket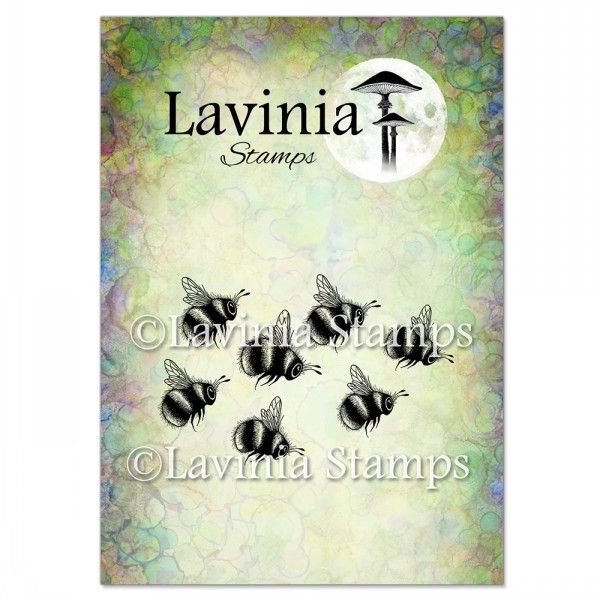 Bumblehums Stamp
£7.15
Add to basket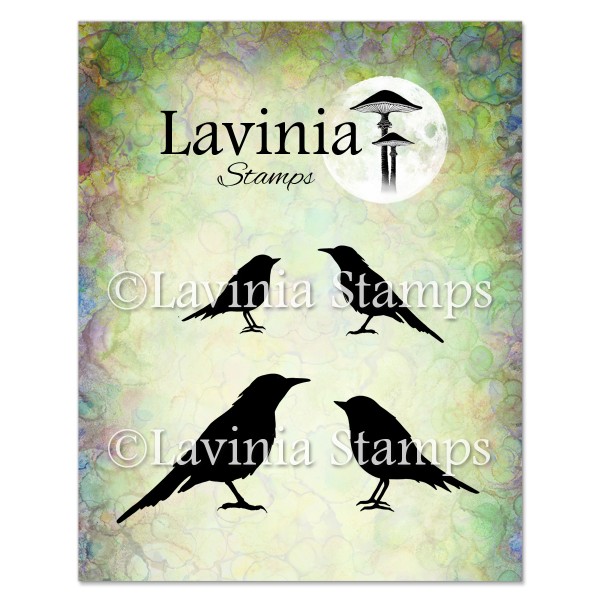 Bird Collection Stamp
£7.25
Add to basket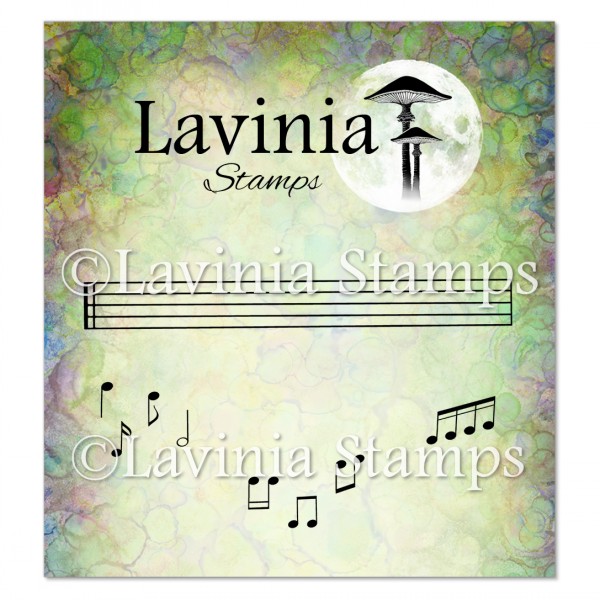 Musical Notes (Small) Stamp
£7.25
Add to basket Elements Premium Dye Ink – Olive
£6.16
Add to basket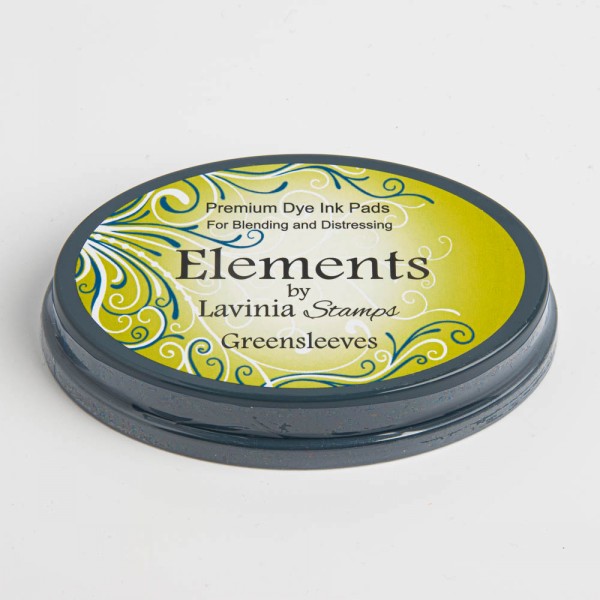 Elements Premium Dye Ink – Greensleeves
£6.16
Add to basket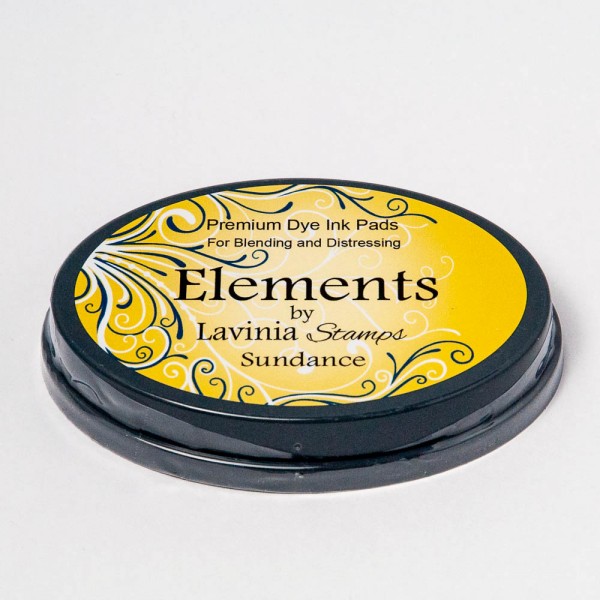 Elements Premium Dye Ink – Sundance
£6.16
Add to basket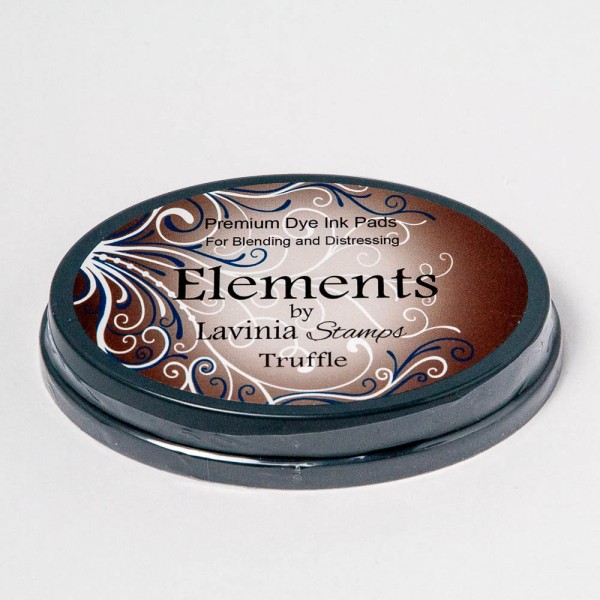 Elements Premium Dye Ink – Truffle
£6.16
Add to basket Elements Premium Dye Ink – Blue Atoll
£6.16
Add to basket Elements Premium Dye Ink – Mulberry
£6.16
Add to basket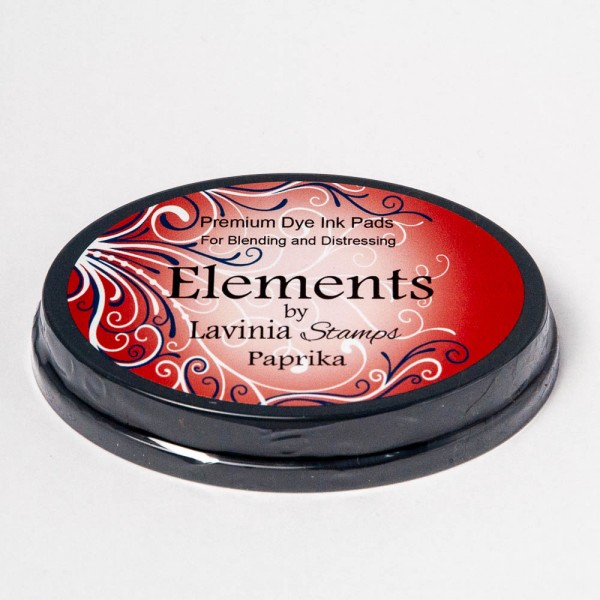 Elements Premium Dye Ink – Paprika
£6.16
Add to basket Versafine Clair Ink Pad – Pinecone
£6.10
Add to basket Versafine Clair Ink Pad – Shady Lane
£6.10
Add to basket Versafine Clair Ink Pad – Rain Forest
£6.10
Add to basket Versafine Clair Ink Pad – Nocturne
£6.10
Add to basket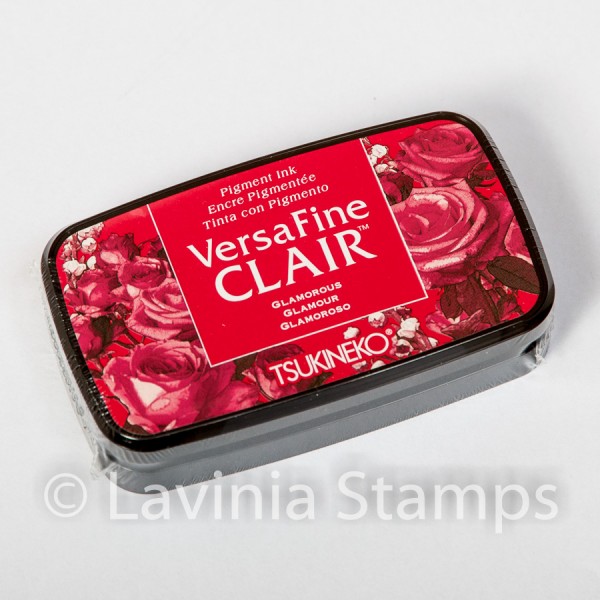 Versafine Clair Ink Pad – Glamorous
£6.10
Add to basket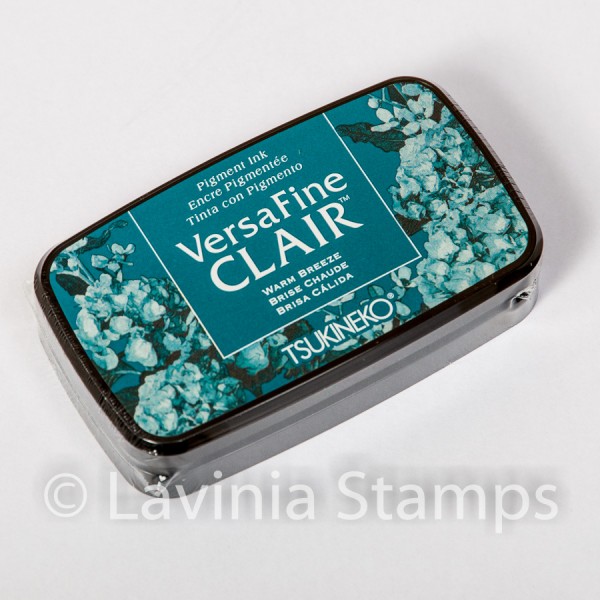 Versafine Clair Ink Pad – Warm Breeze
£6.10
Add to basket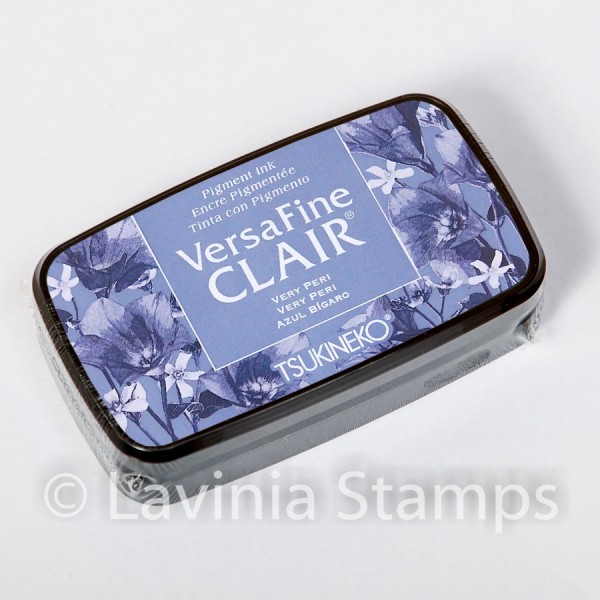 Versafine Clair Ink Pad – Very Peri
£6.10
Add to basket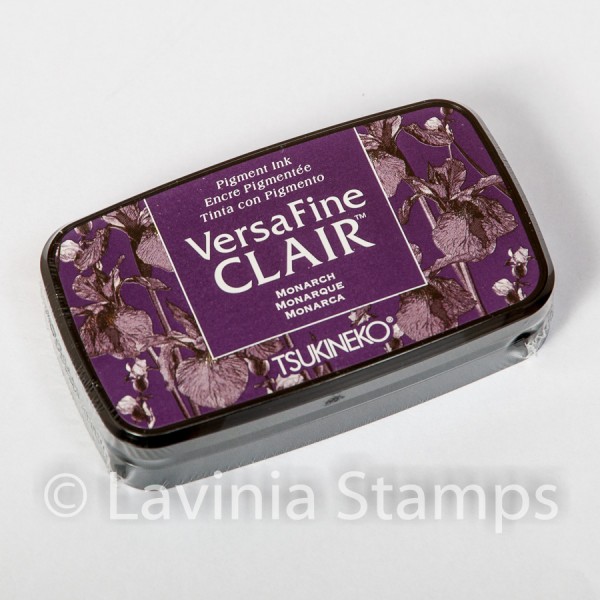 Versafine Clair Ink Pad – Monarch
£6.10
Add to basket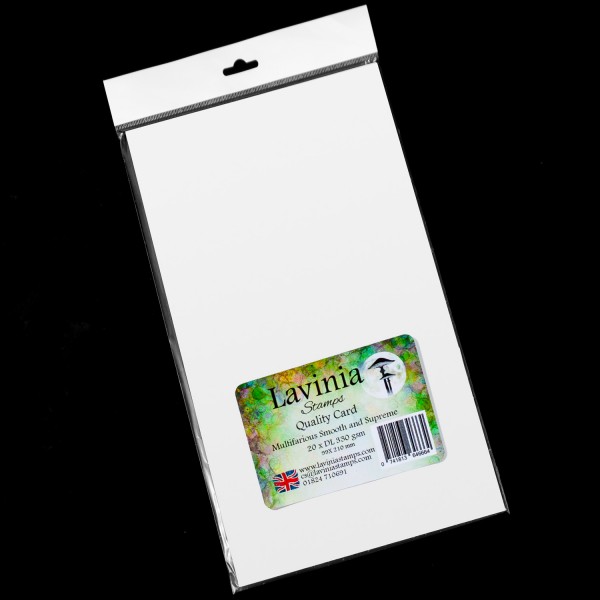 Multifarious Card – DL White
£4.96
Add to basket Stencil Brush Series 9 – Lavinia Stamps
£6.10
Add to basket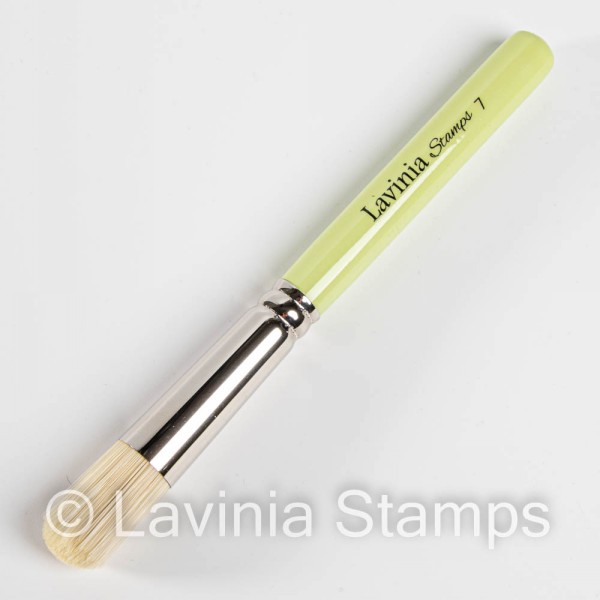 Stencil Brush Series 7 – Lavinia Stamps
£5.60
Add to basket Uni-Ball Gel Pens
£1.90
Select options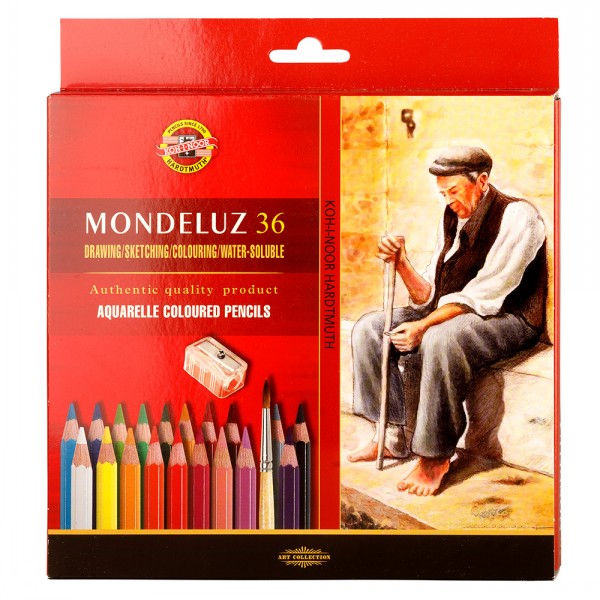 Mondeluz Watercolour Pencils 36 Set
£36.70
Add to basket Posca Fine Tip Pens Summer Collection
£3.20
Select options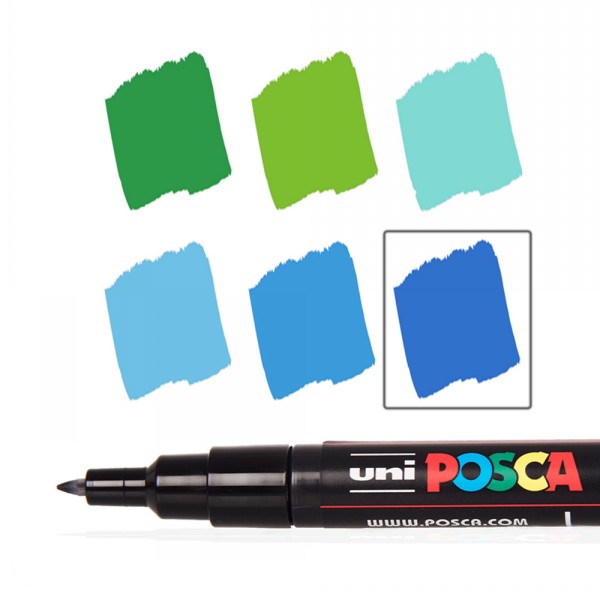 Posca Fine Tip Pens Spring Collection
£3.20
Select options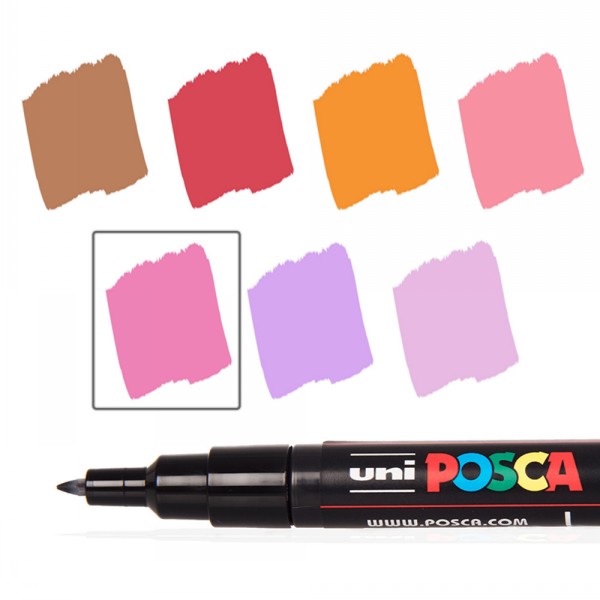 Posca Fine Tip Pens Autumn Collection
£3.20
Select options