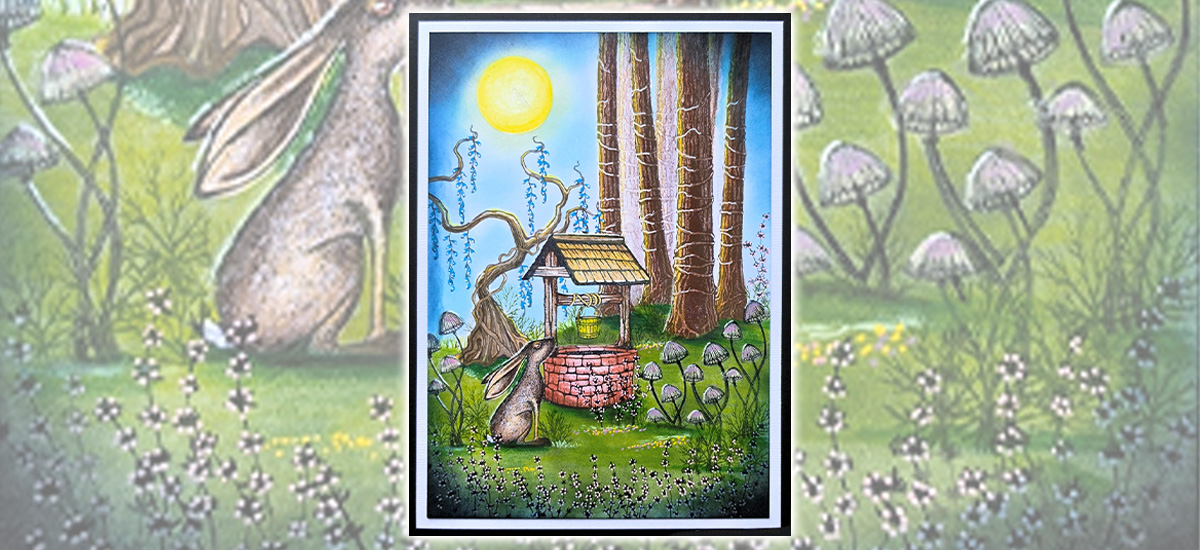
 Make a Wish Stamp
£8.95
Add to basket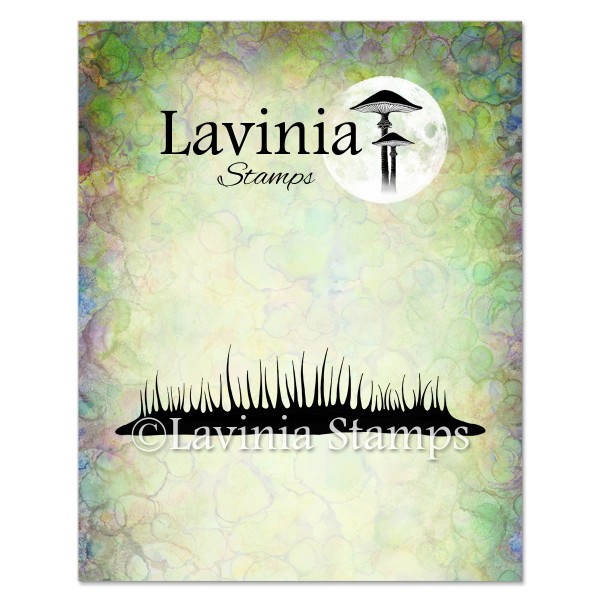 Silhouette Grass Stamp
£6.25
Add to basket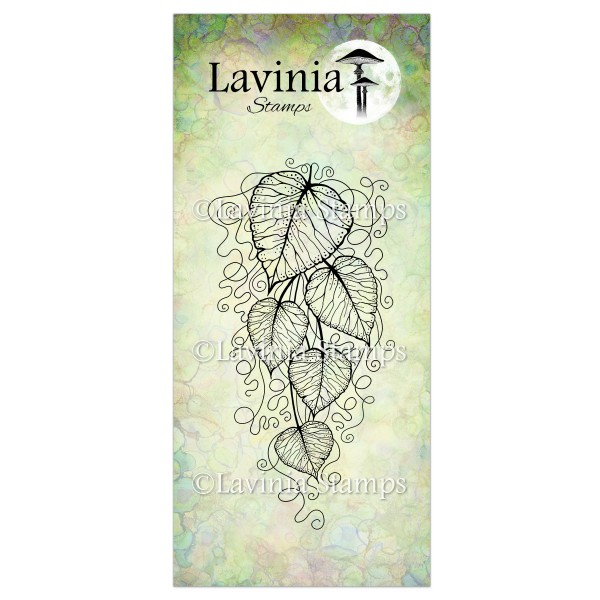 Forest Leaf Stamp
£9.90
Add to basket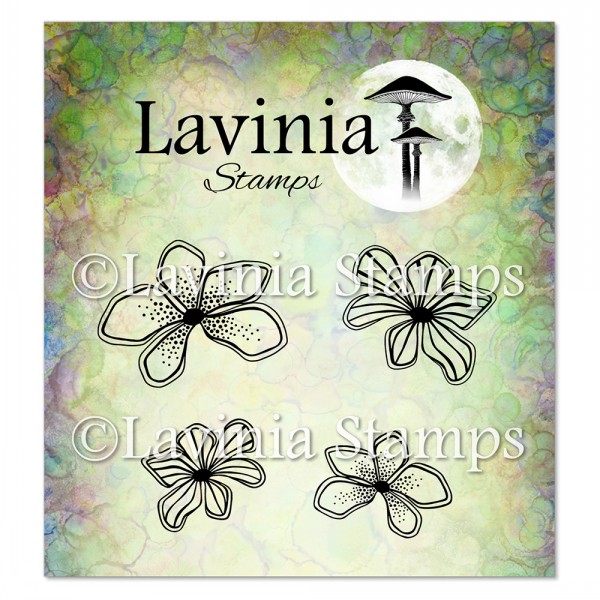 Moss Flowers Stamp
£7.50
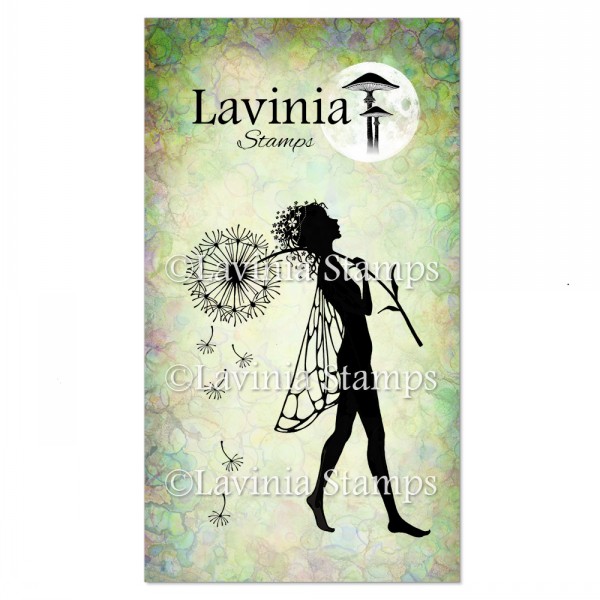
Add to basket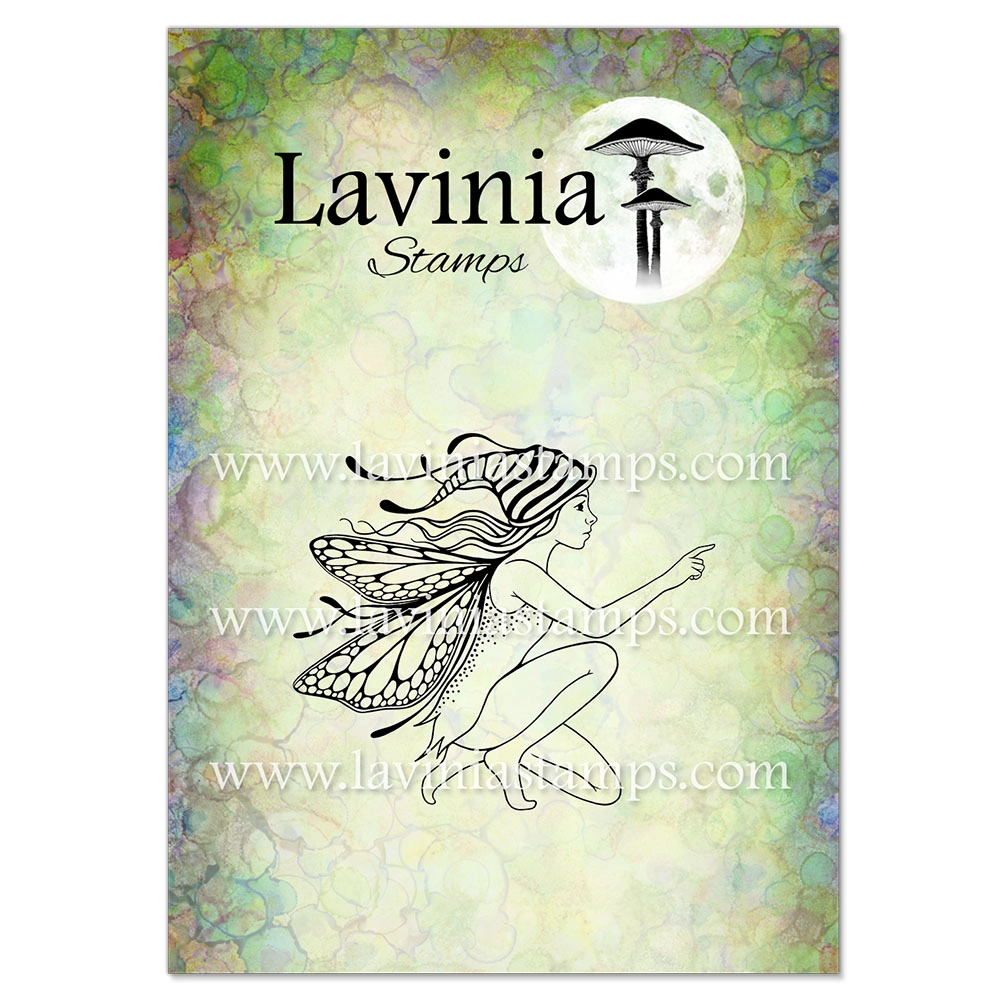 Eira Stamp
£7.36
Add to basket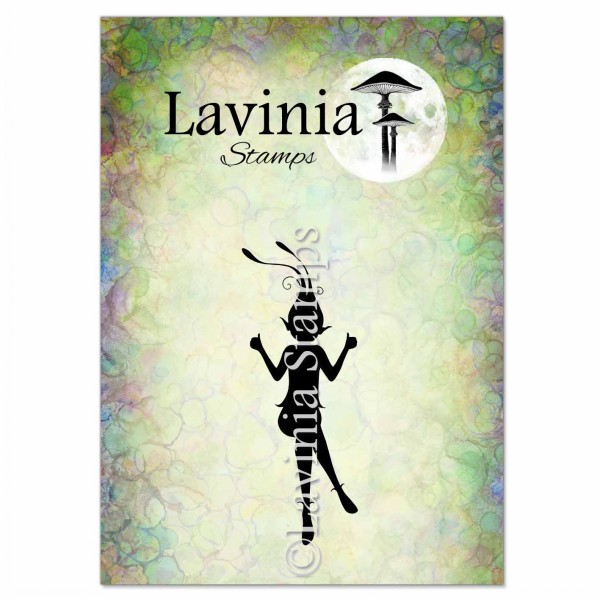 Pris Stamp
£5.90
Add to basket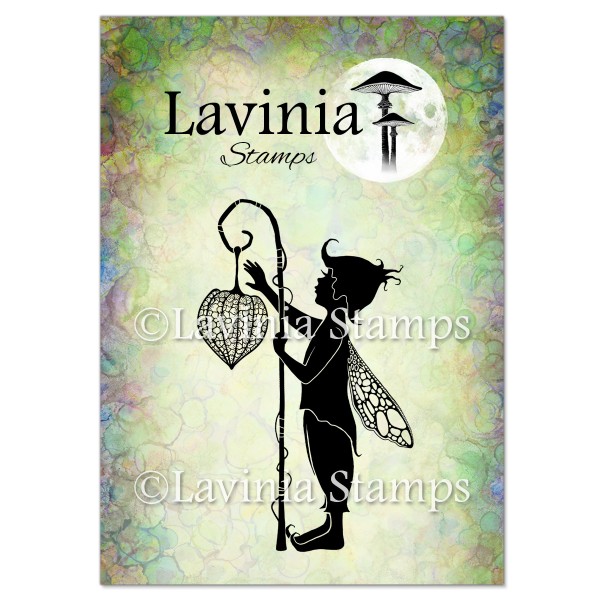 Fip Stamp
£7.60
Add to basket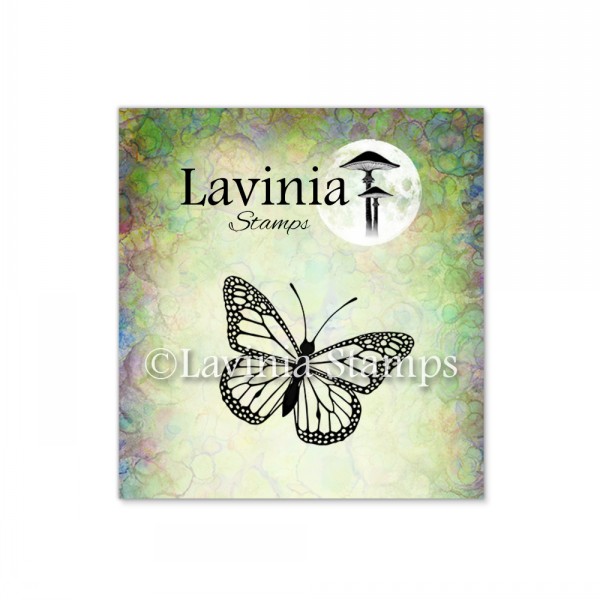 Mini Flutter Stamp
£1.20
Add to basket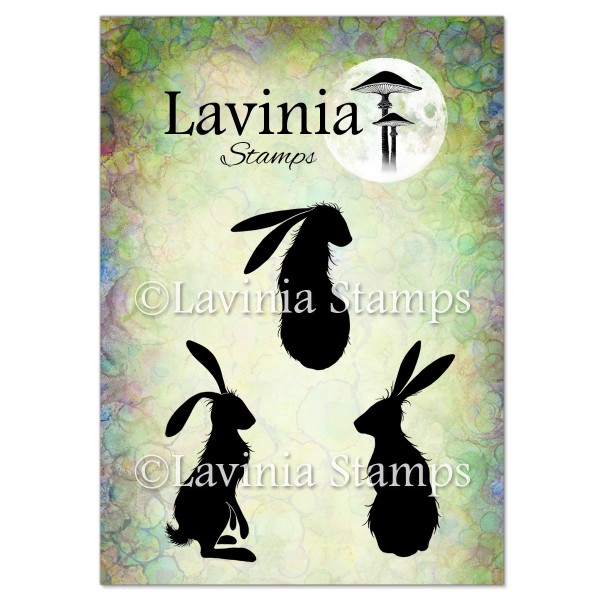 Wild Hares Set (Large) Stamp
£8.20
Add to basket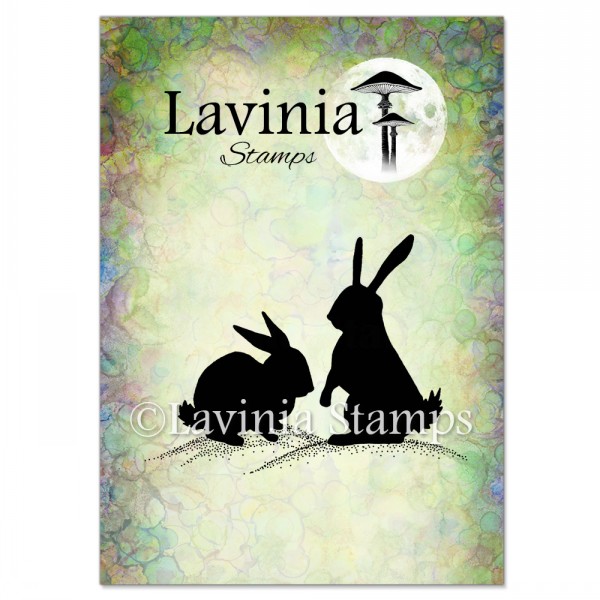 Midnight Meandering Stamp
£7.15
Add to basket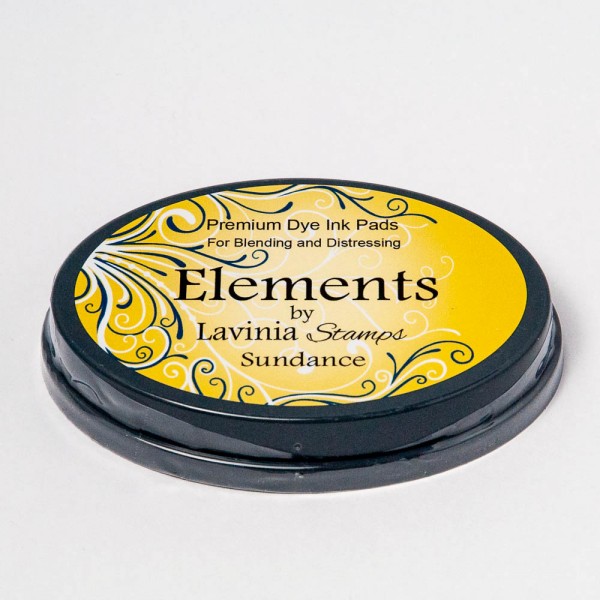 Elements Premium Dye Ink – Sundance
£6.16
Add to basket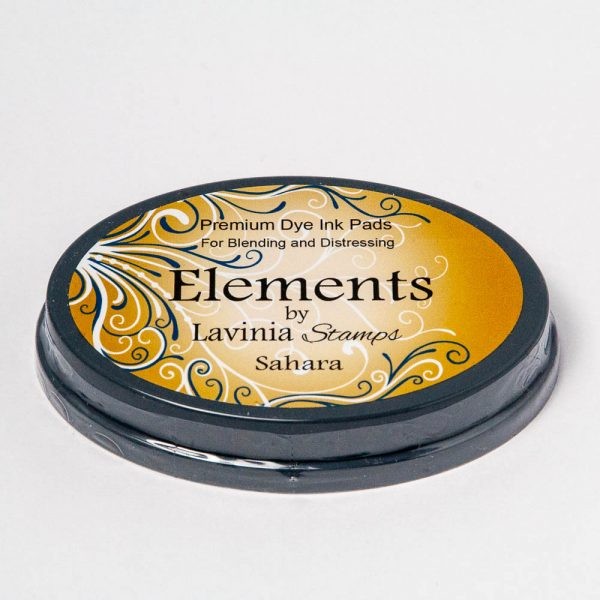 Elements Premium Dye Ink – Sahara
£6.16
Add to basket Versafine Clair Ink Pad – Shady Lane
£6.10
Add to basket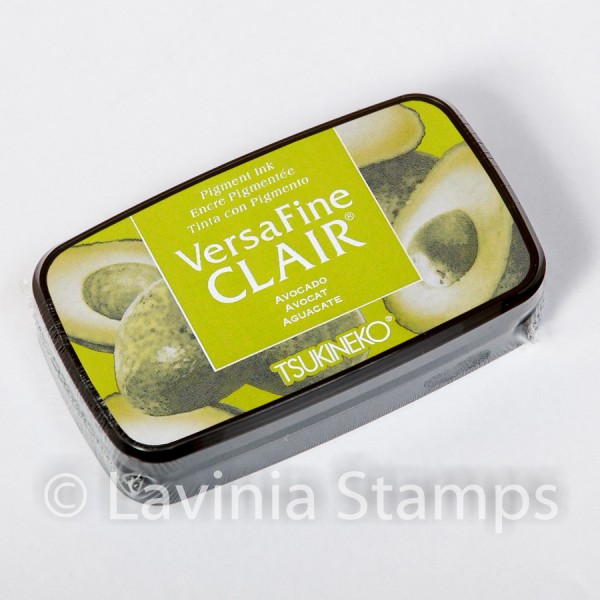 Versafine Clair Ink Pad – Avocado
£6.10
Add to basket Versafine Clair Ink Pad – Rain Forest
£6.10
Add to basket Versafine Clair Ink Pad – Nocturne
£6.10
Add to basket