Step by Step
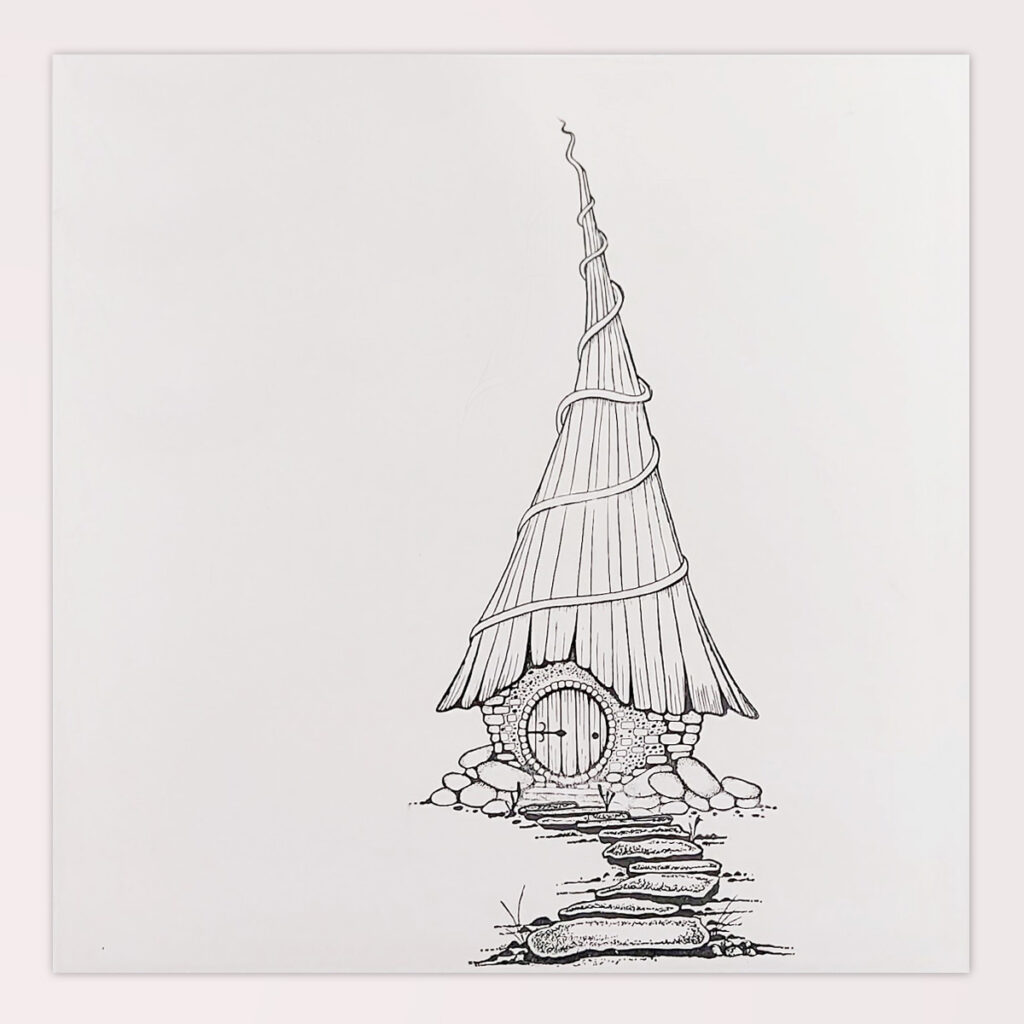
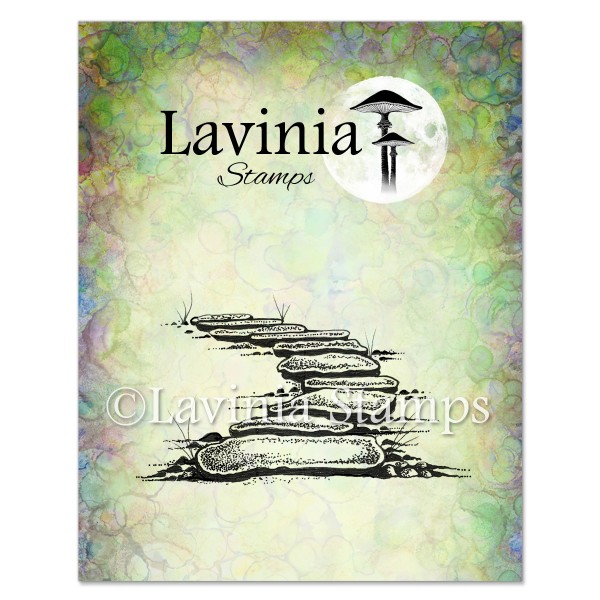
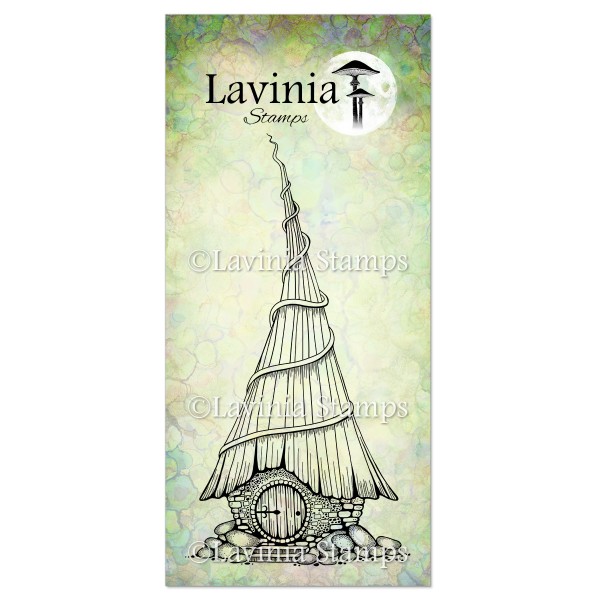
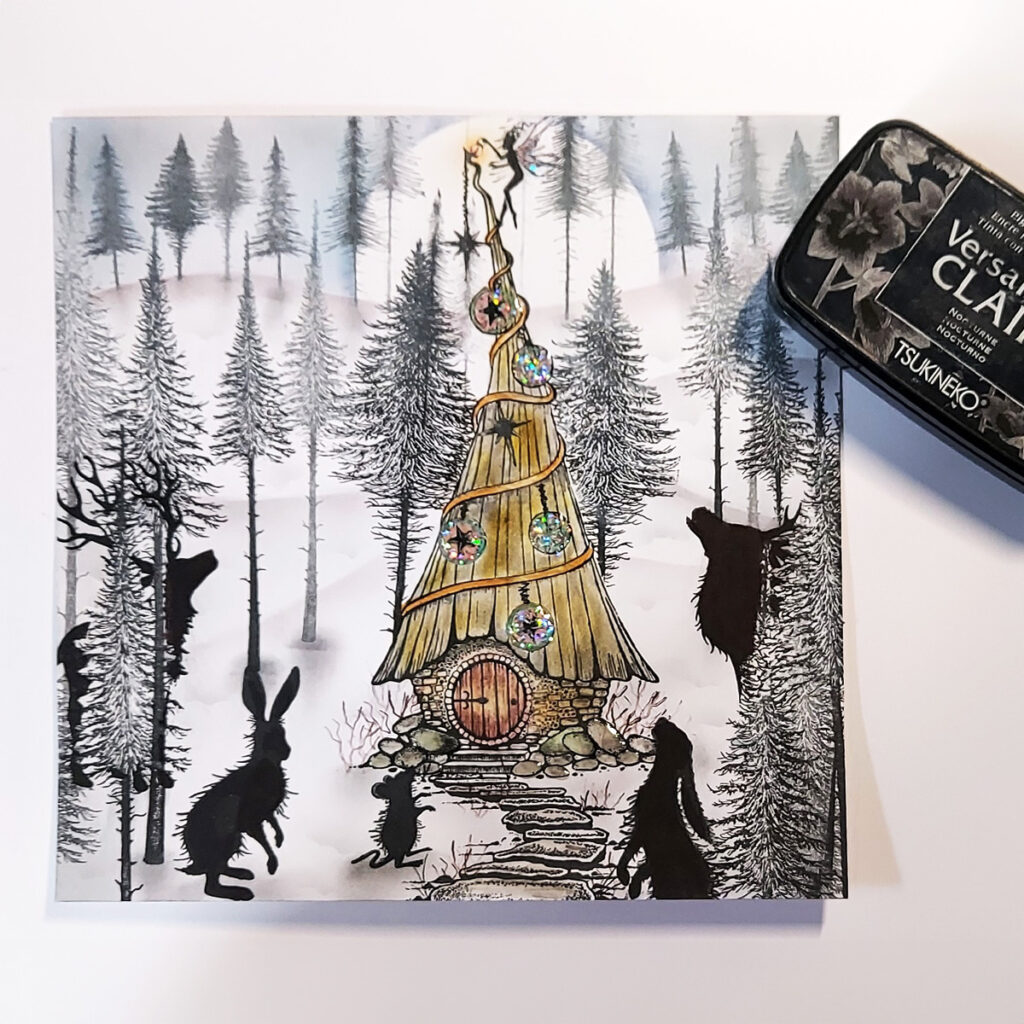
Using 7 x 7 inch Multifarious card ink up the Bayleaf Cottage stamp LAV685 in Versafine Clair Nocturne and stamp just below the centre. Add the Fairy Path LAV246 stamp so that it leads up to the cottage, stamping in Versafine Clair Nocturne.
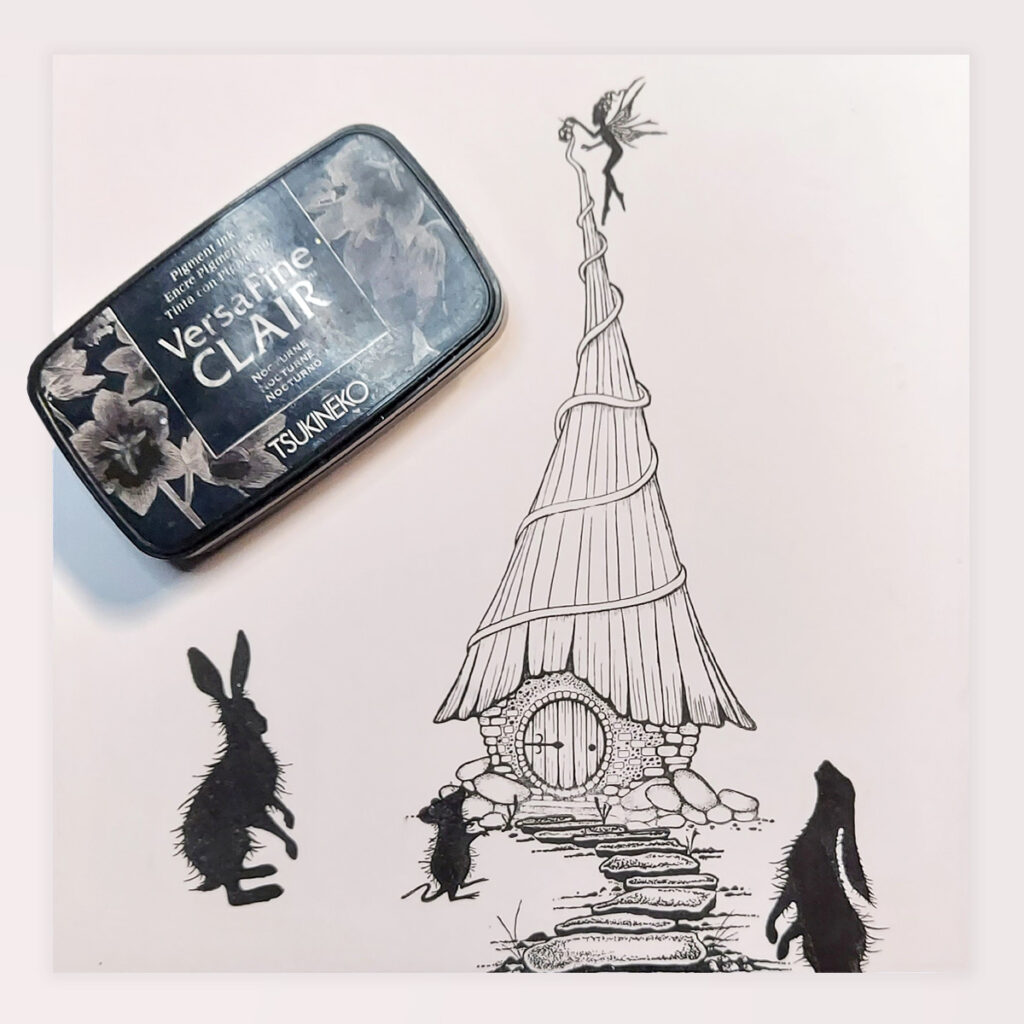
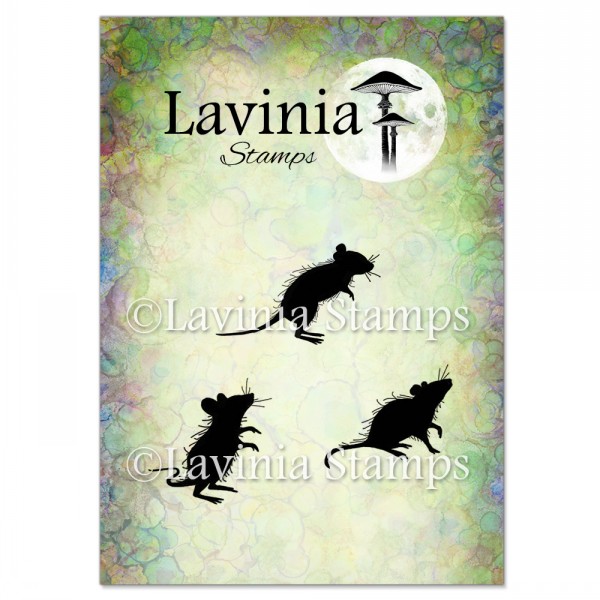
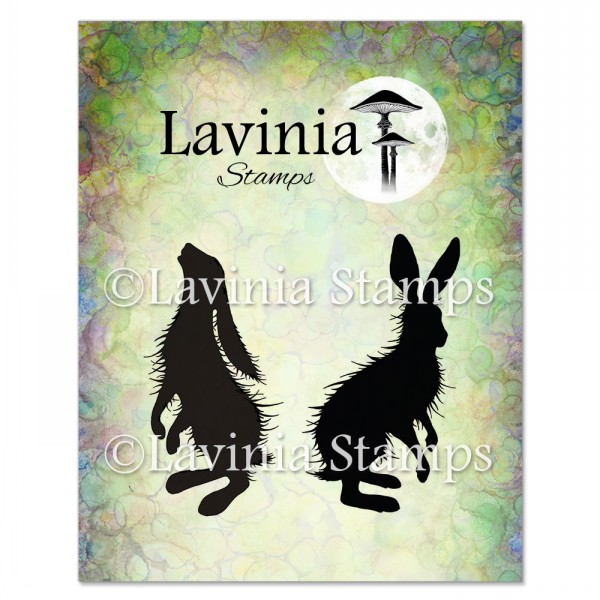
Next using Versafine Clair Nocturne stamp the animals, Woodland Mice LAV402 and Woodland Hares LAV409 in the front at the bottom of the card, as you can see in the picture. Then stamp a fairy forager at the top of the roof.
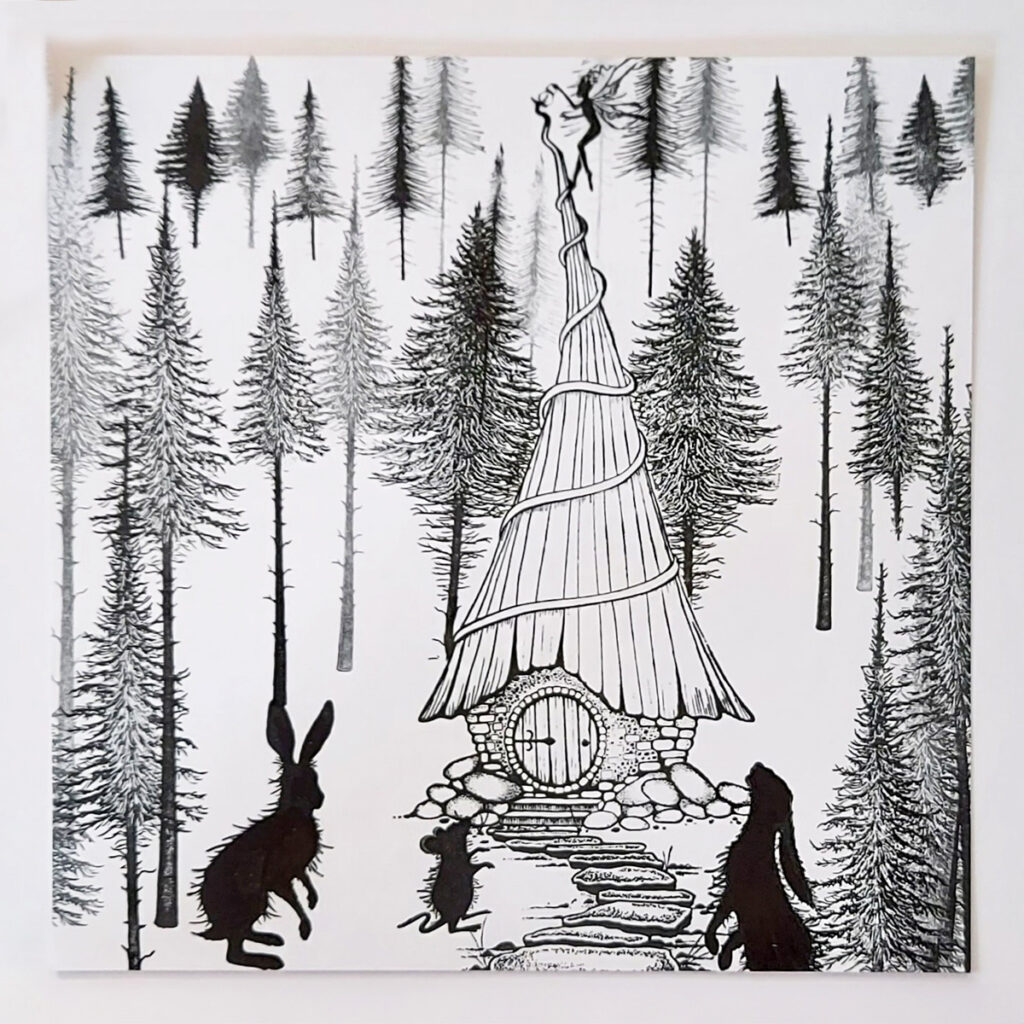
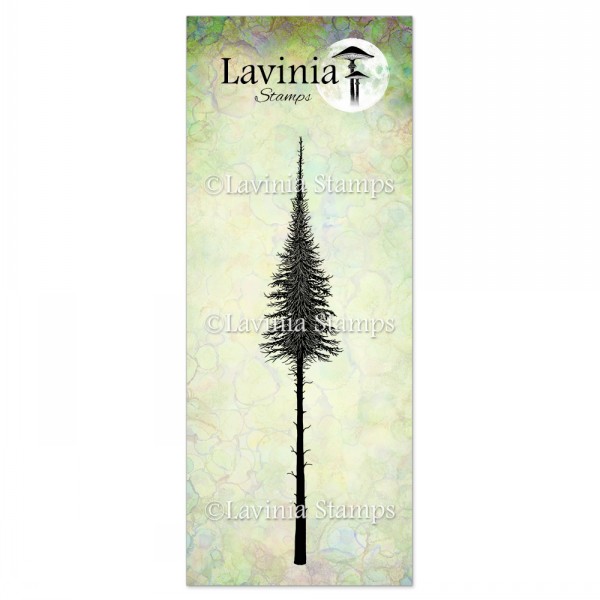
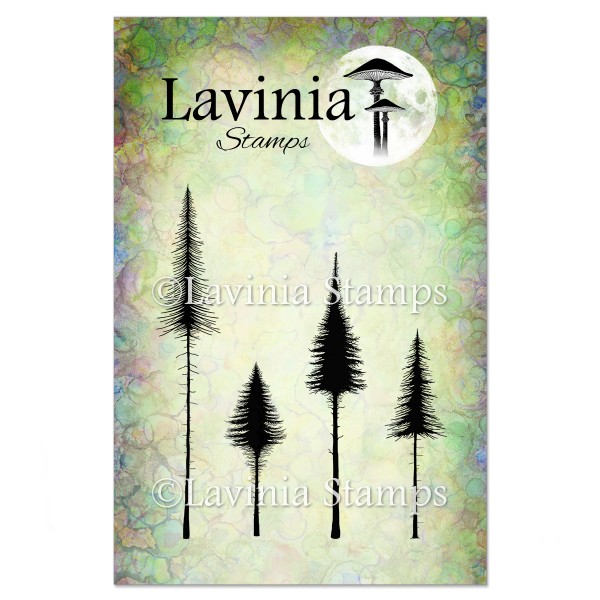
Now stamp the trees, Fairy Fir Tree LAV478, Small Fairy Fir Tree LAV489, Small Pine Trees LAV836 and Fairy Fir Tree 2 LAV477, in Versafine Clair Nocturne.
These trees go around the cottage, with the larger ones at the front and the smaller stamps further away at the top of the card. You will stamp these in first and second generation stamping to achieve a sense of distance.
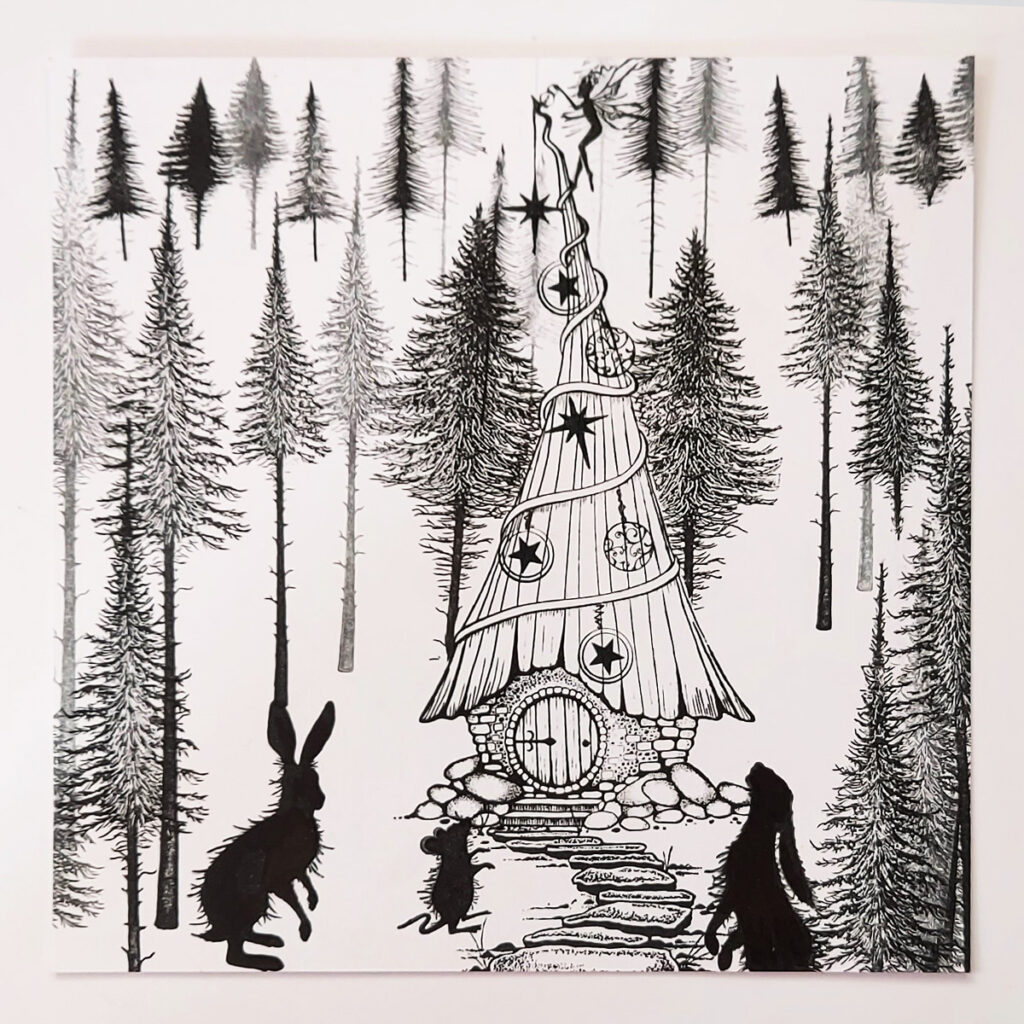
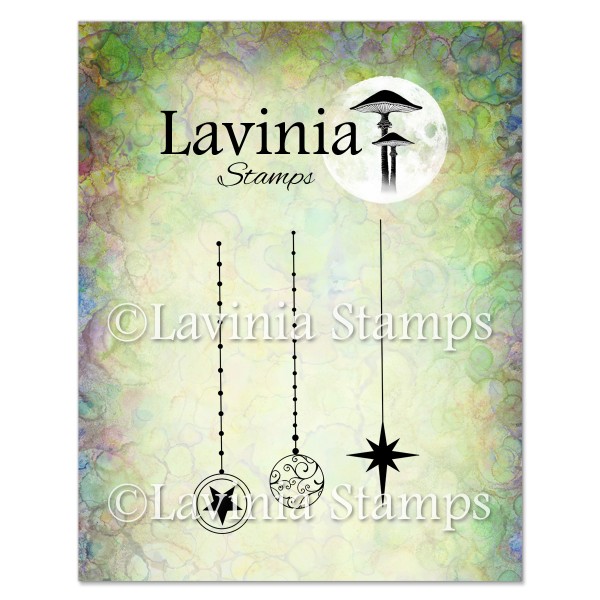
Next stamp the baubles from Christmas Charms LAV696 onto the roof, using only the bottom part of the Christmas charms set.
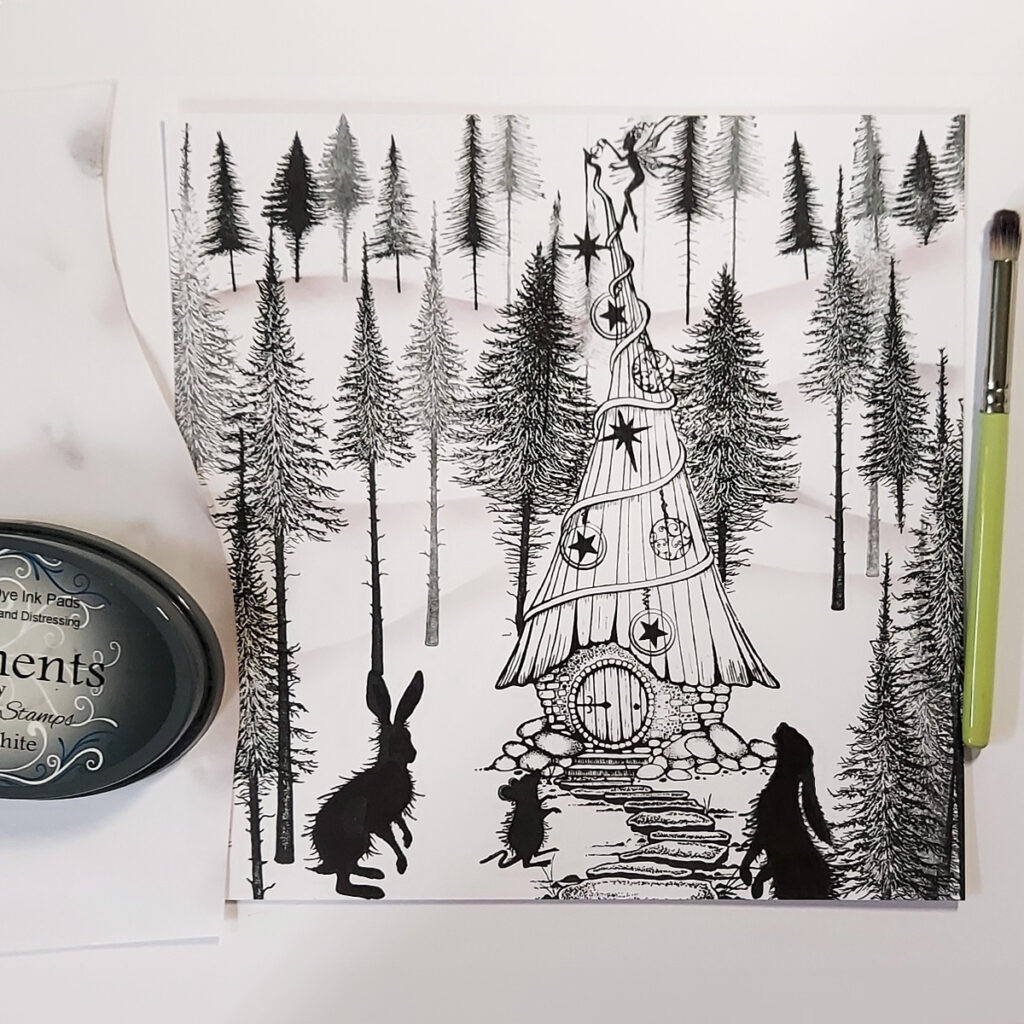
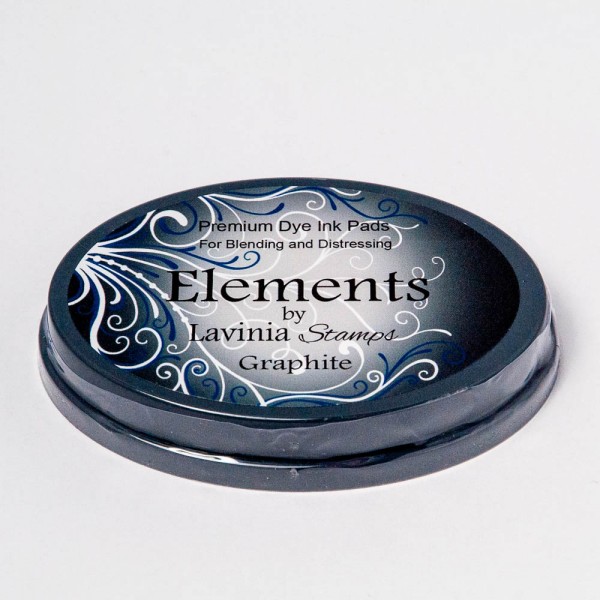
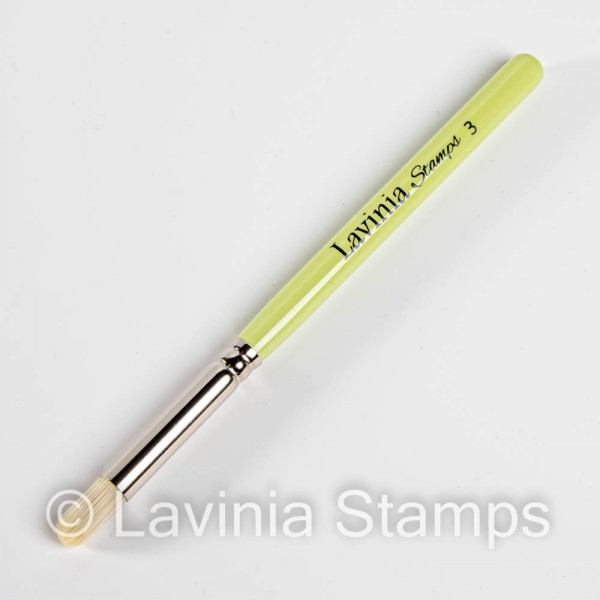
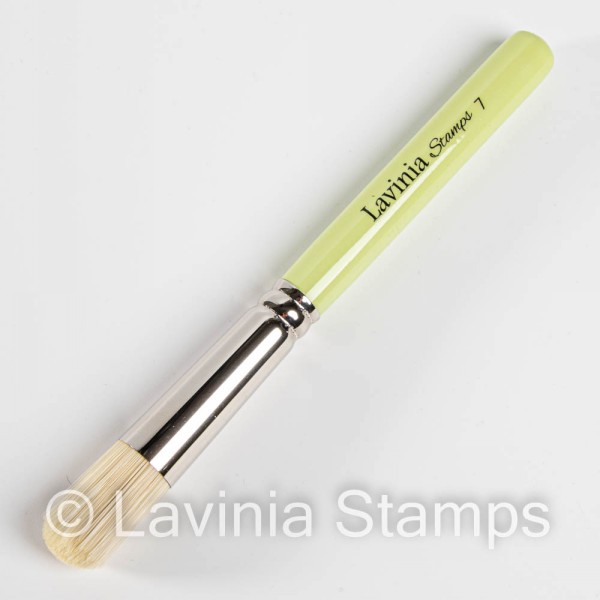
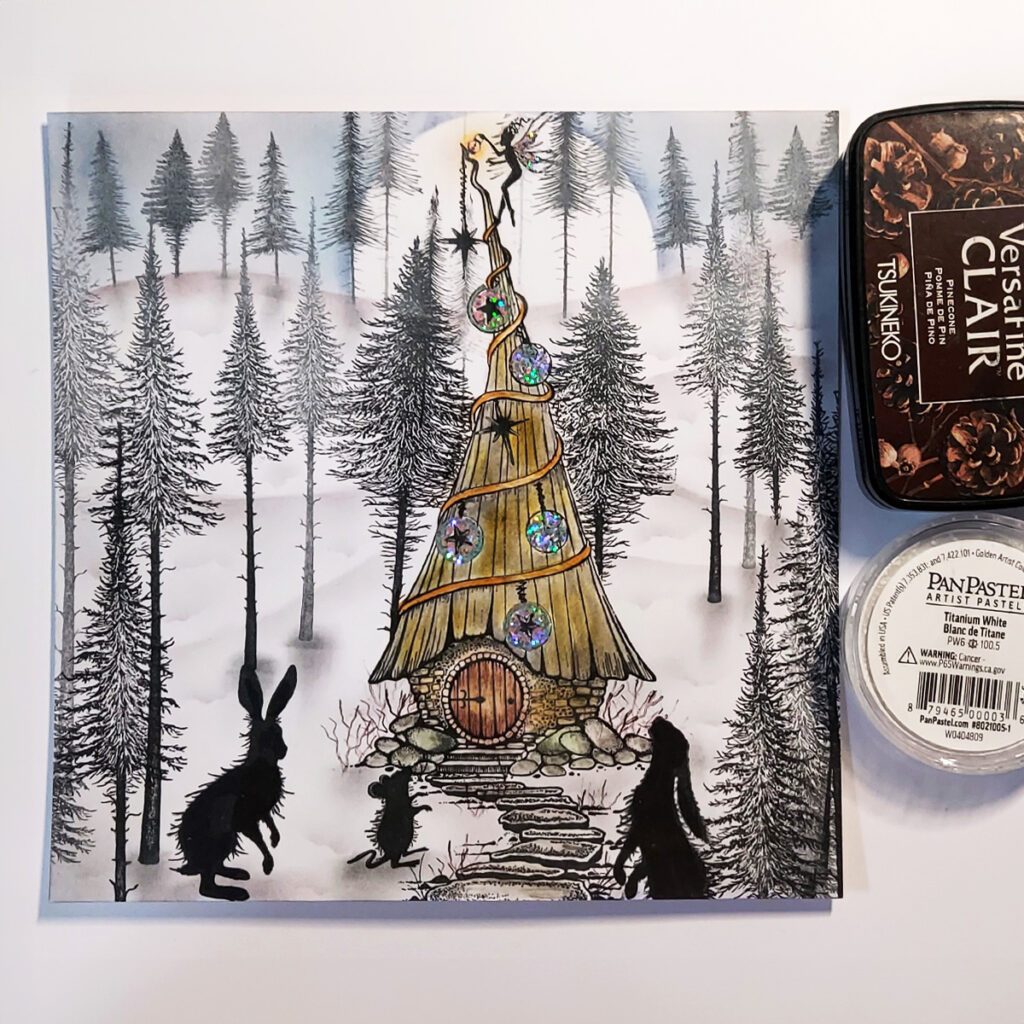
Now tear some copy paper to create some hills using A Stencil Brush series 3 with Graphite Elements.
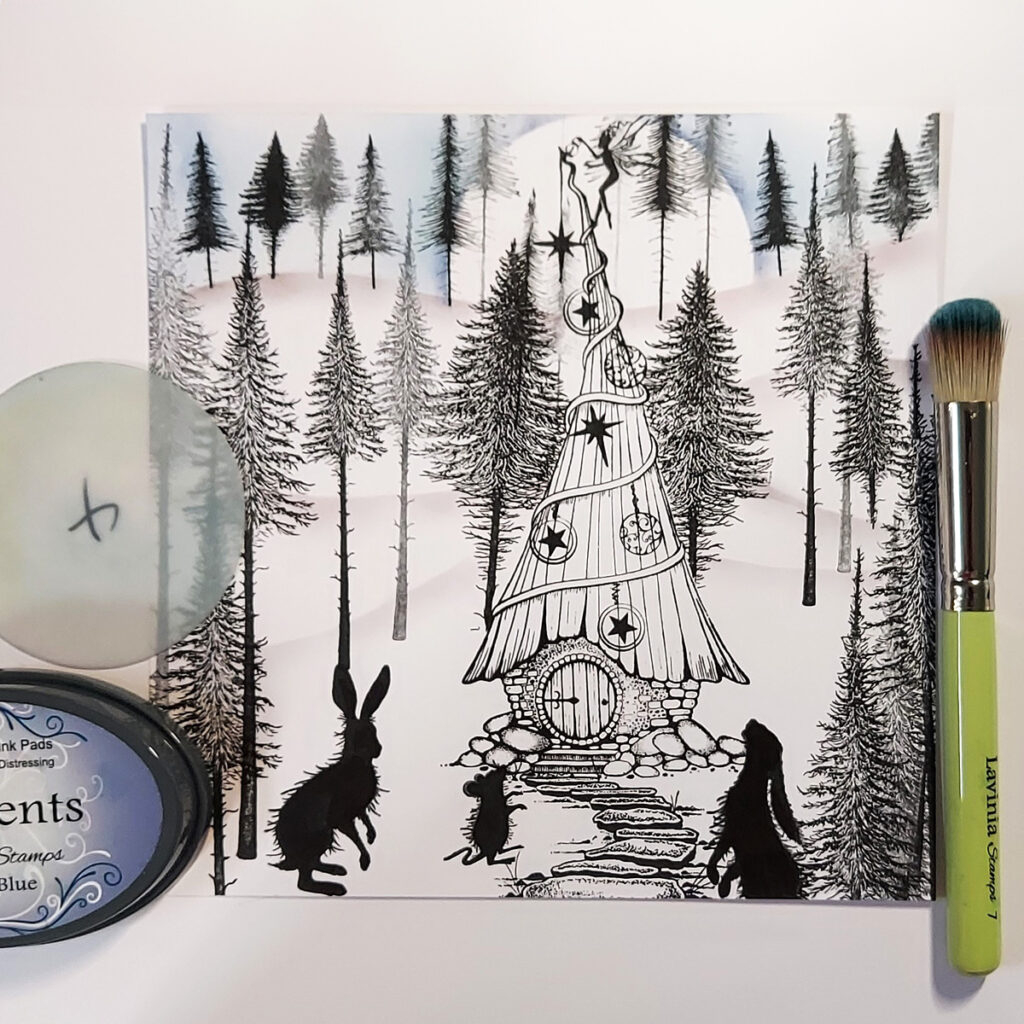
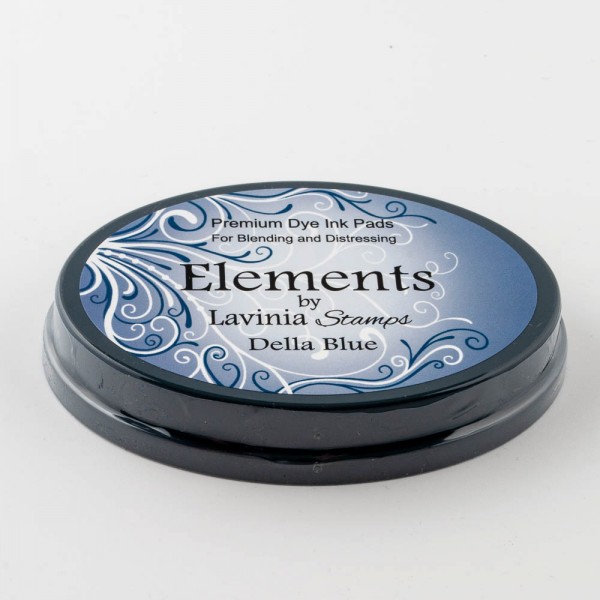
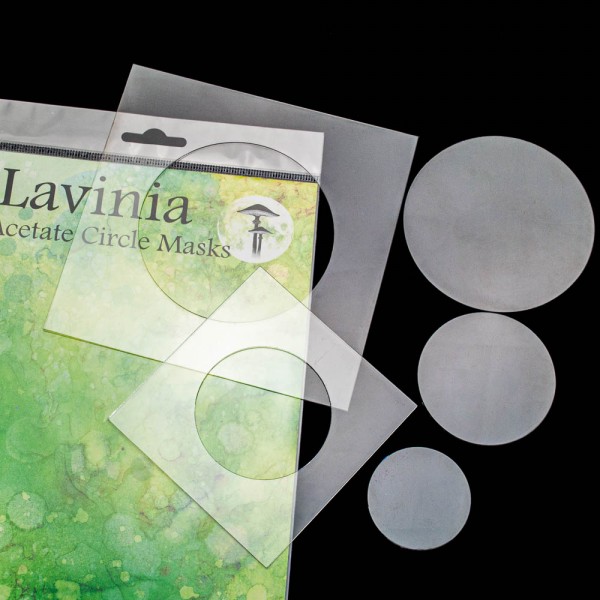
Using an acetate circle mask and a Stencil Brush Series 7 blend some Della Blue Elements ink to create the moon and sky.
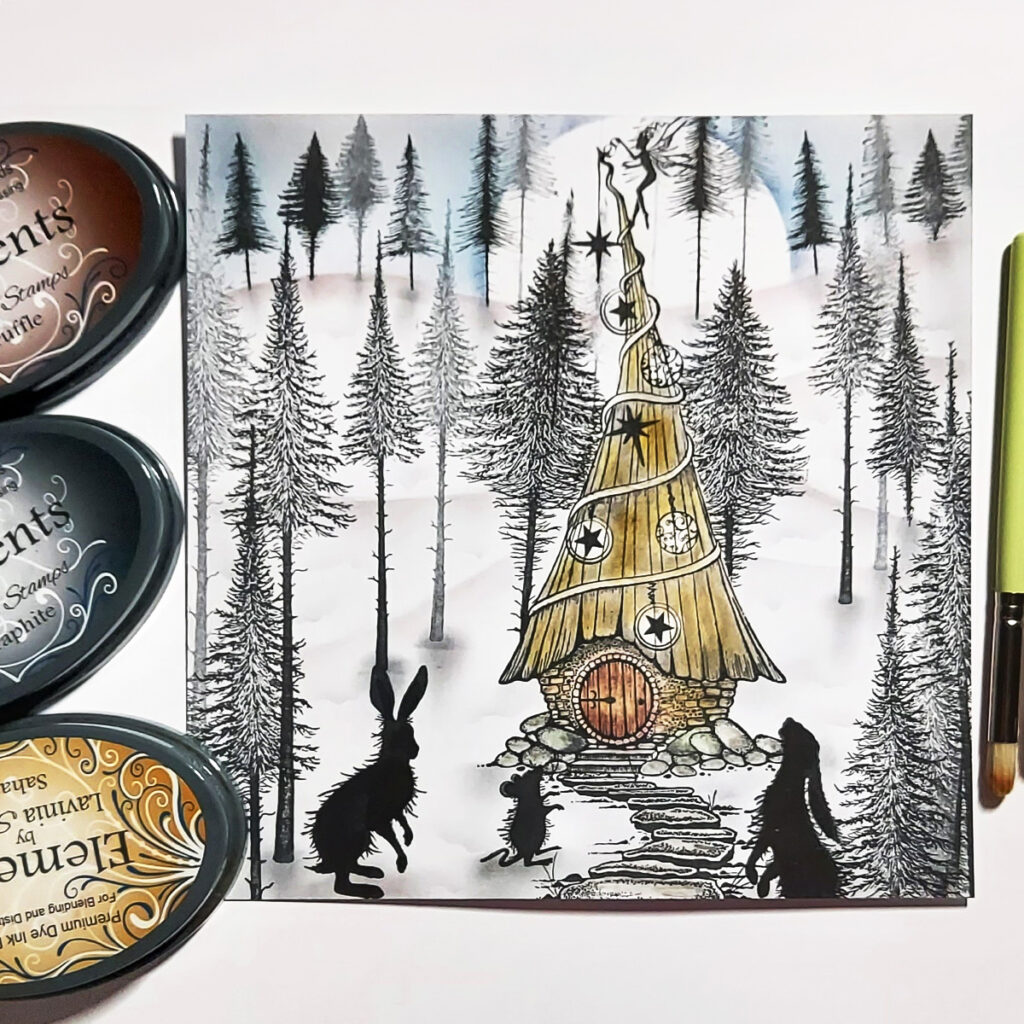
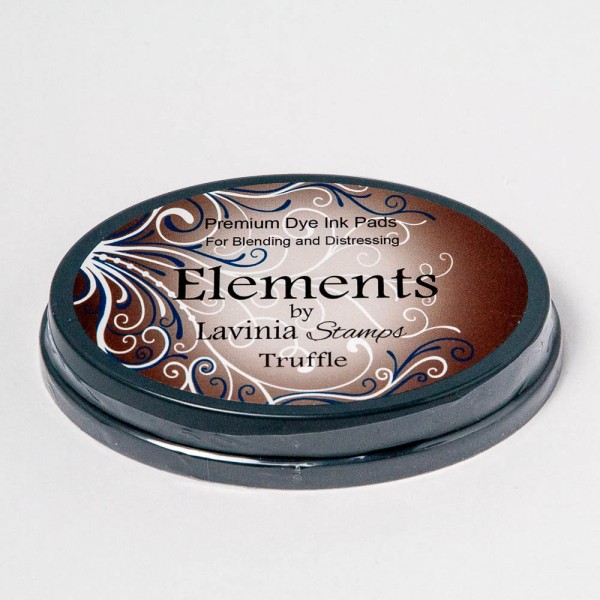
Using a Stencil brush series 3 with Elements ink Truffle, Graphite and Sahara colour Bayleaf cottage as per the picture.
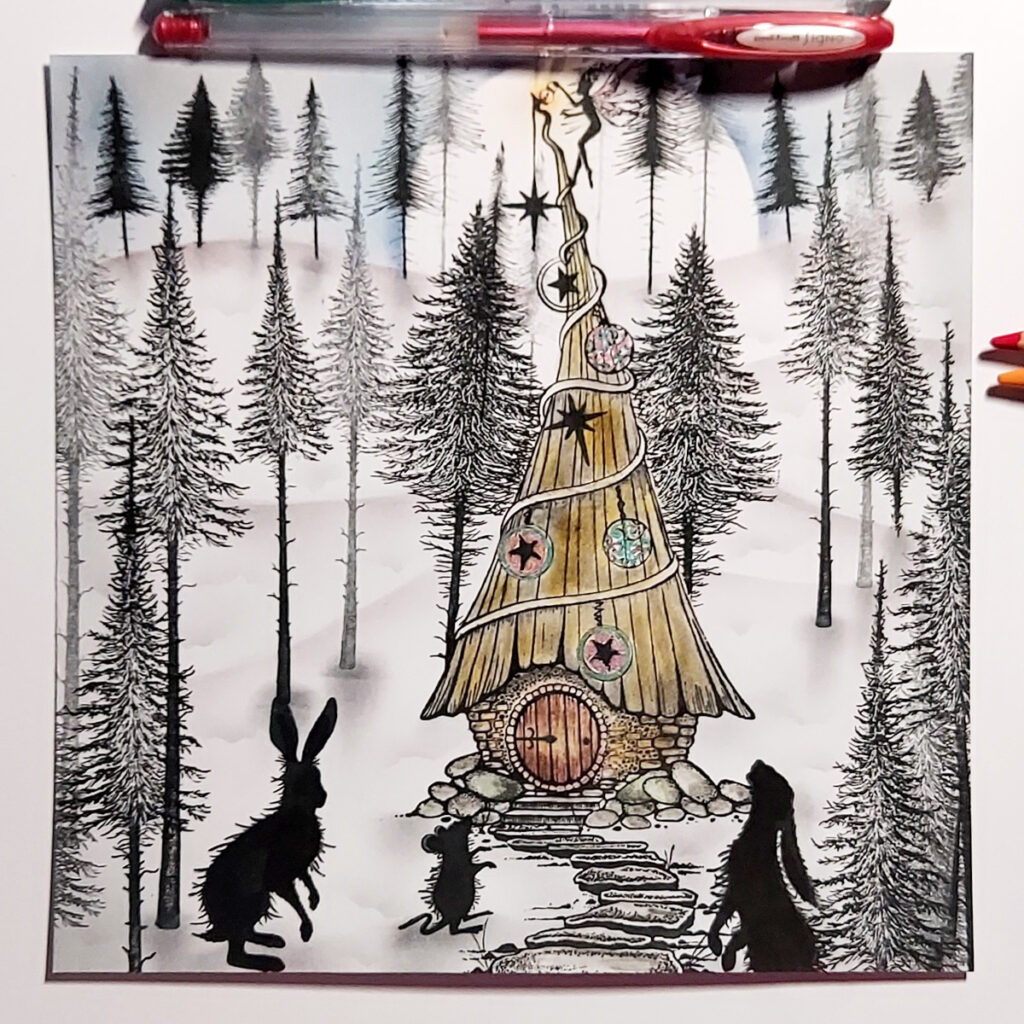
Colour the baubles using green and red Signo gel pens. Use red and orange pastel pencils for the lamp light. Then using some torn copy paper and Graphite Elements create some texture in the snow.
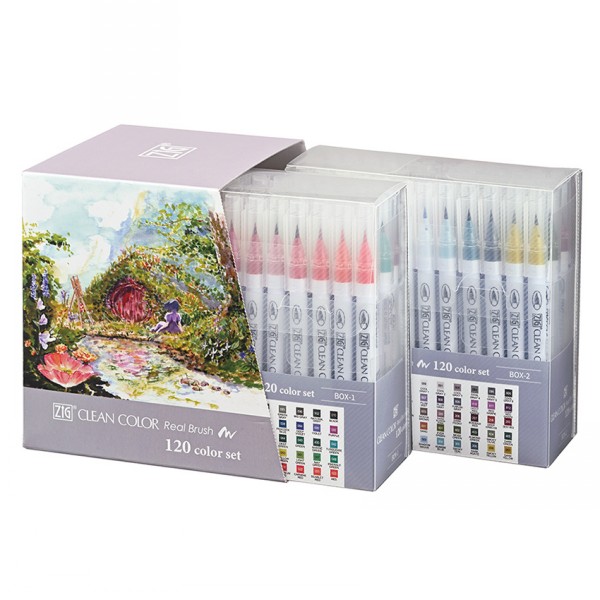
Use the Kuretake Clean Colour Real Brush pens for the rope round the roof.
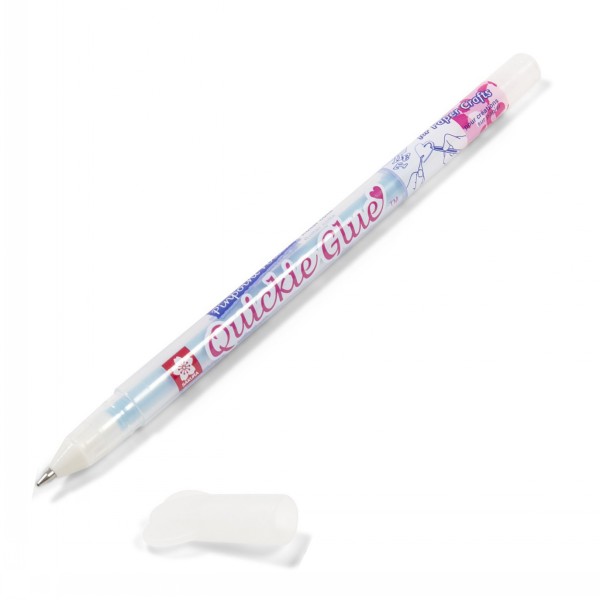
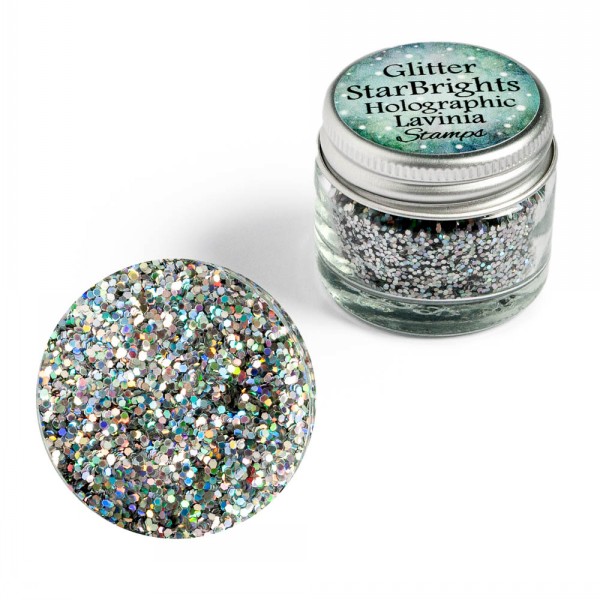
Add some Quickie glue pen and Glitter Starbrights Holographic glitter over the baubles.
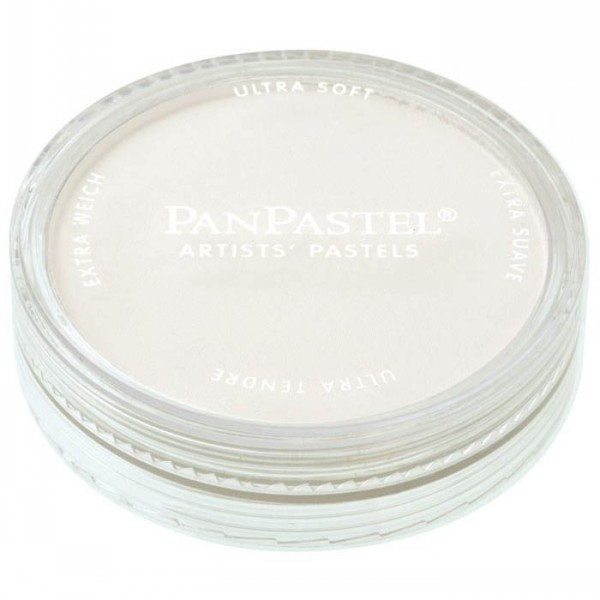
Now stamp Foliage, Foliage set LAV679, behind the stones and along the path using Versafine Clair Pinecone. Cover the trees furthest away using Titanium white Pan Pastel.
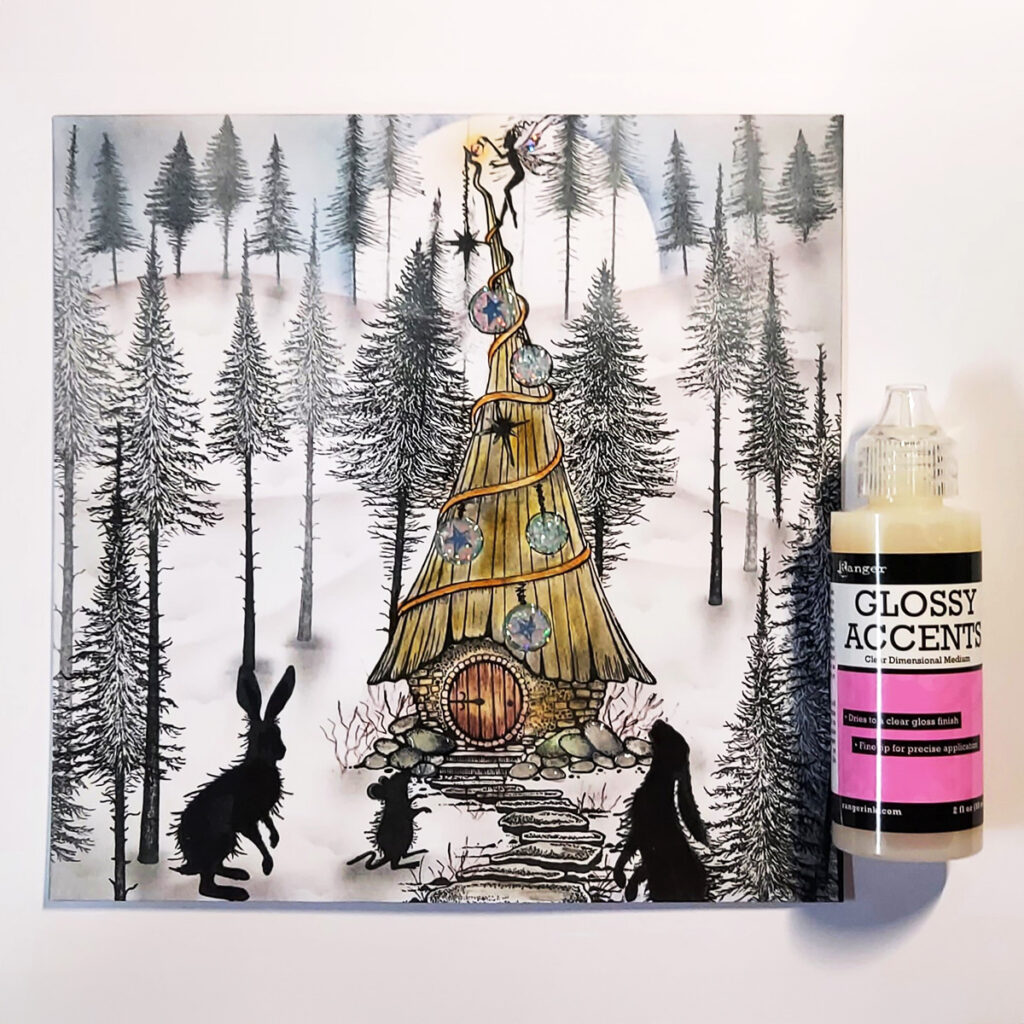
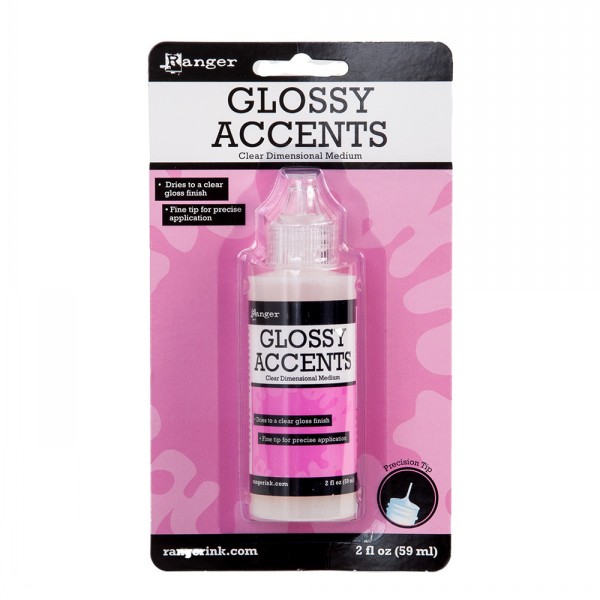
Make the baubles on the roof shine by adding some Glossy Accents.
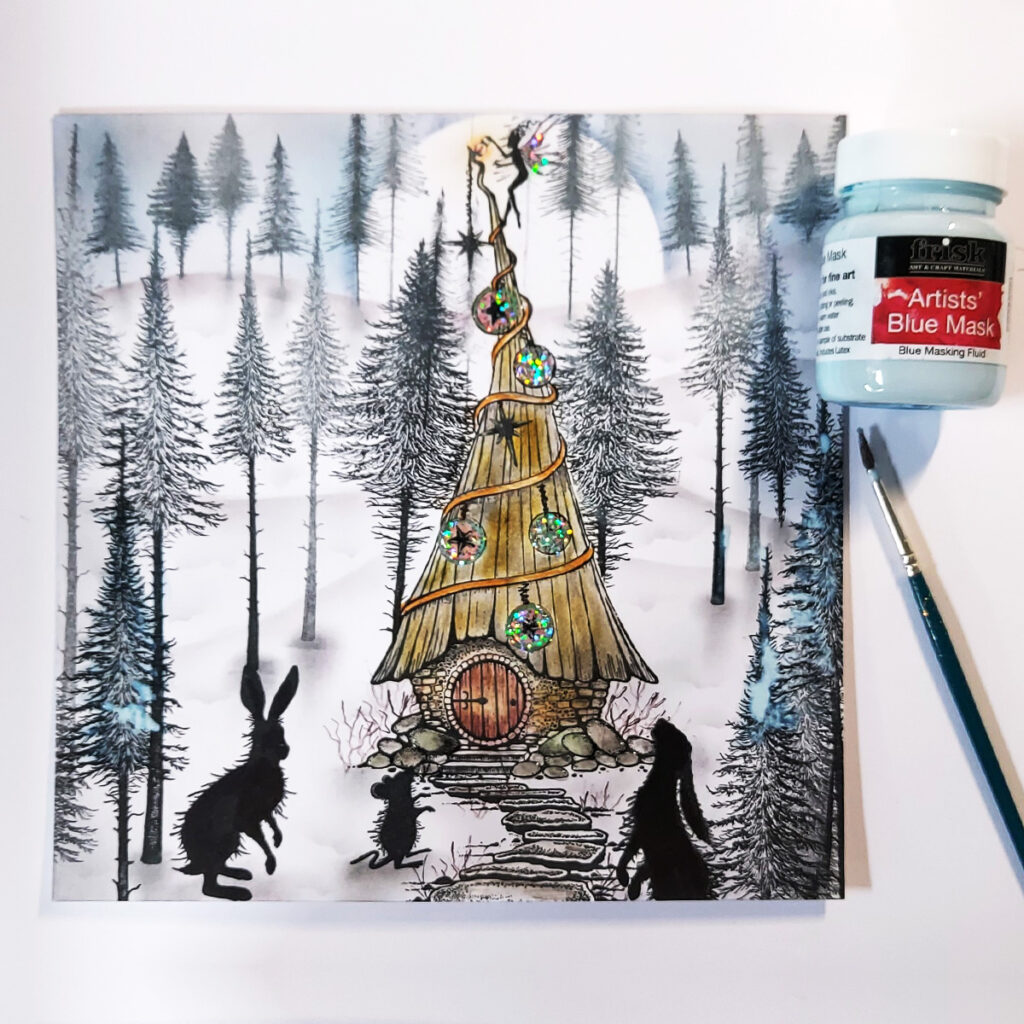
Use some Frisk Artists blue masking fluid over the trees to protect the areas where you want to add the reindeer. This will make them look like they are standing behind the trees.
Once dry I stamped Magnus and Large Reindeer Large Reindeer LAV481, Magnus LAV638
using Versafine Clair Nocturne over the masking fluid to give the impression of them being between the trees.
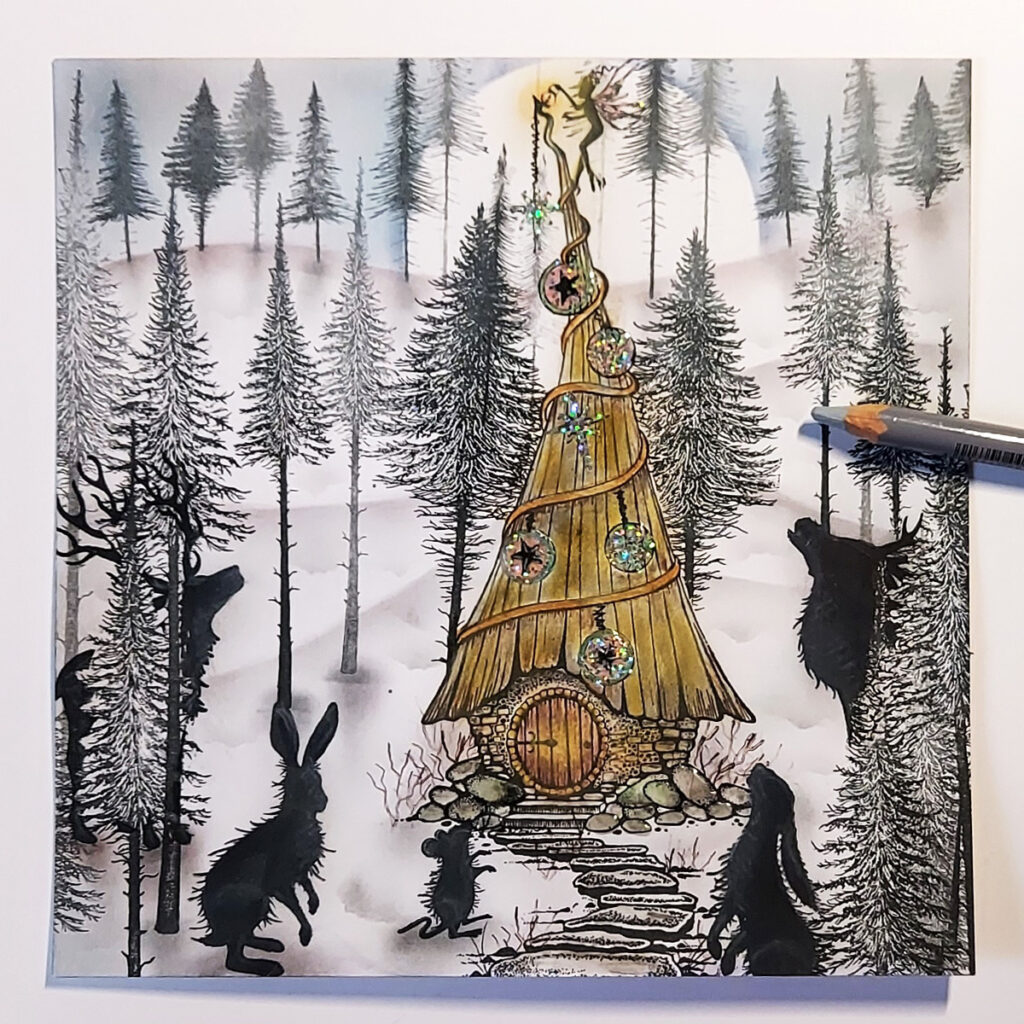
Next use a grey pastel pencil to shade the path and highlight the gathered friends.
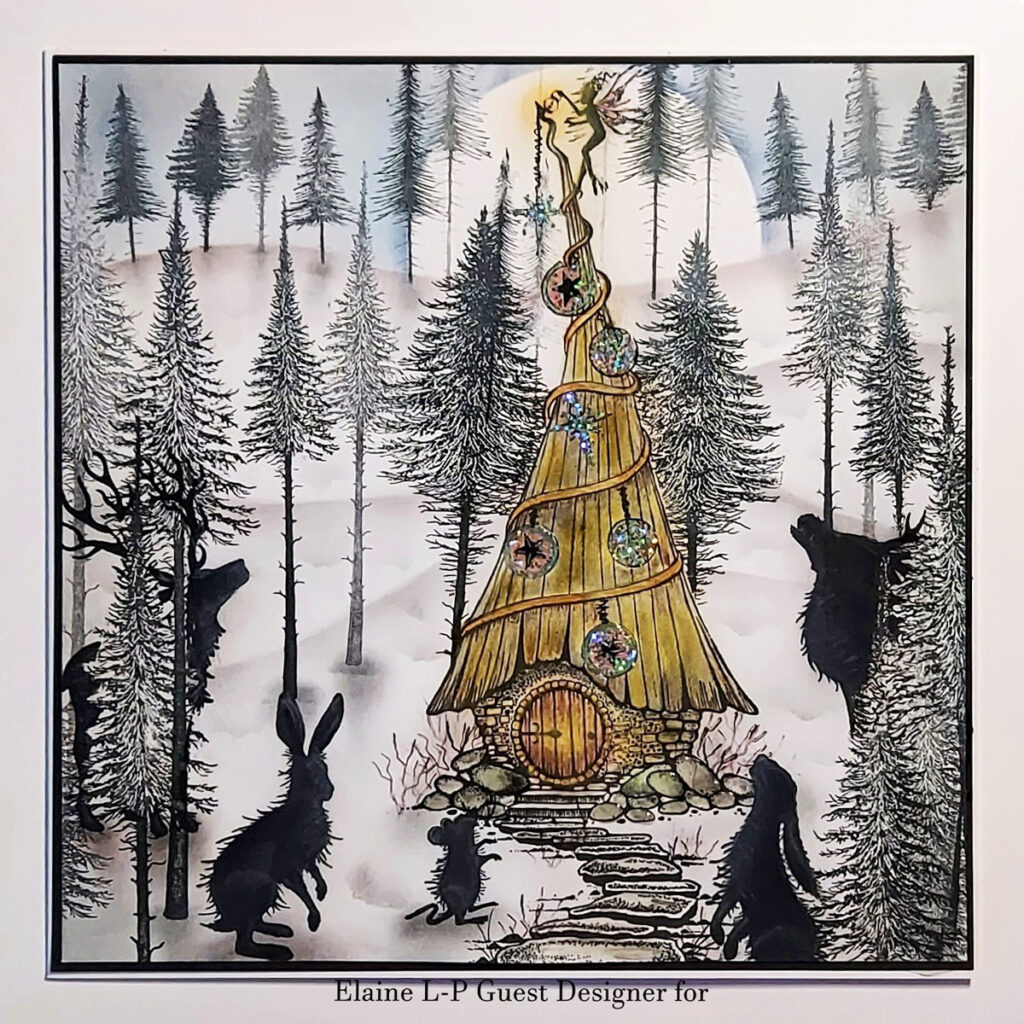
Finally add some shading to the roof with the pastel pencils and mount the card front to a black background and then place onto the 7×7 inch card base.
I do hope you enjoyed following my tutorial. Happy Crafting, Elaine xx