Hello, Elaine here, Guest DT for December.
Here with a Picture tutorial for all you wonderful crafters 🧚♂️🧚♀️


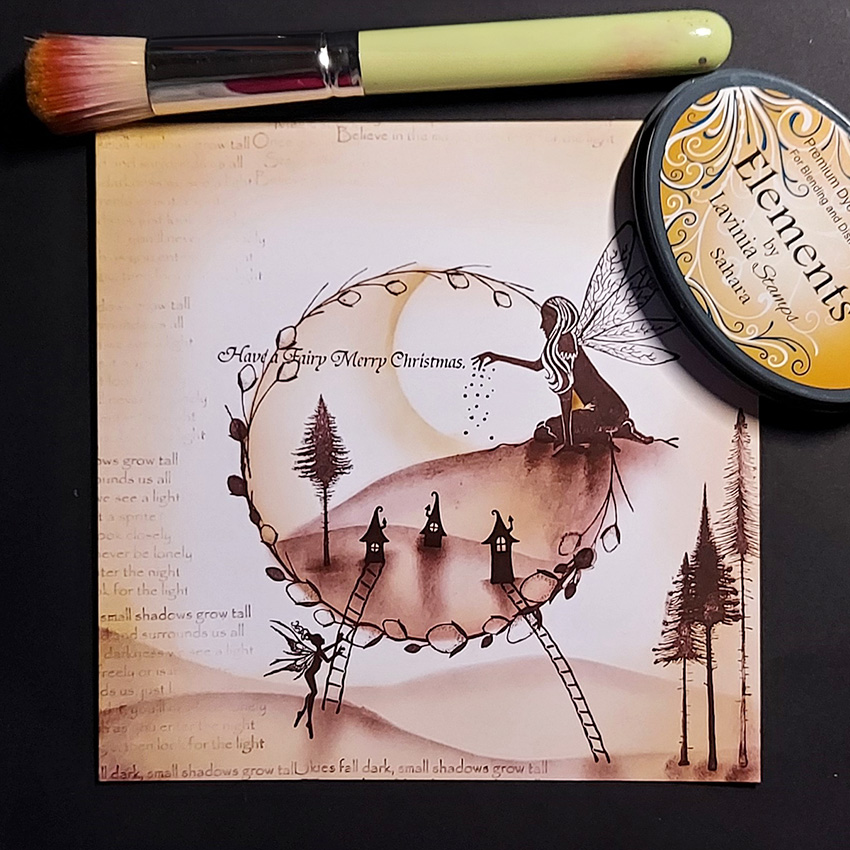
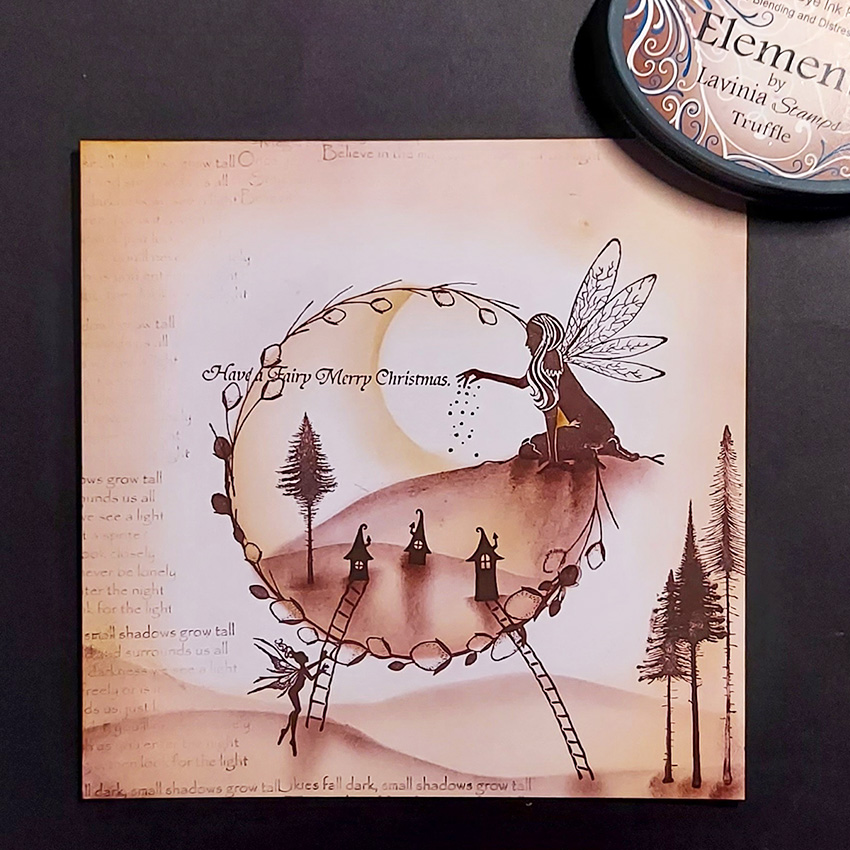
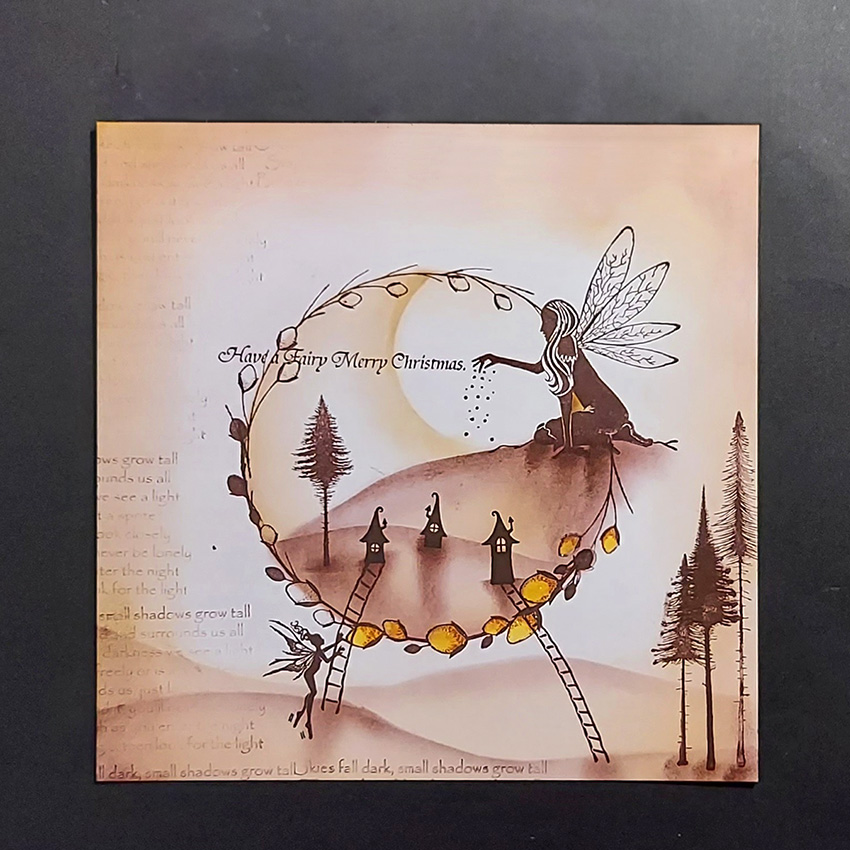
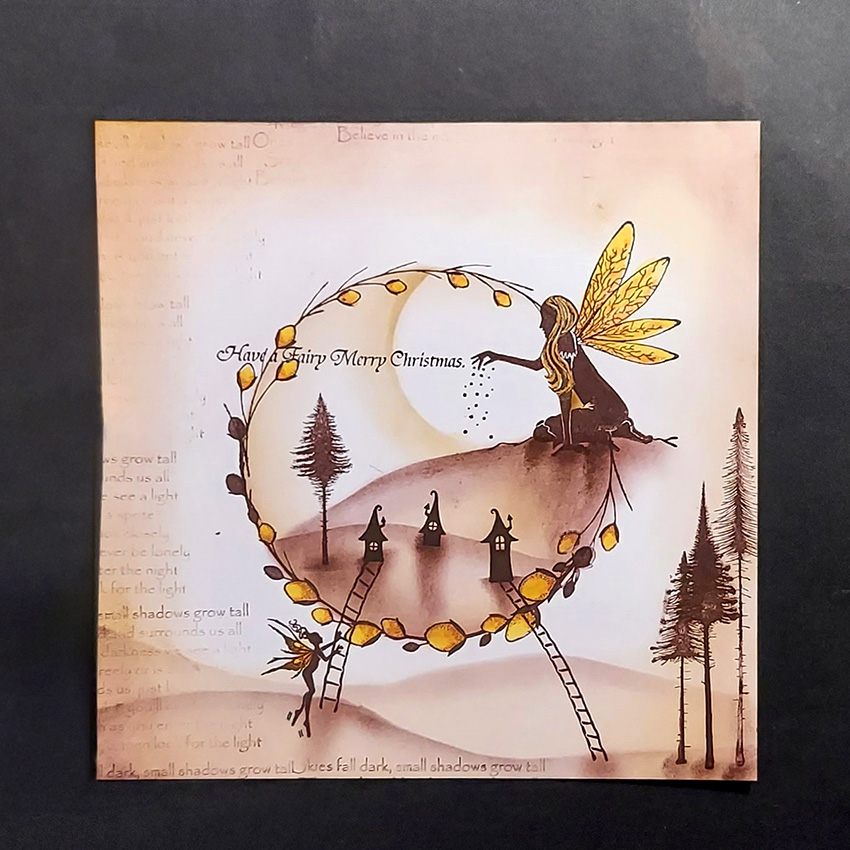
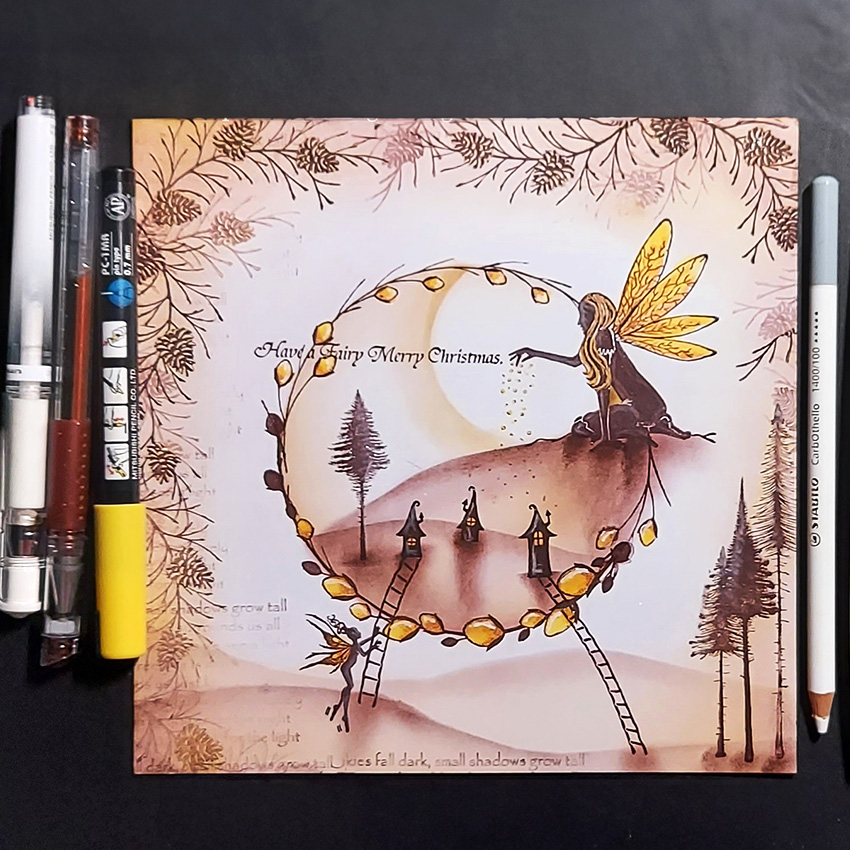
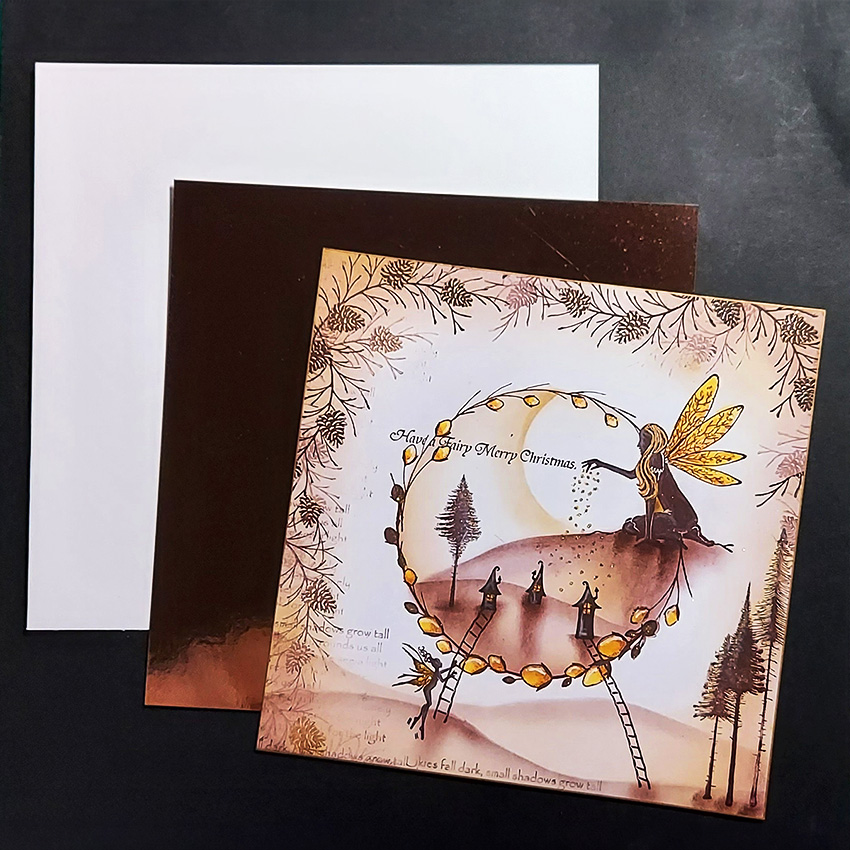
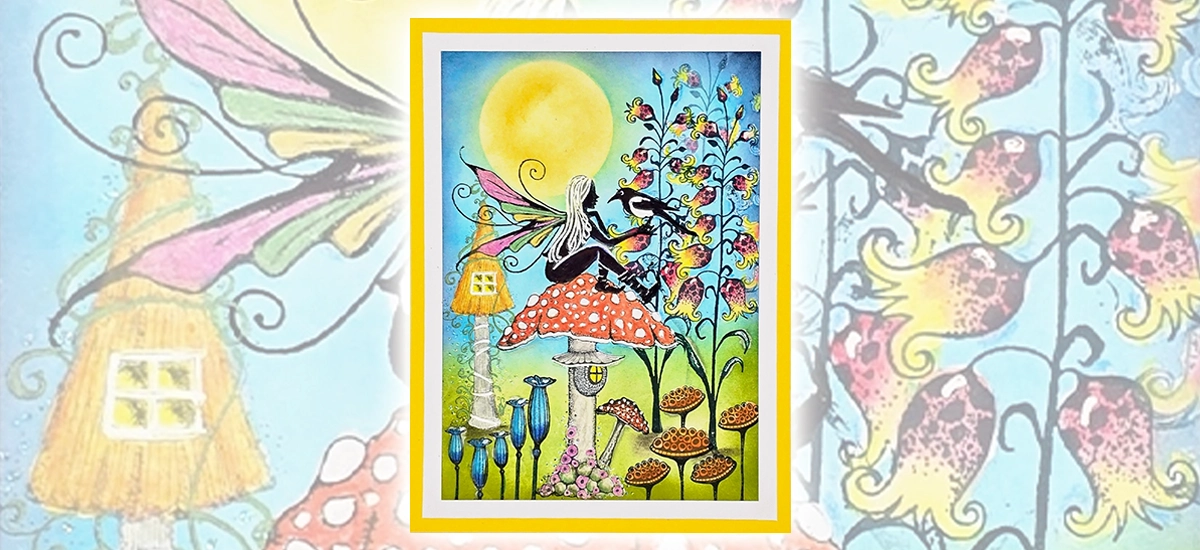
15. The finished card! I hope you have enjoyed the process of making this card.
Have fun! Big hugs, Elaine xx
Happy Crafting!


Hello, Elaine here, Guest DT for December.
Here with a Picture tutorial for all you wonderful crafters 🧚♂️🧚♀️
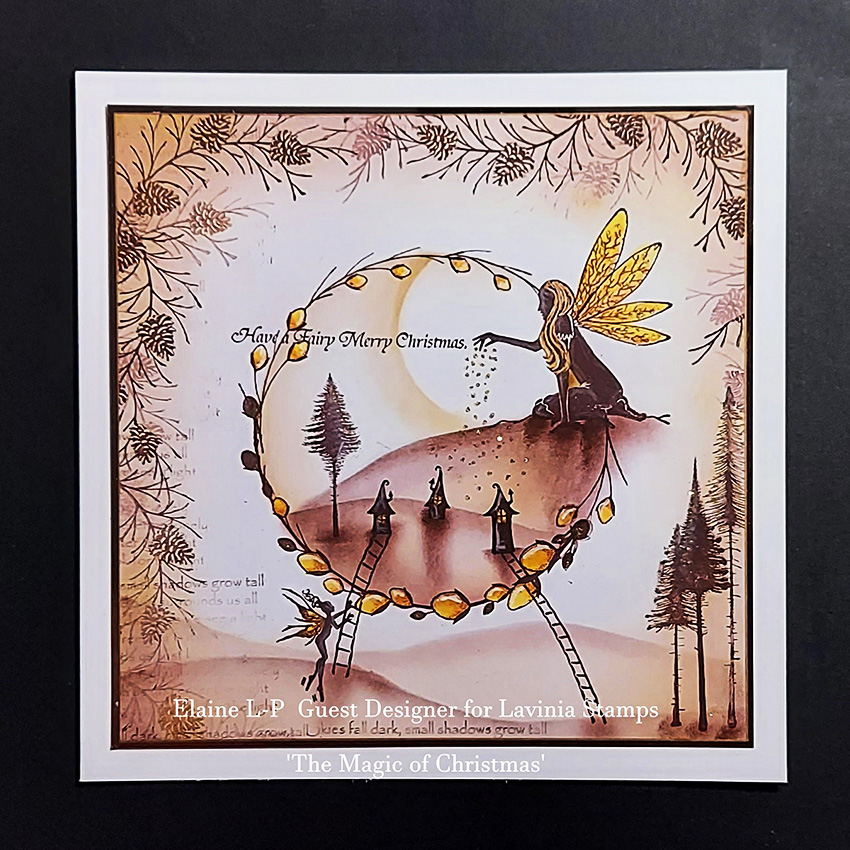
15. The finished card! I hope you have enjoyed the process of making this card.
Have fun! Big hugs, Elaine xx
Happy Crafting!
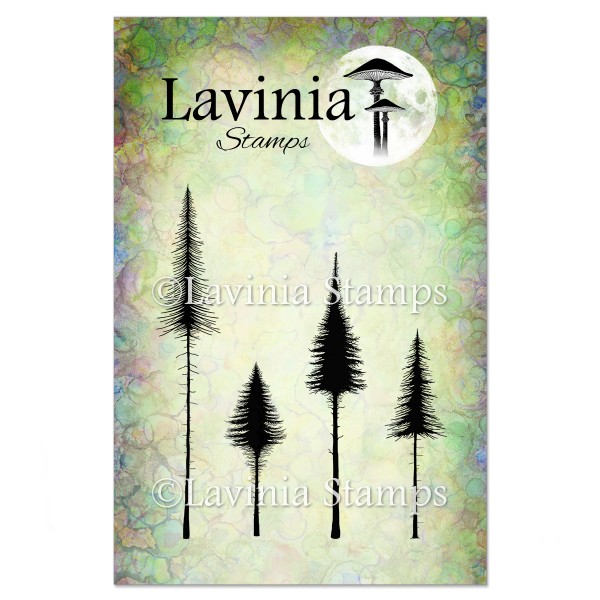 Small Pine Trees Stamp
£10.60
Add to basket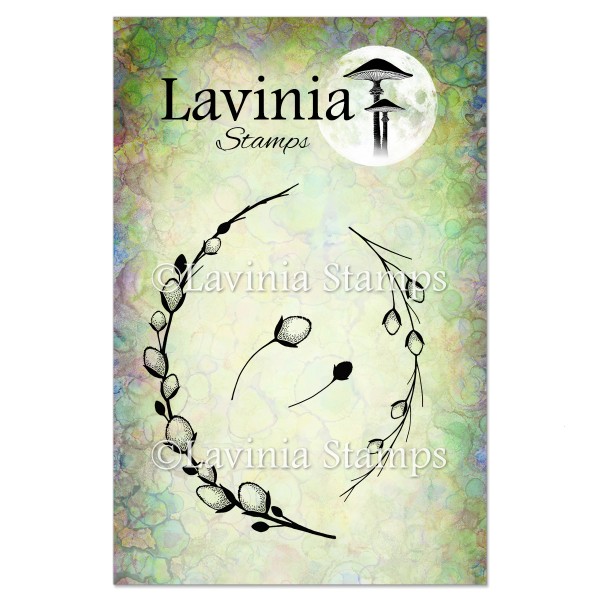 Fairy Catkins Stamp
£10.20
Add to basket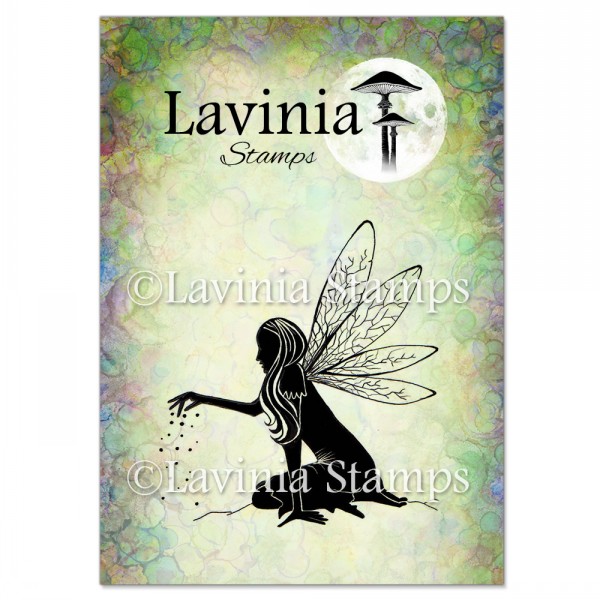 Fairy Dust Silhouette Stamp
£6.80
Add to basket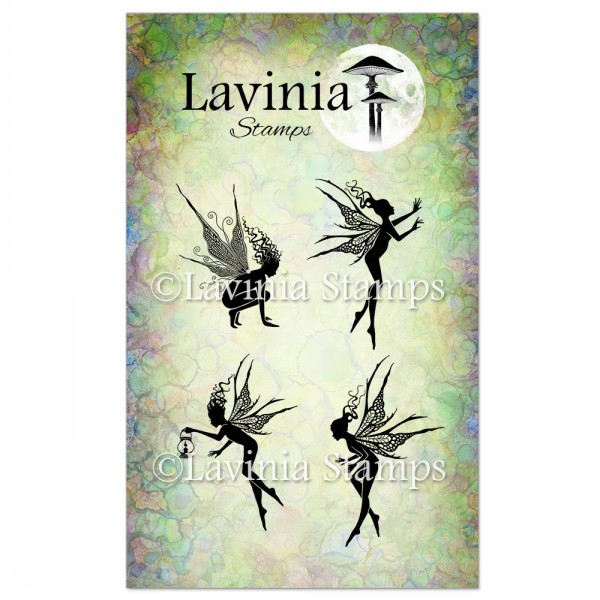 Fairy Foragers Stamp
£8.50
Add to basket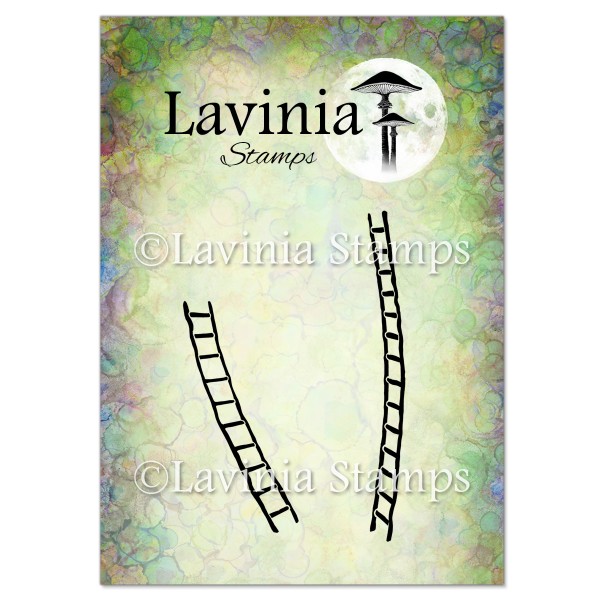 Fairy Ladders Stamp
£5.80
Add to basket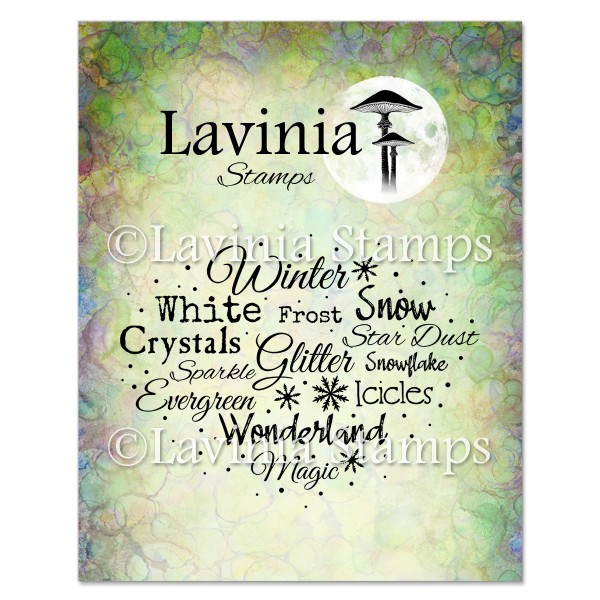 Winter Magic Stamp
£7.30
Add to basket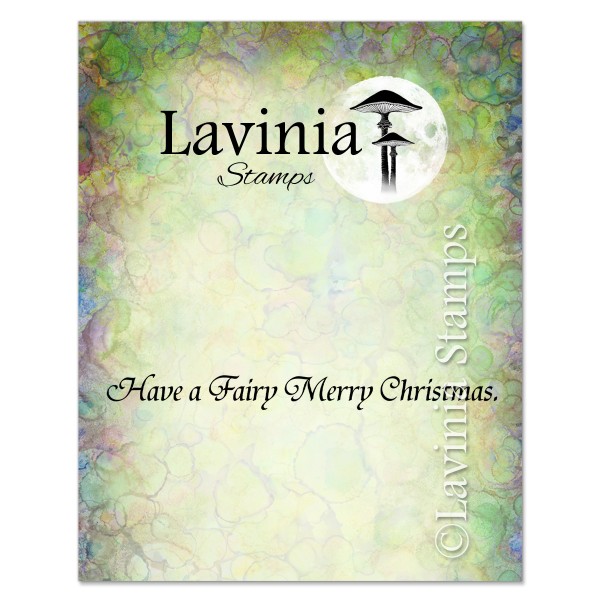 Fairy Merry Christmas Stamp
£3.80
Add to basket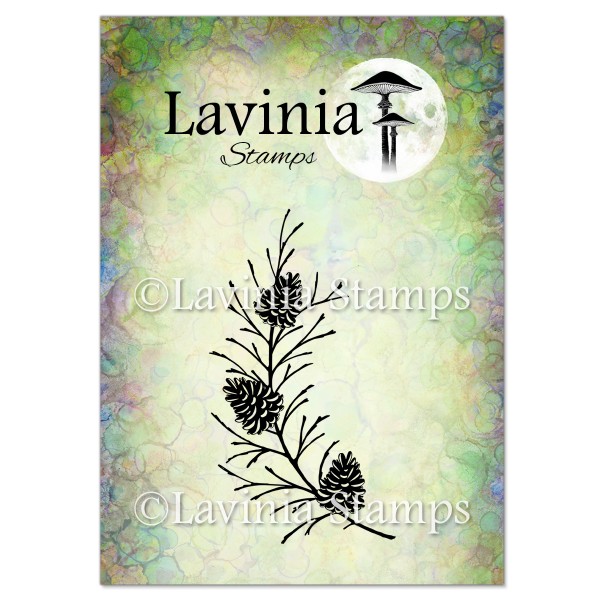 Fir Cone Branch Stamp
£6.80
Add to basket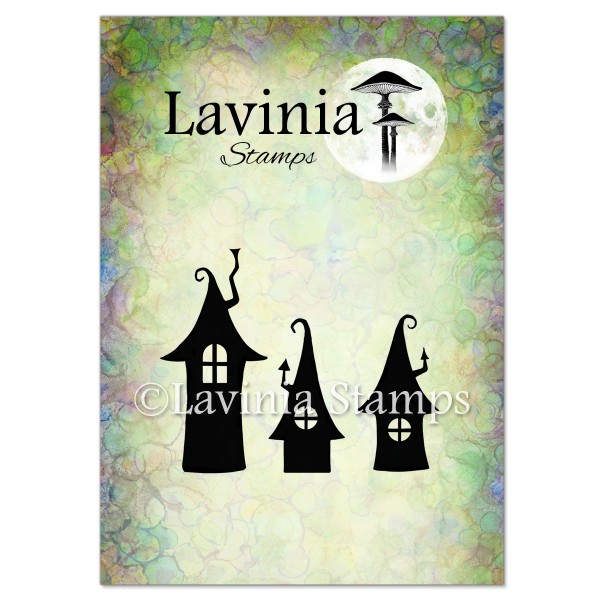 Small Pixy Houses Stamp
£3.90
Add to basket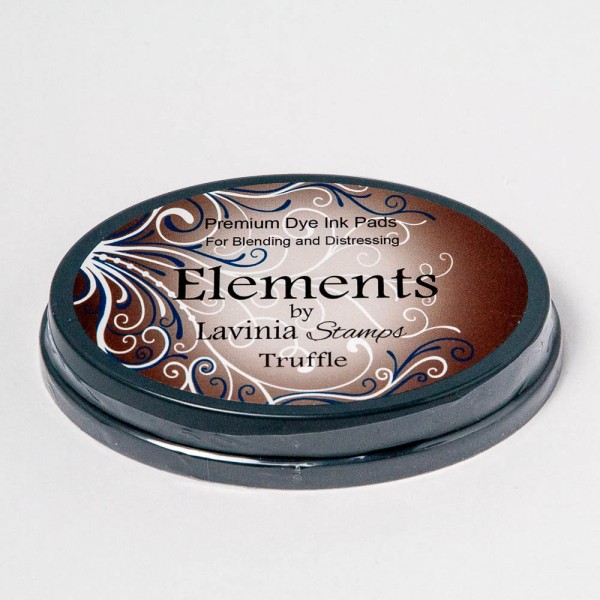 Elements Premium Dye Ink – Truffle
£5.85
Add to basket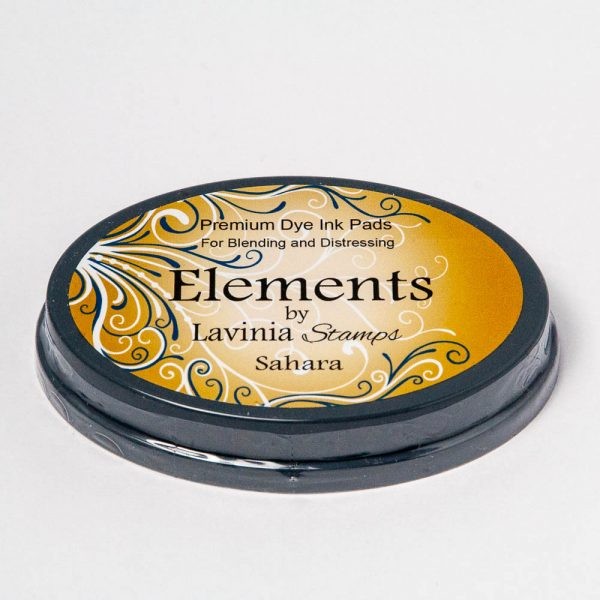 Elements Premium Dye Ink – Sahara
£5.85
Add to basket Elements Premium Dye Ink – Mulberry
£5.85
Add to basket Versafine Clair Ink Pad – Pinecone
£5.80
Add to basket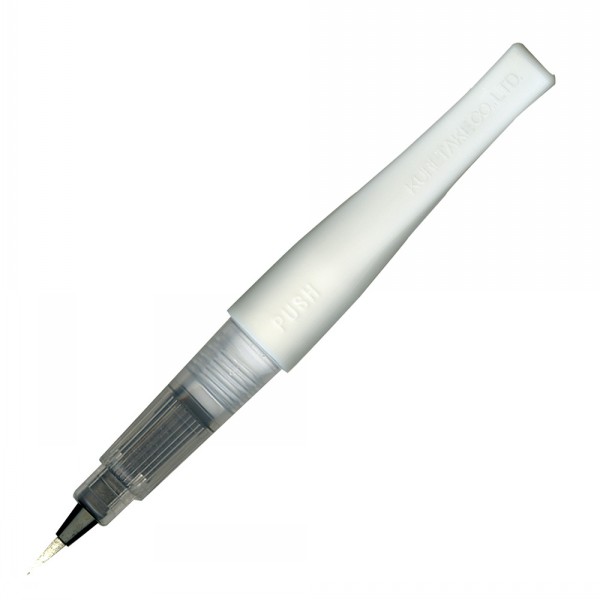 Kuretake Wink of Stella Brush Clear
£5.50
Add to basket Posca Fine Tip Pens Summer Collection
£3.16
Select options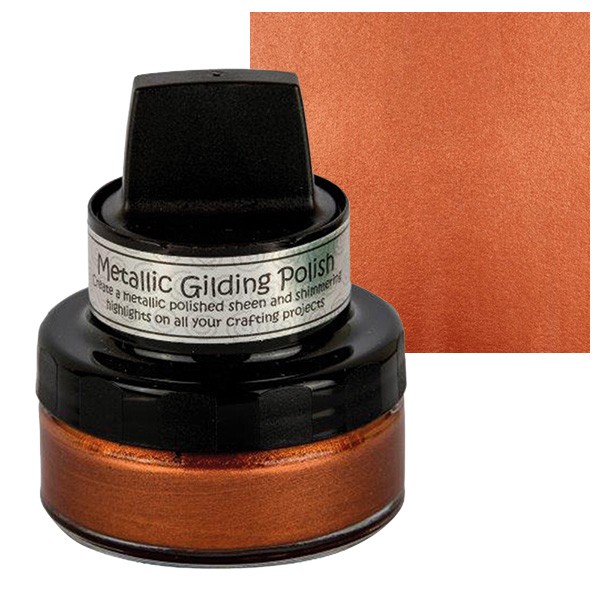 Metallic Gilding Polish Warm Collection
£6.76
Select options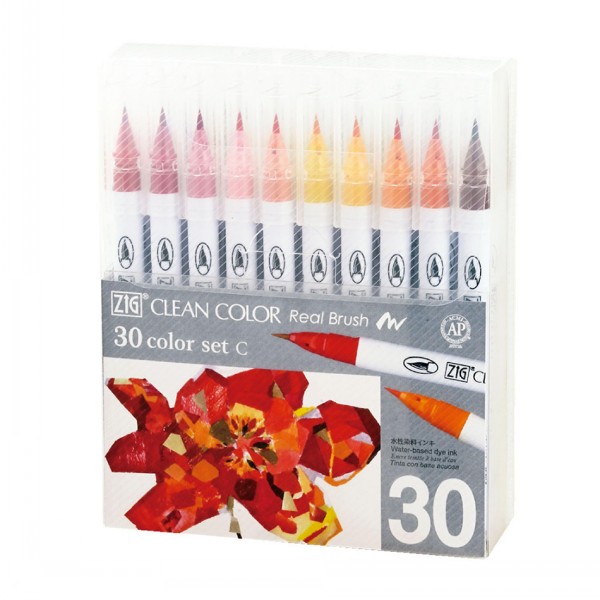 Kuretake Clean Colour Real Brush Pens Set of 30 – C
£68.00
Add to basket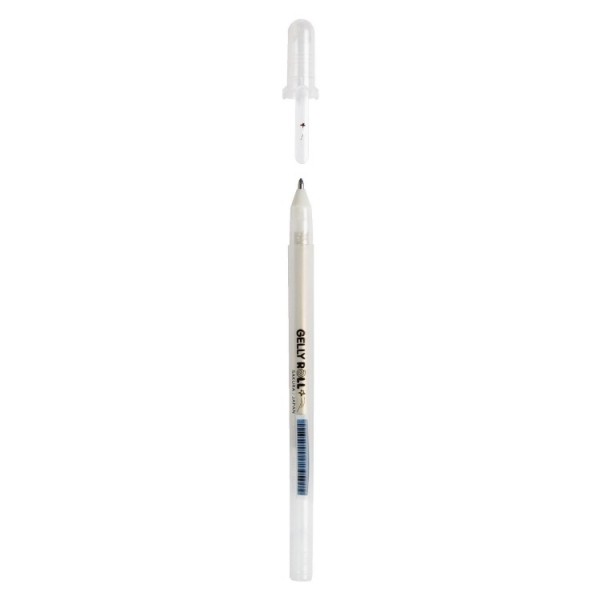 Gelly Roll – Stardust
£2.26
Select options