Step by Step by Mona Hauge
Hello everyone,
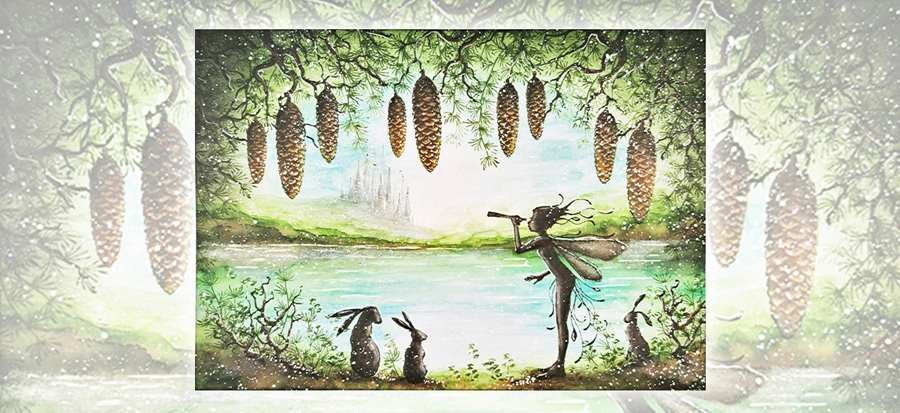
Mona here with my latest Step by Step Tutorial called Beyond The Magical Gate .
Hope you like it. 🧚♂️
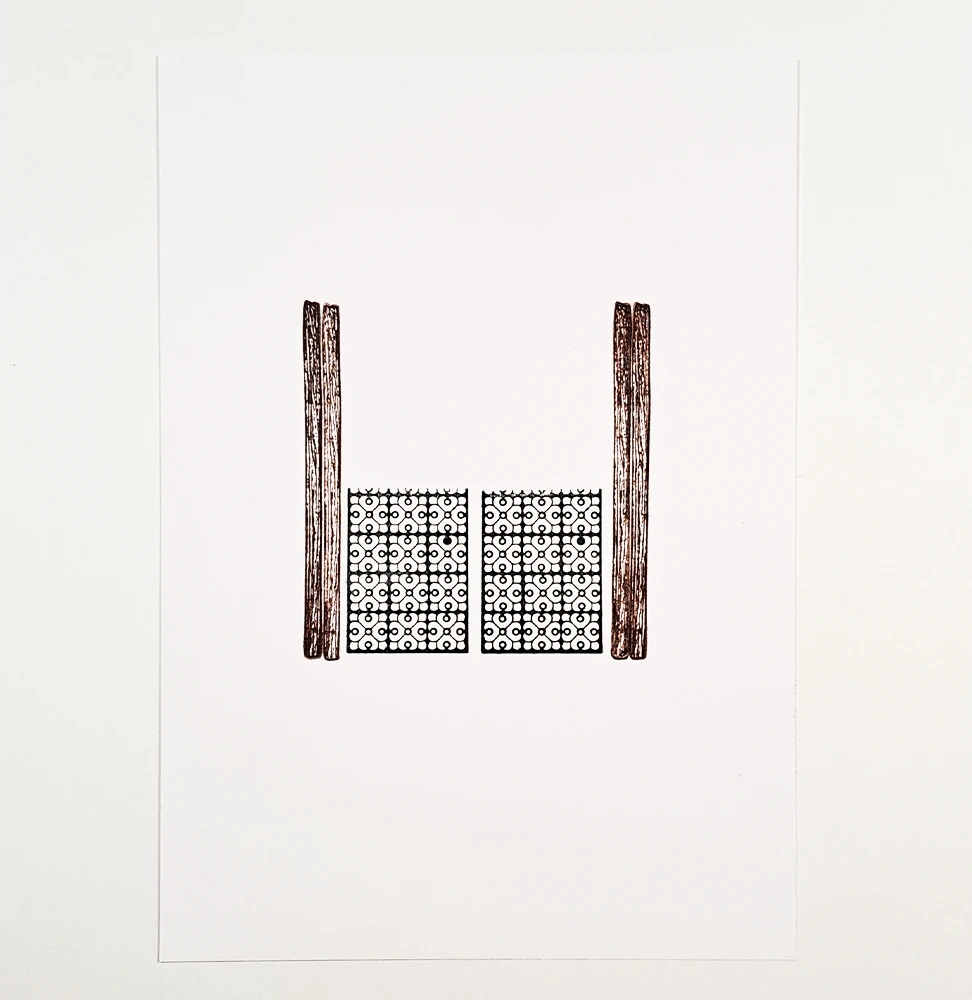
Step 1.
Multifarious White Card size A5.
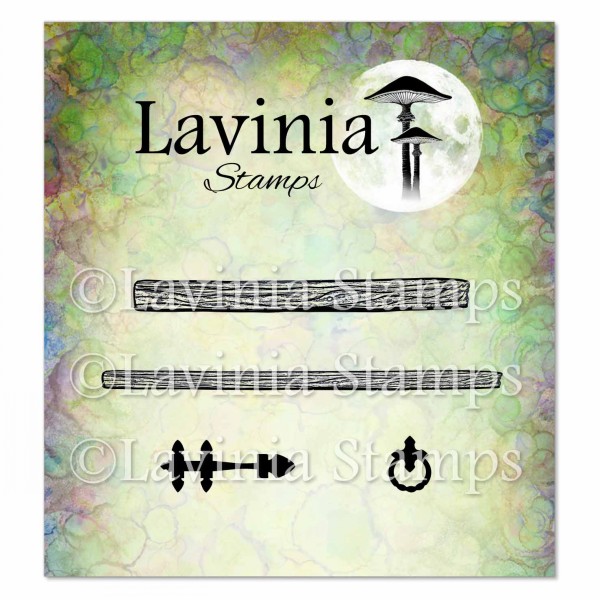
Stamp the lower part of the Inner Gate Stamp LAV879 in Versafine Clair Nocturne as you see in the picture. Then we stamp the longest stamp in the Hobbits Door Accessories LAV967 four times in Versafine Clair Pinecone.
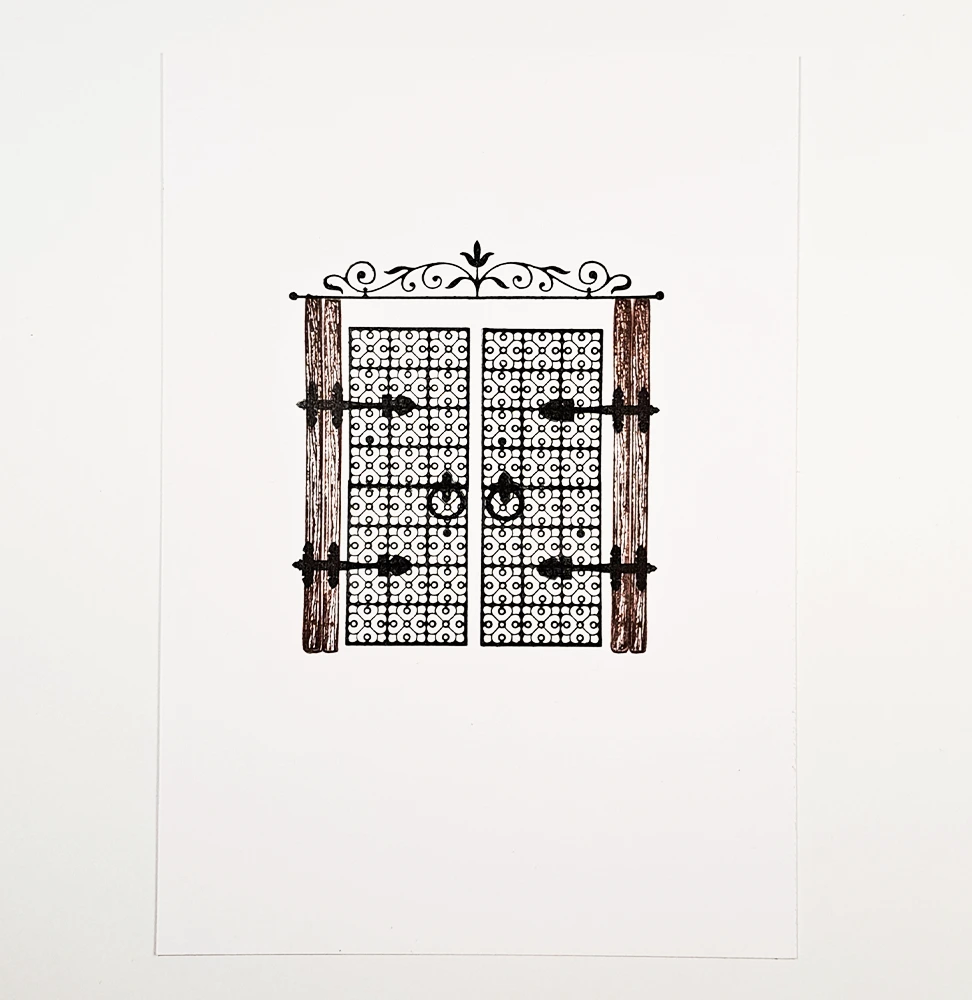
Step 2.
To complete our Magical Gate we repeat the Inner Gate Stamp as pictured and then we stamp the hinges and door handles from the Hobbits Door Accessories.
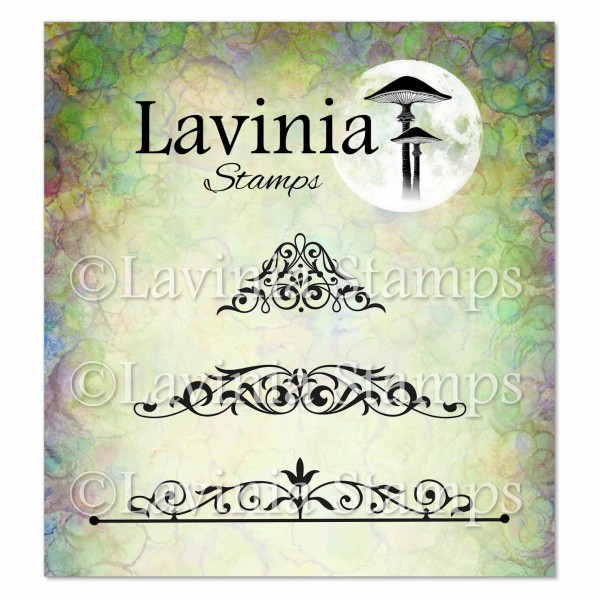
For a final finish to our Magical Gate we stamp the beautiful Vintage Swirls LAV979, all in Versafine Clair Nocturne.
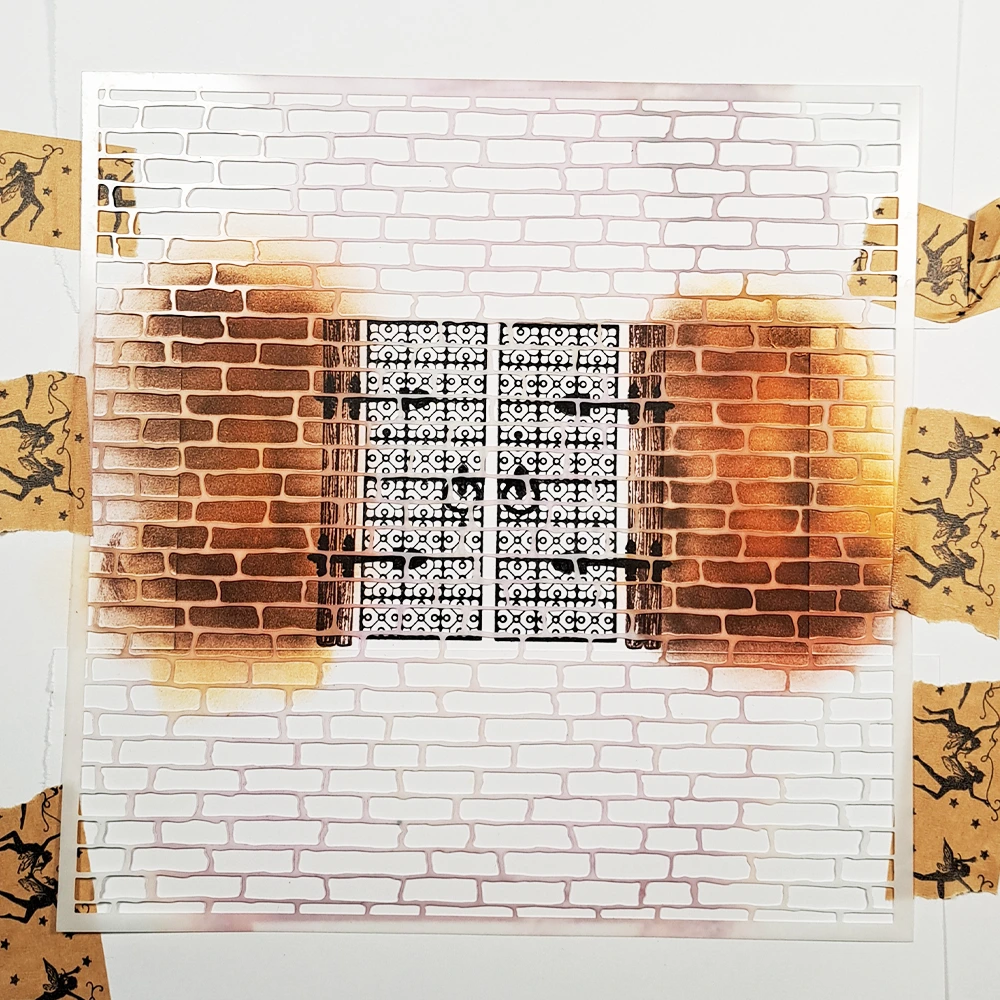
Step 3.
To create our brick wall we use the Red Brick Stencils. Cover the top and bottom of the card with some Lavinia Stamps Masking sheet. The Brick wall is as tall as the gate doors although not as tall as the wooden part.
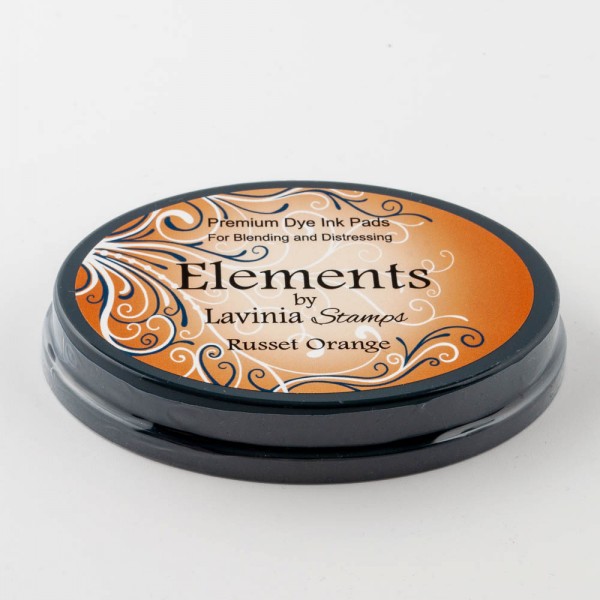
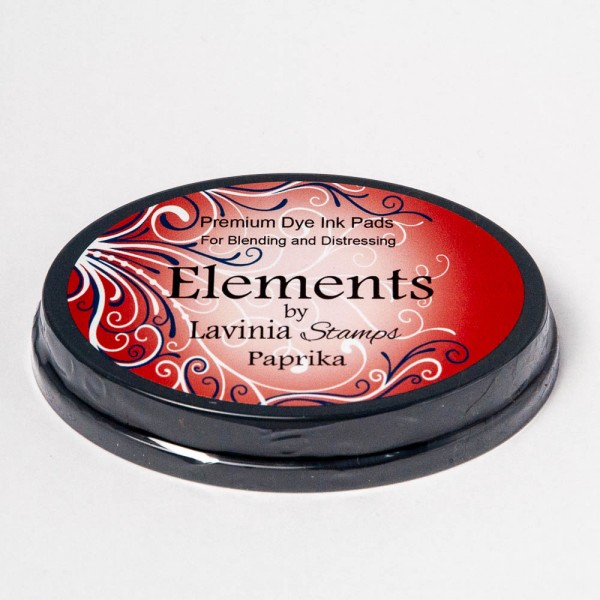
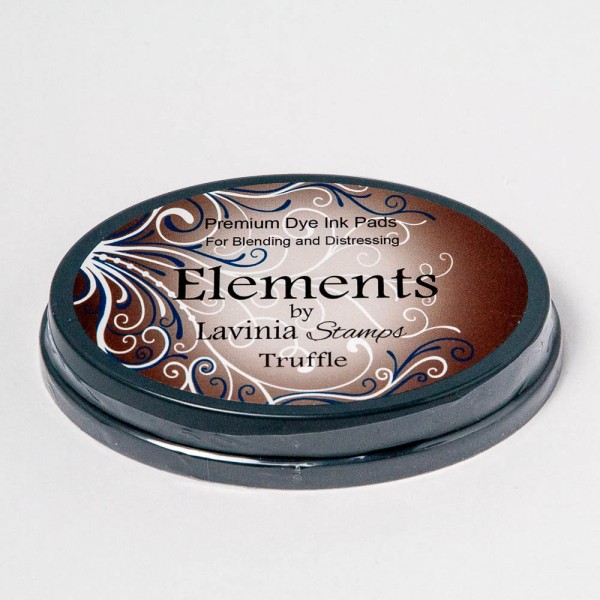
For colouring we use the Elements Inks Russet Orange, Paprika and Truffle. Apply the colour a little bit unevenly. This gives it more depth.
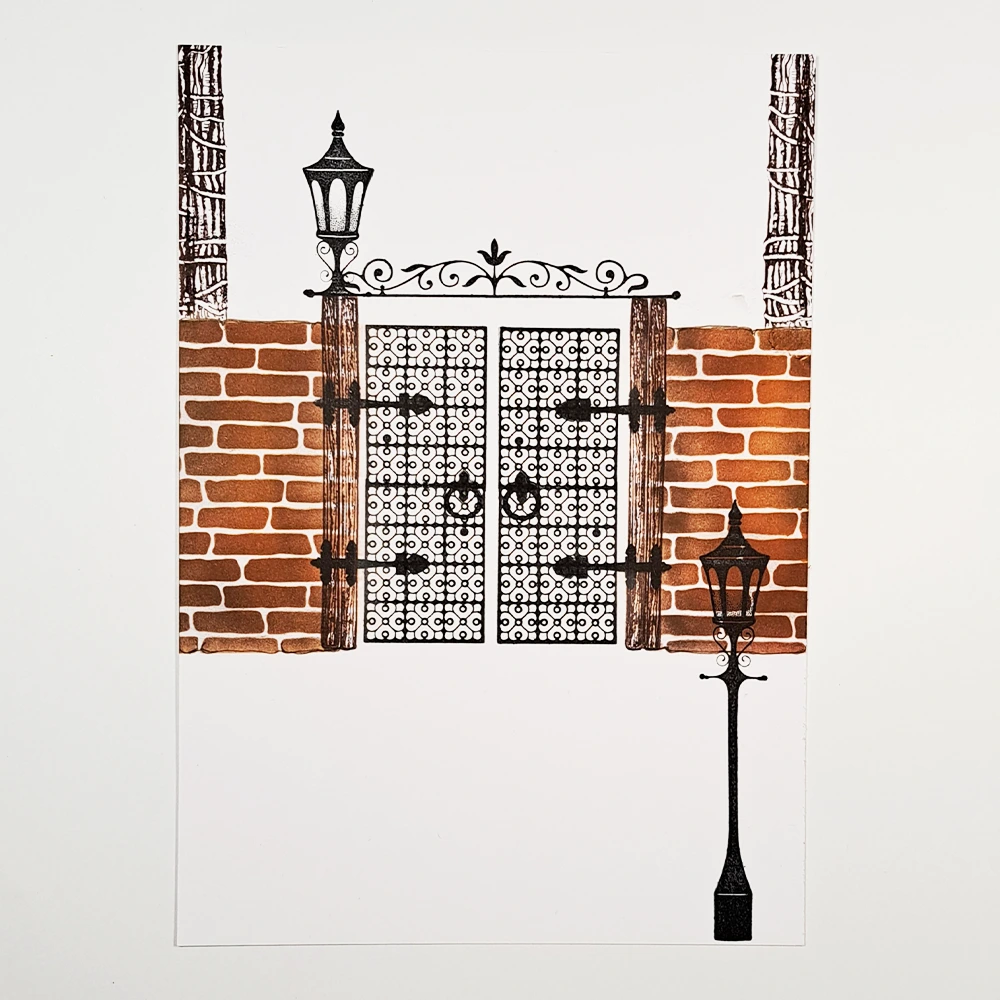
Step 4.
Now we have a fabulous brick wall.
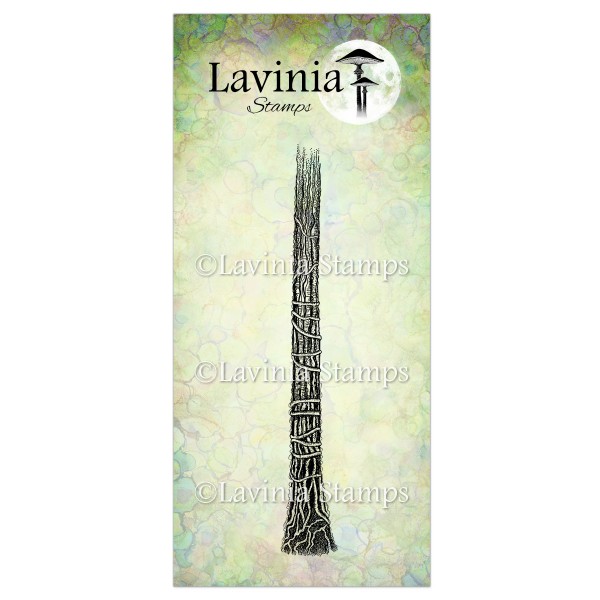
Stamp the Tree Stem LAV643 in Versafine Clair Pinecone, one on each side of the picture.
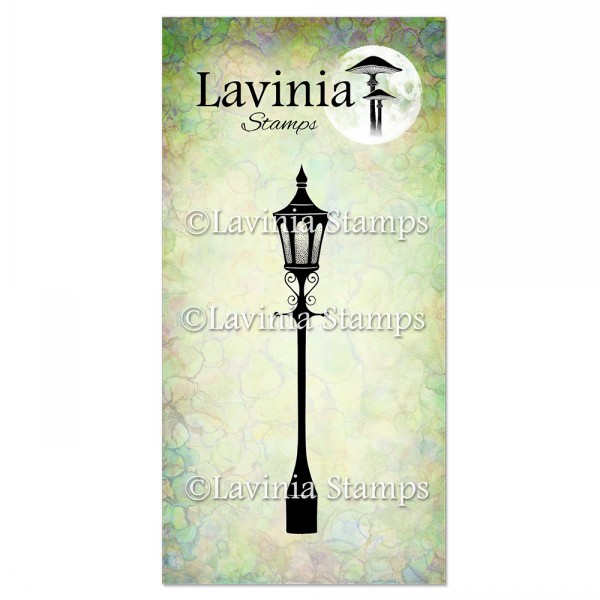
The beautiful Street Light Stamp LAV931 we stamp twice in Versafine Clair Nocturne, once in full size and once only using the top part of the stamp. Look at the picture for placement.
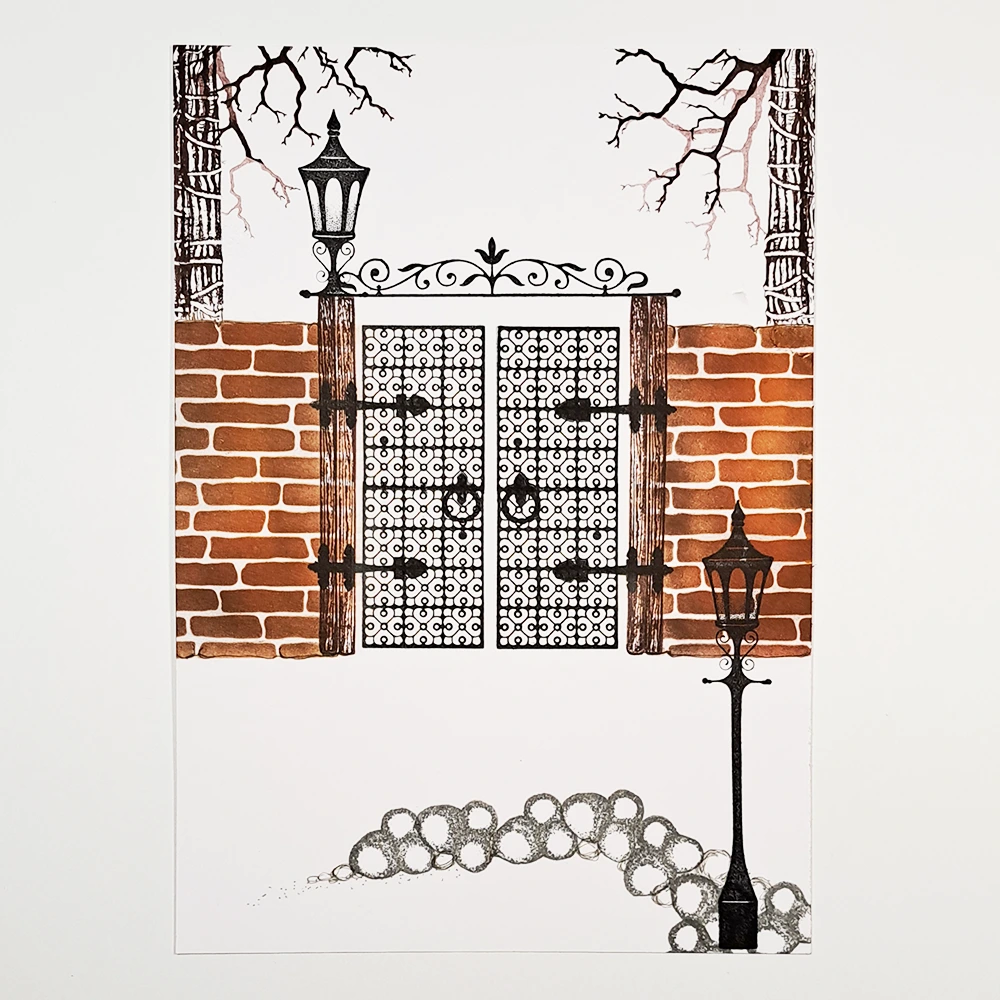
Step 5.
Now we will use the Tree Branch stamp LAV506 stamped in Versafine Clair Pinecone. Stamp both first and second generation stamping.
To create the little beach in the foreground we need some stones from the Forest Moss Stamp LAV857 stamped in Versafine Clair Morning Mist.
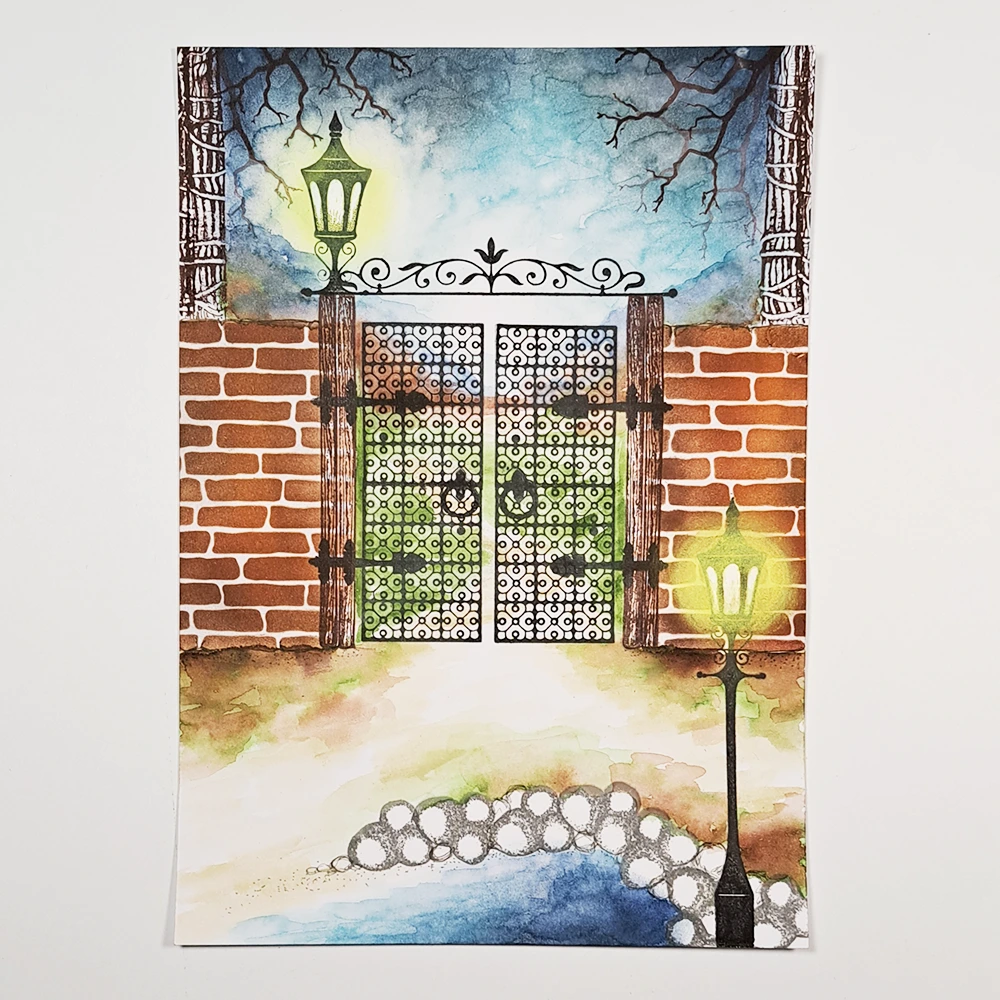
Step 6.
For the sky and the water we will use Elements Inks Dark Denim and Blue Atol. Apply the colour a bit uneven, just remember to keep the center over the horizon completely white. Then we will use a watercolour brush to create movement in our water and sky. For our landscape and ground, we will use the Elements Inks colours as watercolour.

Step 7.
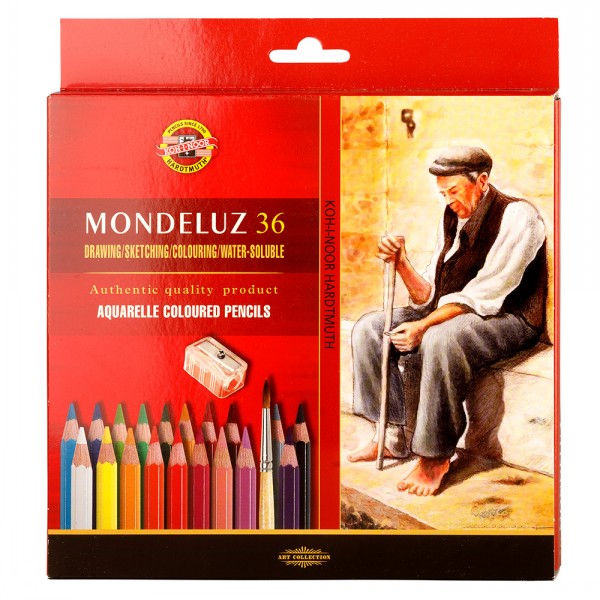
Now we colour our trees, gate posts and the stones. I use my Mondeluz Watercolour pencils because they are so soft and vibrant in colour and they blend perfectly even when dry. To create depth in our objects always use more than 2 colours/shades. For our trees we will use Dark Brown, Brown, Redish Brown and Ochre. And for the rocks we use several shades of Grey and then Black.
Step 8.
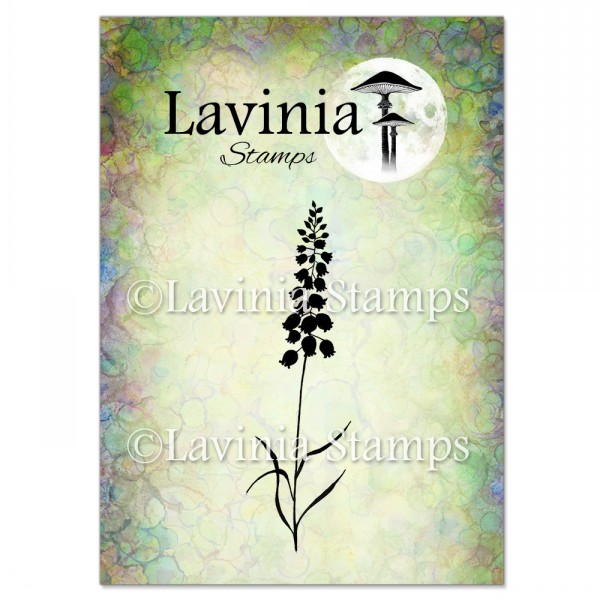
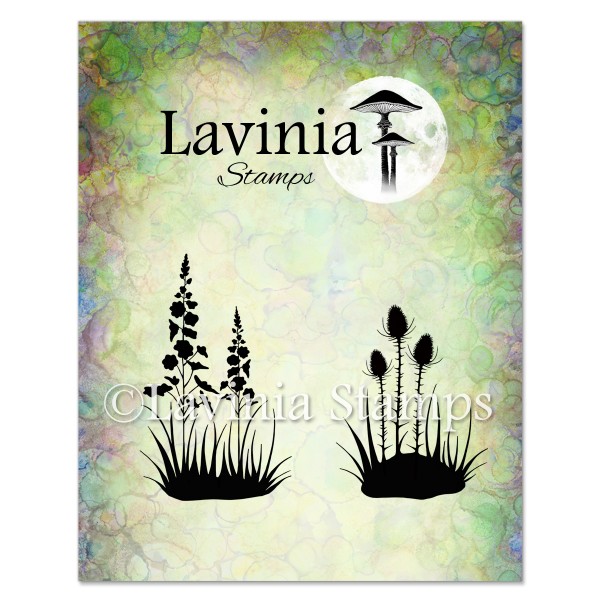
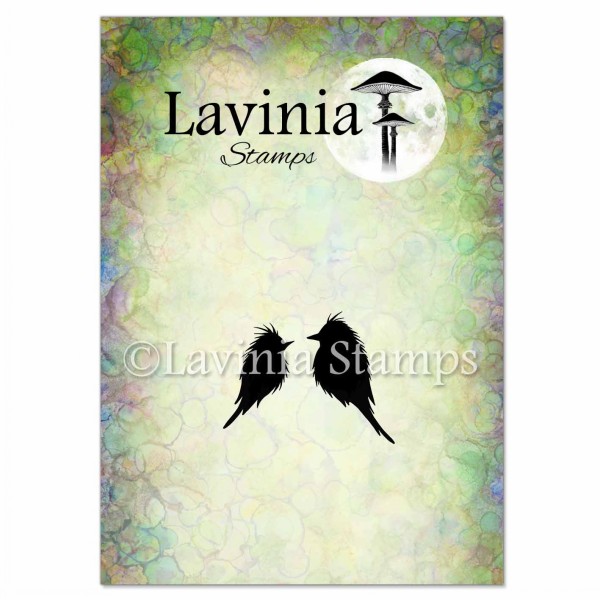
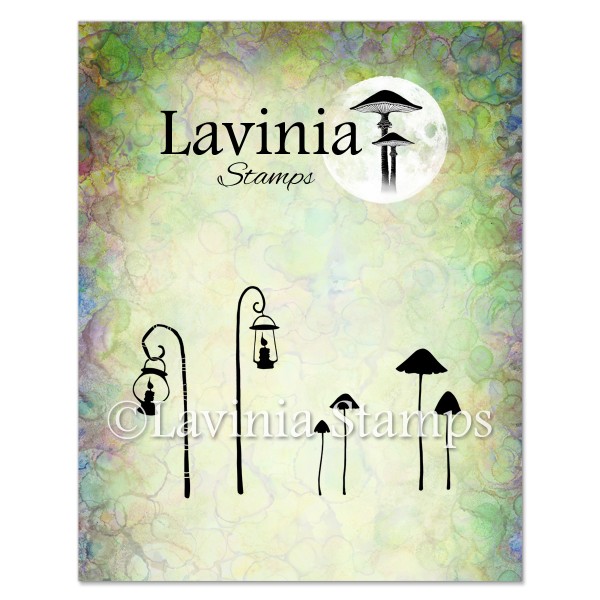
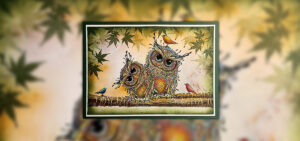
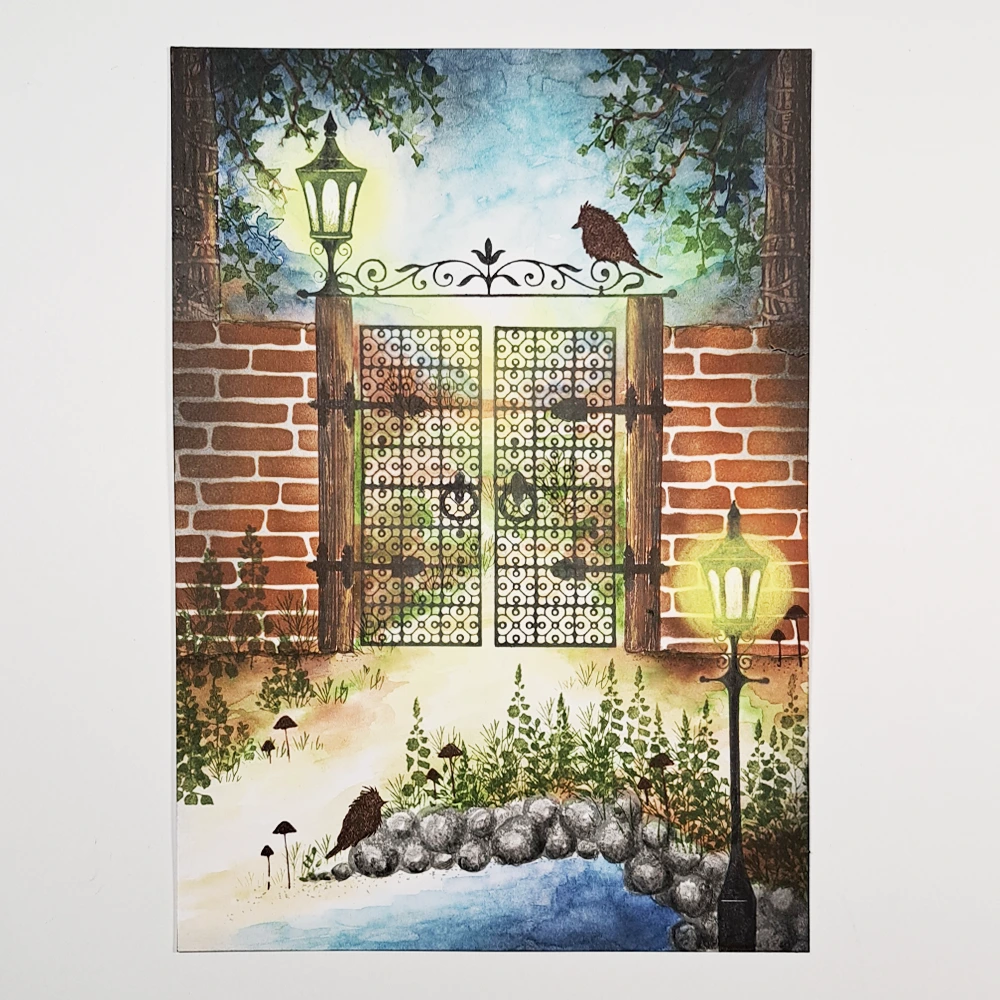
Let’s add Falling Ivy LAV352 , Dill LAV938 , Bluebells LAV002 and Silhouette Foliage Set LAV683 all in Versafine Clair Shady Lane. Look at the picture for placement. The beautiful Fledglings LAV965 stamped in Versafine Clair Pinecone will look very at home in our picture. A few mushrooms from the Lamps Stamp LAV758 will look good .
Step 9.
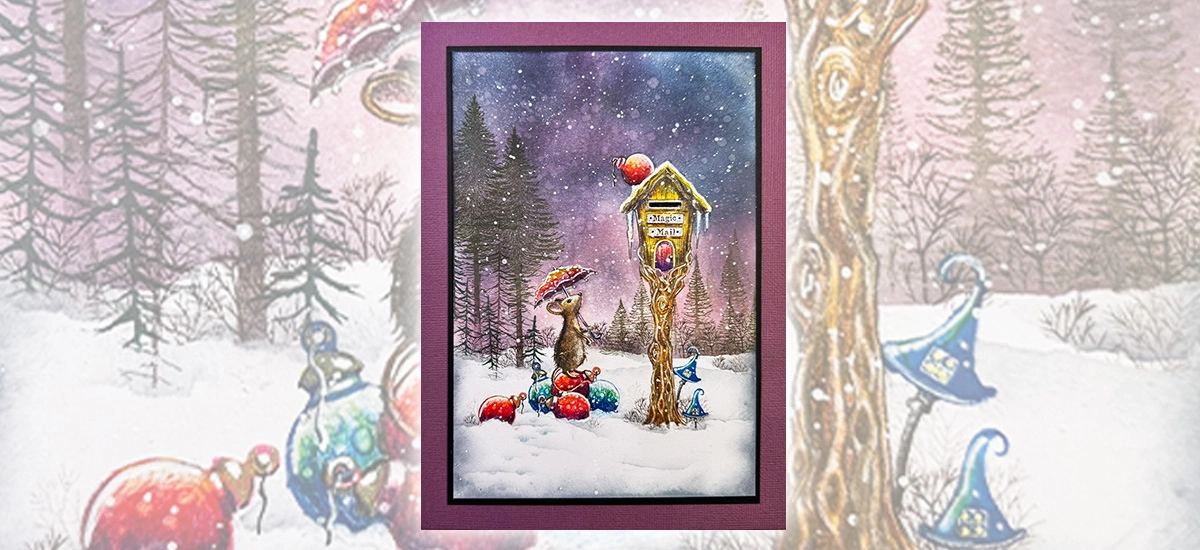
To make our Lanterns look more glowing, use a Red, Orange and Yellow Mondeluz Watercolour pencil. Look at the picture for placement .
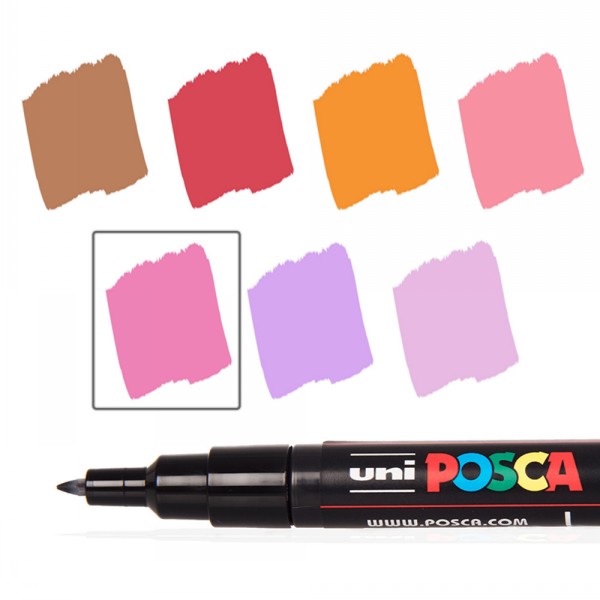
Now we will use a Beige Posca Pen to draw on our flowers . Be sure to not cover all of the green.
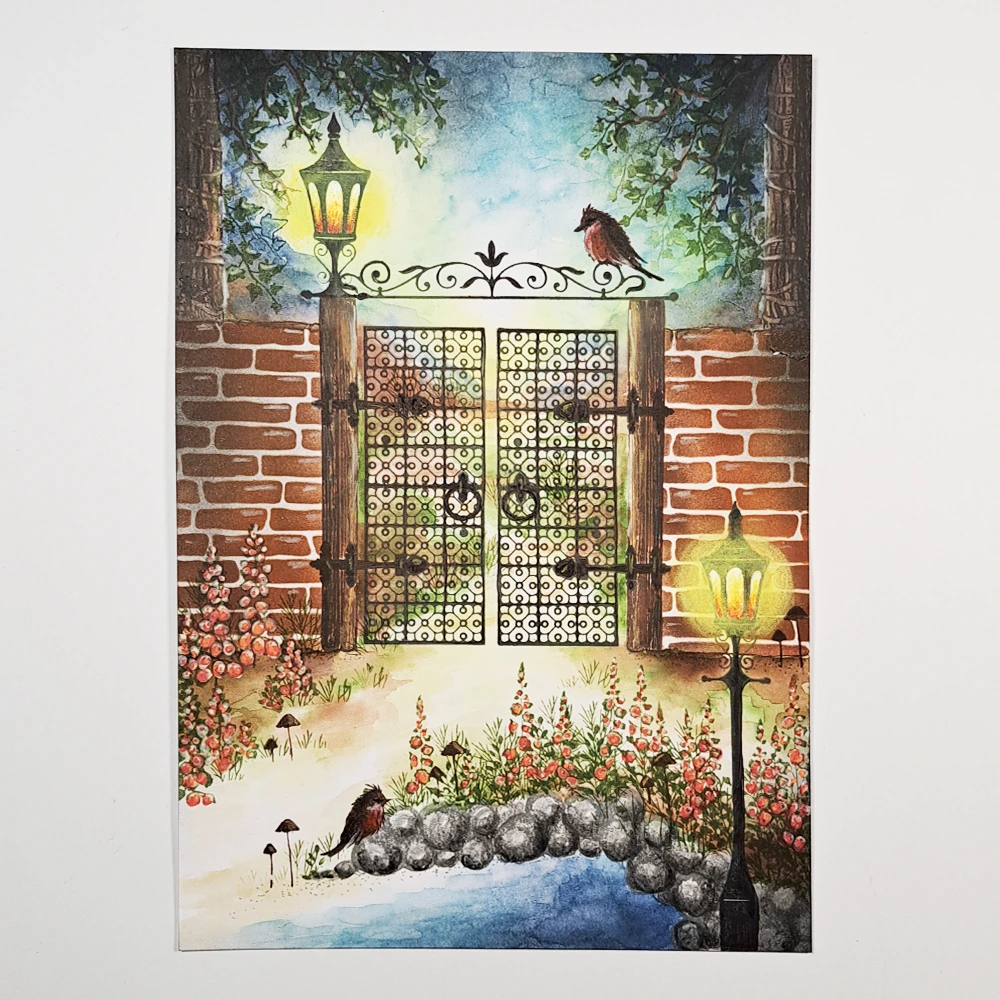
Step 10.
When the Posca Pen has completely dried we will use our Mondeluz Watercolours to colour the flowers. Again it is good to use more than one colour, so we use Red and Orange and there is still some Beige colour showing.
We also colour our Fledglings with some Red and White .
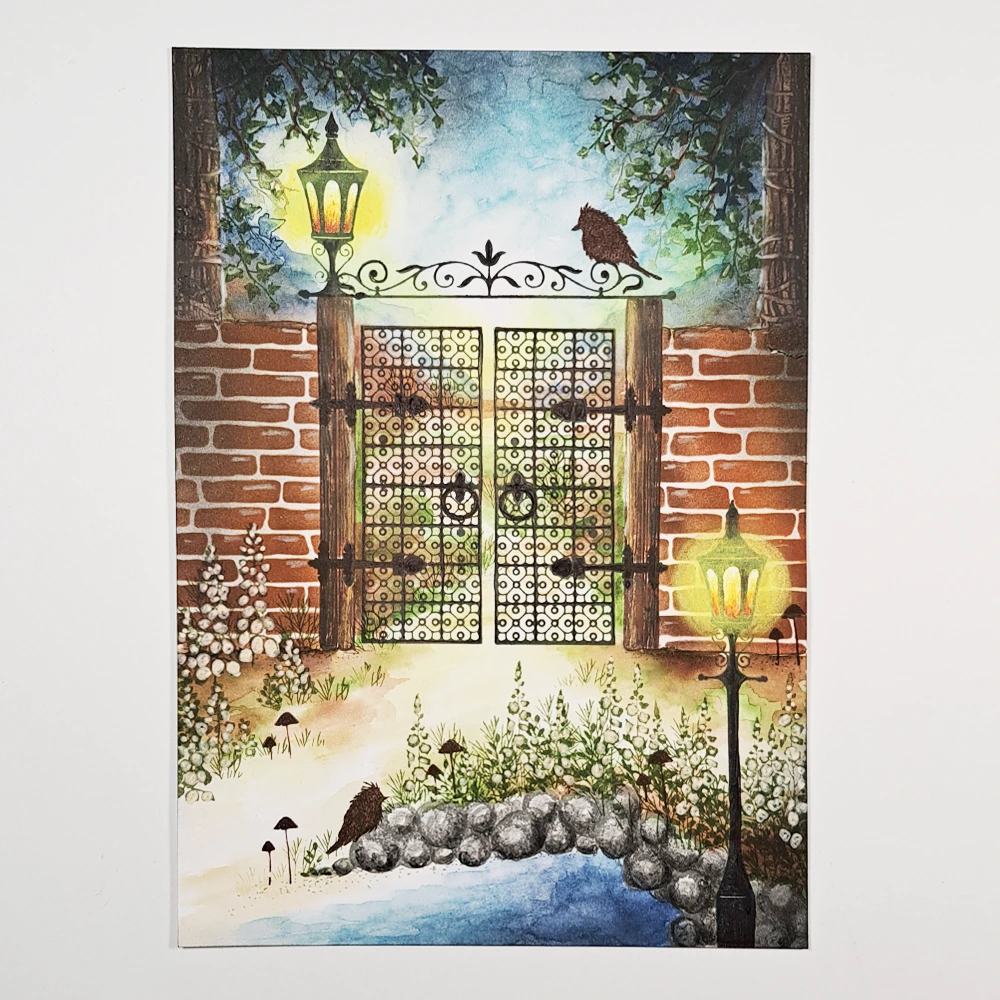
Step 11.
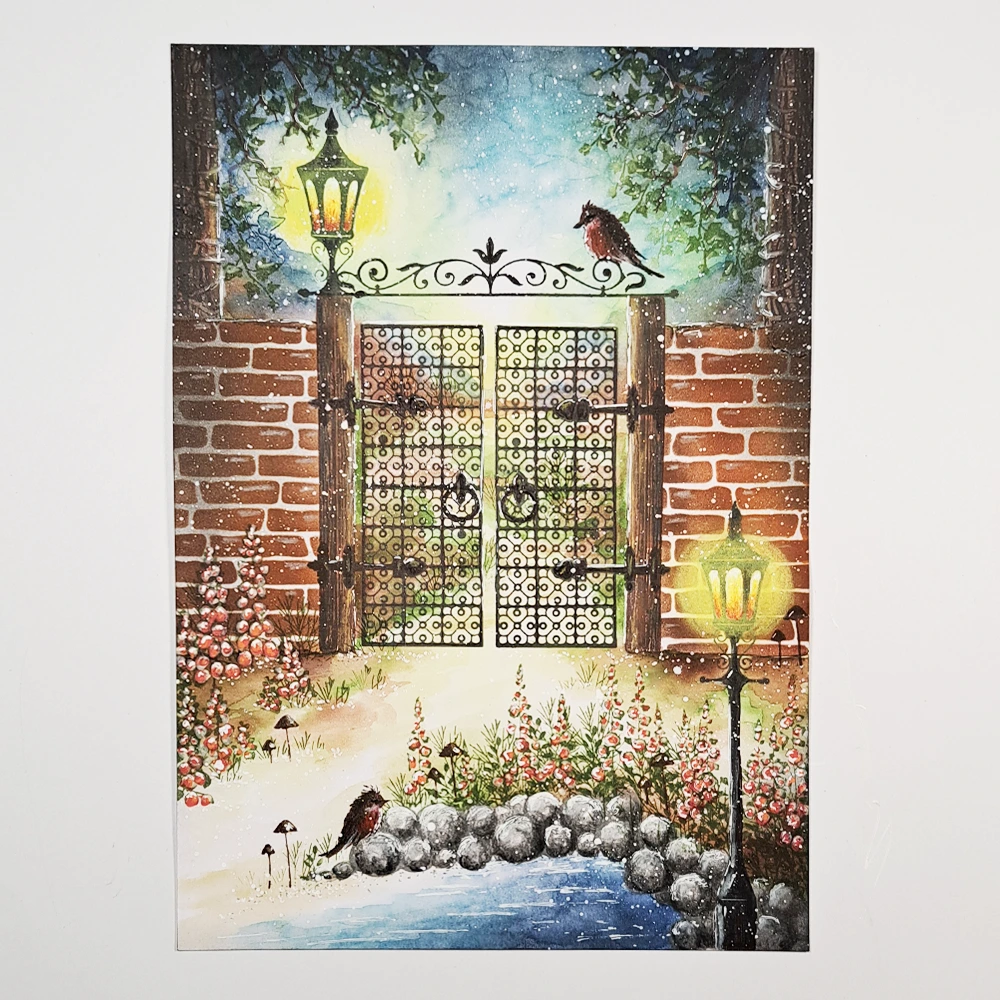
Now we only have the finishing touches left. Everything needs some highlights and I use my Signo Uniball White pen for this.
And the very last step is to do some Posca Pen splatters in White.
Now we have completed our picture and I hope you enjoyed creating this Magical Gate. If there is anything you want to ask me, just send me a message and I will answer it as soon as I can.
Thank you so very much. Big hugs from Mona.