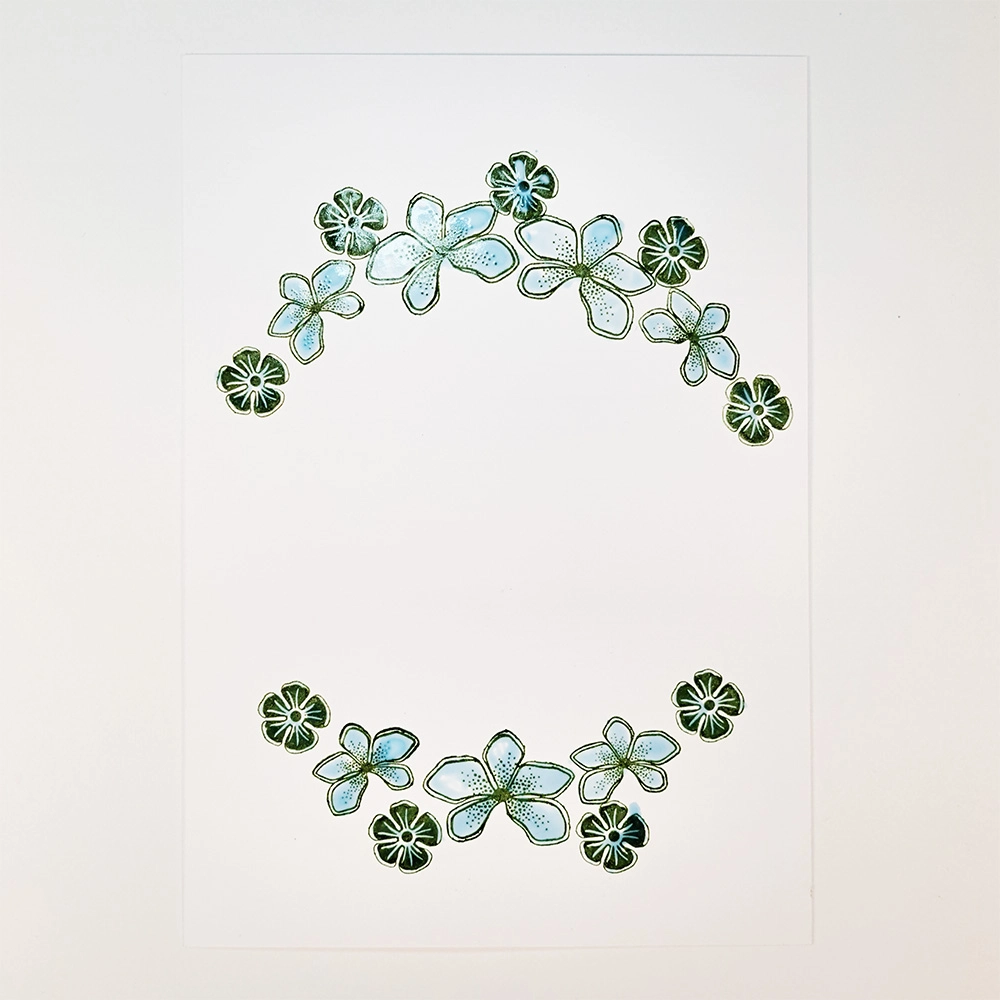
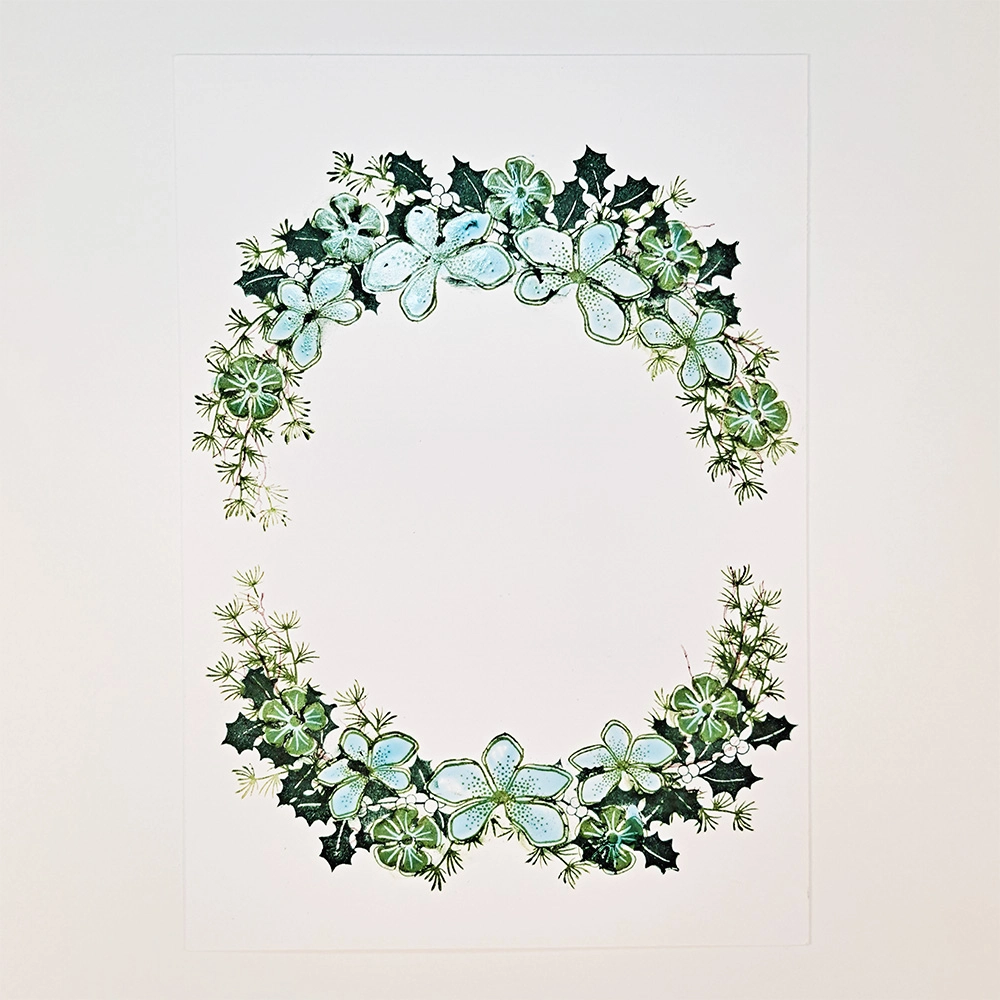


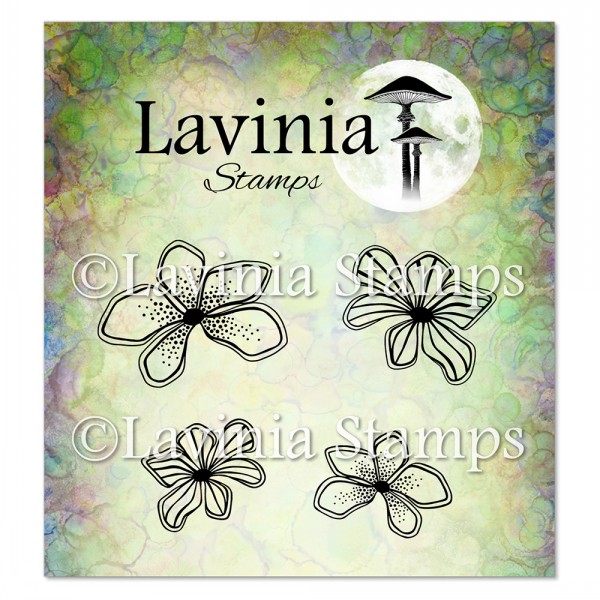
 Moss Flowers Stamp
£7.10
Add to basket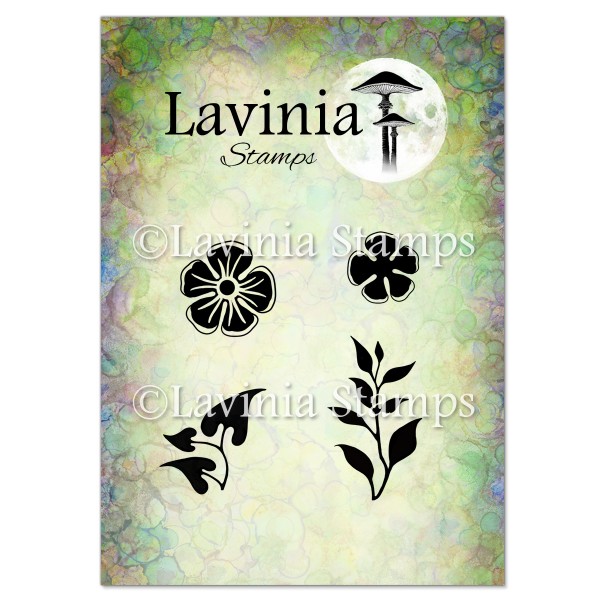 Vine Set Stamp
£6.40
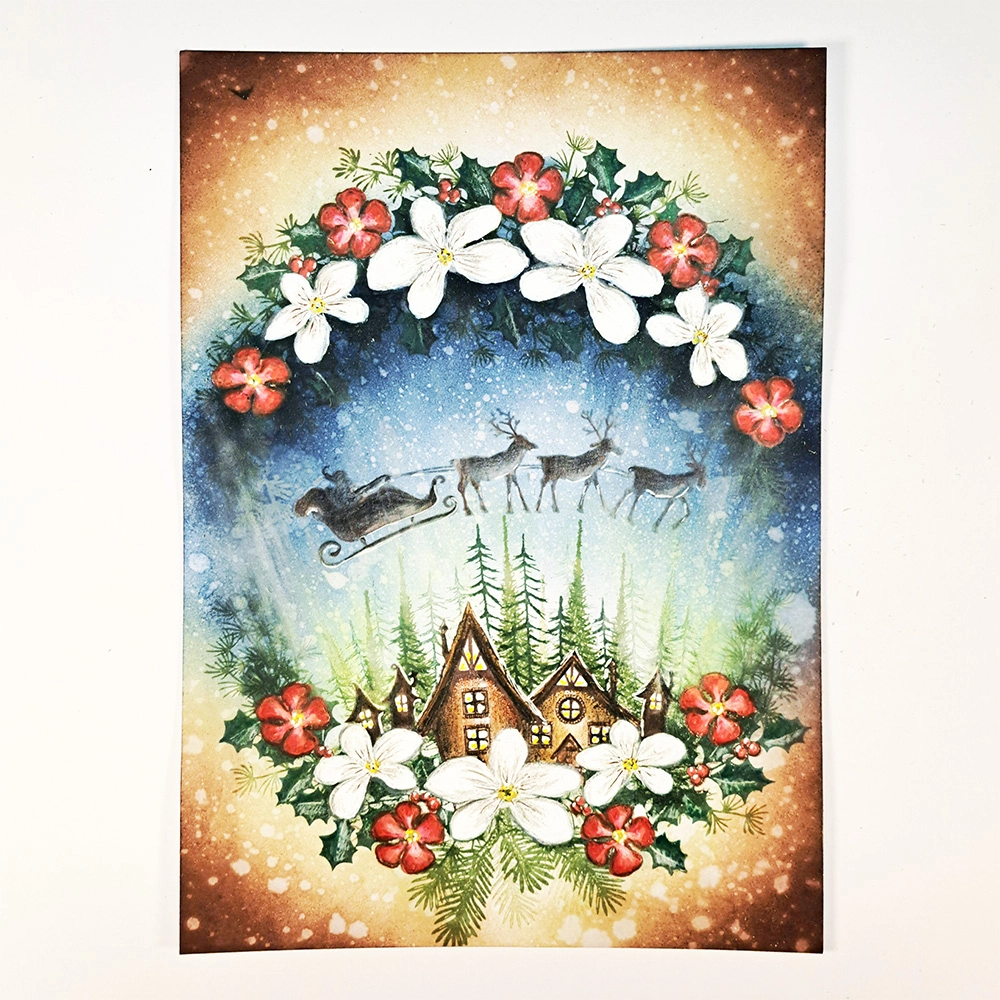
Add to basket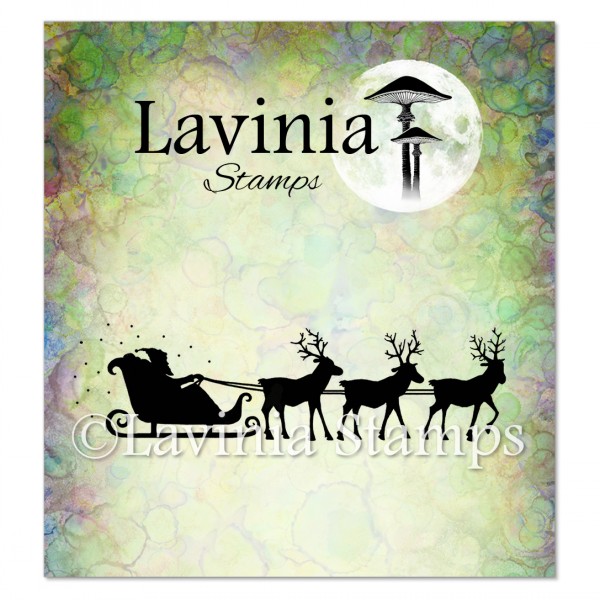 Christmas Night Stamp
£6.80
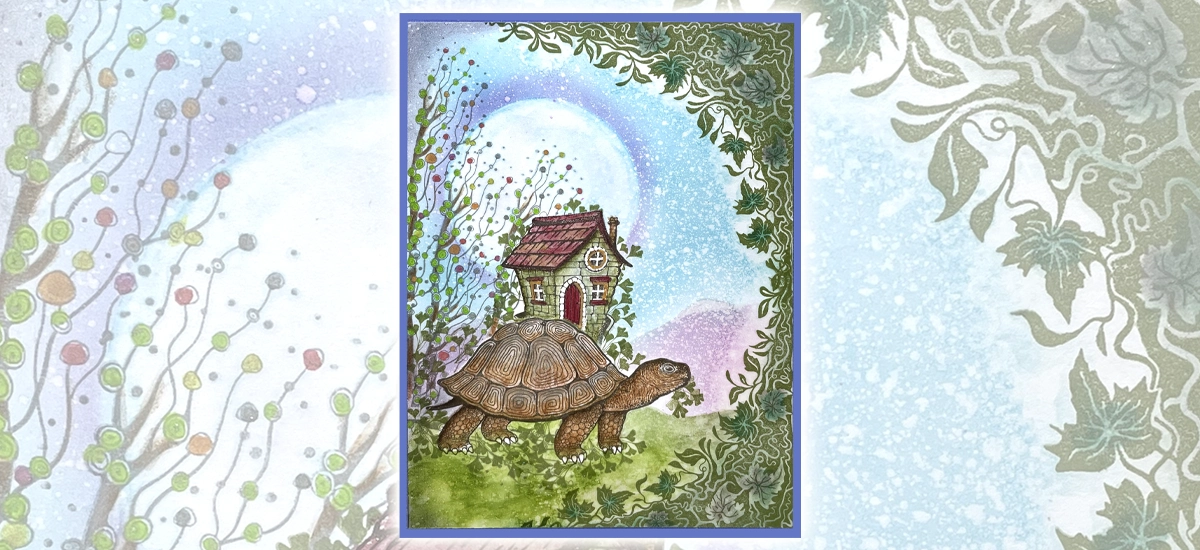
Add to basket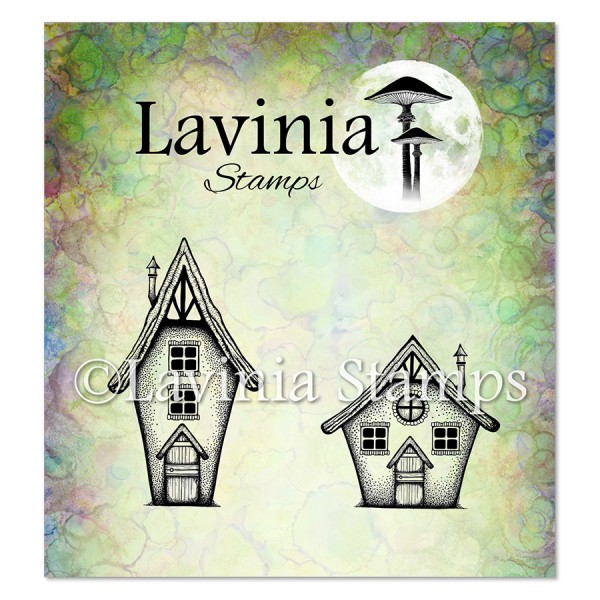 Woodland Cottages Stamp
£7.60
Add to basket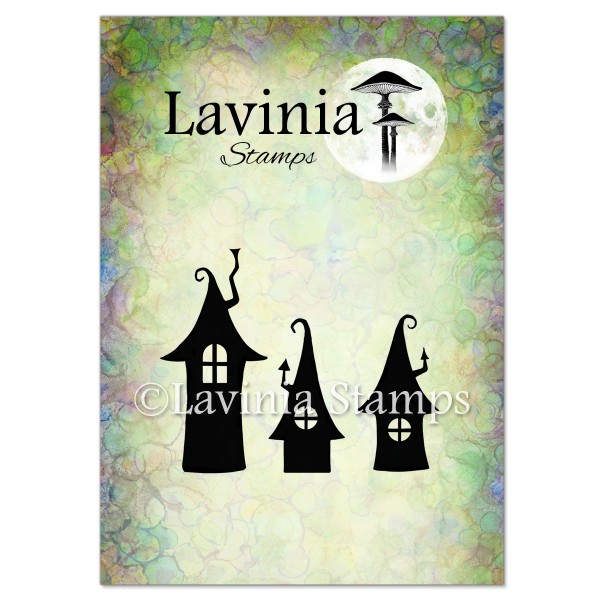 Small Pixy Houses Stamp
£3.90
Add to basket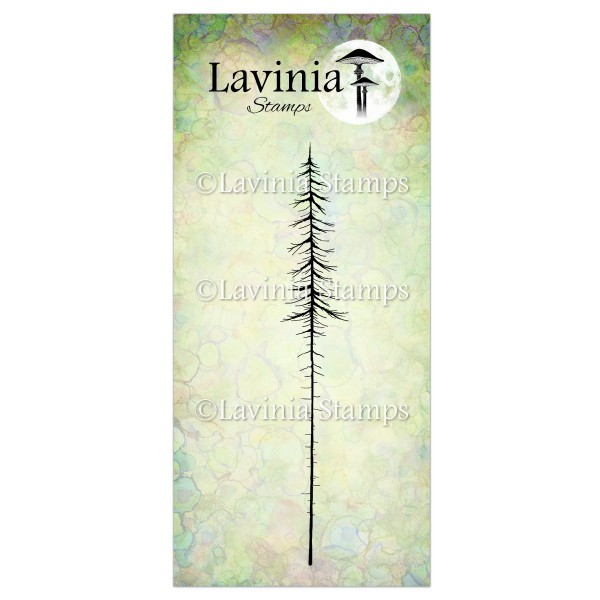 Red Pine (Small) Stamp
£6.30
Add to basket Fairy Fir Tree (Small) Stamp
£6.30
Add to basket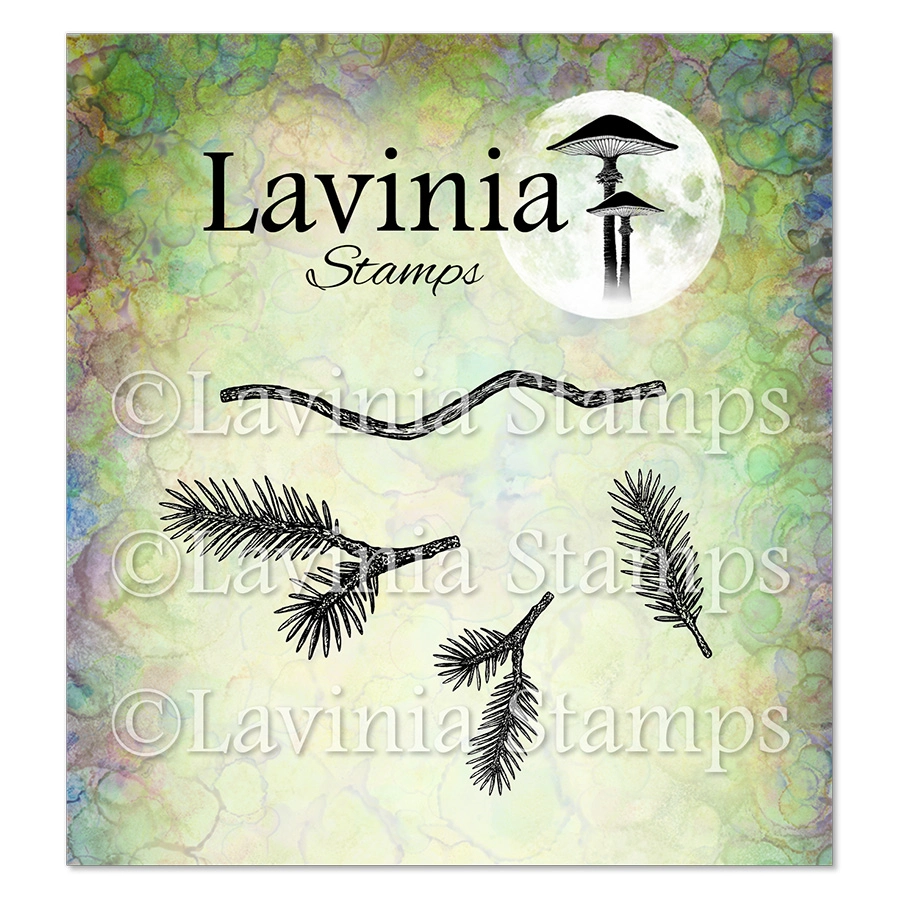 Starpine Stamp
£7.80
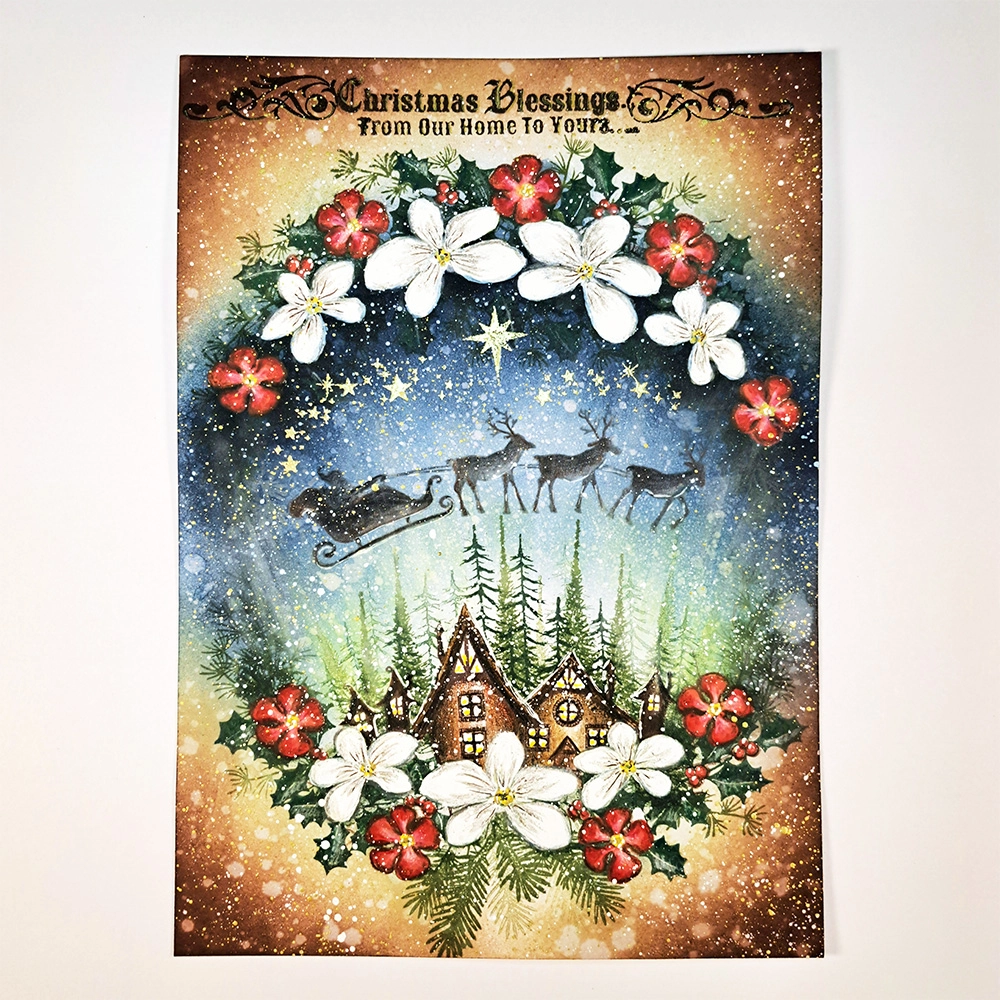
Add to basket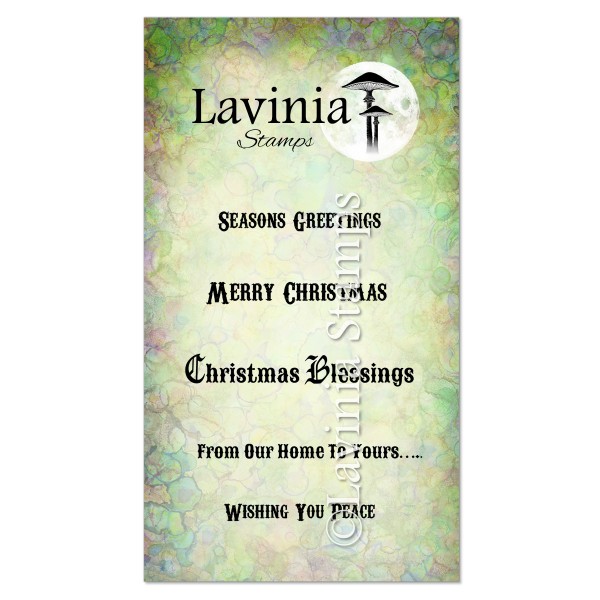 Christmas Greetings Stamp
£7.60
Add to basket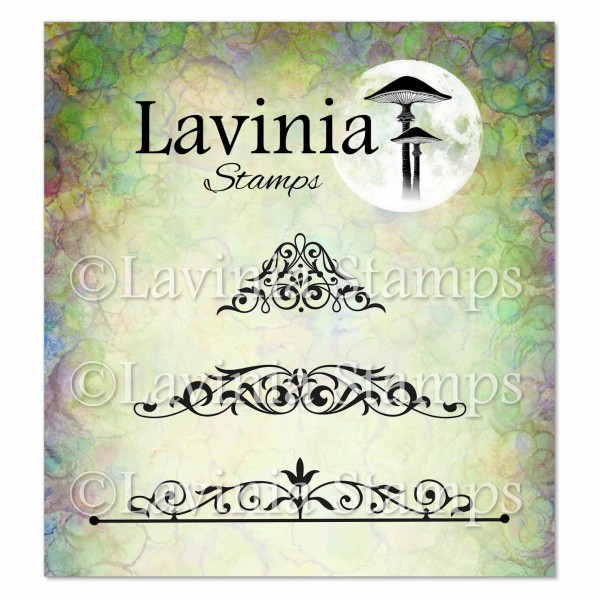 Vintage Swirls Stamp
£7.80
Add to basket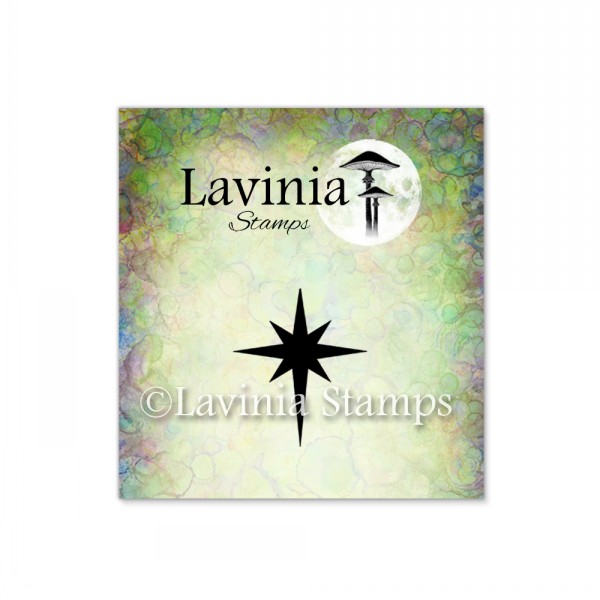 North Star Mini Stamp
£1.10
Add to basket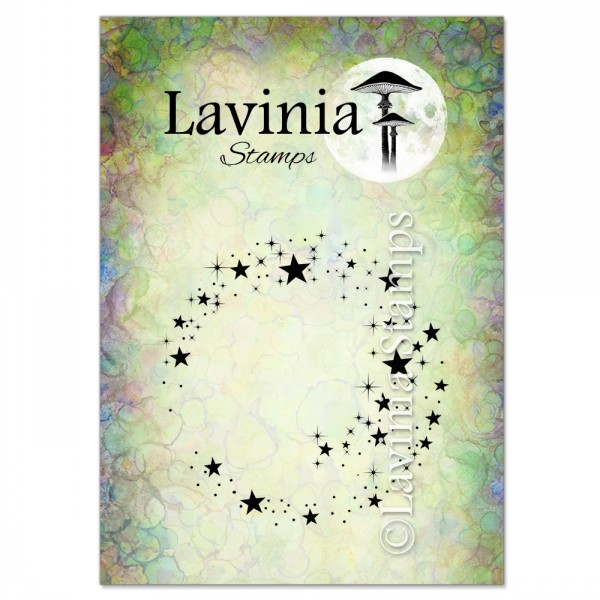 Star Cluster Stamp
£6.80
Add to basket Versafine Clair Ink Pad – Shady Lane
£5.80
Add to basket Versafine Clair Ink Pad – Pinecone
£5.80
Add to basket Versafine Clair Ink Pad – Rain Forest
£5.80
Add to basket Versafine Clair Ink Pad – Morning Mist
£5.80
Add to basket Elements Premium Dye Ink – Dark Denim
£5.85
Add to basket Elements Premium Dye Ink – Blue Atoll
£5.85
Add to basket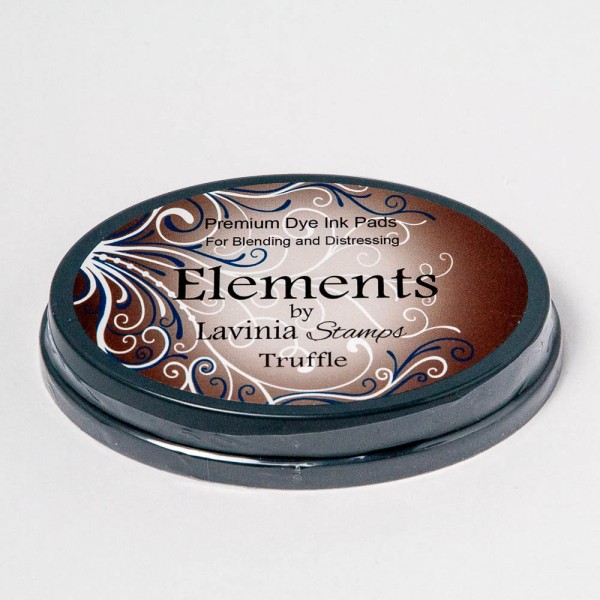 Elements Premium Dye Ink – Truffle
£5.85
Add to basket Elements Premium Dye Ink – Soft Cygnet
£5.84
Add to basket PanPastels – Hansa Yellow
£9.30
Add to basket Versafine Clair Ink Pad – Fallen Leaves
£5.80
Add to basket