Step by Step by Tina Ashton
Hi Lavinians 🧚♀️ Hope you enjoy today’s tutorial named “Star Gazing, a Christmas tree hanging decoration”, a perfect craft as both a Christmas decoration, and also to enter the creative challenge! 💚
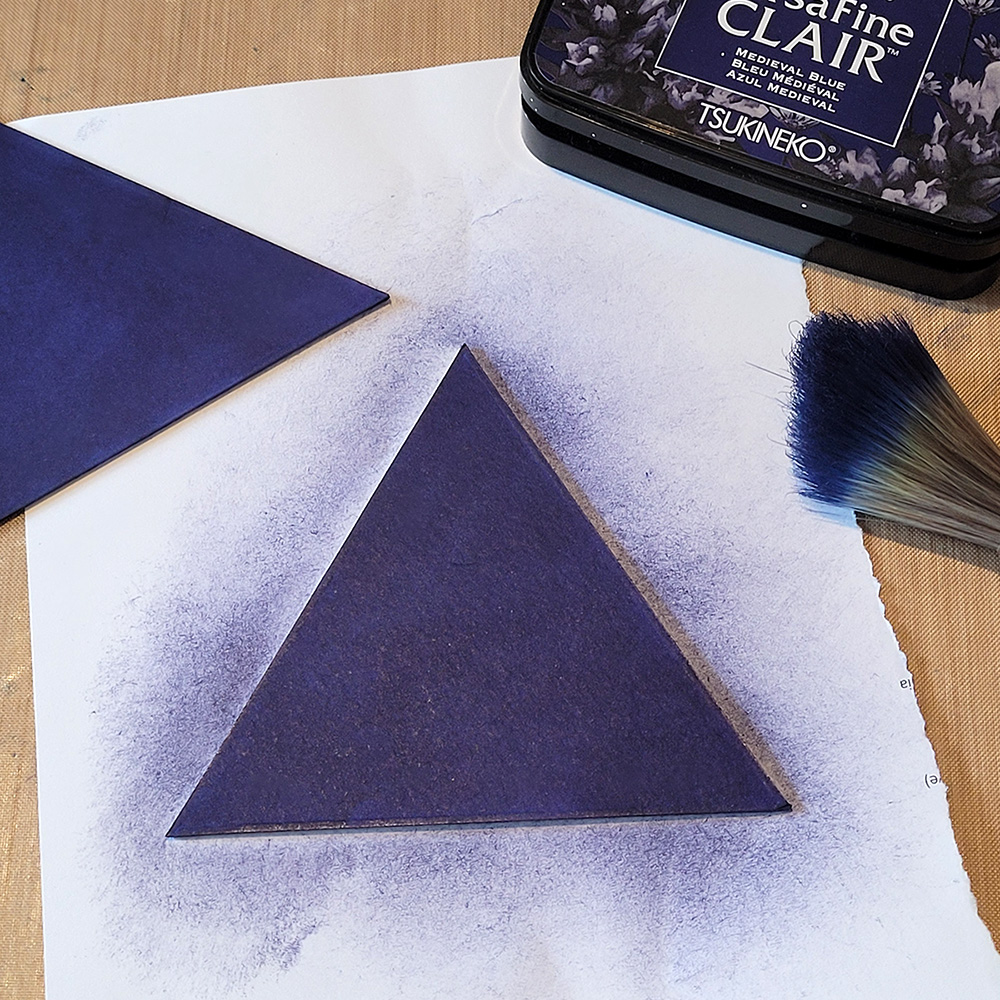
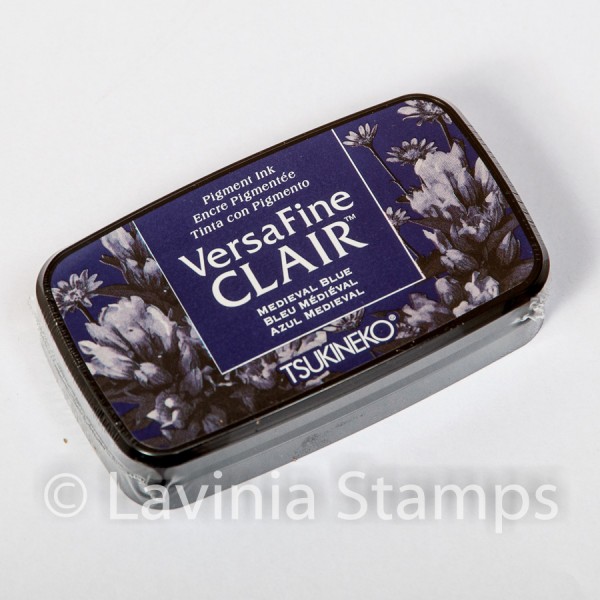
- Cut 2 x equilateral triangles from a good strong card, each side measuring 10cm and completely colour 1 side of each of the triangles in dark blue. For speed I used an alcohol marker first to get good coverage, but you can use paint or ink too. Darken the blue by adding Versafine Clair ink, Medieval Blue.
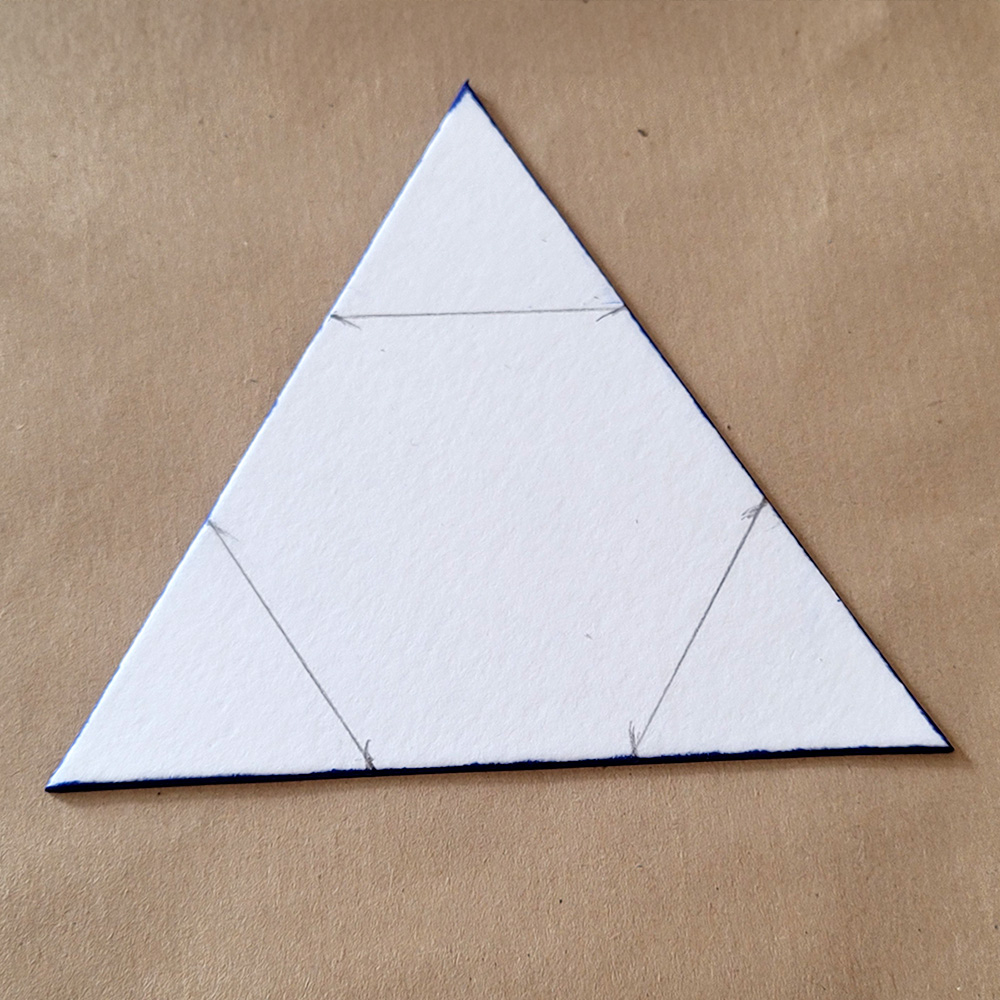
2. Run the dark blue along the long edges/sides of the triangles too. Cover all 3 long edges/sides on each triangle with dark blue pen or ink. Set one triangle aside until later. On the white side of 1 triangle make some pencil marks approximately 3.5cm in from both points on each side of the triangle. Join up the marks with a pencil line beneath each 3 of the points like this. Your triangle will now look like this.
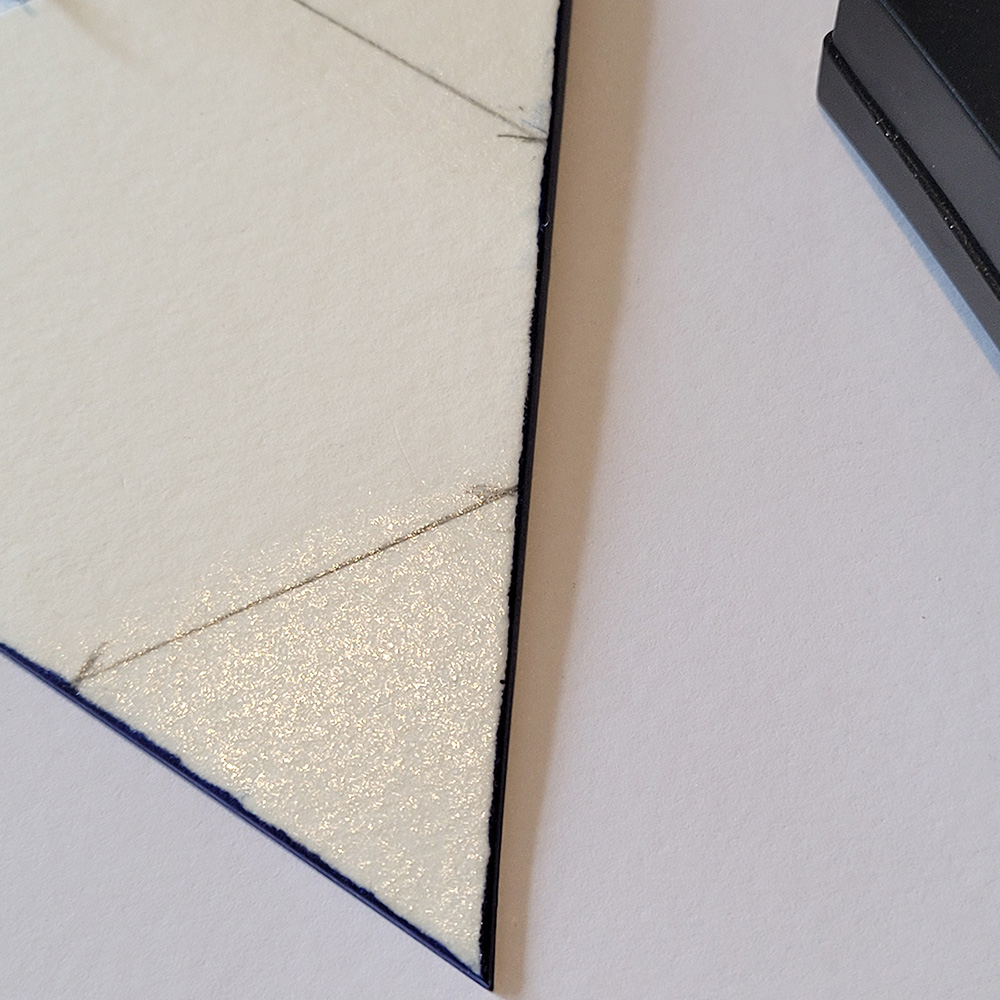
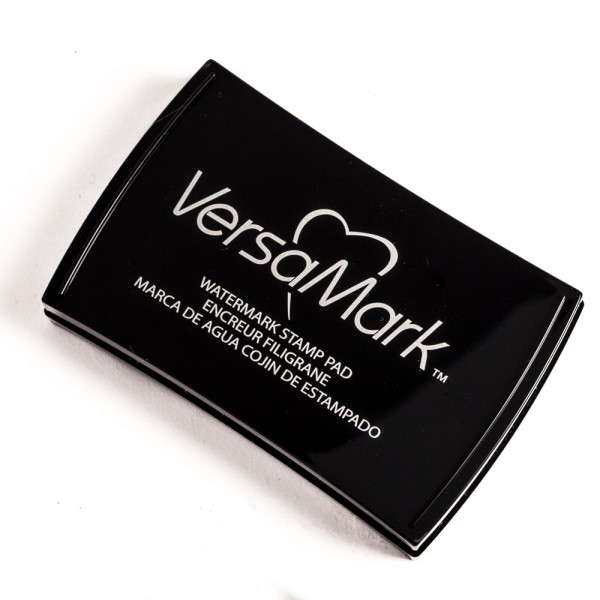
3. Sit the remaining triangle evenly on top of your one with the drawn pencil lines, just to be sure that it covers those pencil lines completely like this. Move the remaining triangle off again and set aside. I then used the Versamark Stamp (for heat embossing) across the corner of each pencil marked point of the triangle like so.
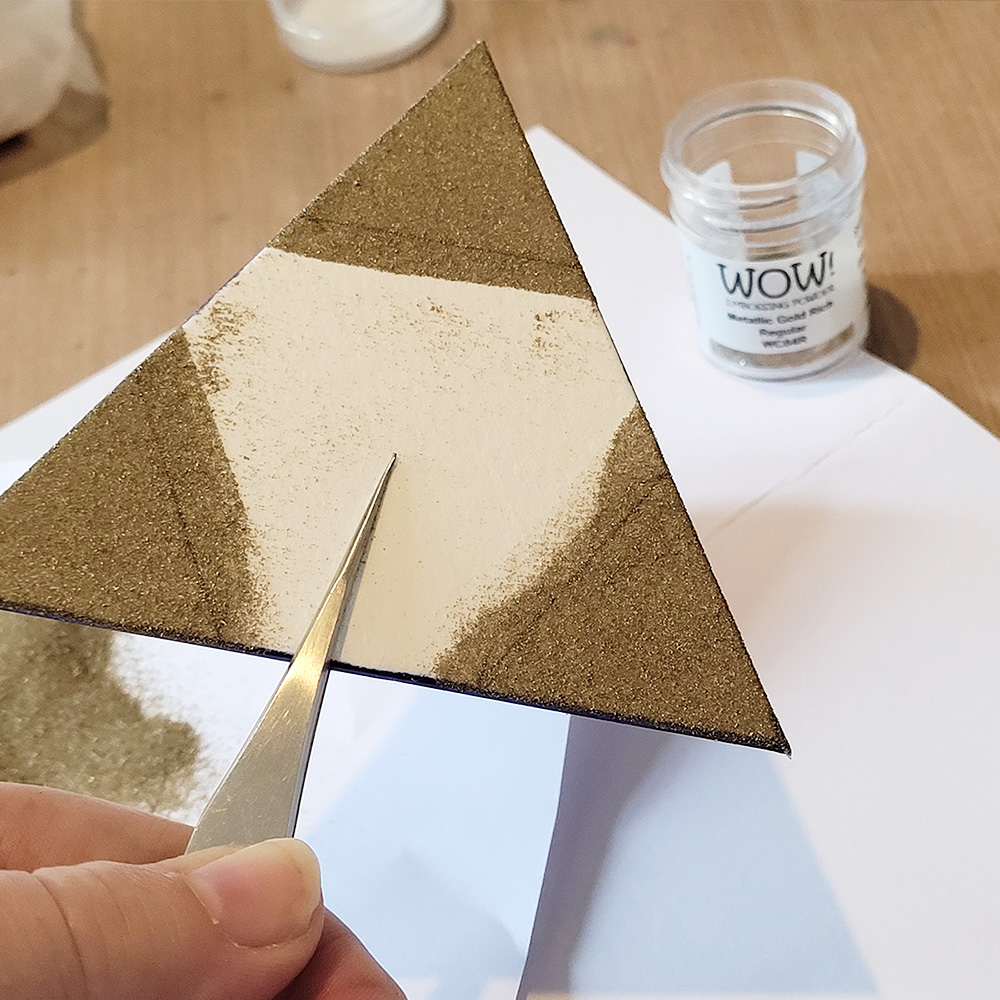
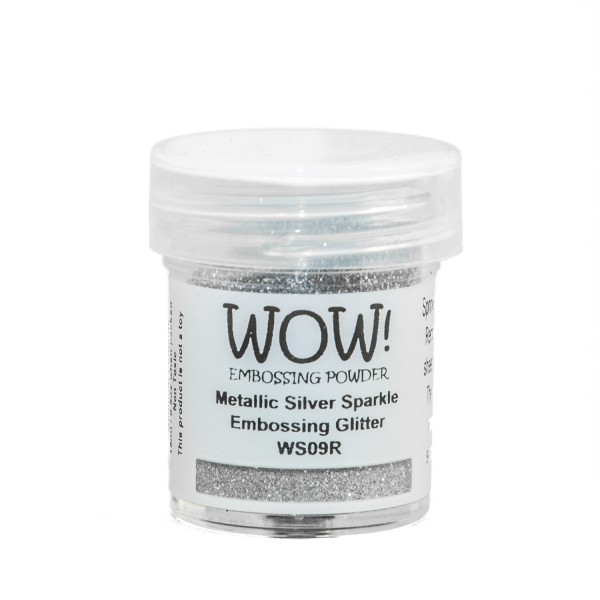
4. Next I added WoW! Gold Embossing Powder across each corner and slightly over the pencil lines. Lavinia Stamps have a gorgeous Wow! Metallic Silver Sparkle Embossing Glitter, a White Twinkle Glitter or a Metallic Platinum Sparkle Glitter which would work too!
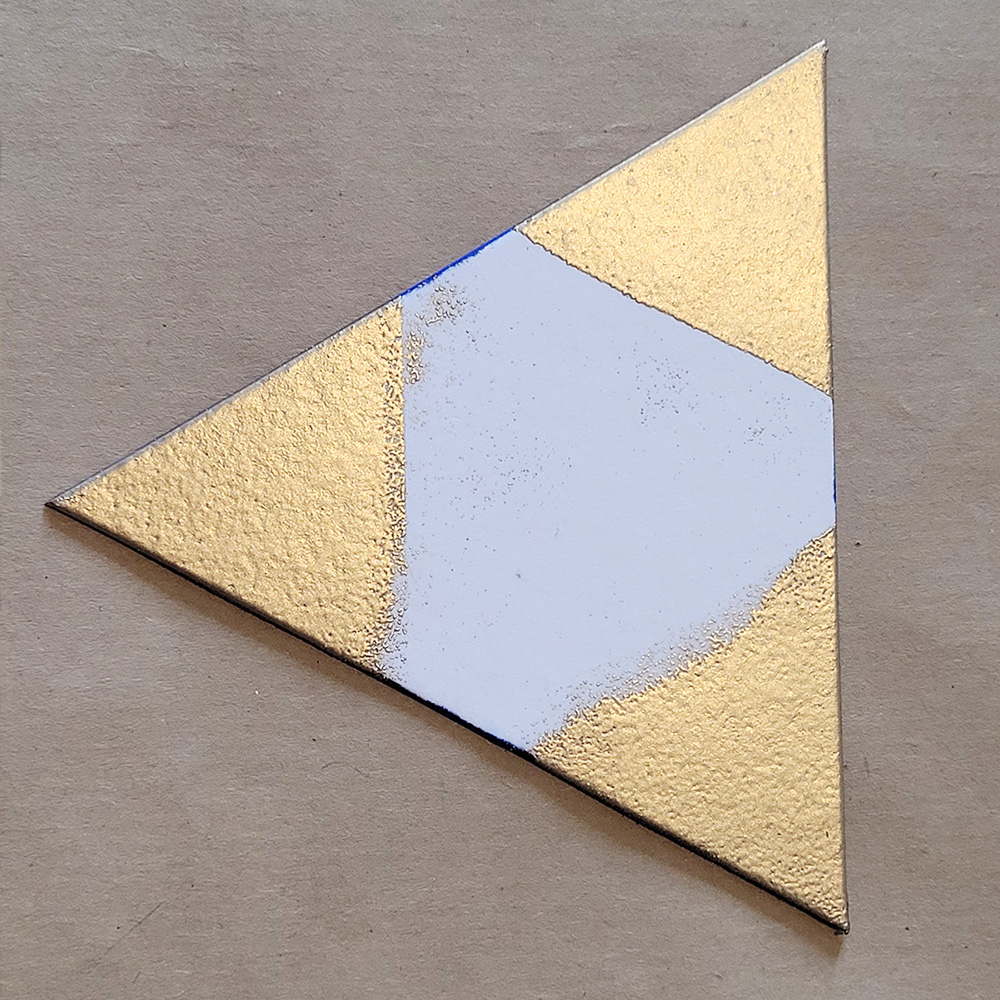
5. I then used my Heat Gun to emboss the powder on each corner. Once embossed and cooled it should look like this, or even prettier if you used a lovely Embossing Glitter!

6. Sit the other triangle evenly over the top just to be sure you covered it well with your embossing
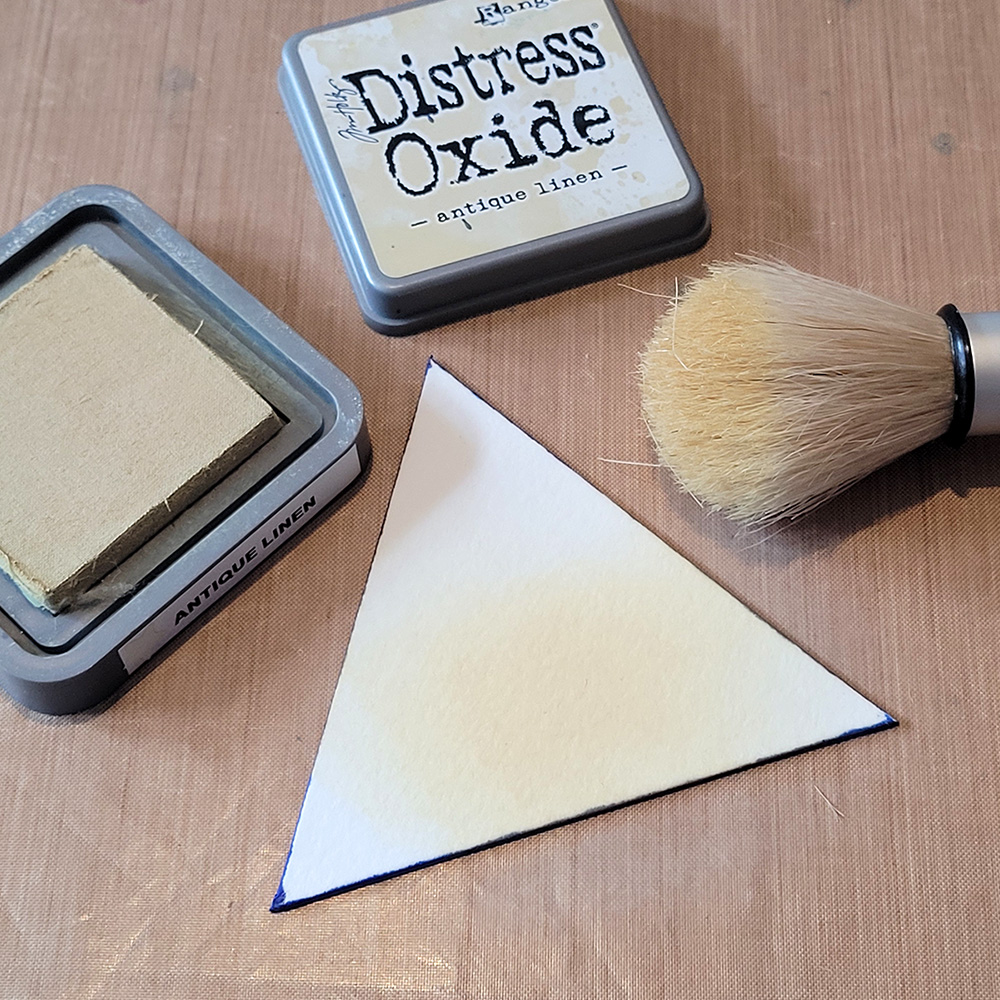
7. Now pop your embossed triangle to one side and grab your other one, with the plain white side facing up. Use a brush or other applicator to add some Distress Oxide Ink, I used Antique Linen here, but choose a nice light option. I added the ink low on the base of the triangle, centrally out towards the edges like in this photo.
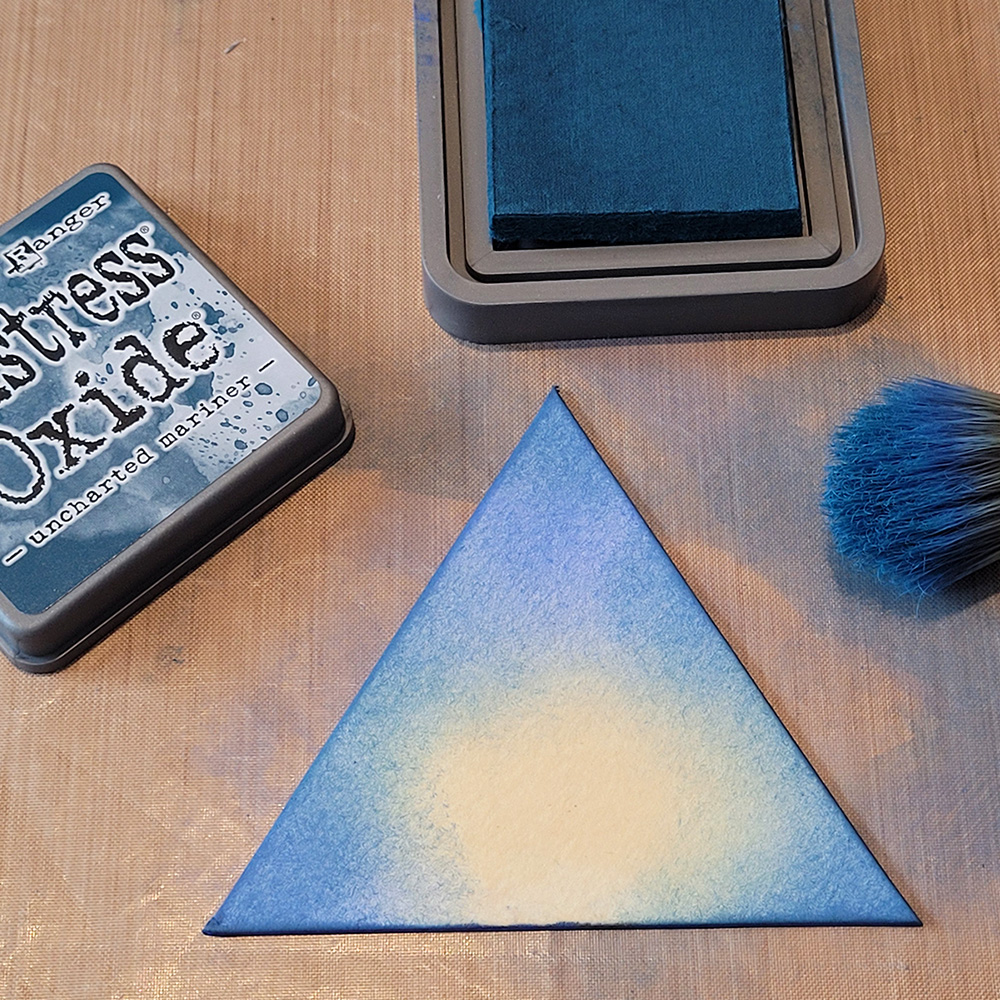
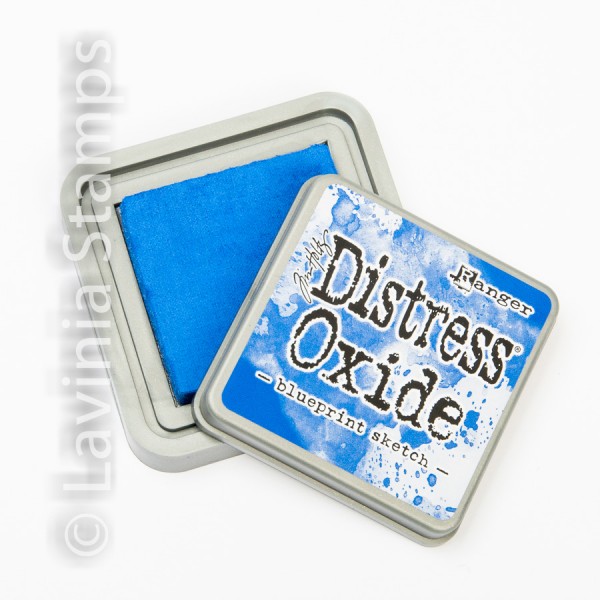
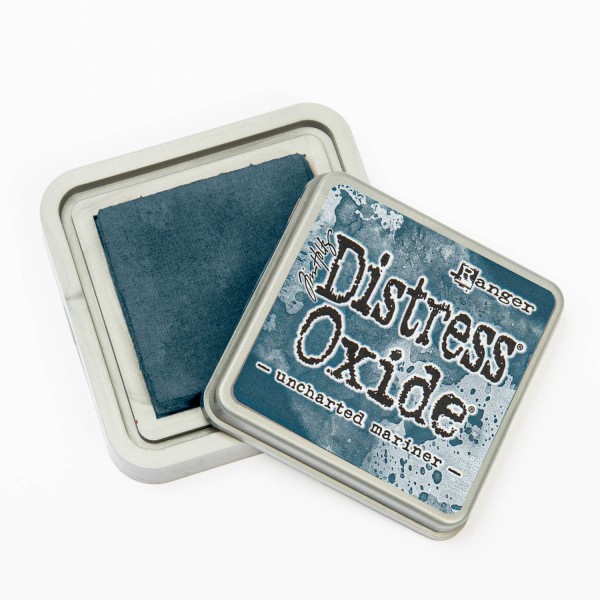
8. Add some Distress Oxide Ink in Blueprint Sketch to each of the 3 corners of the triangle. Add more Distress Oxide Ink in Unchartered Mariner again to each of the 3 corners of the triangle. This deepens the blue.

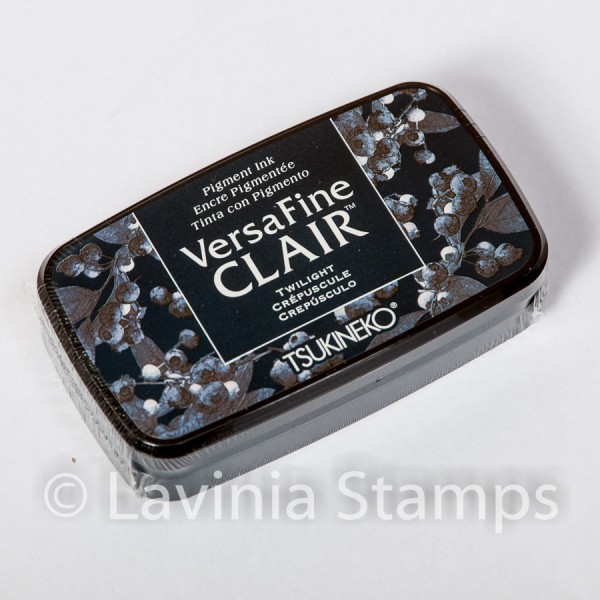
9. Grab a sheet of torn paper, or a mask, to create some ground at the bottom edge of the triangle. I used Unchartered Mariner Distress Oxide first, then I deepened it with a little Versafine Clair Twilight.
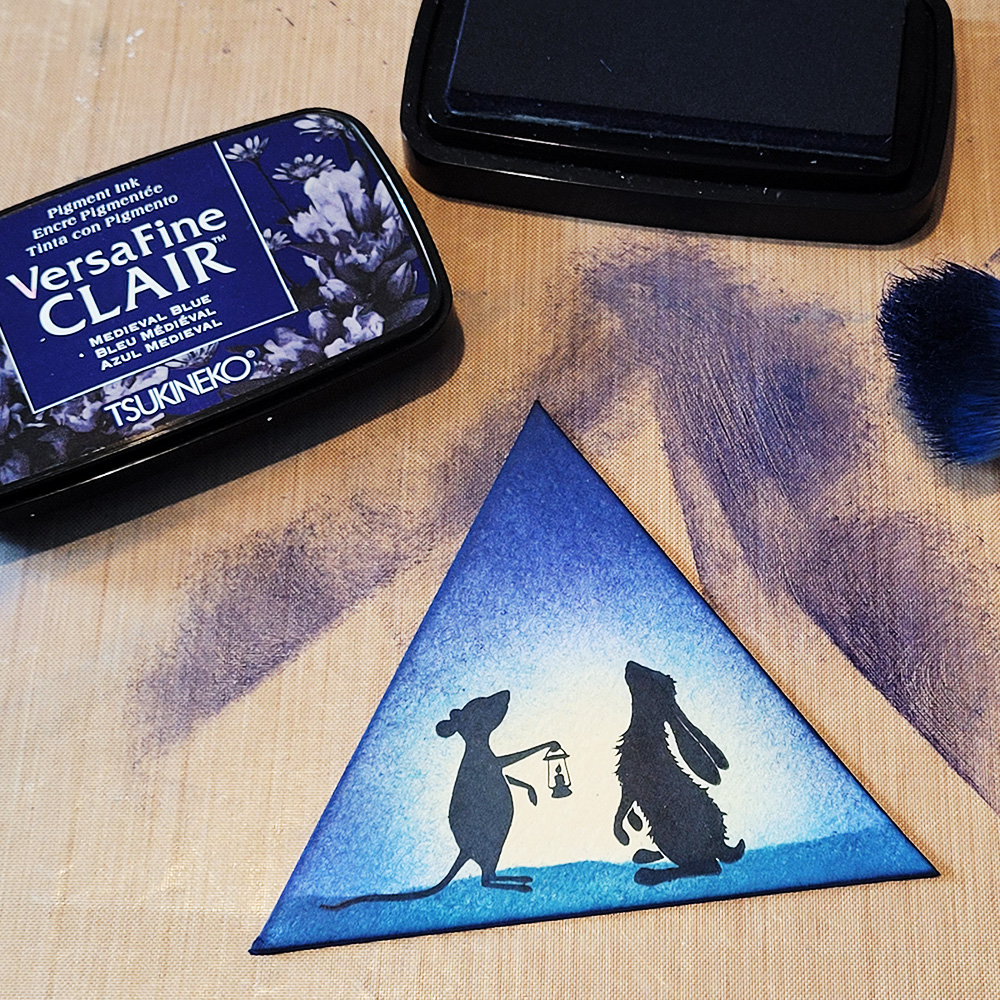
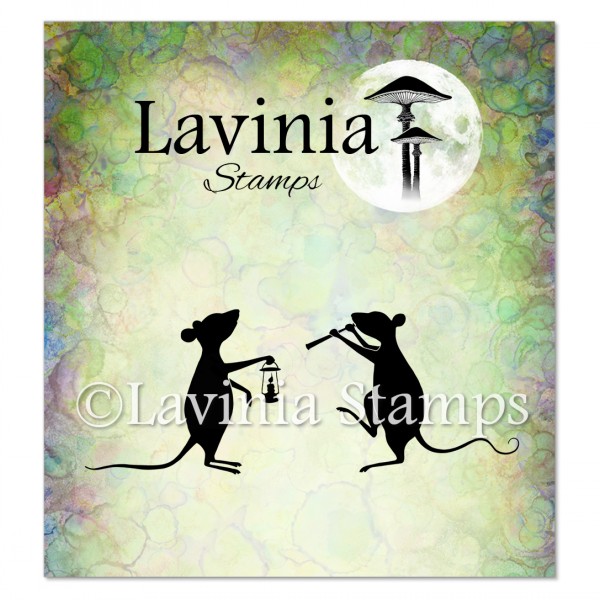
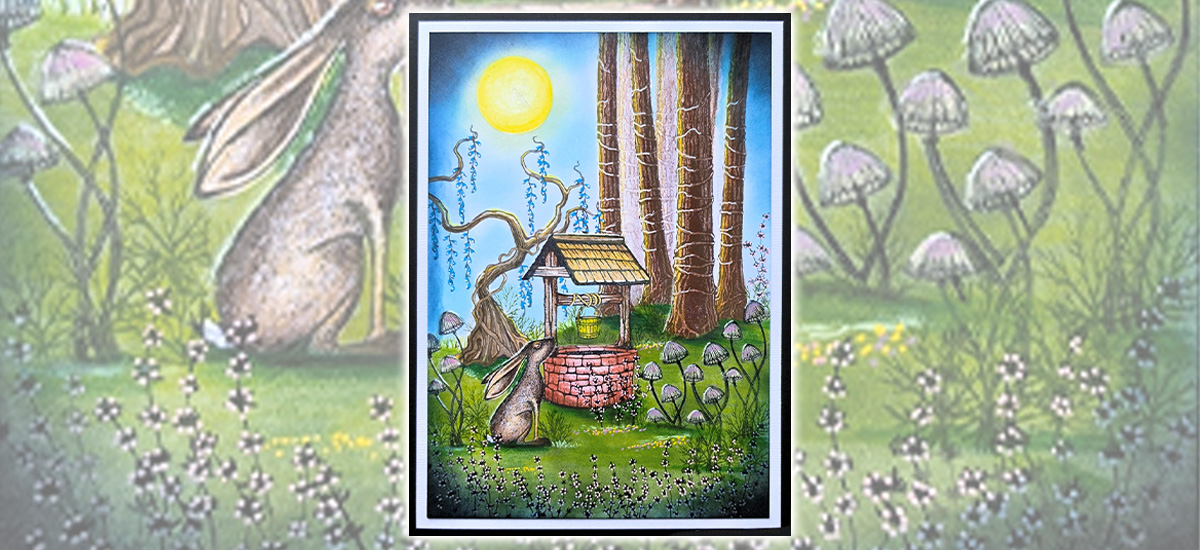
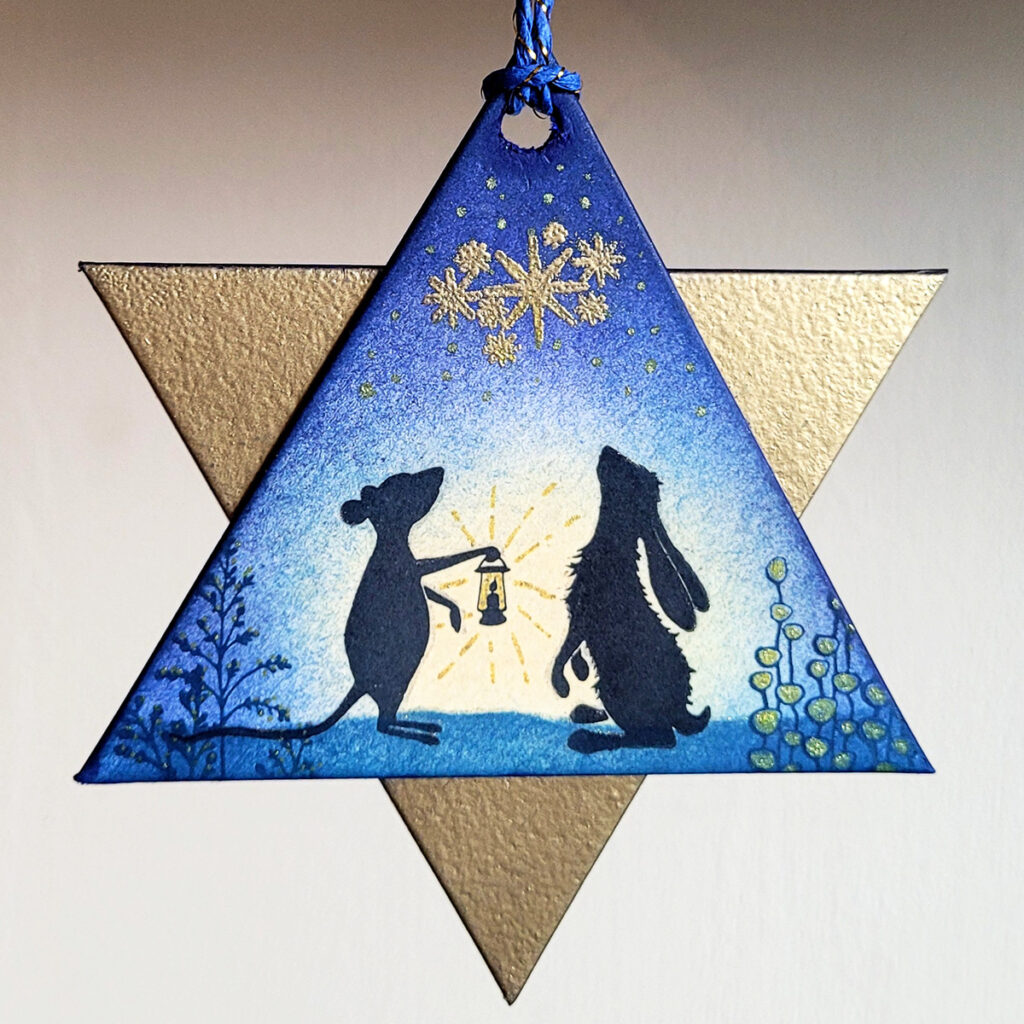
10. Stamp Basil from the Basil & Bibi Set LAV 732 and the moongazing hare from Whimsical Hares Set LAV 482 in Versafine Clair Nocturne in the middle lighter patch on your triangle, standing them both on the ground you made earlier. I then decided the sky needed to be darker so added some Versafine Clair Medieval Blue to the top of the triangle and along the edge on both sides coming down, just a little.
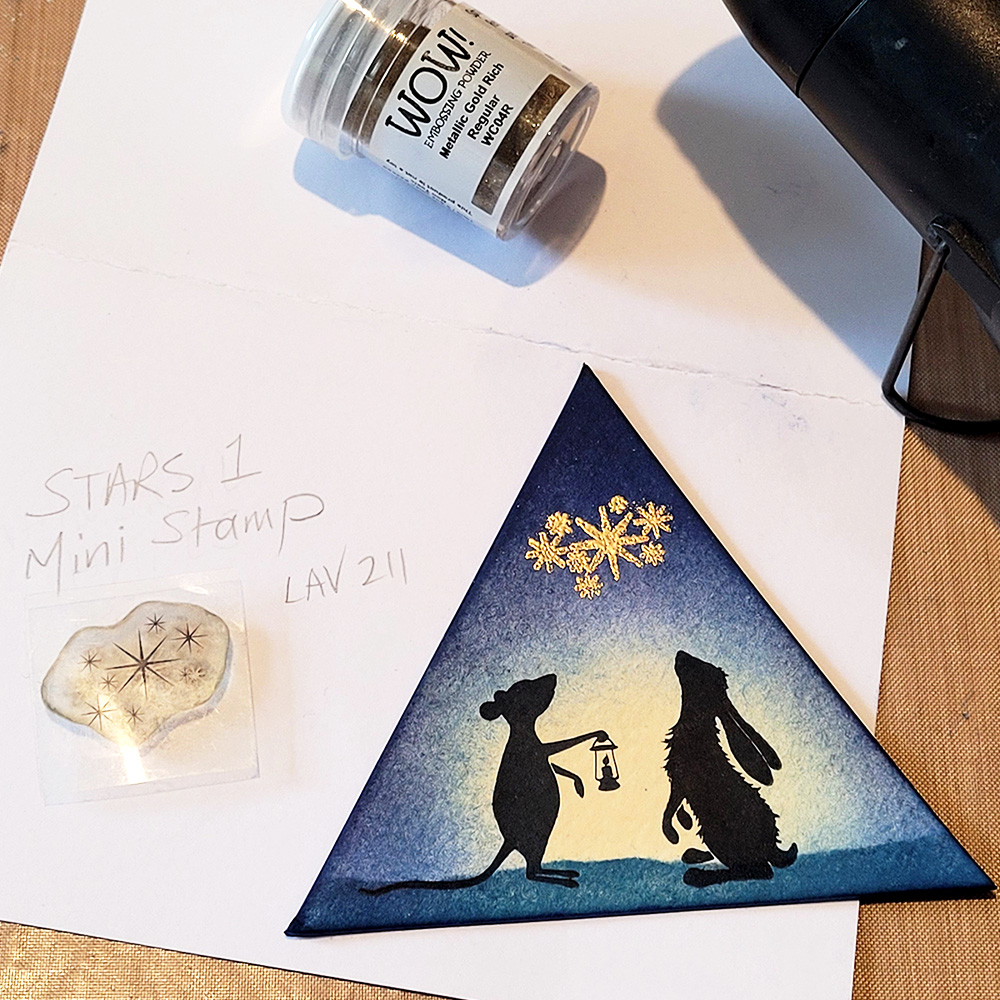
11. Once again, I got my Heat Embossing Gun ready, making sure the ink was dry first on my triangle. Then I used the Magic Anti-Static Pad and wiped it across the top corner of the sky, ready to take the Versamark. Grab your Stamp, this time STARS 1 Mini Stamp. Stamp it across the top of the sky, up towards the triangle point, with Use your Lavinia Embossing Glitter as mentioned in Step 4 above for best effect. I used a gold embossing powder and set it with my heat gun. Let it cool.
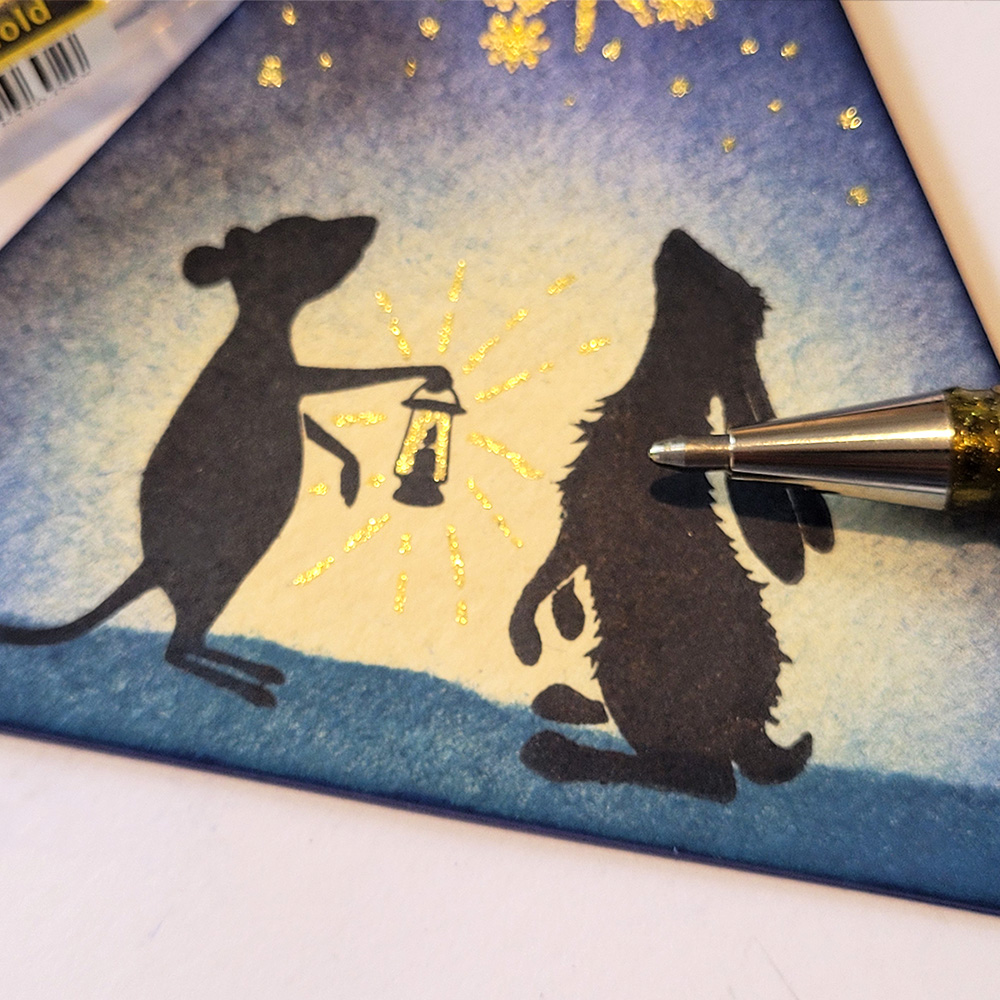
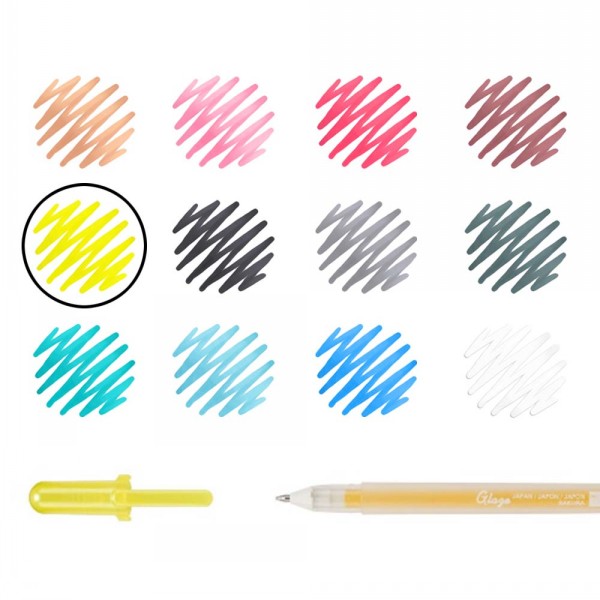
12. With a metallic pen, Gelly Roll pen, Posca Pen or whichever pen best matches your embossing glitter, add some more dots around the stars for a fuller starry sky. Then again with your metallic pen add some sparkle to the little lamp that Basil is holding. You could use stickles or the lovely Lavinia Starbrights too.
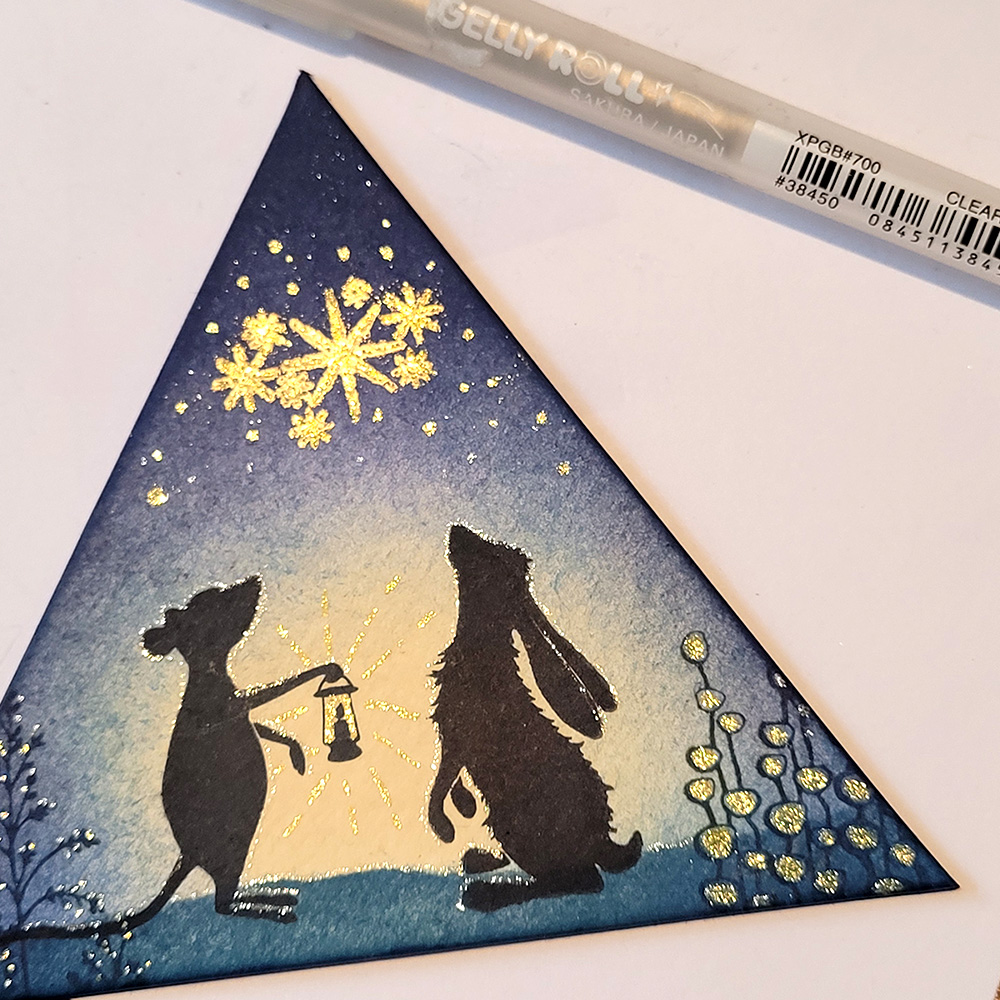
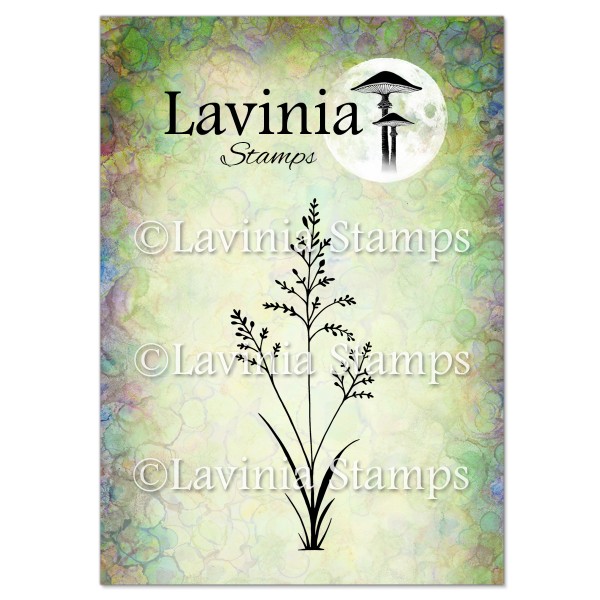
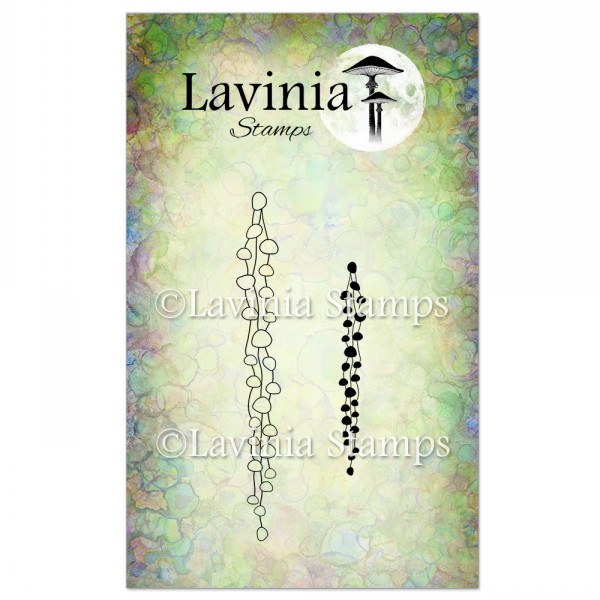
13. Stamp Orchard Grass LAV672 and Thimbleweed LAV872 in the bottom right & left corners a few times using Versafine Clair Twilight. I then added a little sparkle to Thimbleweed on the right with my metallic pen. I also added a little sparkle to the tops of the Orchard Grass with my pen and a clear star Gelly Roll pen to highlight the top and edges of Basil and the hare.
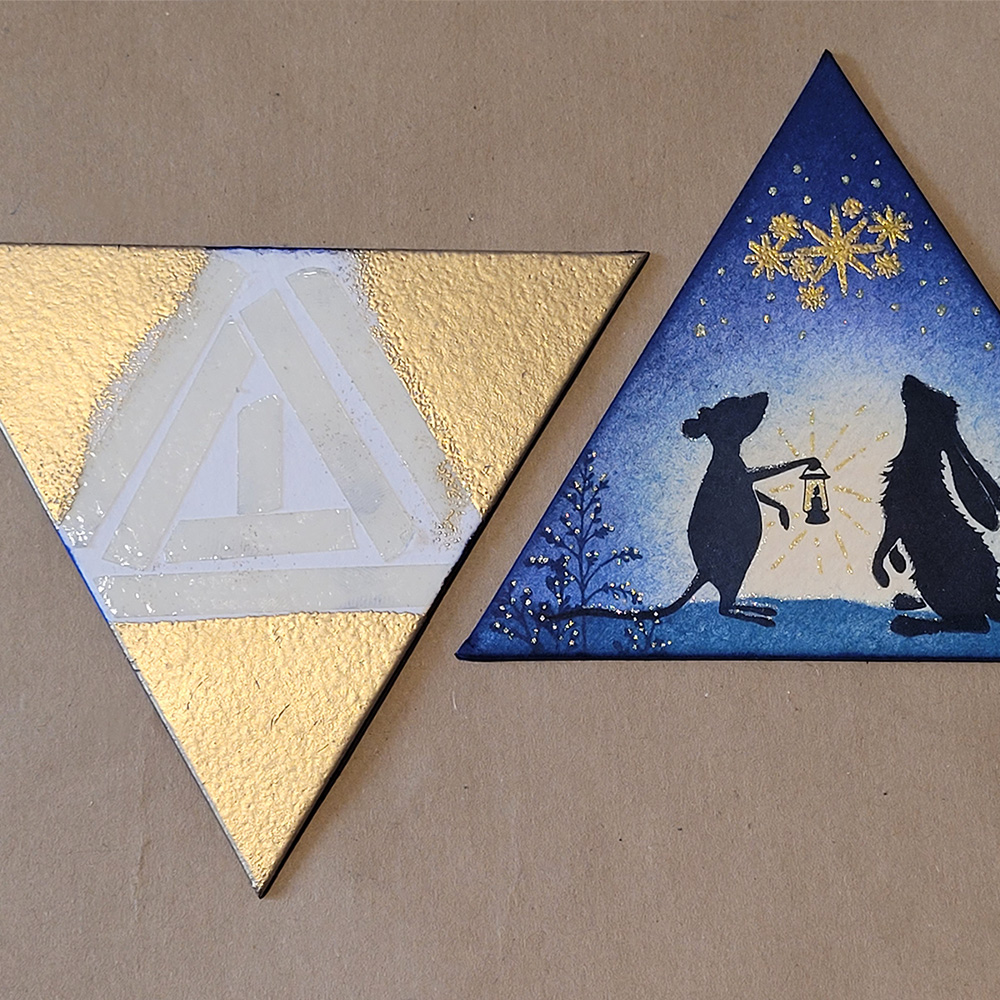
14. Your little scene is now complete so grab your other triangle, the one with the embossed corners that you set aside earlier. Using some glue, or extra strong double sided tape cover the central white part well. Get it ready to add your other triangle (with your scene facing up). Be careful lining it up so that it is as straight as possible, then stick it down firmly to your embossed triangle so that the 3 sparkly corners of the embossed triangle show evenly.
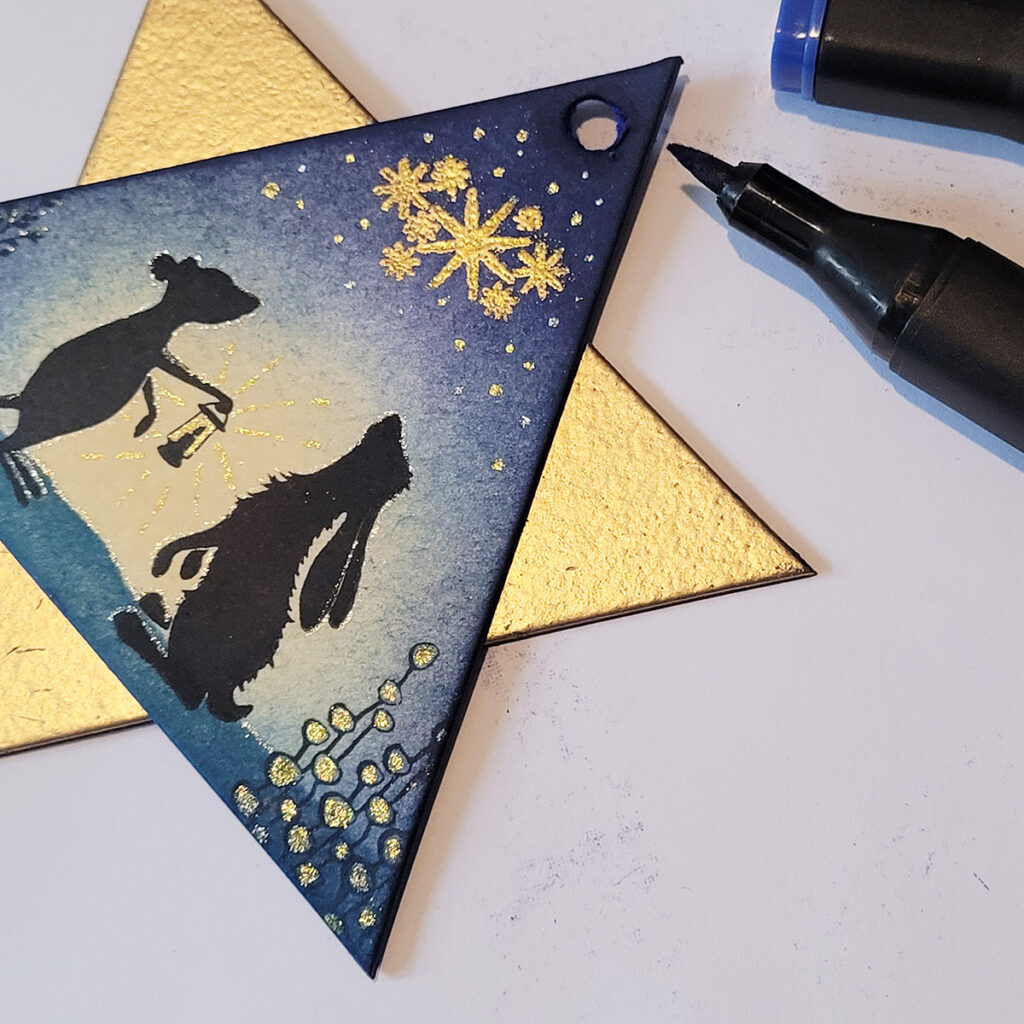
15. You now have your Star! Once it is dry and secure you need to make a hole at the top of the star, so mark it first with a pencil just above your starry sky. Make your hole. I did mine with a hole punch. To cover up my bad hole making I added some blue pen in the hole to cover up my mess a little. Hopefully you won’t need to do this.
16. I then added some blue & gold string that I had in my stash to the top for hanging my triangle. It would also look just as lovely with a piece of ribbon. I hope you now have a pretty Star Gazing Star to hang on your Christmas Tree this year and you enjoyed my little step by step tutorial.