Step by Step by Mona Hauge
Hello everyone, Mona here 🧚♀️
Hope you all are enjoying some creative time.
Today I share this picture tutorial called “Star Gazing with Friends ”
Hope you like it.
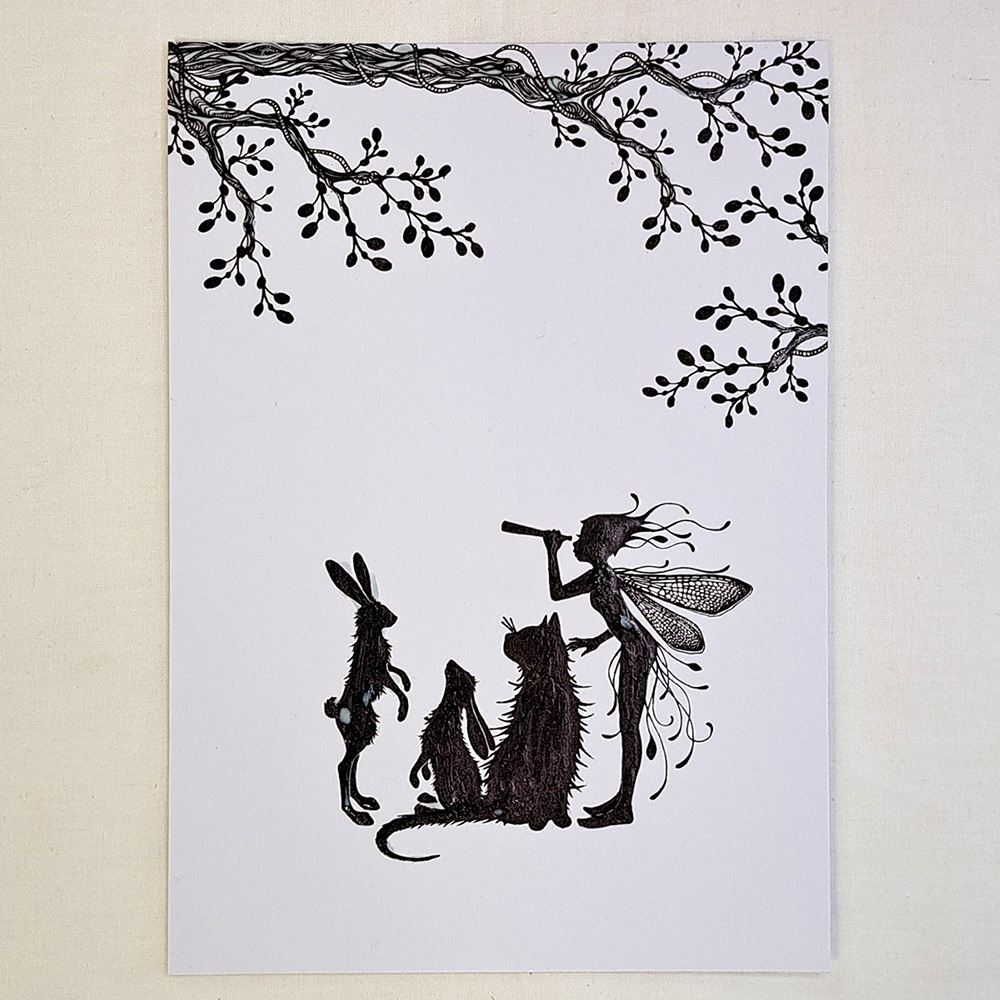
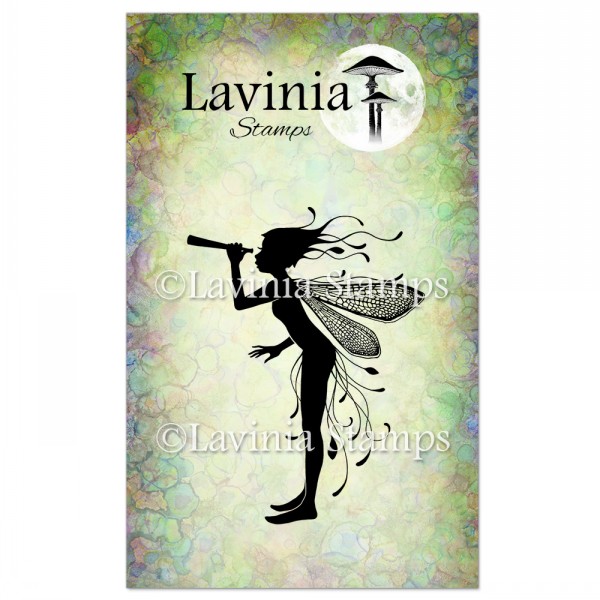
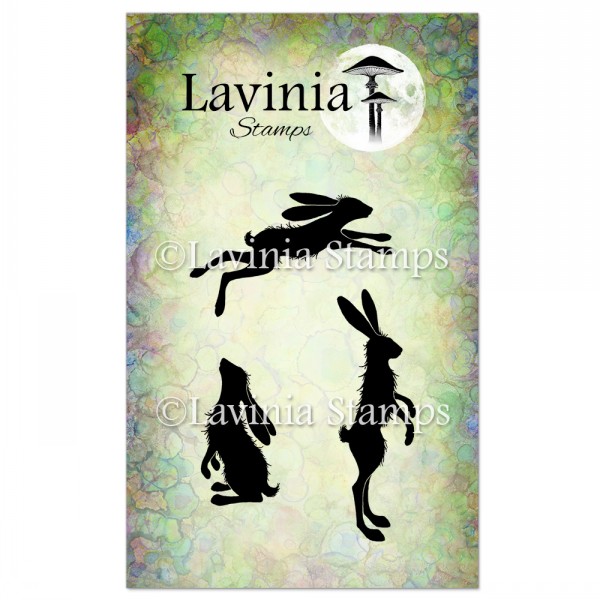
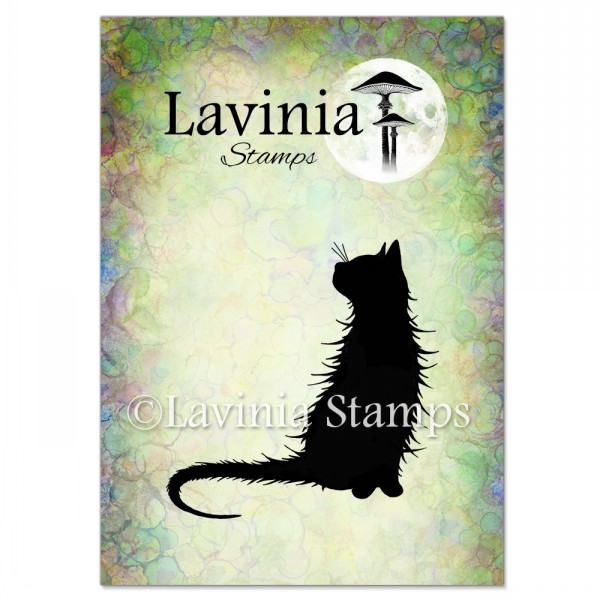
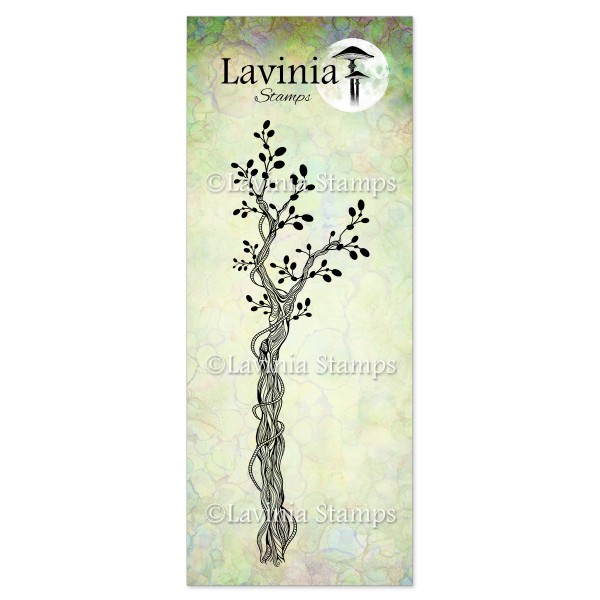
Using some A5 Multifarious card stamp the lovely Scout Small LAV859, Whimsical Hares LAV482 and Mooch LAV404 all in Versafine Clair Fallen Leaves. Make sure to have them standing together close enough so they all fit on the Forest Arch LAV871. Next stamp the Vine Branch LAV811 in Versafine Clair Fallen Leaves. Put Liquid Masking fluid on everything.
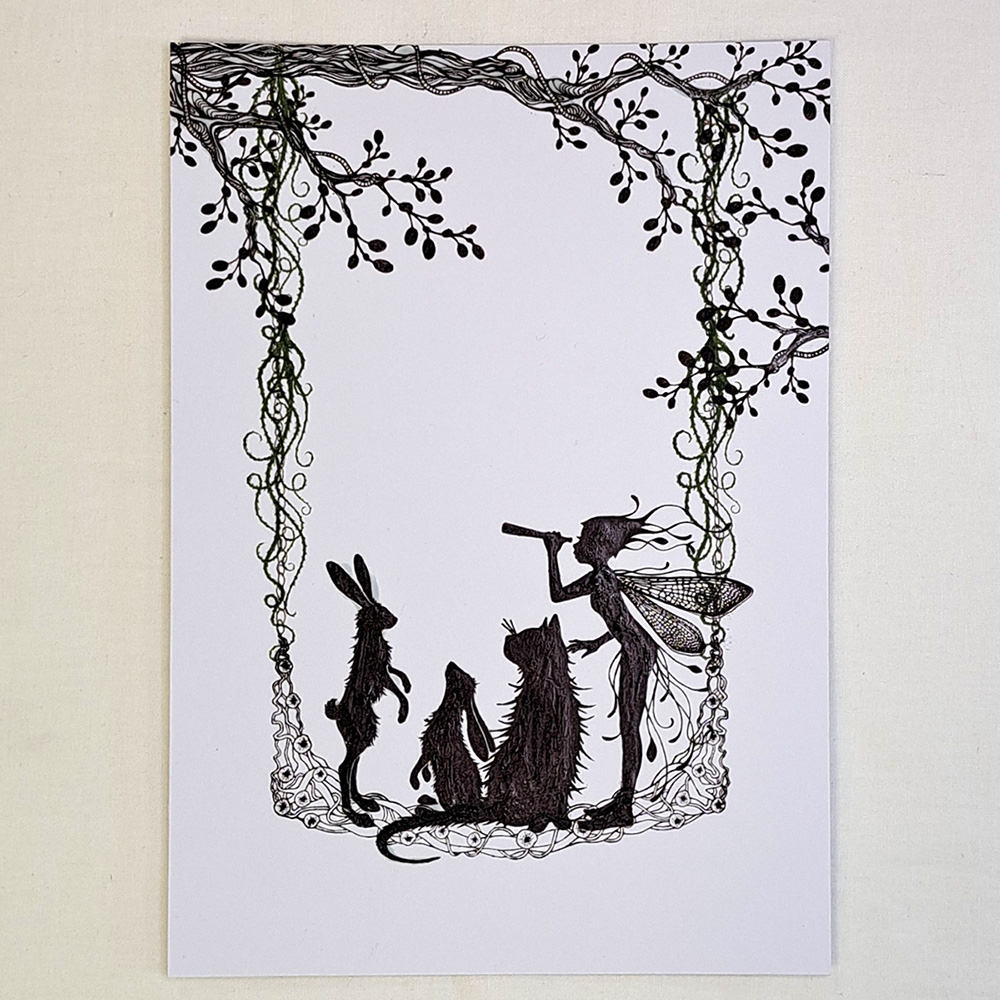
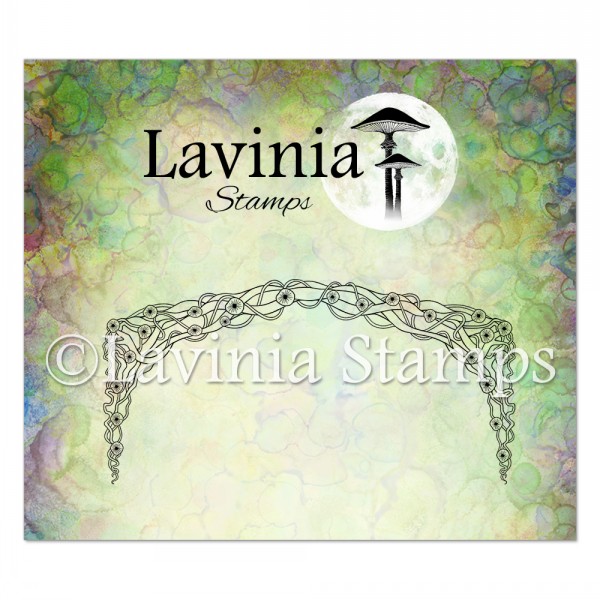
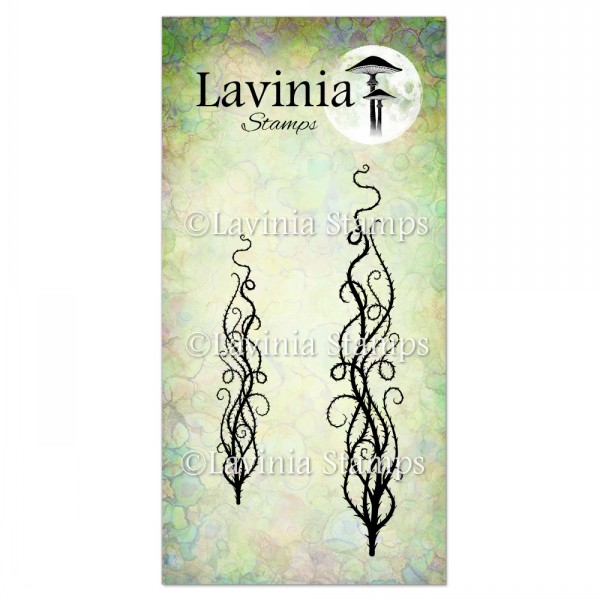
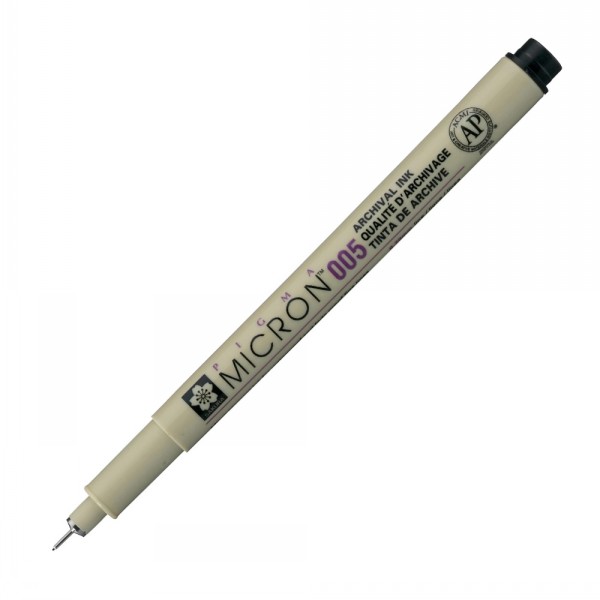
2. Now stamp the Forest Arch LAV 871 in Versafine Clair Fallen Leaves like you see in the picture. Use a Micron pen to draw chains so the Forest Arch becomes a swing hanging from the Vine Branch. To make it softer we stamp the fabulous Dragons Thorn LAV864 so they wrap around the chains. Stamp the Dragon Thorne in Versafine Clair Shady Lane and Versafine Clair Rain Forest.
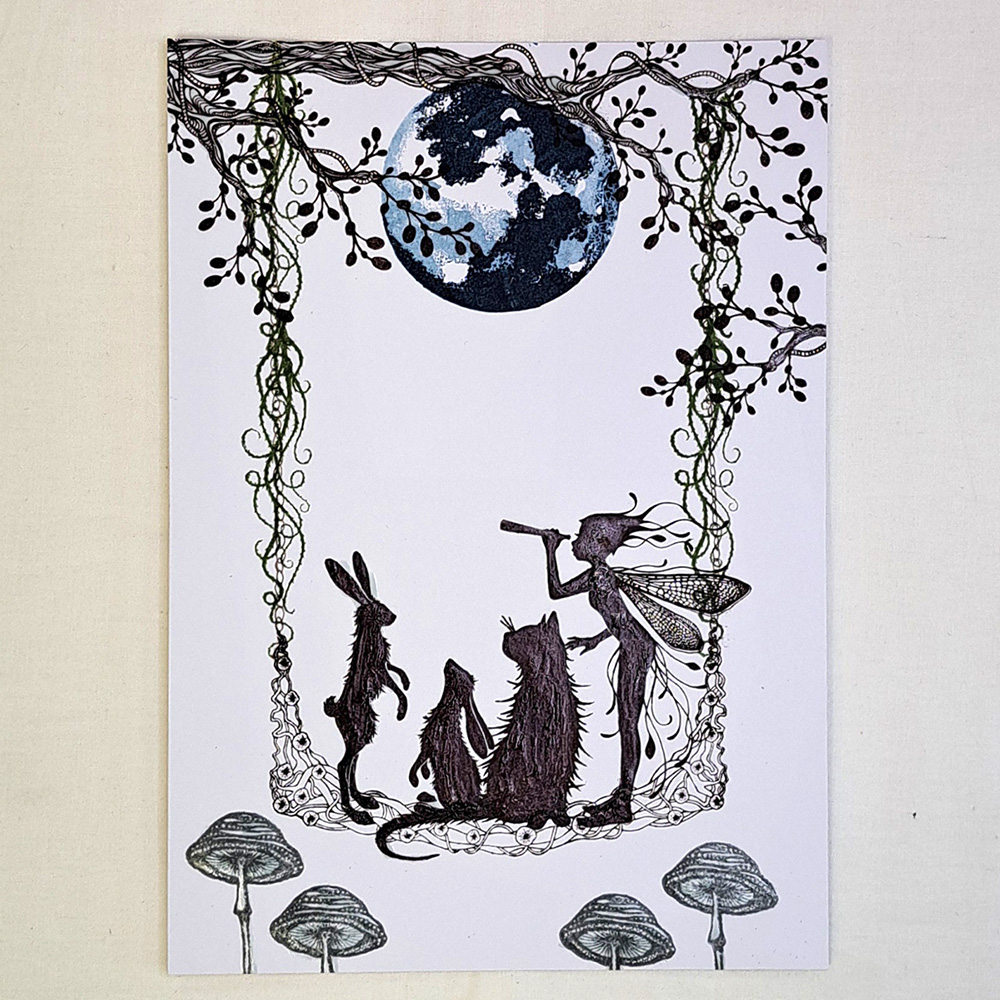
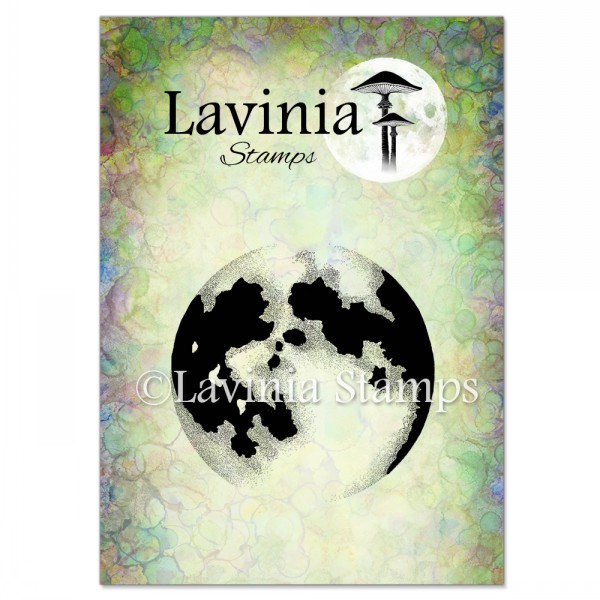
3. Stamp the Moon LAV431 in Versafine Clair Twilight. Stamp once and without reinking, turn the stamp slightly clockwise and do a second generation stamping on top of itself.
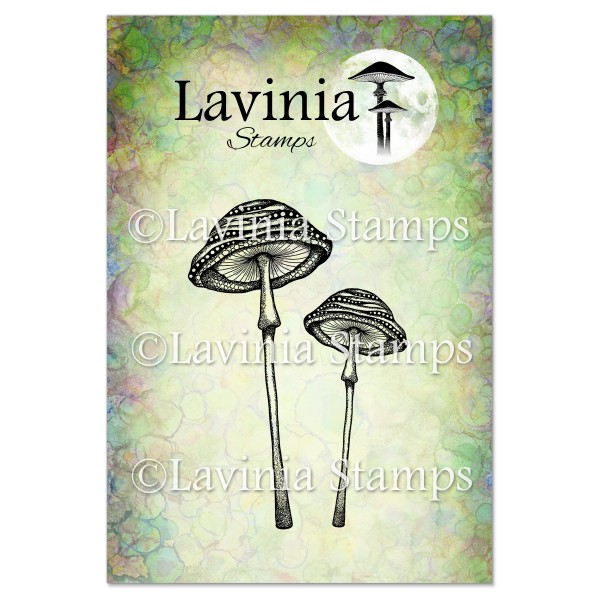
Next stamp some Snailcap Mushrooms LAV852 in Versafine Clair Morning Mist.
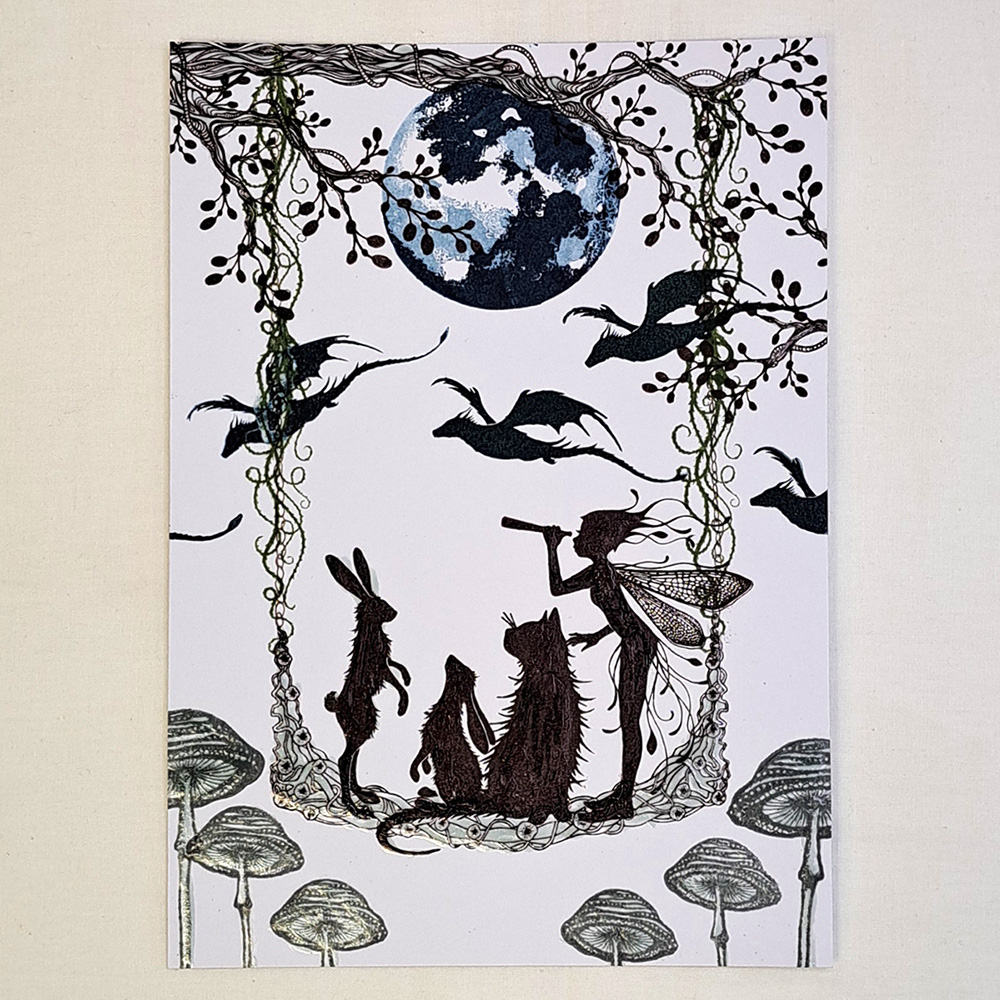
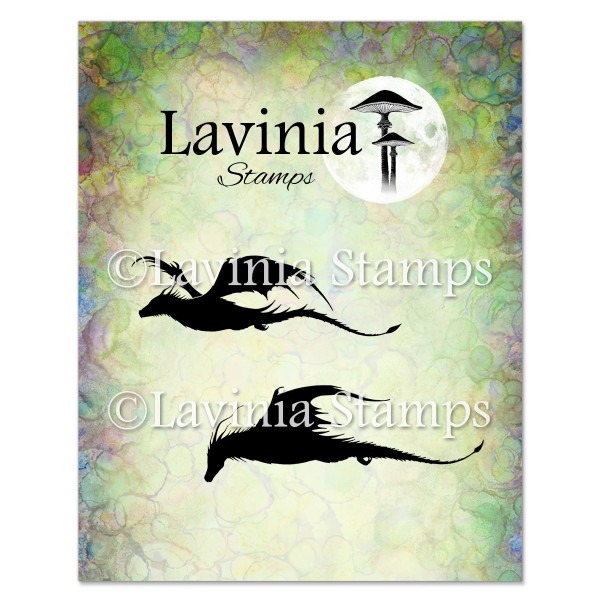
4.Cover the Forest Arch, mushrooms and some of the Dragon Thorne with Liquid Masking fluid then stamp the Dragon set LAV552 in Versafine Clair Twilight.
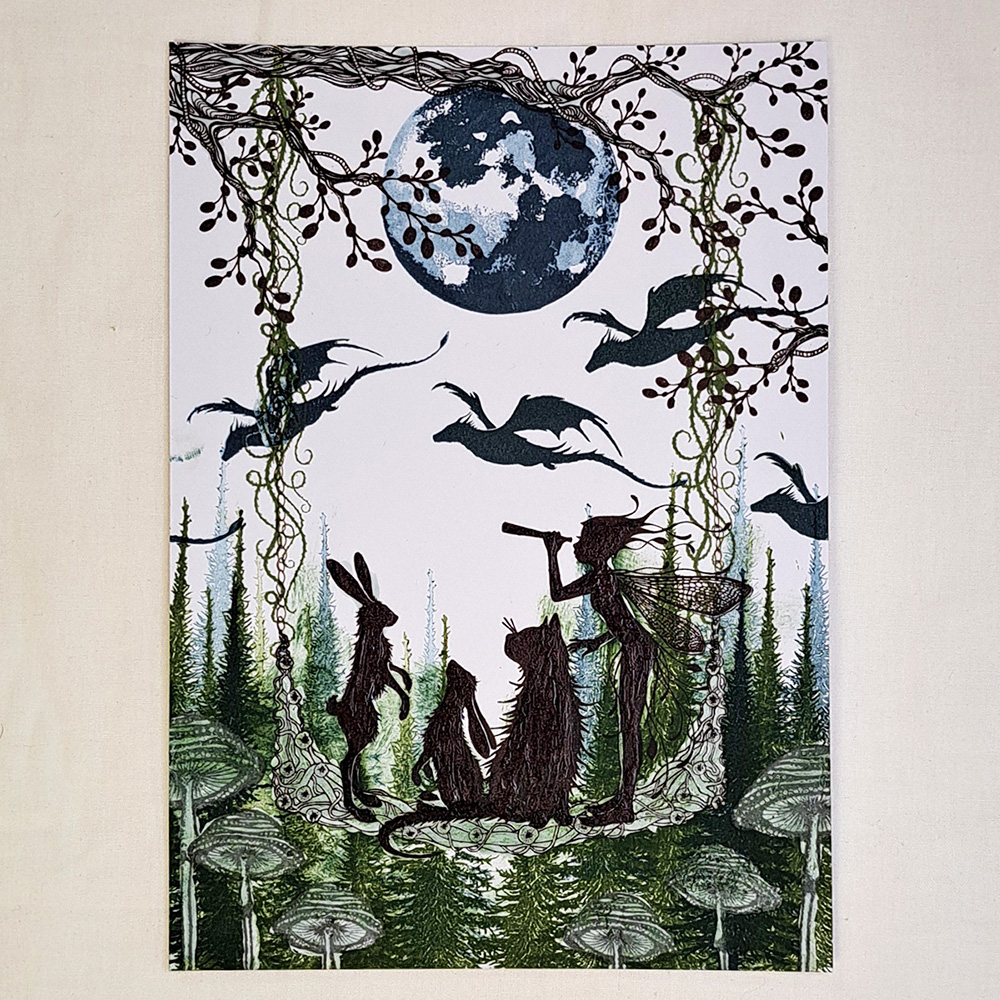
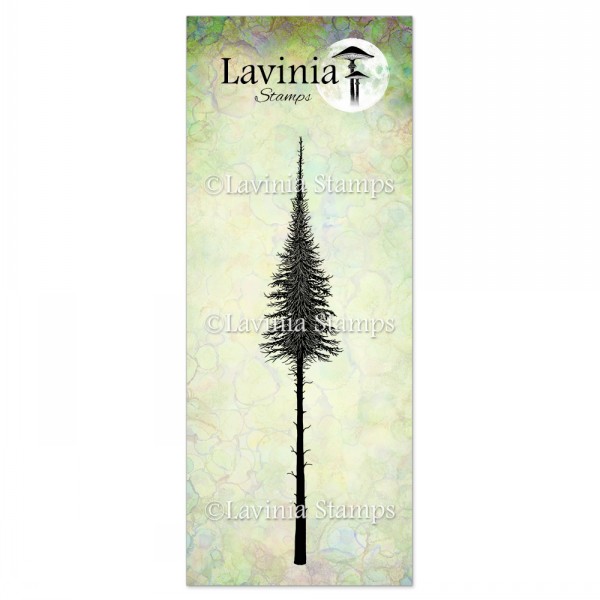
5. Now we need a huge Forest in the background so we will use Fir tree LAV478 and stamp it in Versafine Clair Shady Lane, Rain Forest and Twilight. Do all colours and do both first, second and third generation stamping. This creates a huge Forest.
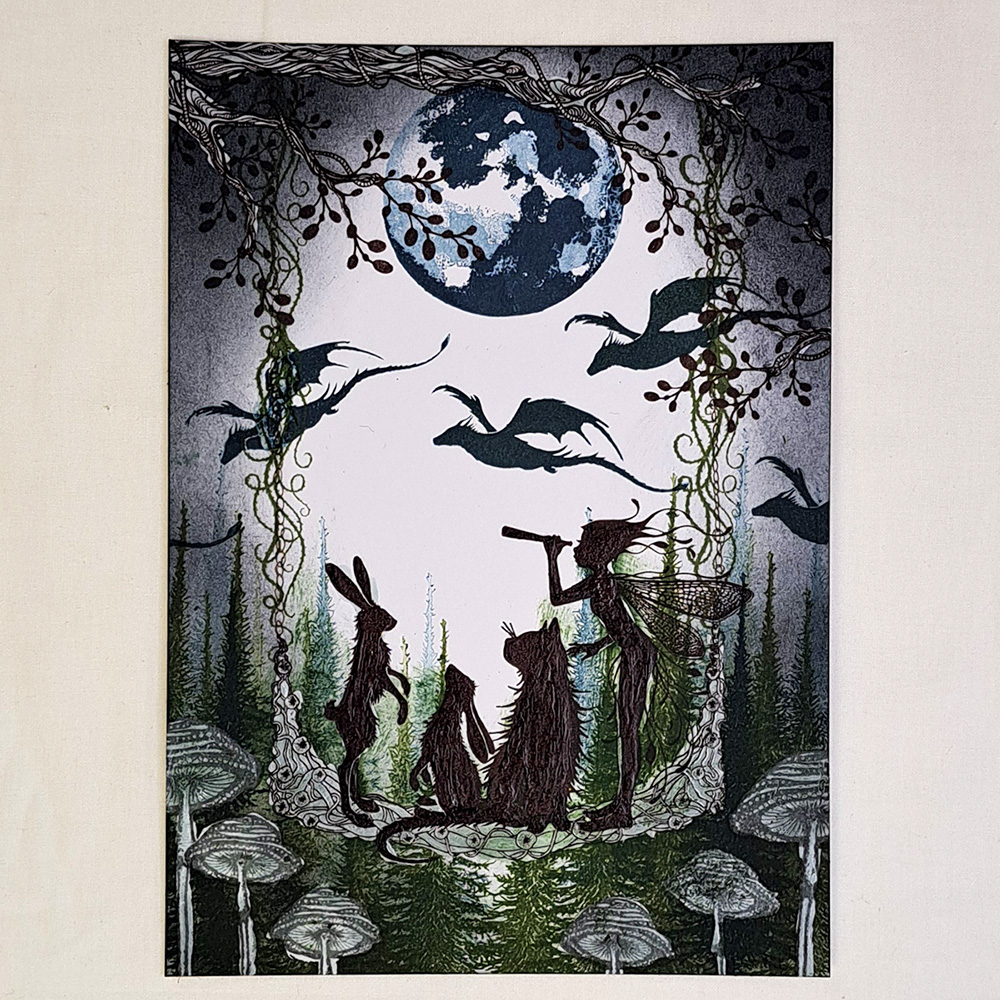
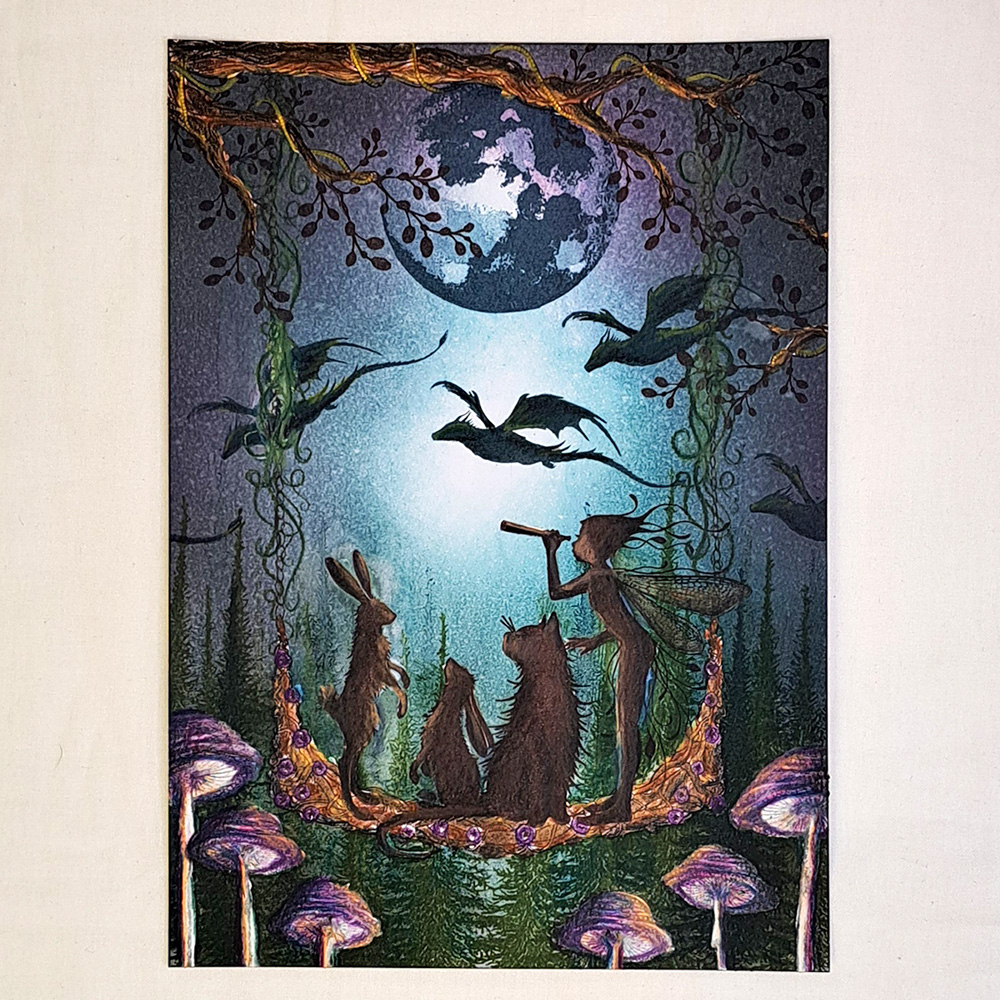
6. Now to create a night time feeling blend in some Elements Graphite. Use a lot of ink on all sides and fade the colour in towards the centre like you see in the picture.
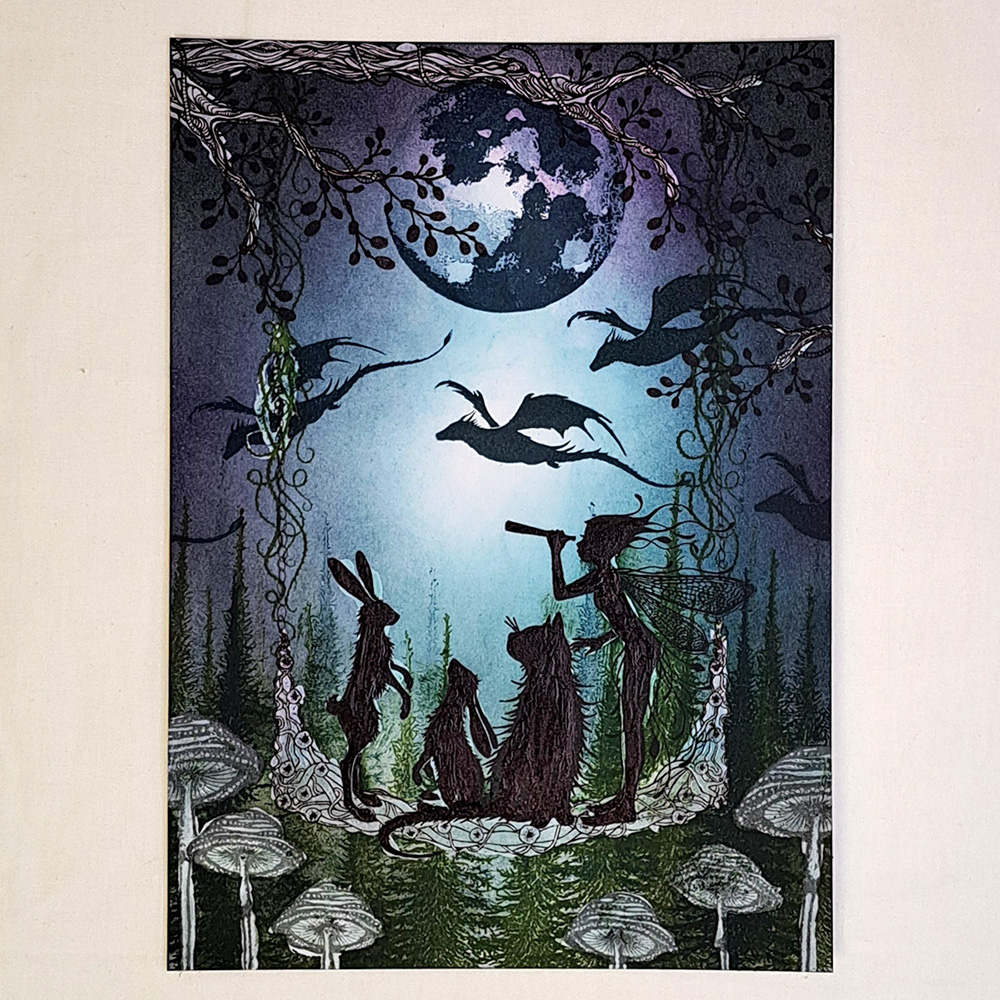
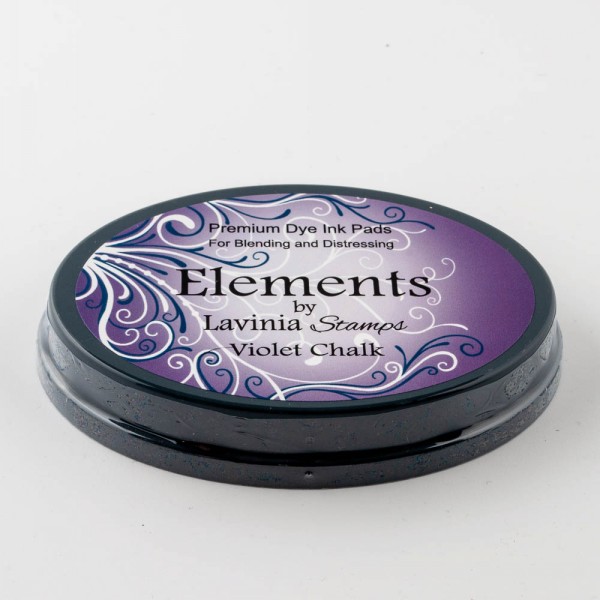
7. To create some depth in the picture we will use several colours on the sky. Blend in both Elements Blue Atoll and Elements Violet Chalk. Make sure to leave the centre of the card completely without colour.
8. Now remove all the Masking fluid, but make sure your card is completely dry before you start removing it. If the paper is a little damp when you remove this it can break your paper.
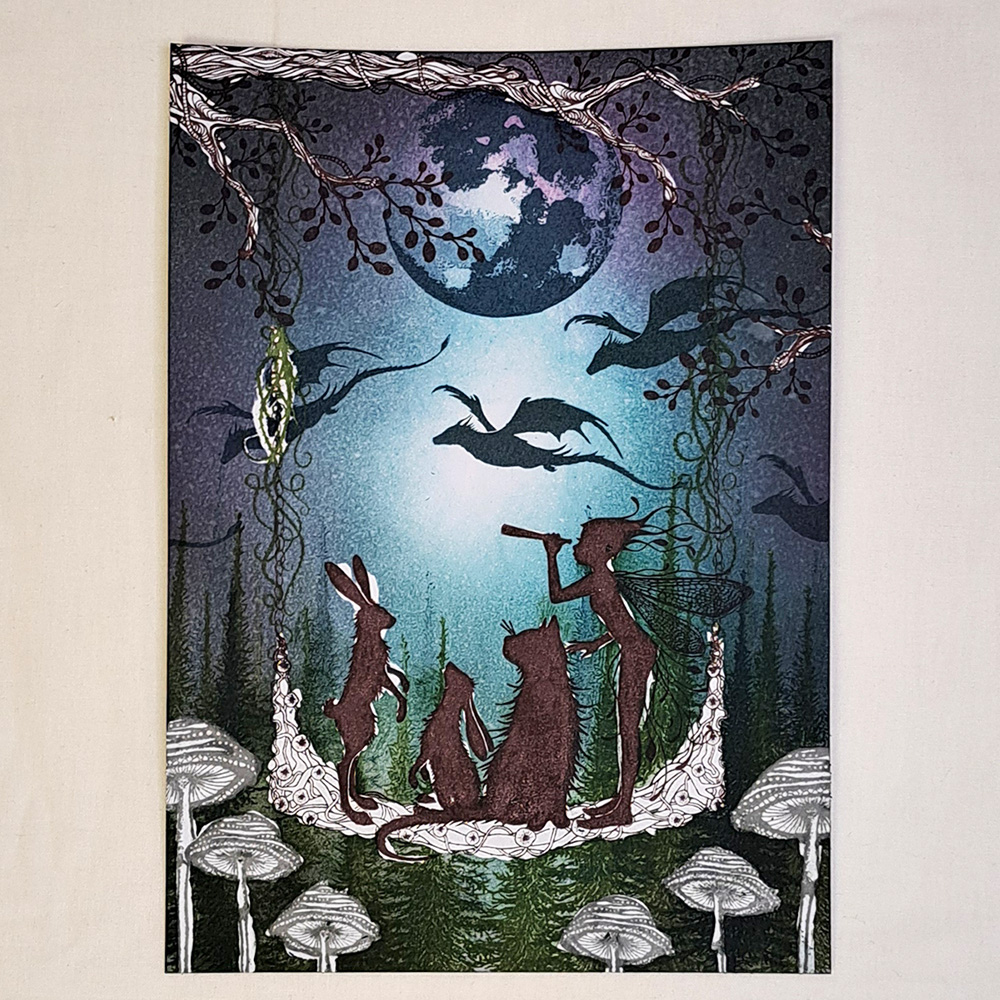
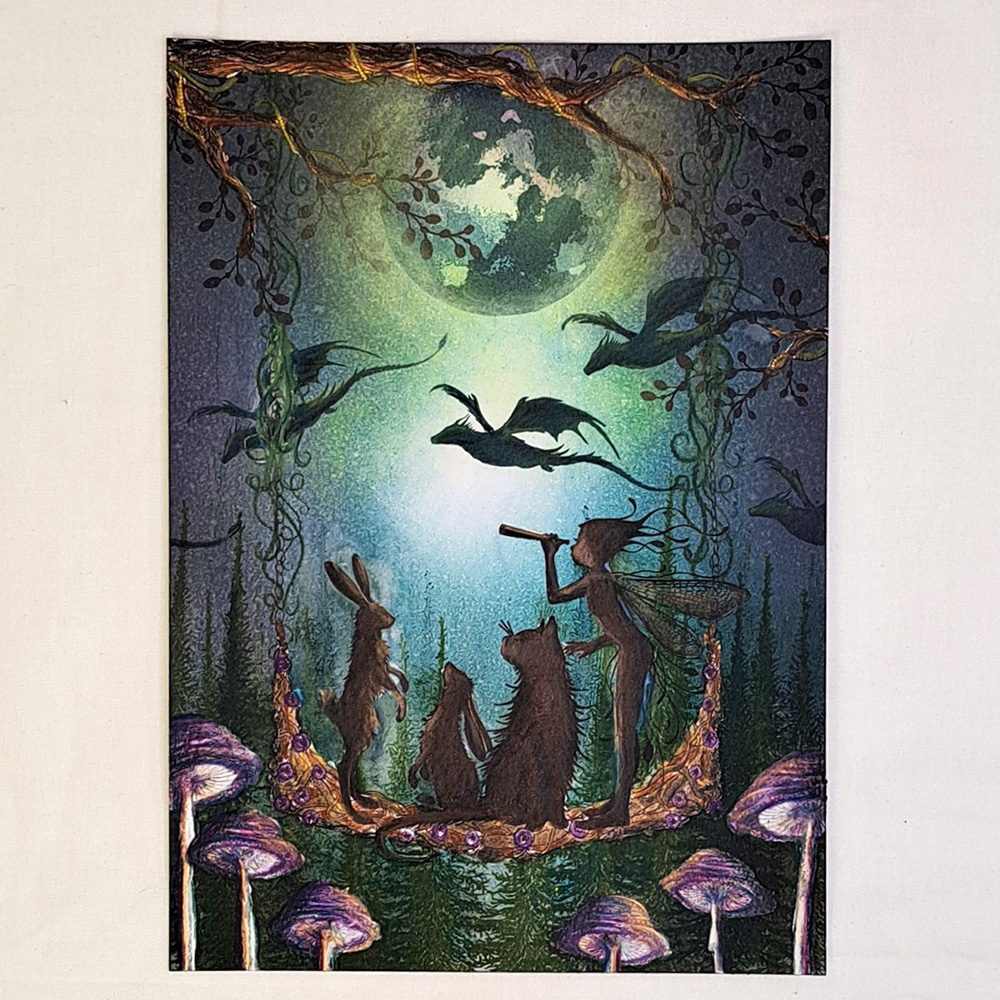
9. I use my Mondeluz Watercolour pencils to colour with because they are so soft and bright in colour. Start with a dark brown on the branch and the Forest Arch. The mushrooms are going to be purple and beige , so put the darkest colour were the moonlight will not shine on them. The flowers on the Forest Arch can also be purple and beige.
10. We need to colour in our friends on the Arch. When we remove the Masking, it always removes some of the ink colour and leaves the stamped image a little faded. So, use a darker colour like the ink colour used to stamp with. In this case we used Versafine Clair Fallen Leaves so a very dark brown to colour our friends where the moonlight will not shine on them. And then use a light colour like beige or white to colour were the moonlight shines on them.
11. Use a few more different brown colours to finish colouring the Arch. I like to use a reddish brown and ochre to mix with the dark and light brown. Using several different shades helps to create some depth and life to the picture. Our fabulous dragons are stamped in a dark blue so we will use a dark green to create some dimension to them.
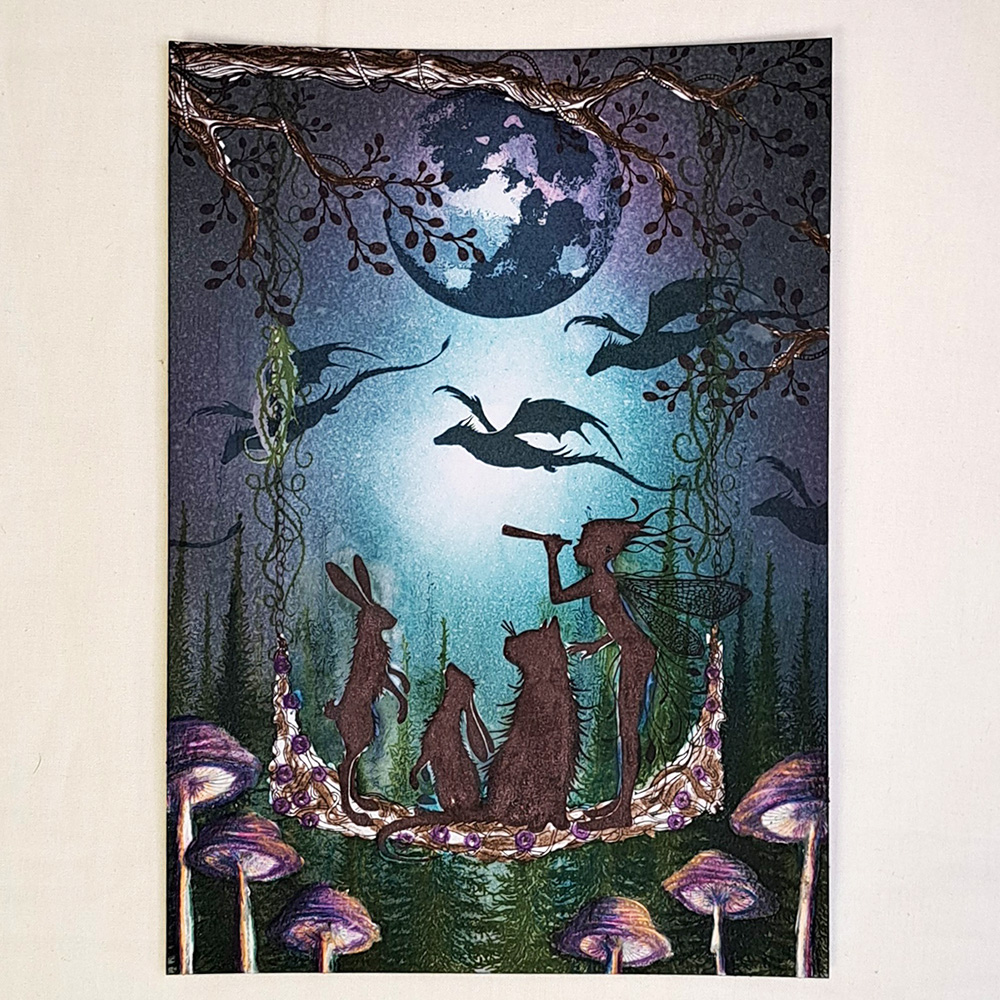
12. To create the moonlight glow we will use our Panpastel Hansa Yellow.
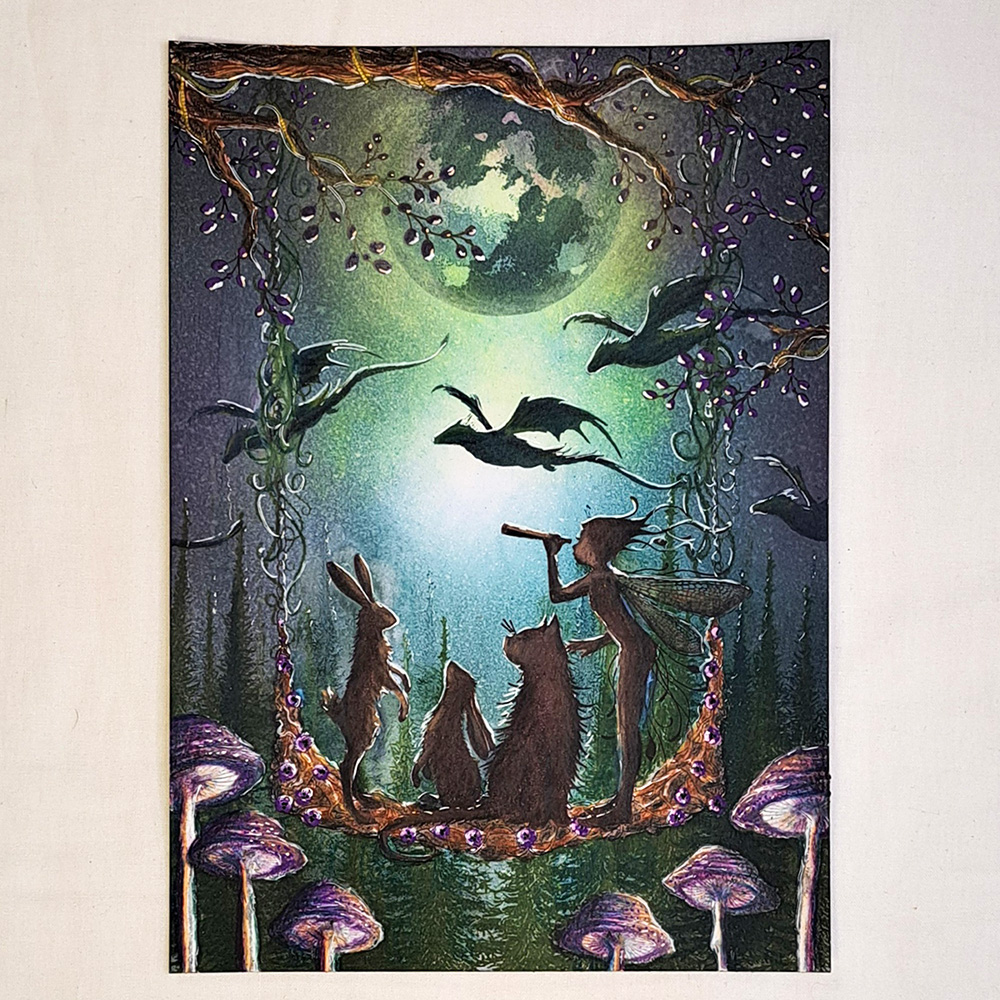
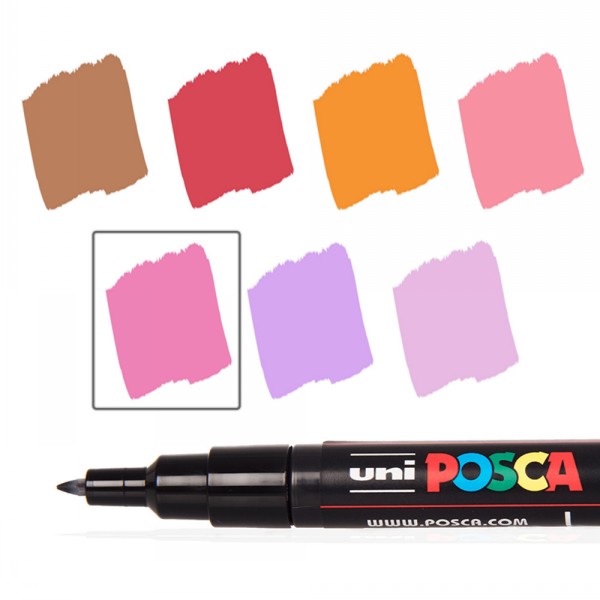
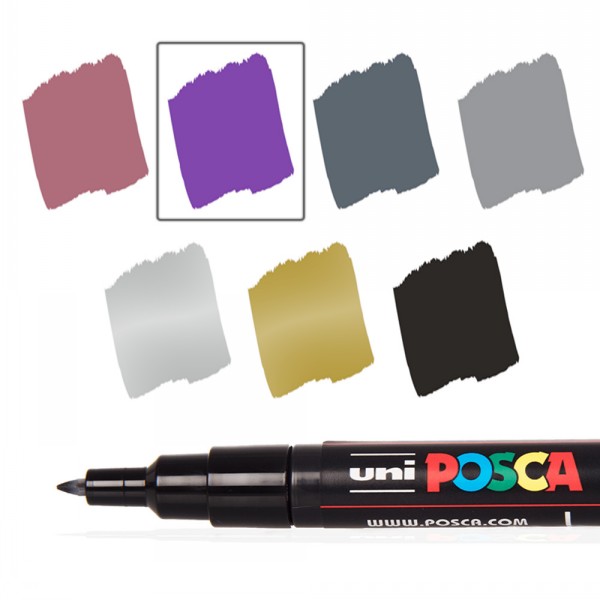
13. Time for highlights. I love my Uniball pen for this task because it is an ink pen and it covers better than some other pens. To colour the leaves on the Vine Branch and the flowers on the Arch we use the Posca pens Violet and Lavender.
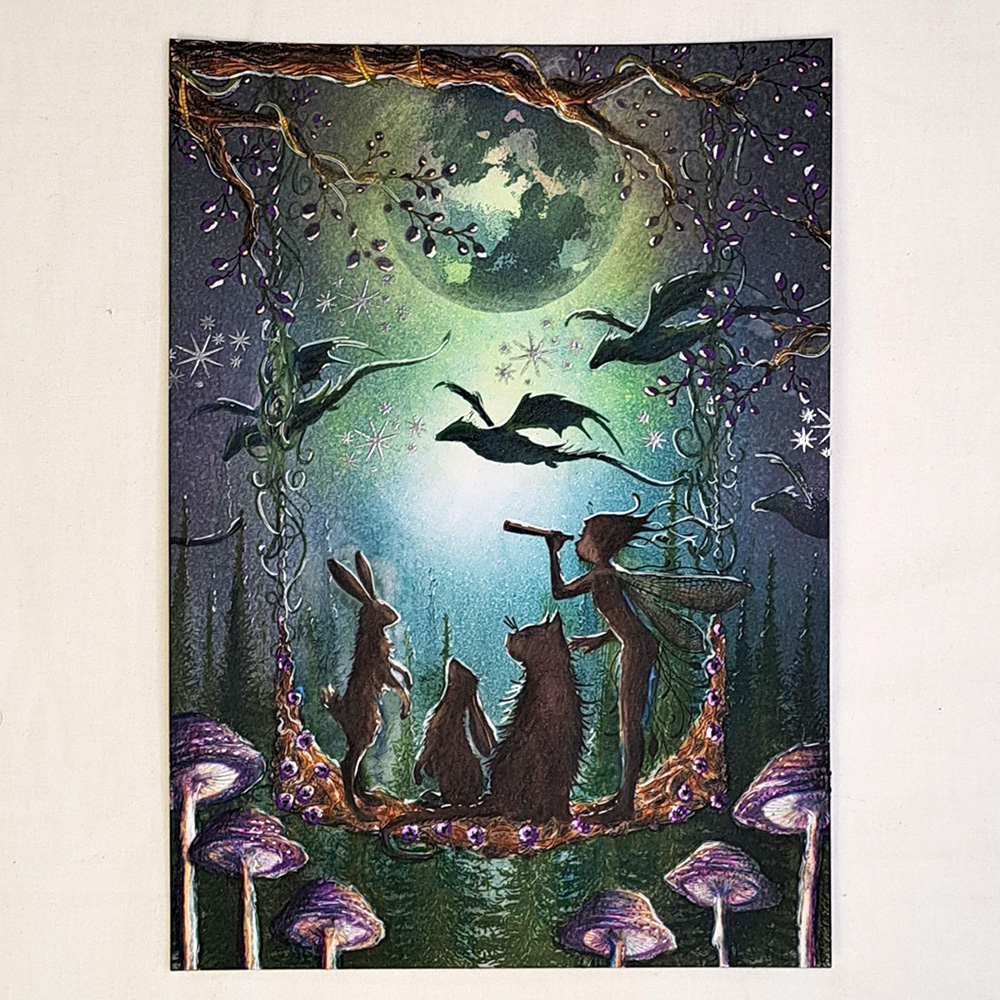
14. We want to add some stars and a great way to make them shine is to emboss them. Stamp the Stars Mini LAV211 with some Versamark and use some Wow! Embossing Powder in Silver.
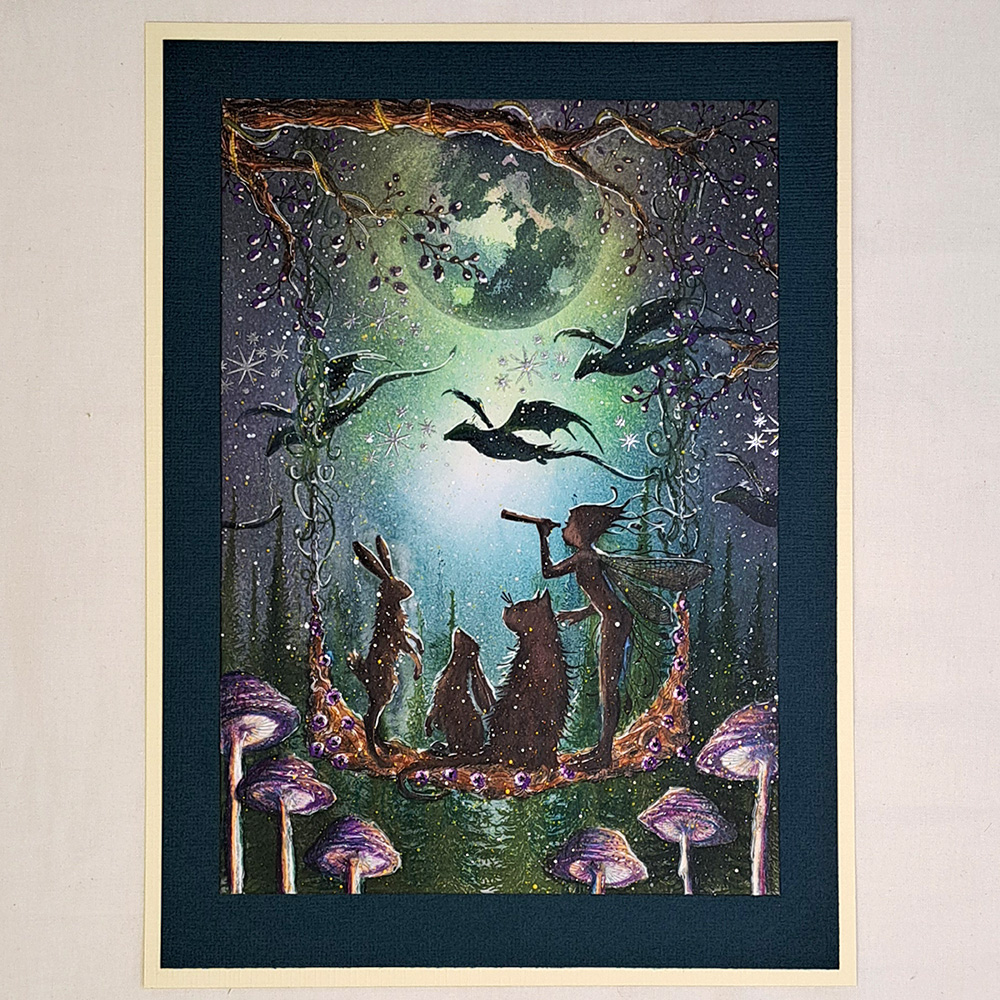
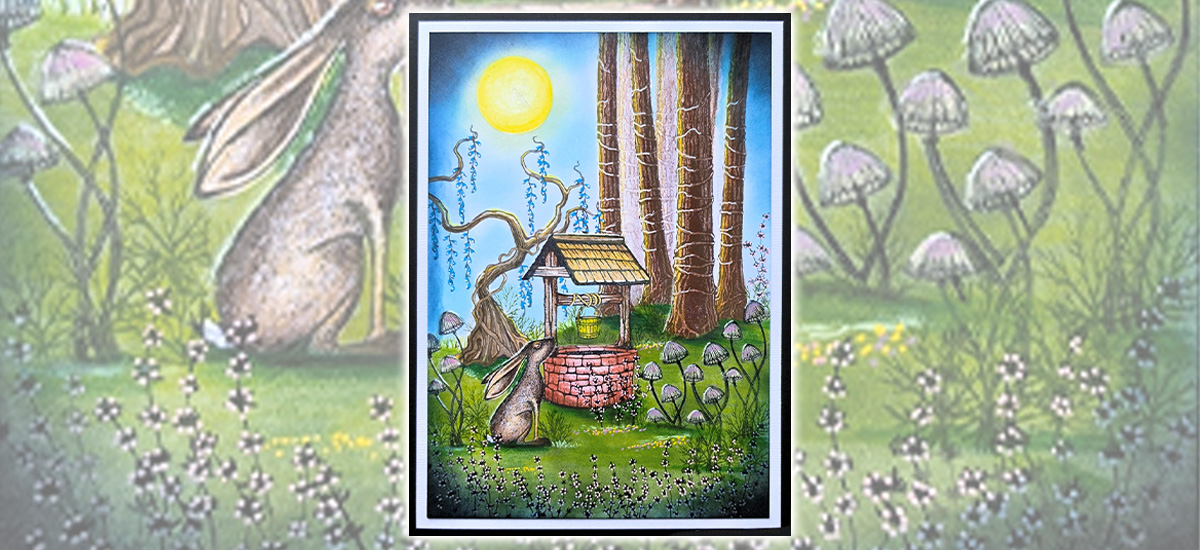
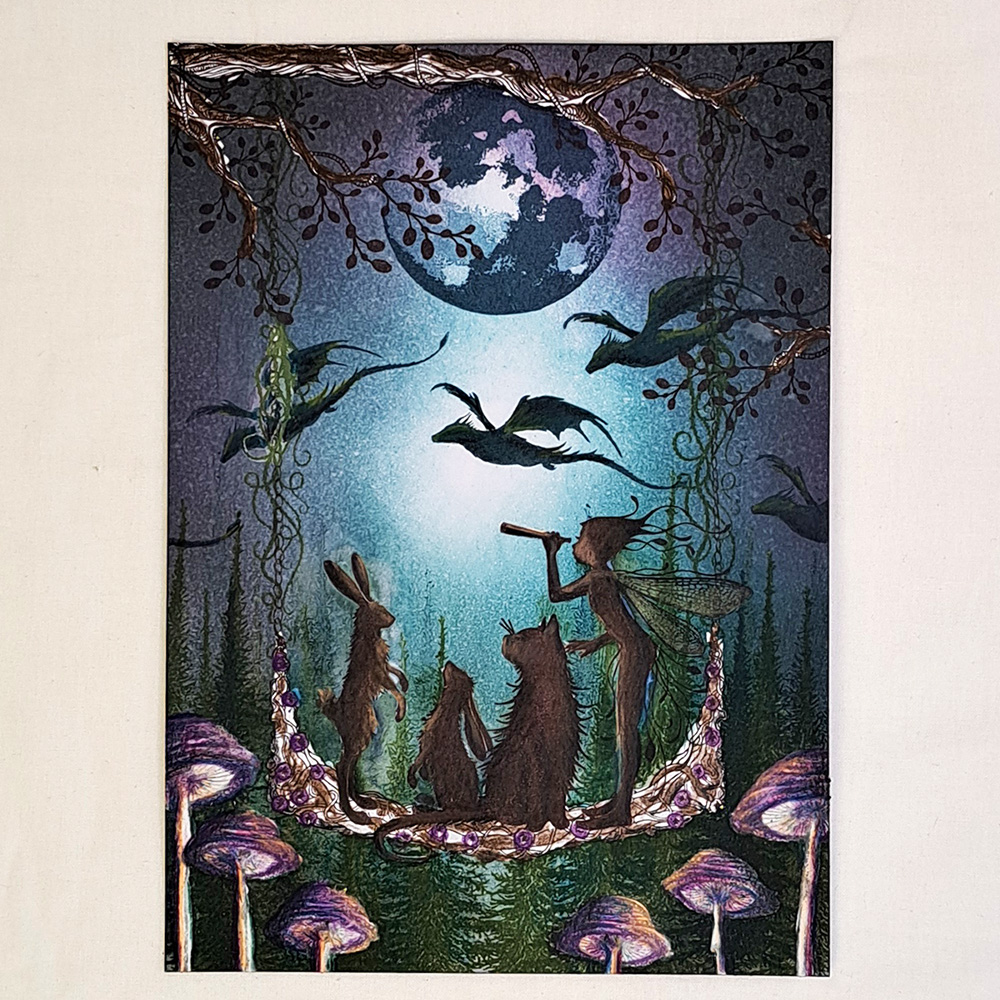
15. Just a little splatter of white and Yellow Posca pens and we are done! Hope you have enjoyed following this picture tutorial. If you have any questions just ask me and I will answer as soon as I can.
Big hugs from Mona 🧚♀️