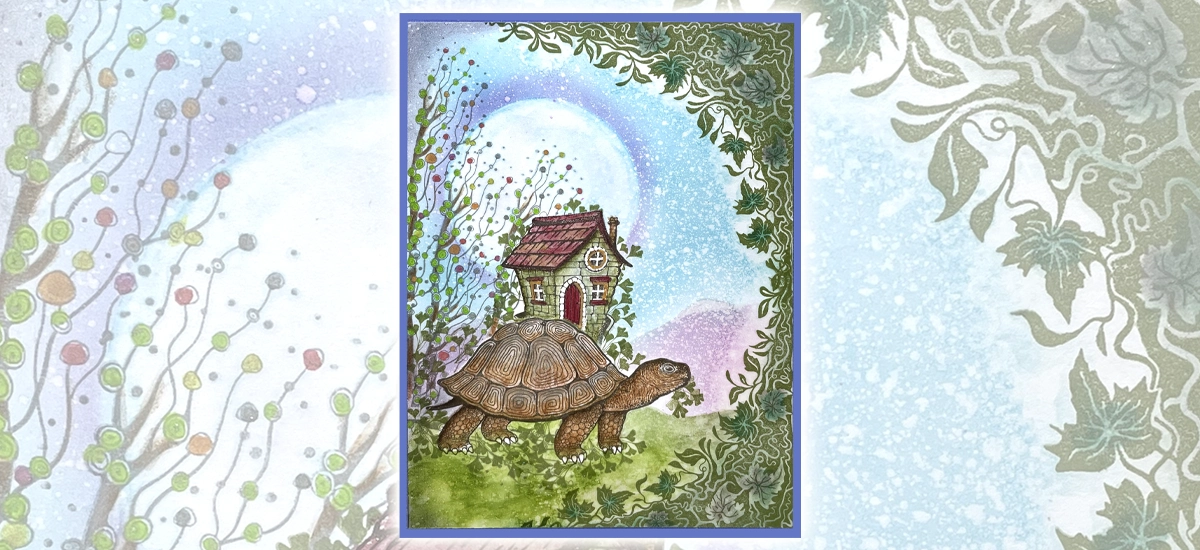
 Faelorn Rest Stamp
£8.90
Add to basket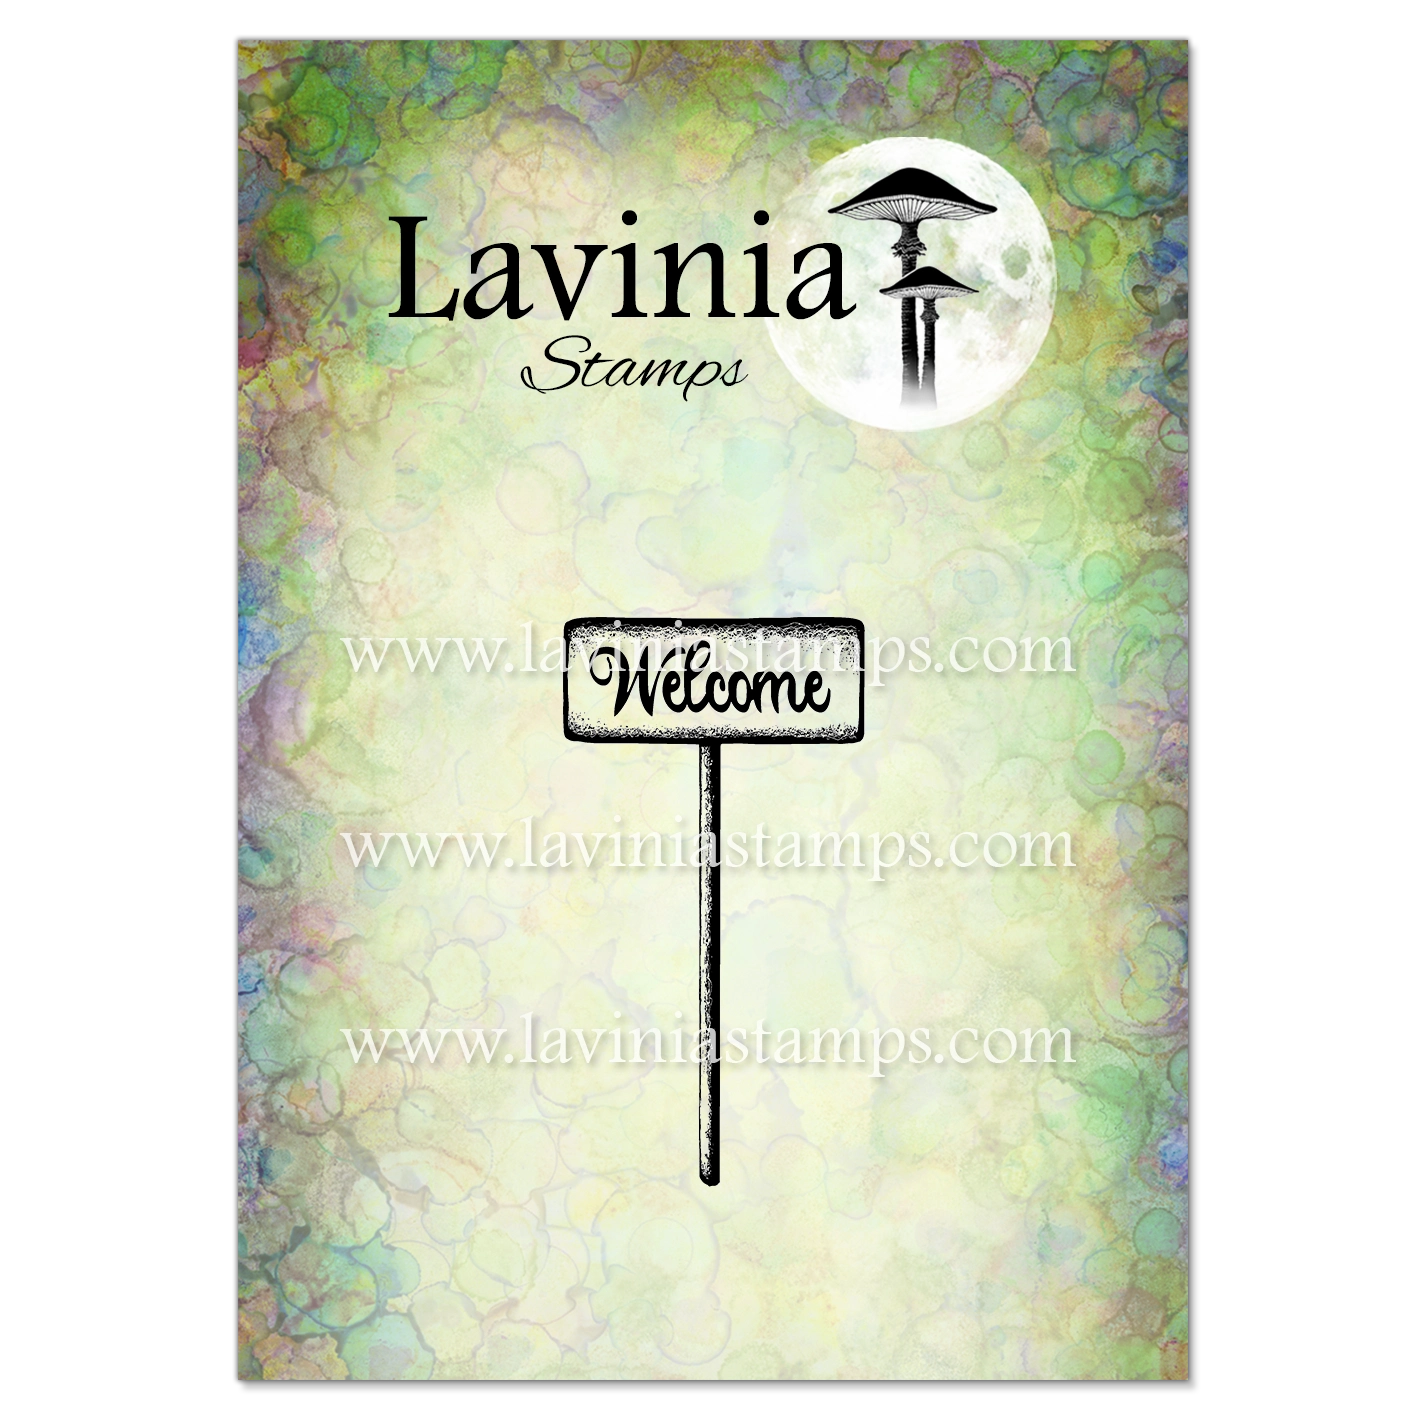 Welcome Stamp
£4.60
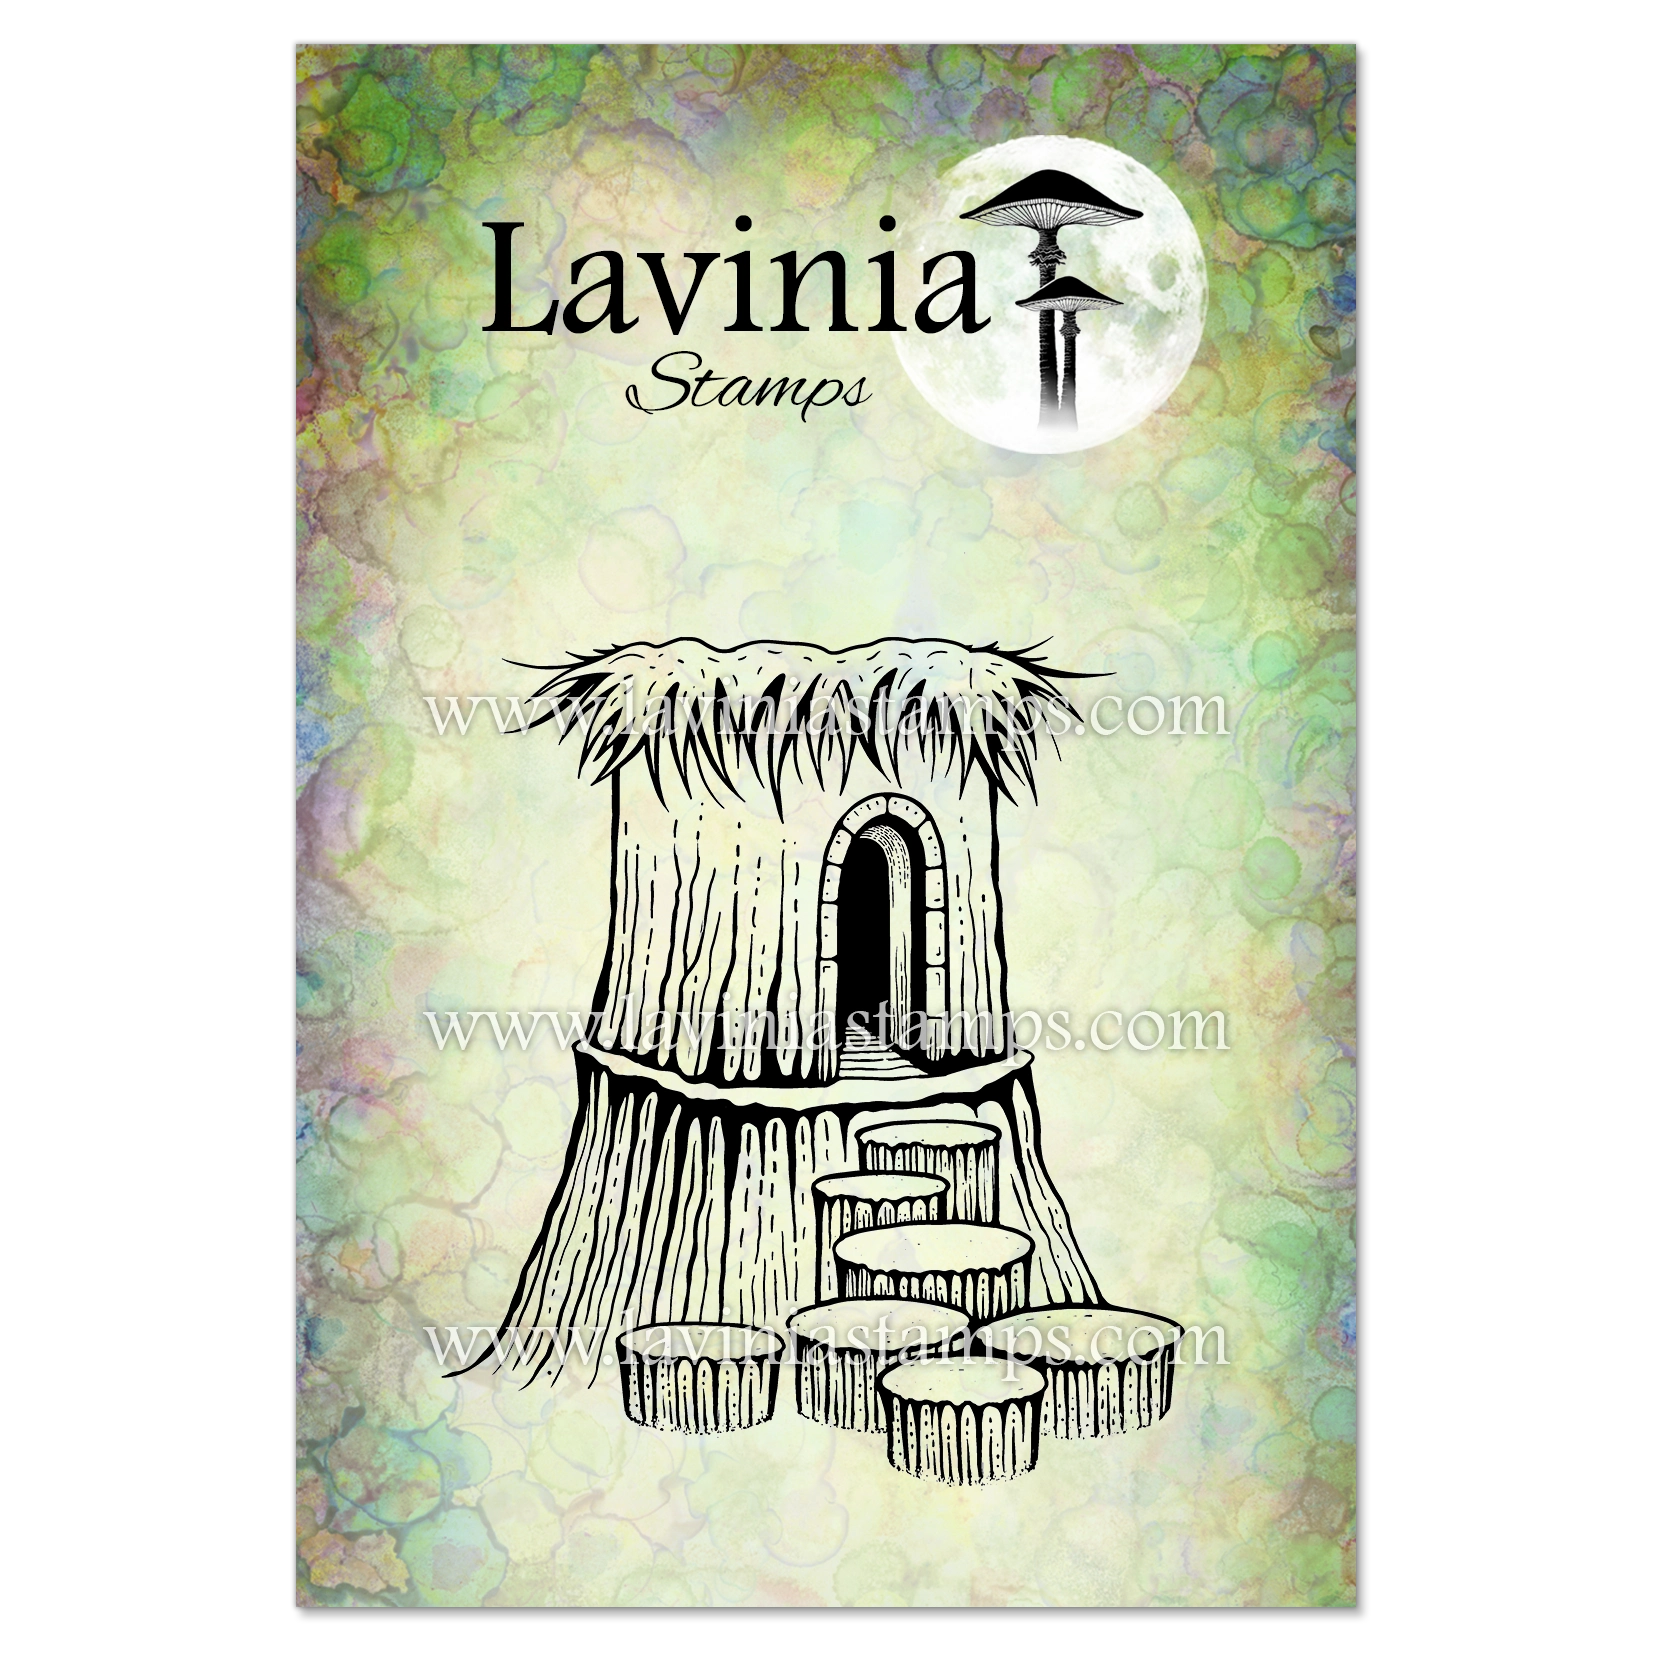
Add to basket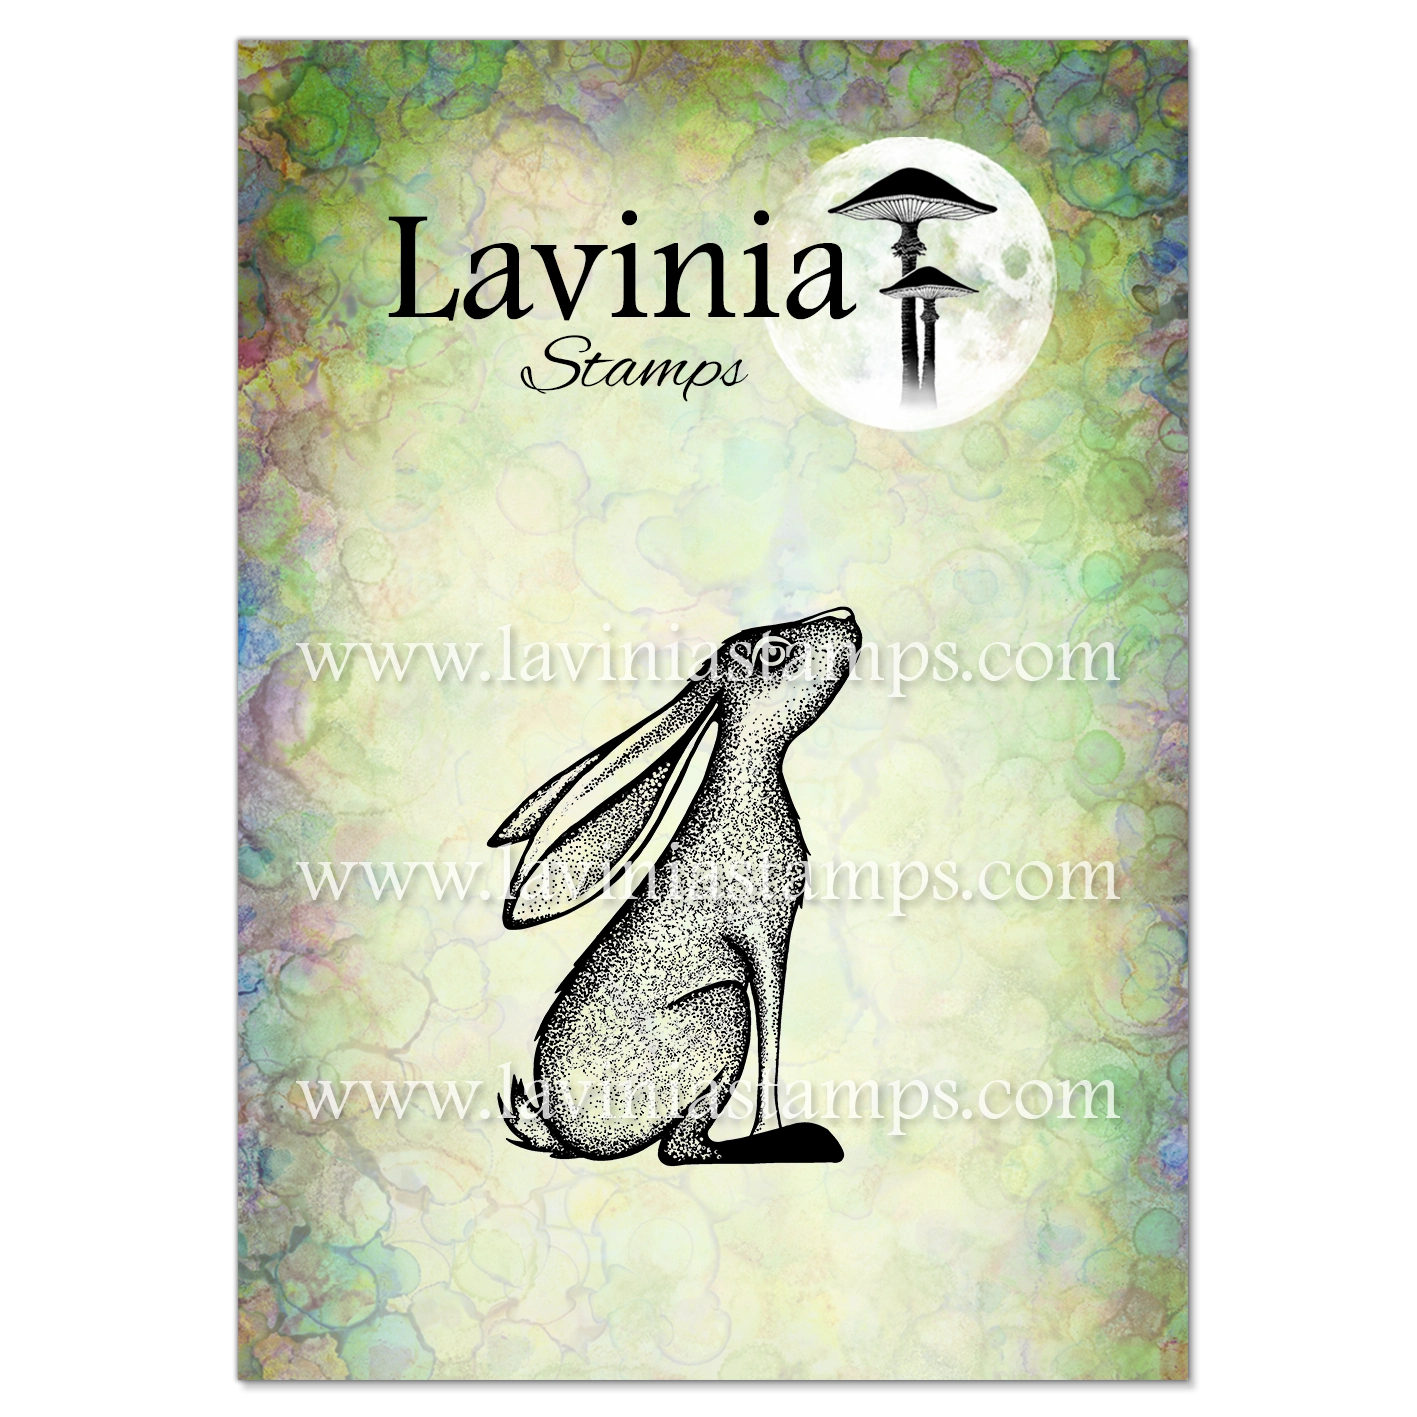 Ashfoot Stamp
£6.90
Add to basket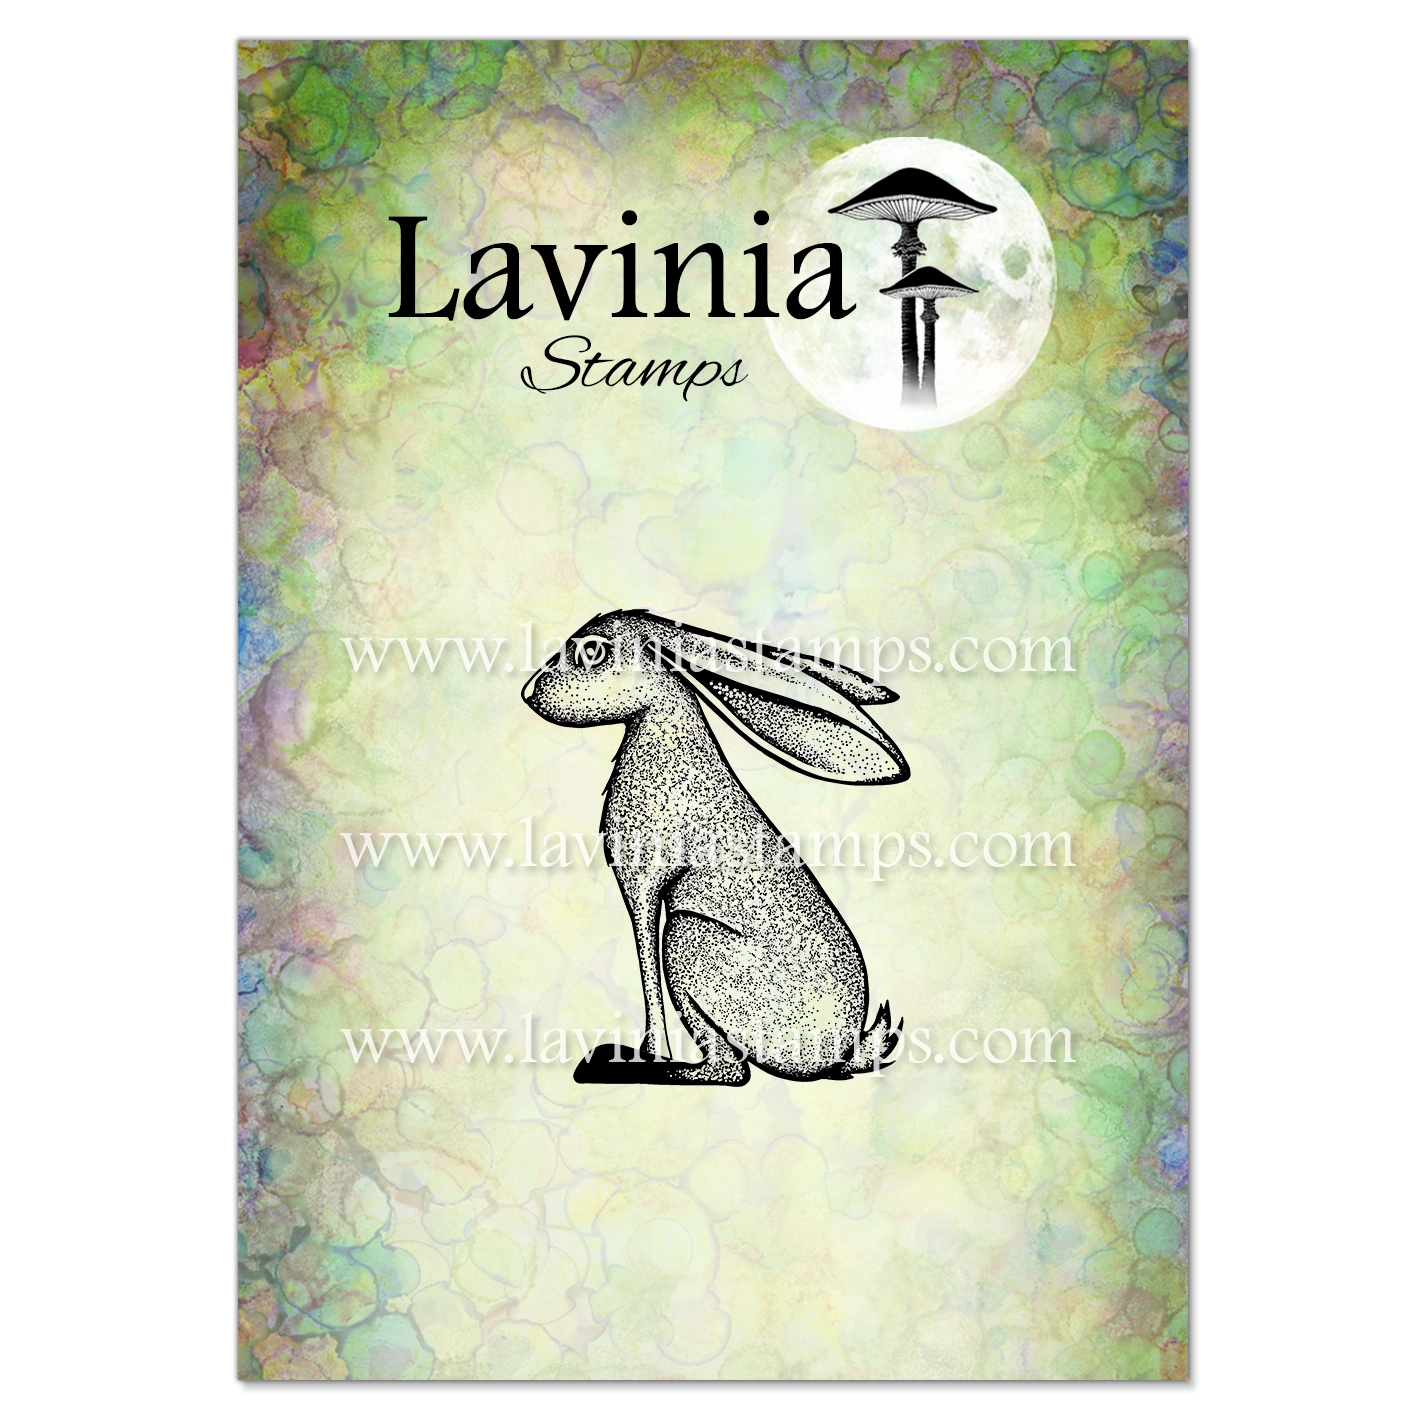 Elderskip Stamp
£6.60
Add to basket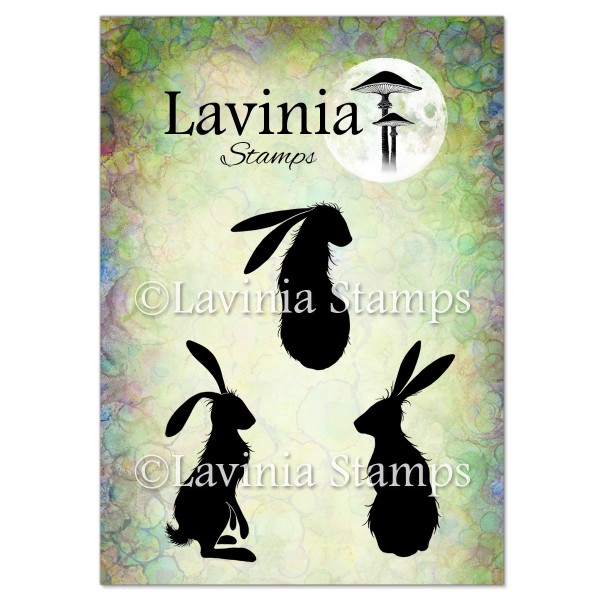 Wild Hares Set (Large) Stamp
£7.80
Add to basket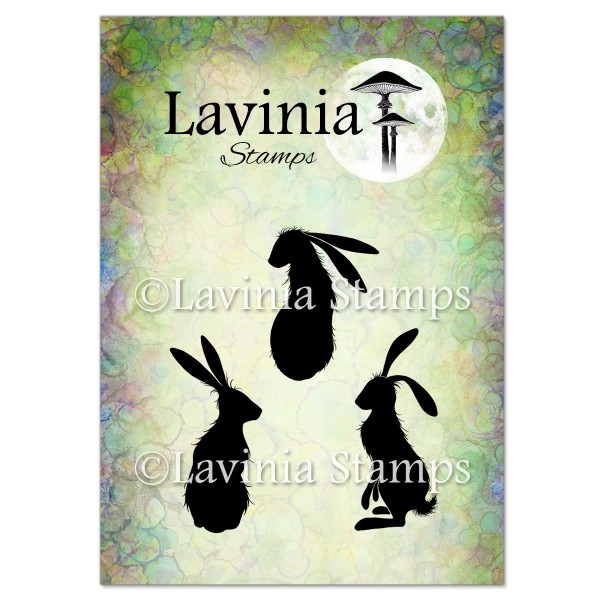 Wild Hares Set (Small) Stamp
£6.80
Add to basket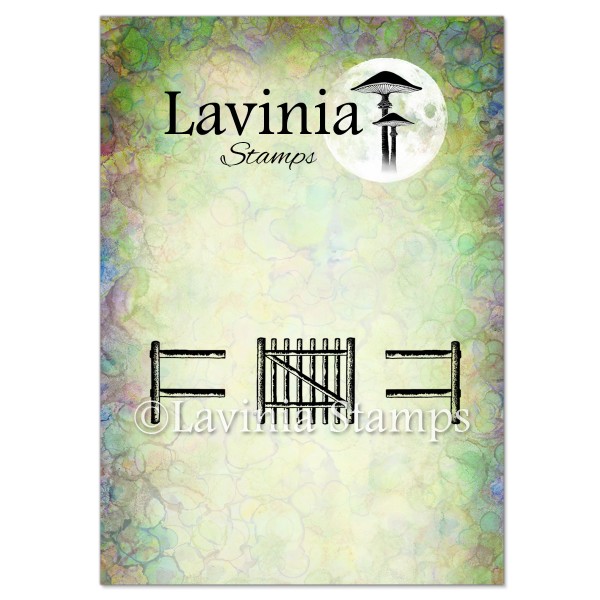 Gate and Fence Stamp
£5.50
Add to basket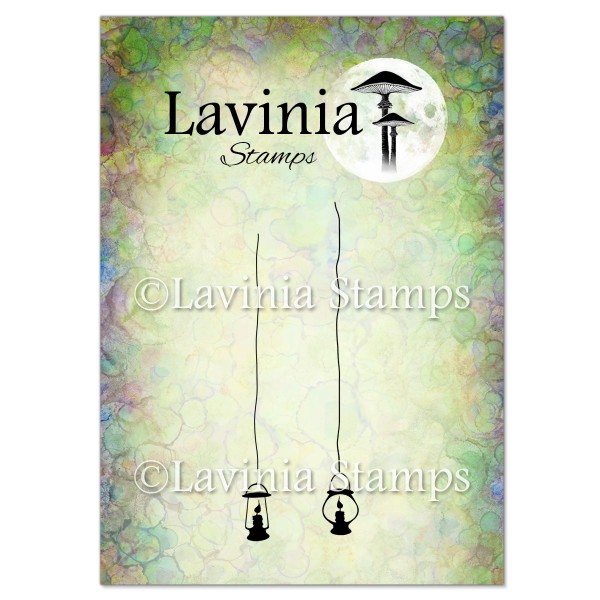 Small Lanterns Stamp
£5.80
Add to basket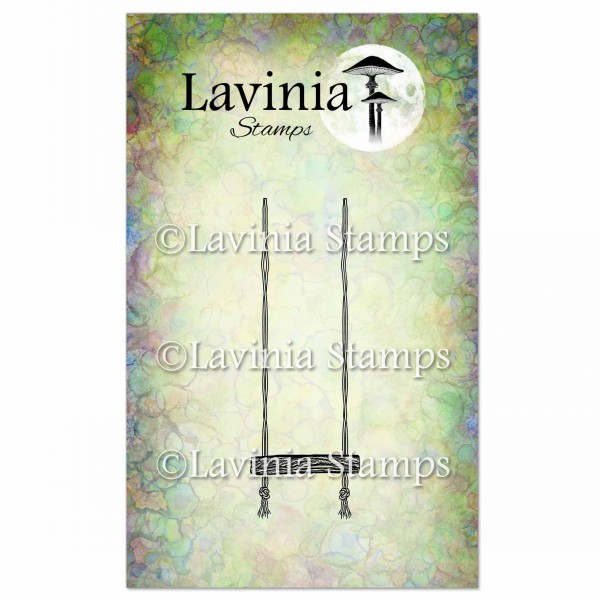 Swing Stamp
£6.90
Add to basket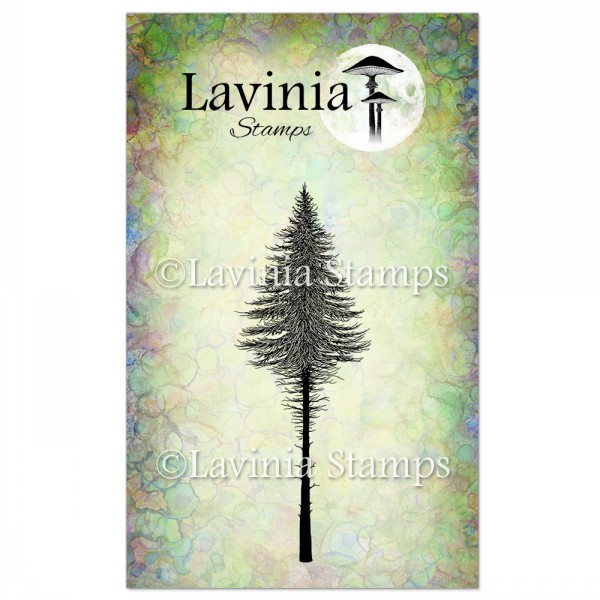 Fairy Fir Tree 2 (Small) Stamp
£6.00
Add to basket Fairy Fir Tree 2 Stamp
£7.20
Add to basket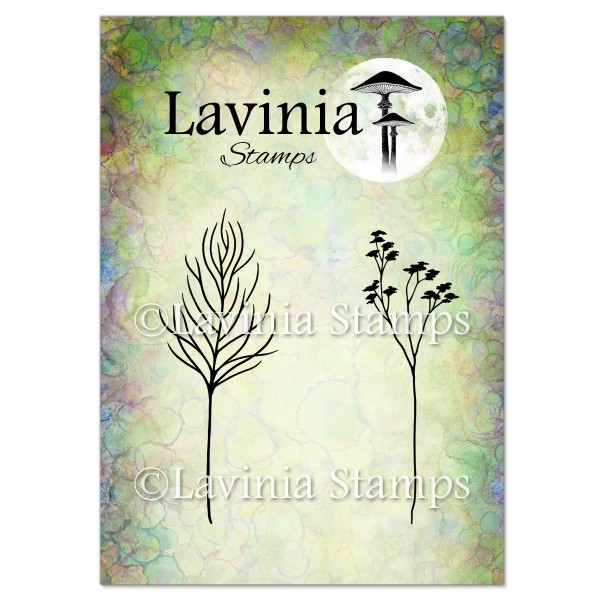 Flora Set Stamp
£7.20
Add to basket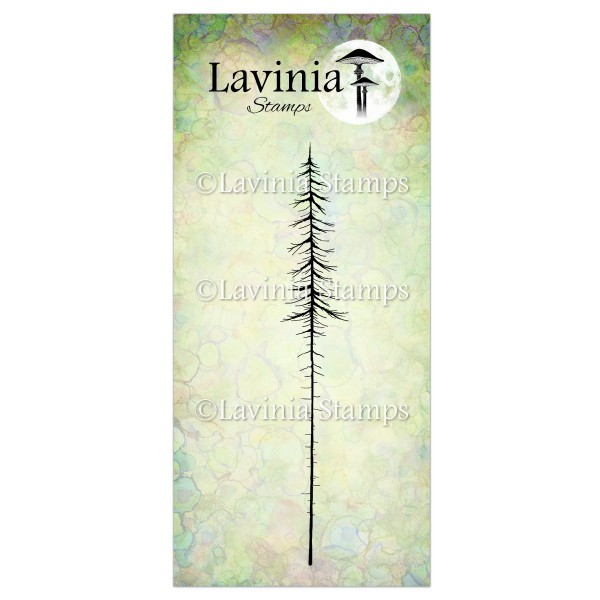 Red Pine (Small) Stamp
£6.30
Add to basket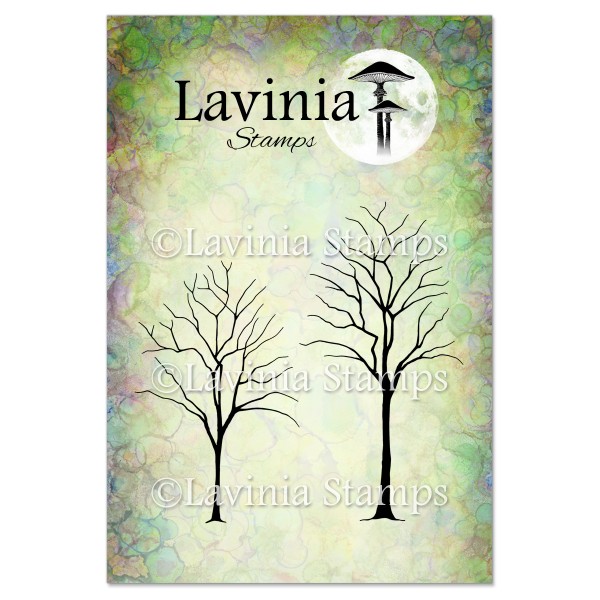 Small Trees Stamp
£7.30
Add to basket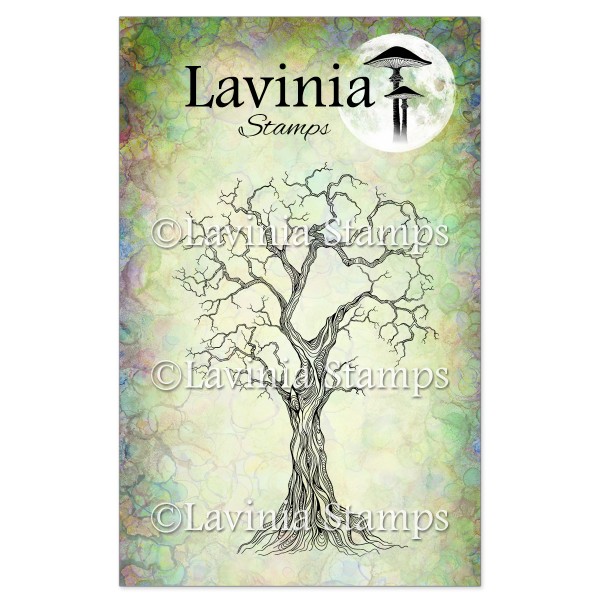 Tree of Wisdom Stamp
£13.80
Add to basket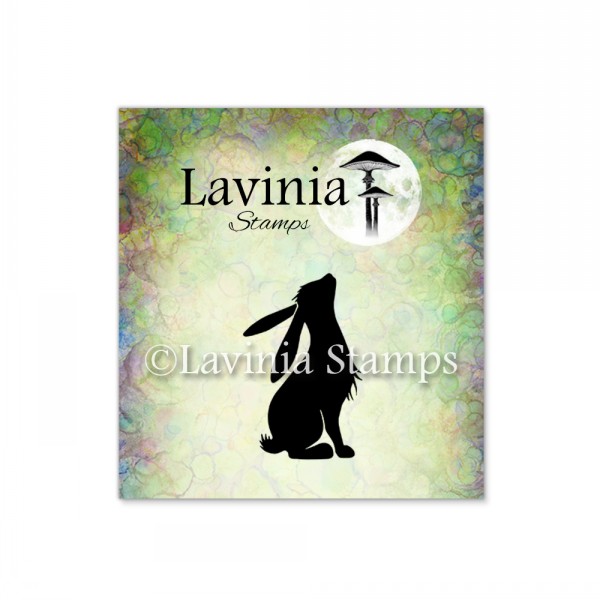 Pipin Mini Stamp
£1.10
Add to basket Versafine Clair Ink Pad – Pinecone
£5.80
Add to basket Versafine Clair Ink Pad – Morning Mist
£5.80
Add to basket Versafine Clair Ink Pad – Shady Lane
£5.80
Add to basket Elements Premium Dye Ink – Dark Denim
£5.85
Add to basket Elements Premium Dye Ink – Violet Chalk
£5.85
Add to basket Elements Premium Dye Ink – Olive
£5.85
Add to basket Elements Premium Dye Ink – Pixie Green
£5.85
Add to basket PanPastels – Hansa Yellow
£9.30
Add to basket