


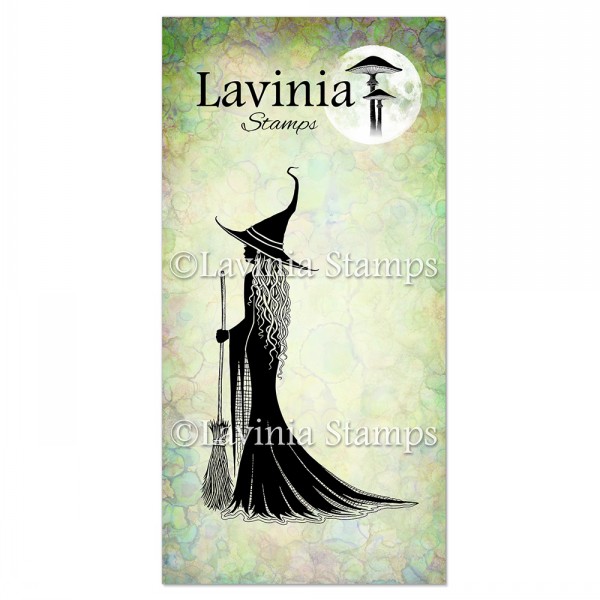
 Marcie Stamp
£8.80
Add to basket Pumpkin Pad Stamp
£5.90
Add to basket Moon Stamp
£5.80
Add to basket Ickle Pumpkins Stamp
£6.80
Add to basket Basil and Bibi Stamp
£7.20
Add to basket Birch Stamp
£7.60
Add to basket Broomsticks Stamp
£7.20
Add to basket Luka Stamp
£5.50
Add to basket Dill Stamp
£5.60
Add to basket Fairy web Stamp
£6.80
Add to basket Dana Stamp
£2.80
Add to basket Mushies Stamp
£3.80
Add to basket Small Lanterns Stamp
£5.80
Add to basket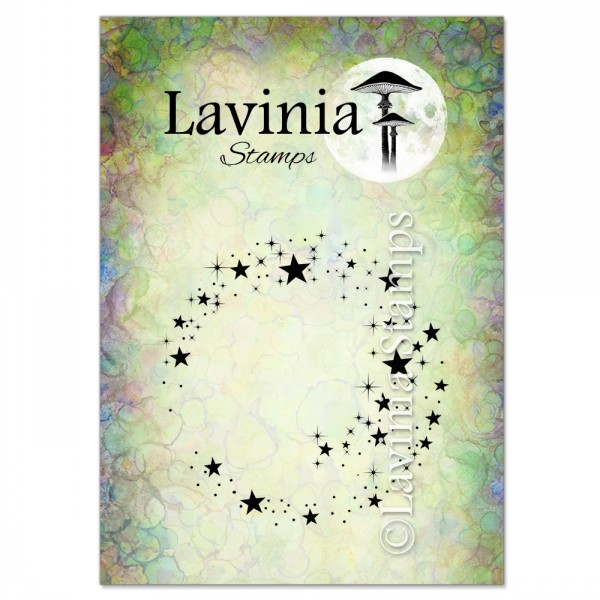 Star Cluster Stamp
£6.80
Add to basket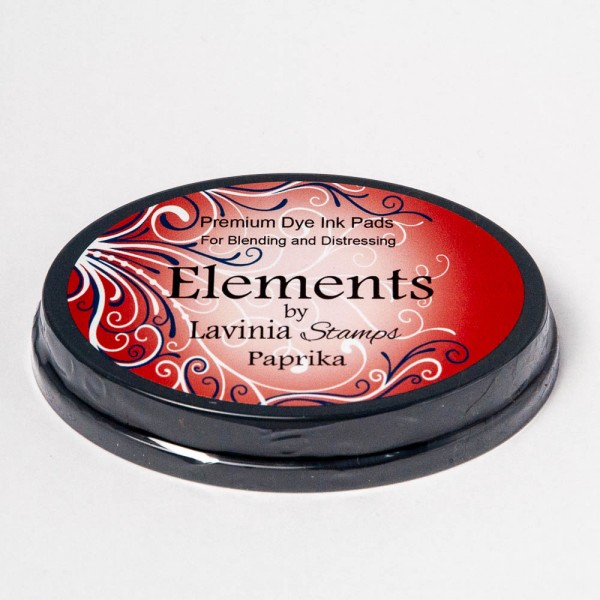 Elements Premium Dye Ink – Paprika
£5.85
Add to basket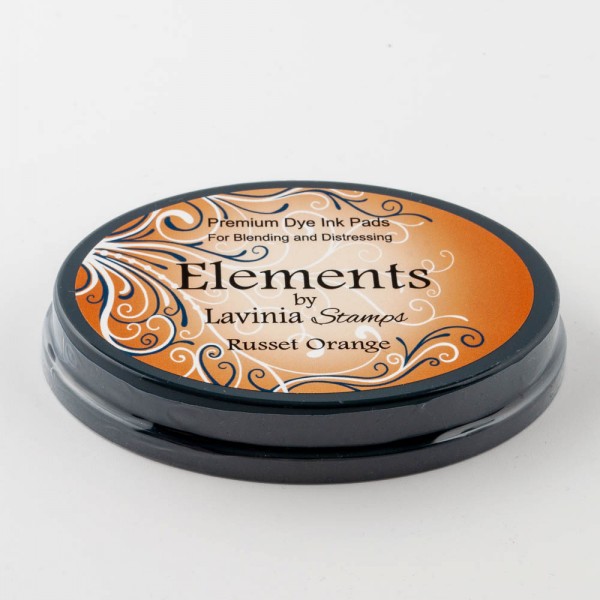 Elements Premium Dye Ink – Russet Orange
£5.85
Add to basket Elements Premium Dye Ink – Olive
£5.85
Add to basket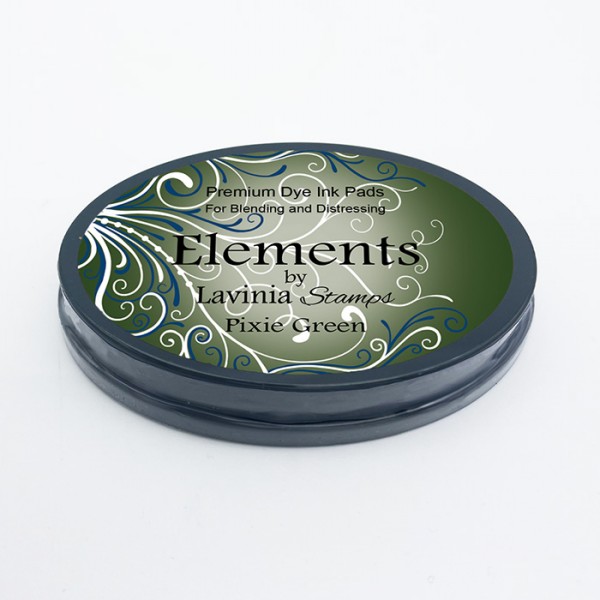 Elements Premium Dye Ink – Pixie Green
£5.85
Add to basket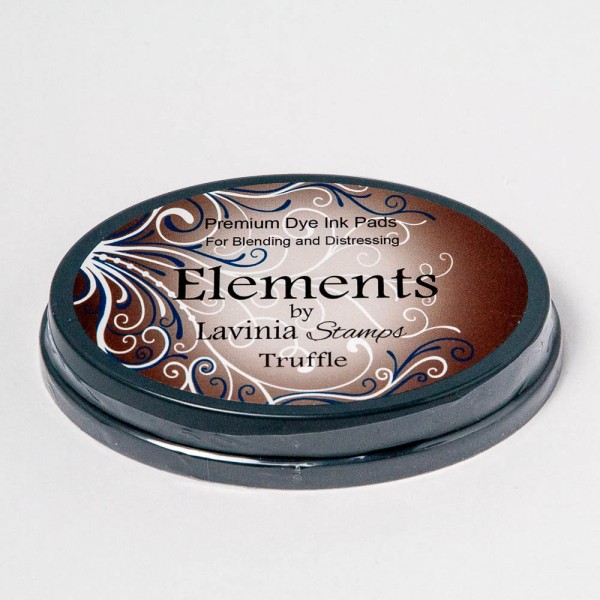 Elements Premium Dye Ink – Truffle
£5.85
Add to basket Versafine Clair Ink Pad – Fallen Leaves
£5.80
Add to basket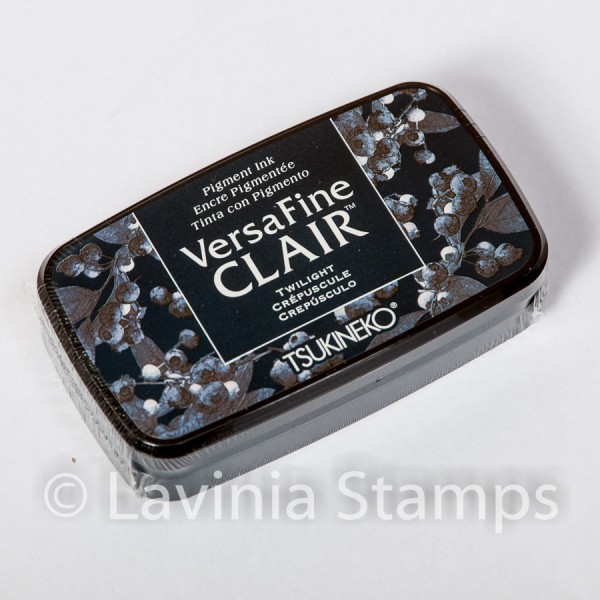 Versafine Clair Ink Pad – Twilight
£5.80
Add to basket Versafine Clair Ink Pad – Shady Lane
£5.80
Add to basket PanPastels – Hansa Yellow
£9.30
Read more Versafine Clair Ink Pad – Morning Mist
£5.80
Add to basket