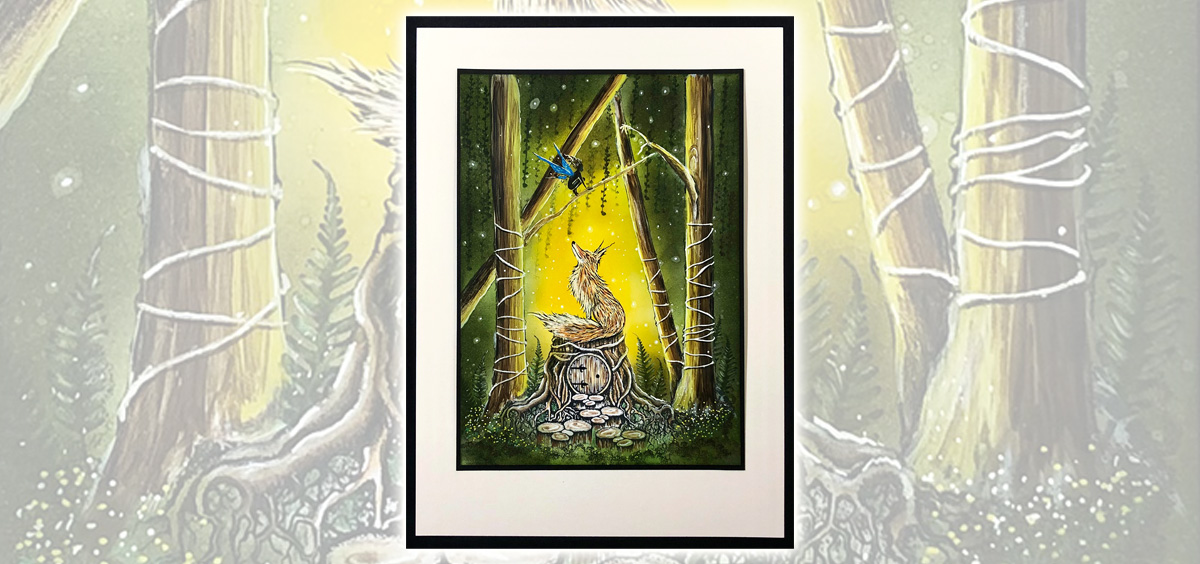
 Faelorn Rest Stamp
£8.90
Add to basket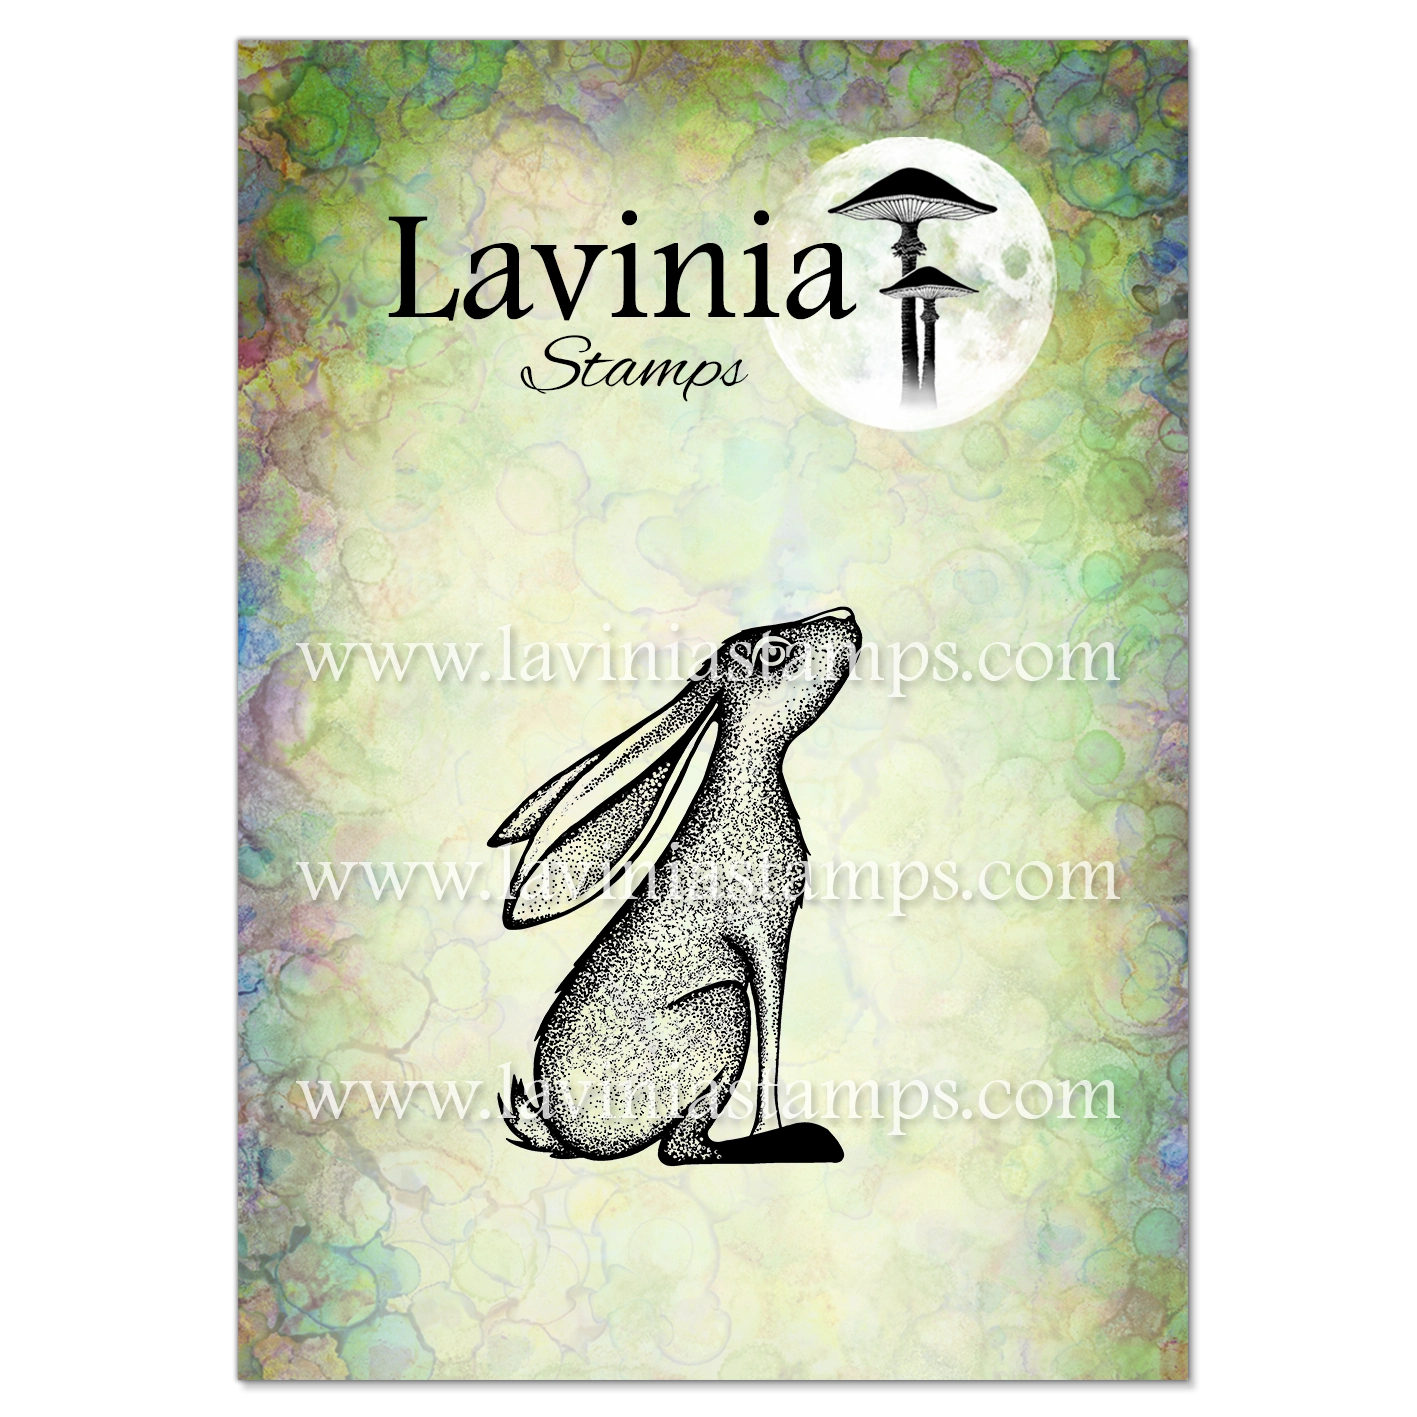 Ashfoot Stamp
£6.90
Add to basket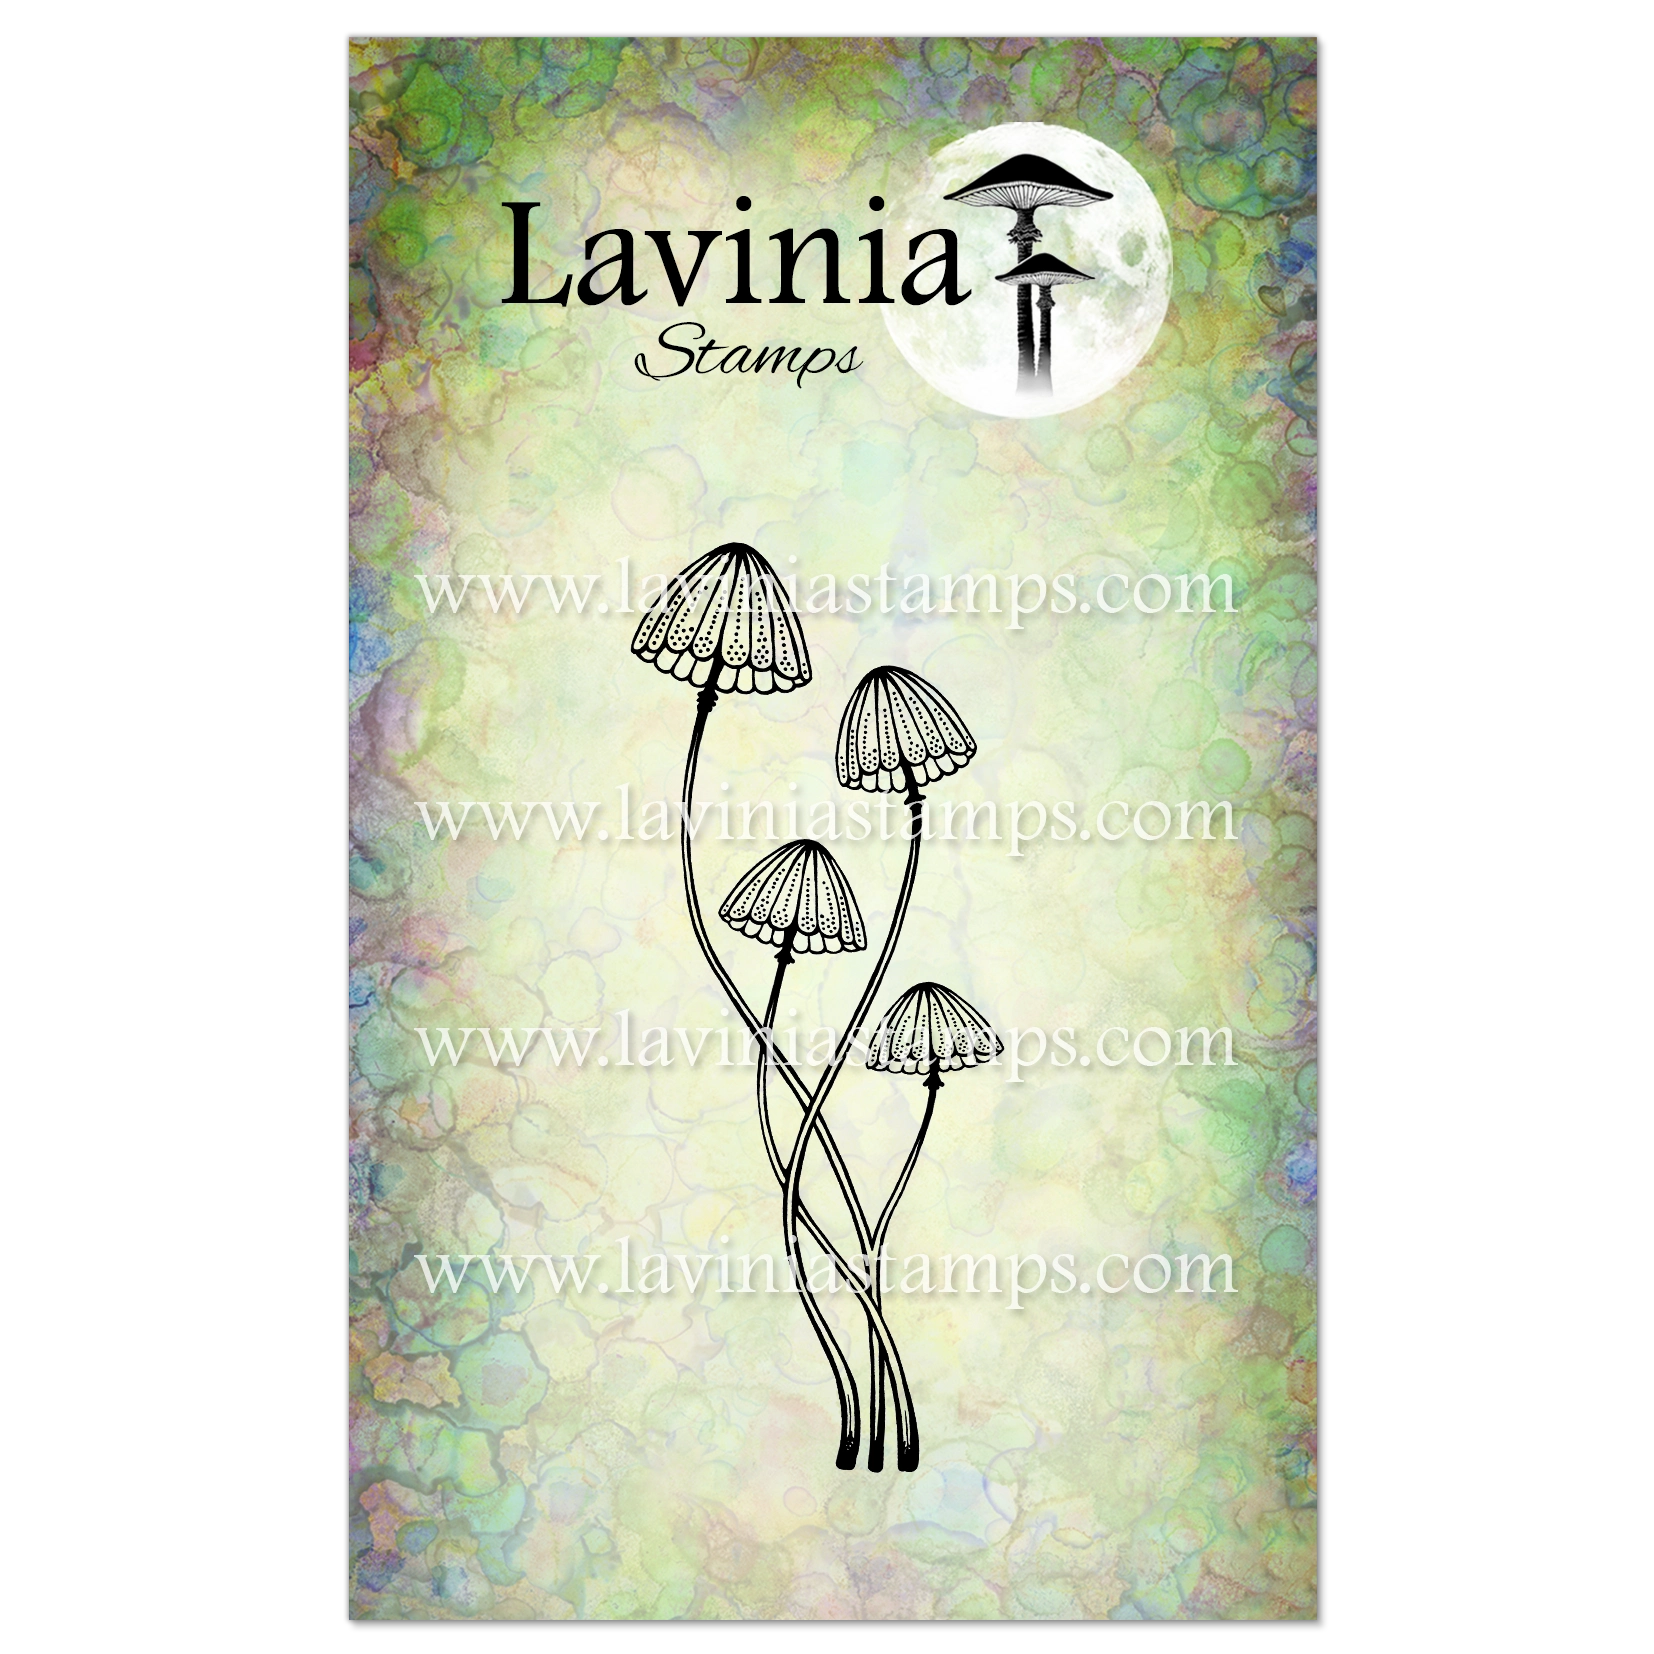 Faedew Stamp
£6.90
Add to basket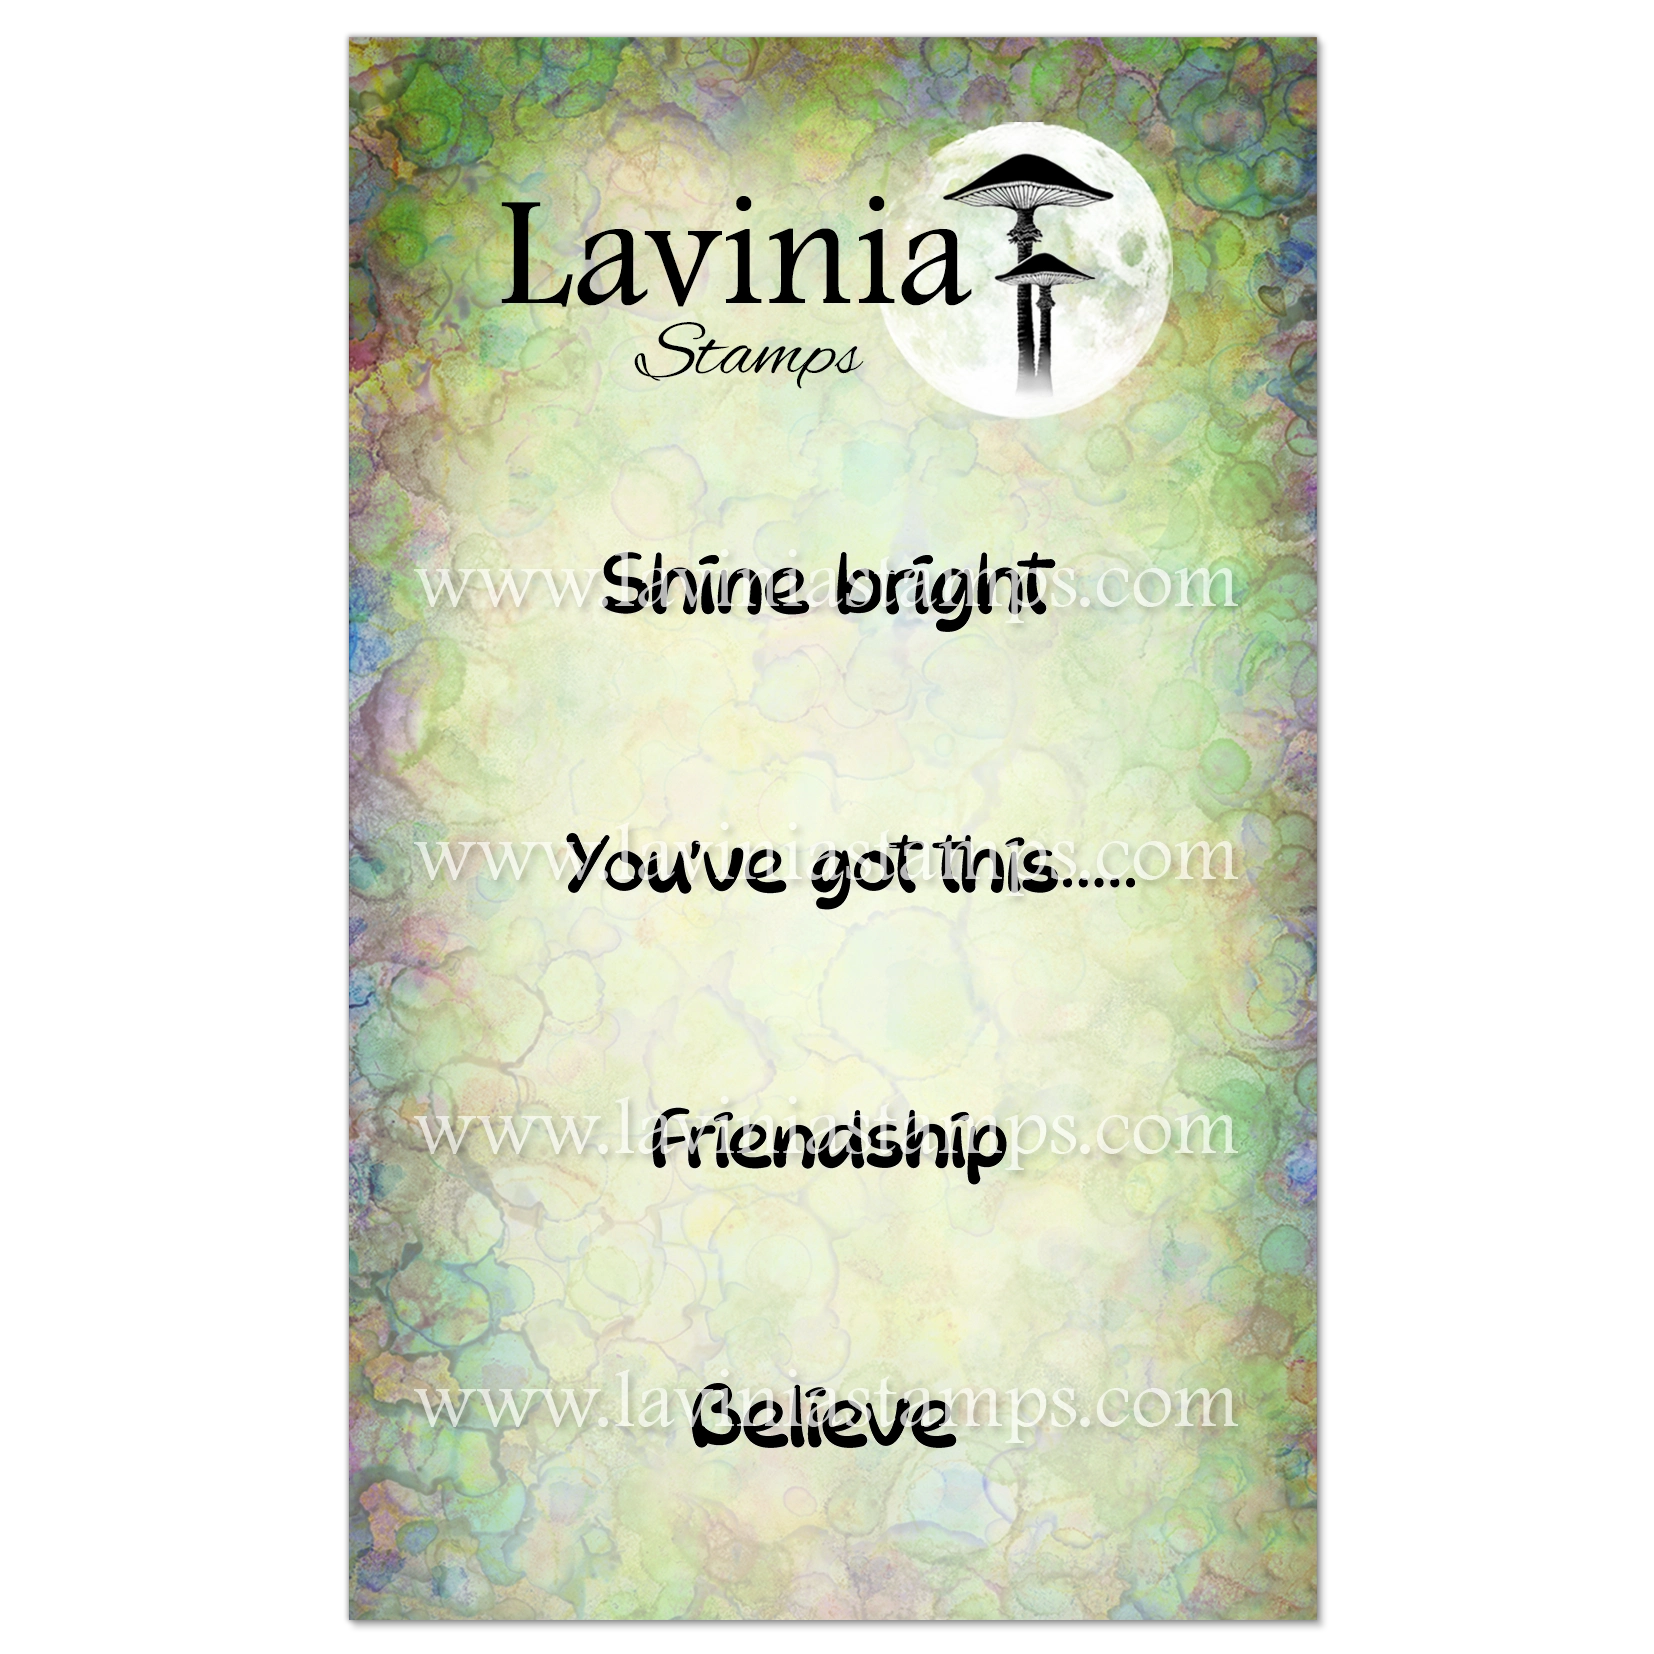 Friendship Stamp
£5.40
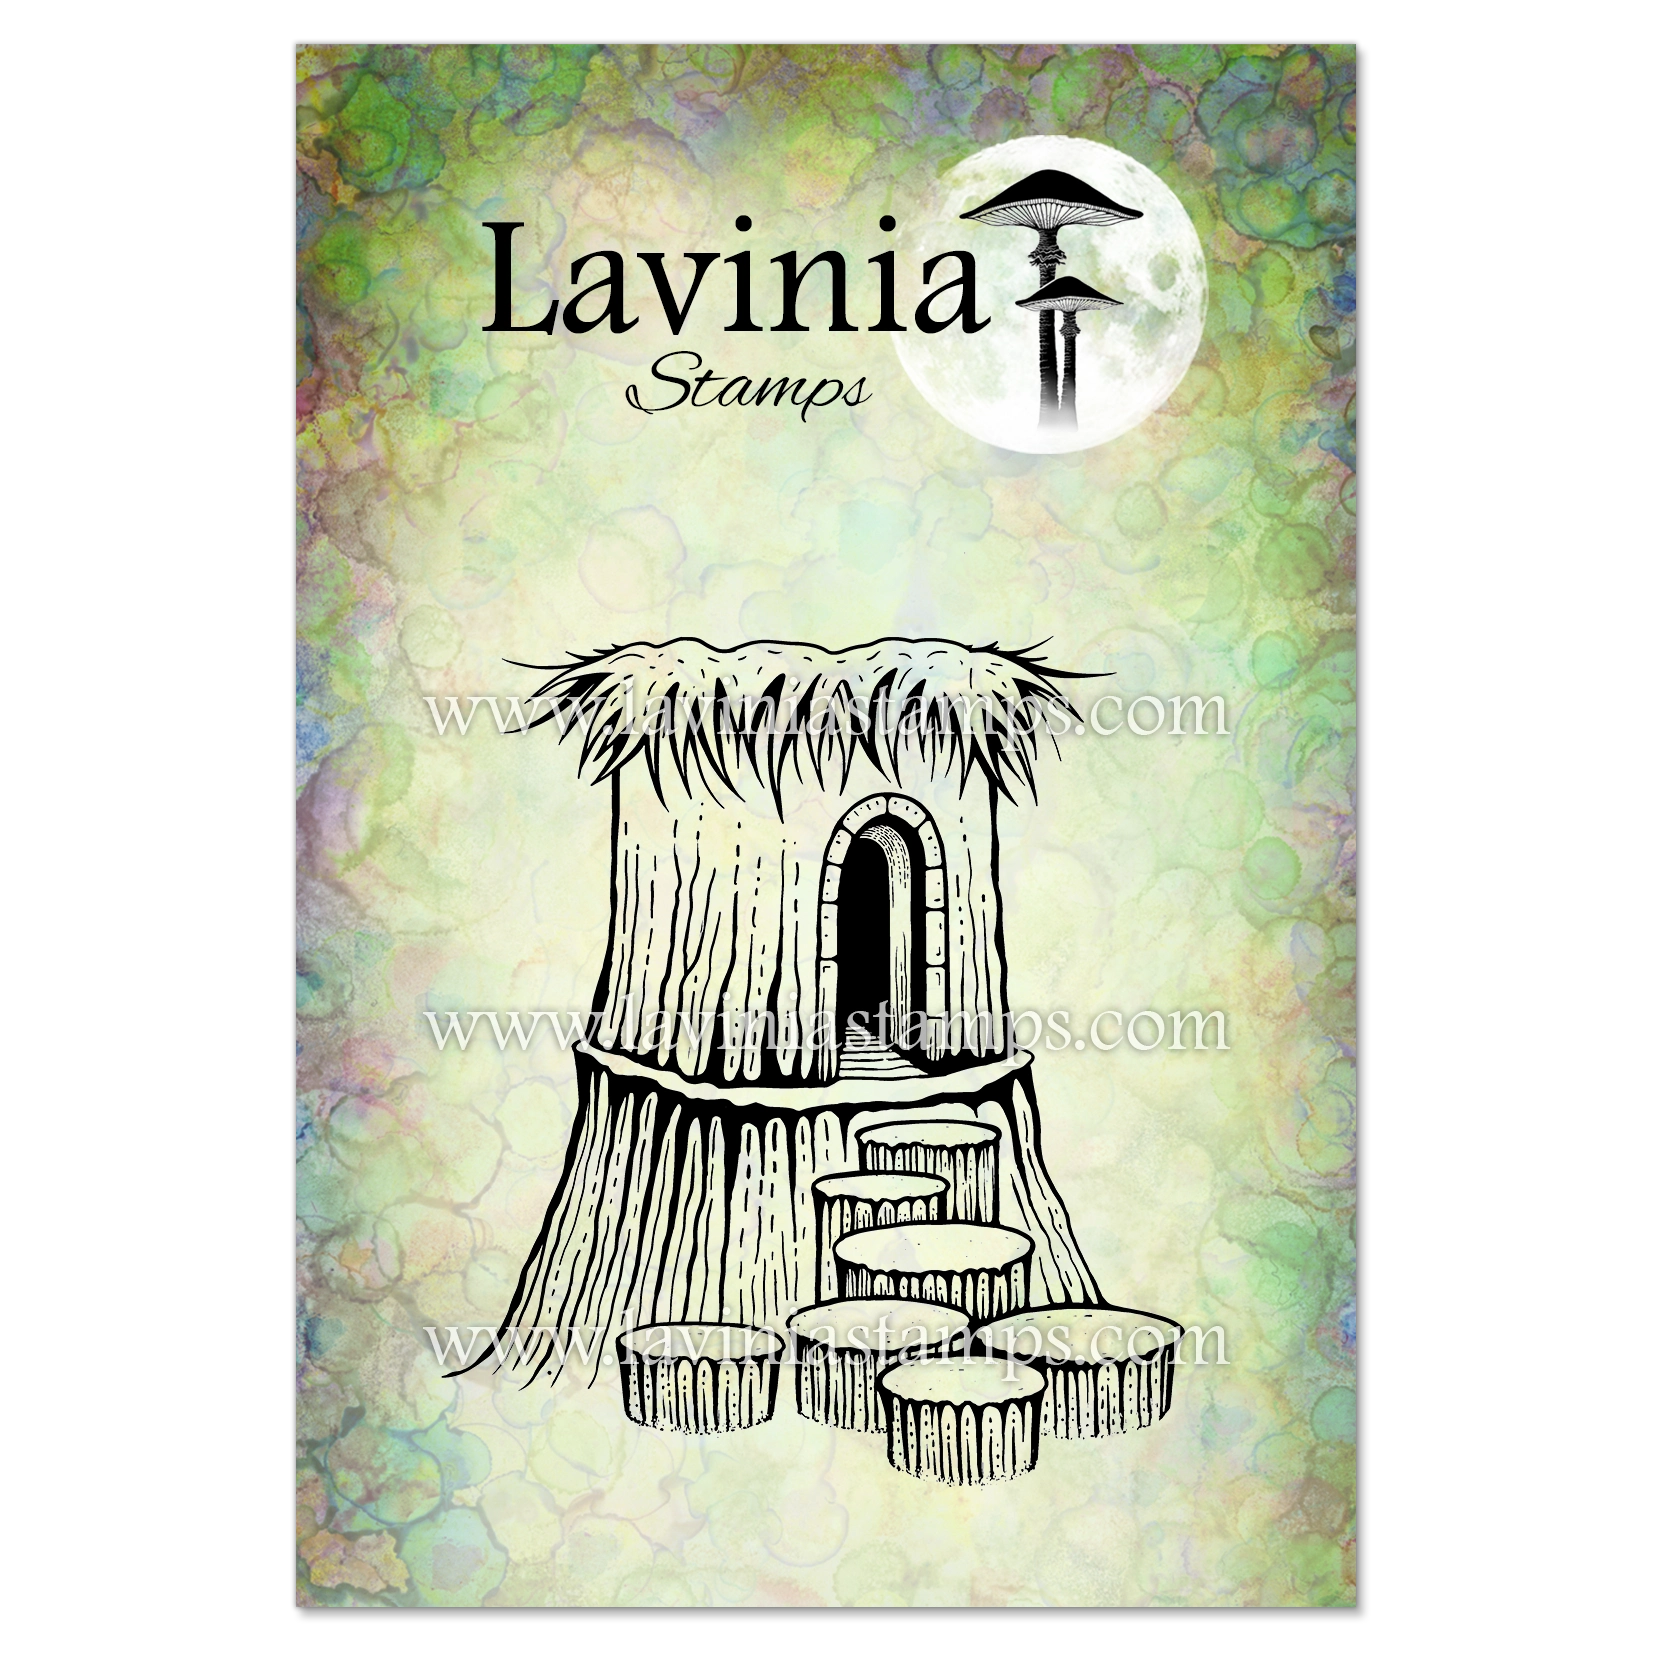
Add to basket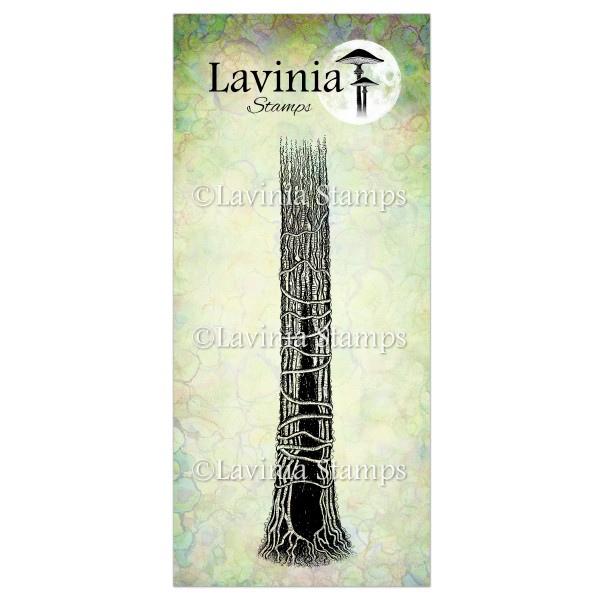 Tree Den Stamp
£8.20
Add to basket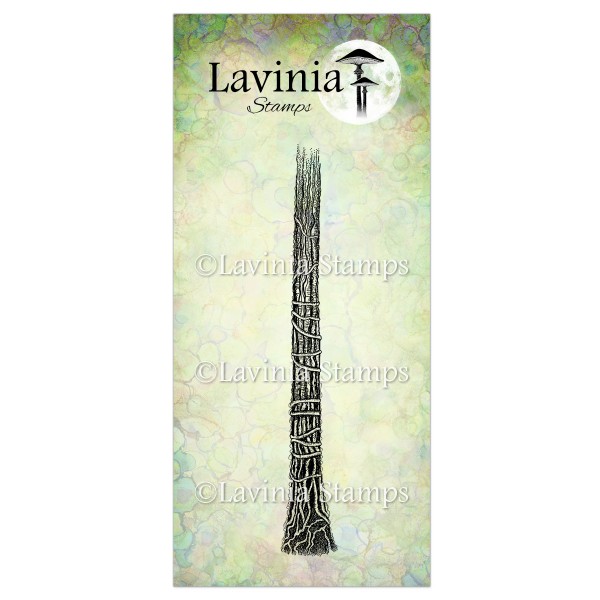 Tree Stem Stamp
£7.60
Add to basket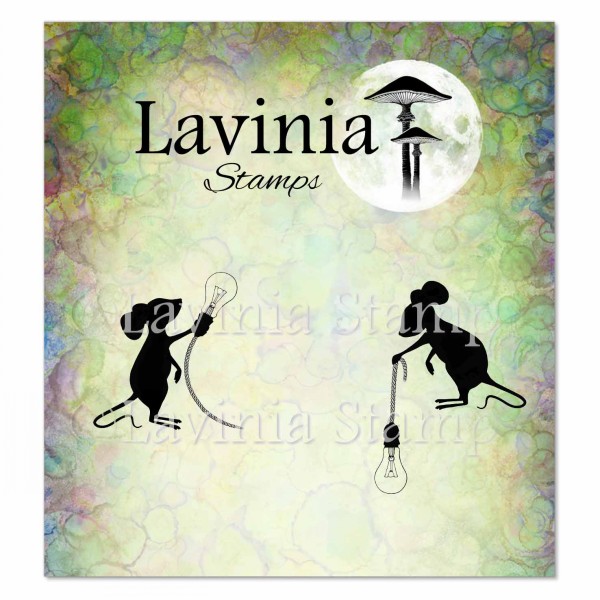 Double Trouble Stamp
£7.20
Add to basket Everdusk Tree Stamp
£8.60
Add to basket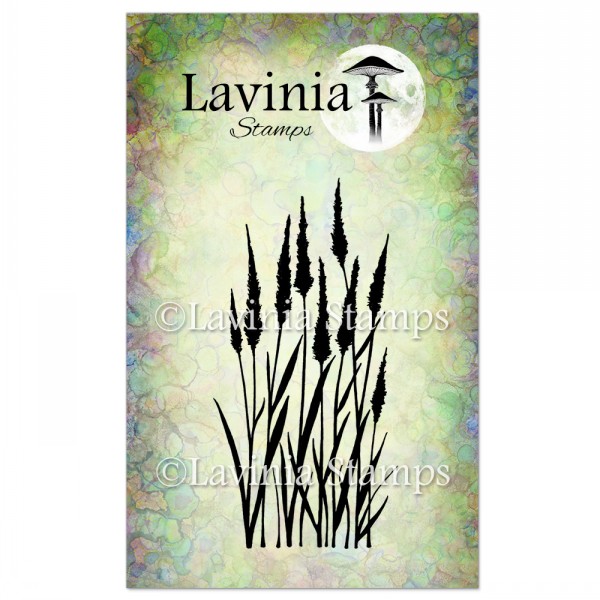 Meadow Grass Stamp
£7.00
Add to basket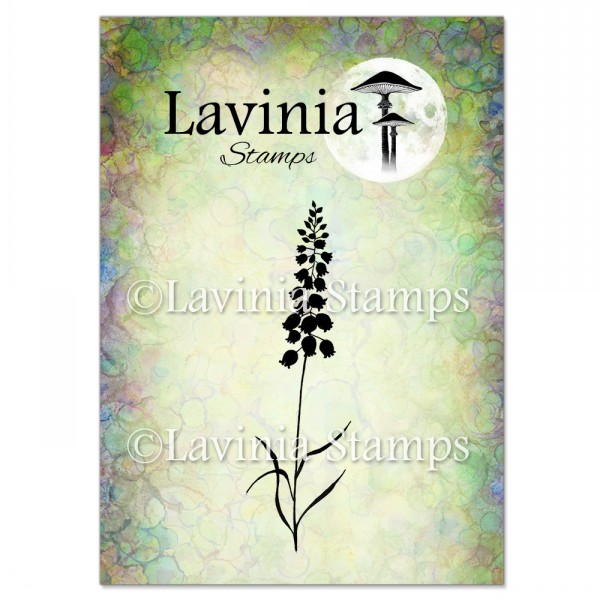 Bluebells Stamp
£5.80
Add to basket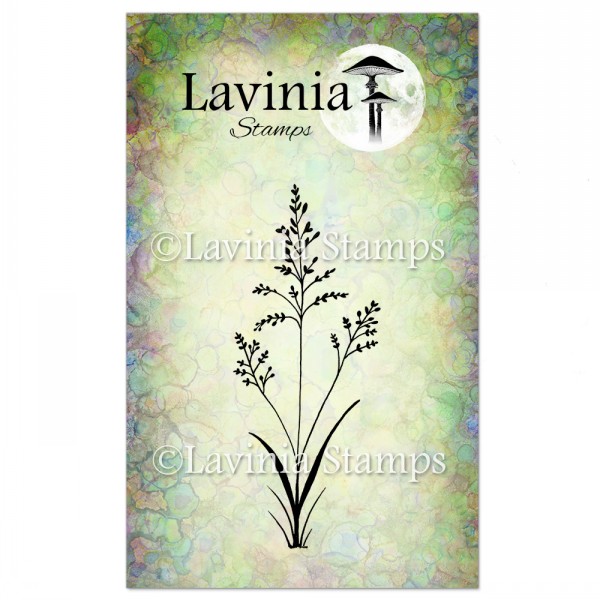 Field Grass Stamp
£6.80
Add to basket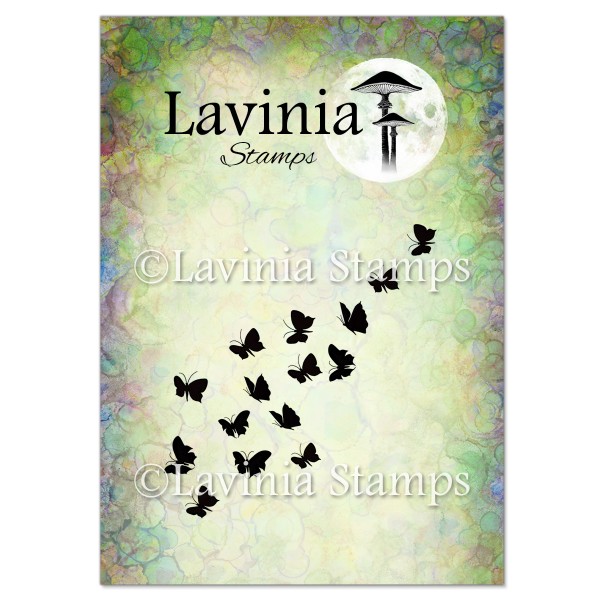 Flutterbies Stamp
£4.20
Add to basket Elements Premium Dye Ink – Dark Denim
£5.85
Add to basket Elements Premium Dye Ink – Blue Atoll
£5.85
Add to basket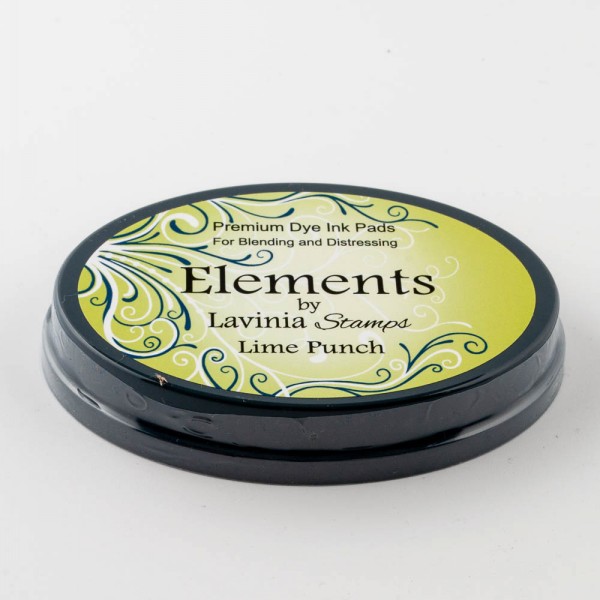 Elements Premium Dye Ink – Lime Punch
£5.85
Add to basket Elements Premium Dye Ink – Olive
£5.85
Add to basket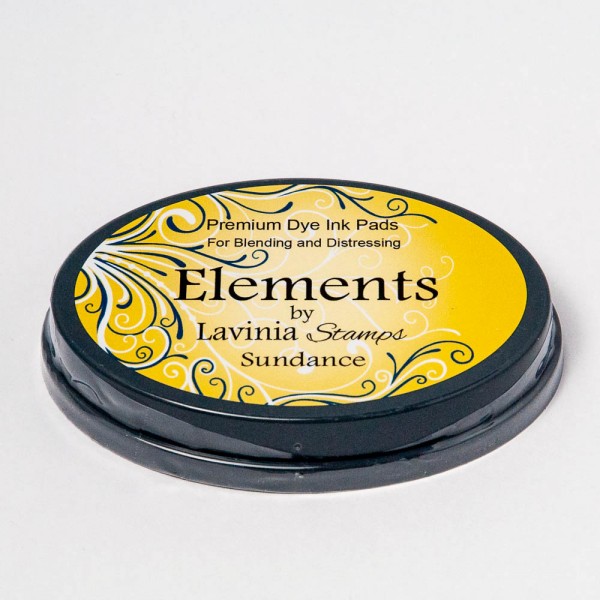 Elements Premium Dye Ink – Sundance
£5.85
Add to basket Versafine Clair Ink Pad – Fallen Leaves
£5.80
Add to basket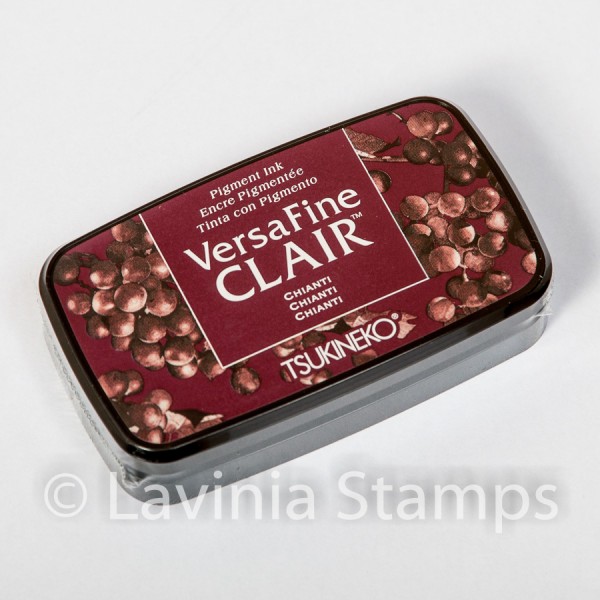 Versafine Clair Ink Pad – Chianti
£5.80
Add to basket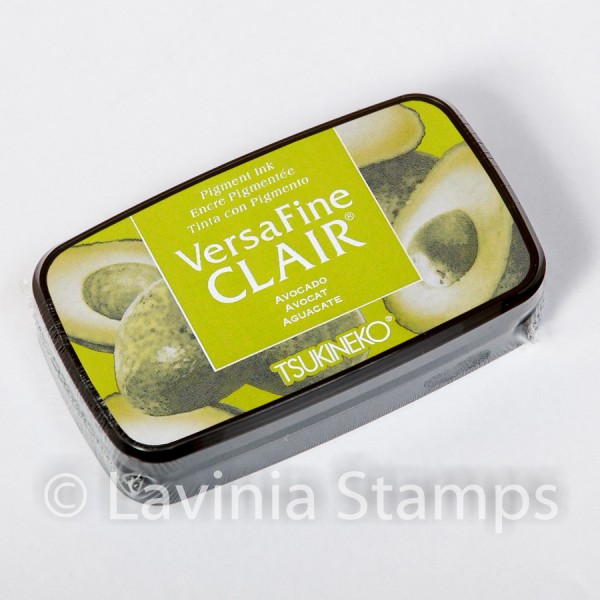 Versafine Clair Ink Pad – Avocado
£5.80
Add to basket Versafine Clair Ink Pad – Morning Mist
£5.80
Add to basket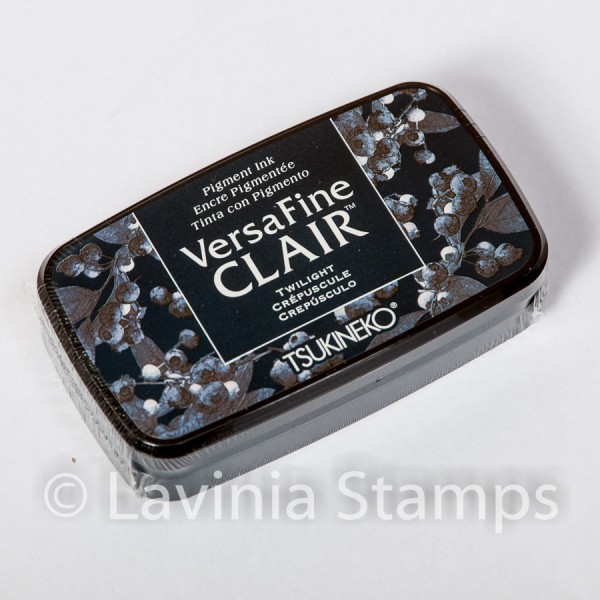 Versafine Clair Ink Pad – Twilight
£5.80
Add to basket