


 Starpine Stamp
£7.80
Add to basket Winter Foliage Stamp
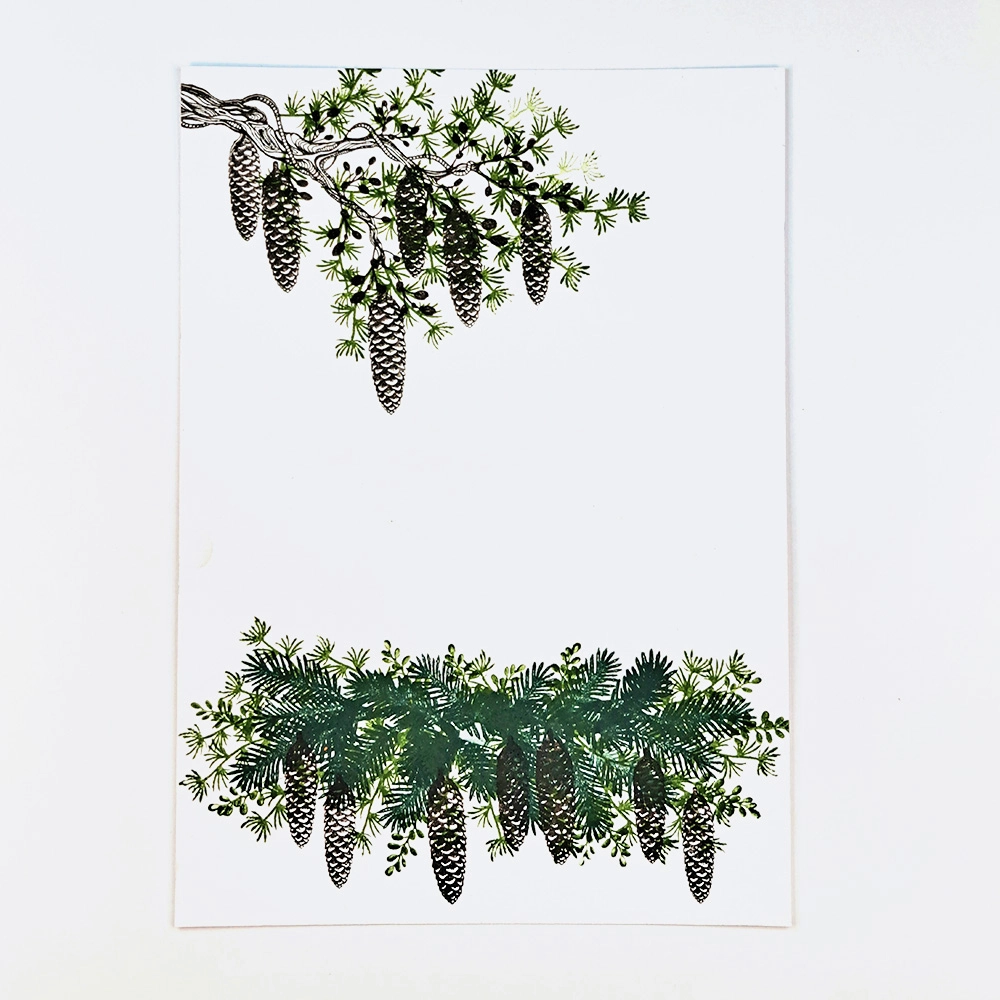
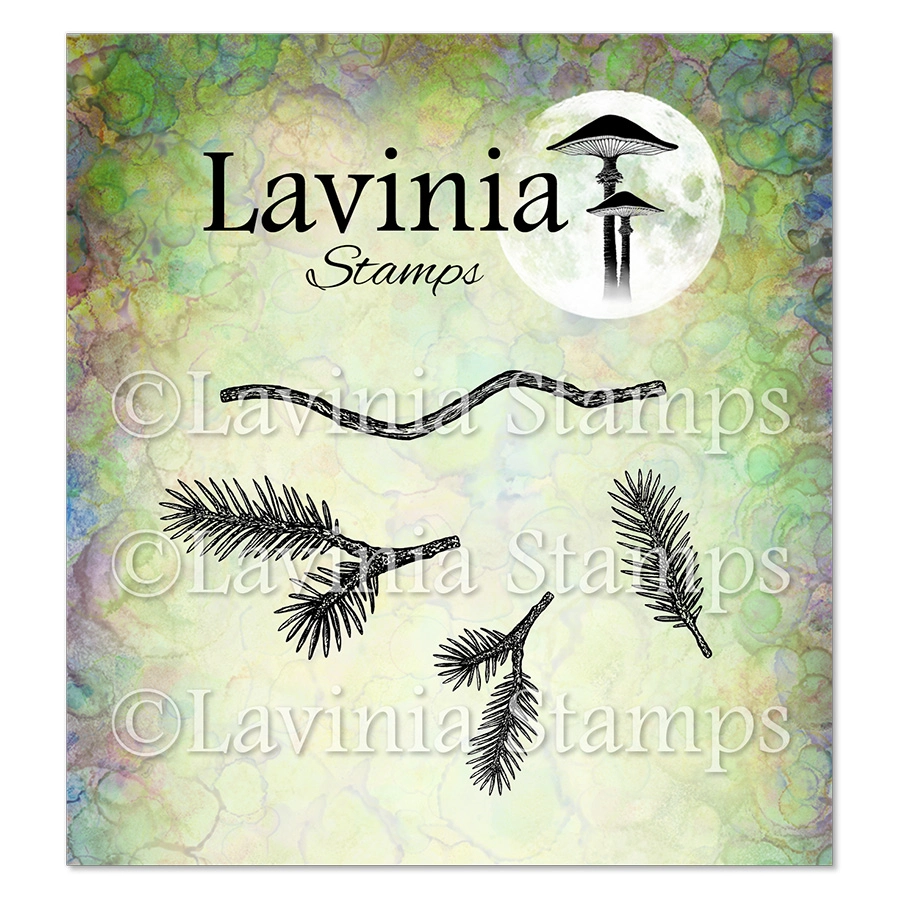
£6.10
Add to basket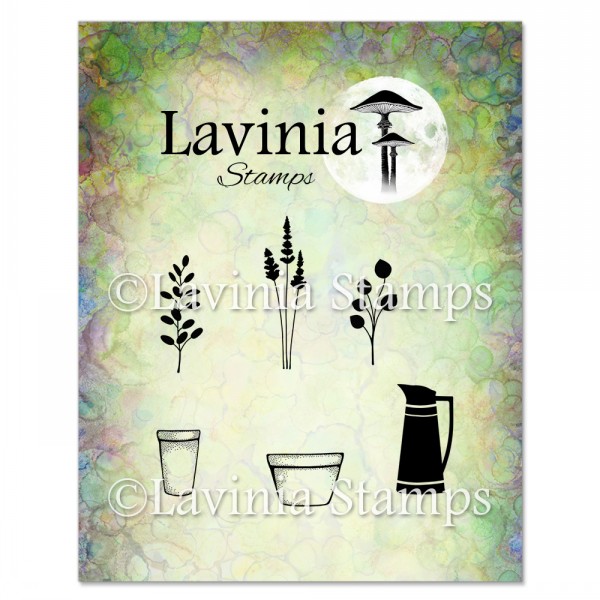 Flower Pots Stamp
£6.20
Add to basket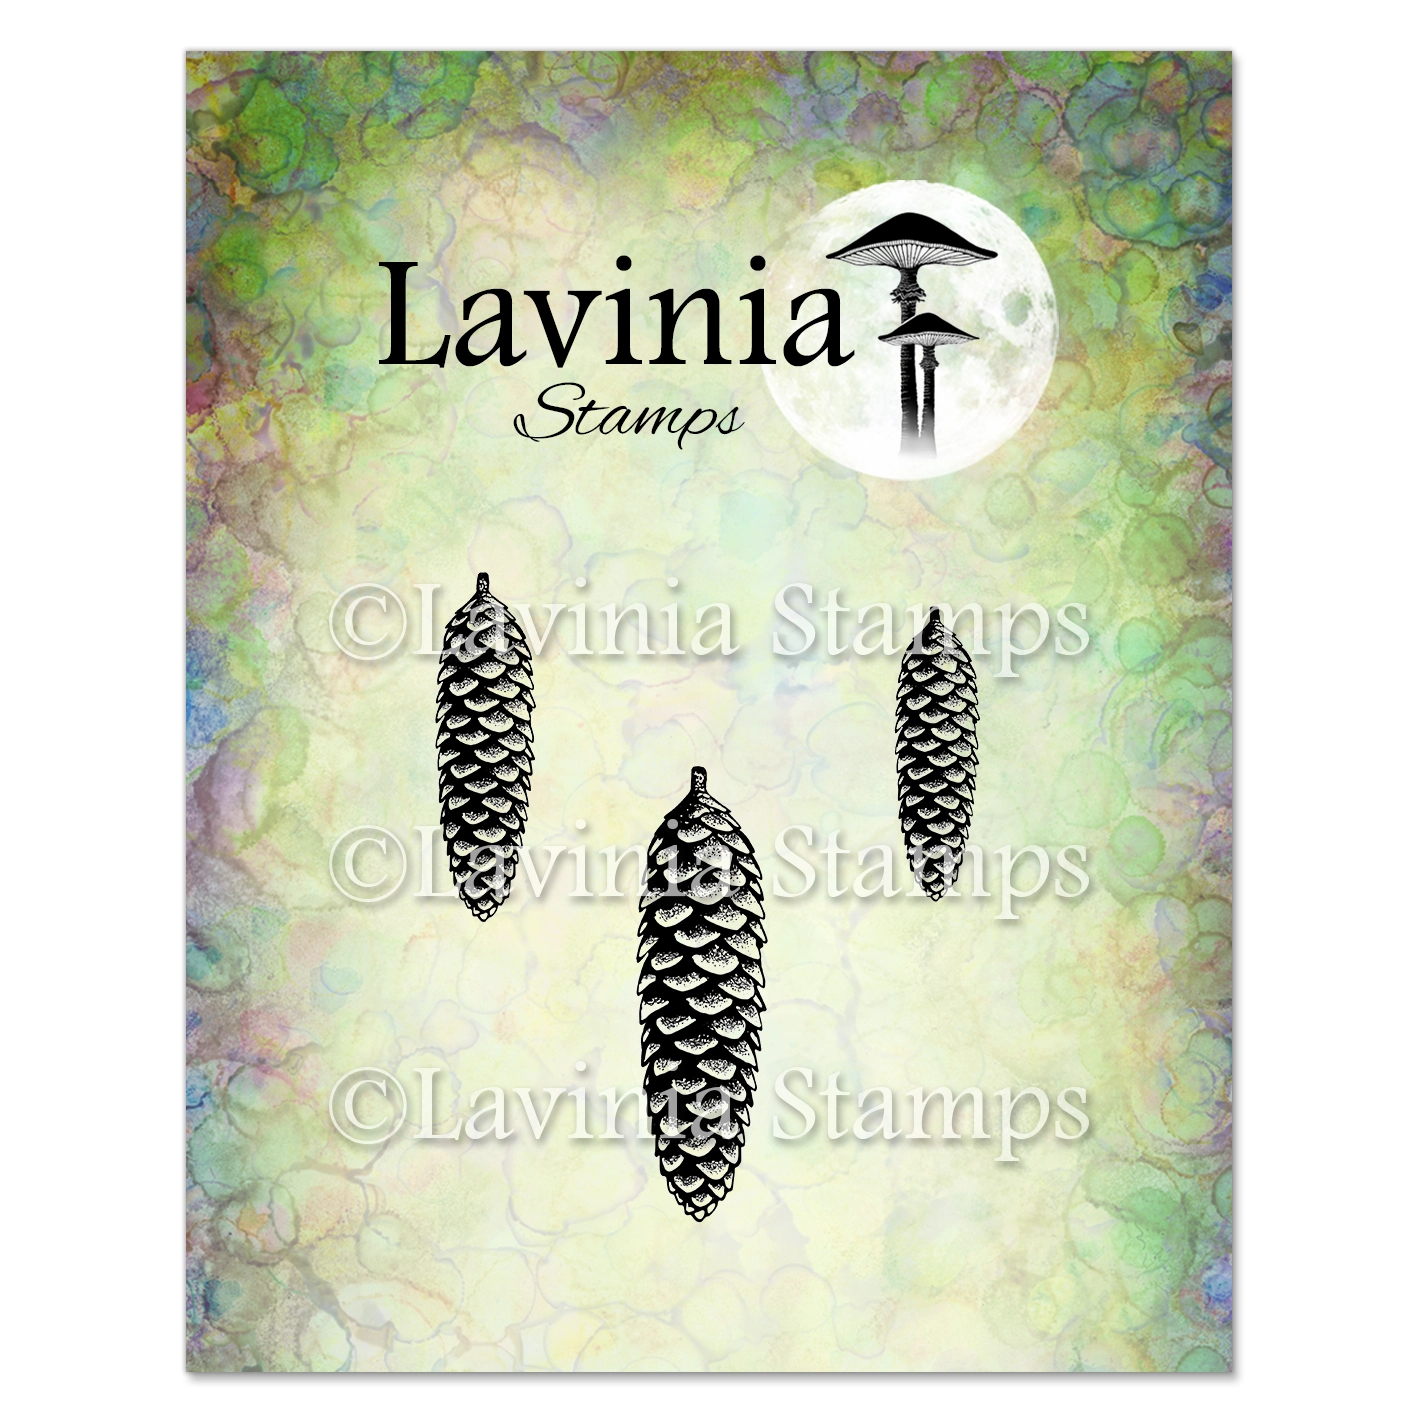 Sugar Pine Cone Stamp
£5.30
Add to basket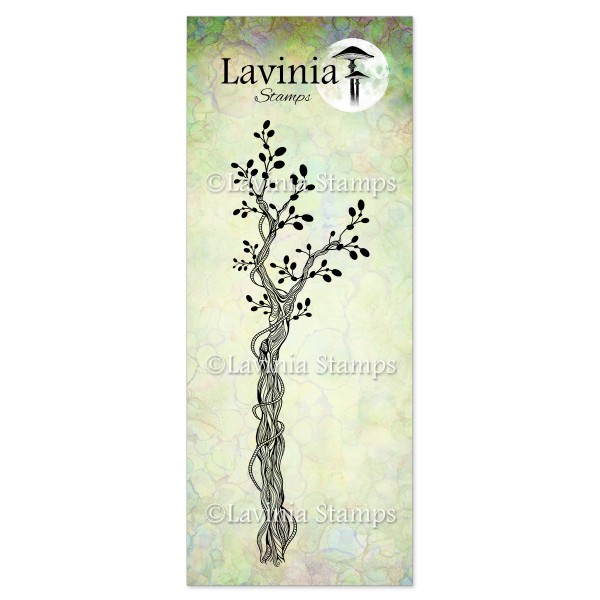 Vine Branch Stamp
£10.70
Add to basket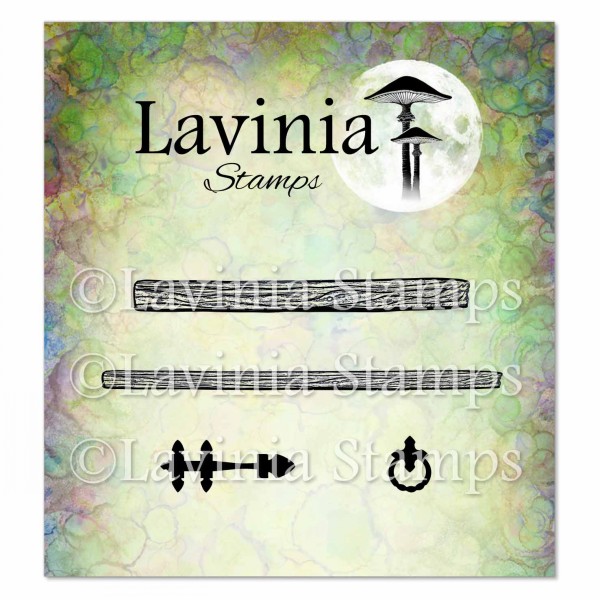 Hobbits Door Accessories Stamp
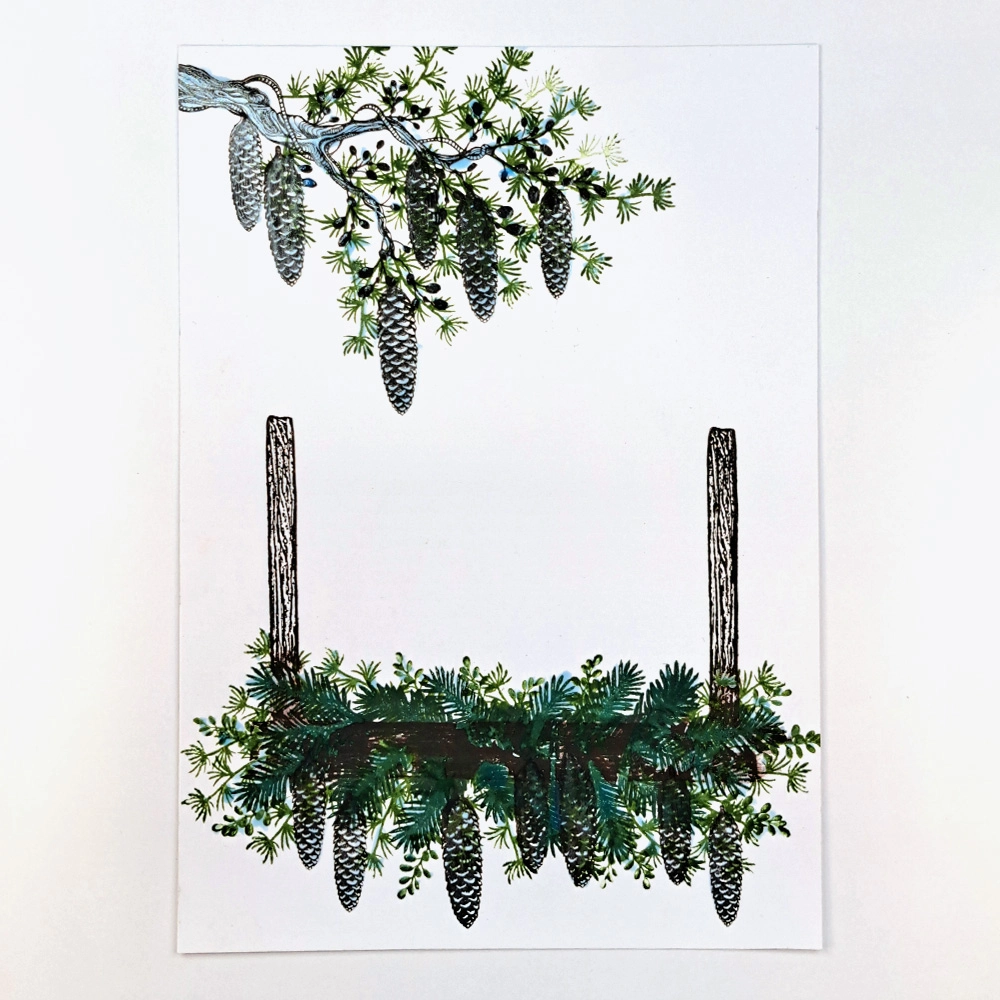
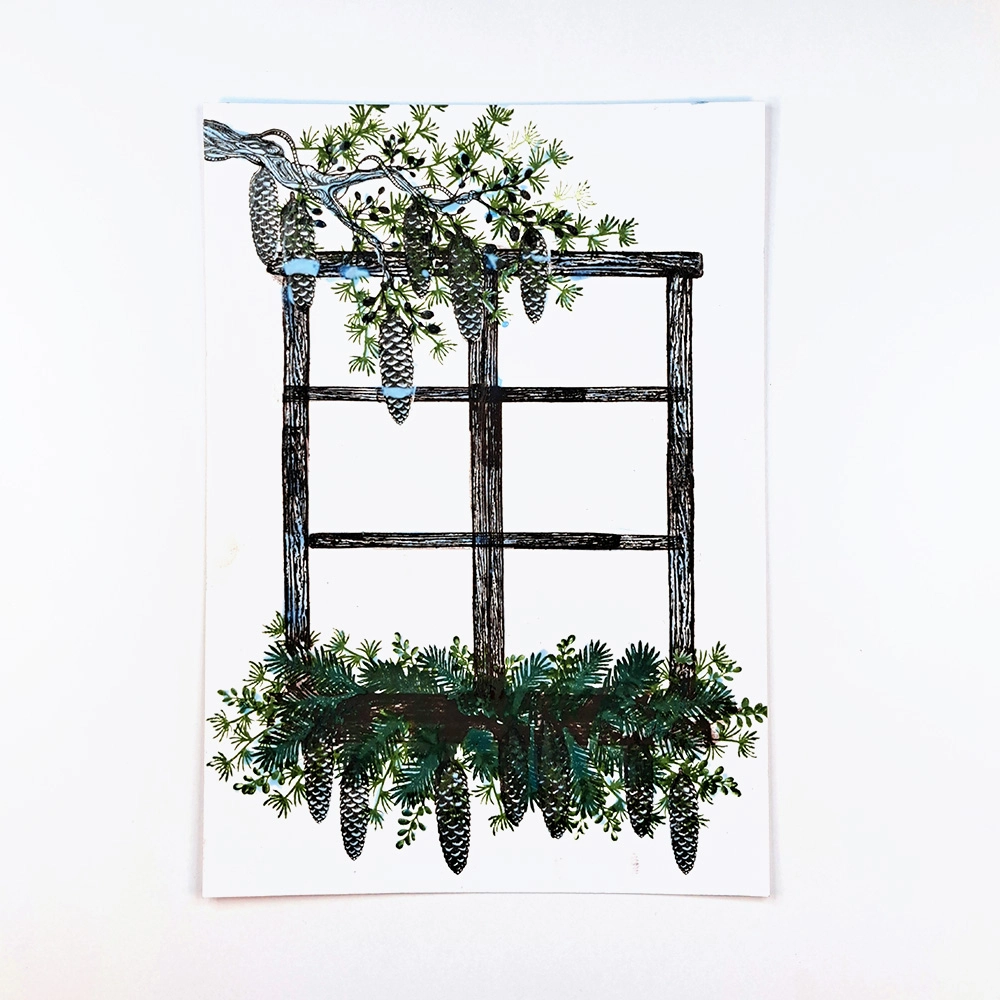
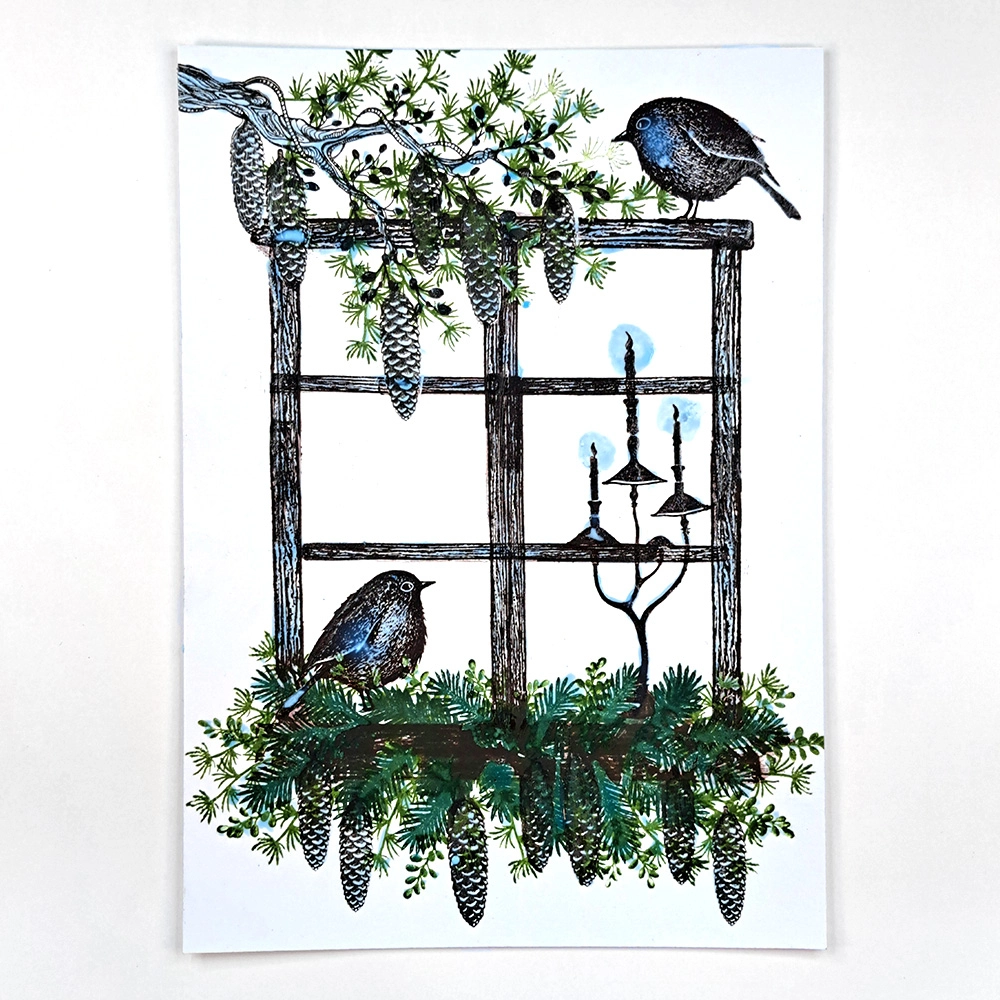
£7.20
Add to basket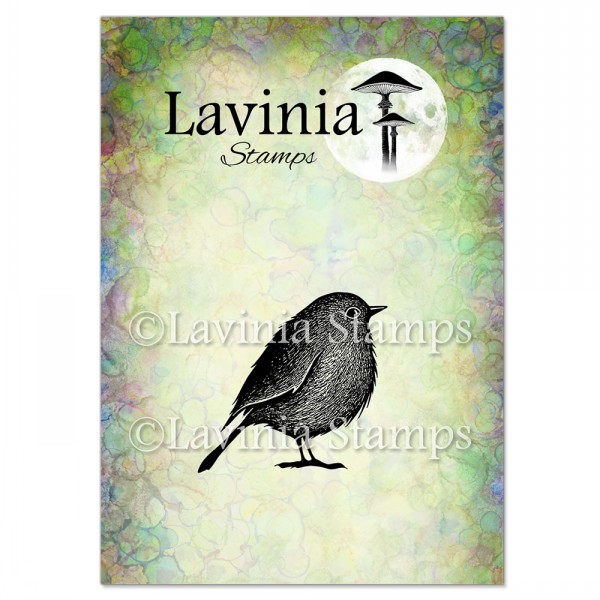 Bobby Stamp
£5.50
Add to basket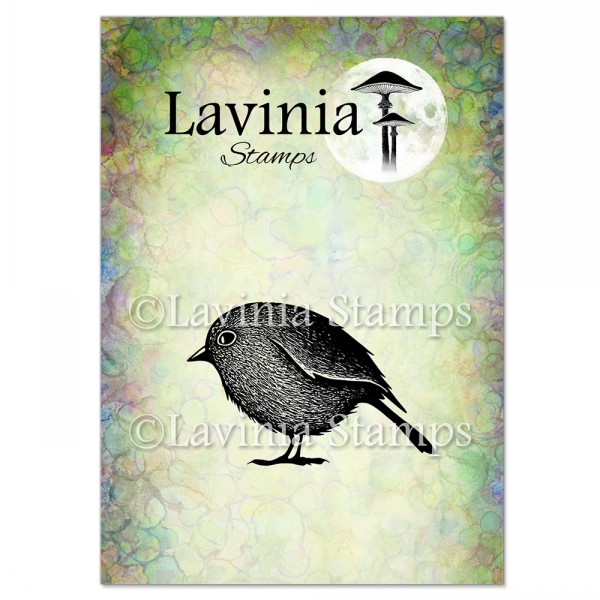 Jemima Stamp
£5.50
Add to basket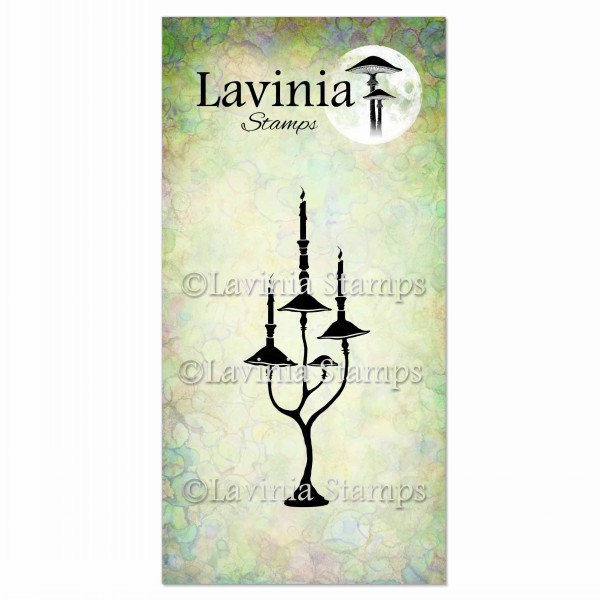 Mushroom Candelabra Stamp
£8.00
Add to basket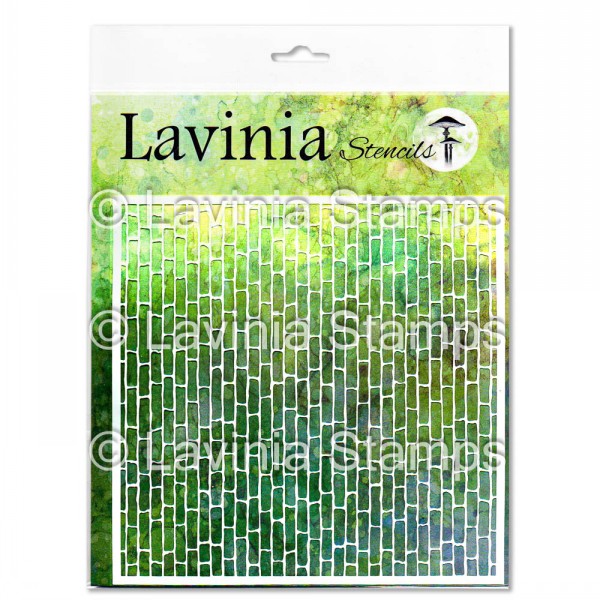 Red Brick – Lavinia Stencils
£5.50
Add to basket Elements Premium Dye Ink – Blue Atoll
£5.85
Add to basket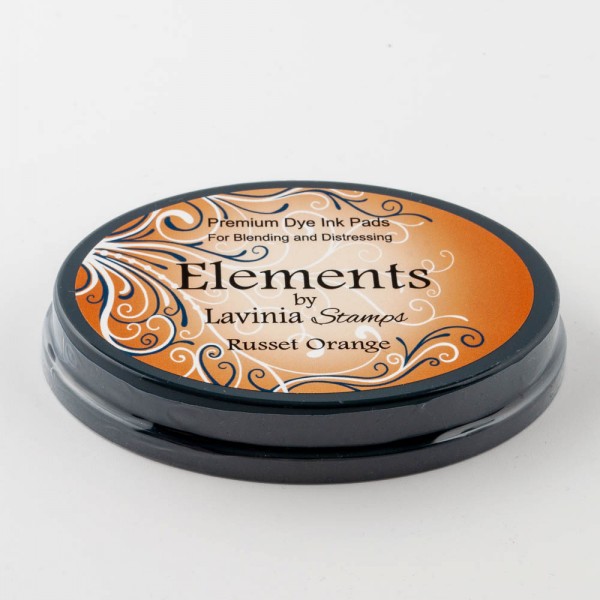 Elements Premium Dye Ink – Russet Orange
£5.85
Add to basket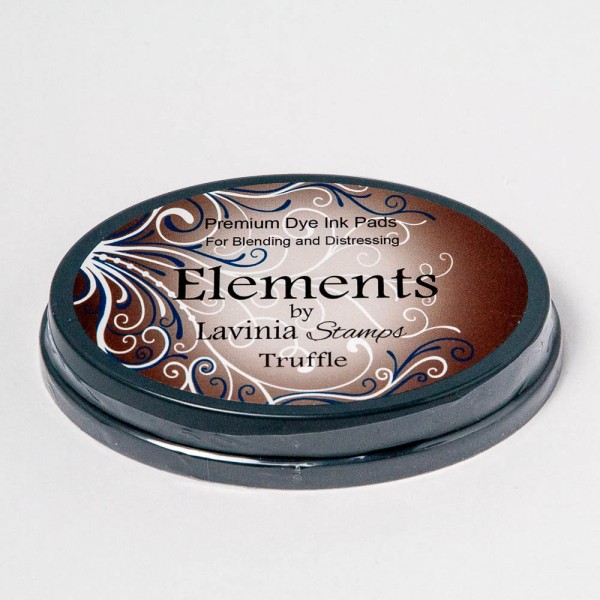 Elements Premium Dye Ink – Truffle
£5.85
Add to basket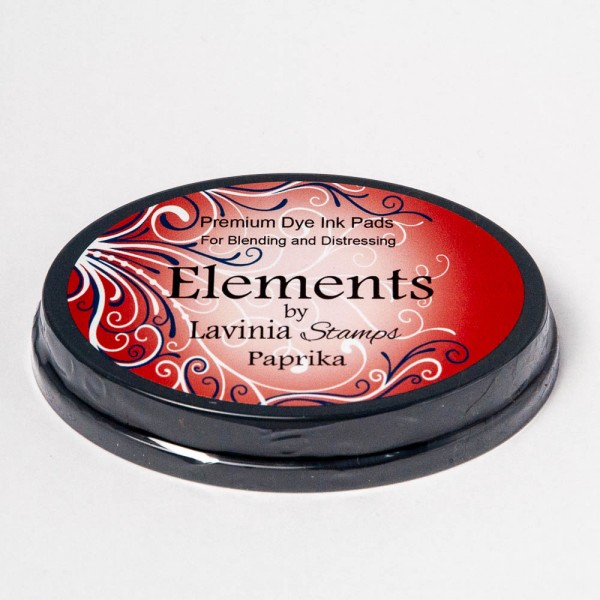 Elements Premium Dye Ink – Paprika
£5.85
Add to basket Versafine Clair Ink Pad – Rain Forest
£5.80
Add to basket Versafine Clair Ink Pad – Shady Lane
£5.80
Add to basket Versafine Clair Ink Pad – Fallen Leaves
£5.80
Add to basket Versafine Clair Ink Pad – Pinecone
£5.80
Add to basket PanPastels – Hansa Yellow
£9.30
Read more Versafine Clair Ink Pad – Nocturne
£5.80
Add to basket