Hello all you wonderful Lavinians 😄
I have made another picture tutorial for you. This time it is a 3D card using the magical Dinkles and the amazing Lavinia Owl family Stamps together with some of my all-time favourite stamps.
I really hope you like this. Please let me know if you have any questions.
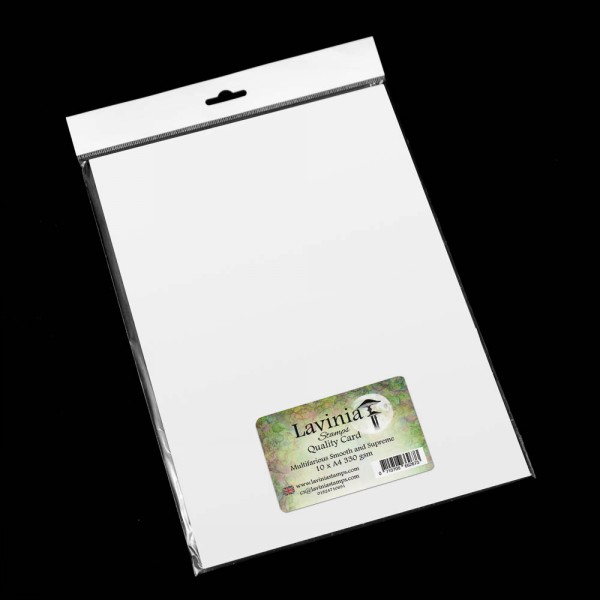
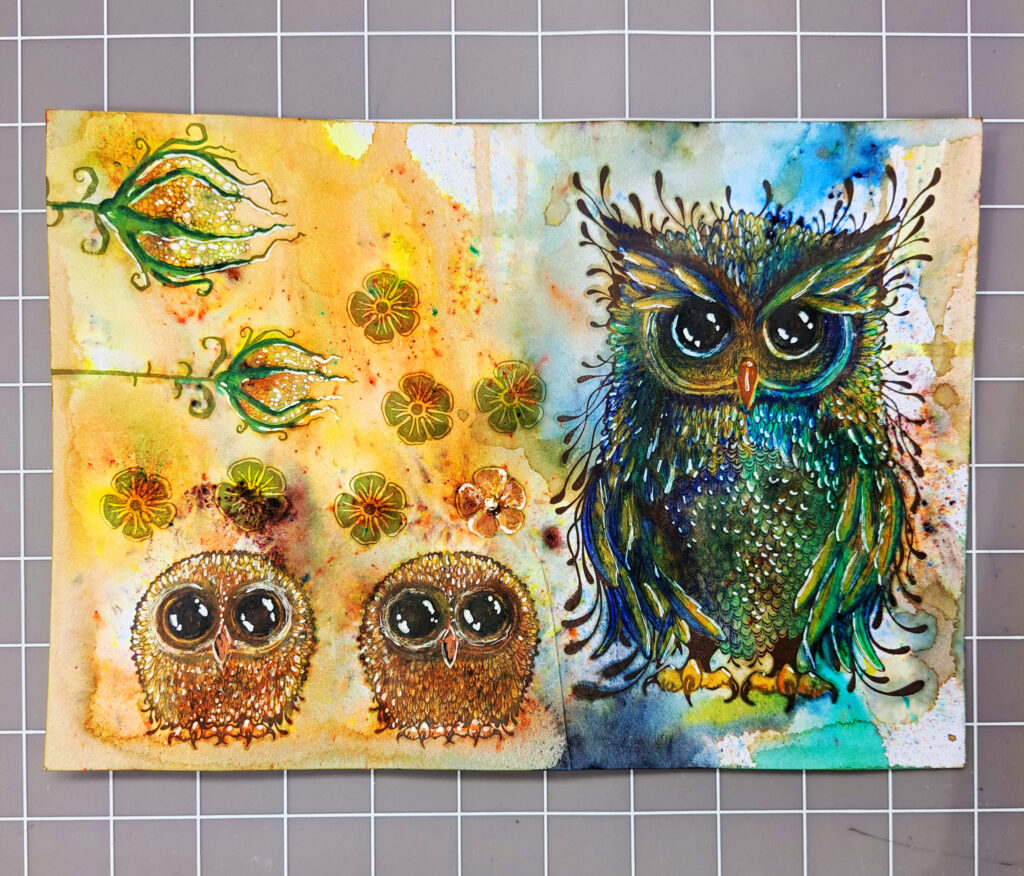
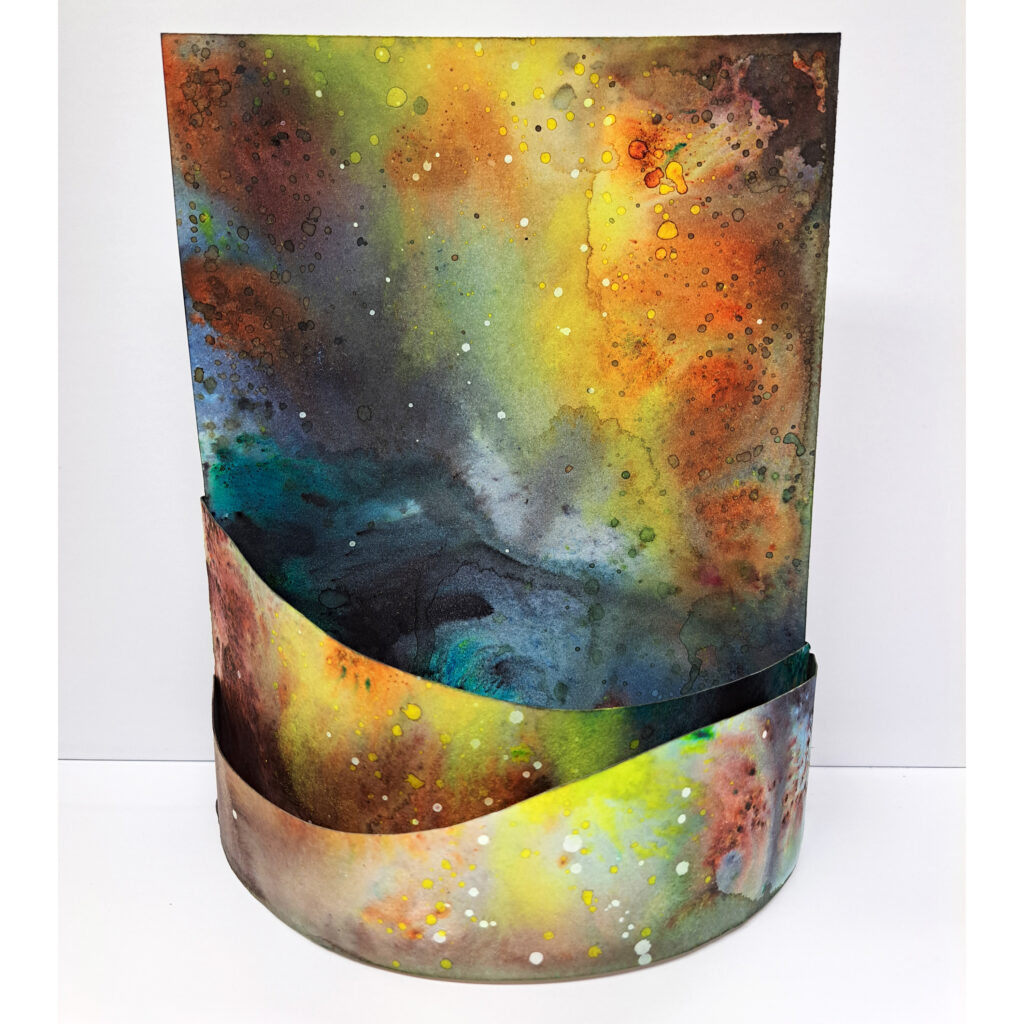
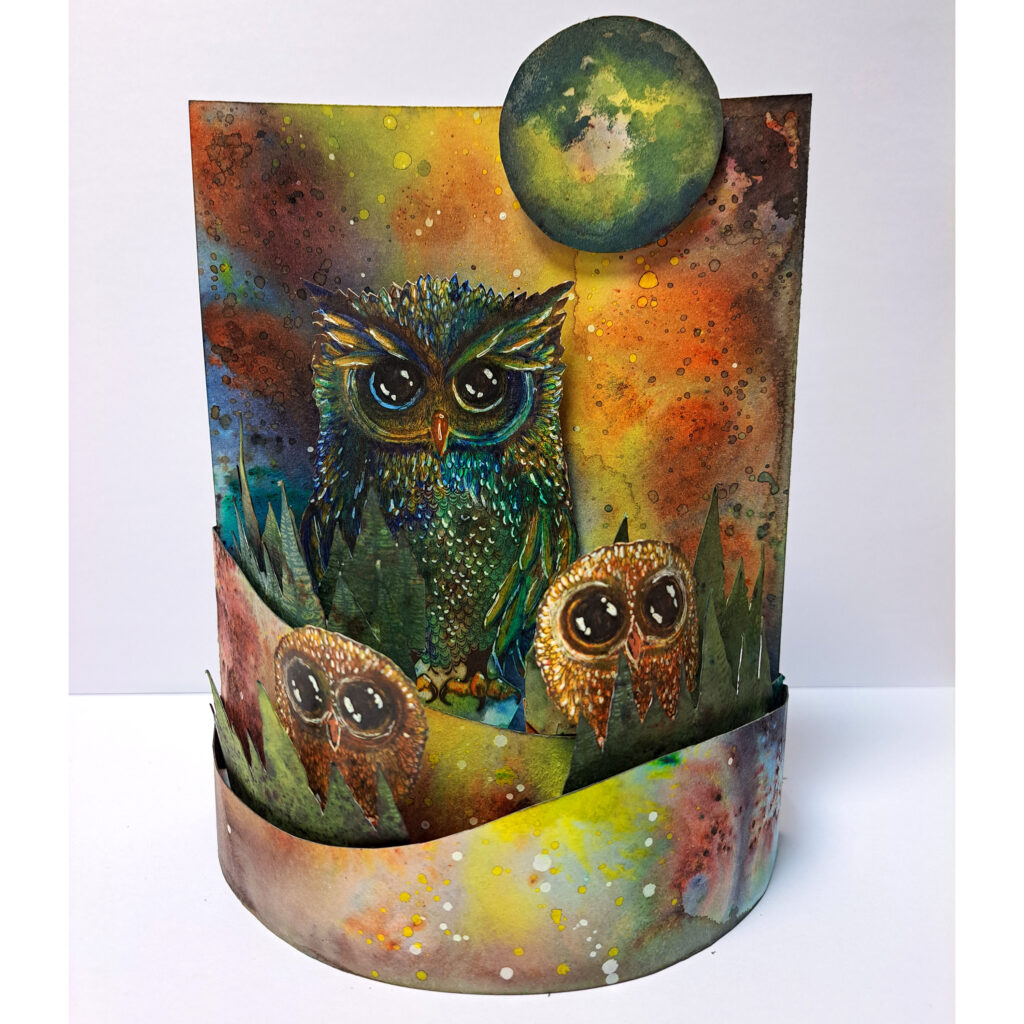
Picture 1
Multifarious card. Size is in the picture.
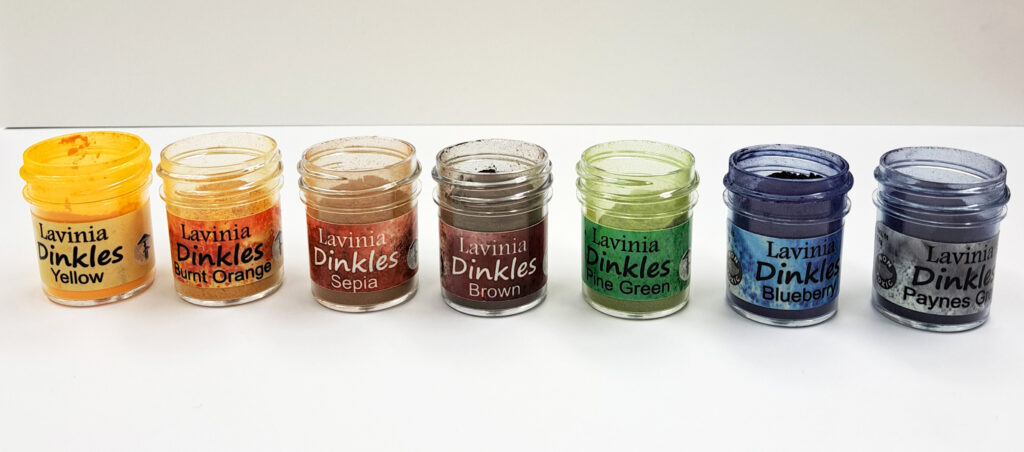
Picture 2
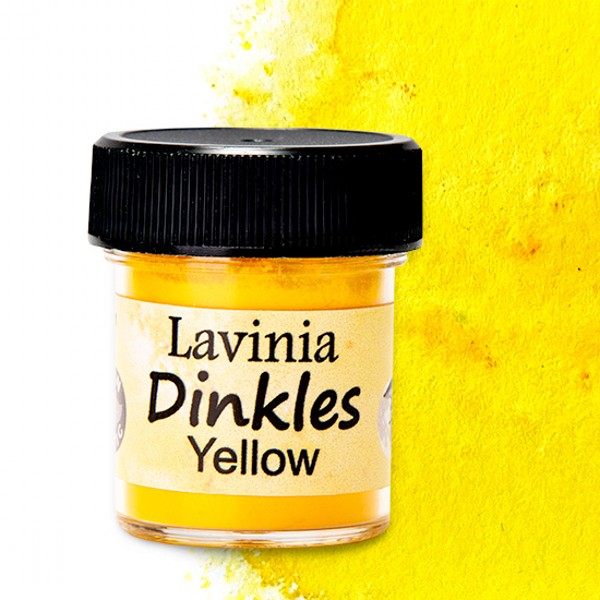
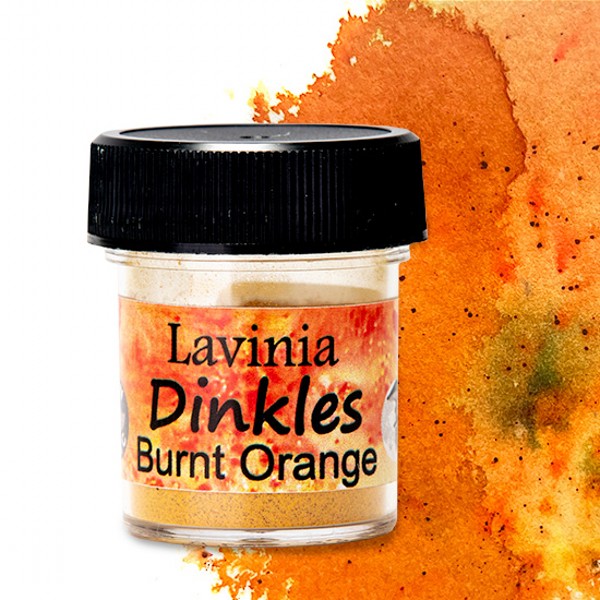
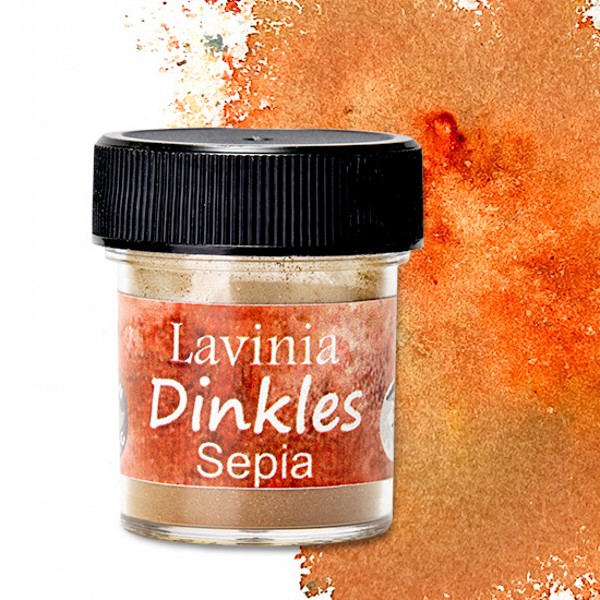
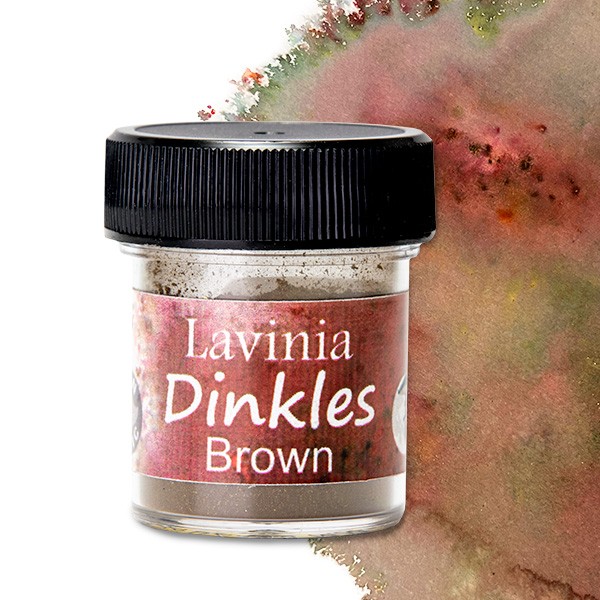
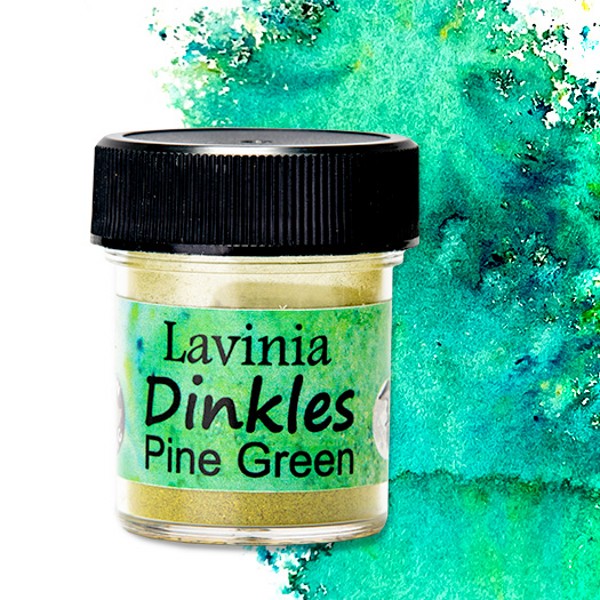
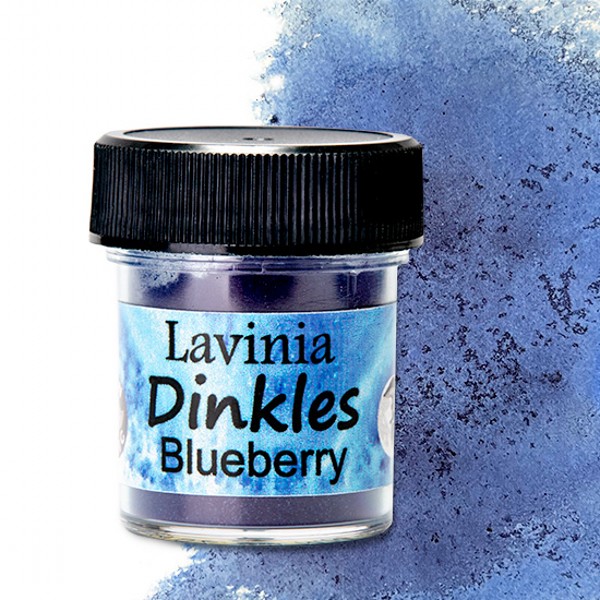
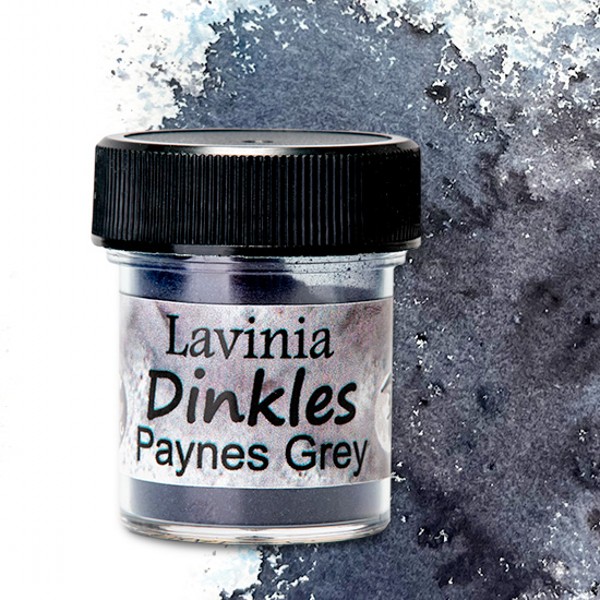
The colours of Dinkles I used. I line up the colours I want like in the picture and then I use paintbrushes to pick up some Dinkles powder. Then I sprinkle the Dinkles on my wet paper. You need very little product to create a lot of colour .

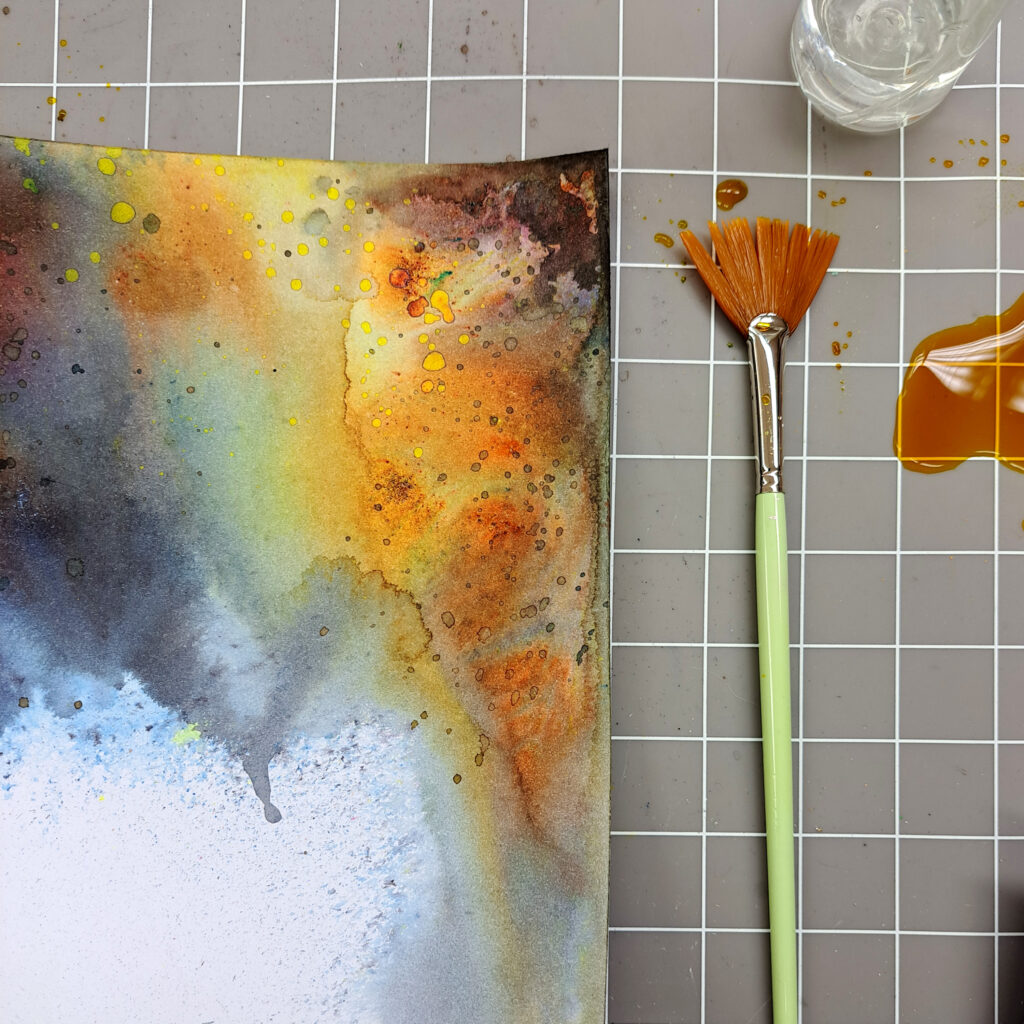
Picture 3
This time I started with the lightest colour because I wanted to create light in the middle of my card. I wet the paper first and sprinkle some Dinkles powder. Then I dry the paper before adding another colour. This gives me a little more control over the colour. When the card is dry I wet another part of the card and sprinkle another colour. It doesn’t matter if you get the first colour a bit wet, the colour has kind of set in the paper. If you just sprinkle all the colours together at the same time the colours might become very muddy and will not be as easy to control. So try this way with drying between all the colours. Also you will get the effect of colours on top of each other without blending. See next picture.
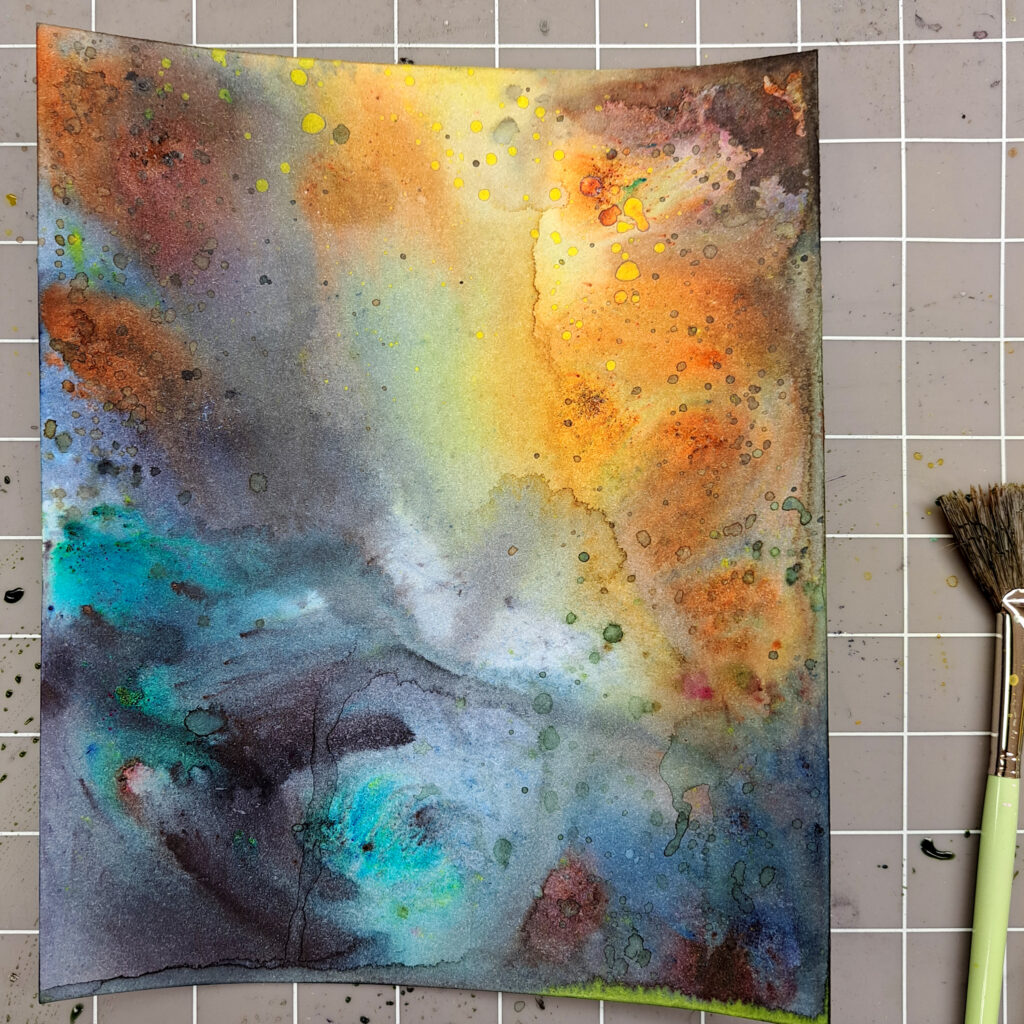
Picture 4
Here you can see more colours. I have made some colour with lots of water on my mat and then I use a fan brush to pick up the colour so I can splatter some on my card. As you can see there are clearly yellow splatters on the card. This shows that you can put very light colours on top of darker colours. Absolutely amazing. I put both yellow and white splatters on my card.
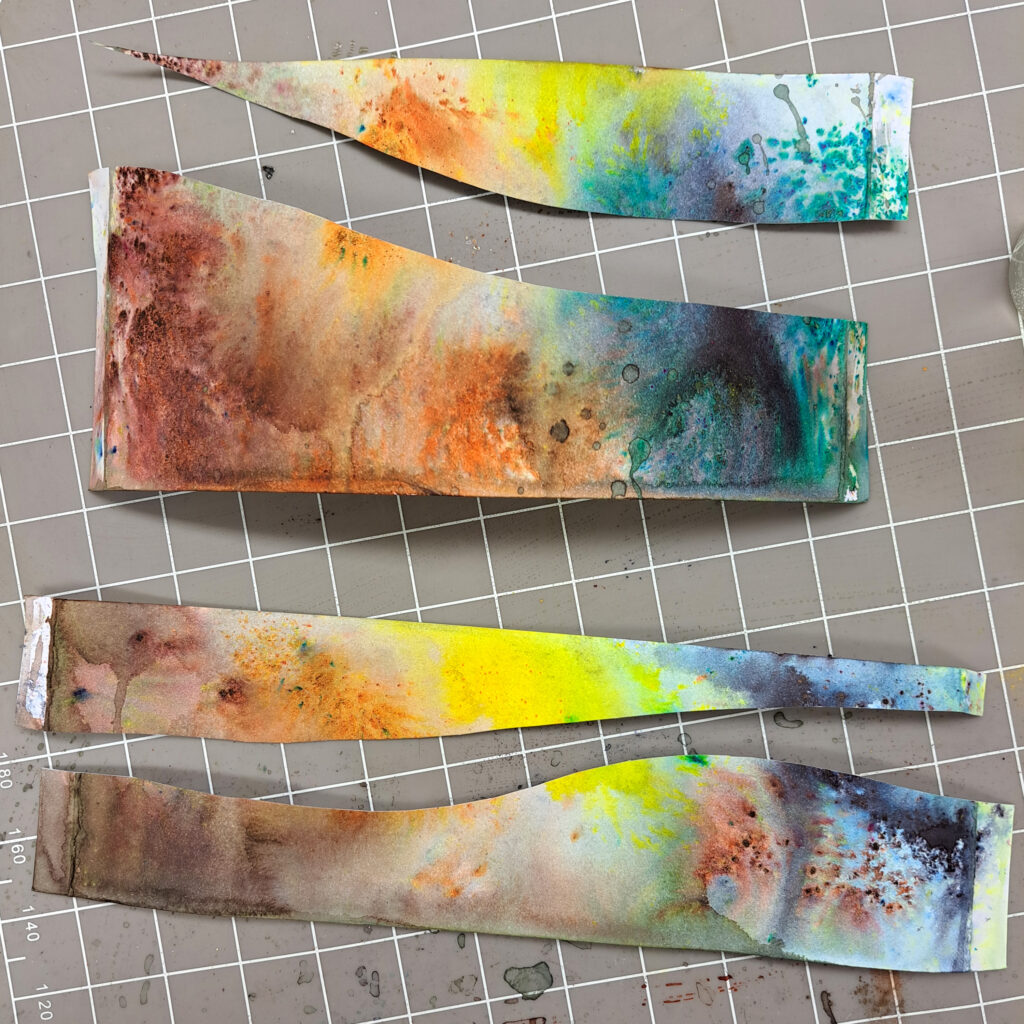
Picture 5
More colours on my card.
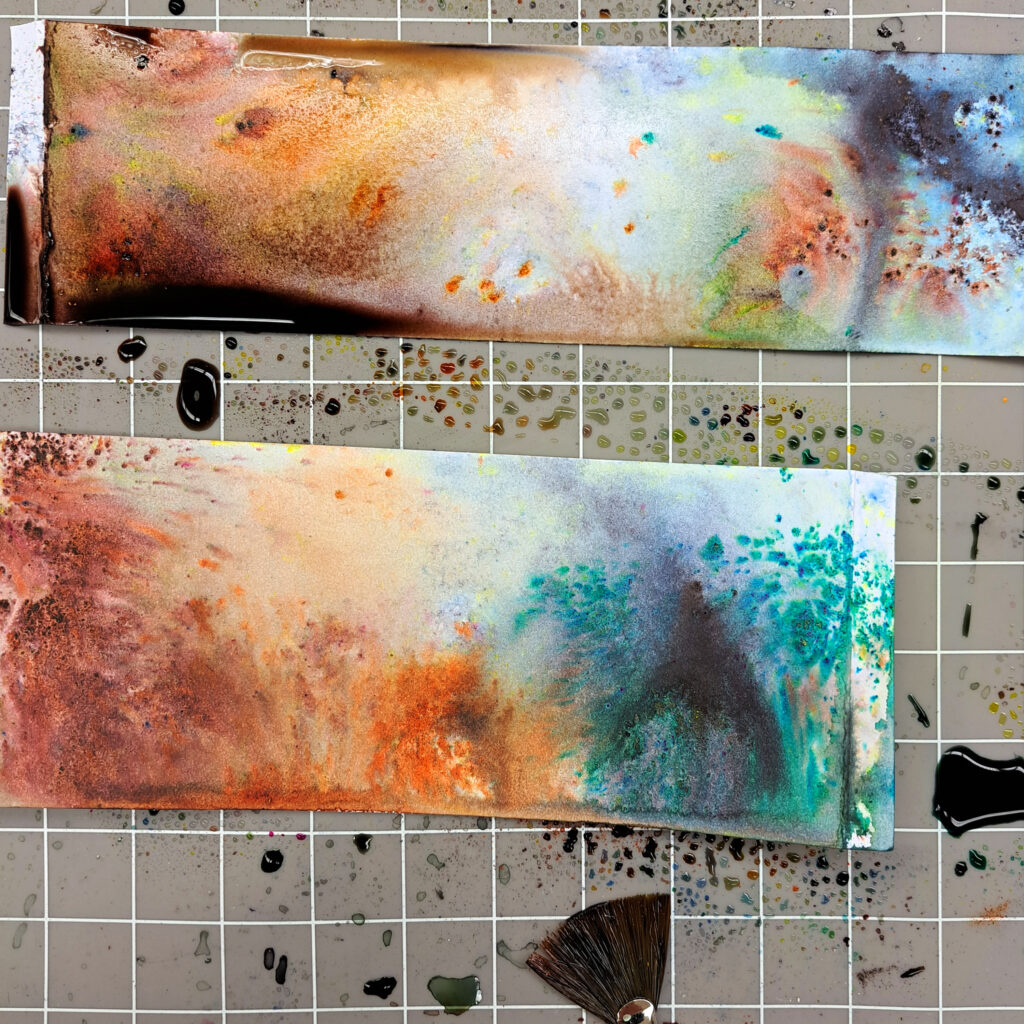
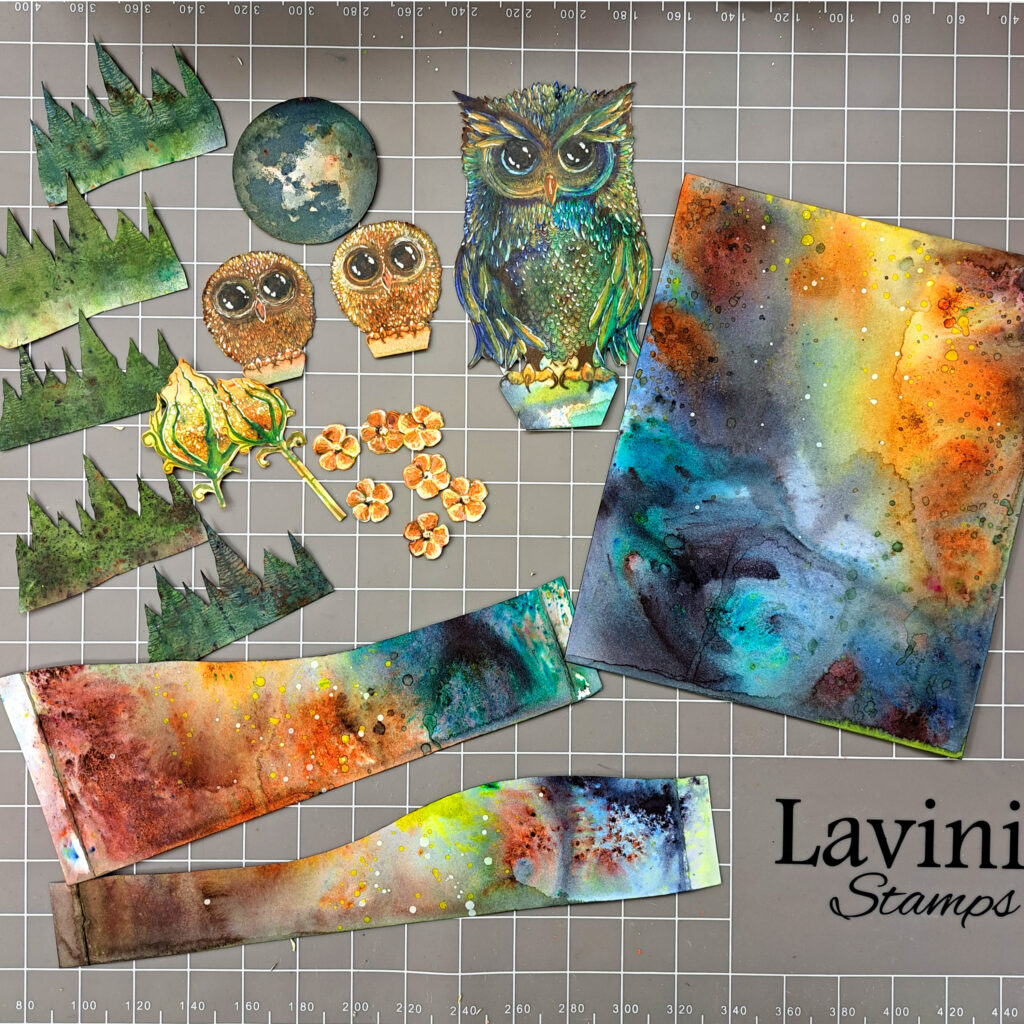
Picture 6
Put colour on the other pieces . Look at the next picture for the finished look.
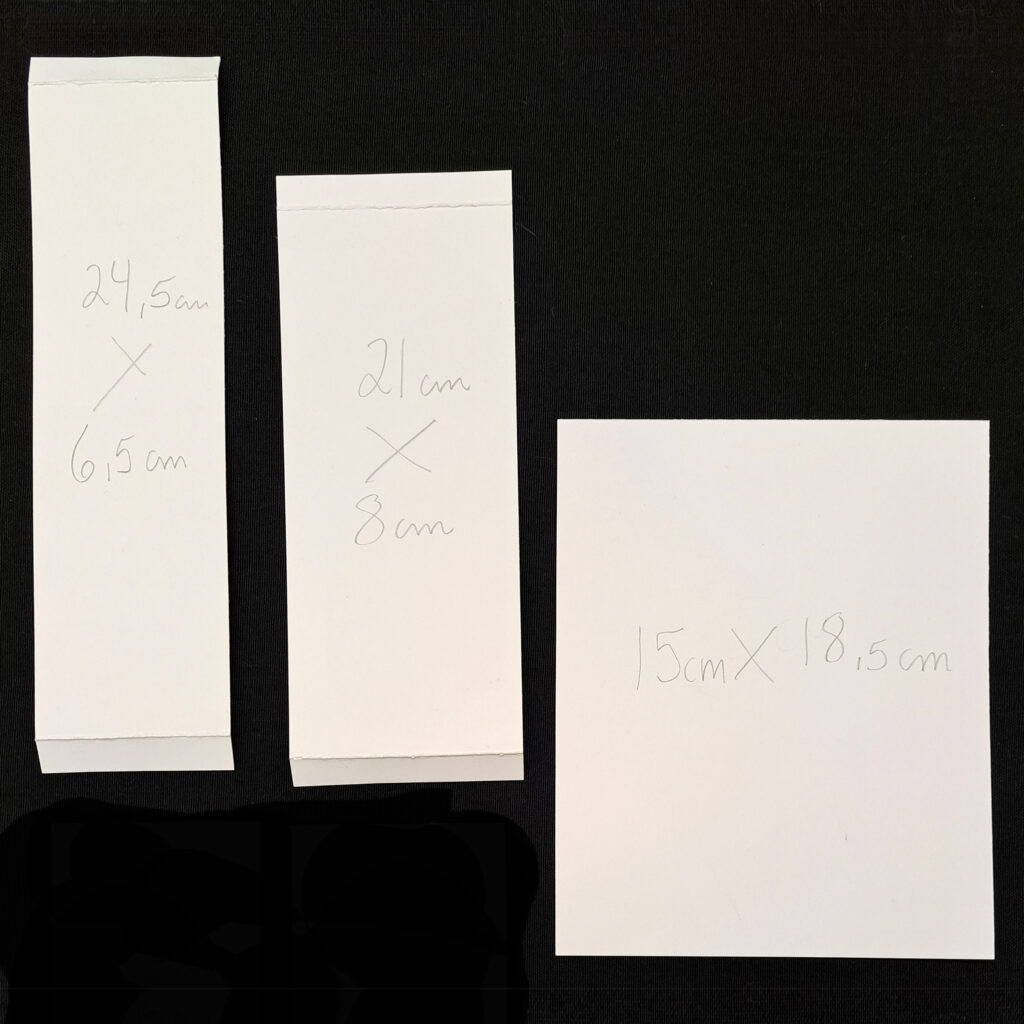
Picture 7
Now we will cut the pieces so that they will be like in the picture. Just remember that the shorter piece needs to be taller than the other piece, and the tall and short on opposite ends. Like in the picture.

Picture 8
Here I used the white Dinkles and you can clearly see that there are white dots on the card .
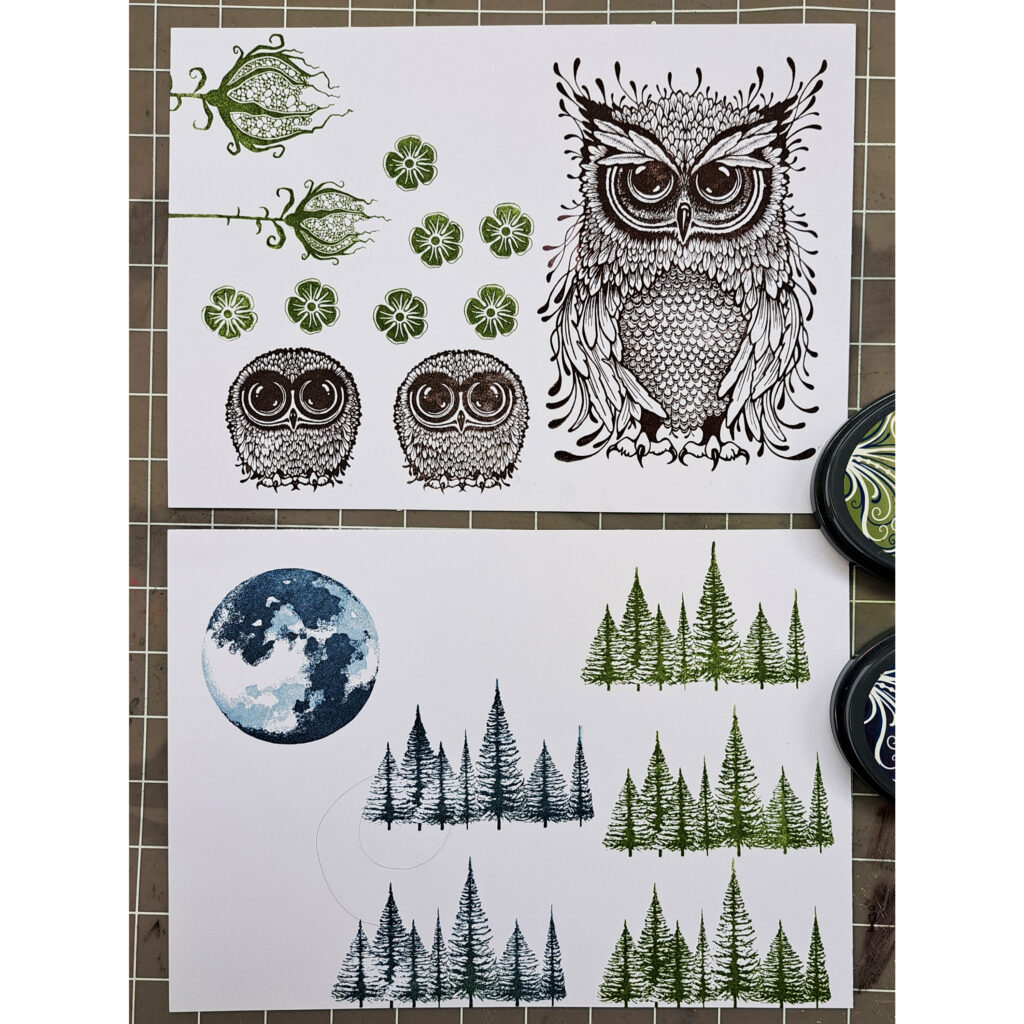
Picture 9
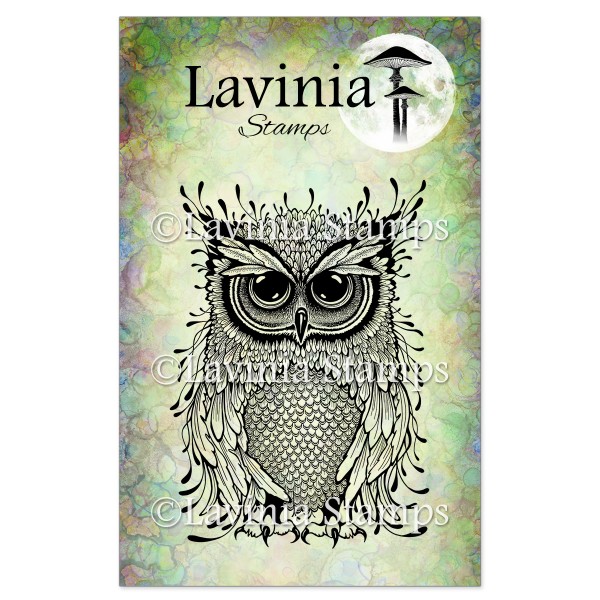
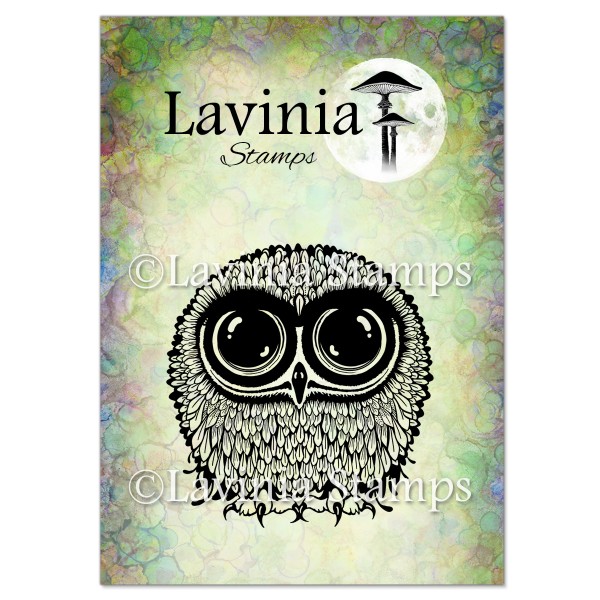
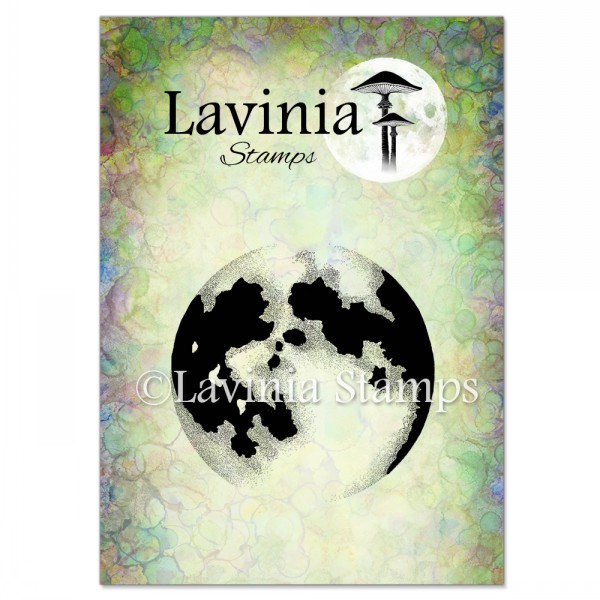
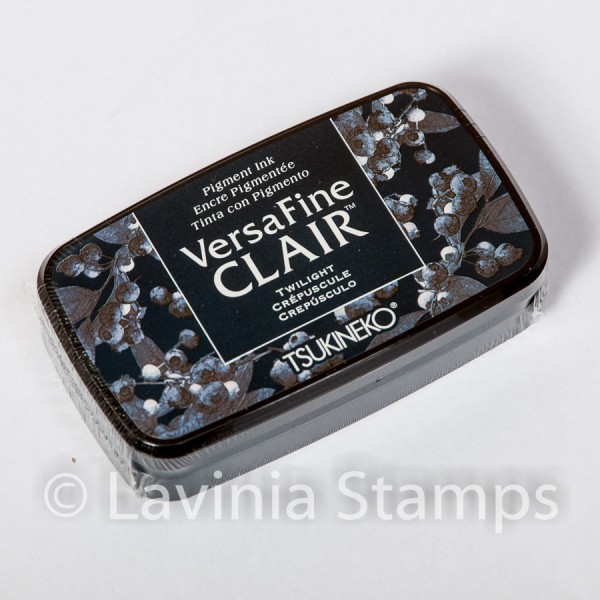
Now stamp on Multifarious paper the majestic Erwin (LAV801) , 2 cute Bijous (LAV798), in Versafine Clair Fallen Leaves, 12 pretty flowers from Vine Set (LAV804) in Versafine Clair Shady Lane, 2 of the big and 3 of the small gorgeous Forest Flowers (LAV813) in Versafine Clair Shady Lane. One of my all-time favourite stamps, the fab Moon (LAV431) in Versafine Clair Shady Twillight and finally some lovely Christmas Tree (LAV0213) in Versafine Clair Shady Lane and 2 in Versafine Clair Twillight .
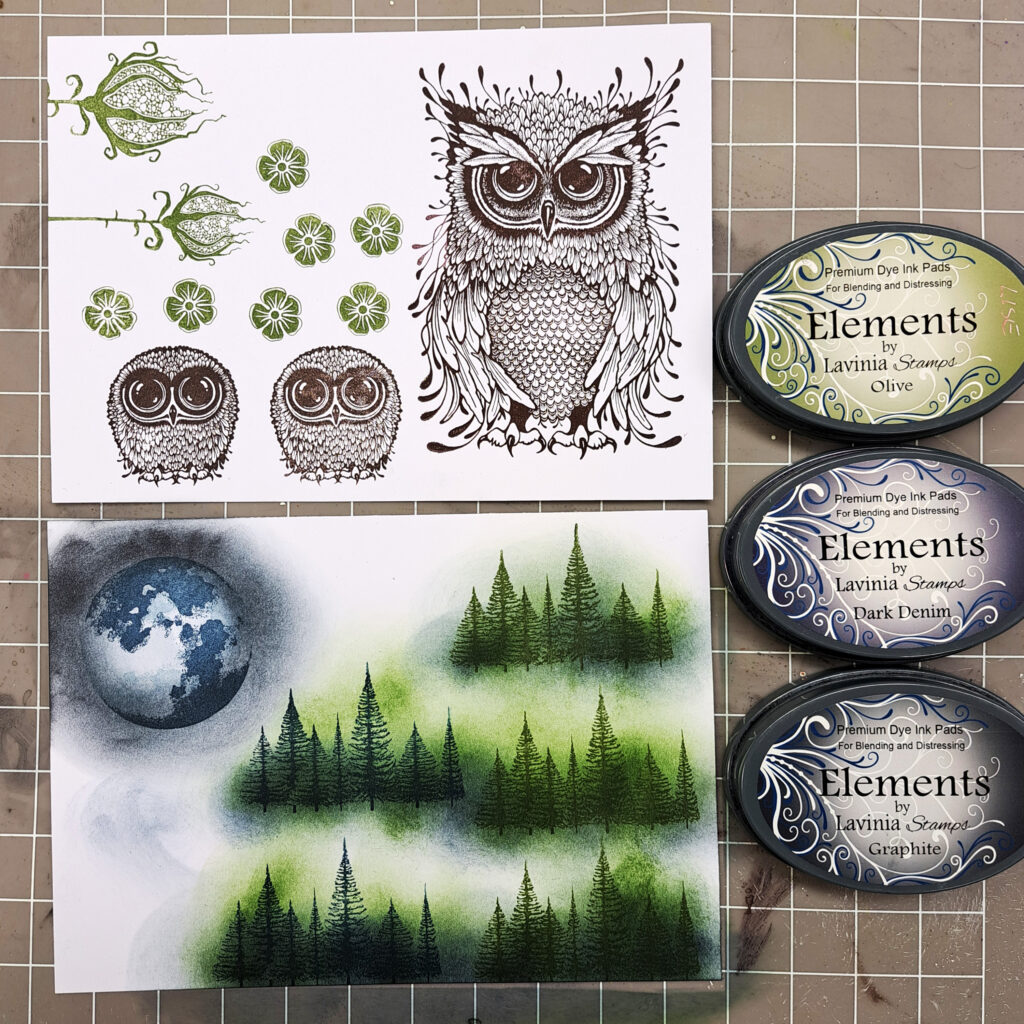
Picture 10
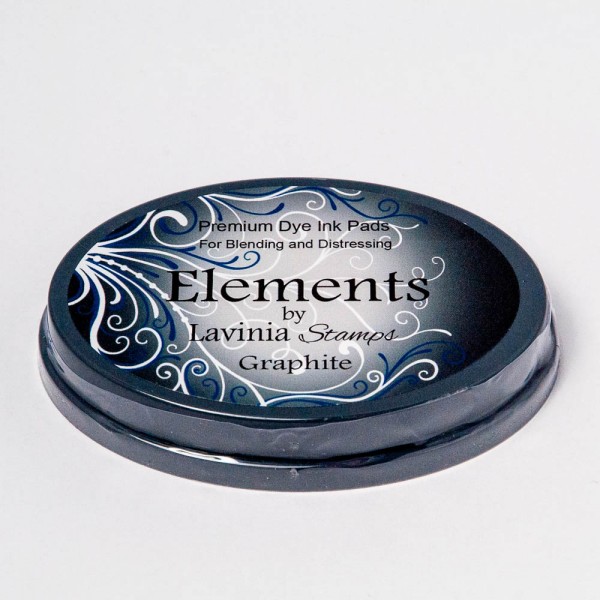
Use Elements ink Olive, Dark Denim and Graphite to blend some colour on the trees and the moon.
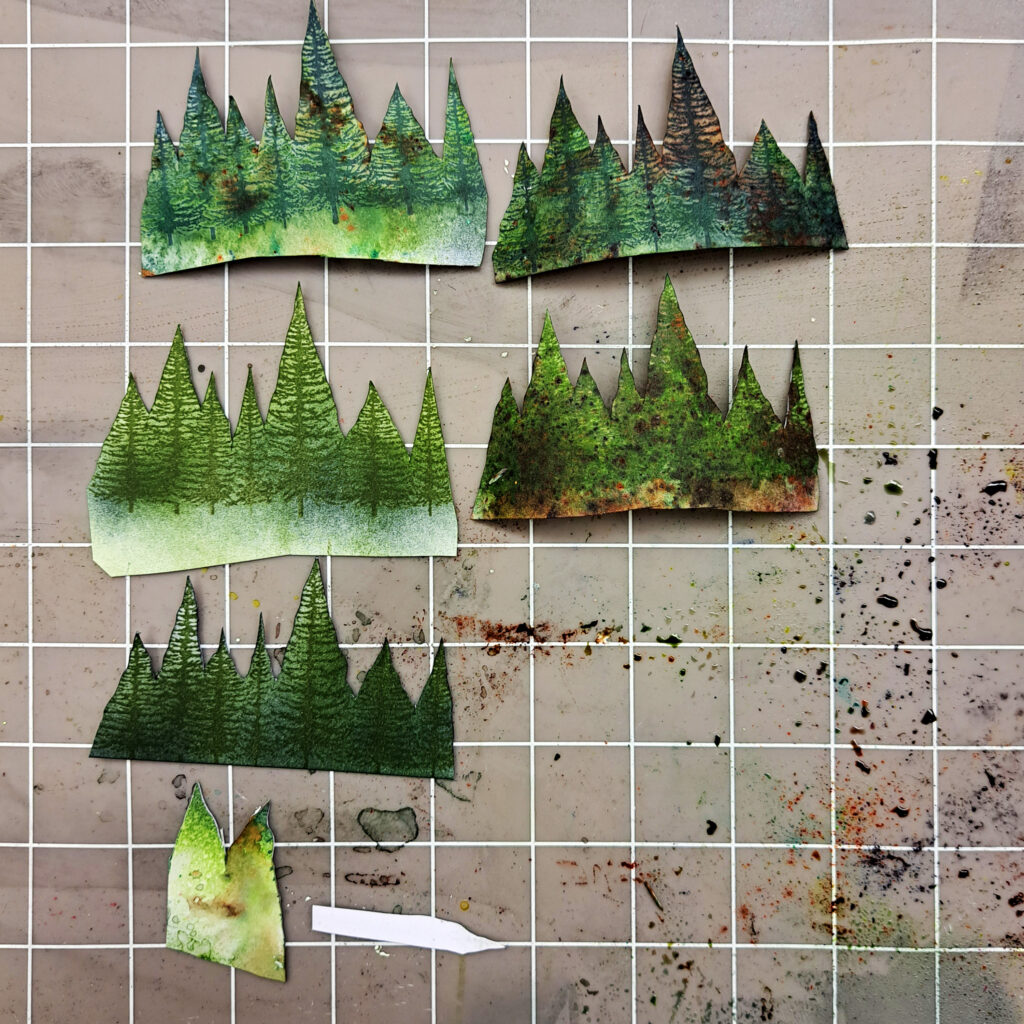
Picture 11
Cut out the trees and the moon. Put some left-over colour from your mat on the trees and the moon. This gives the colour some more depth.
Picture 12
Now put Dinkles on the paper with the flowers and the Owl. When dry, you can colour with some watercolour pencils to make the details show. Finish with a white Posca pen for highlights. And then cut out all the pieces.
Picture 13
Here you can see most of the parts, but remember I told you that I ended up having to make additional pieces.
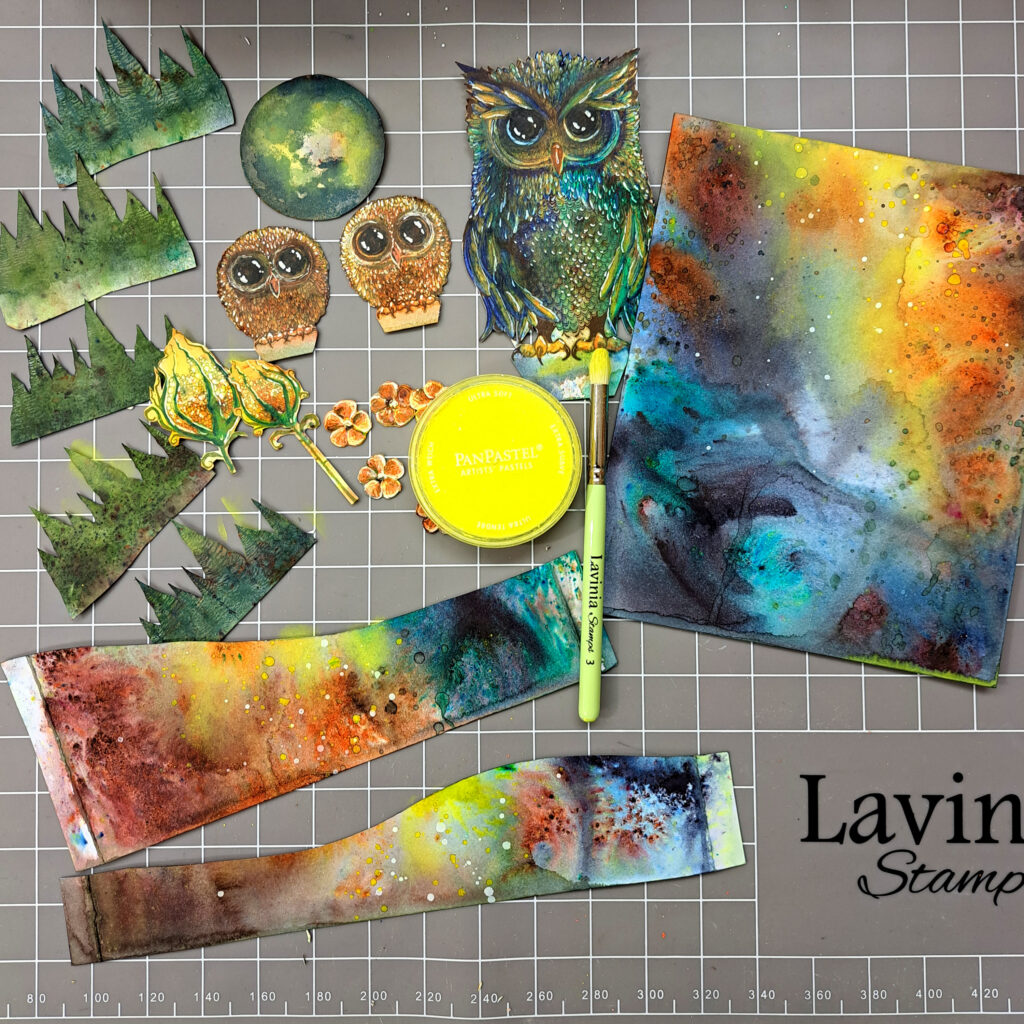
Picture 14
I can´t make anything without my yellow Pan Pastell! Just to make it glow even more. Look at the picture for colour placement.
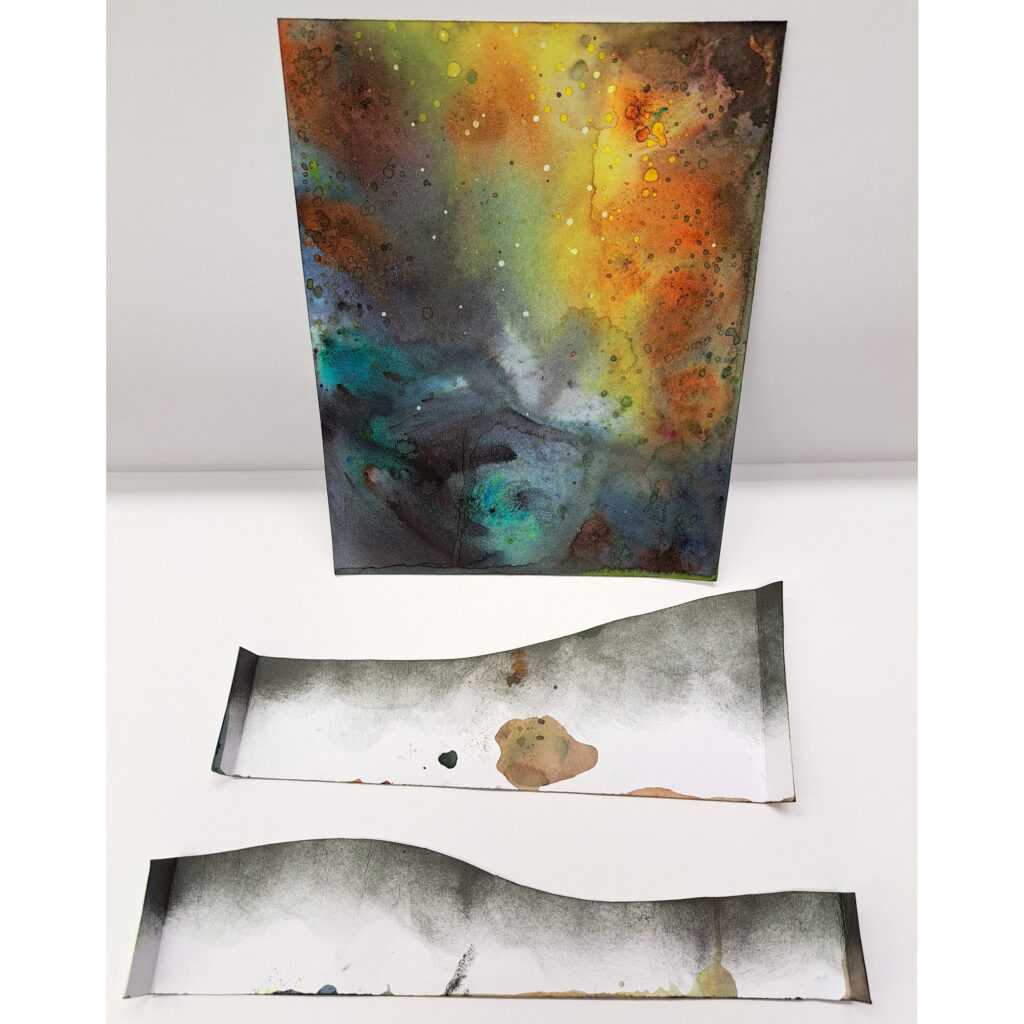
Picture 15
I put some Elements Graphite on the backside of the small pieces because when people look at it the white will be so visible and bright. So when we make it so dark it will blend in with the rest of the colours. As you can see in the picture I have done some scoring on the sides. Score on 0.7 cm.

Picture 16
Now we glue the smaller parts together first. Then it will be easier to glue them on to the main card.
Picture 17
Glue it all together like in the picture .
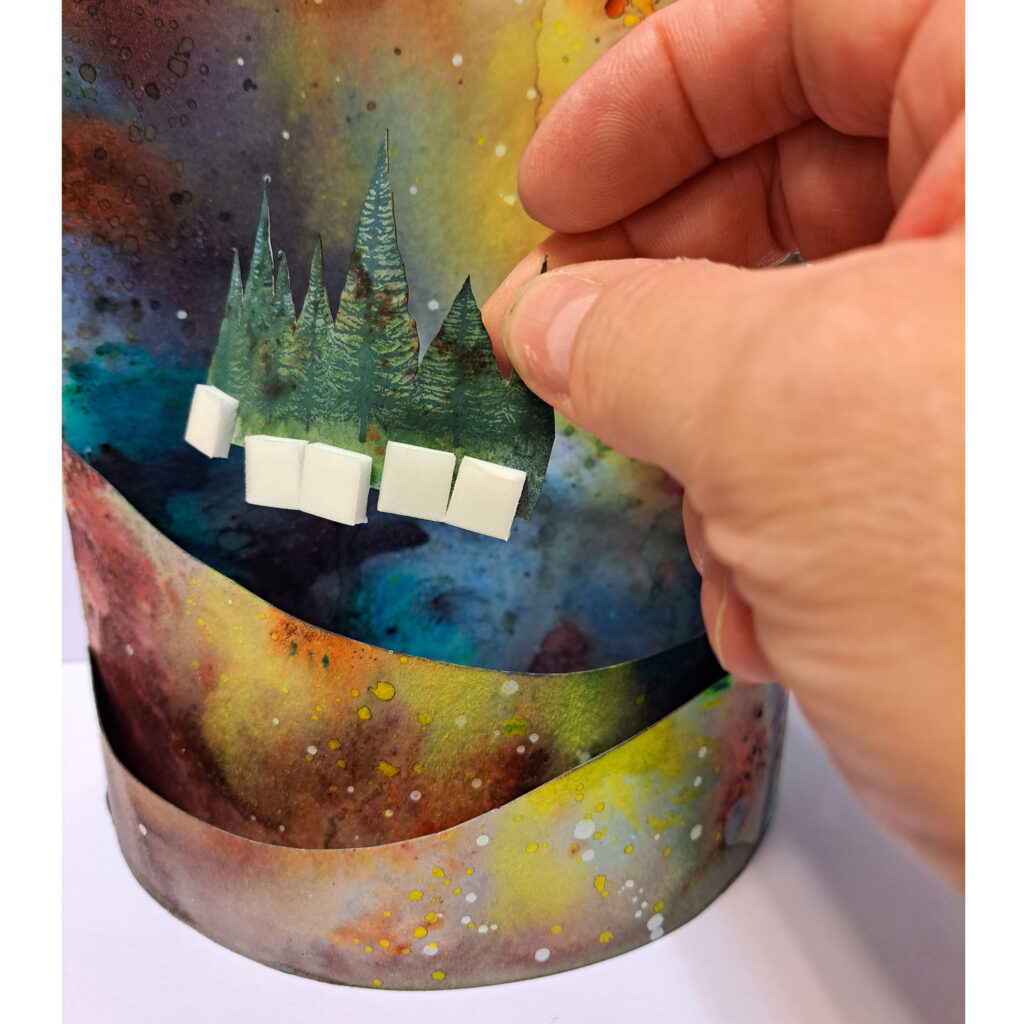
Picture 18
Now we will use some 3D foam to glue on all the pieces. Start with the trees. Look at the next picture.

Picture 19
All the trees in place.
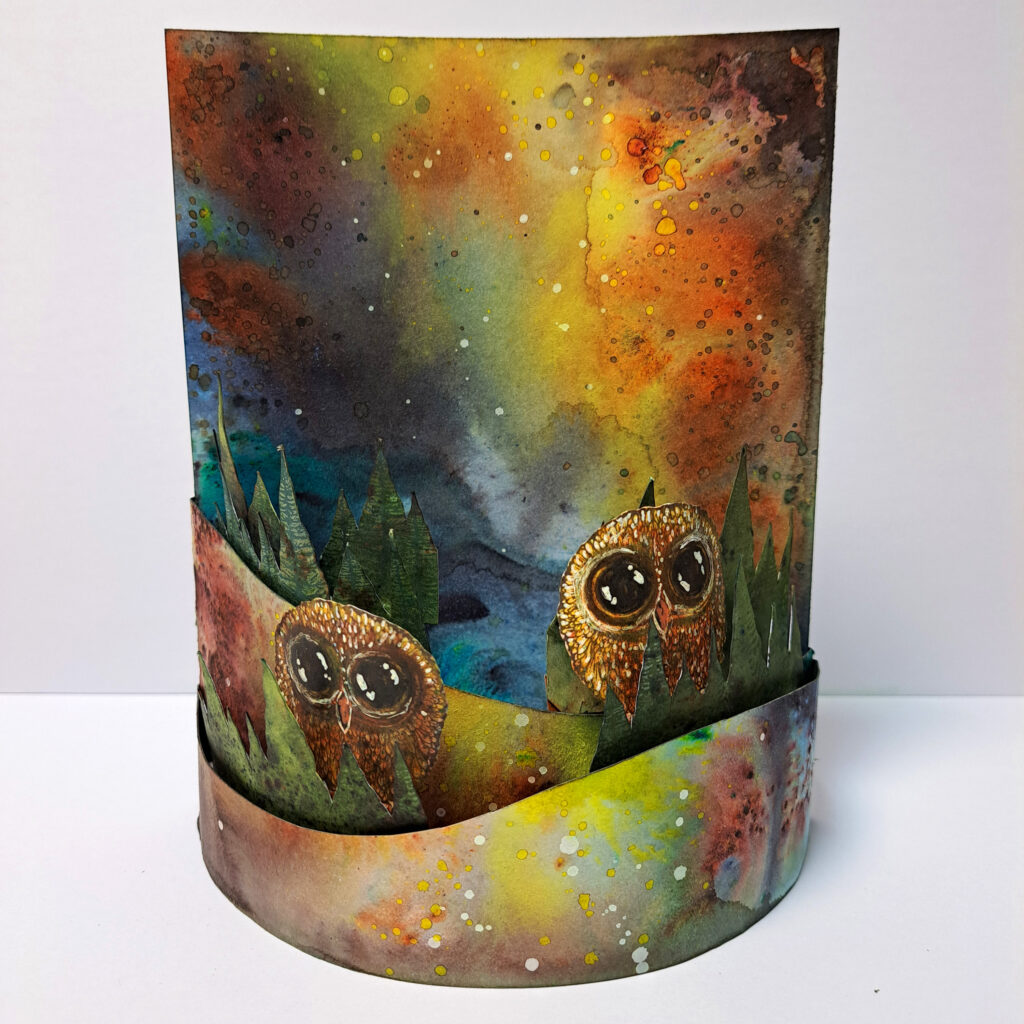
Picture 20
Place the cute Bijous.
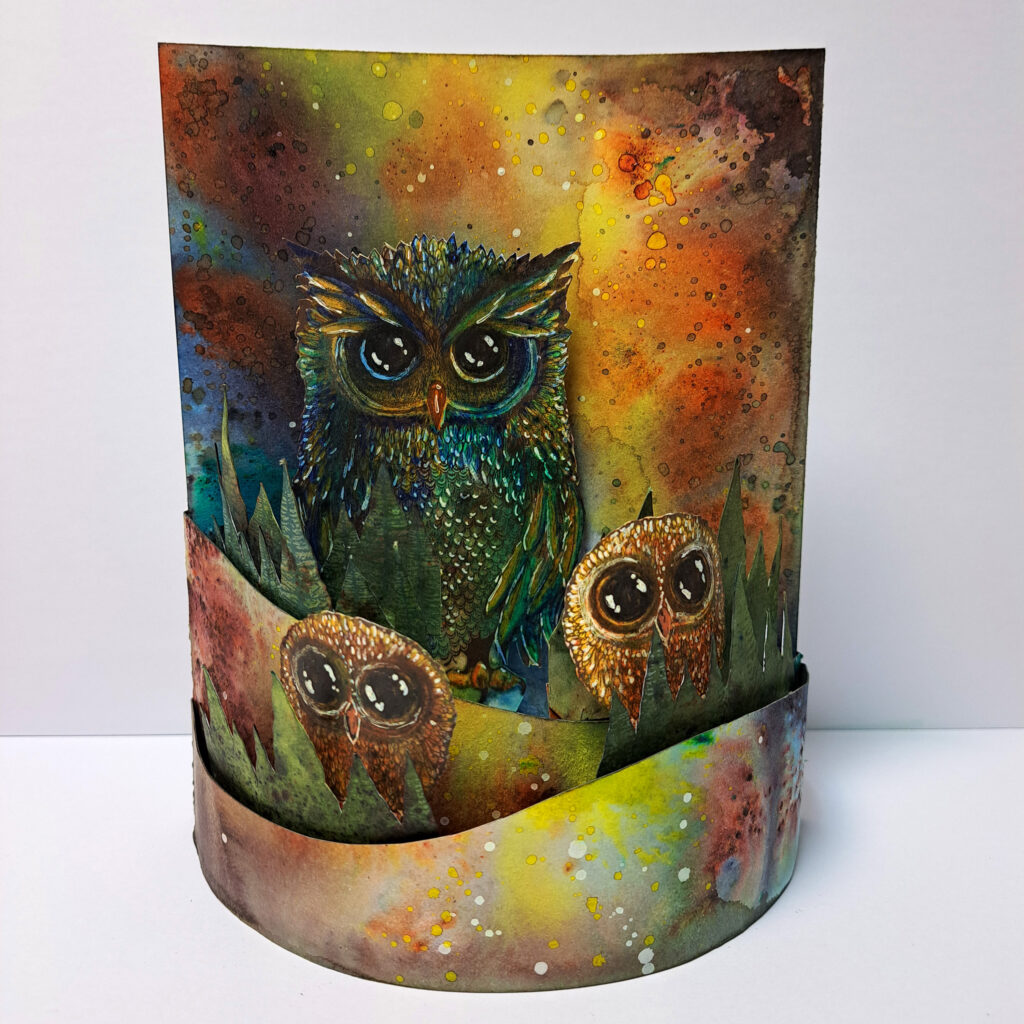
Picture 21
Place the magnificent Erwin. I used 3 layers of 3mm 3D foam to get him to stand out from the background.
Picture 22
Now we make one of my favourite stamps also 3D. The beautiful Moon. Place it like in the picture.
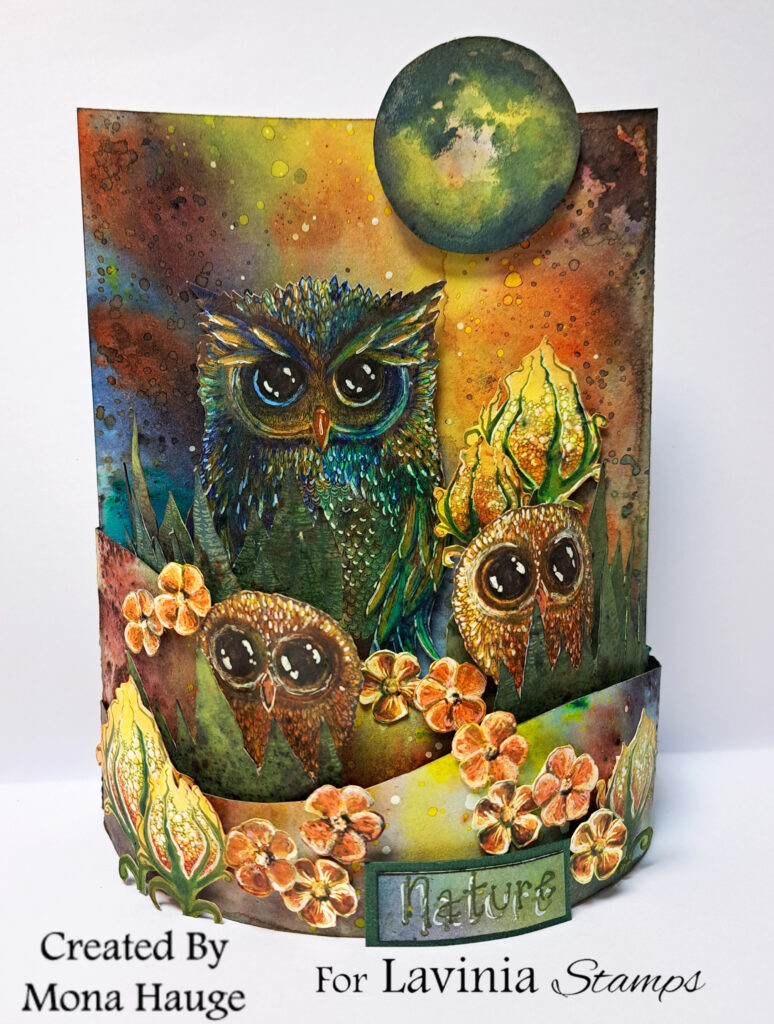
Picture 23
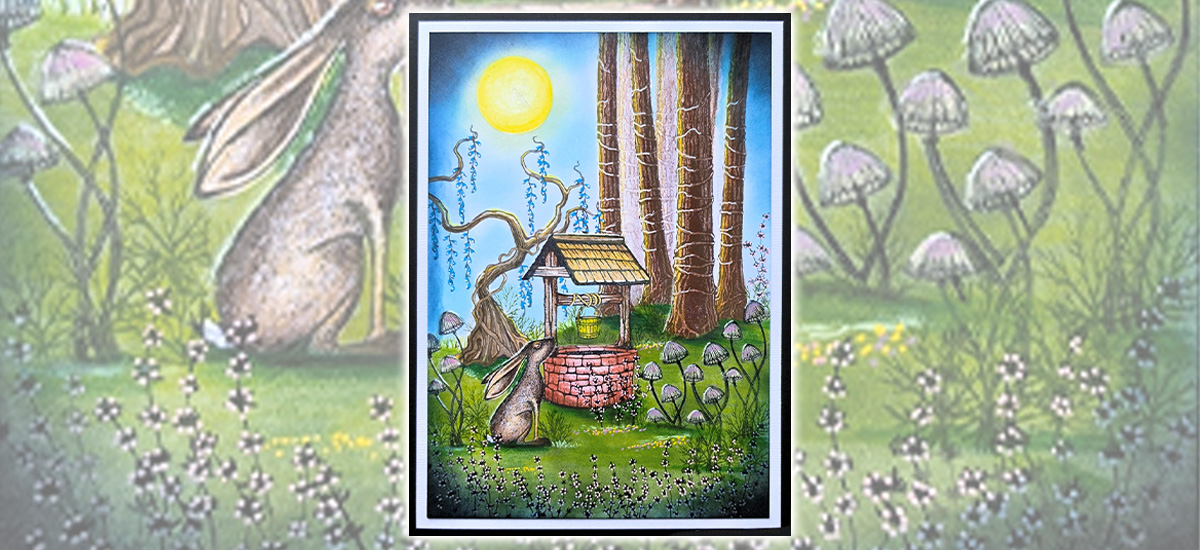
Decorate with the flowers and I added a little word in front. And now if is finished 😄
I really hope you enjoyed this tutorial because I loved making it 😍 If there is anything you want to ask me, just let me know and I will answer as soon as I can. 🤩Thank you for following along.❤️
Big hugs from Mona 😍🧚♀️🦉