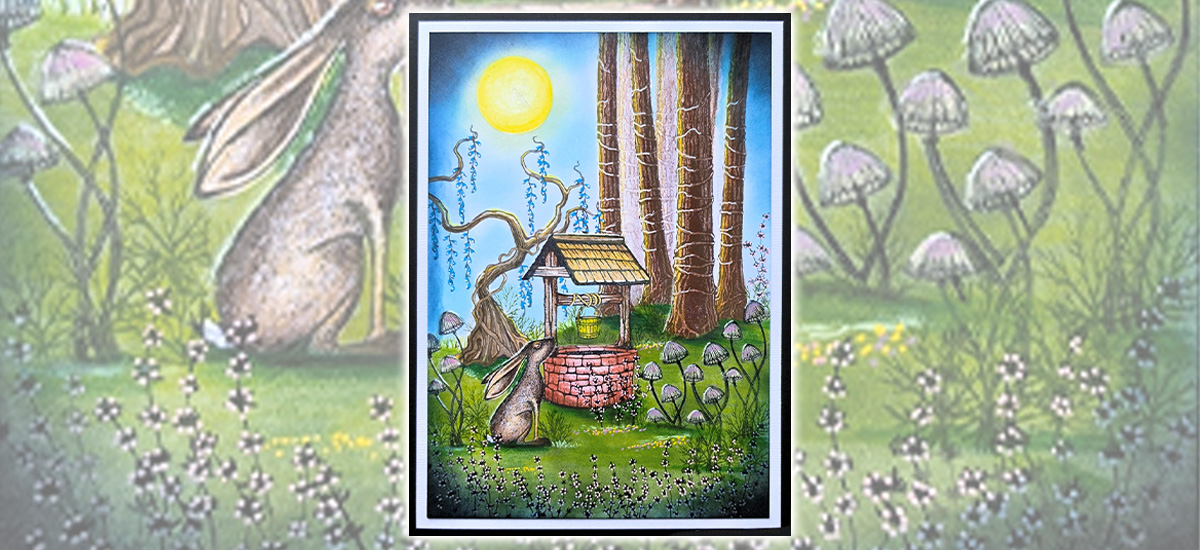
This Autumn picture tutorial is called “The First Fallen Leaf”.
I love the colours that come with this season, they are so magical and beautiful.
I hope you like it.
Step by Step
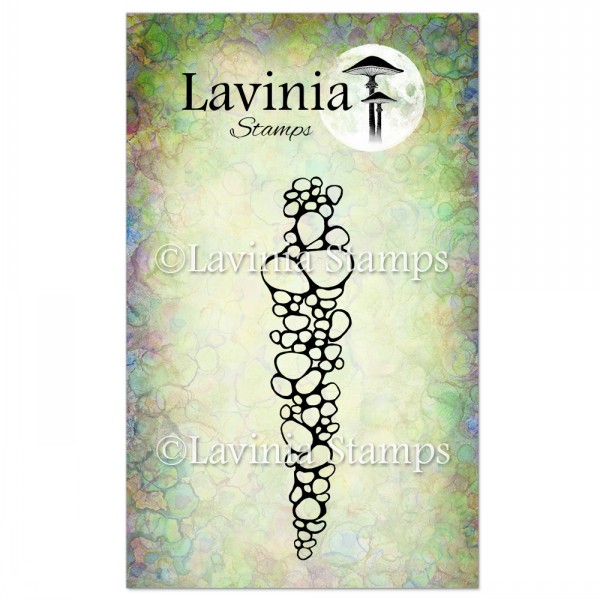
For the Small Stones stamp, use in Versafine Clair Morning Mist, and put masking fluid on these too.
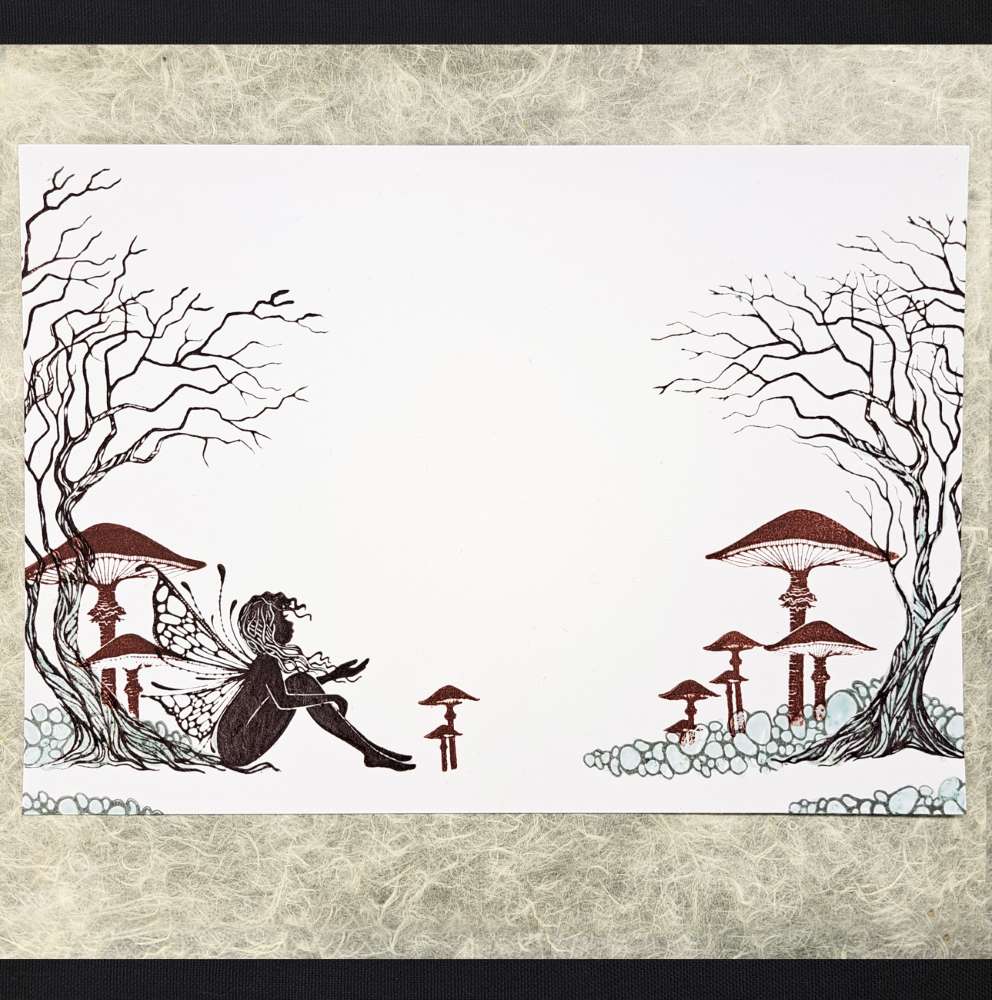
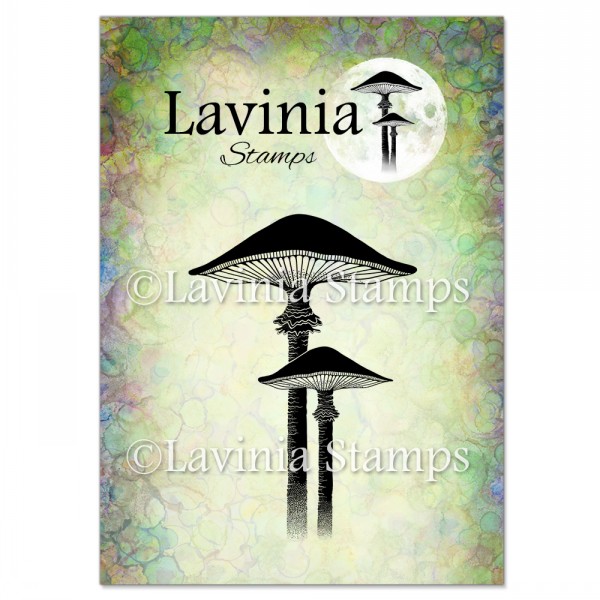
Stamp some Meadow Mushrooms and some Mini Forest Mushrooms, this time using Versafine Clair Acorn. And again, apply masking fluid over the stamped images.
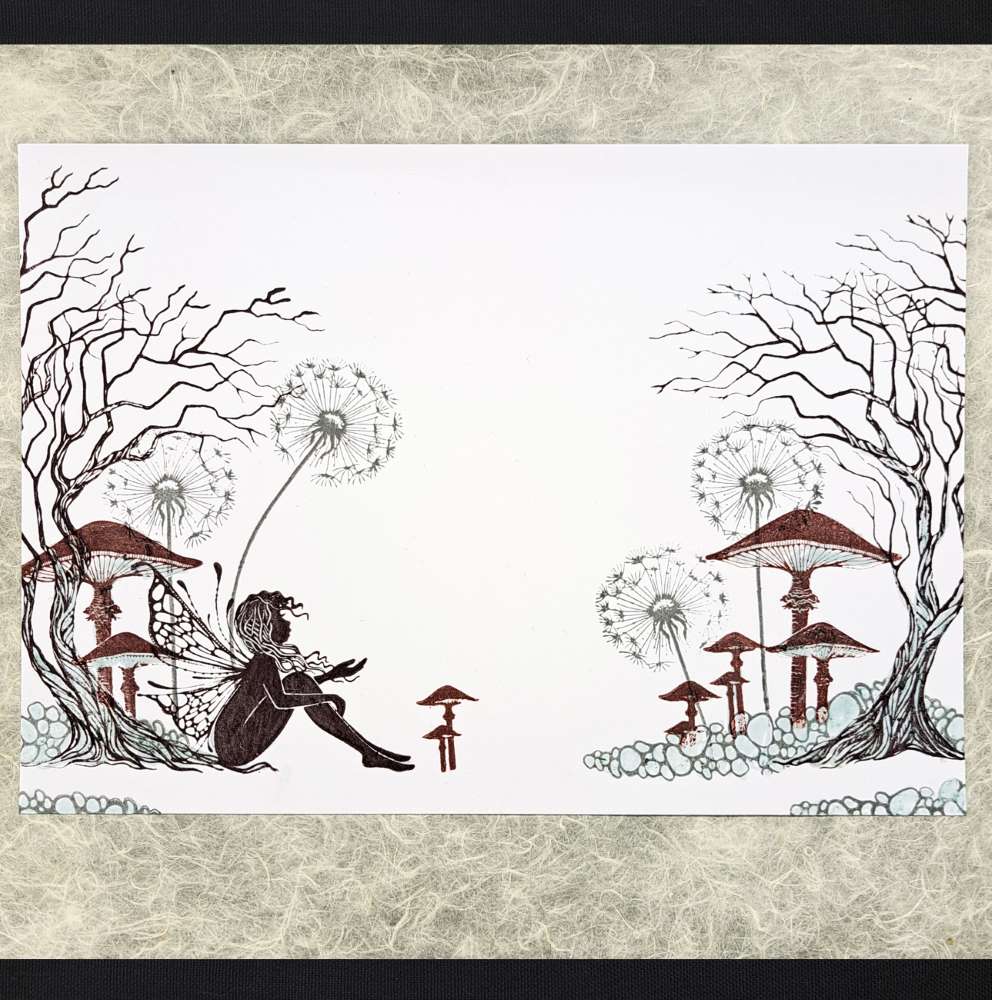
Next, add a few Tall Dandelions, stamping with the Versafine Clair Morning Mist.
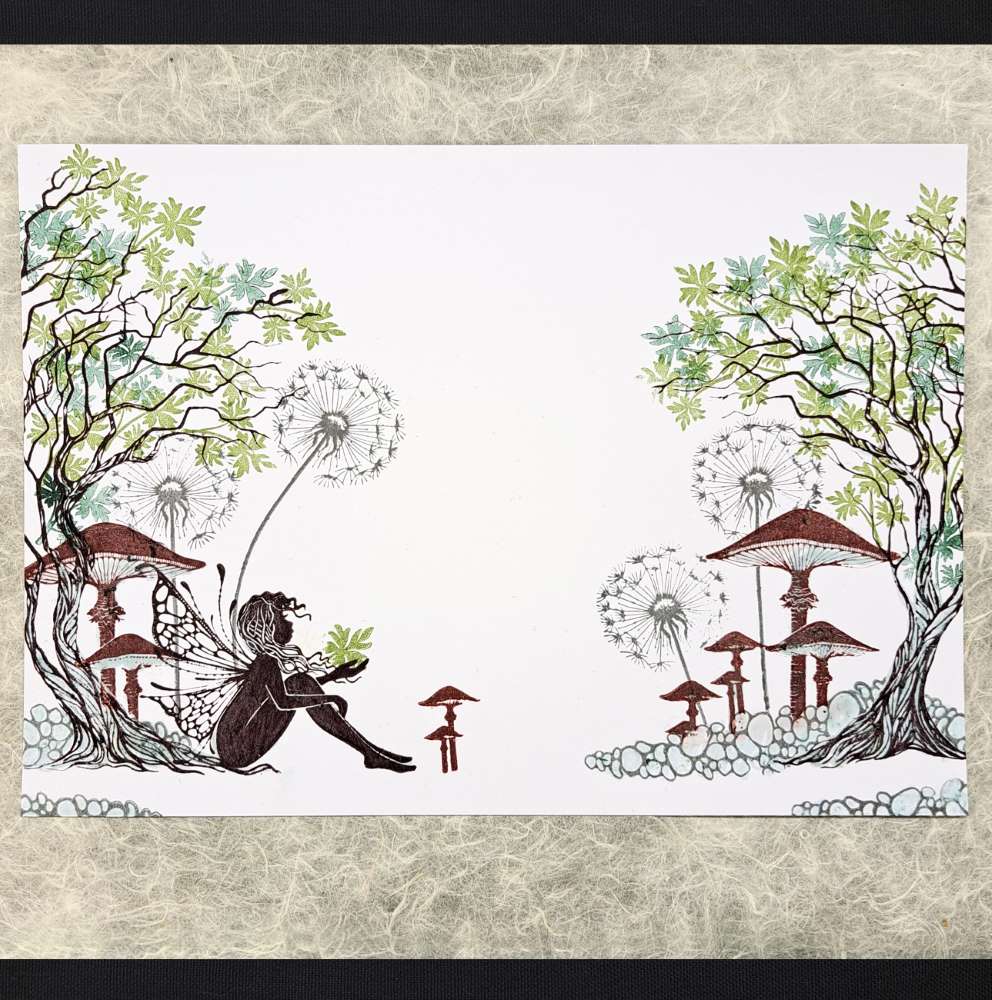
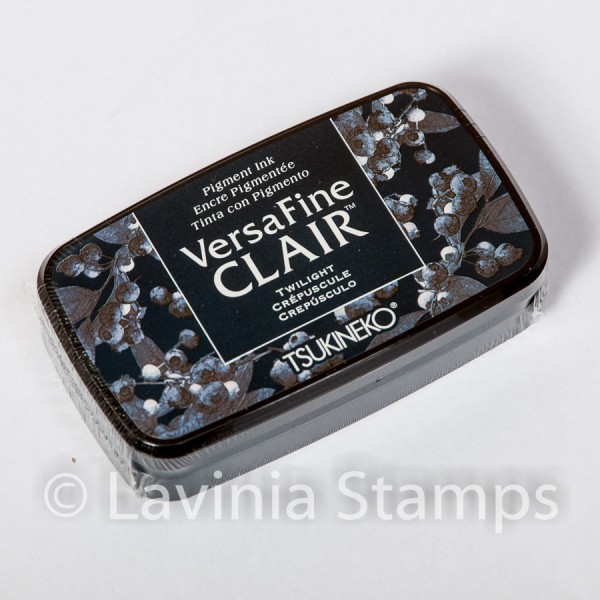
Stamp the Leaf 1 Mini in the Versafine Clair Shady Lane and Twilight, using second time stamping so that the colour is not too dark. Stamp one leaf in Quinn’s hand.
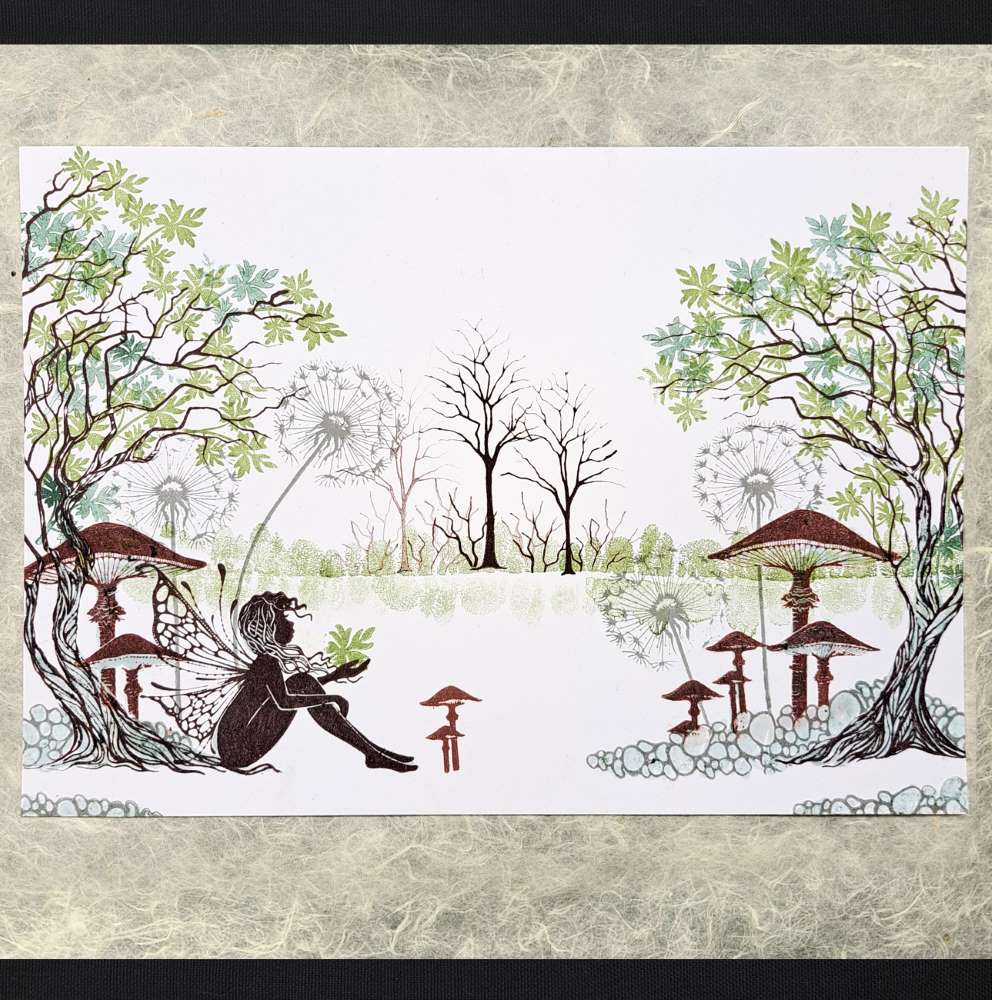
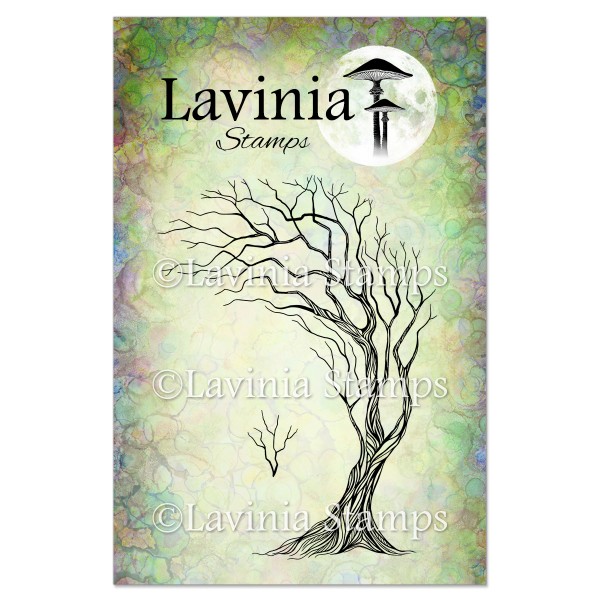
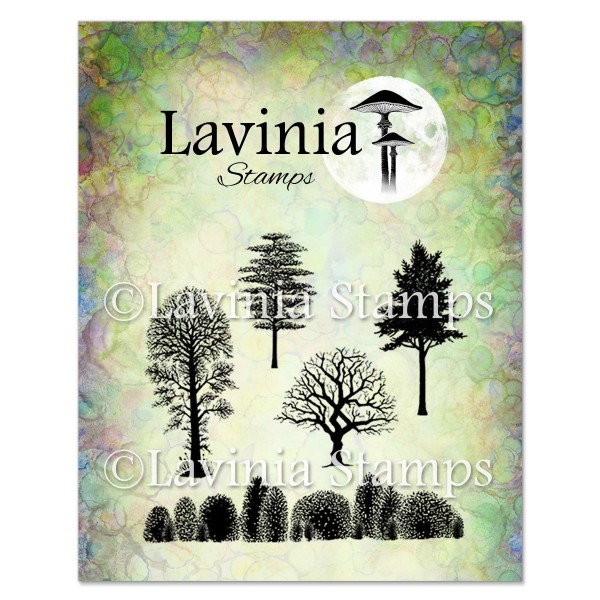
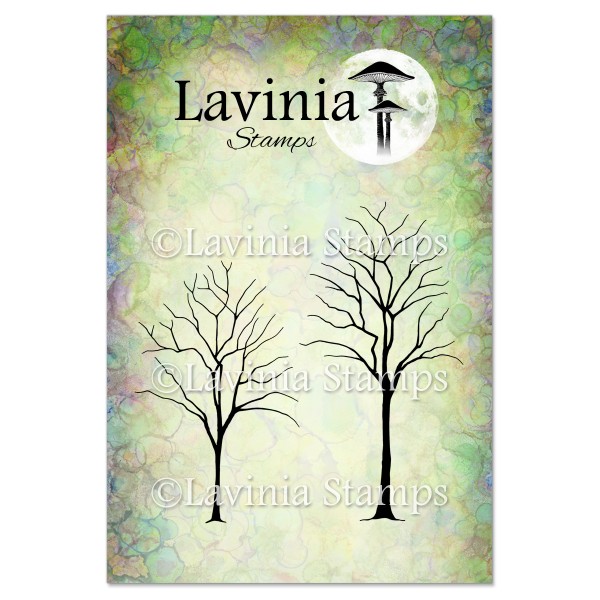
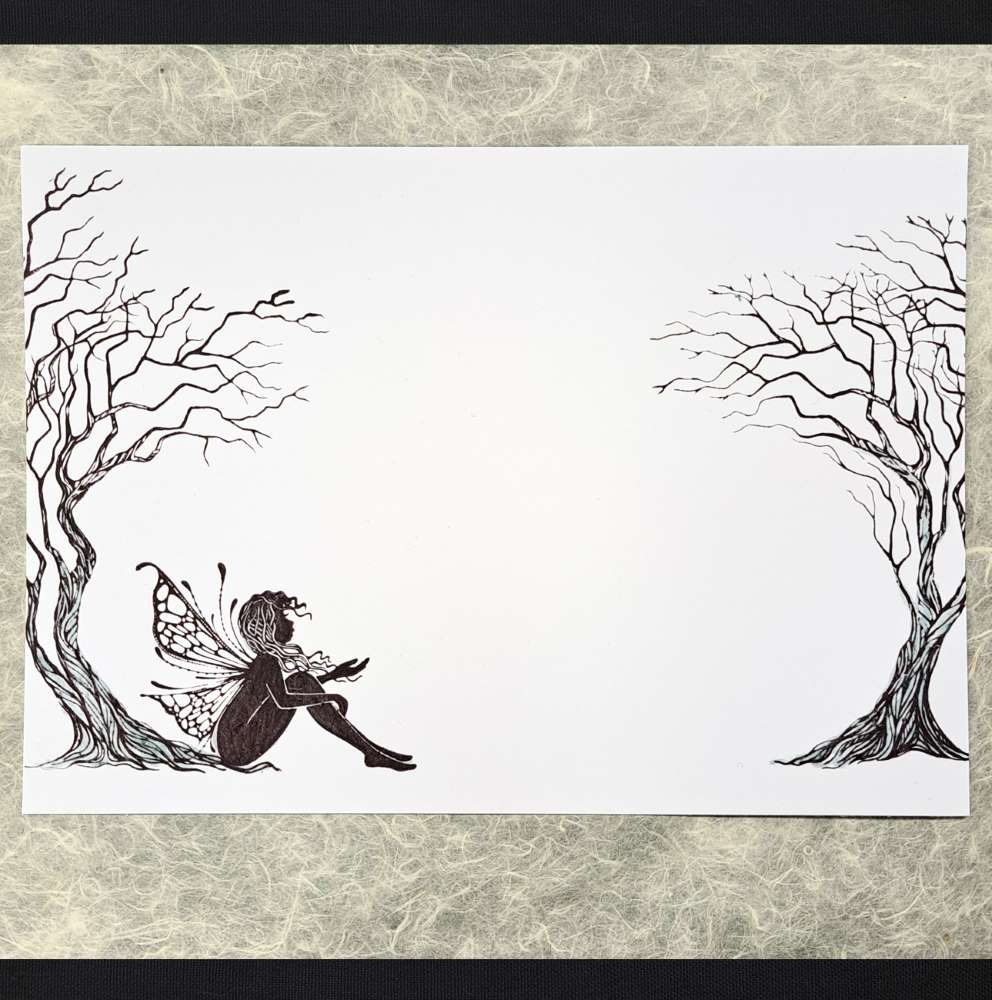
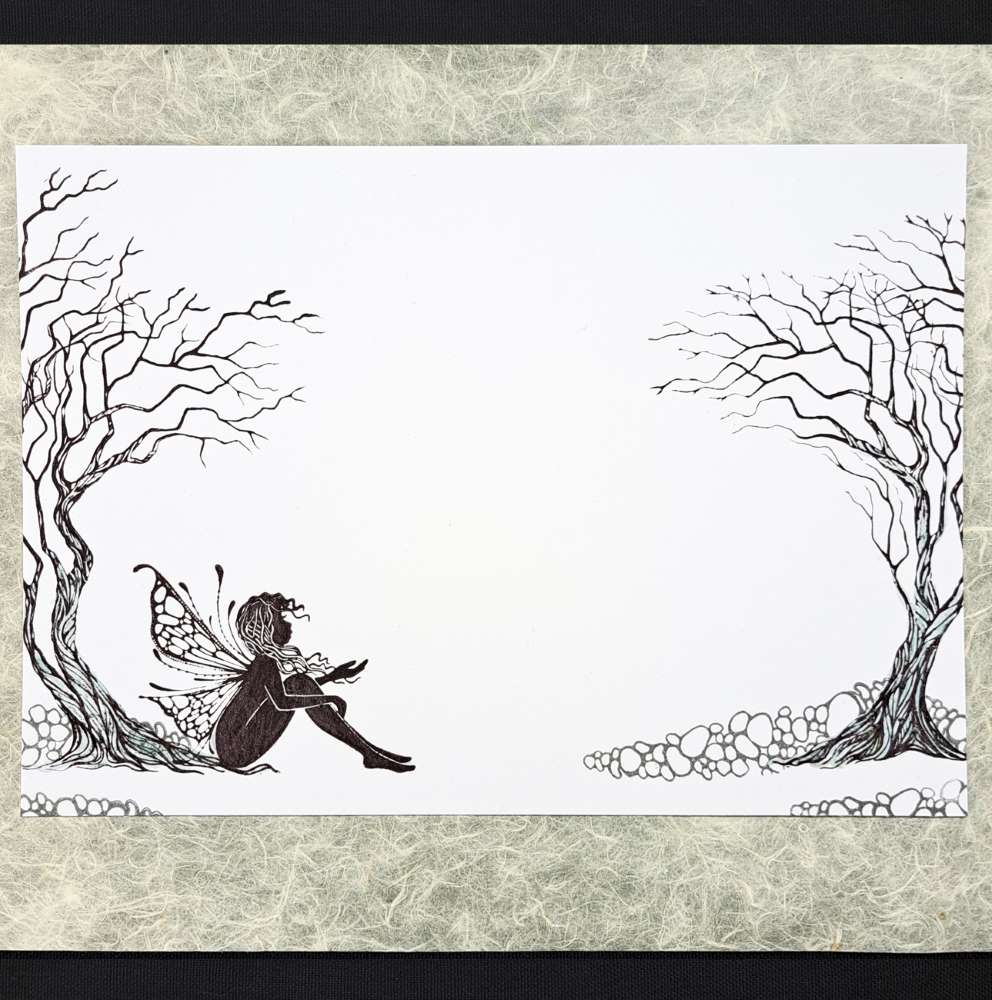
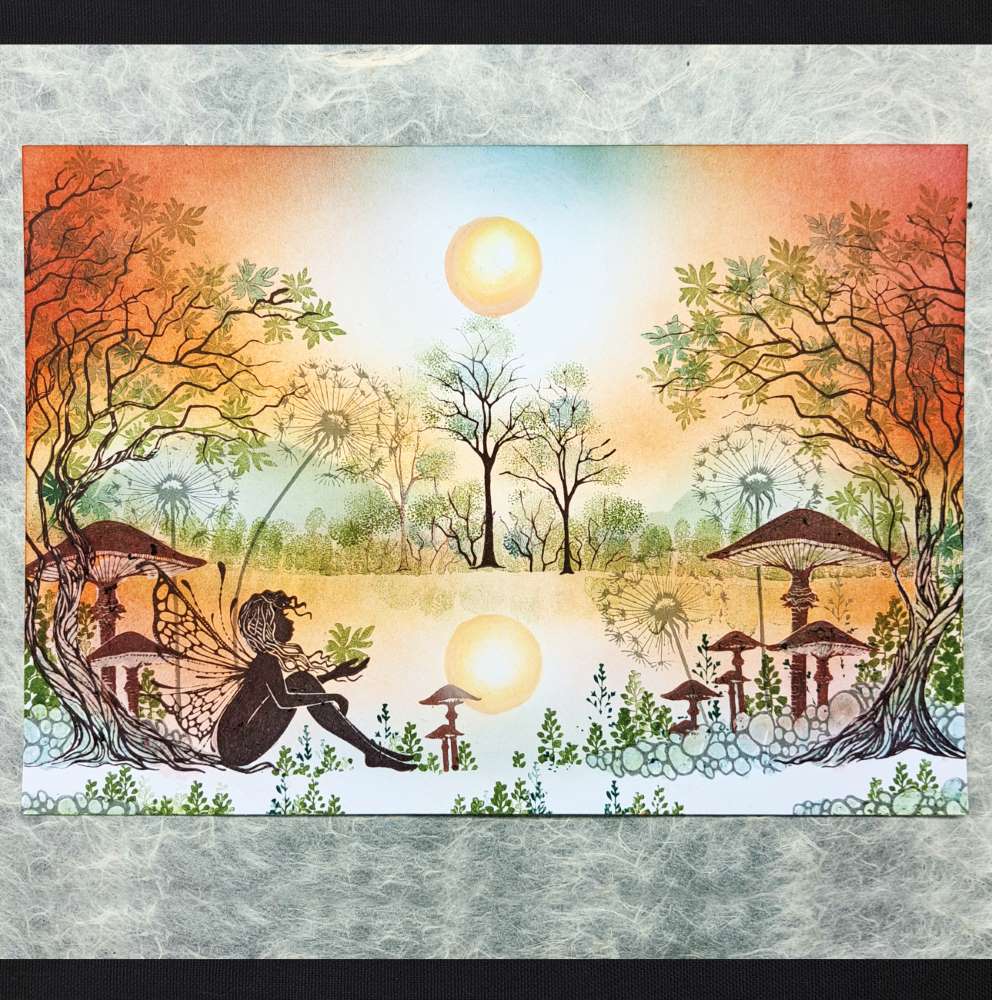
Choose the line of trees from the Tree Scene Set, and stamp in Versafine Clair Shady Lane. Use second time stamping for the reflection of the trees in the water. Next, using Versafine Clair Pinecone, with the Small Trees set, stamp the bigger tree in the middle with the smaller tree, one on either side. To give the trees some variation, use second time stamping for the one on the left. I also stamped some branches from the Tree of Hope stamp as you can see in this picture.
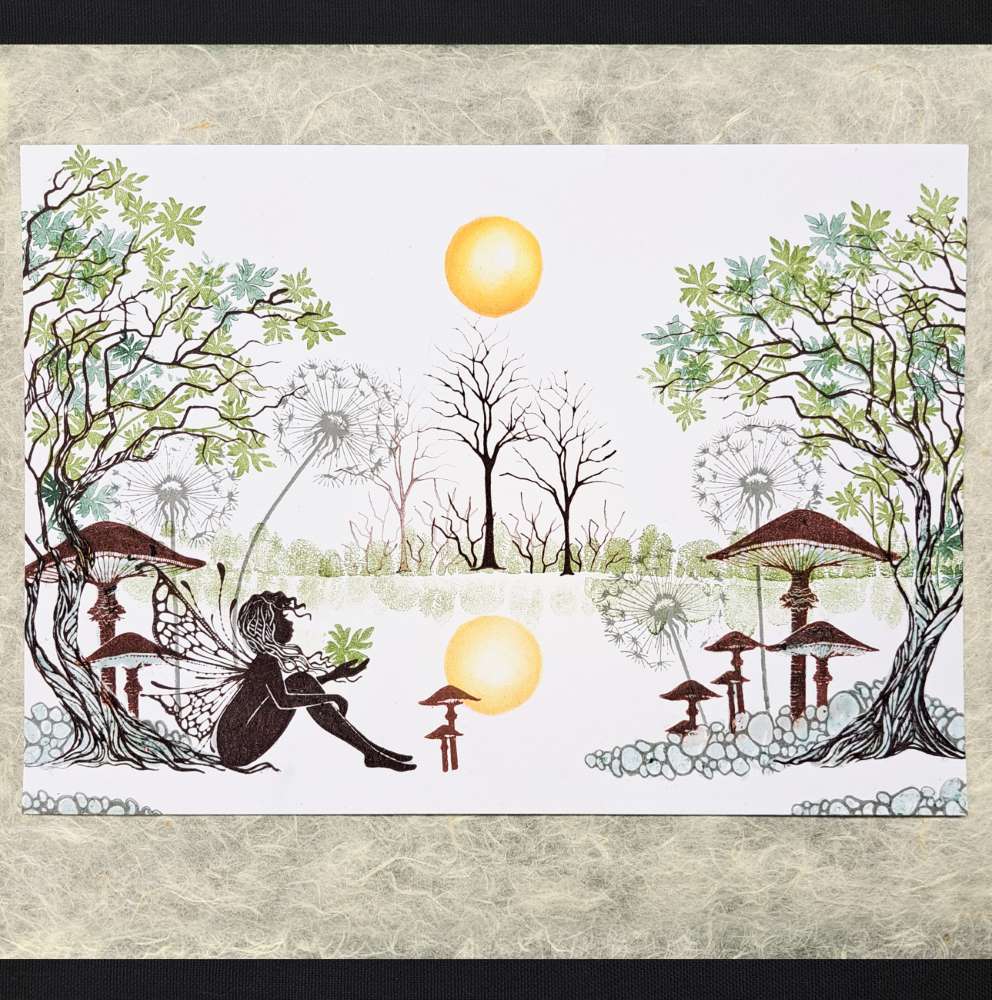
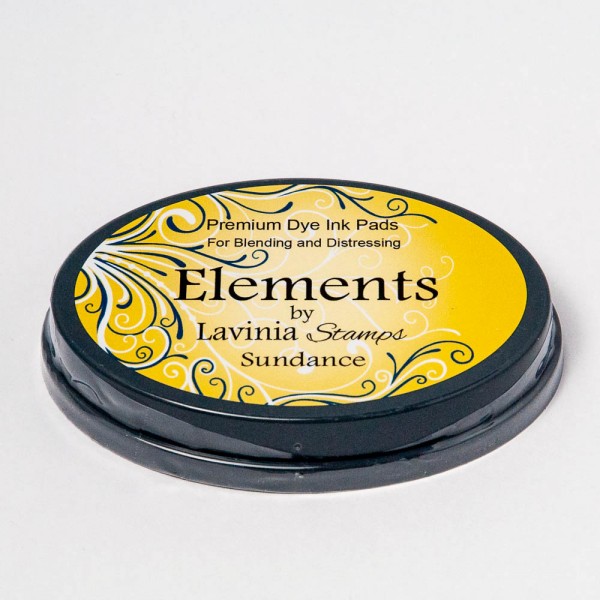
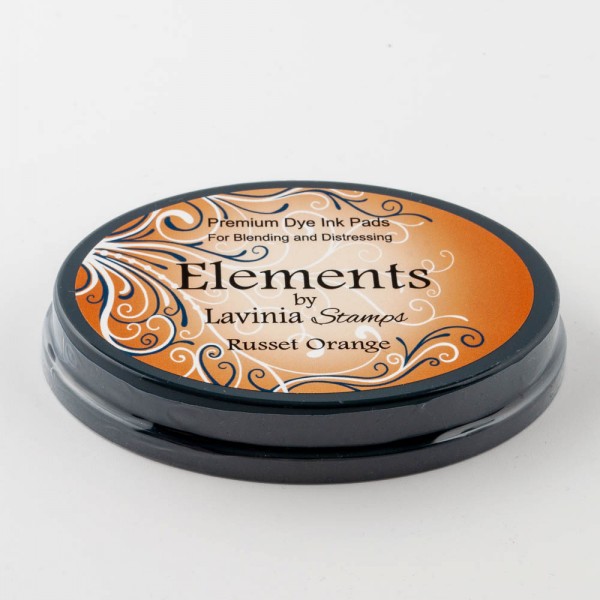
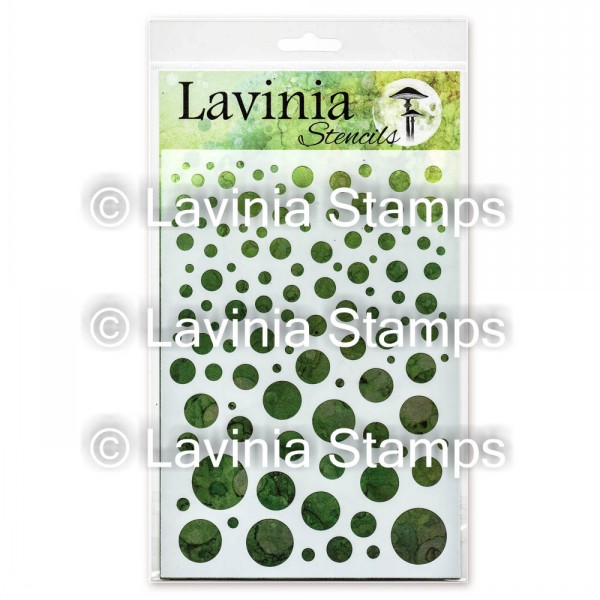
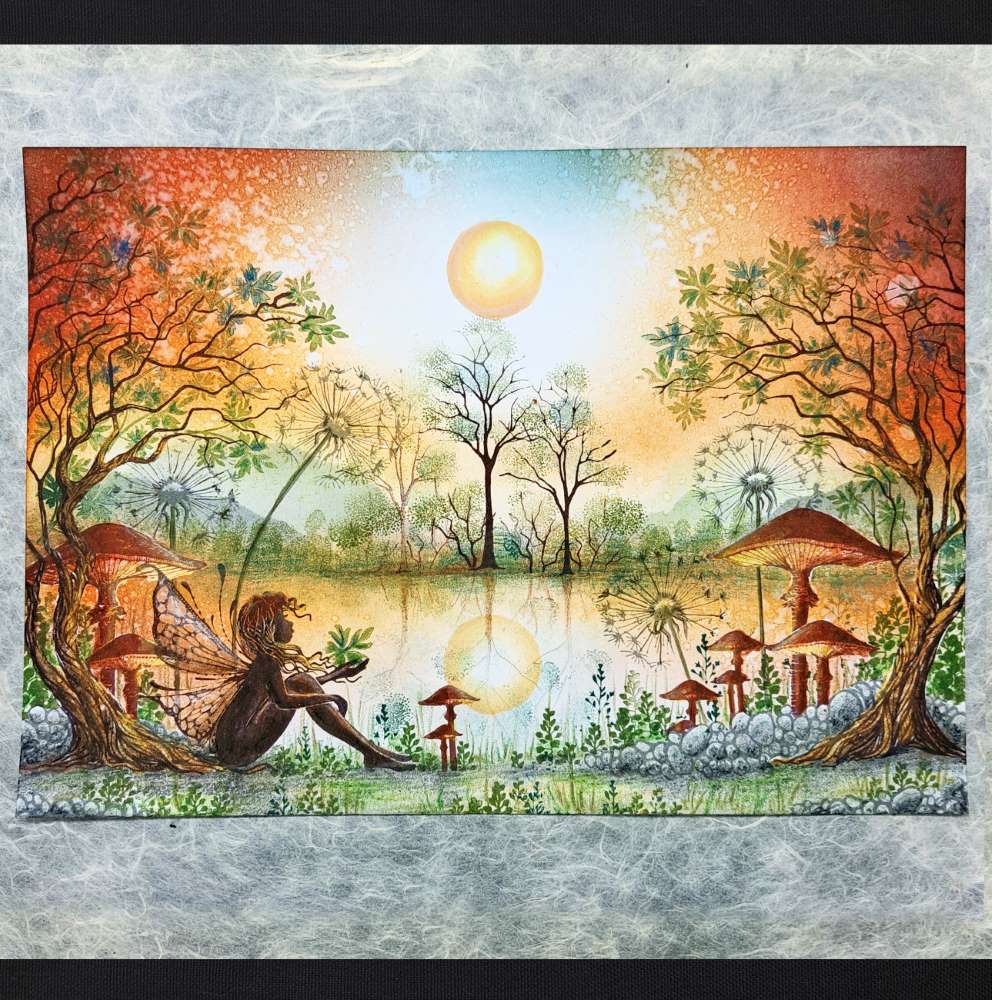
I wanted a small sun in my picture, so using the White Orbs stencil, I applied the Sundance Elements Ink and a tiny bit of the Russett Orange.
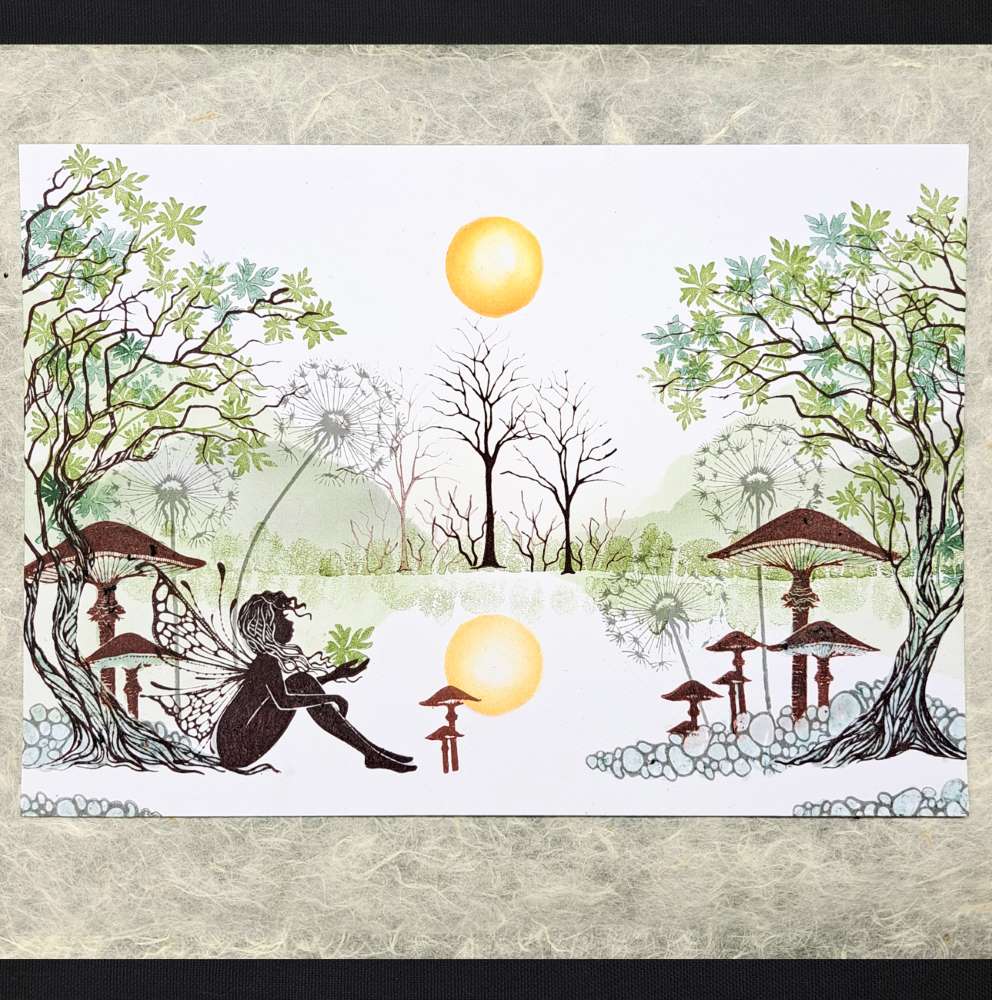
To create some hills with just a hint of colour, I used a stencil brush that had previously been used for the Elements ink, Midnight Blue, but I didn’t put more colour on my brush. You need very little colour to create the far away hills. I also put a hint of the Olive Elements ink in the hills.
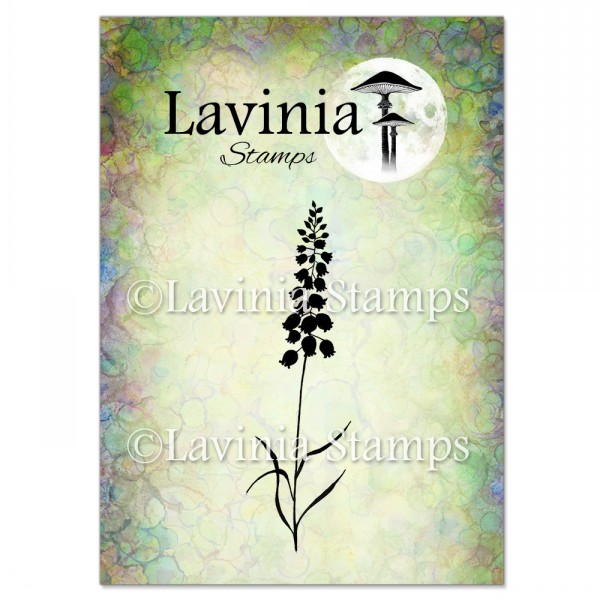
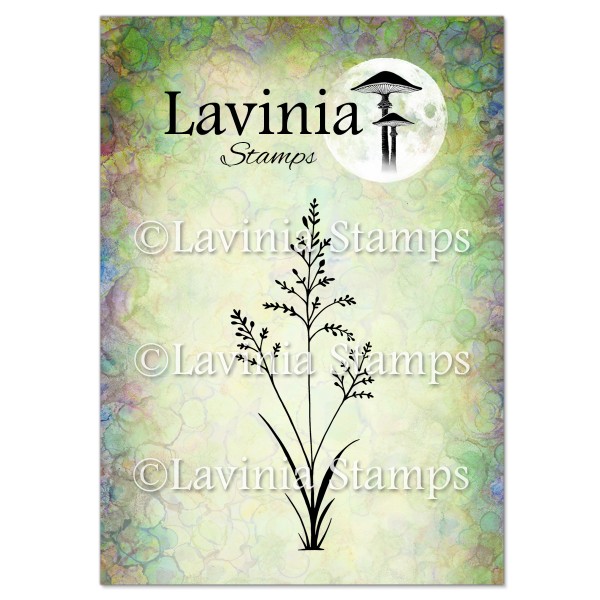
Now stamp some Bluebells in Versafine Clair Shady Lane, and Orchard Grass in the Rain Forest colour. We need some foliage on the far away trees, so I took the tiny stamp from the Spring Trees set and stamped in both Versafine Clair Shady Lane and Twilight but in third time stamping to prevent it from being too bright.
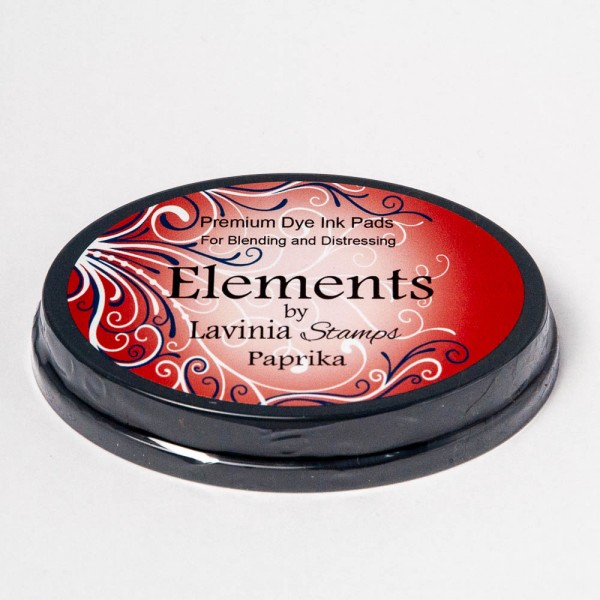
I have used the Elements inks, Paprika, Russett Orange, and Blue Atoll. Be very gentle with the Blue Atoll but very generous with the other two colours. Look at the picture for this colour placement.
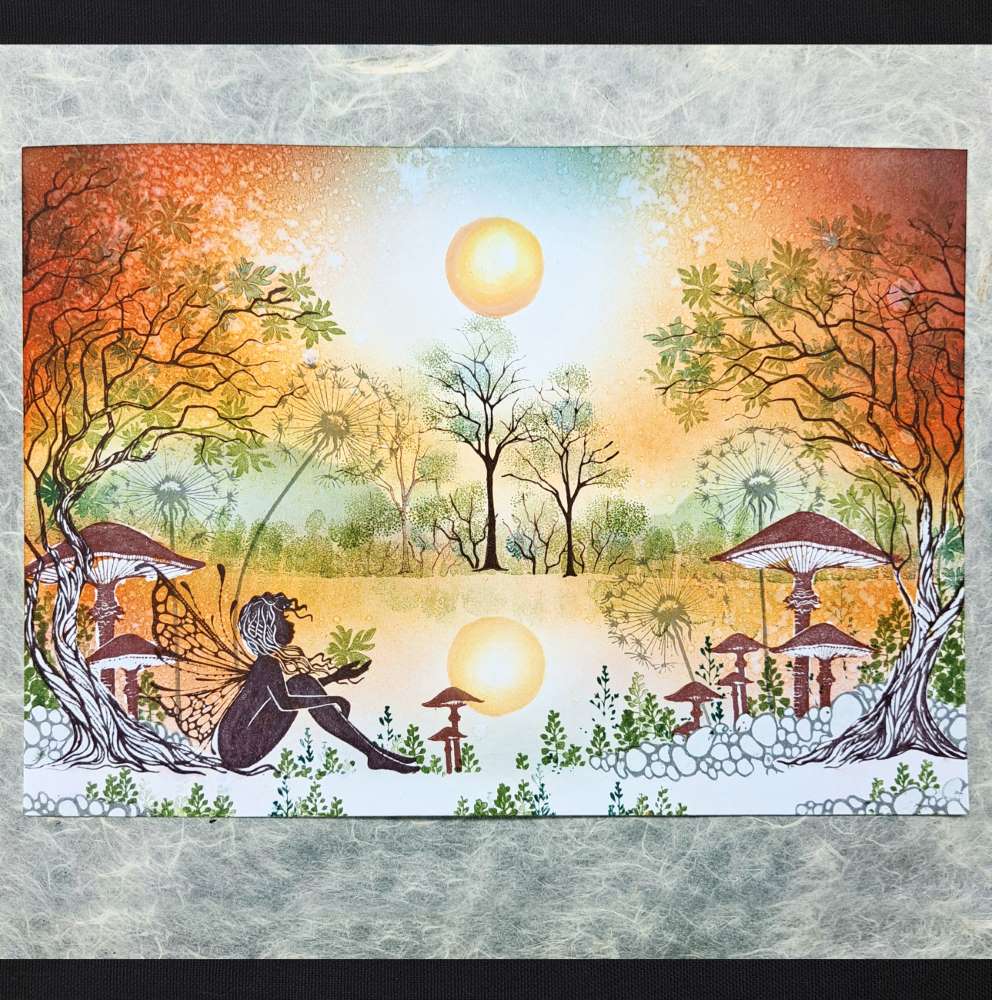
Next, spray some water on the picture, let it completely dry and then remove all masking fluid.
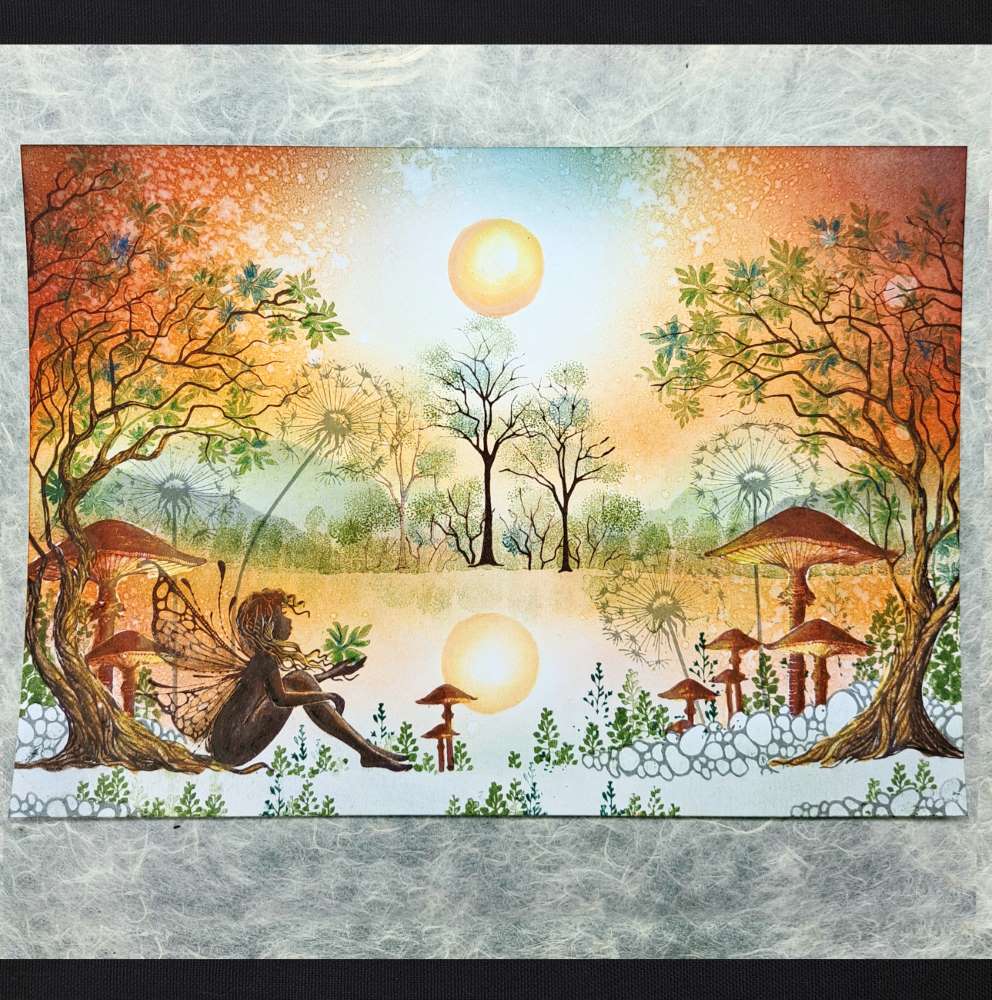
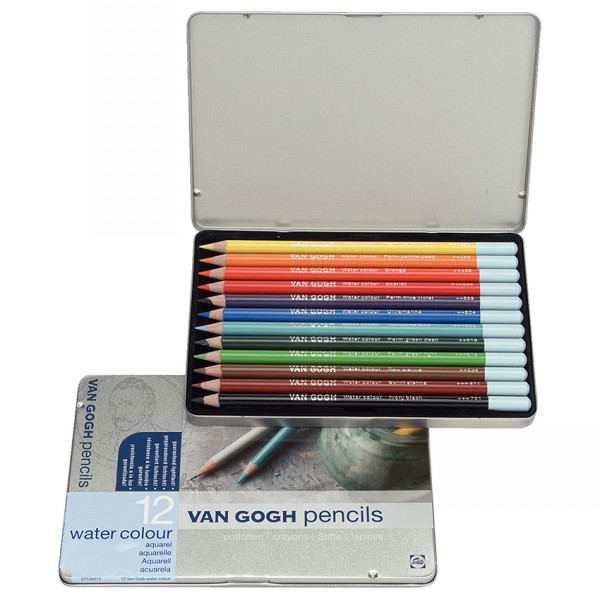
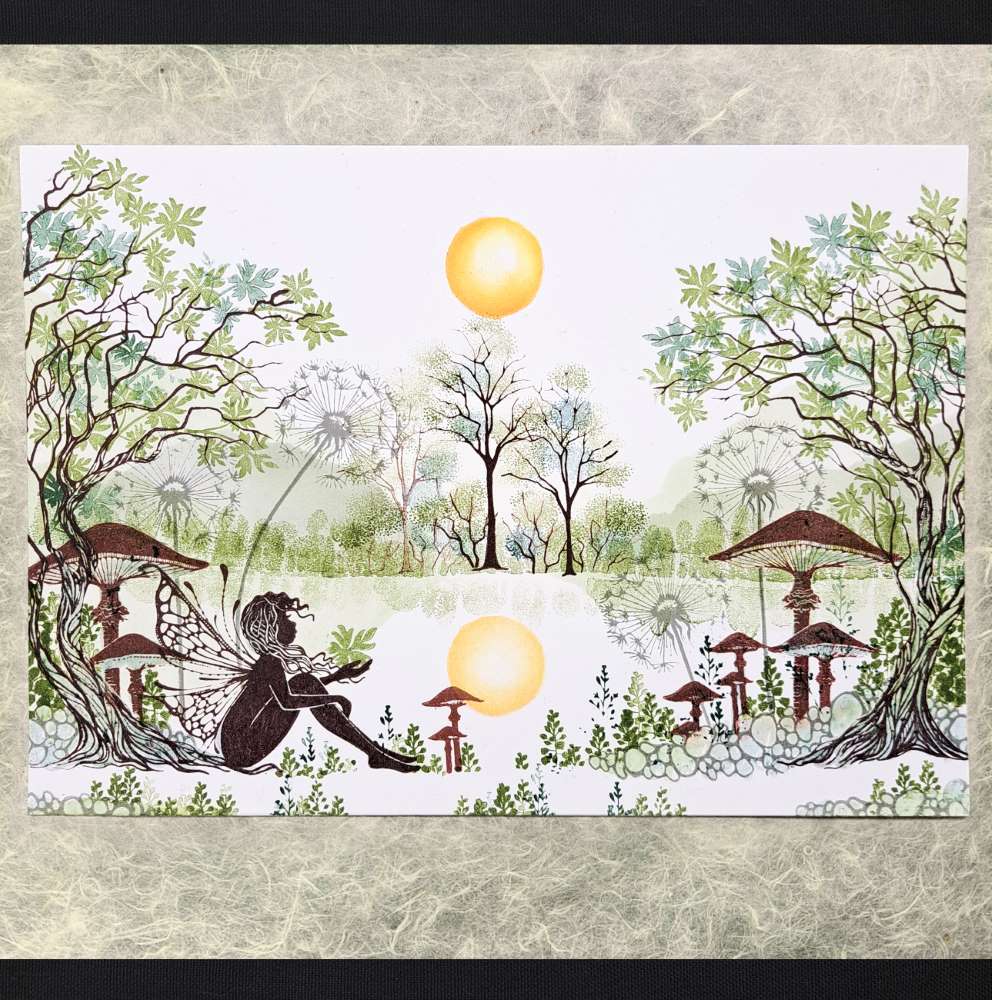
Colour the trees, mushrooms and Quinn with soft colour pencils, such as the Van Gogh watercolour pencils. Use a darker colour for shade and an ochre colour for highlights on the trees and mushrooms. Add some beige colour for highlights on Quinn.
To make the far waterline look better, I coloured with several greens and some light brown, closest to the ground. I drew the reflections of the trees with a light brown pencil.
The stones and ground need some colour. I used light grey to colour the whole stones and then half of them in a darker grey. Add some black colour to all the darkest places. We will add white Posca pen on the stones for highlights later.
On the ground I’ve used several greens, ochre, and a mid-grey.
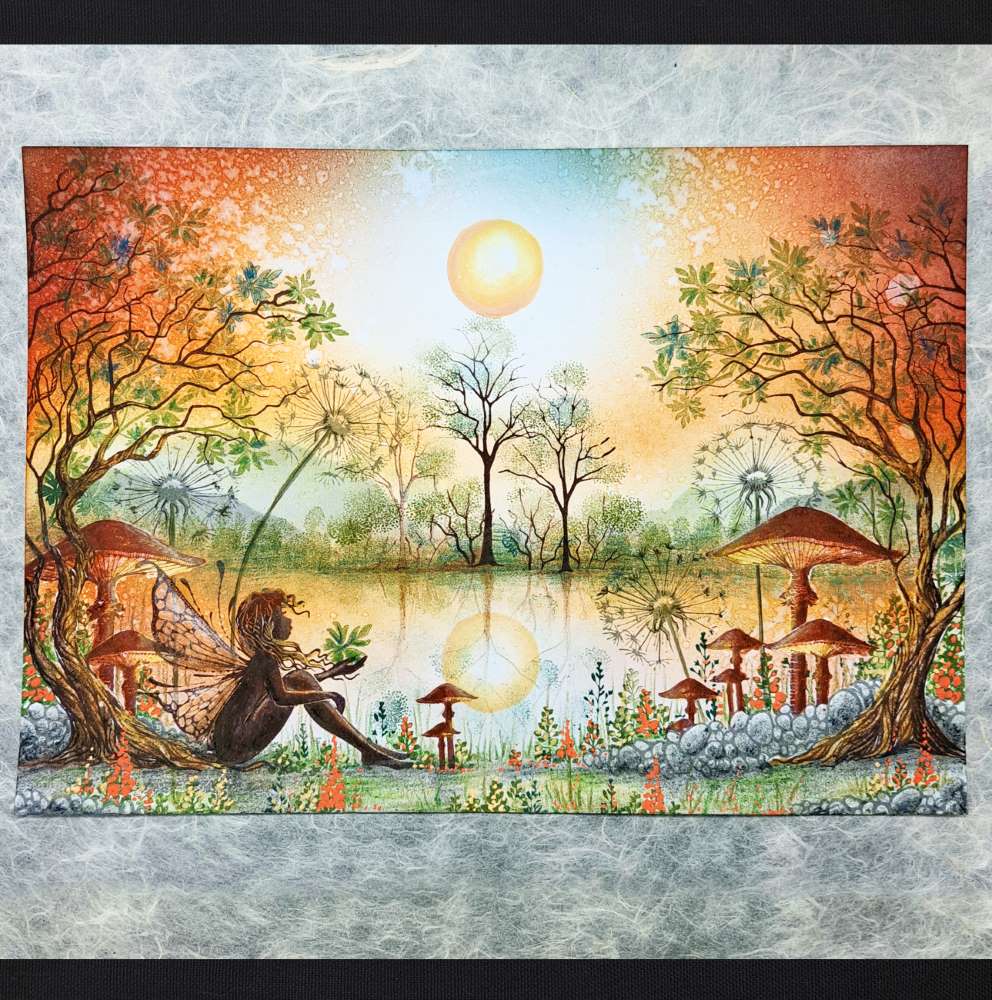
Colour the bluebells with some orange and beige. I also drew on more grass. I used a very thin Micron Pigma 0.2 pen to create some shadow on the dandelions.
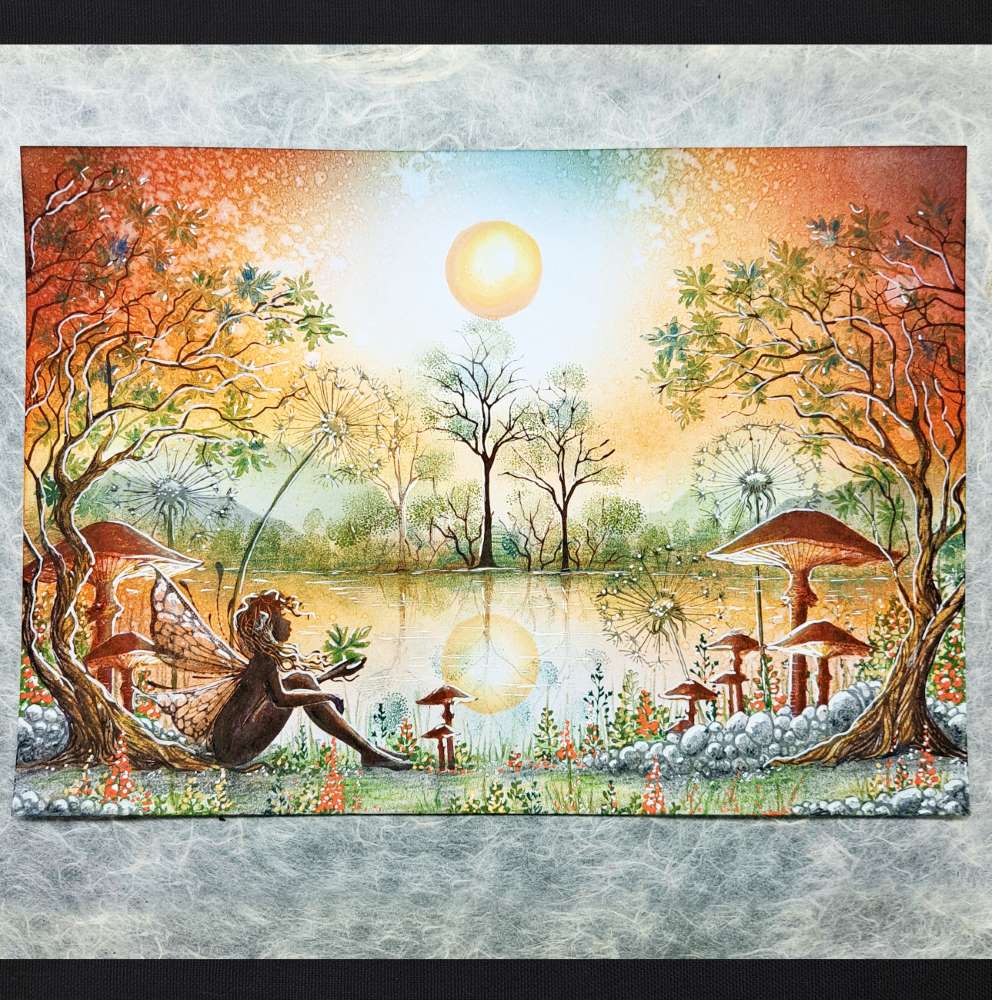
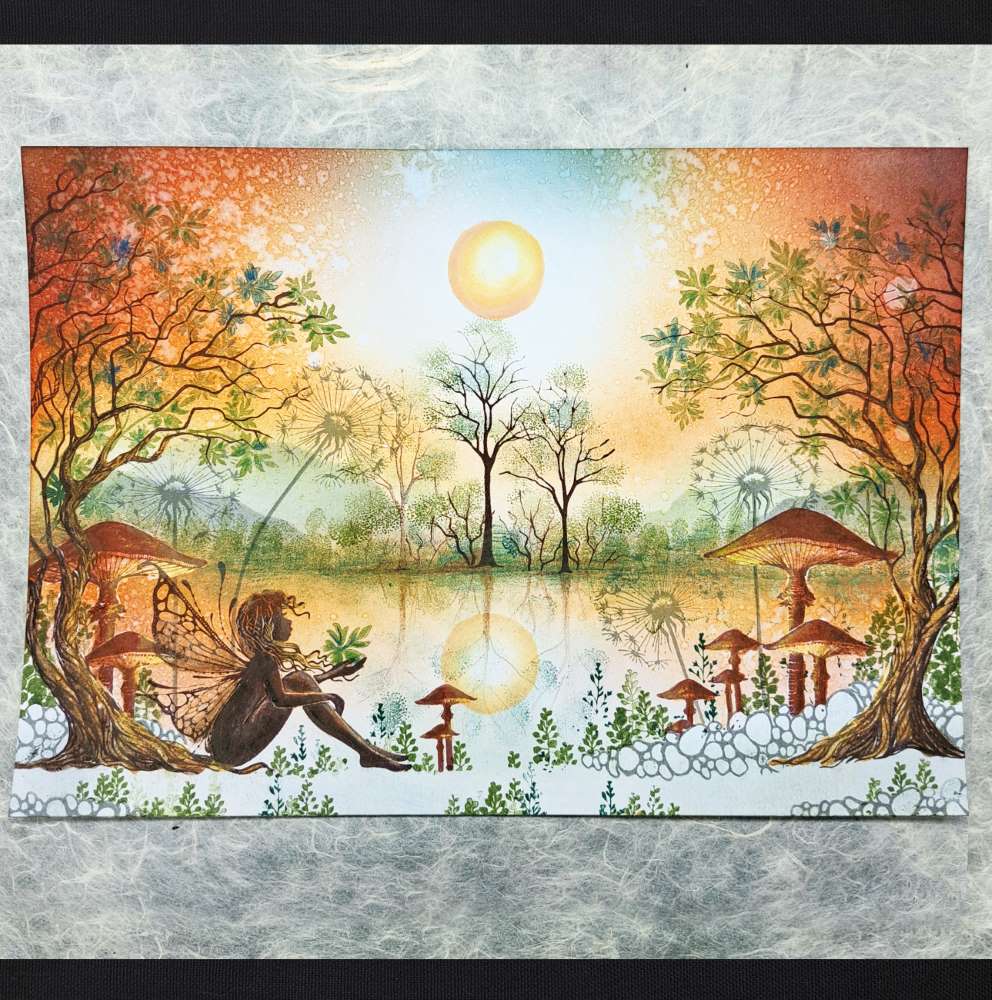
Next add highlights on everything with white Posca pen or a white Uniball pen. Do some lines in the water to create the illusion of reflections of light. Add a few white dots on the ground. A little splatter of white Posca at the end and we are finished.
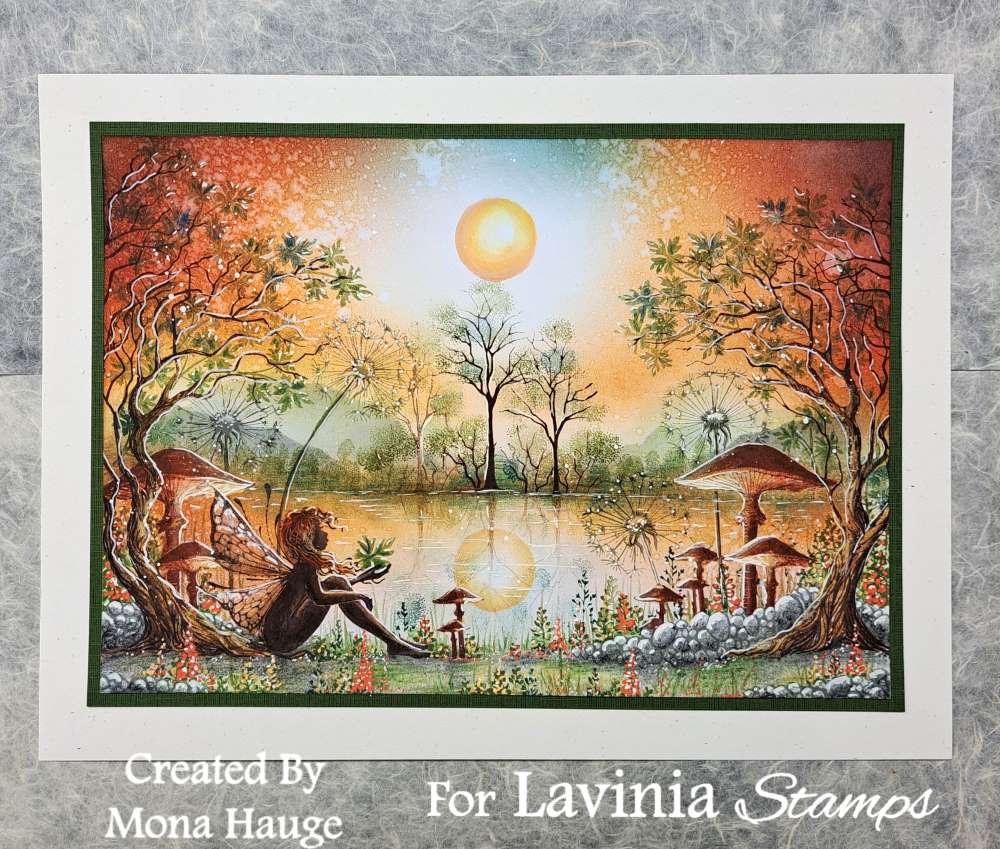
This is the end result, with a neutral-coloured paper to frame it.
I hope you enjoyed working along with me to make this card.
If you have any questions just ask.
Big hugs from Mona