Hello everyone
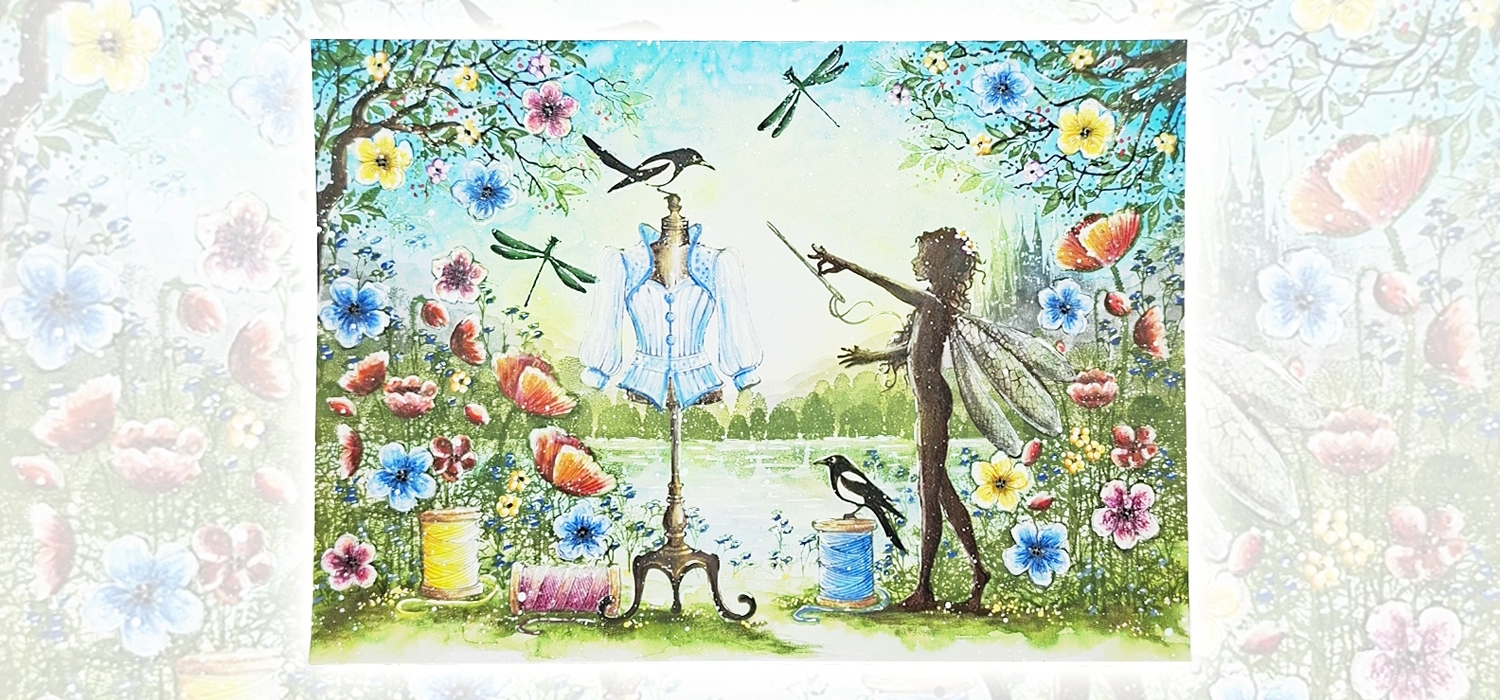
I’m Mona, from the design team, and I love these new stamps and have had the best time playing with them.
They go so very well together with all the other stamps. A perfect addition to my collection!
I hope you like this and will give it a try.
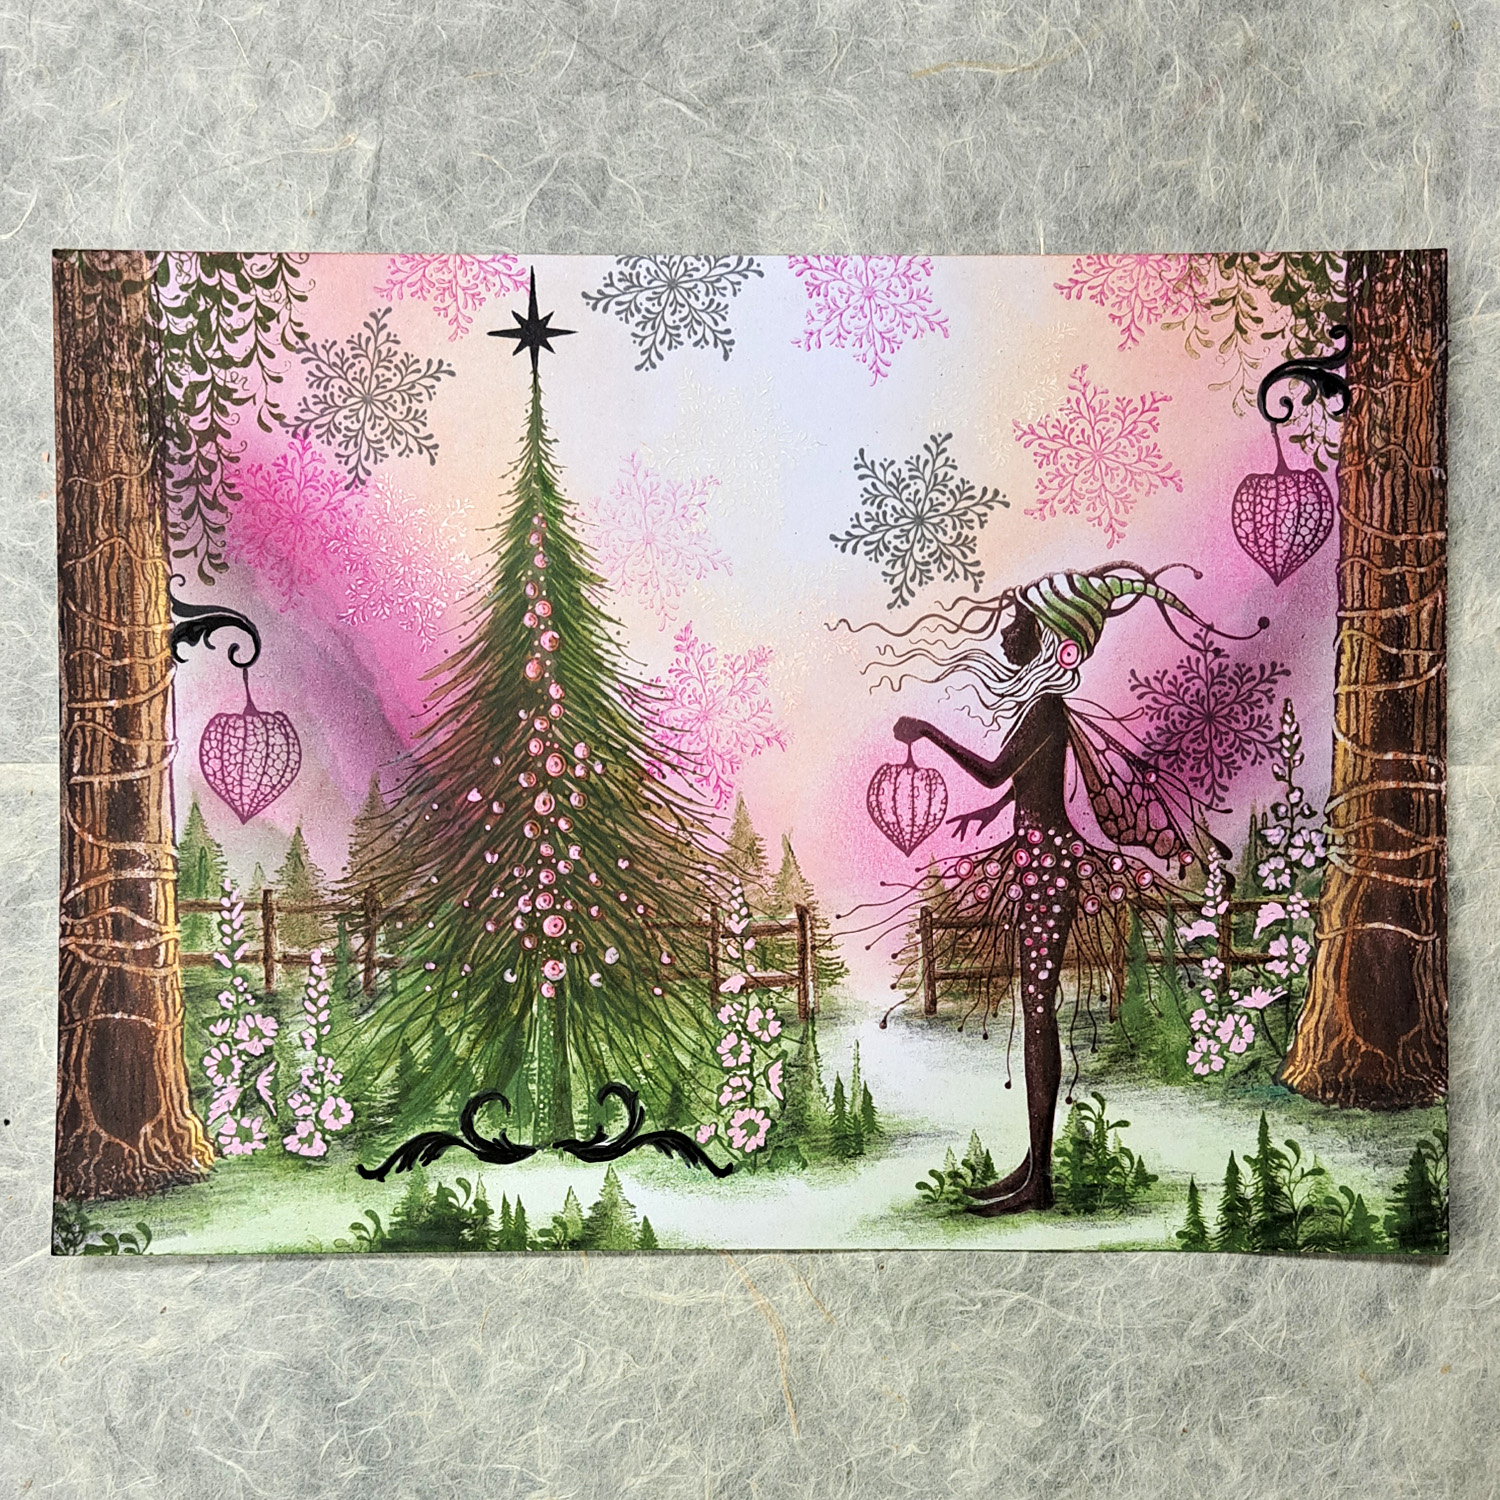
Step by Step

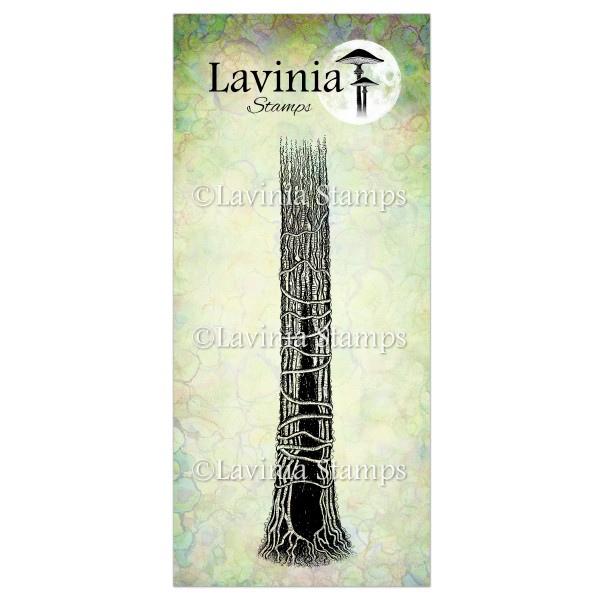
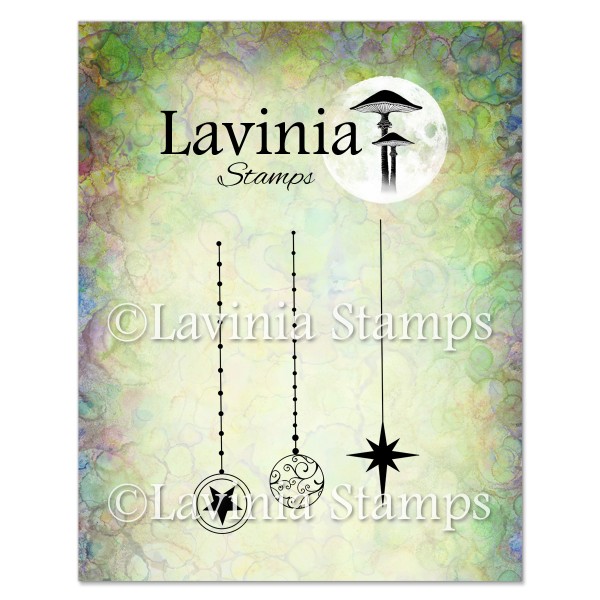
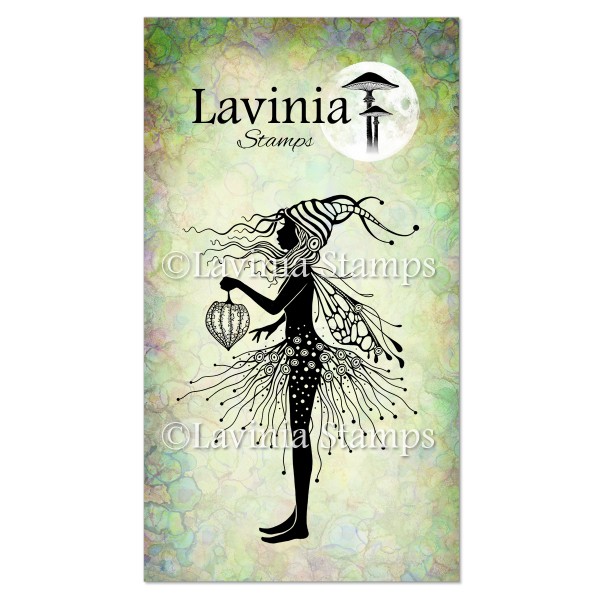
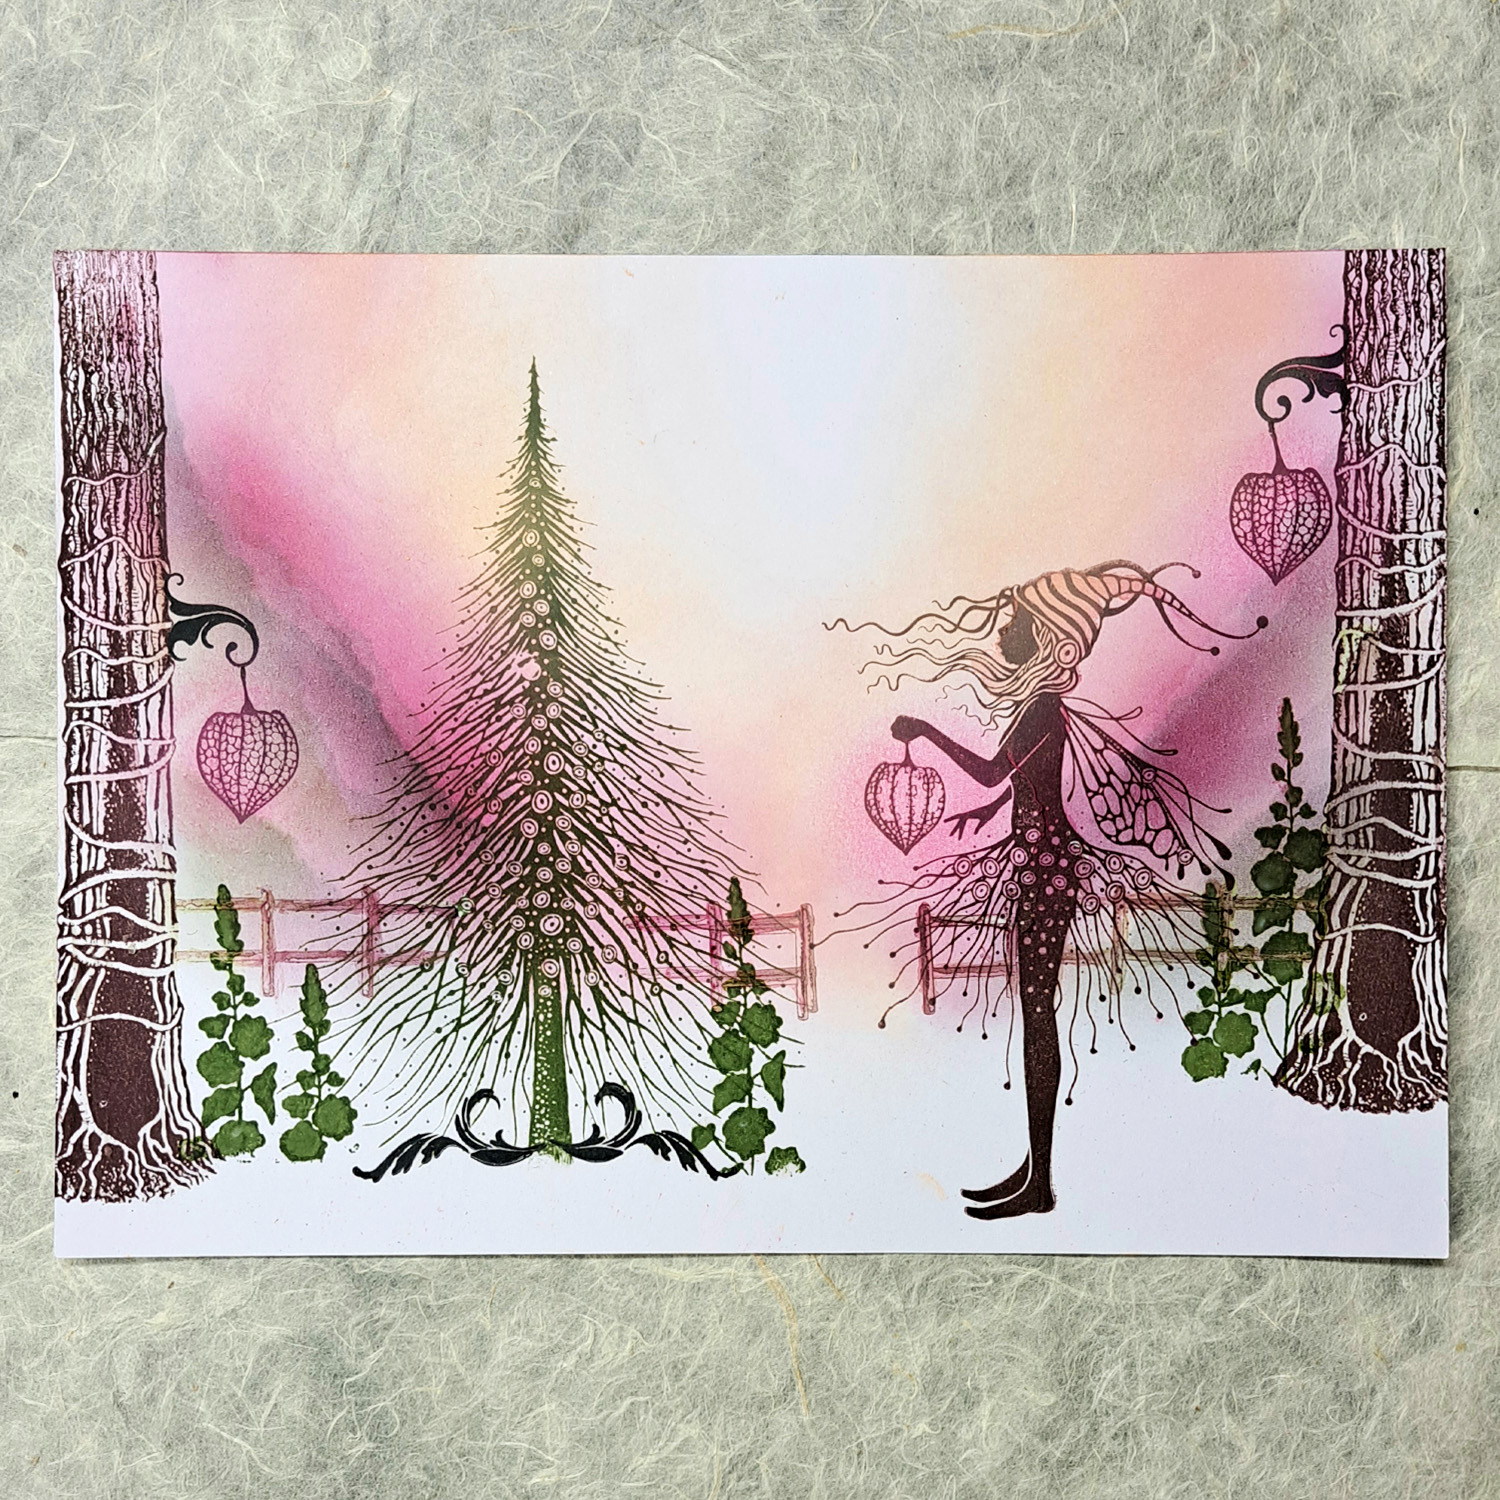
Using a piece of Landscape A5 Multifarious white card, stamp Starr and Tree Den in Versafine Pinecone, the Motifs in Nocturne and then the Wild Pine in Shady Lane. We’re using the Motifs stamps as the lantern holders and the Christmas tree stand.
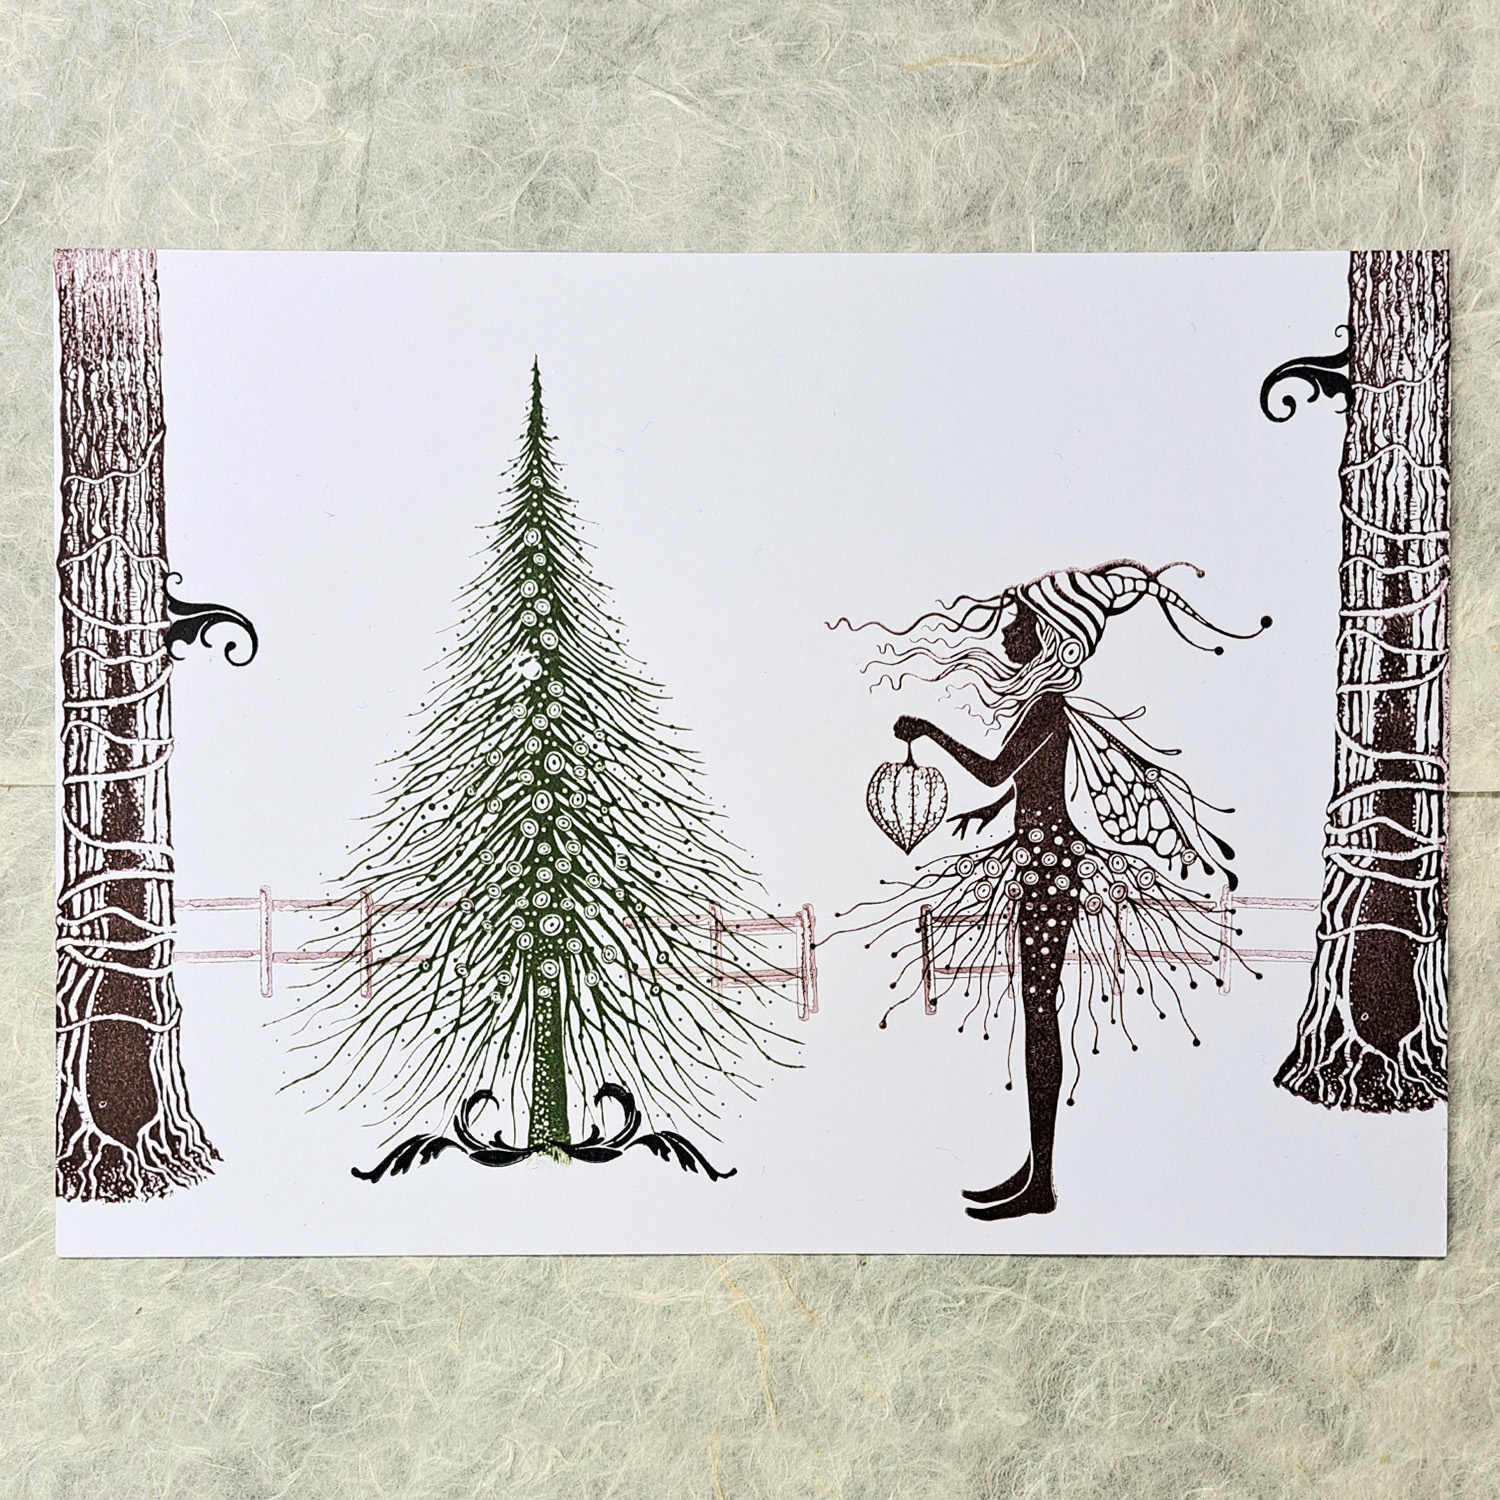
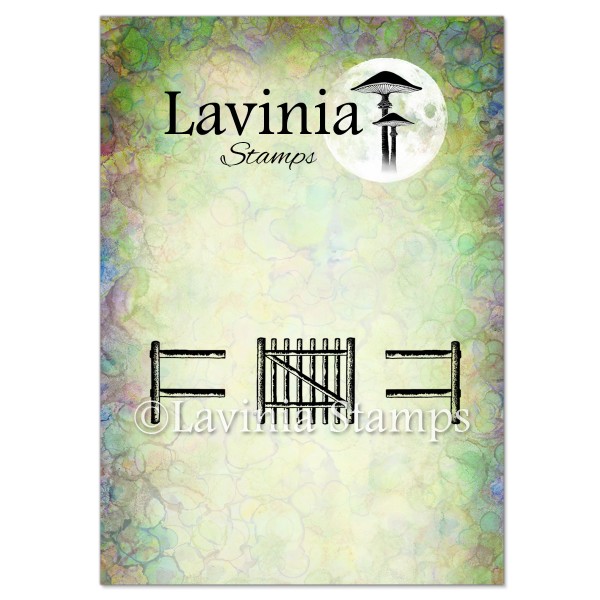
Stamp the Gate and Fence in Versafine Clair Pinecone. Do second generation stamping.
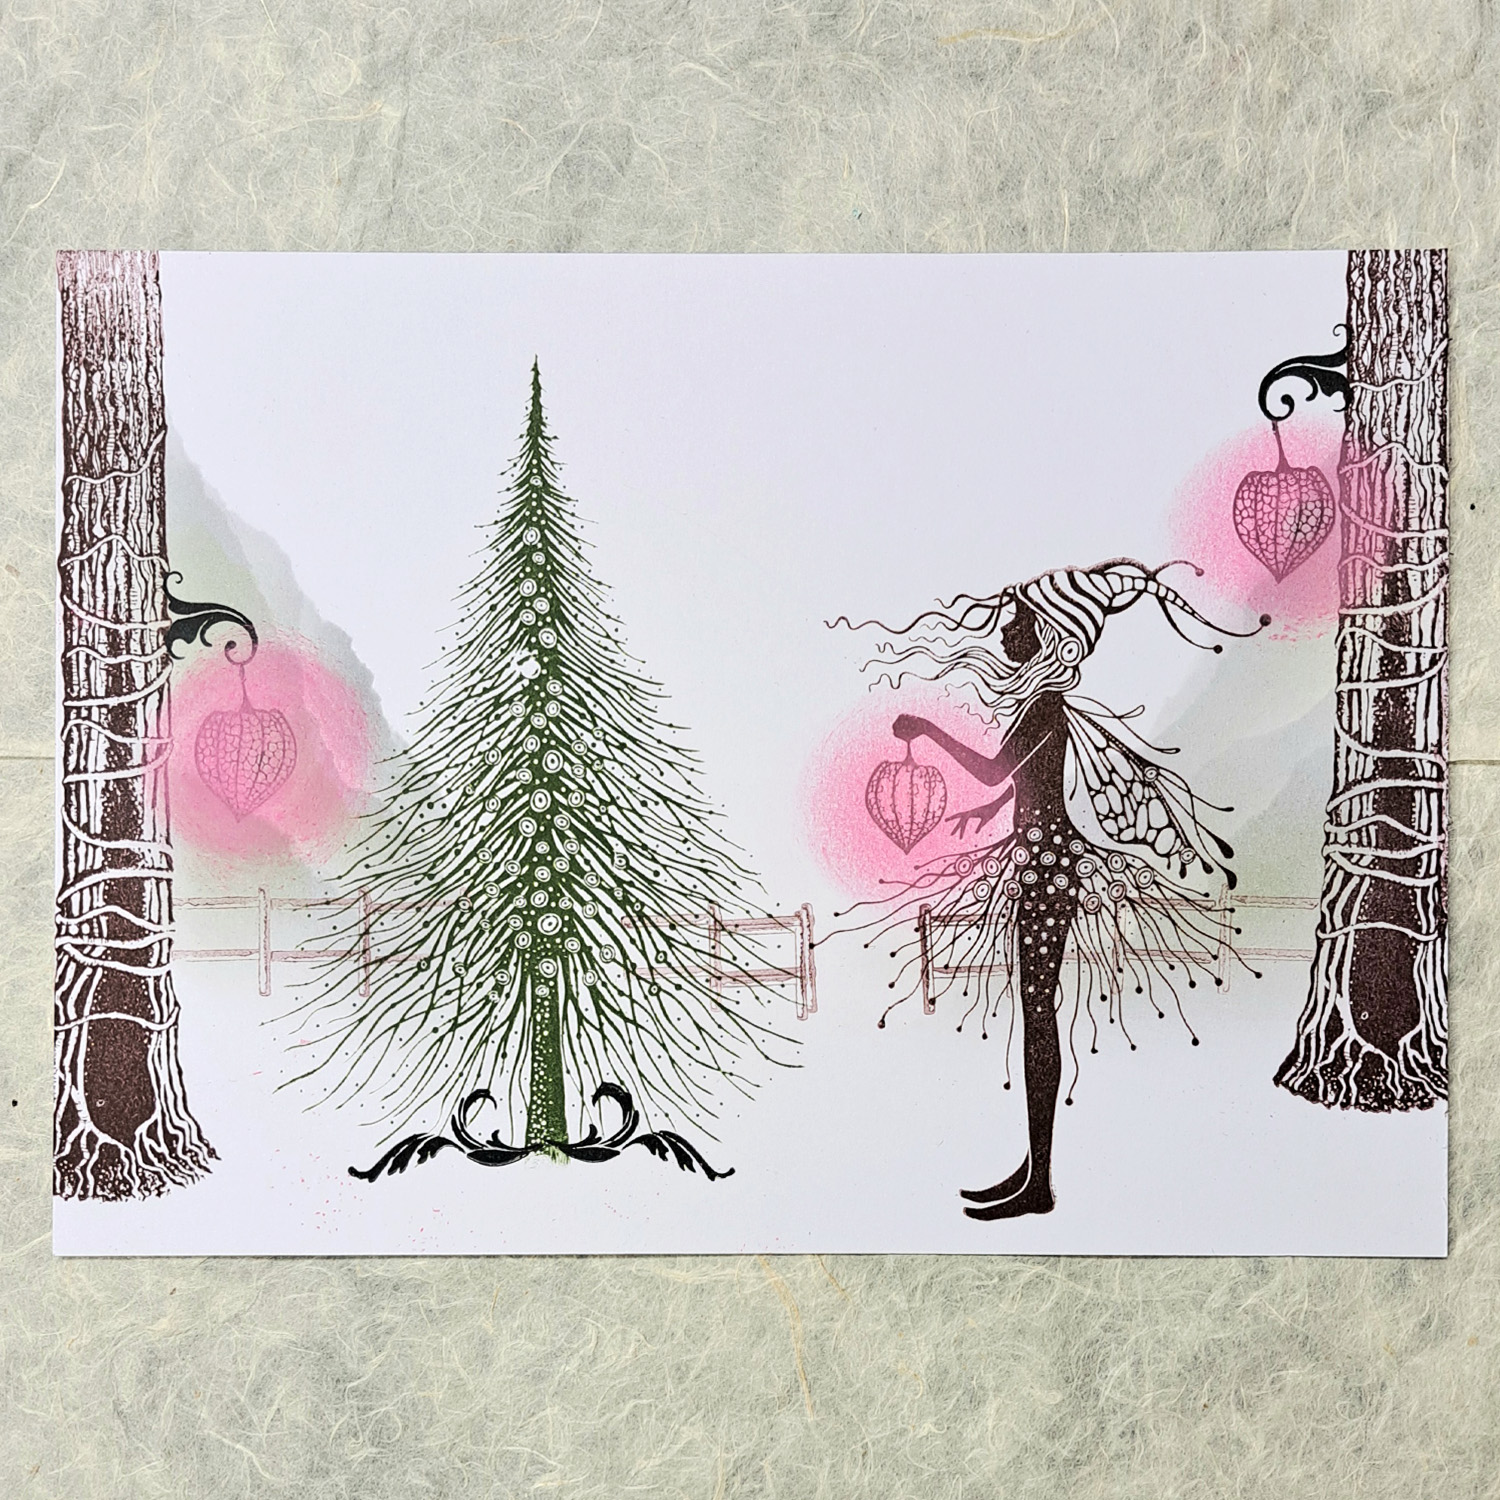
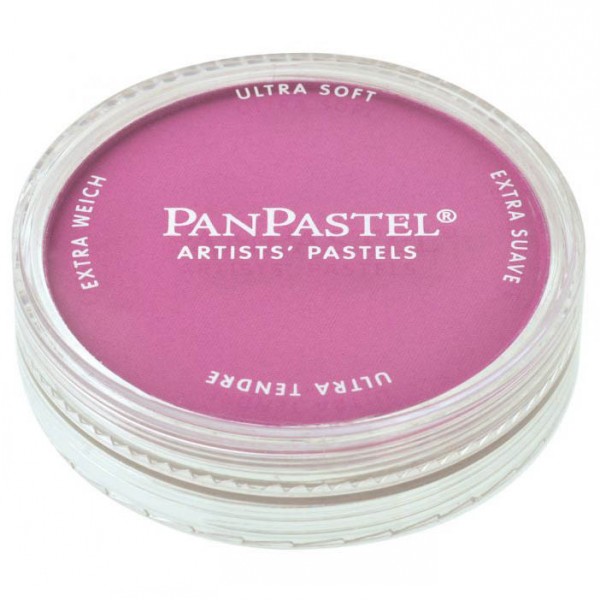
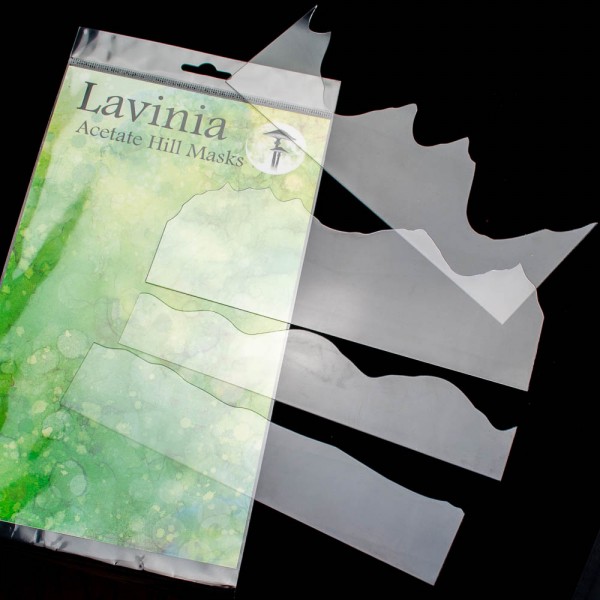
Stamp Mini Fairy Lantern in the Pinecone. Then use the Hills Mask to create some mountains in the background. You don’t need very much colour to create mountains, I used a Stencil brush series 9, with some left-over Elements Graphite colour in it. I wanted the Lanterns to have a pink glow, so I just put on some Magenta Pan pastel just to define the space for the light.
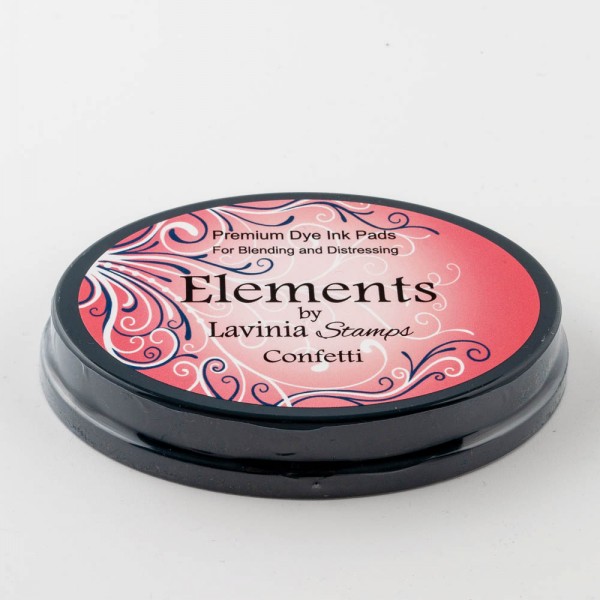
Next, we need to put masking fluid on Tree Den, the fence, and Starr. Then we put some Elements Ink Confetti over the mountains. Be careful with the colour because the Elements are very, very rich in colour. Now we will use some Pan pastels Burnt Sienna Tint and Magenta.
Stamp some Wild Flowers in the Versafine Clair Shady Lane.
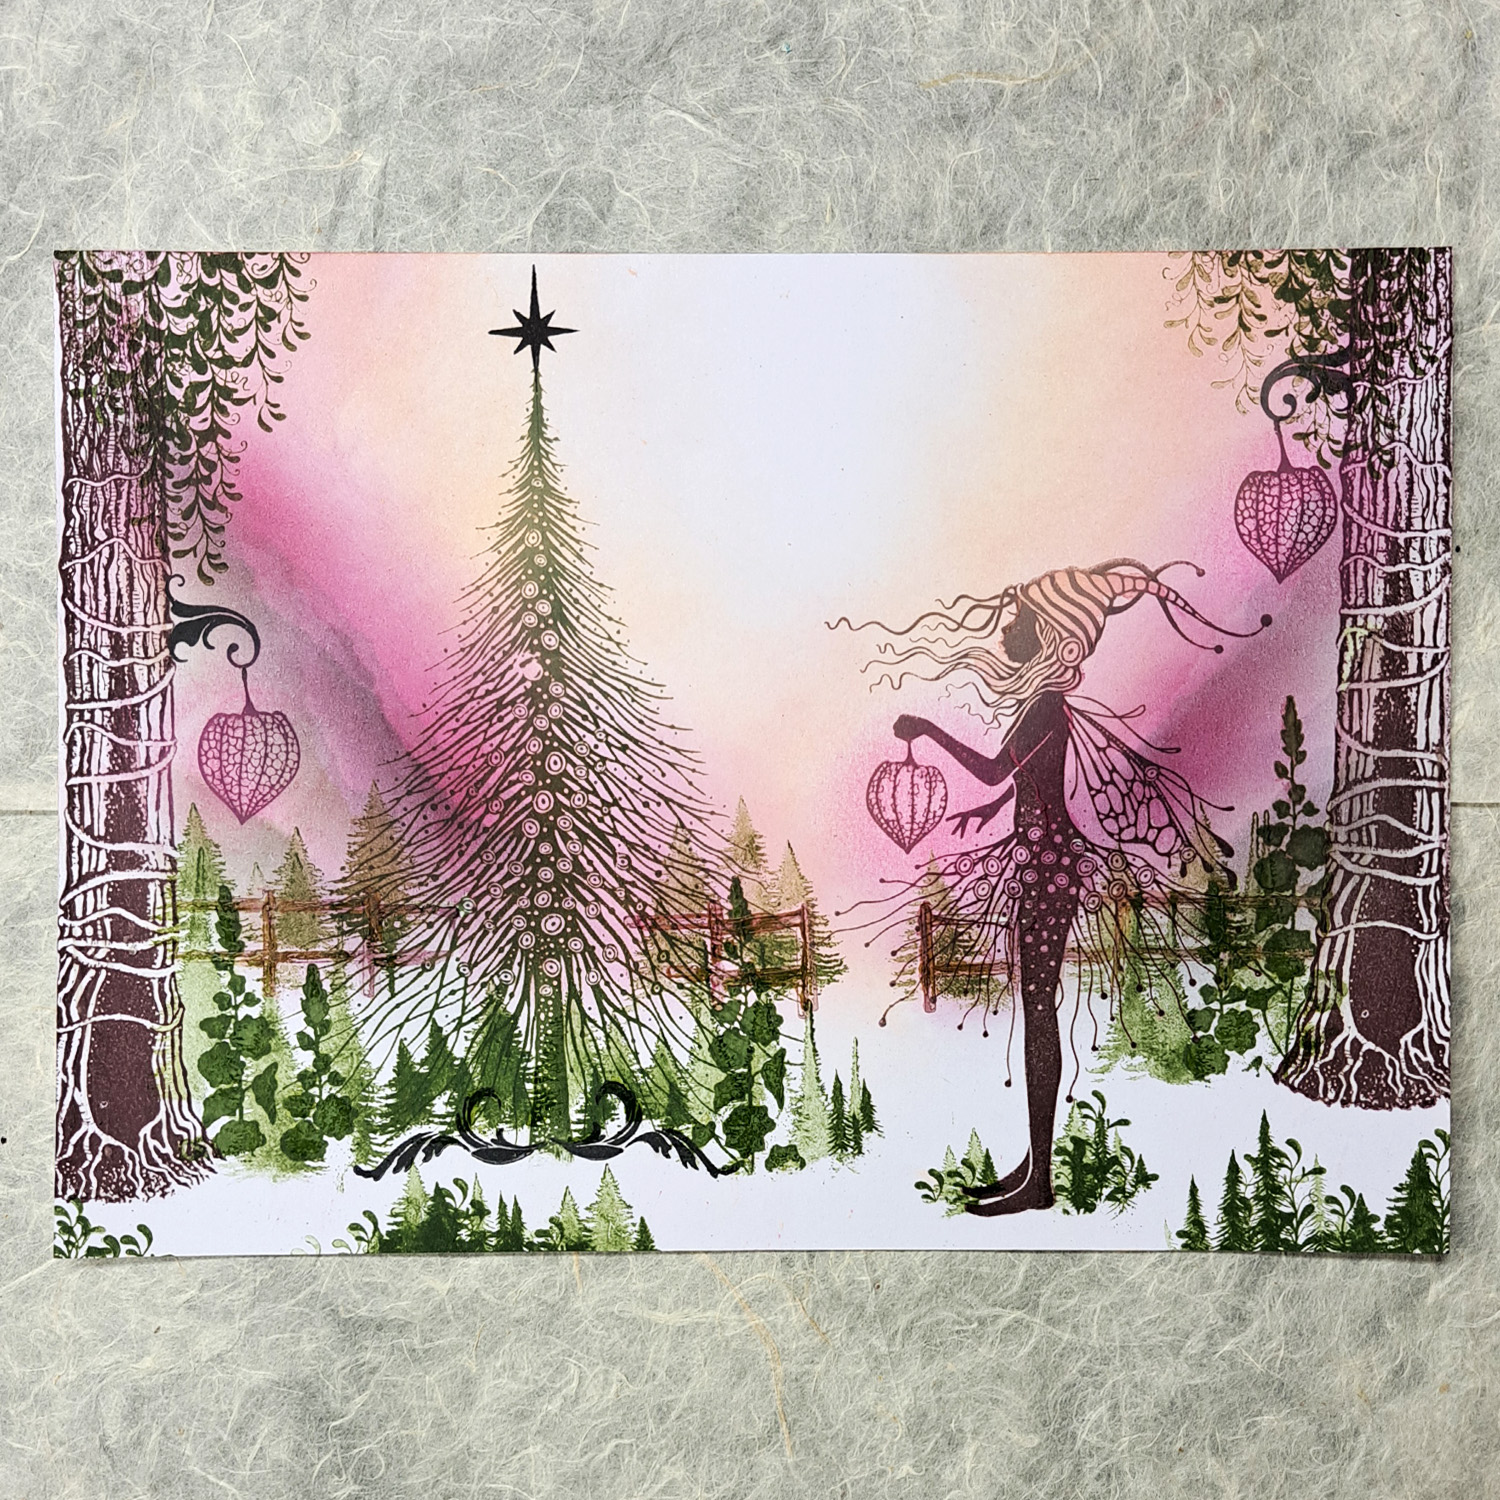
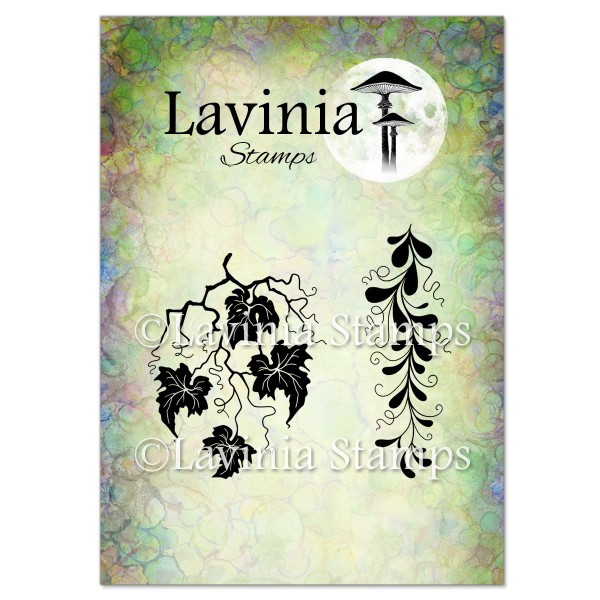
Stamp some Twisted Vine Set and Small Pine Trees in the Shady Lane. Some on top of the trees and a lot on the ground. Be sure to do both first- and second-generation stamping. Stamp the star from the Christmas Charms stamp set in Versafine Clair Nocturne.
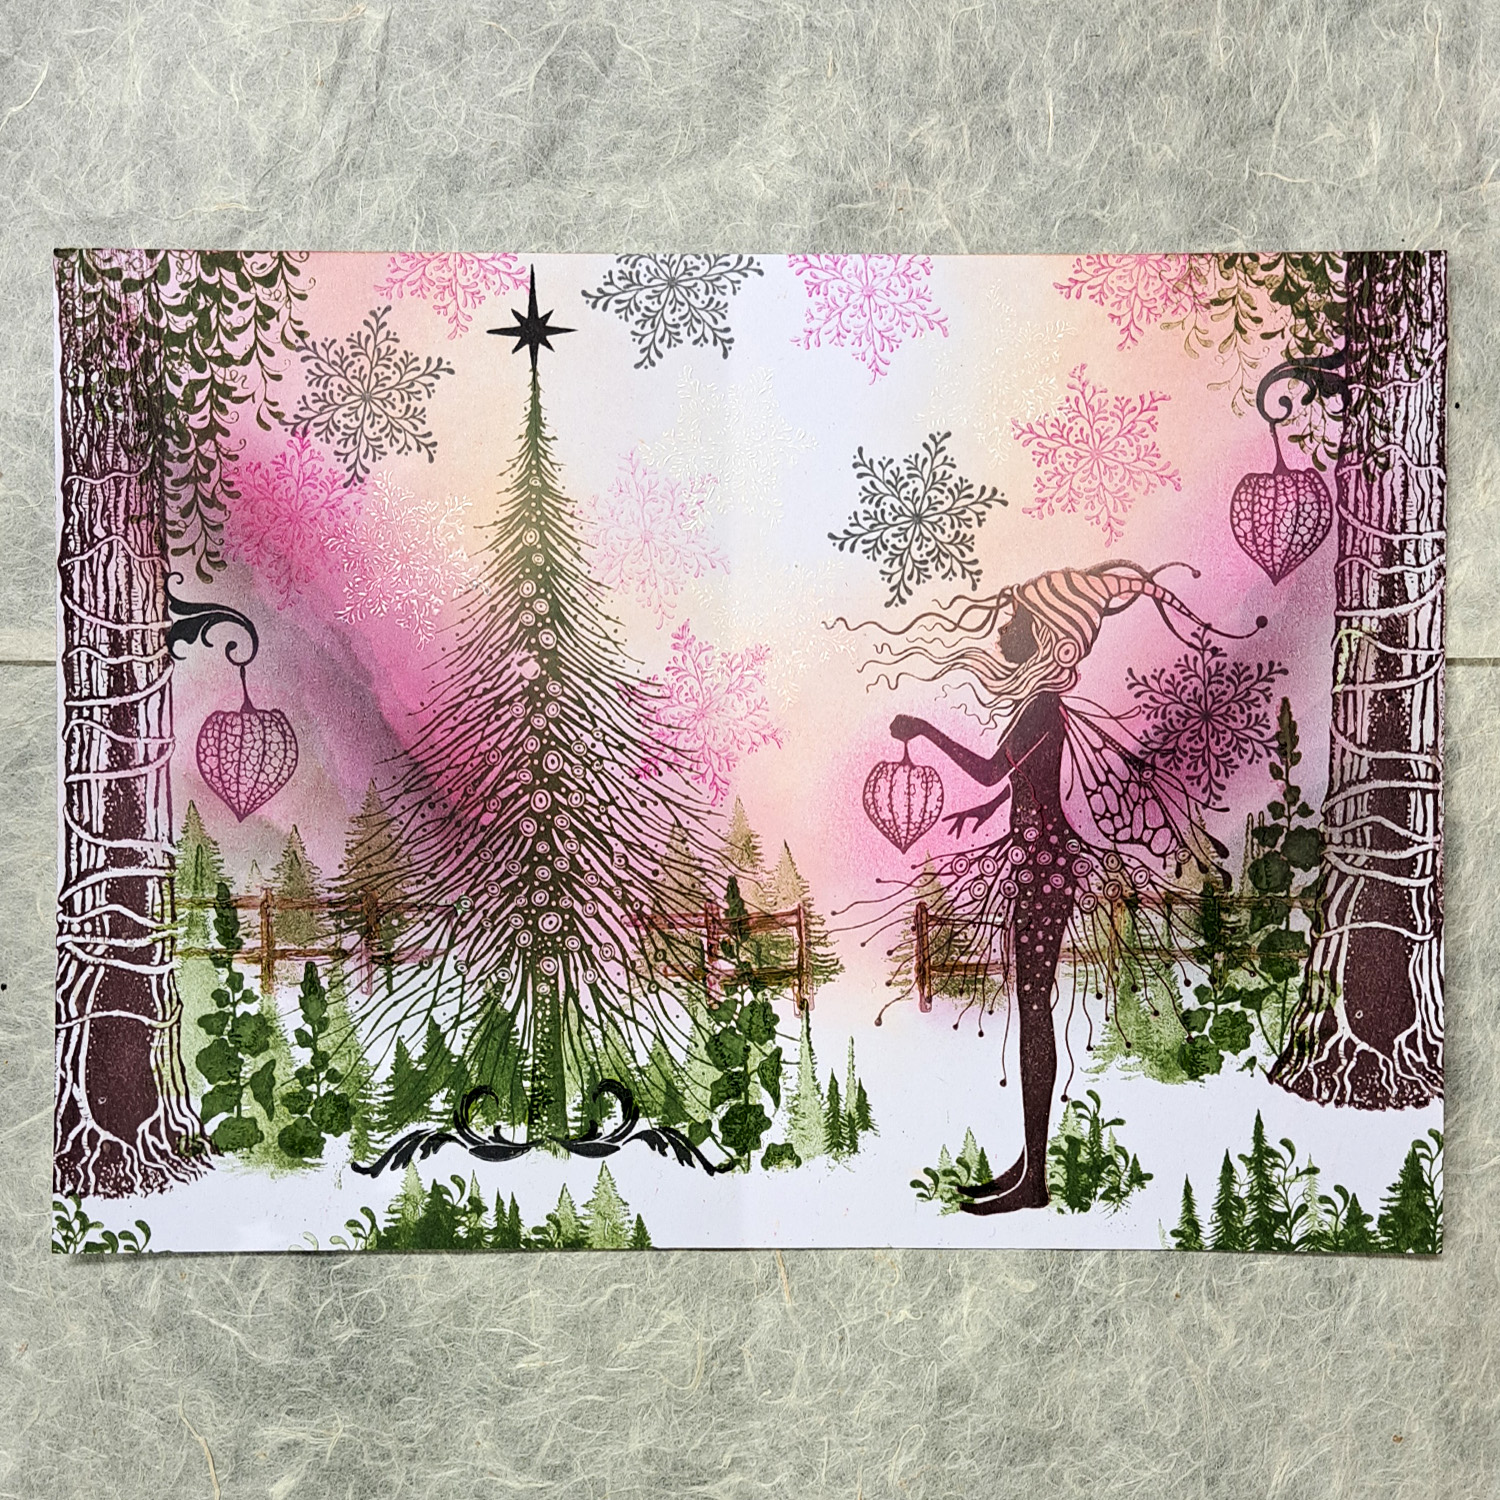
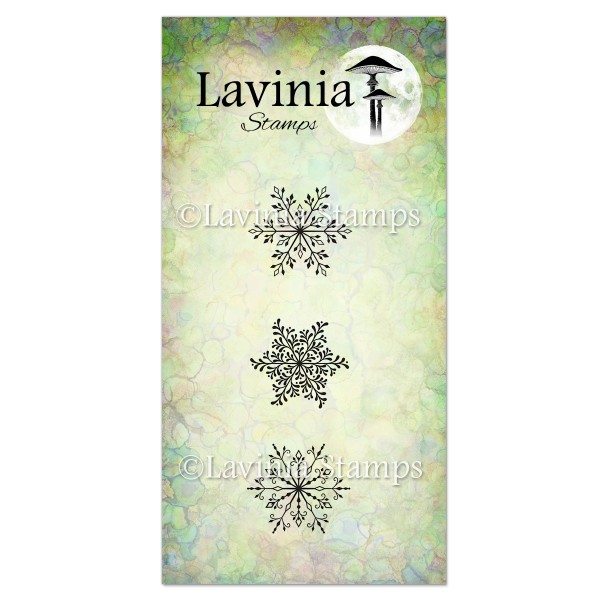
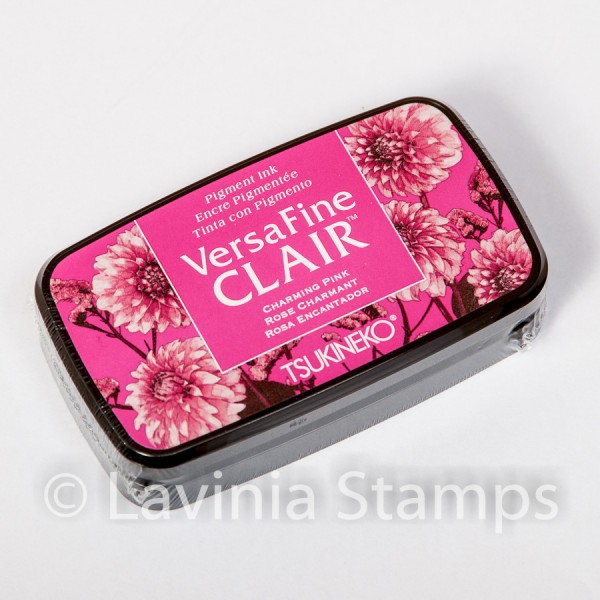
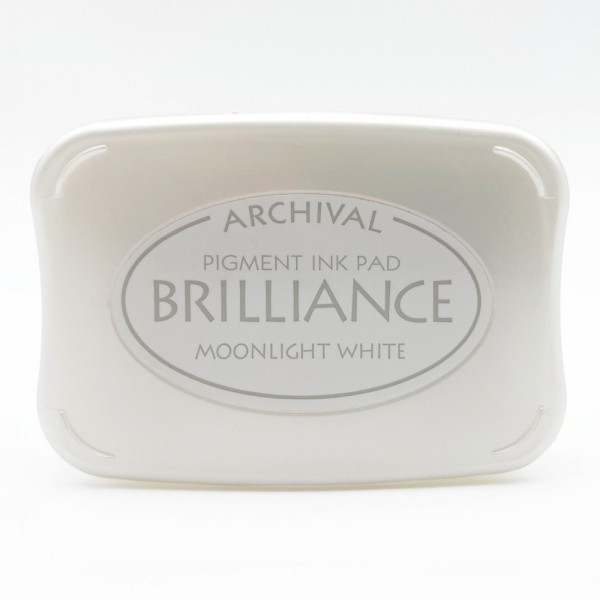
Stamp Snowflakes Small in both Versafine Clair Morning Mist and Charming Pink and some with Brilliance Moonlight White.
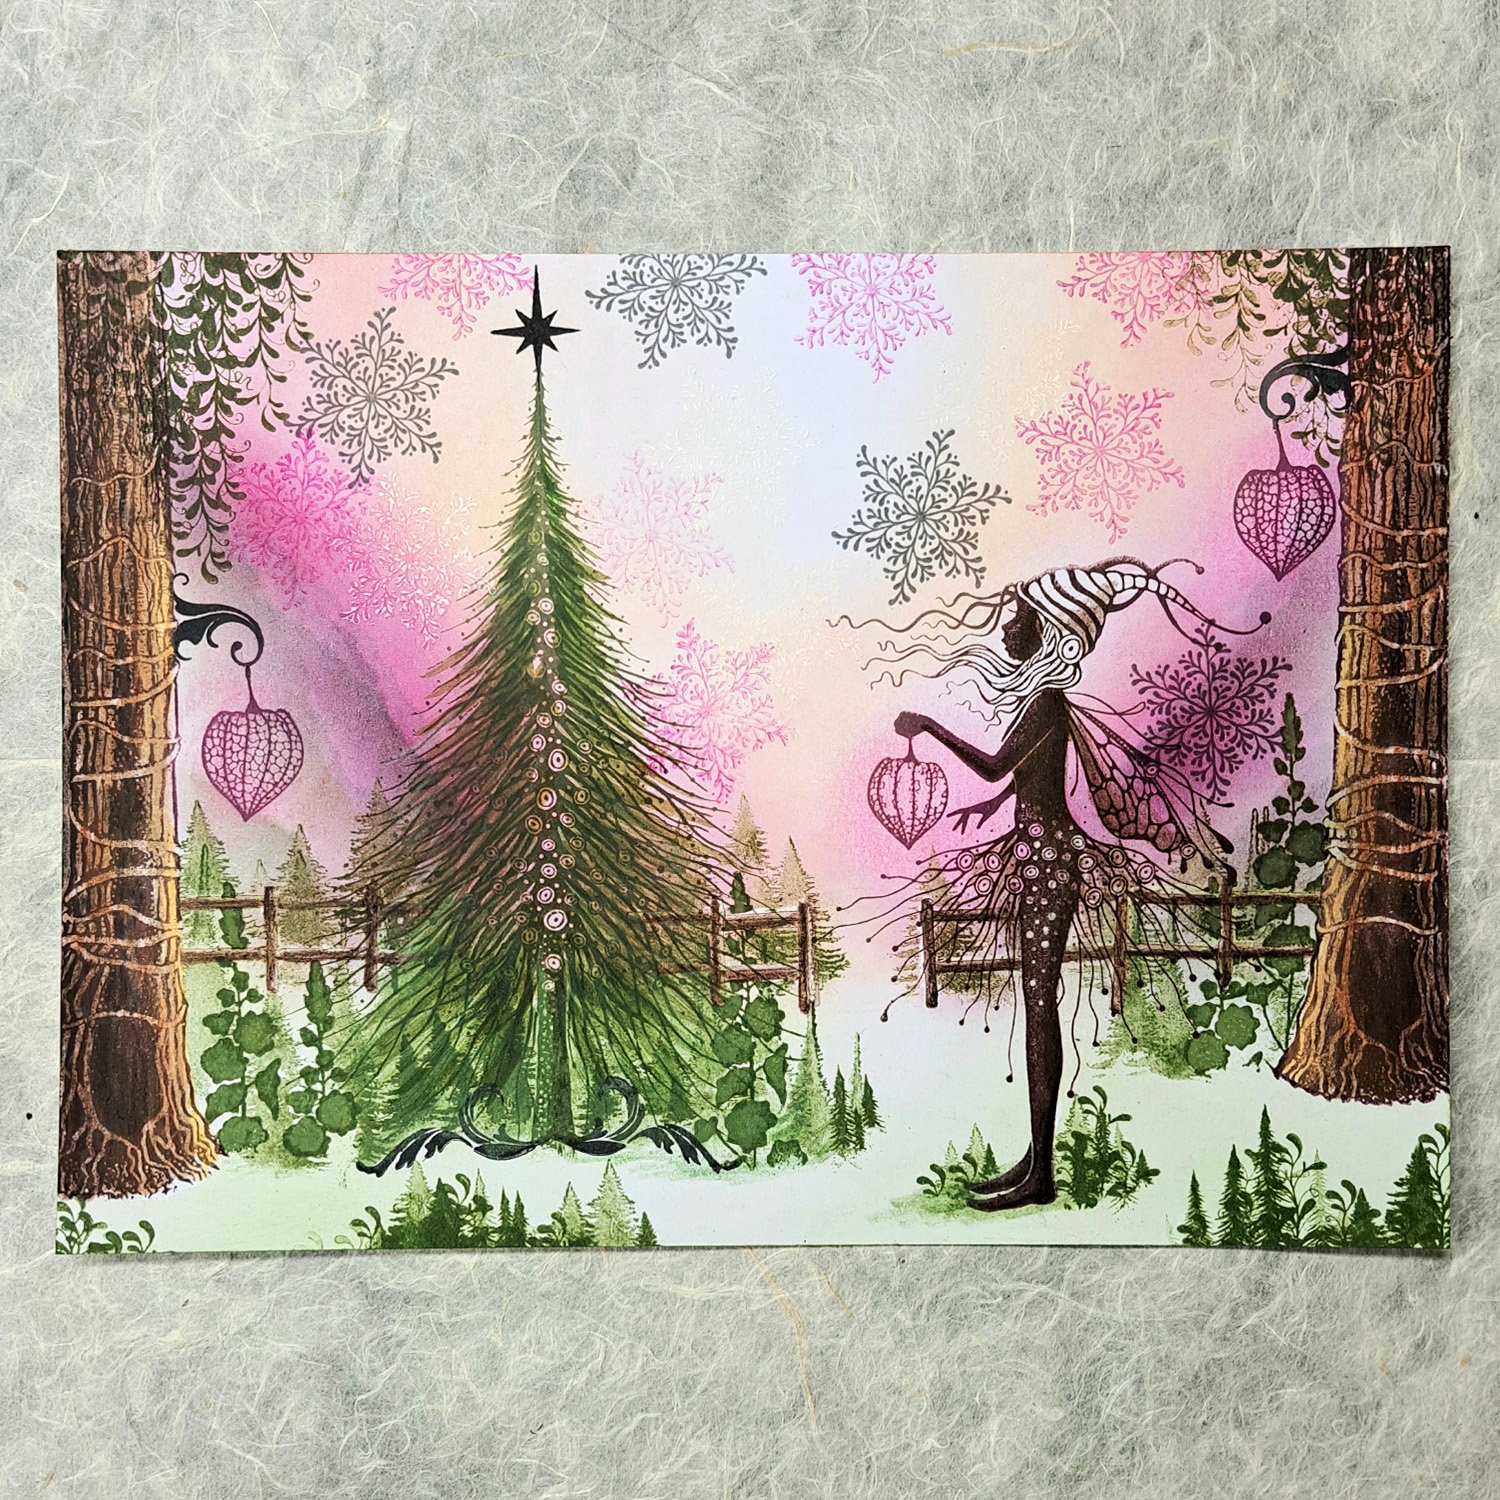
Use your soft colour pencils to colour the trees. I always use 4 different colours: Dark Brown, Brown, Reddish Brown and Ochre. This gives the trees life and dimension. Draw some Brown on the fence.
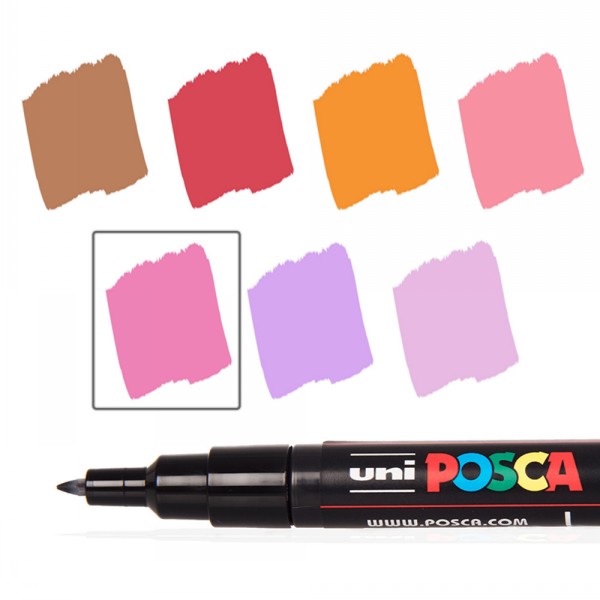
Colour Starr with Dark Brown and Black. Use the Black on Starr’s back. Use a shade of green similar to the Shady Lane to put some more colour in the Christmas Tree, on the ground and on Starr’s hat. Also use some brown on Starr’s wings and skirt. Using a light pink Posca pen start colouring in the flowers and the embellishments on Starr and on the Christmas Tree.
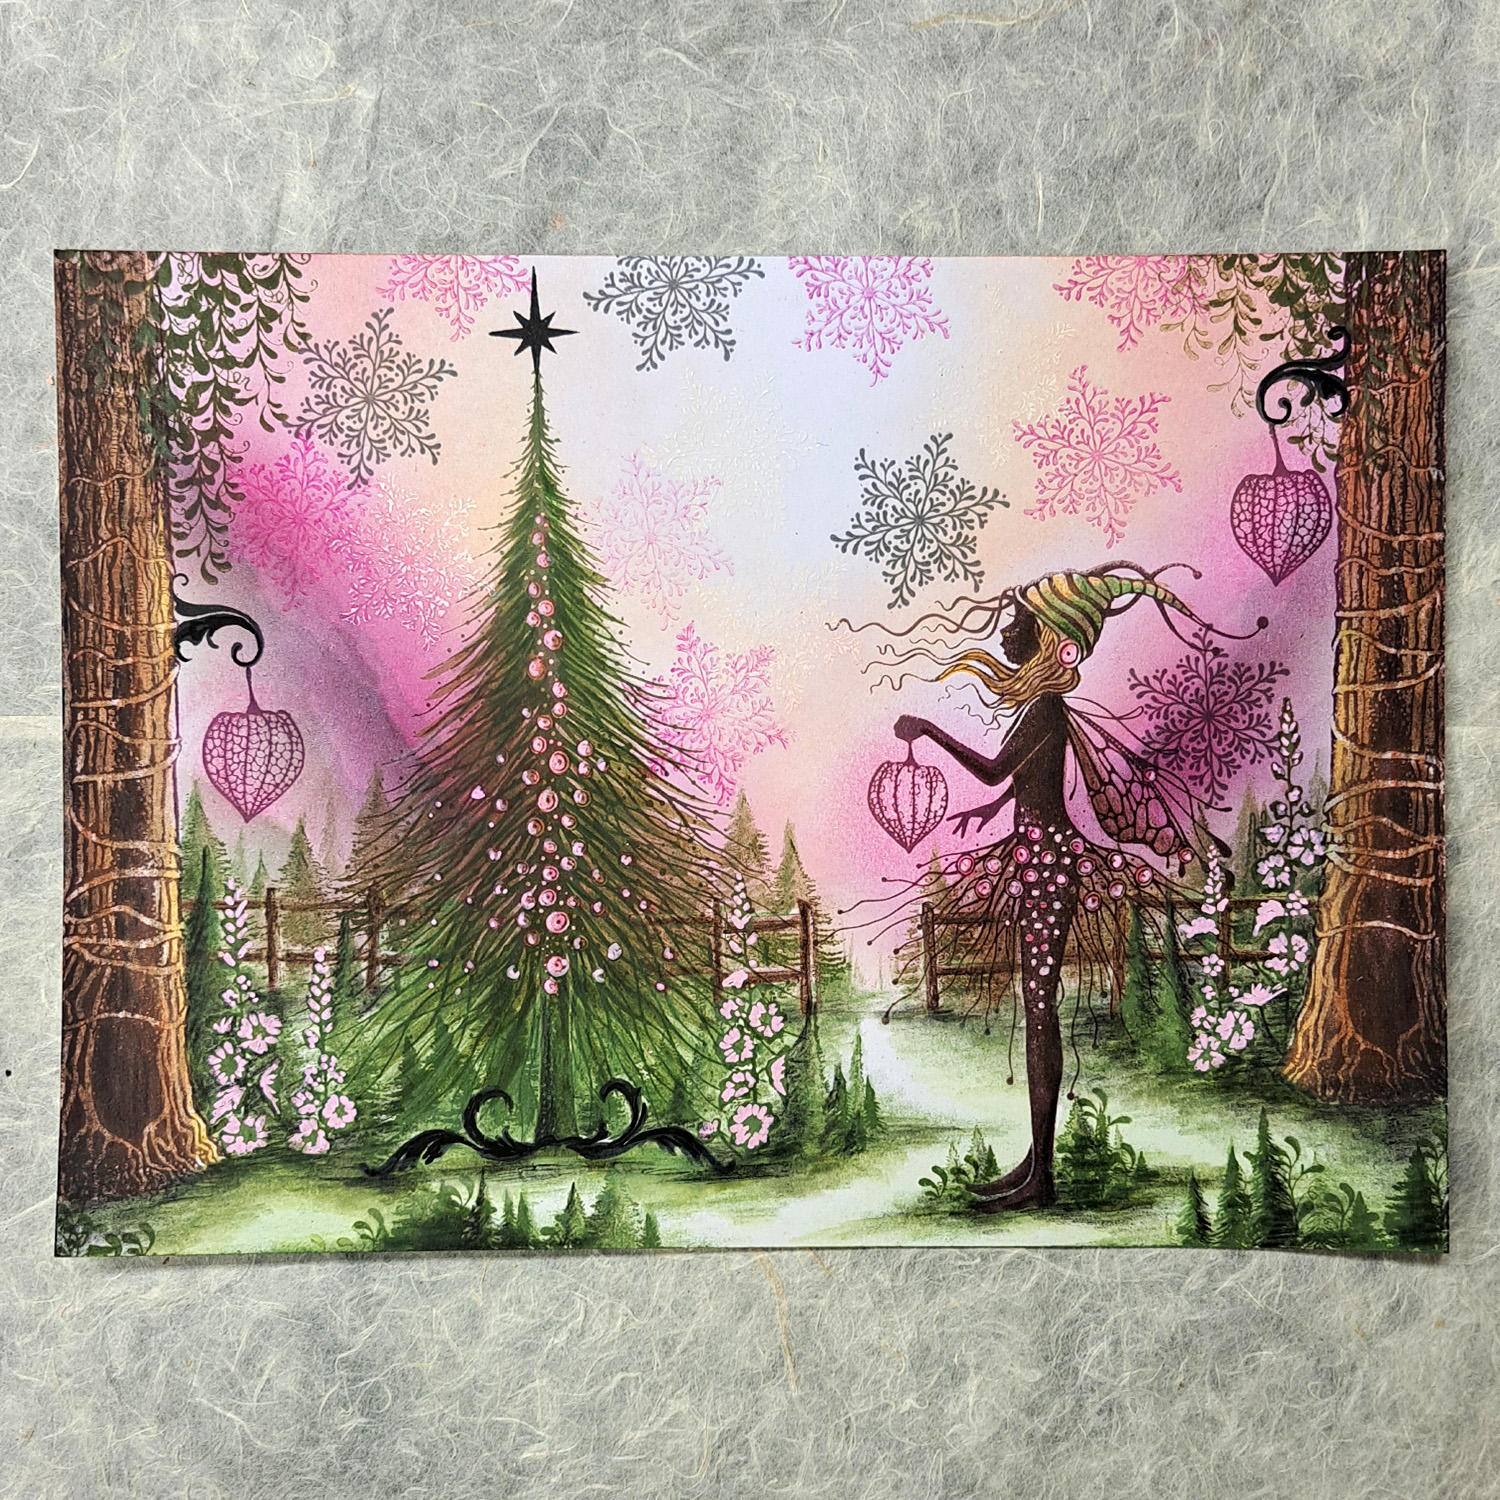
Starr’s hat and hair needs some Ochre colour. Use a black colour pencil to draw some shadow on the different small Pines and on the ground.

Use a darker pink pencil to colour in the middle of the flowers, on the ground, on the Christmas tree embellishments, and on Starr. Colour some Ochre on the ground also. This creates warmth so there will be some balance in the colours on the card. Colour some of the leaves in the Trees with green.

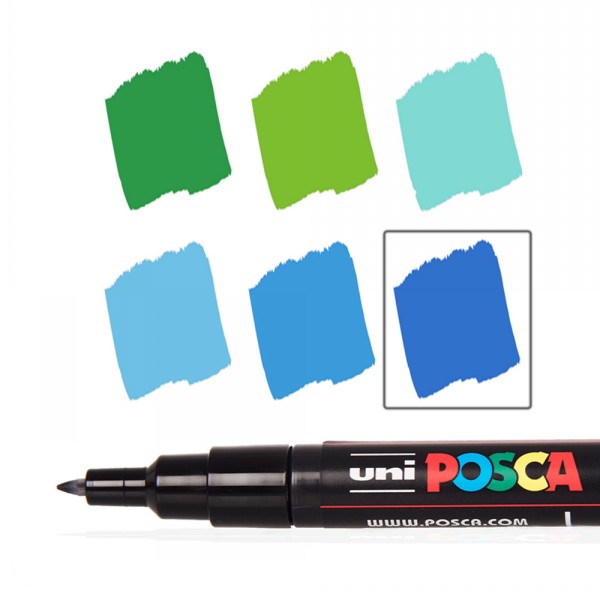
Use a Gold Posca pen to draw on the star, Motifs and do some dots on the ground under the Christmas Tree stand. Do highlights on all the small Pine Trees and on the Christmas Tree stand. I use my white Uniball pen, but a white Posca pen is great to use too. I put some dark pink colour very softly on Starr’s wing and some white colour pencil.

Now we need to put some more white Uniball/Posca pen on the flowers, Starr, The Tree Dens, the Fence, the leaves and on all the embellishments. Put some black dots with a black Posca pen in the centre of the flowers. I decided to put some more Gold Posca on the Christmas Tree and on Starr. Do some more white dots on the ground.
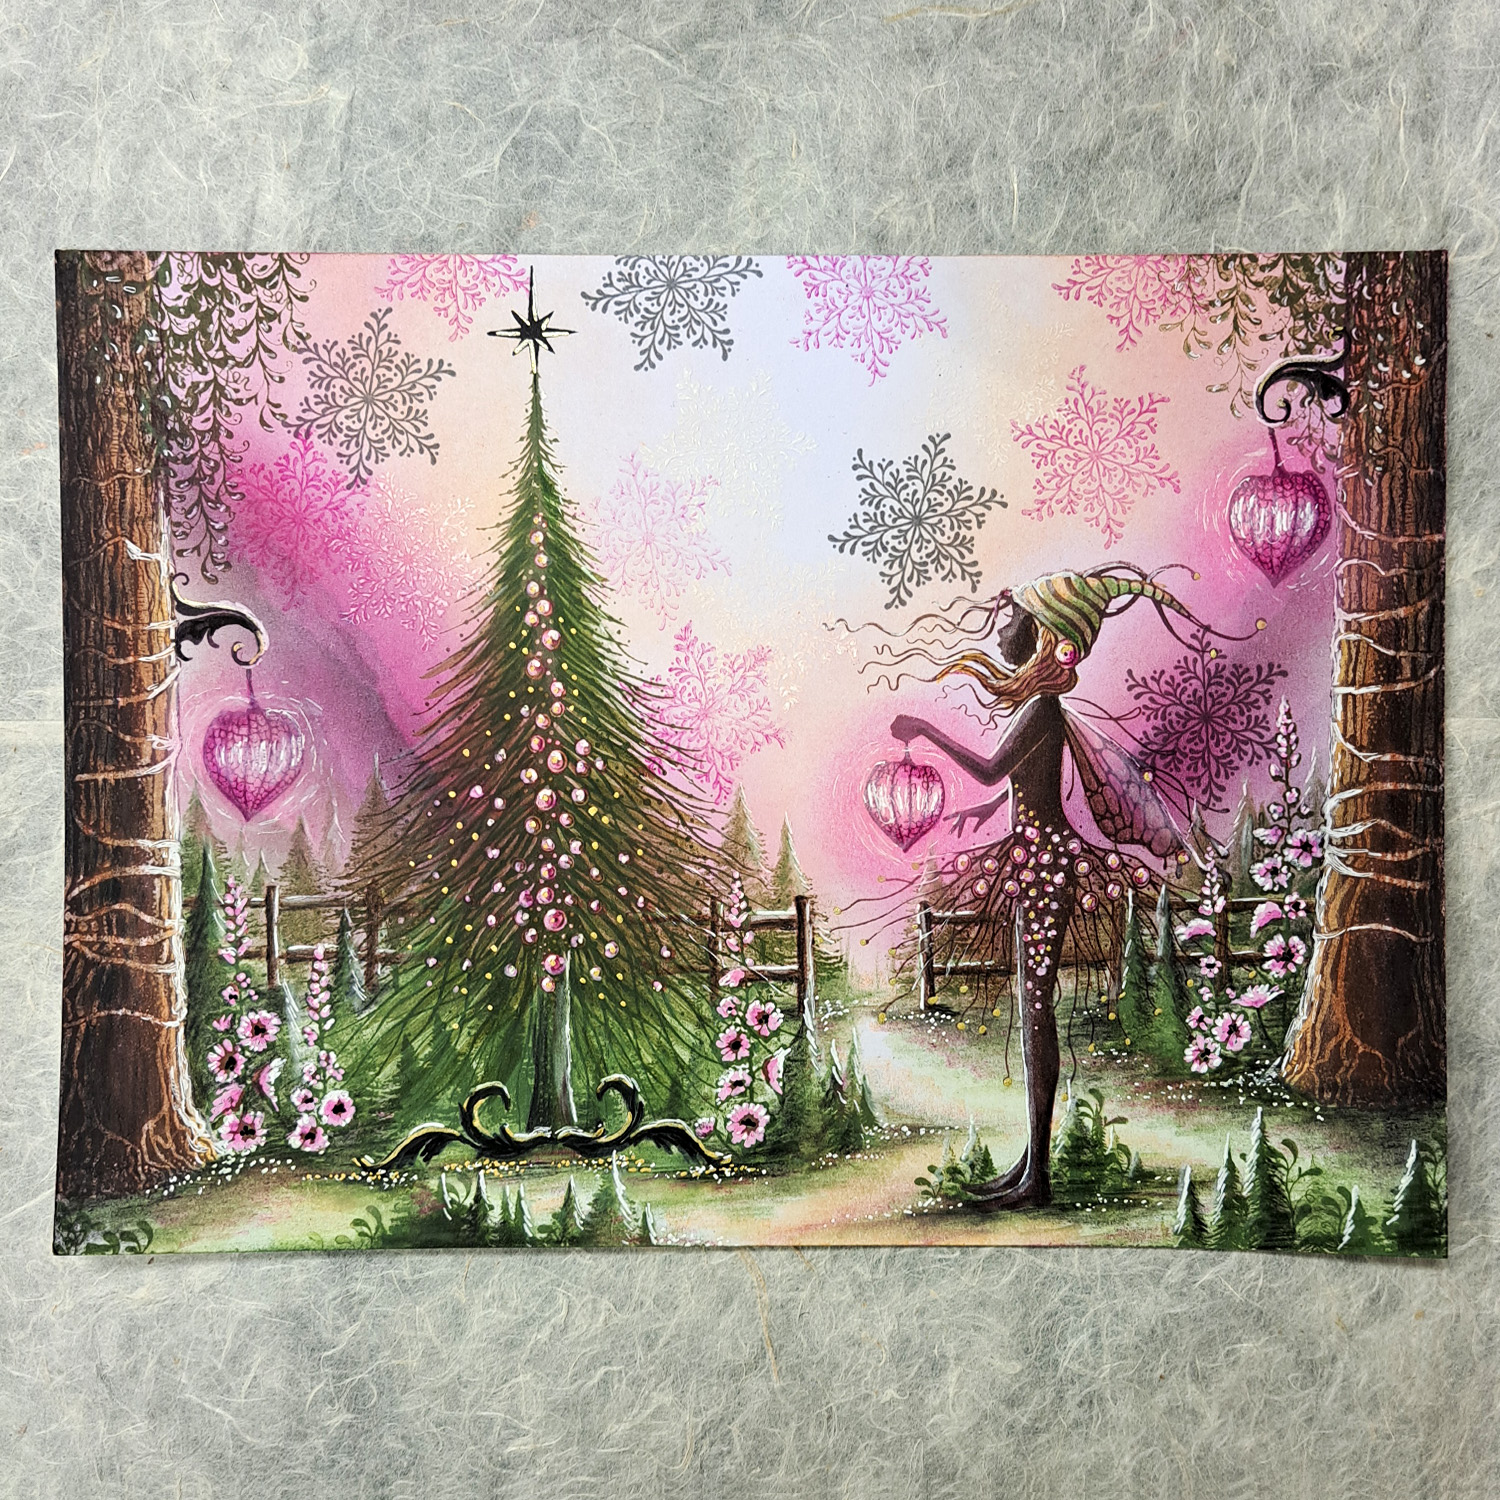
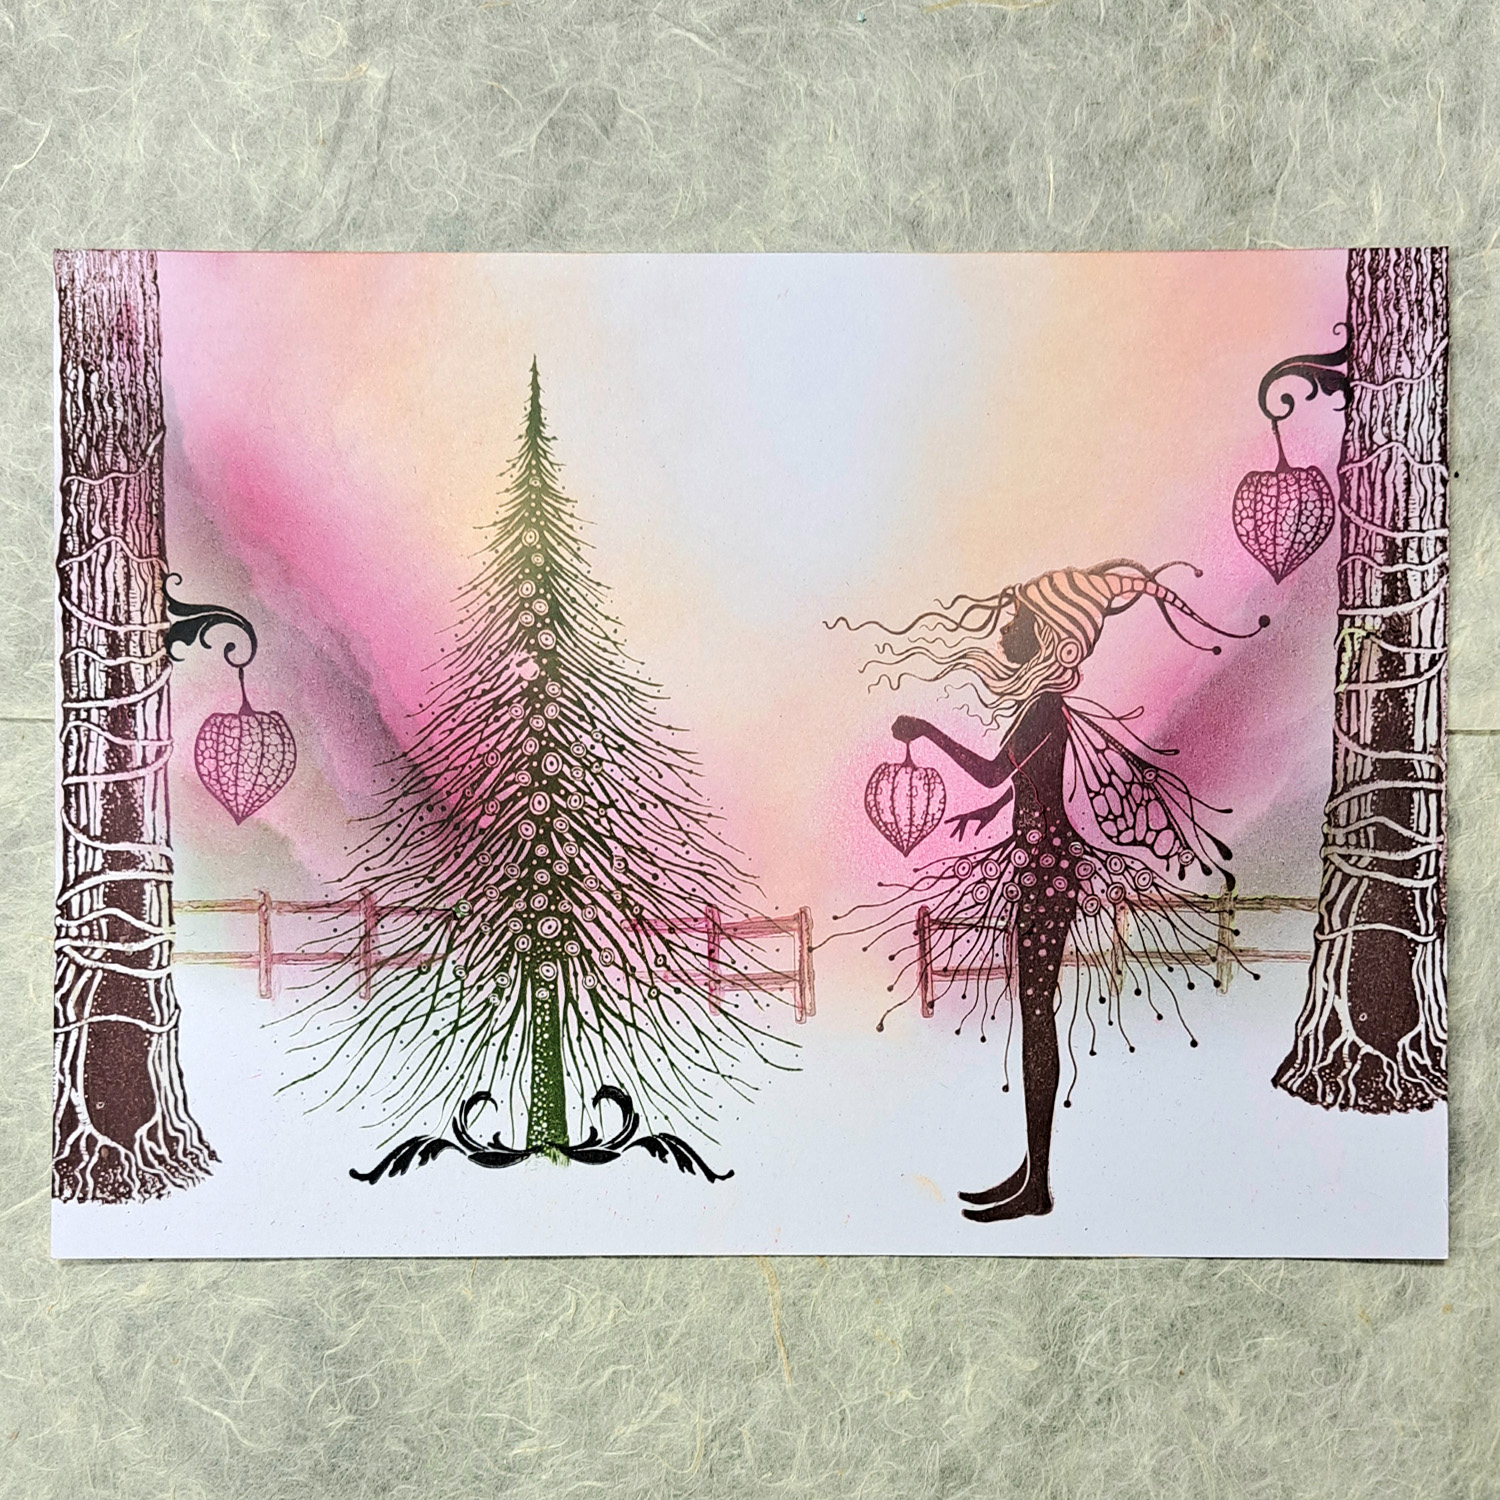
First, we need to reapply some Pan pastel around the Lanterns. Then colour with a dark pink colour on the top and bottom of each Lantern. Use a white Uniball/Posca pen to carefully draw some white in the middle and around the lanterns to create the light.
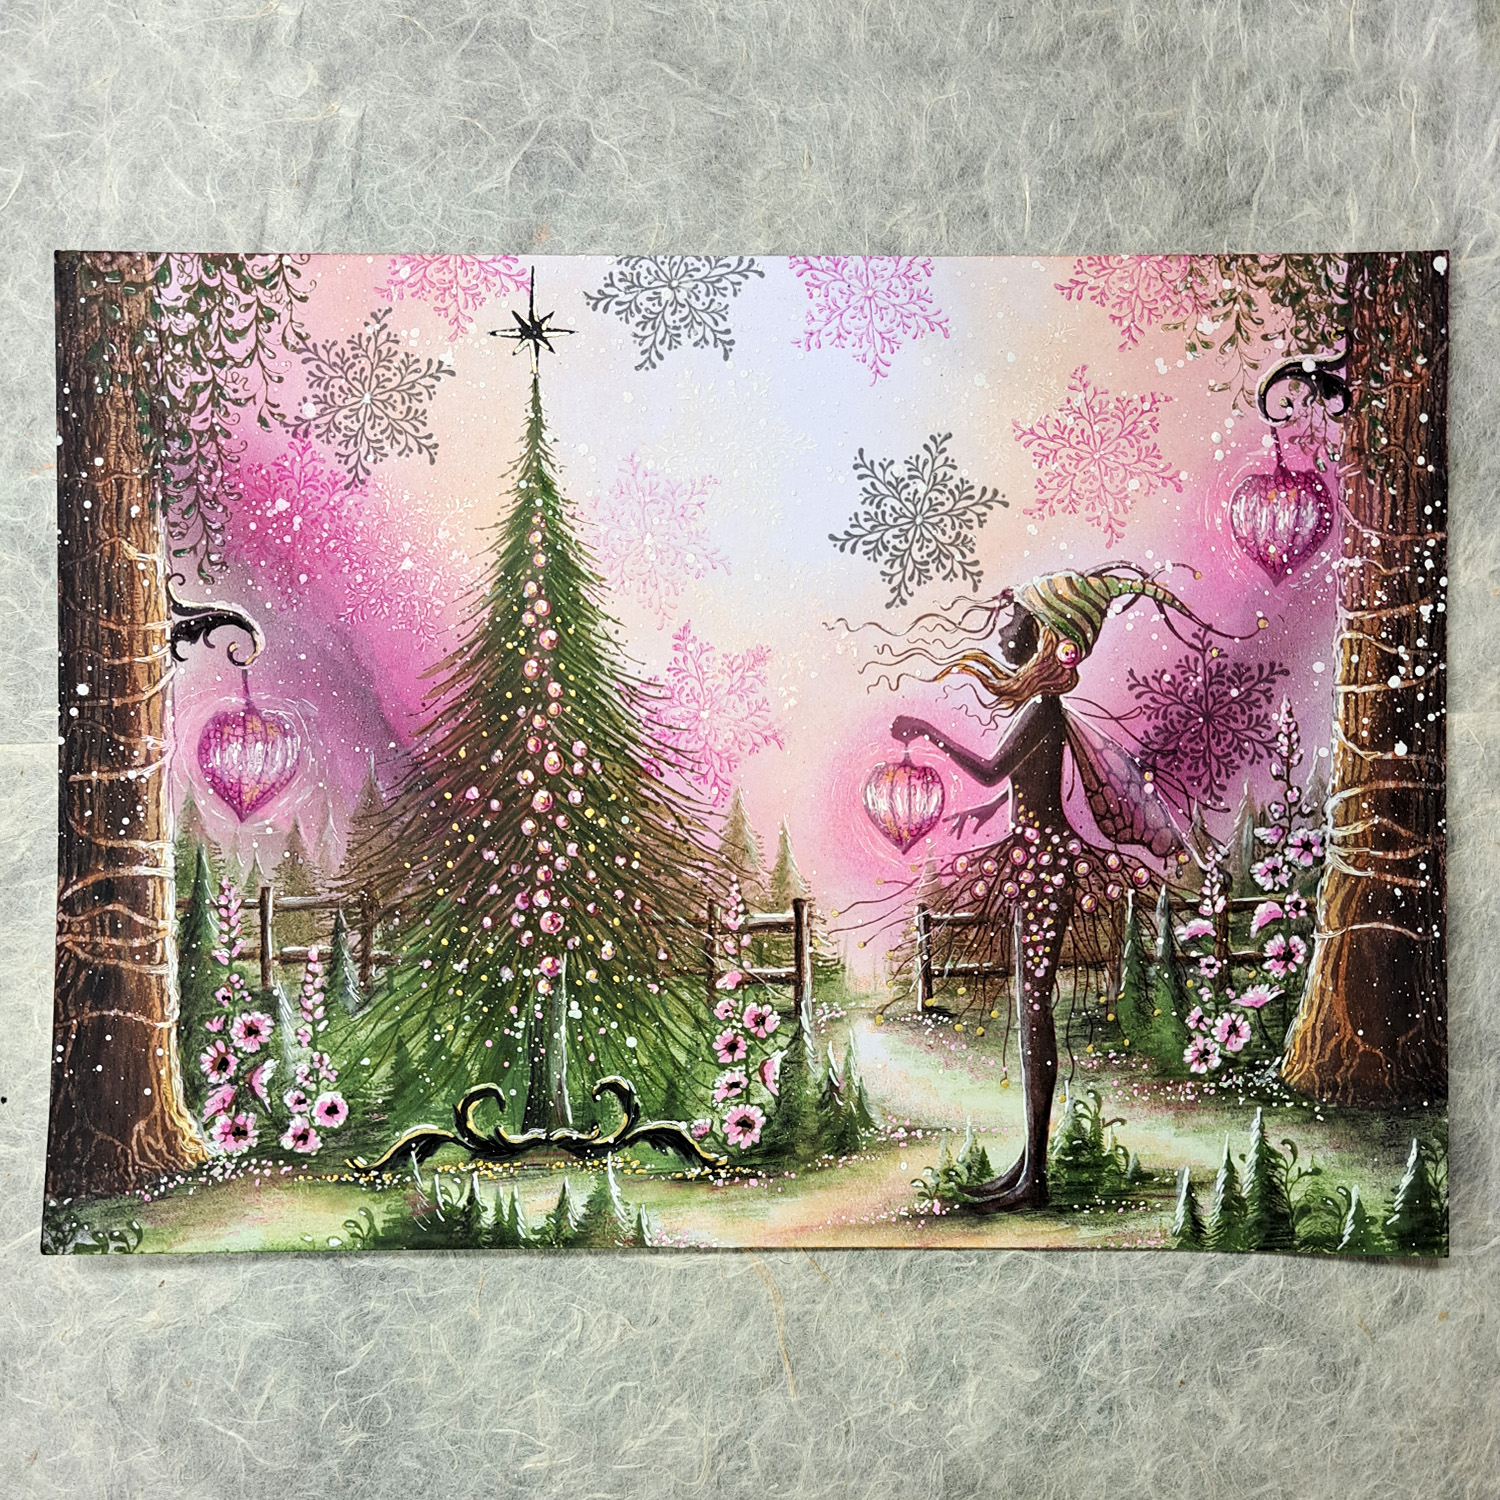
Now for our finishing touch we will do some splattering with white Posca pen, and add some pink splatters too, after all it’s magical Pink Snow!
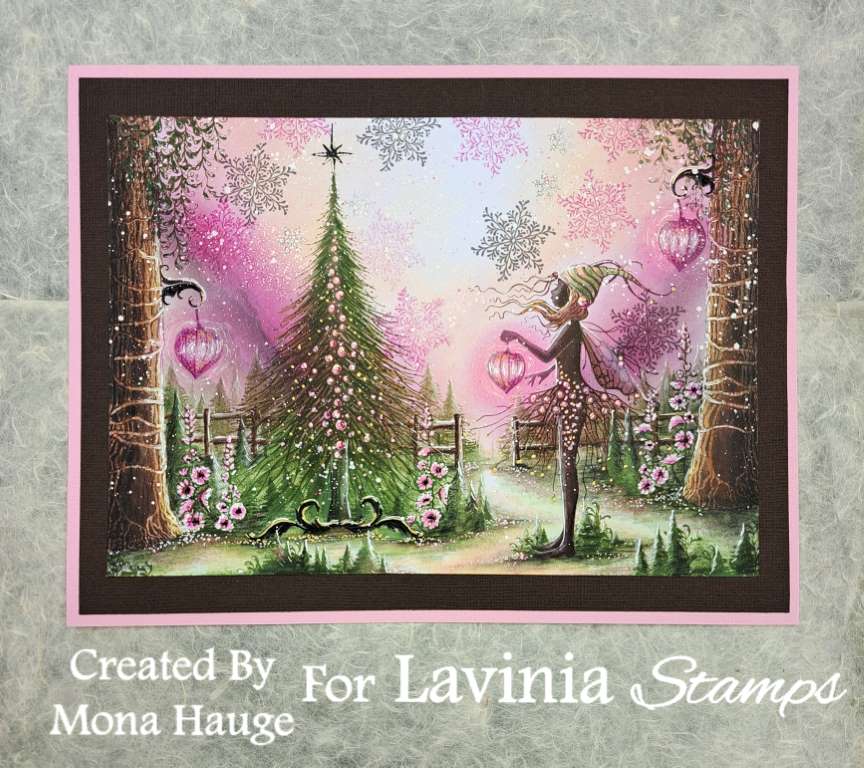
The finished picture.
I hope you have enjoyed following my tutorial. If you have any questions, please don`t be afraid to ask. I will answer as soon as I can.
Big hugs from Mona!