Hello everyone. I’m Mona, from the design team
The new stamps are so very beautiful, and I have had the best time creating with them!
They go so well together with my other stamps.
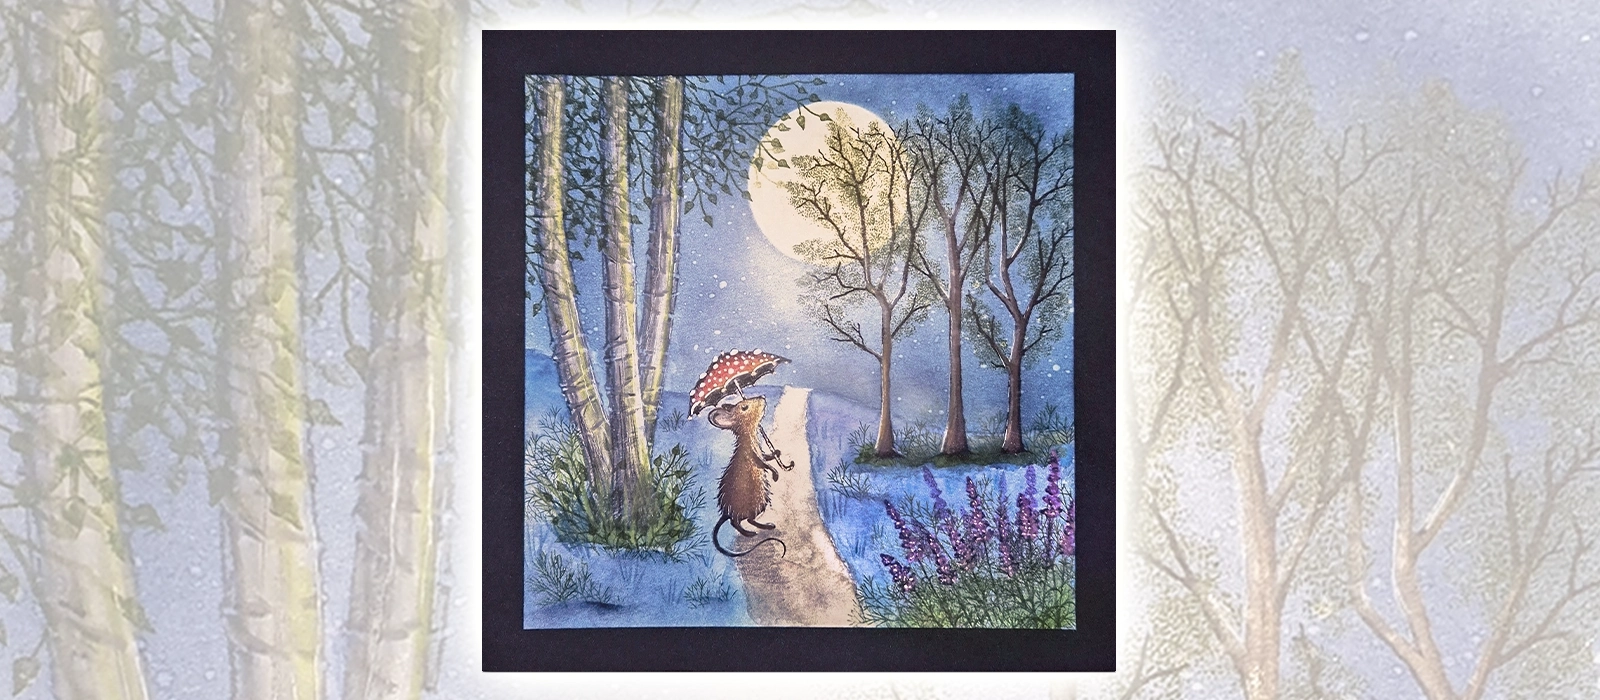
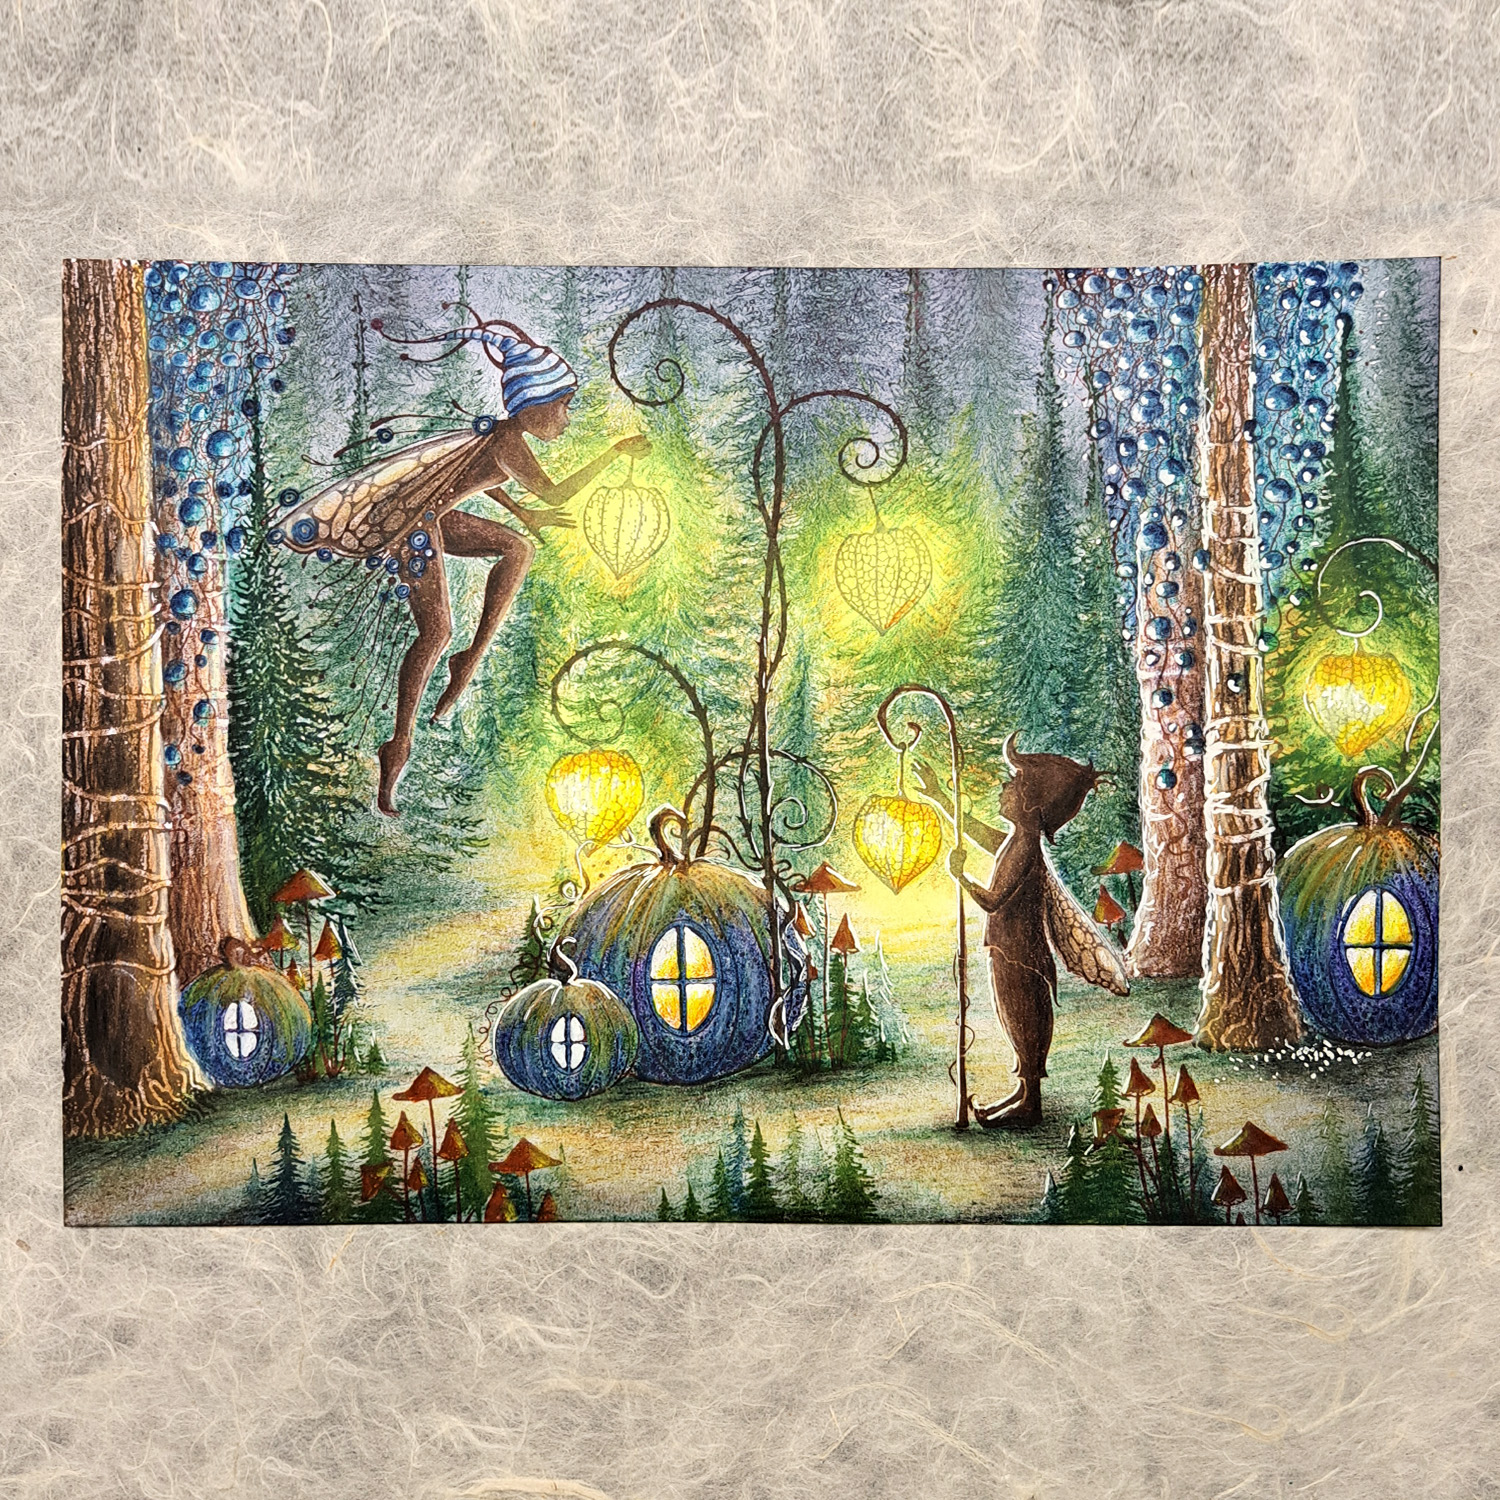
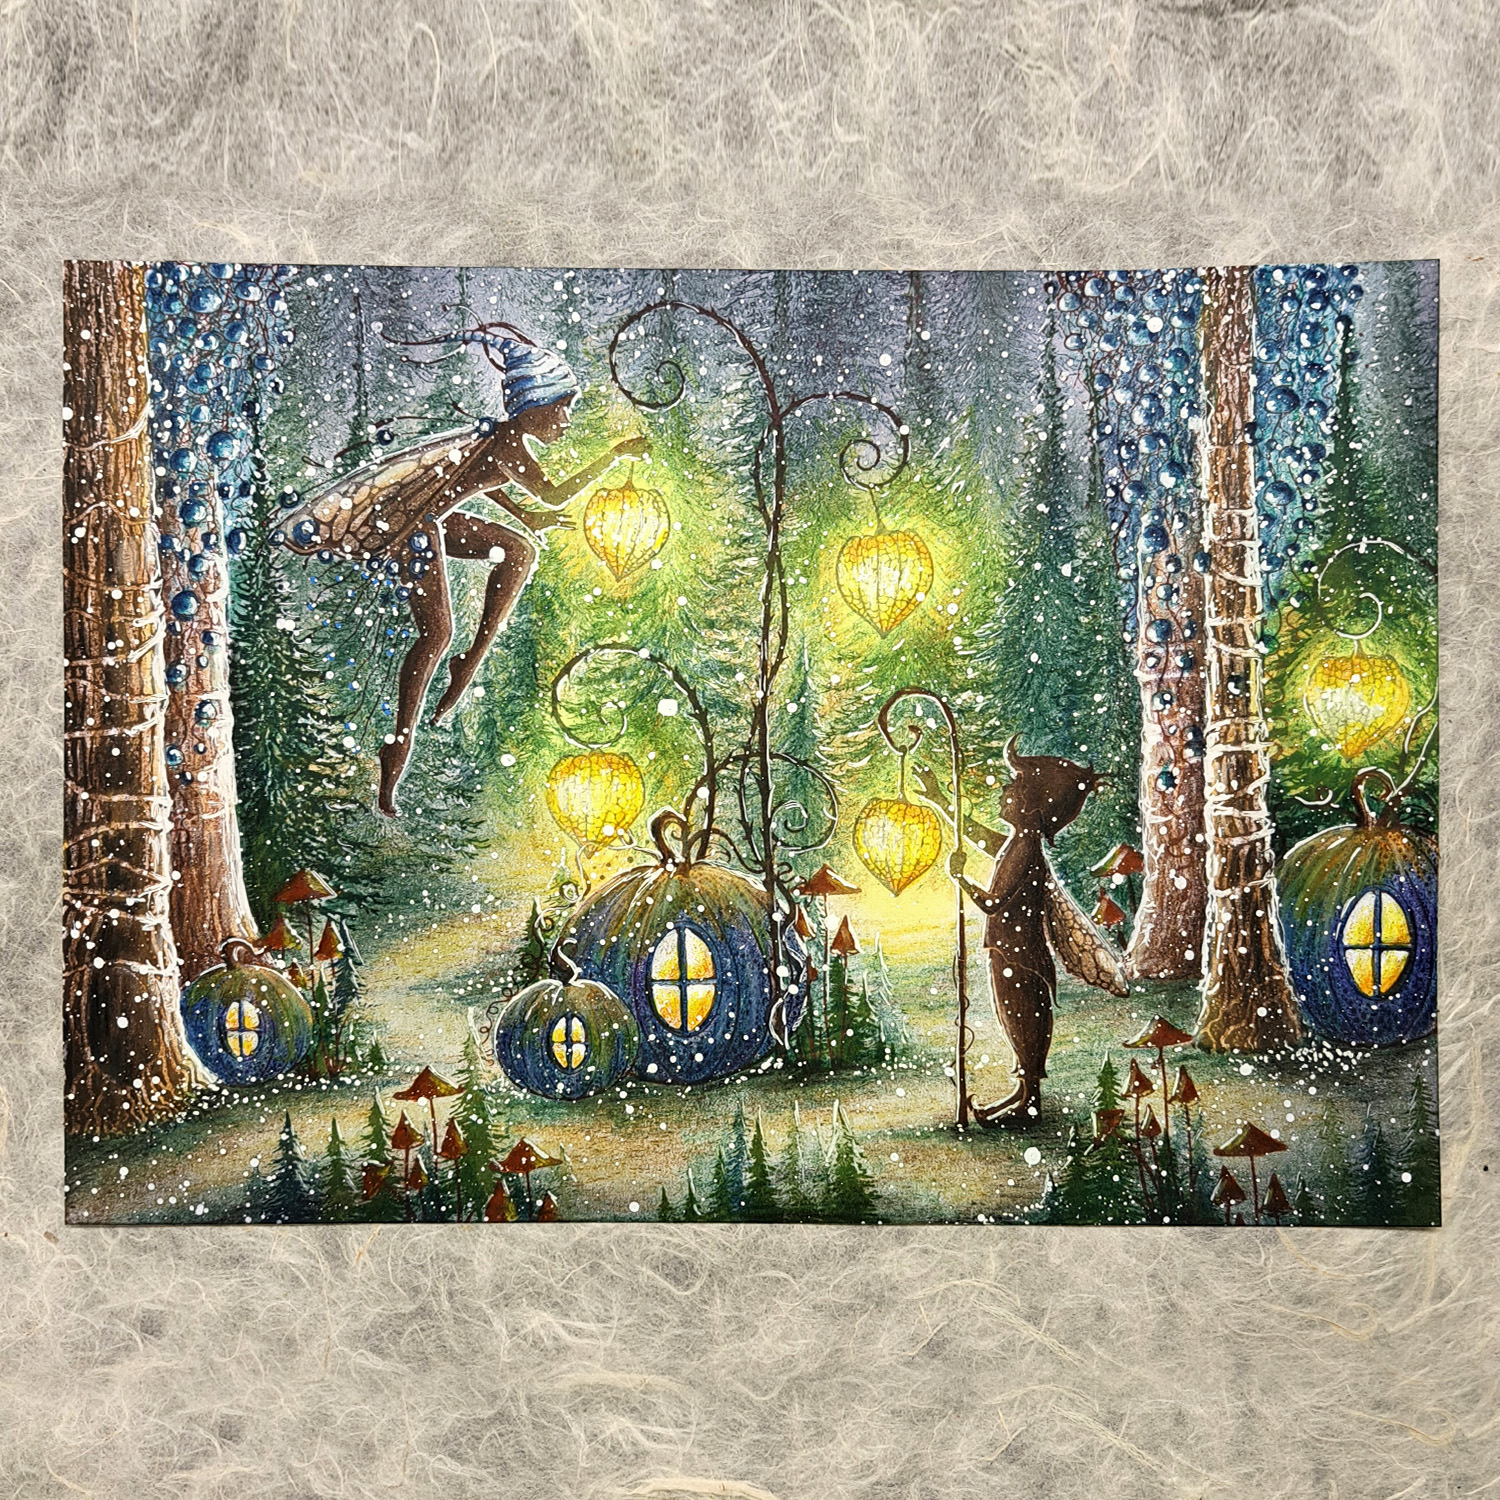
This card is called “Blue City”. I hope you like it and will give it a try.
Step by Step
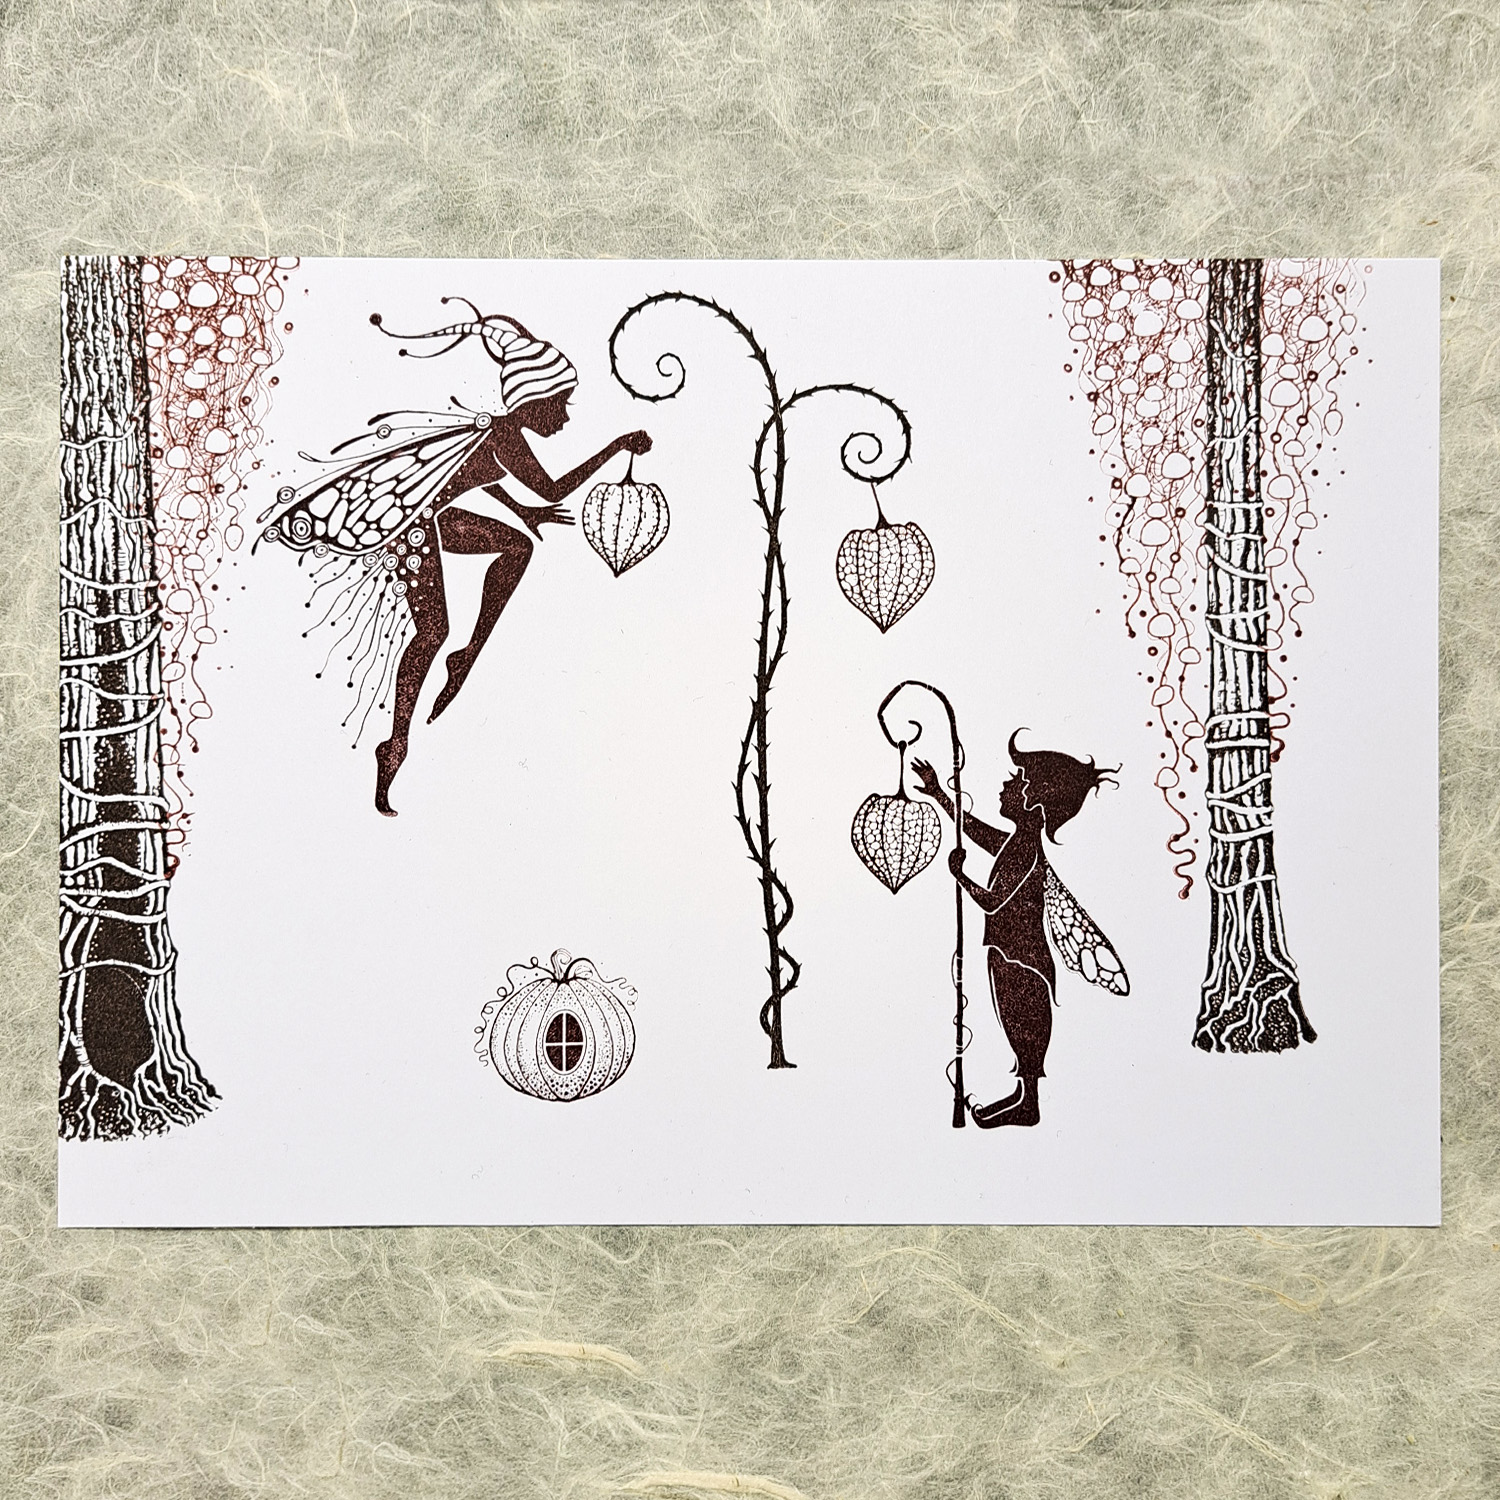
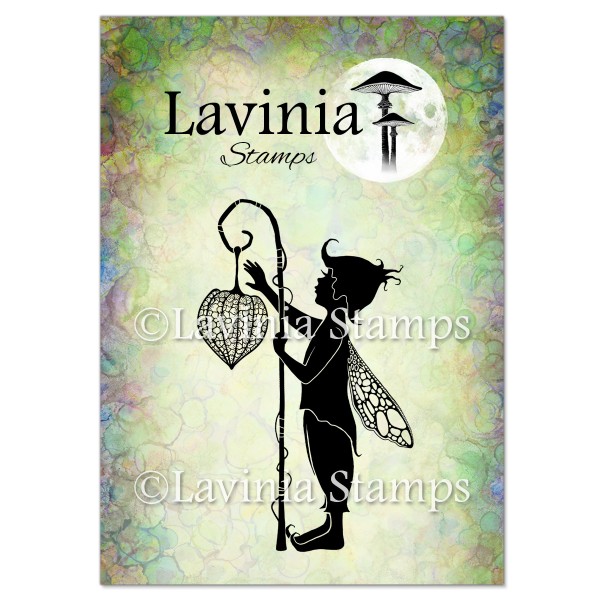
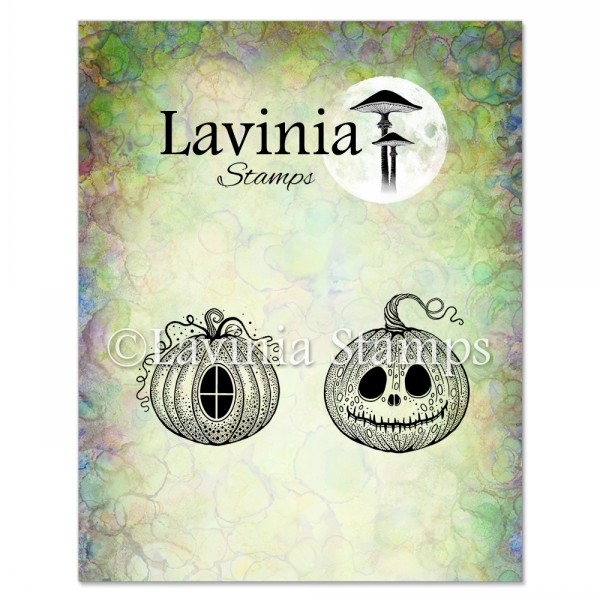
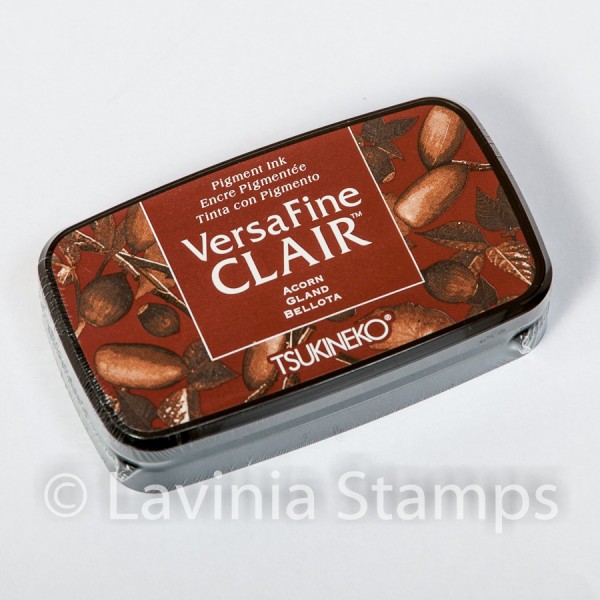
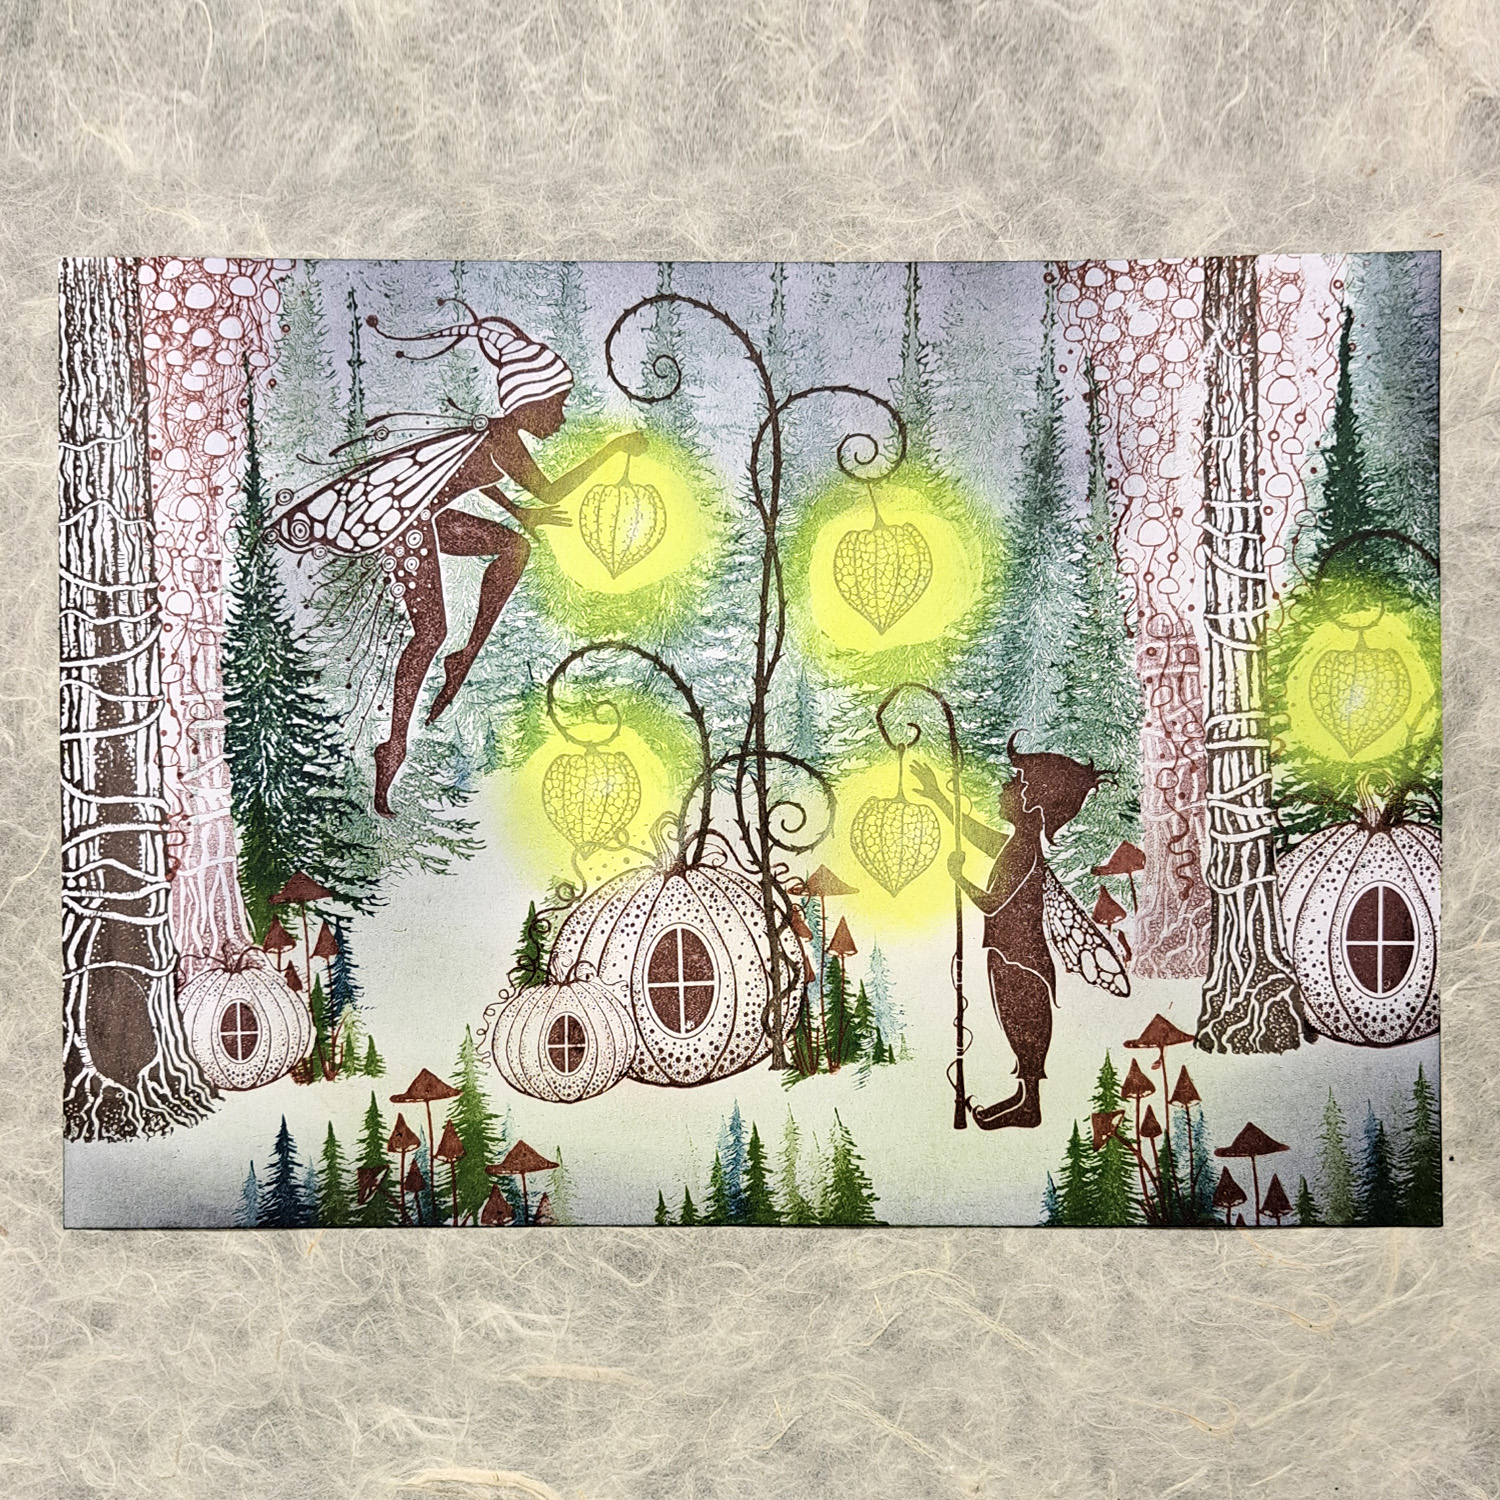
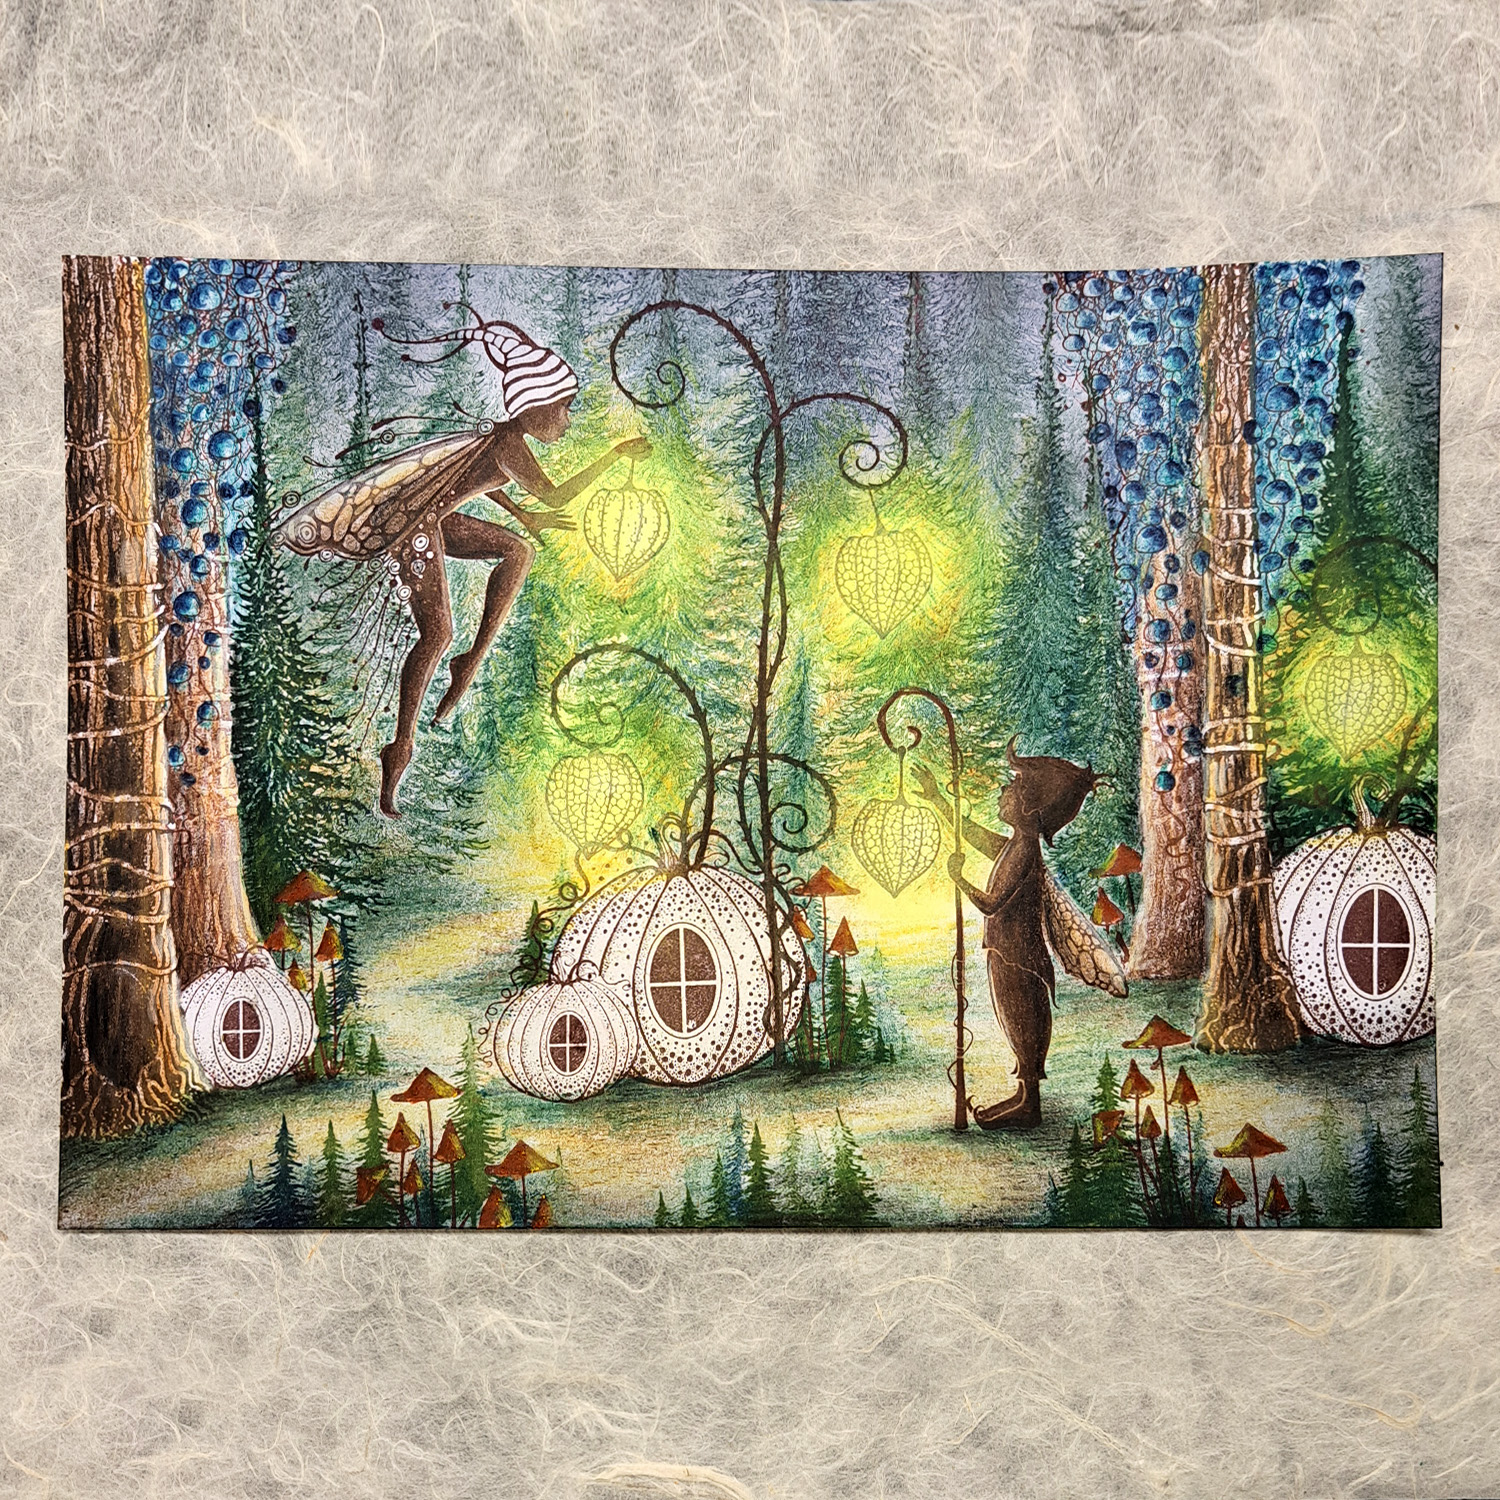
On a piece of landscape A5 Multifarious card, stamp Fip, Eve, the Mini Fairy Lantern, and one Ickle Pumpkin in Versafine Clair Pinecone. Then stamp the Tree Den, Tree Stem and the Fairy Crook in Versafine Clair Fallen Leaves, and the Leaf Bouquet in Versafine Clair Acorn. Put masking fluid over all the stamped images.
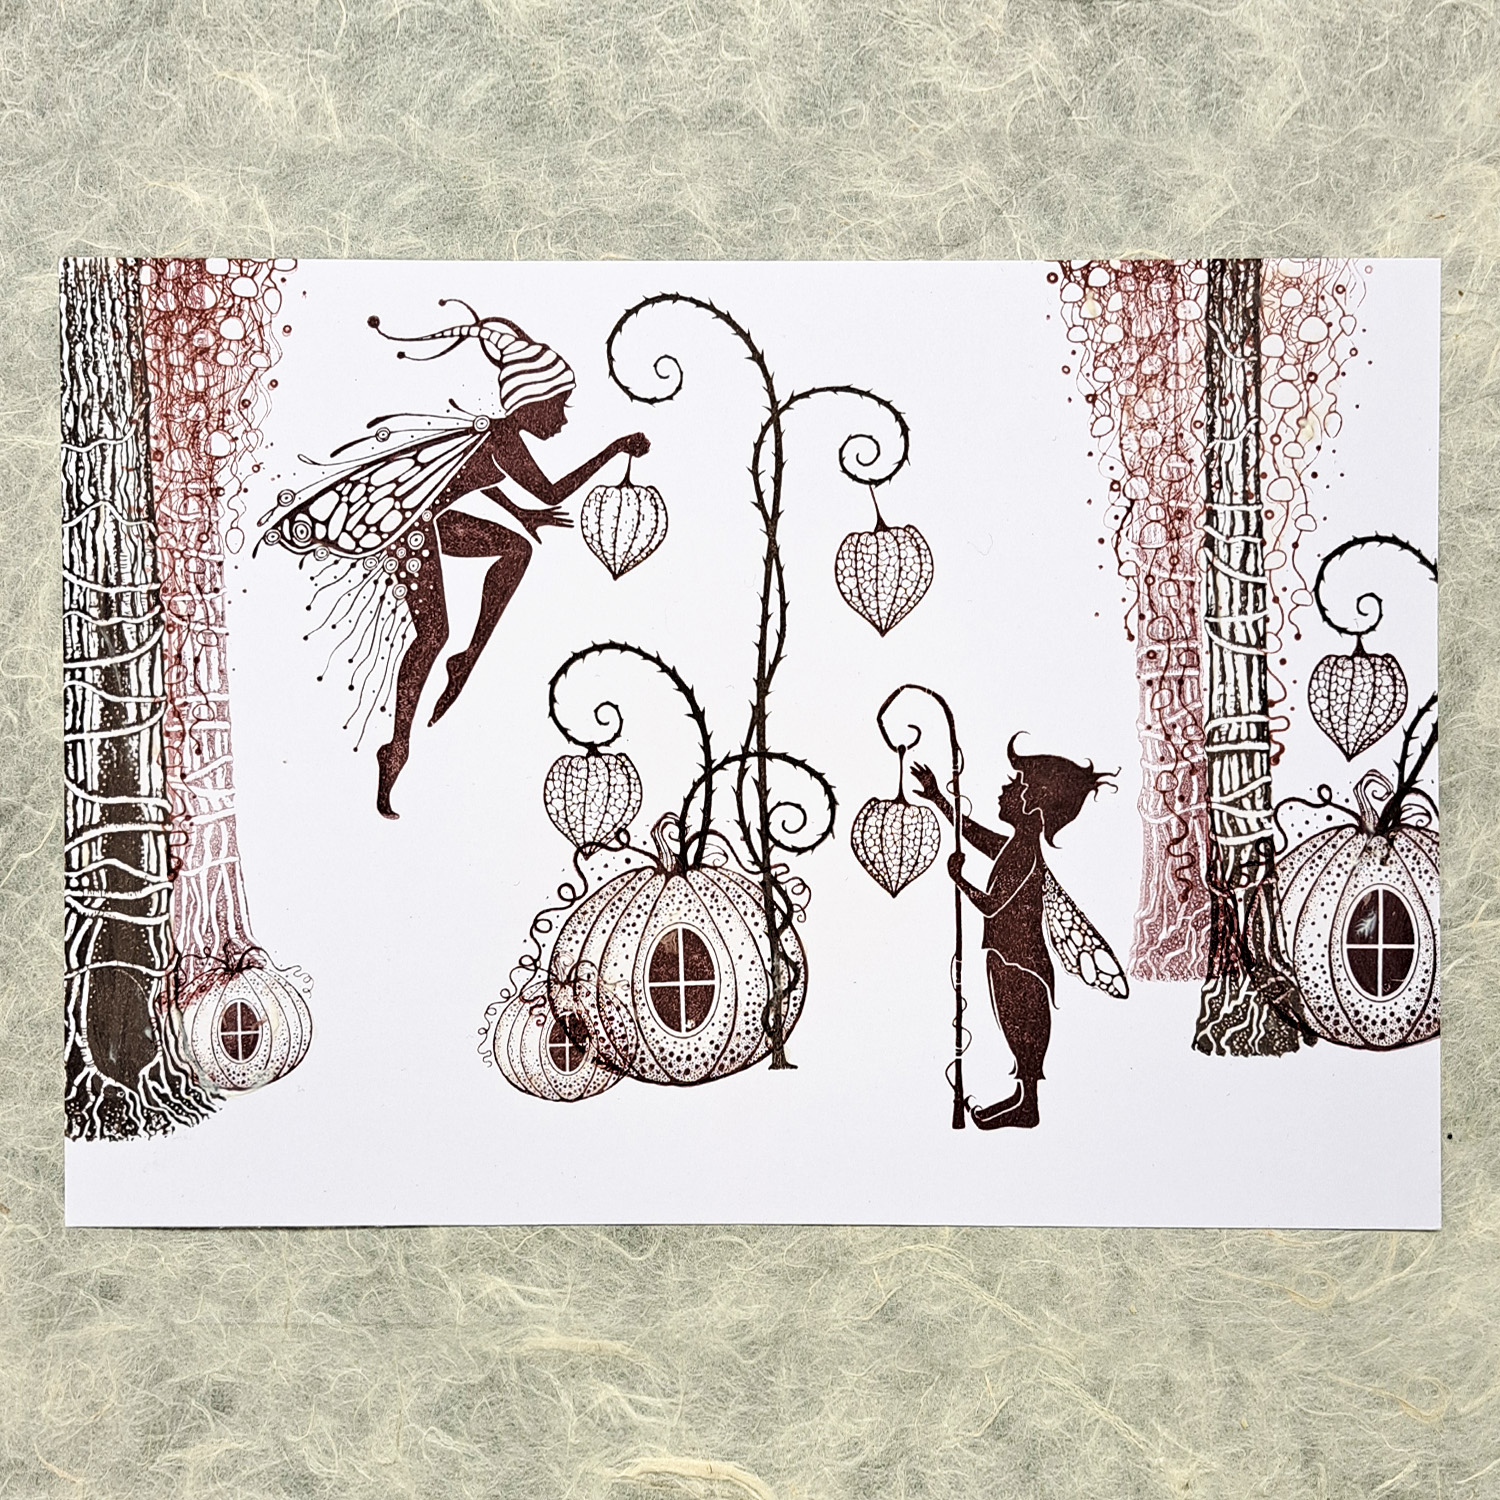
Using the Versafine Clair Pinecone, stamp an Ickle Pumpkin next to the Tree Den, then cover it with masking fluid. Next, stamp a Tree Stem next to, and slightly behind, the Tree Den and again behind the other Tree Stem. These should be in second generation stamping. Still using the Pinecone, stamp two Pumpkin Pads, then cover them with masking fluid. Stamp the Fairy Crook in Versafine Clair Fallen leaves, remembering to leave enough space to hang a Lantern from the Crook. Now stamp the Mini Fairy Lantern in the Pinecone.
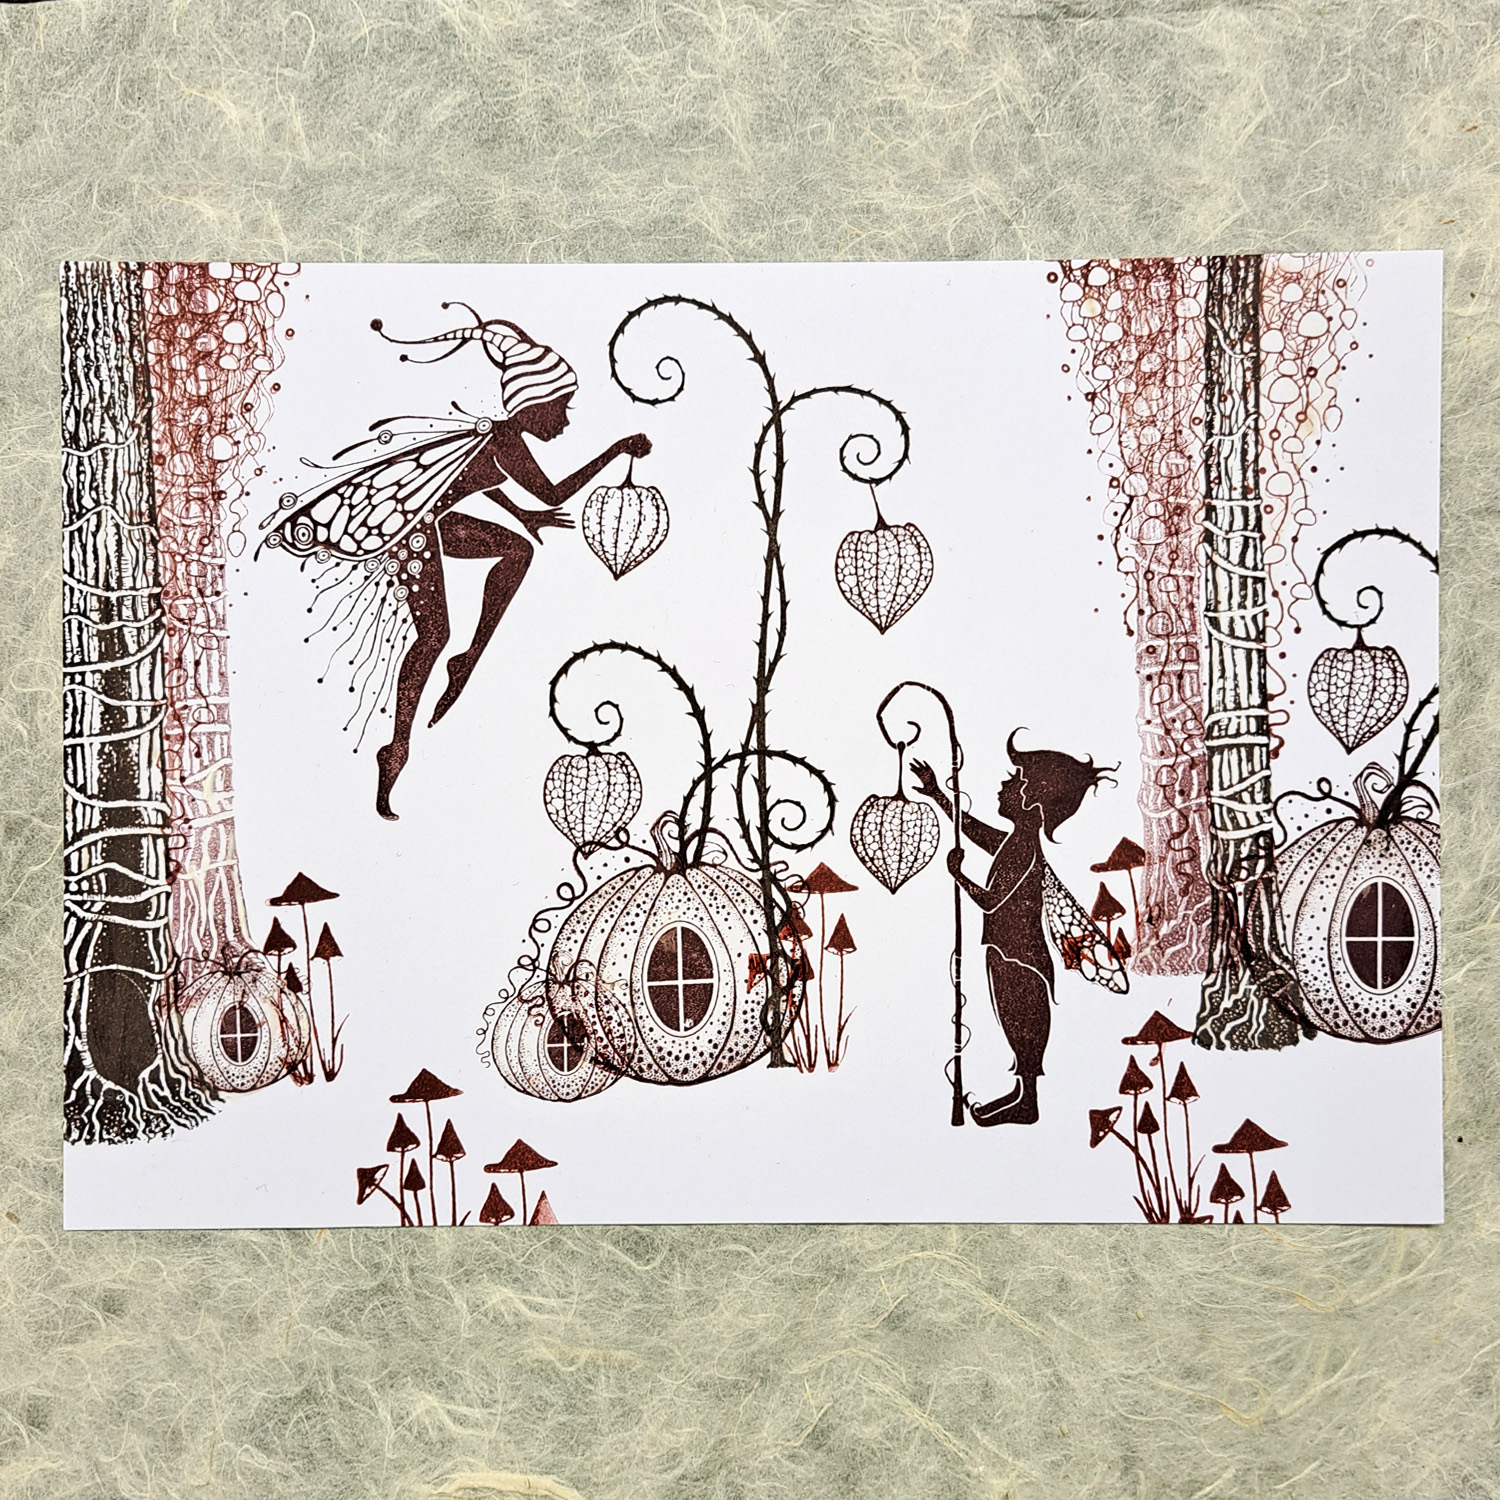
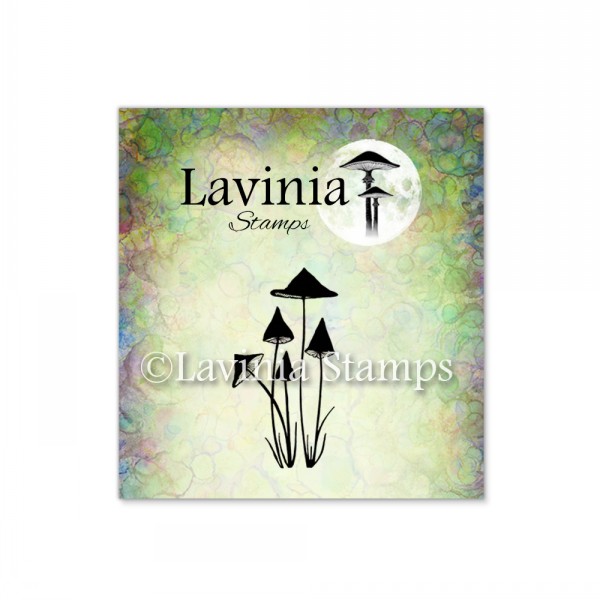
Next, we stamp some Mini Slender Mushrooms, in Versafine Clair Acorn, putting masking fluid on them all. We also need masking fluid on and around the Lanterns. We want them to have a light glowing around them. Check the next step to see how far the masking fluid needs to go.

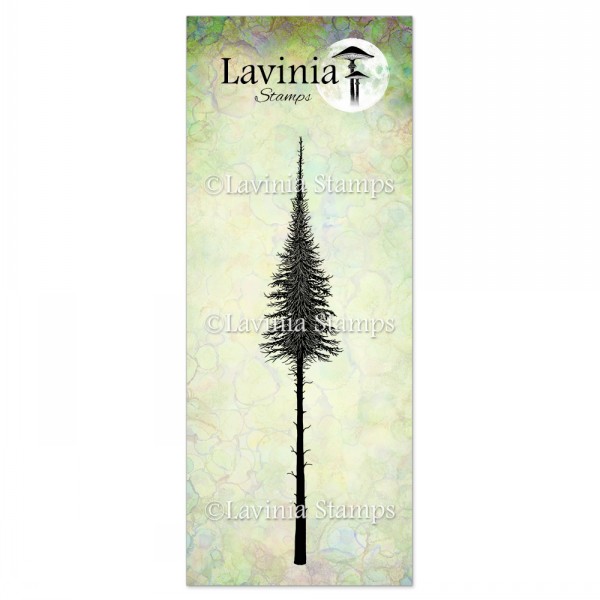
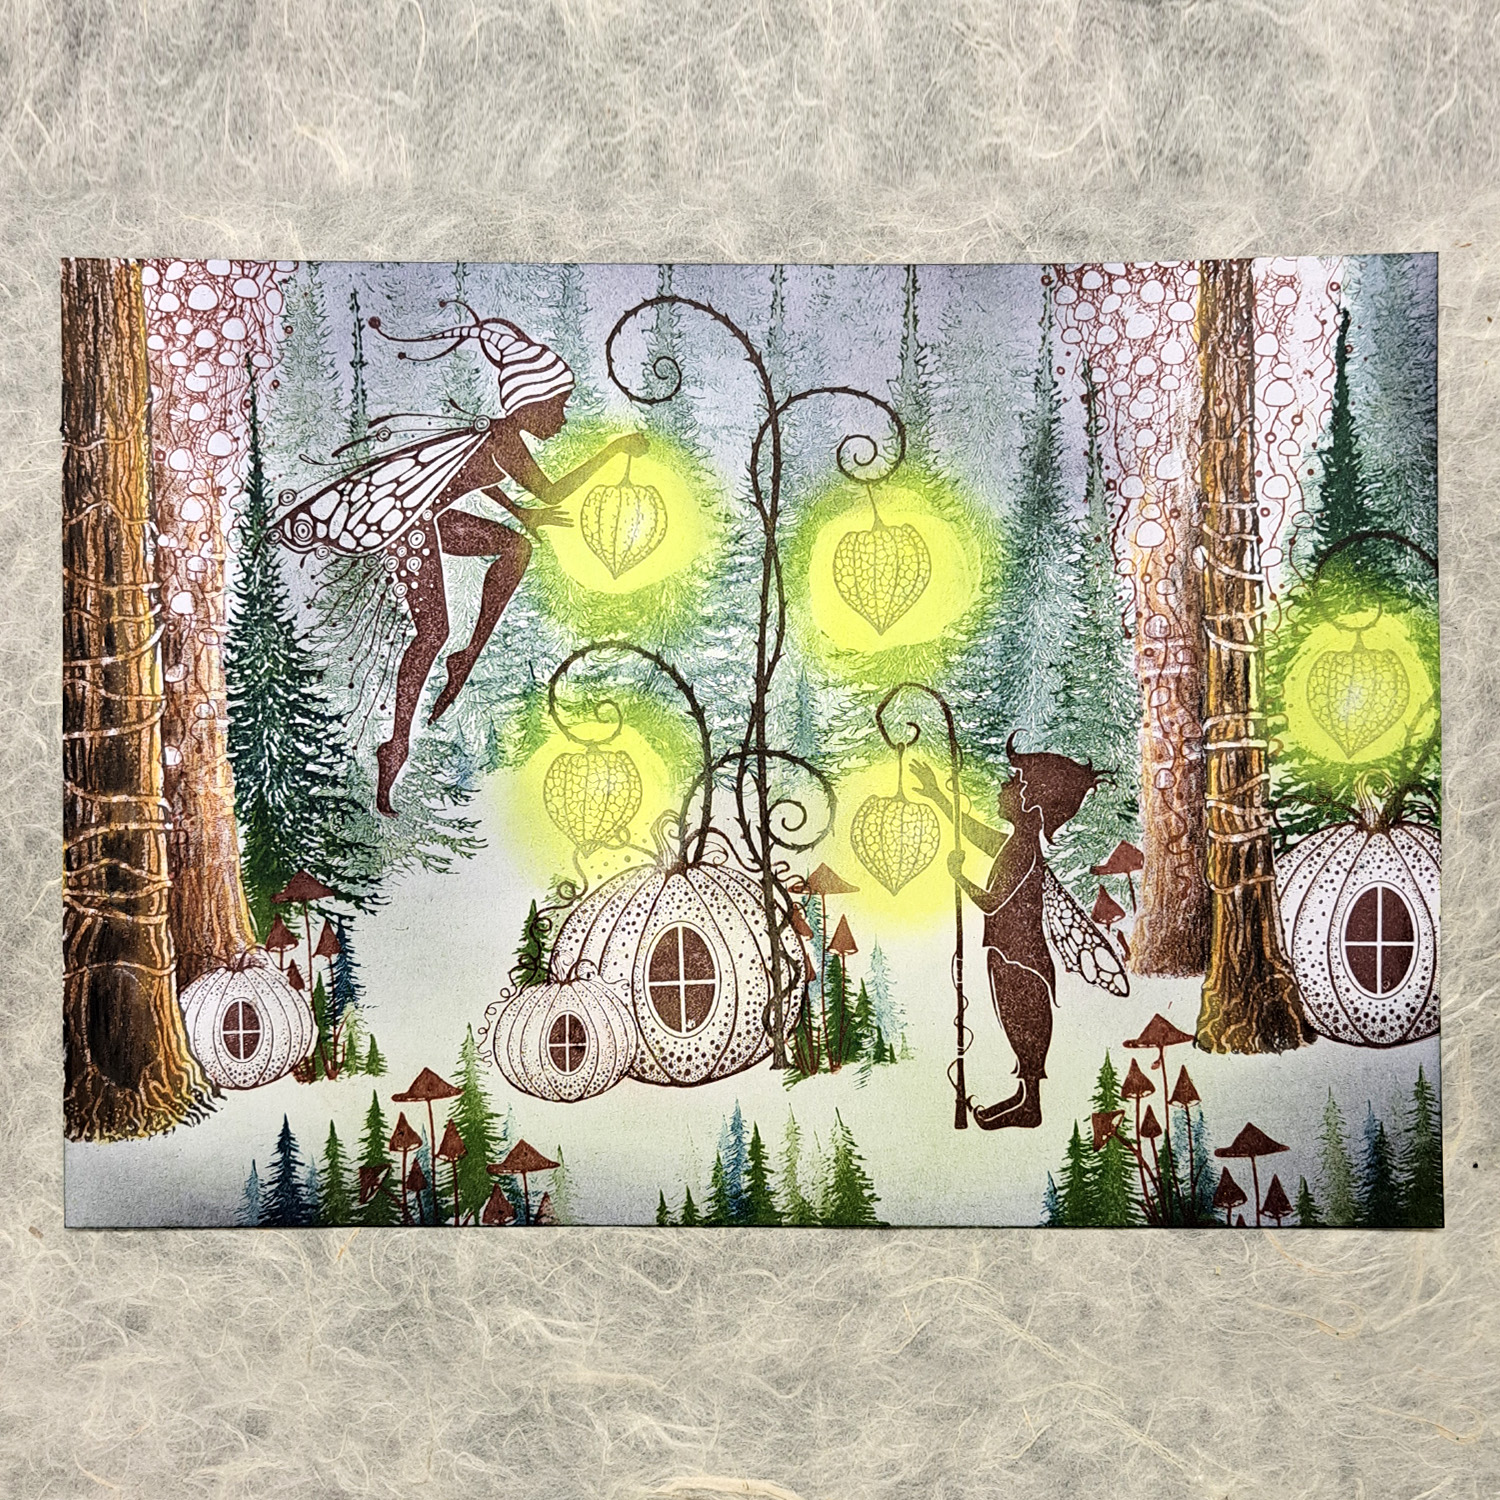
We want to build a forest in the background and having covered all our images in masking fluid it will be easy-peasy! Stamp the Fairy Fir Tree, without its stem, for all the background trees. Stamp one tree on either side, in Versafine Clair Rainforest. Now do many second-generation stampings in both the Rain Forest and Shady Lane inks. Cover the blank spaces with third generation stamping so it looks like an endless forest.
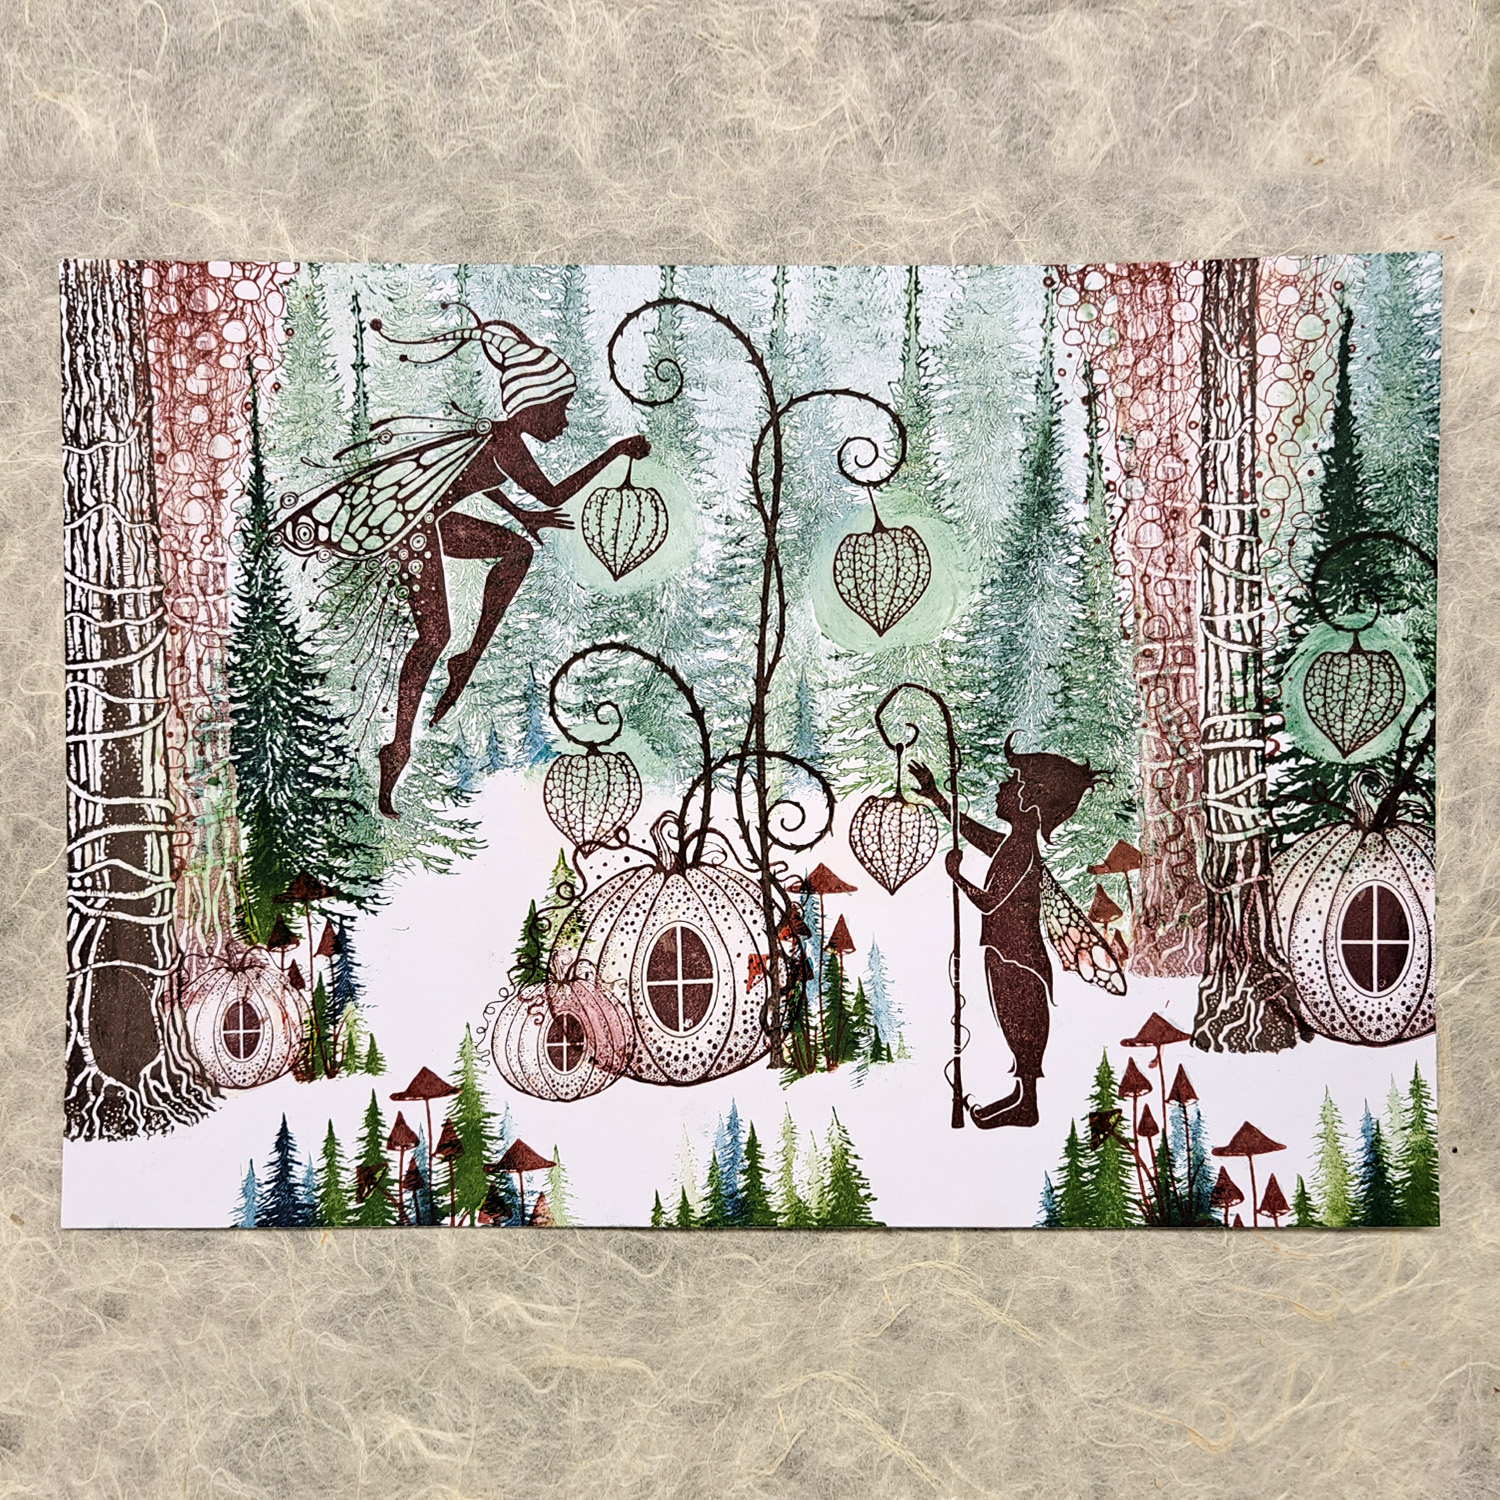
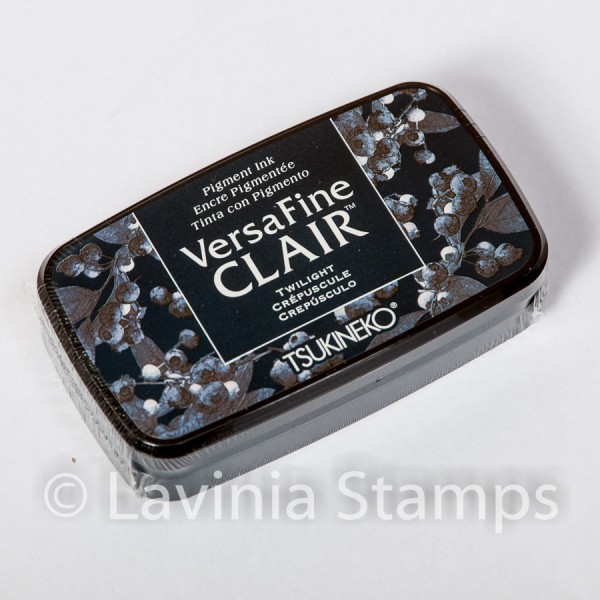
Next, stamp some Small Pine Trees using the Shady Lane, Rainforest and Twilight inks. Be sure to do some in second generation stamping. Use all three colours for the trees in the front and middle of the picture, but only Twilight on those in the far distance.
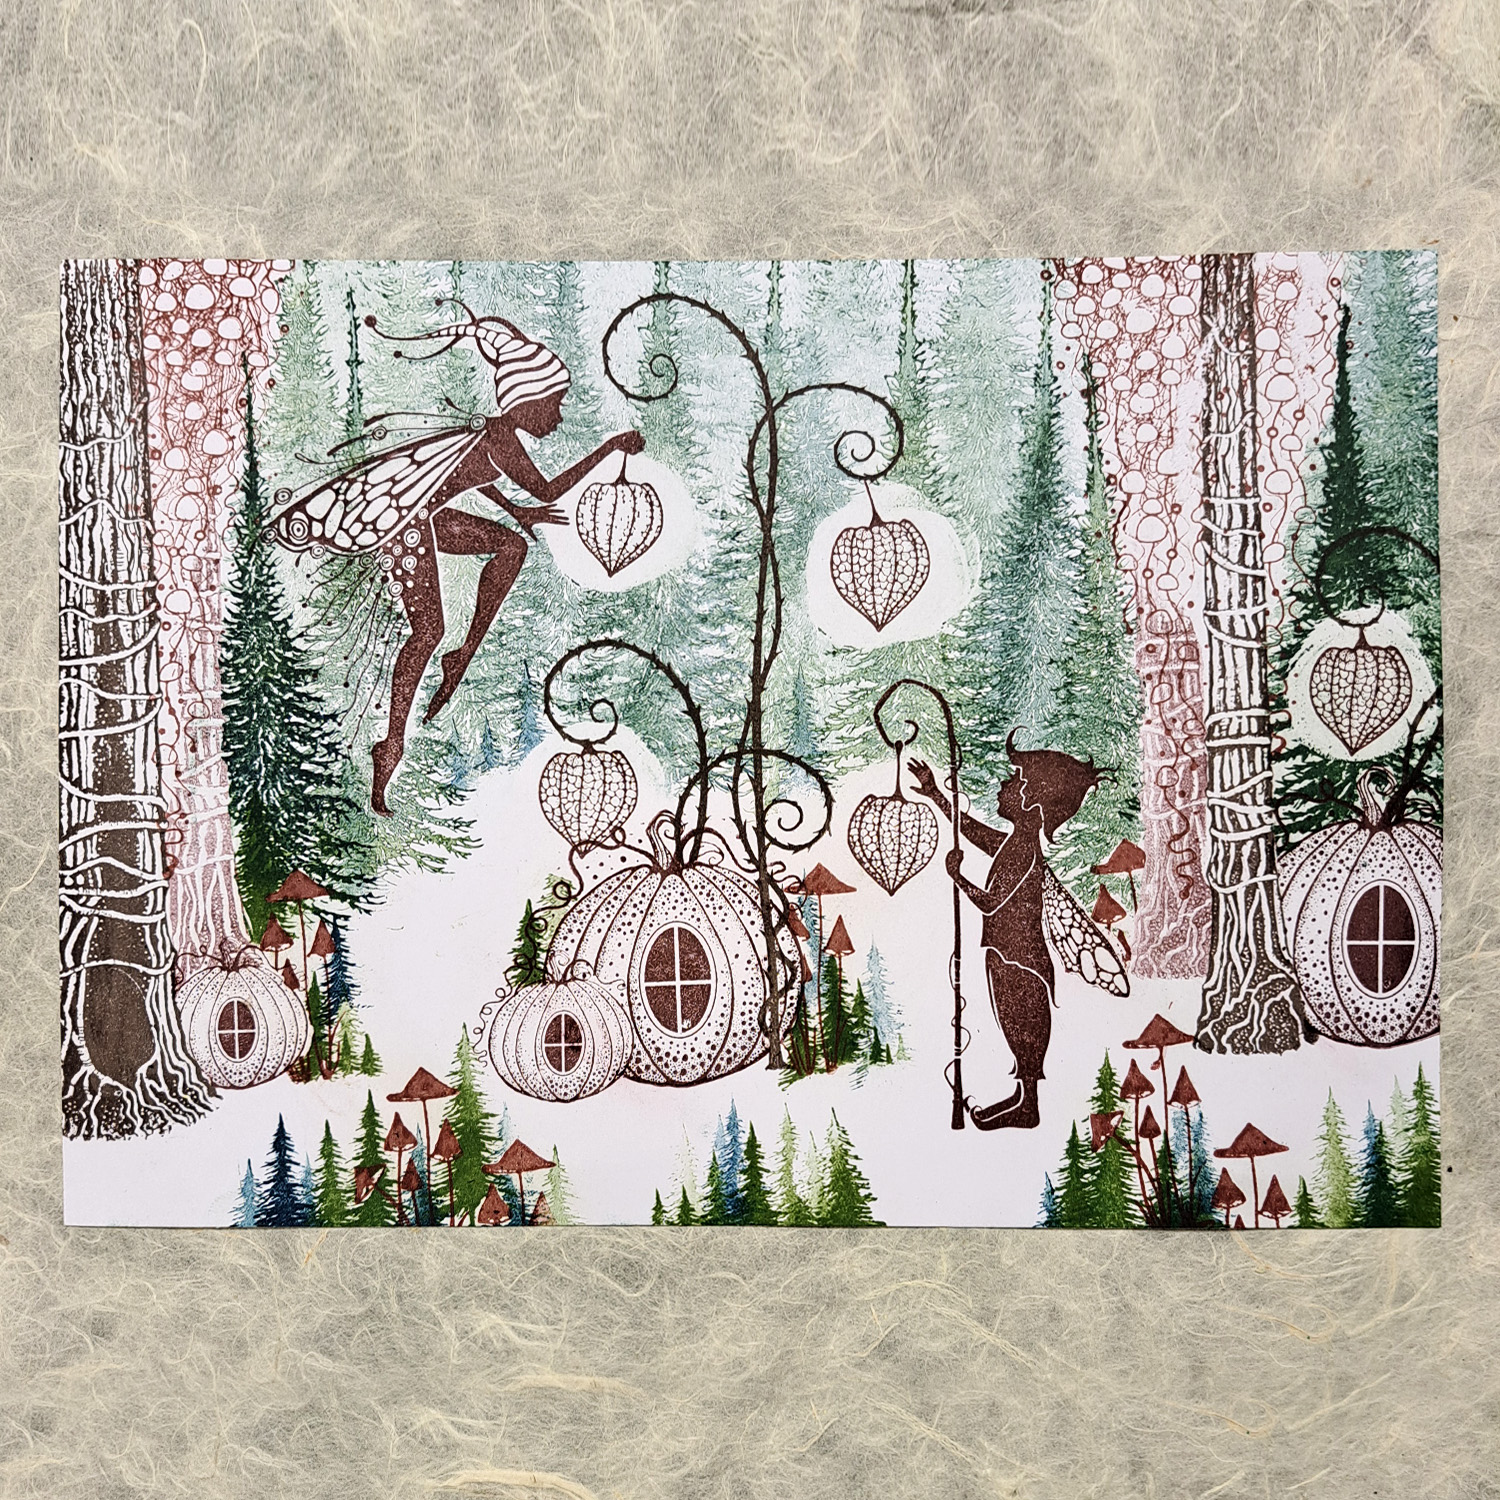
Now we will remove all the masking. Be sure to remove excess colour that is on top of the masking liquid, so that it doesn’t smudge on your picture.
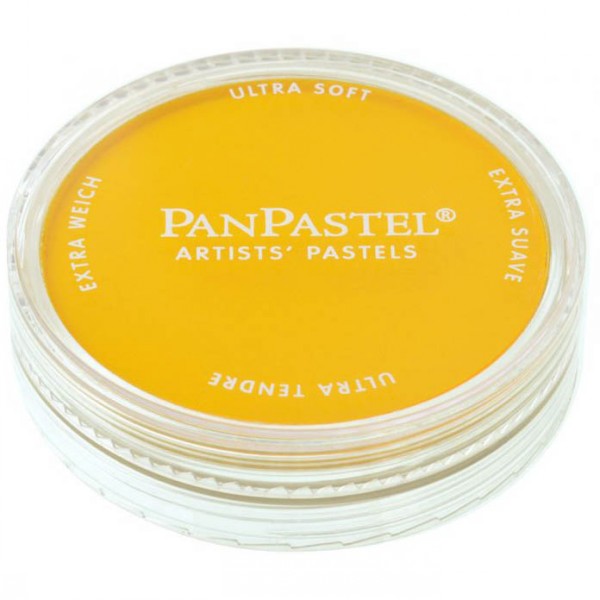
Apply some Hansa Yellow Pan Pastel on and around all the lanterns. Now we have defined the space for the glow of the lanterns we can make sure not to colour too close. Now we will colour the ground very softly with the Elements Olive ink, with some Midnight Blue in the bottom corners. Use the same colour on the treetops in the background to make it darker.
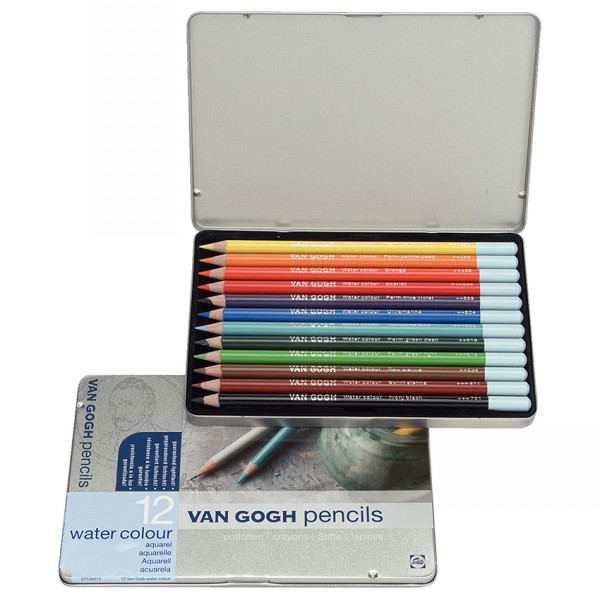
Colour the Tree Den and the Tree Stems using some soft colour pencils like Van Gogh Watercolour pencils or you can use Zig Real clean colour brush. Use a dark brown, medium brown, reddish brown and some ochre. This will give the trees life and depth. The trees in front should be darkest in colour.
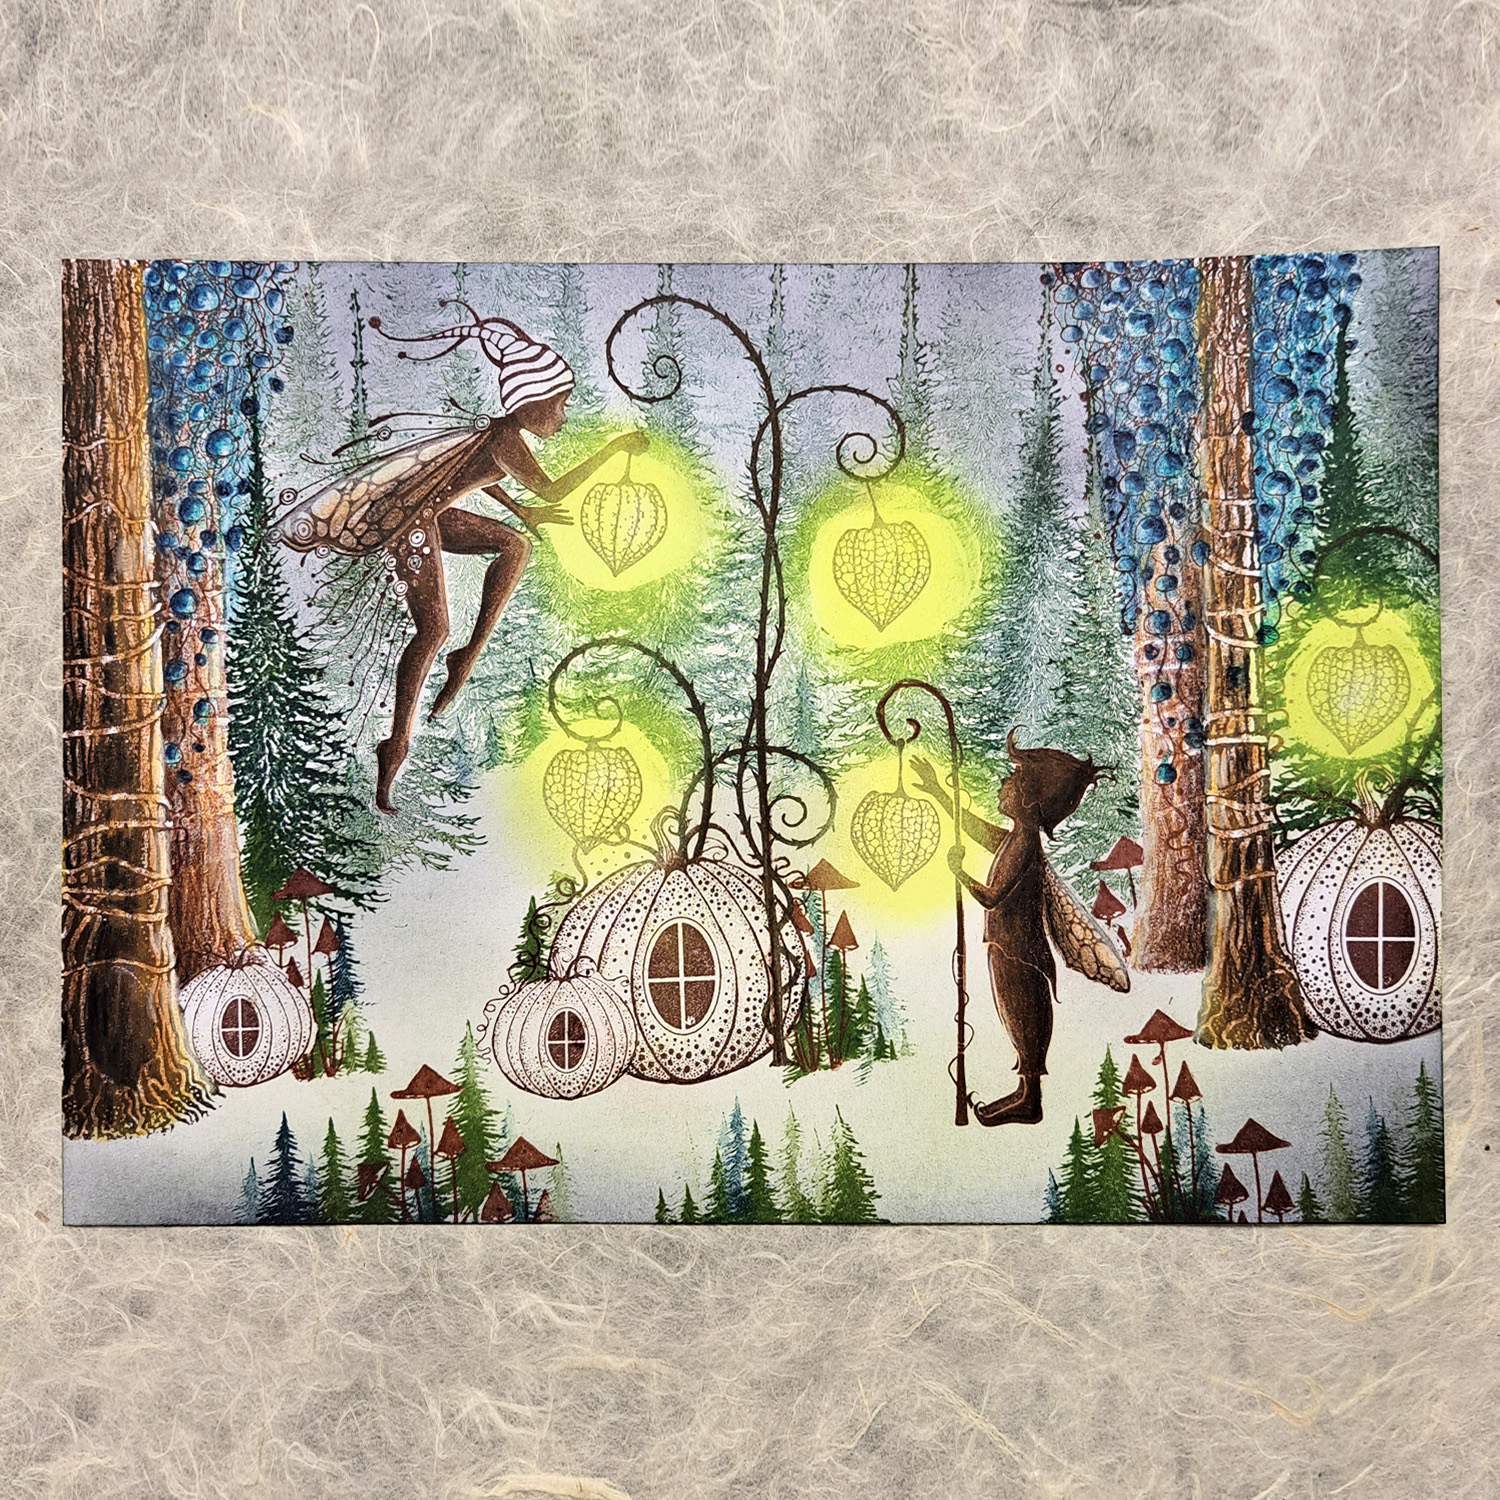
Use a dark brown pencil to add some more colour to Fip and Eve, and black pencil on their shadowed sides. Use brown, beige and white colour pencils for their wings, and beige to lighten the front of Fip and Eve. Now colour the Leaf Bouquet with light and dark blue colour pencils. I usually colour the whole shape in the lightest colour first adding a darker colour on for shadow effect.

Now we need to work on the ground. Use a dark green pencil to colour under everything, under Fip, and the pumpkins, as well as the small and large trees.
To make the ground a little more interesting we will use some more ochre, blue grey, brown and black colour pencils. We also need to draw some branches very softly on the trees, where you can see them through the light from the lanterns. Use a dark green colour for this but draw very softly.
Colour the mushrooms with a reddish colour pencil and using ochre for some highlight.
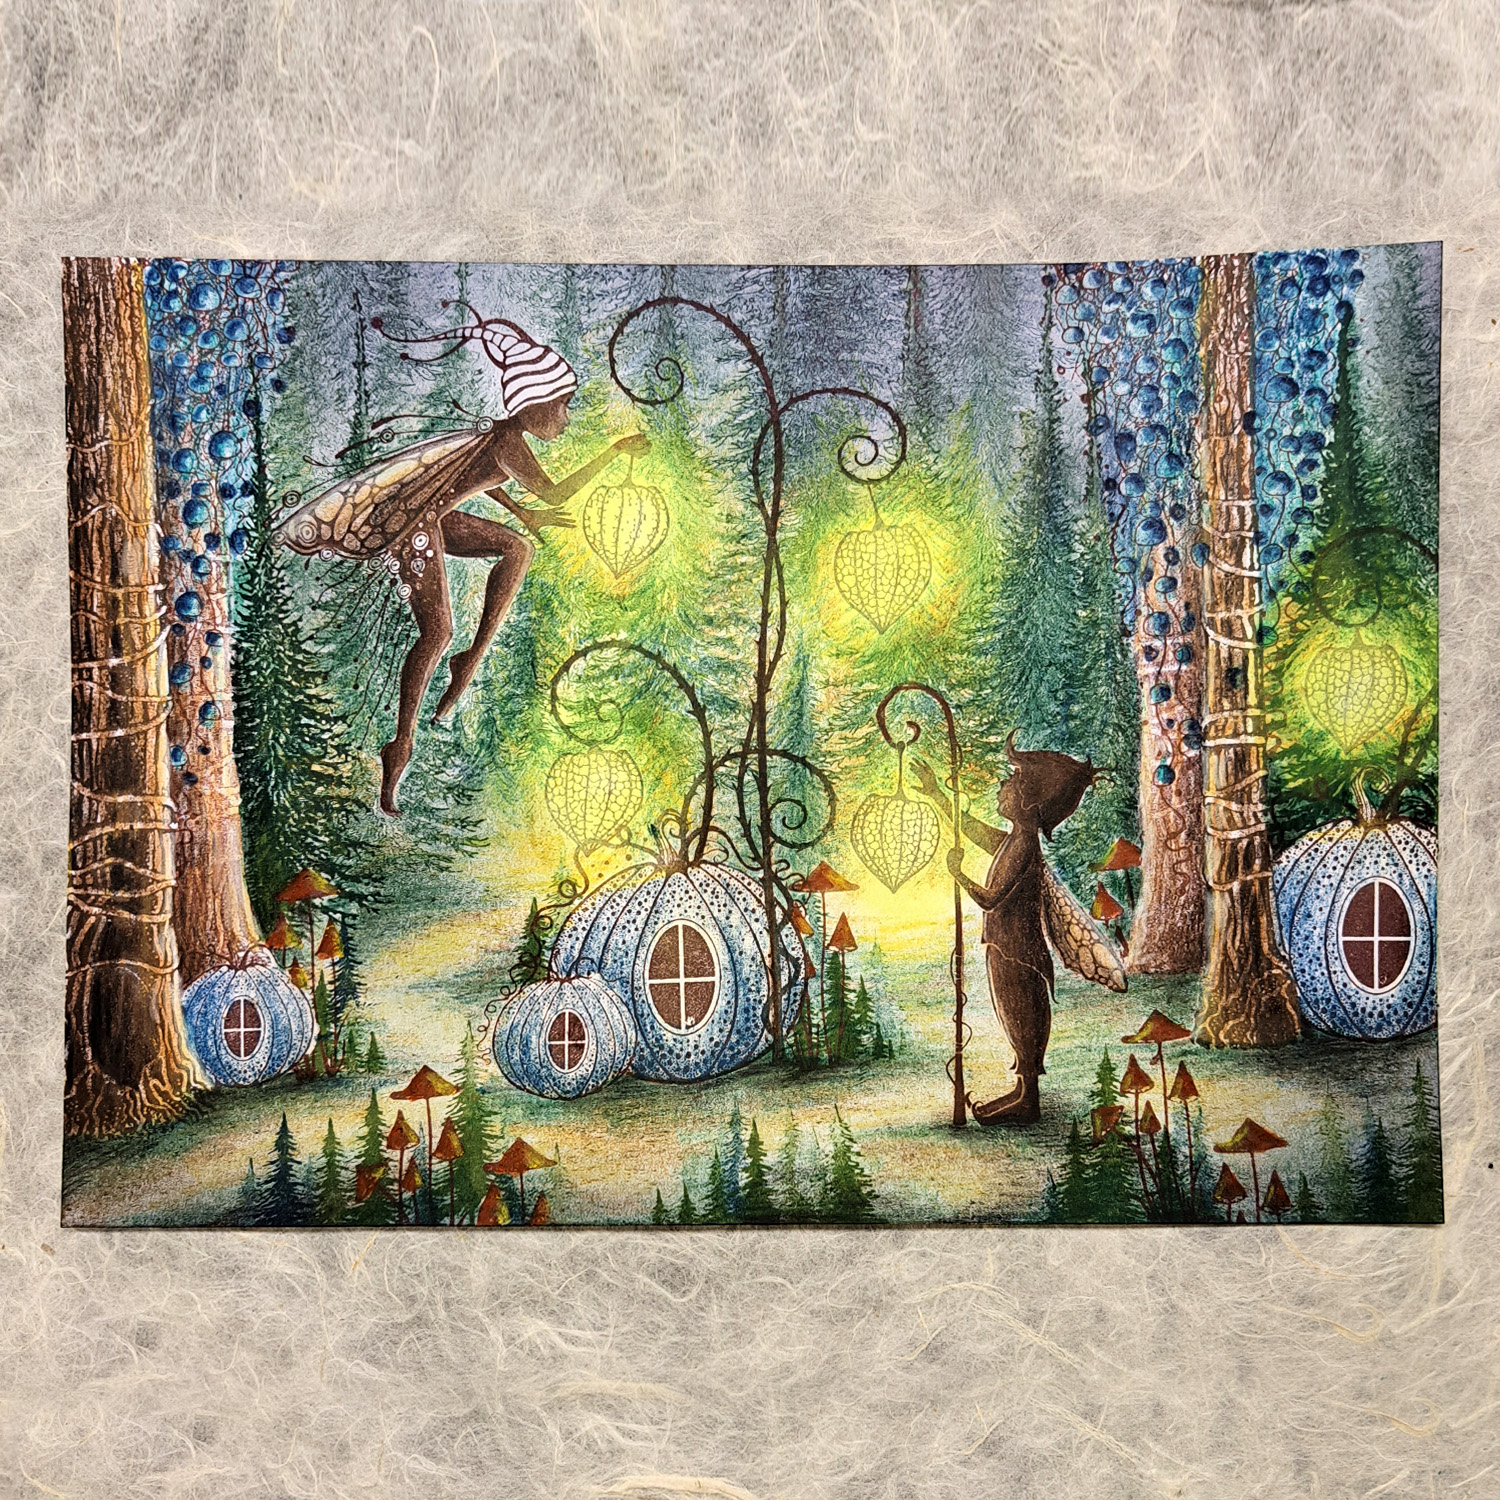
Now we will colour our pumpkins with a blue grey colour pencil. As you can see, I haven`t coloured the whole pumpkins, and where they are coloured, it is with a light touch.
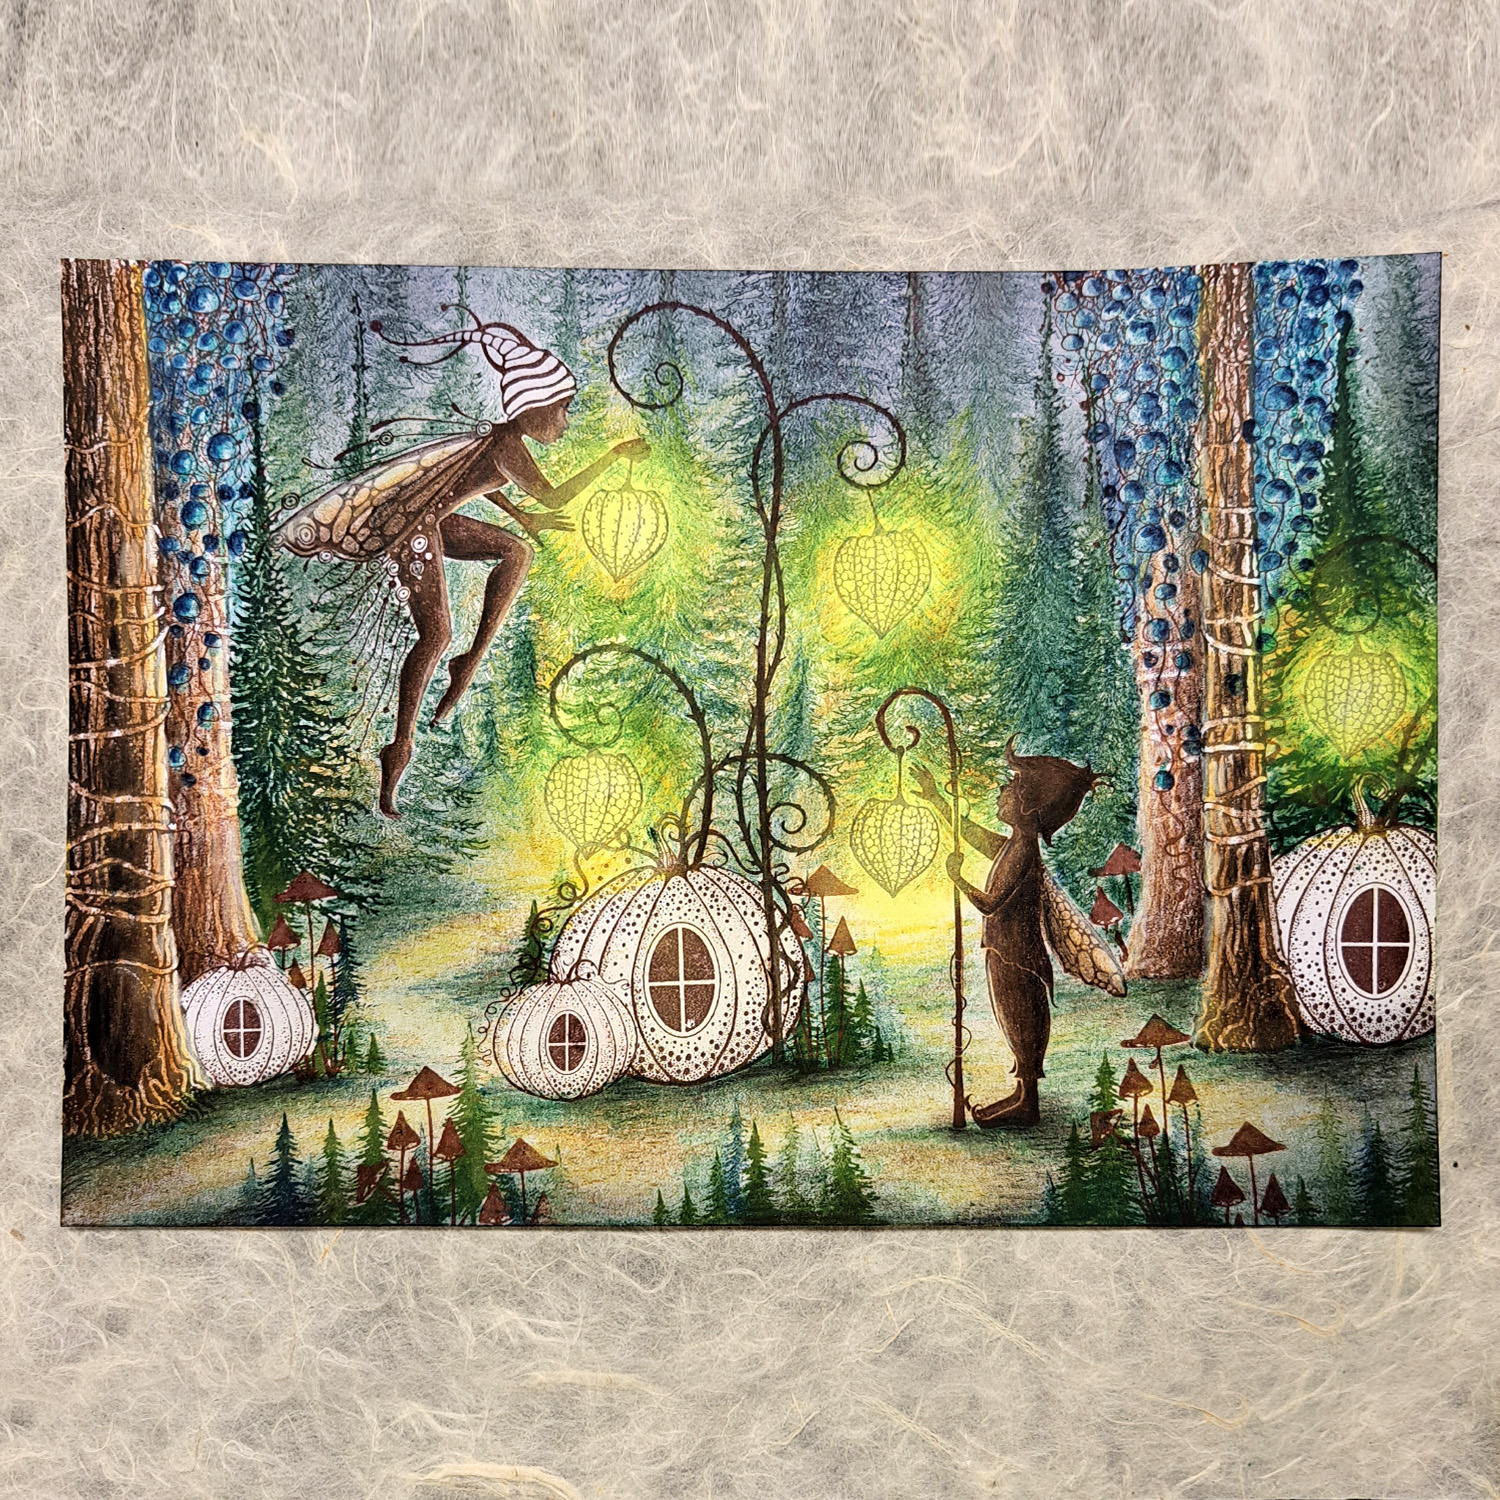
Use a darker blue, ochre, and green colour pencils. Colour the pumpkins mostly blue but do a green and ochre top to make it look like there is some moss on them. Colour the stems on the pumpkins with a brown colour pencil. Eve’s hat and embellishments need some light and dark blue too.
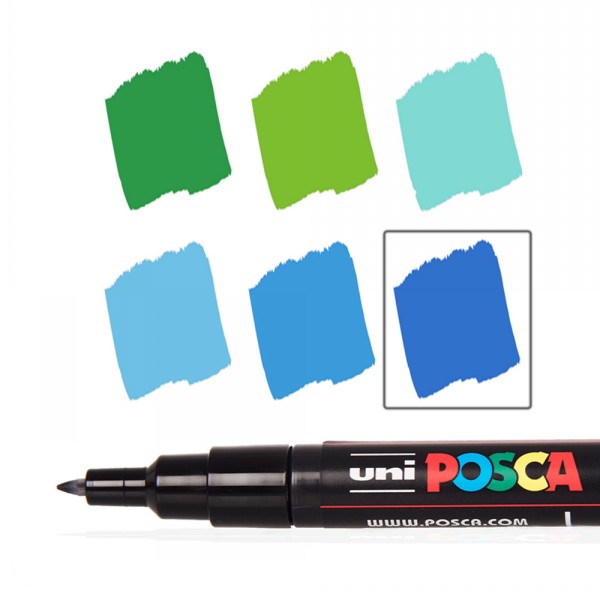
In this step I have only completed some parts so that you can see the “before and after”. Colour the windows with White Posca pen and add some yellow pencil to give it some warmth. This helps it appear warm and cozy inside.
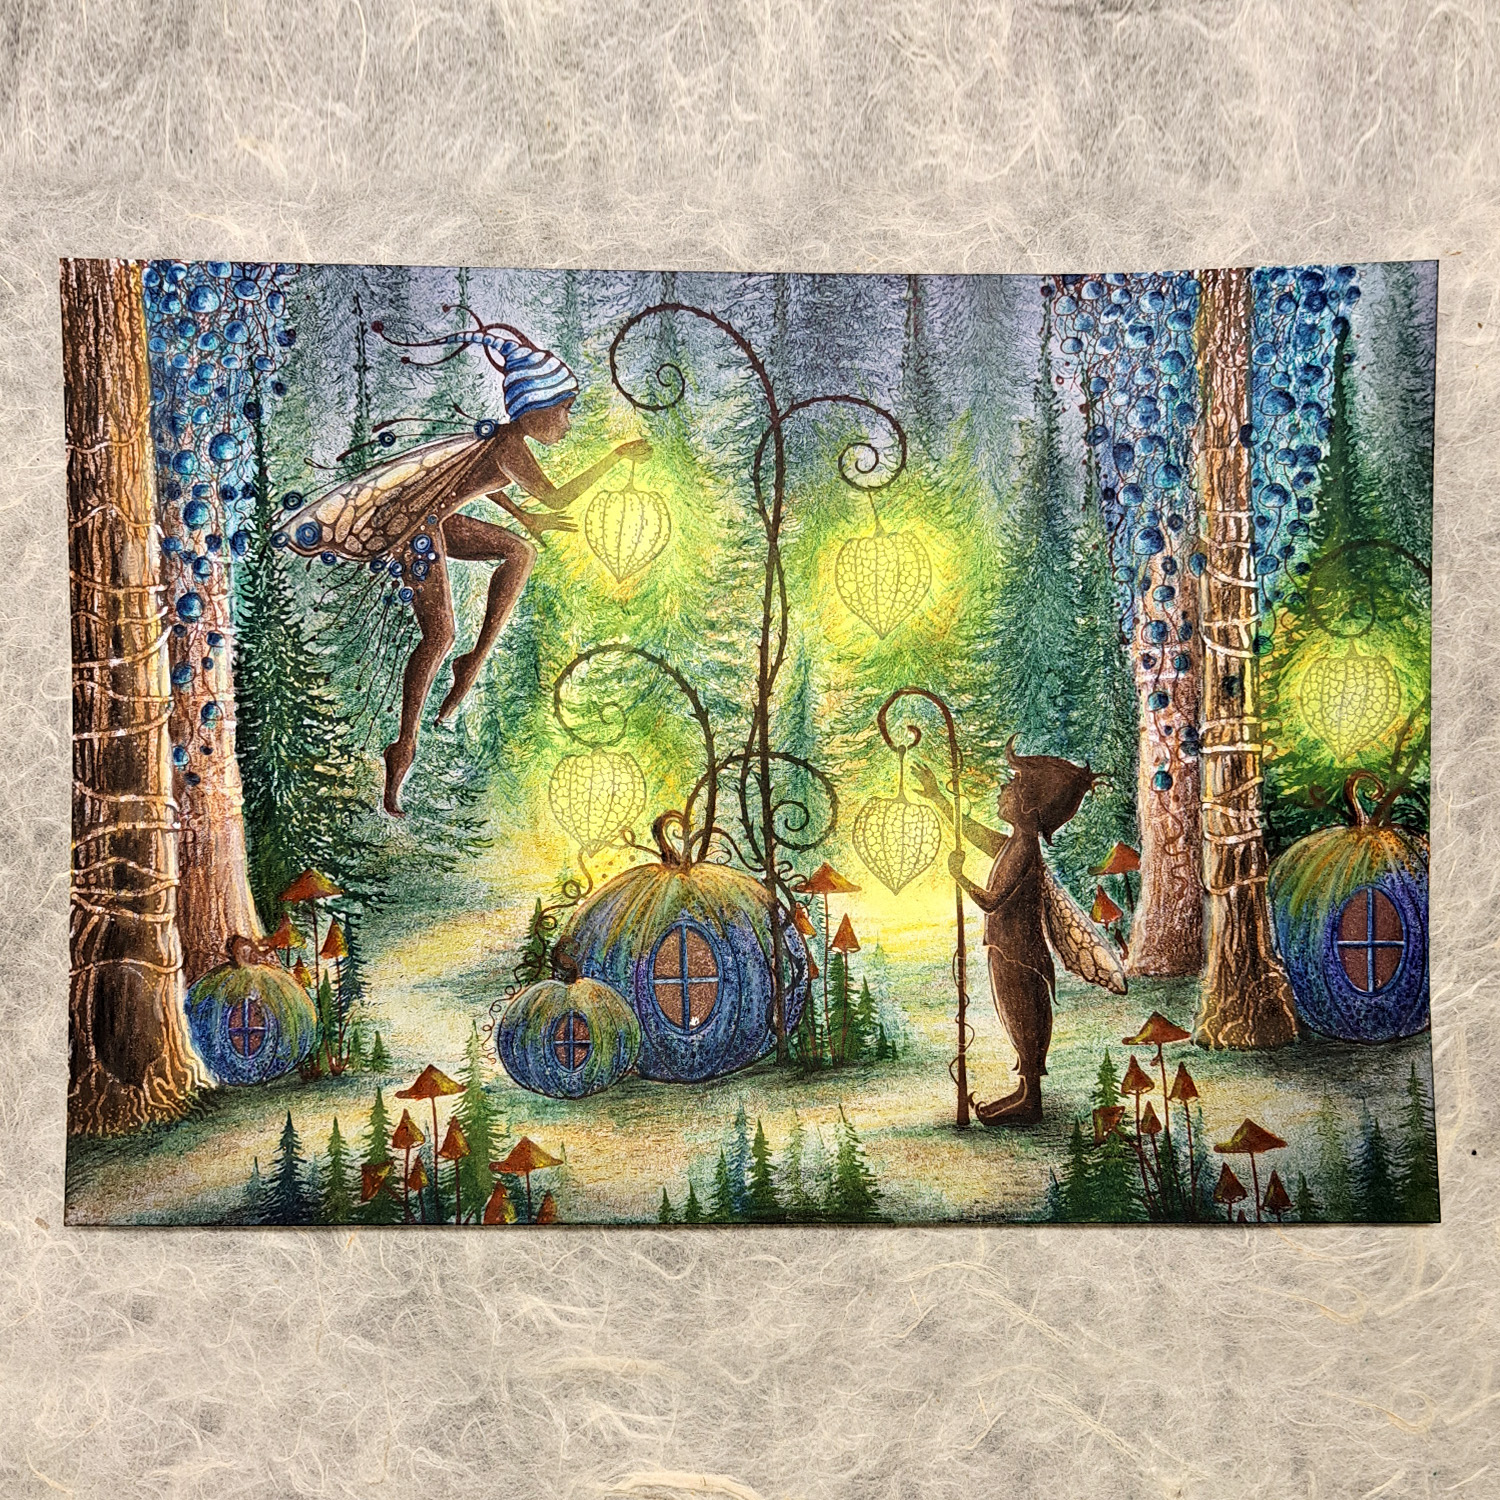
On the lanterns, use a darker yellow pencil on the top and bottom, then in the centre use a white Uniball pen to draw some highlights to help make everything come to life! I use my white Uniball pen for this, but a White Posca pen is great too.
Now, for the big finish, we will do a lot of white Posca splatters. Go crazy with this, because it is supposed to look like snow!
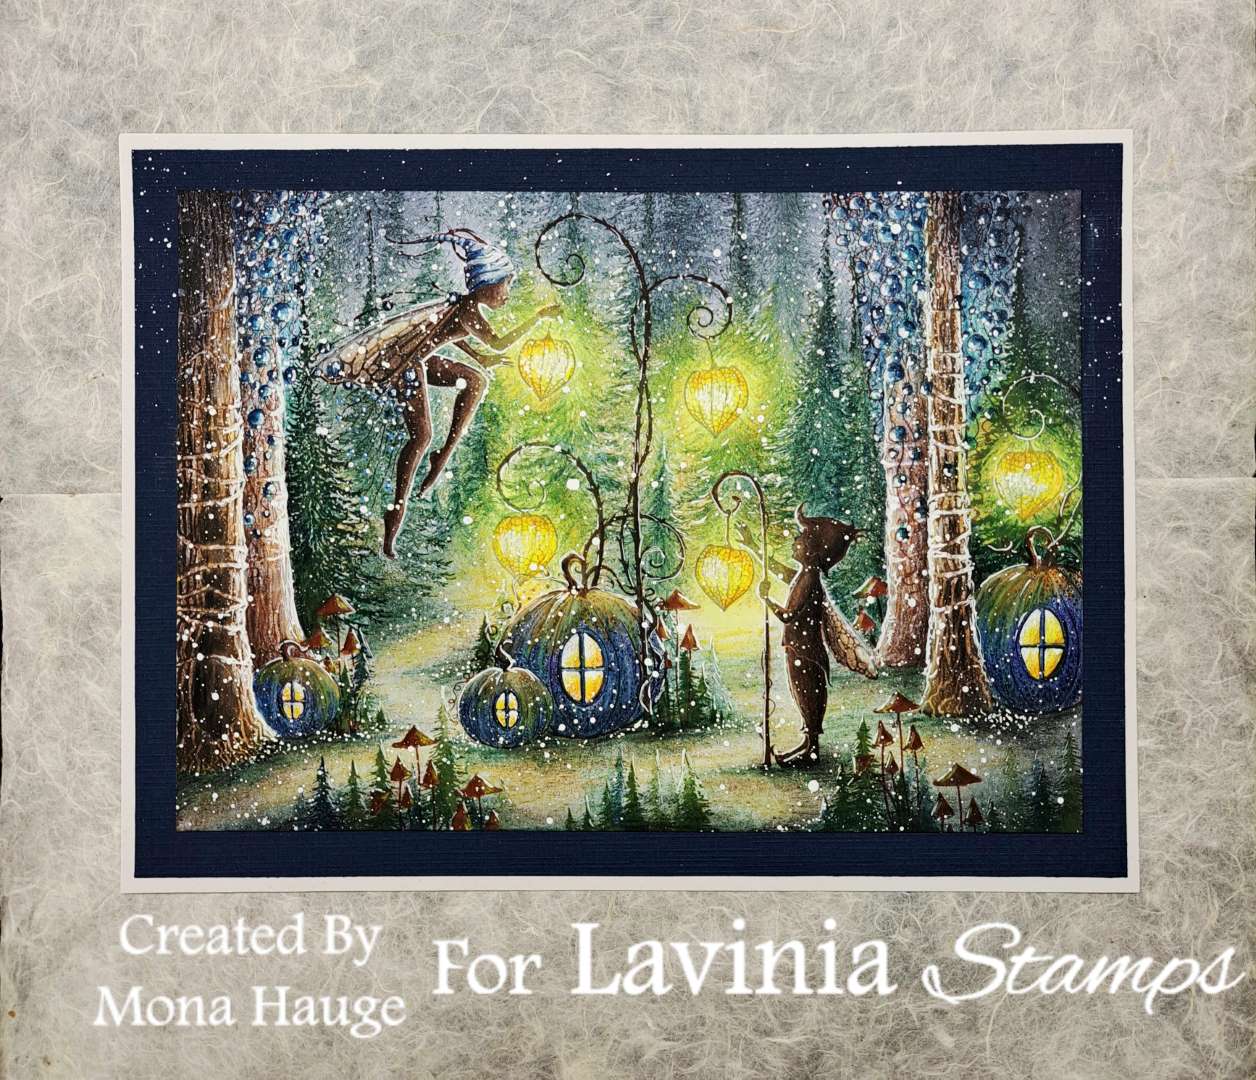
Now you have created a finished picture.
I hope you enjoyed the process and that you will share your results with us.
Thank you for joining me.
Big hugs from Mona!