
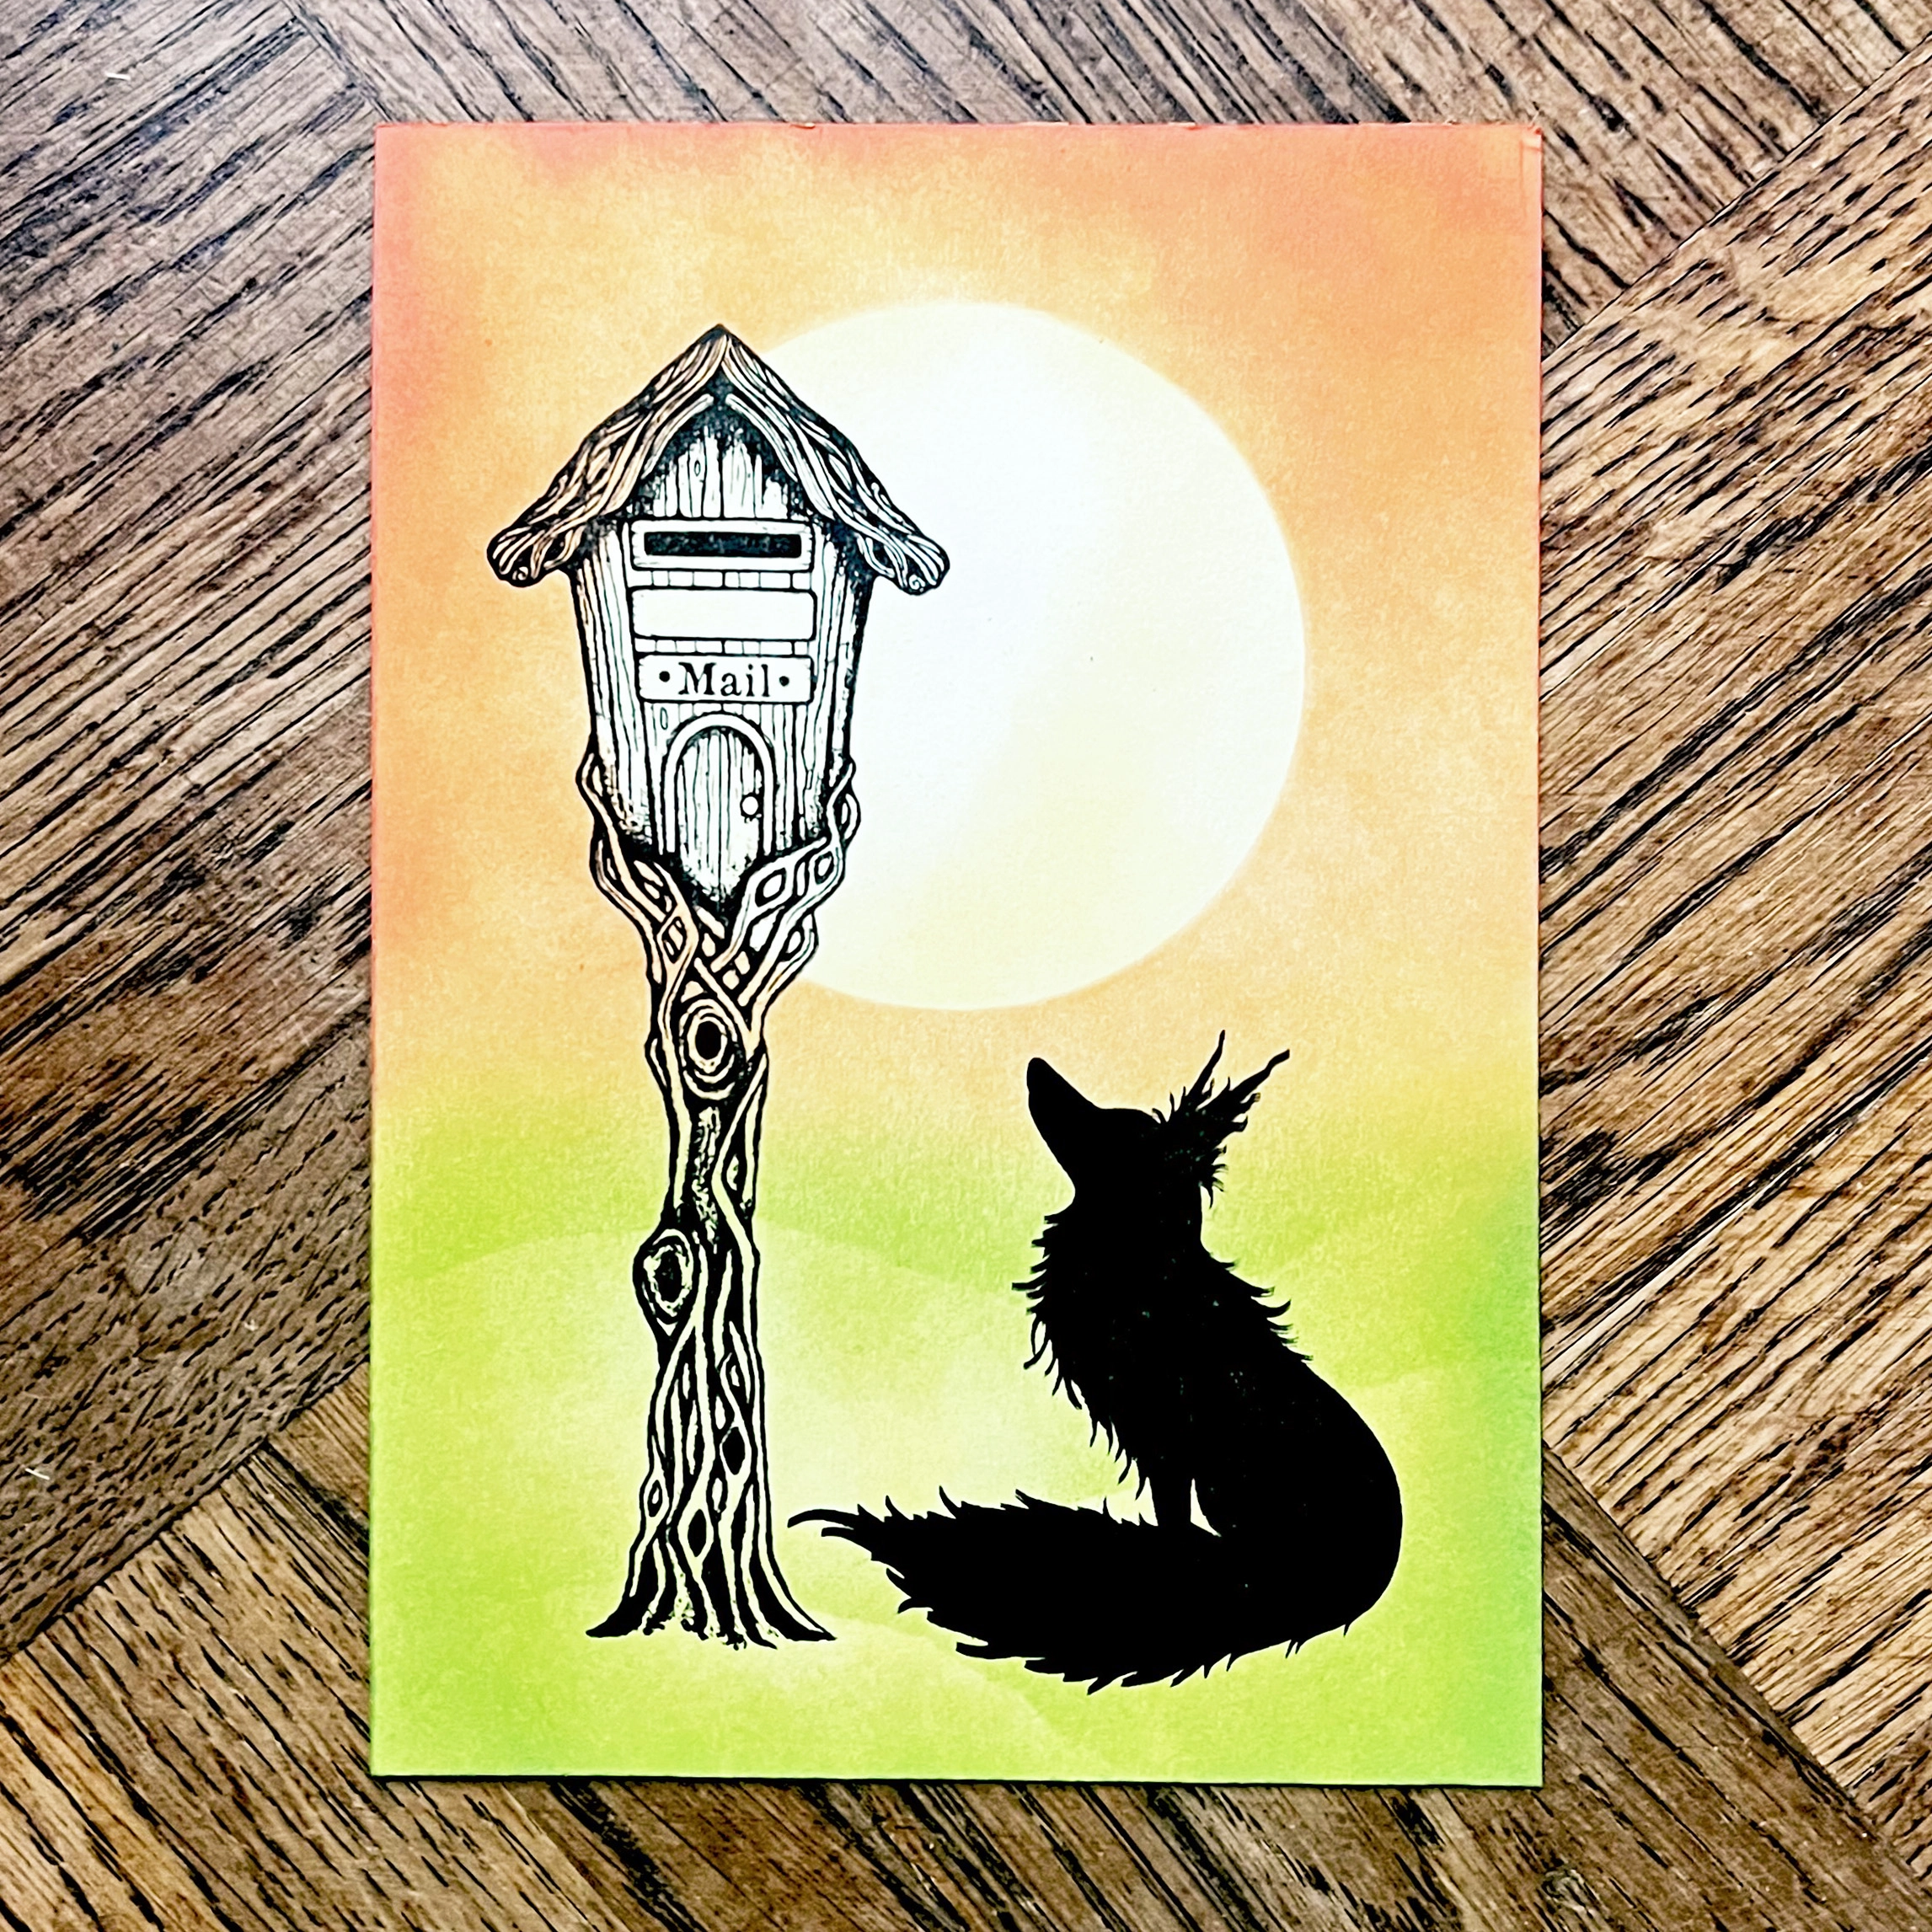


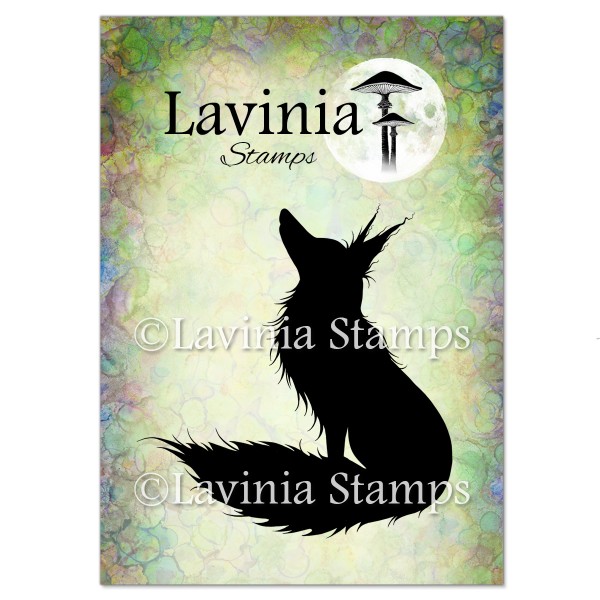
 Rufus Stamp
£7.20
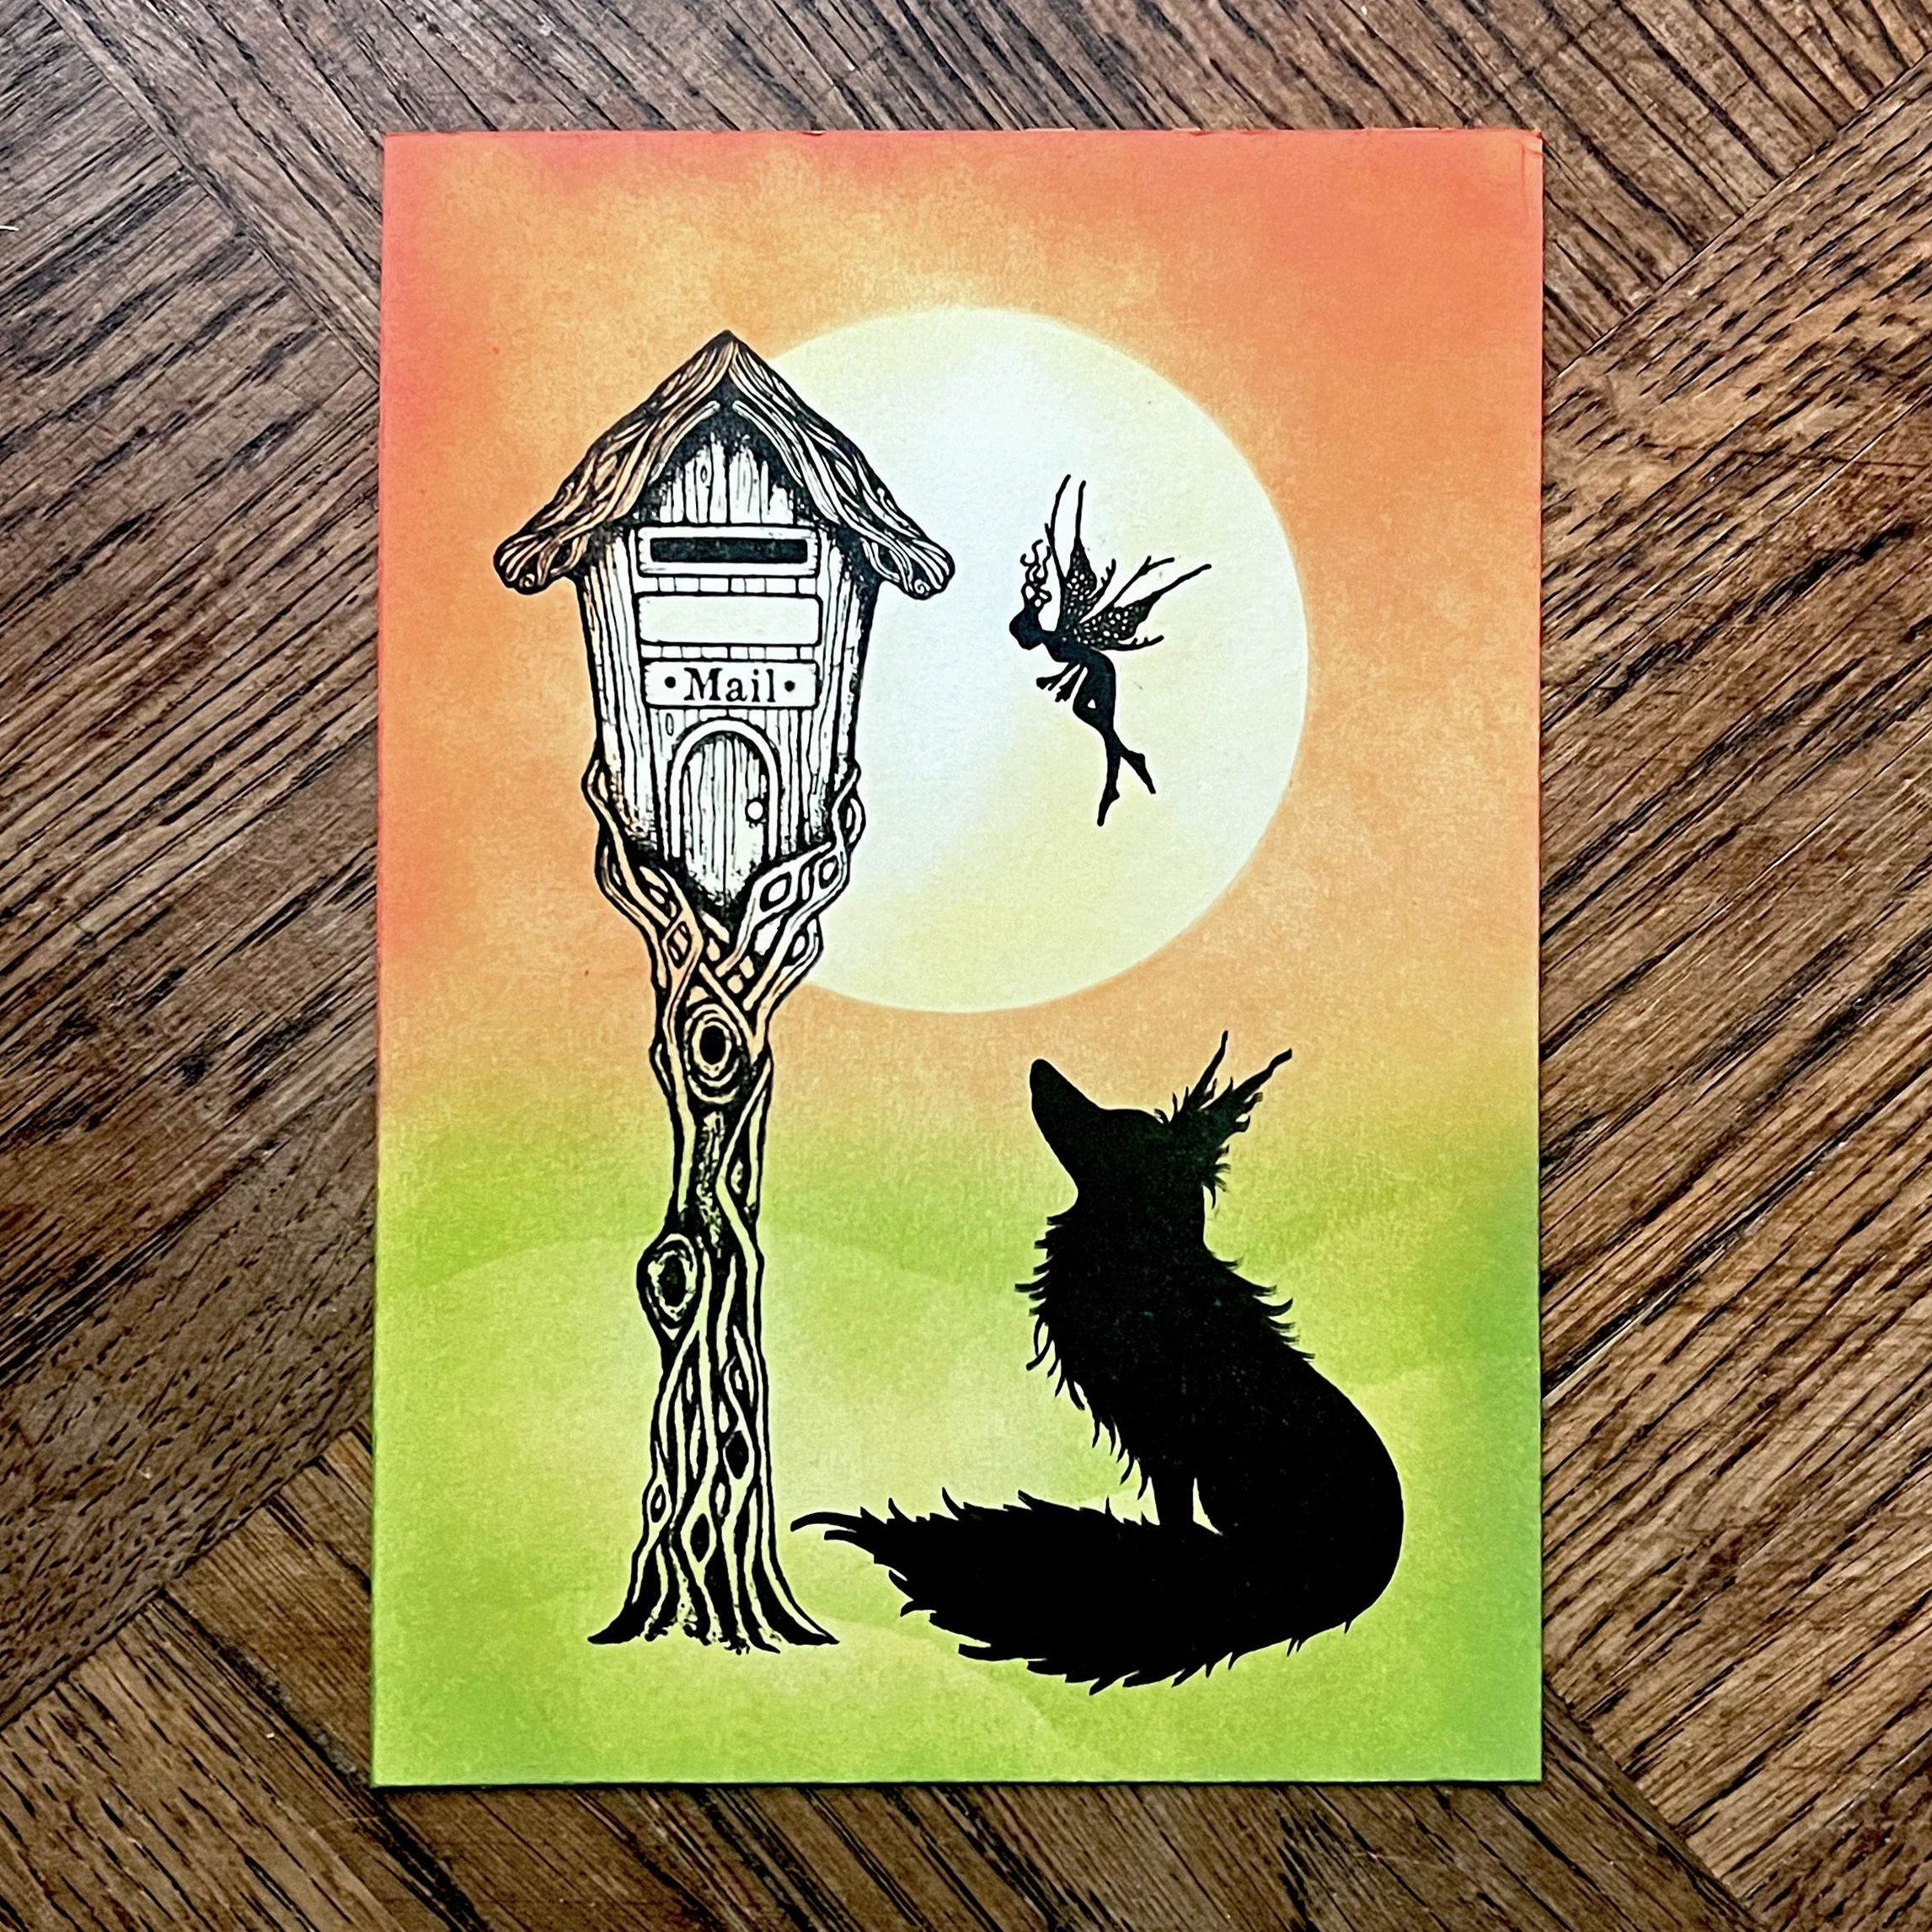
Add to basket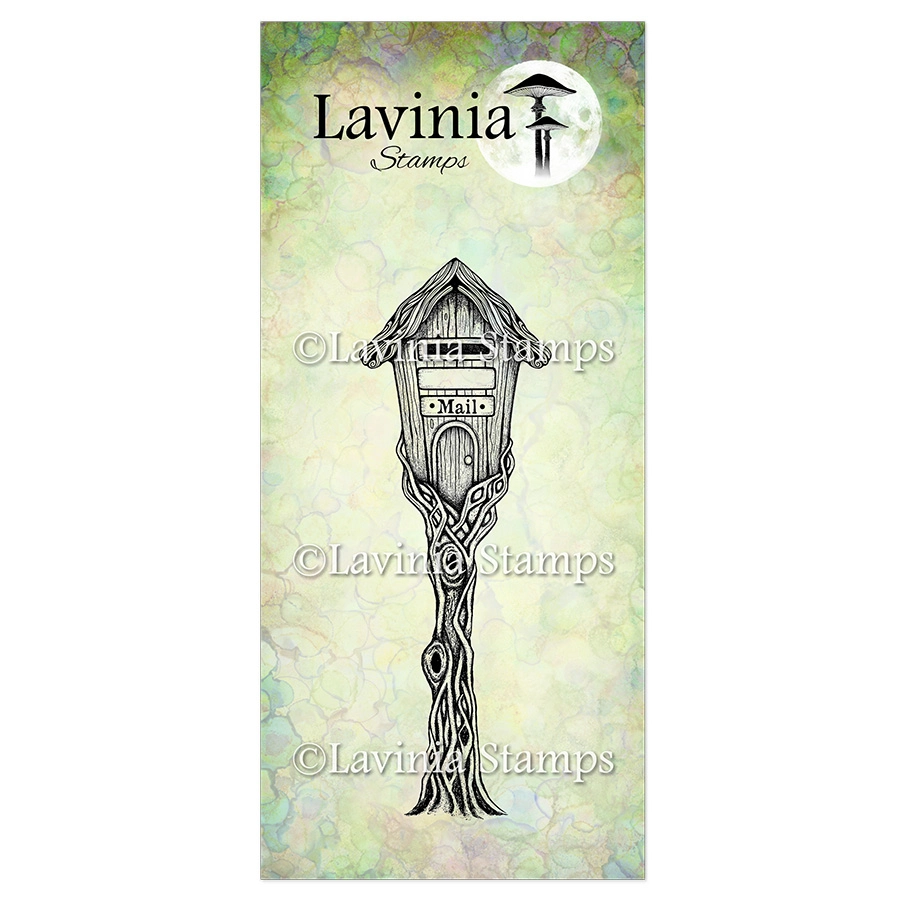 Wishing Post Stamp
£8.80
Add to basket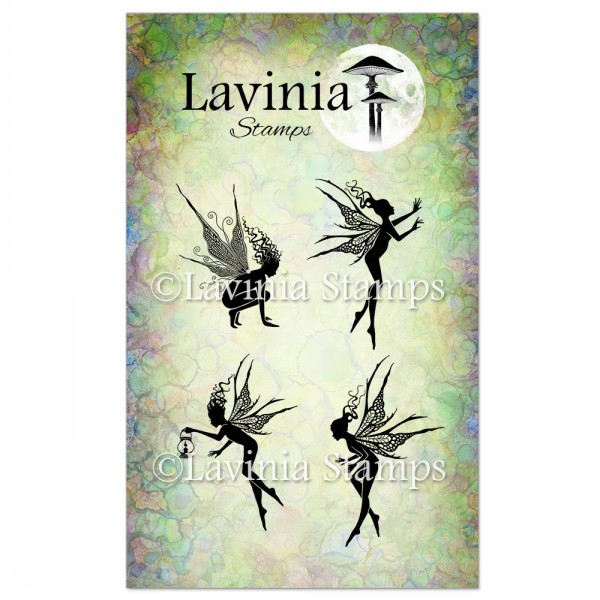 Fairy Foragers Stamp
£8.50
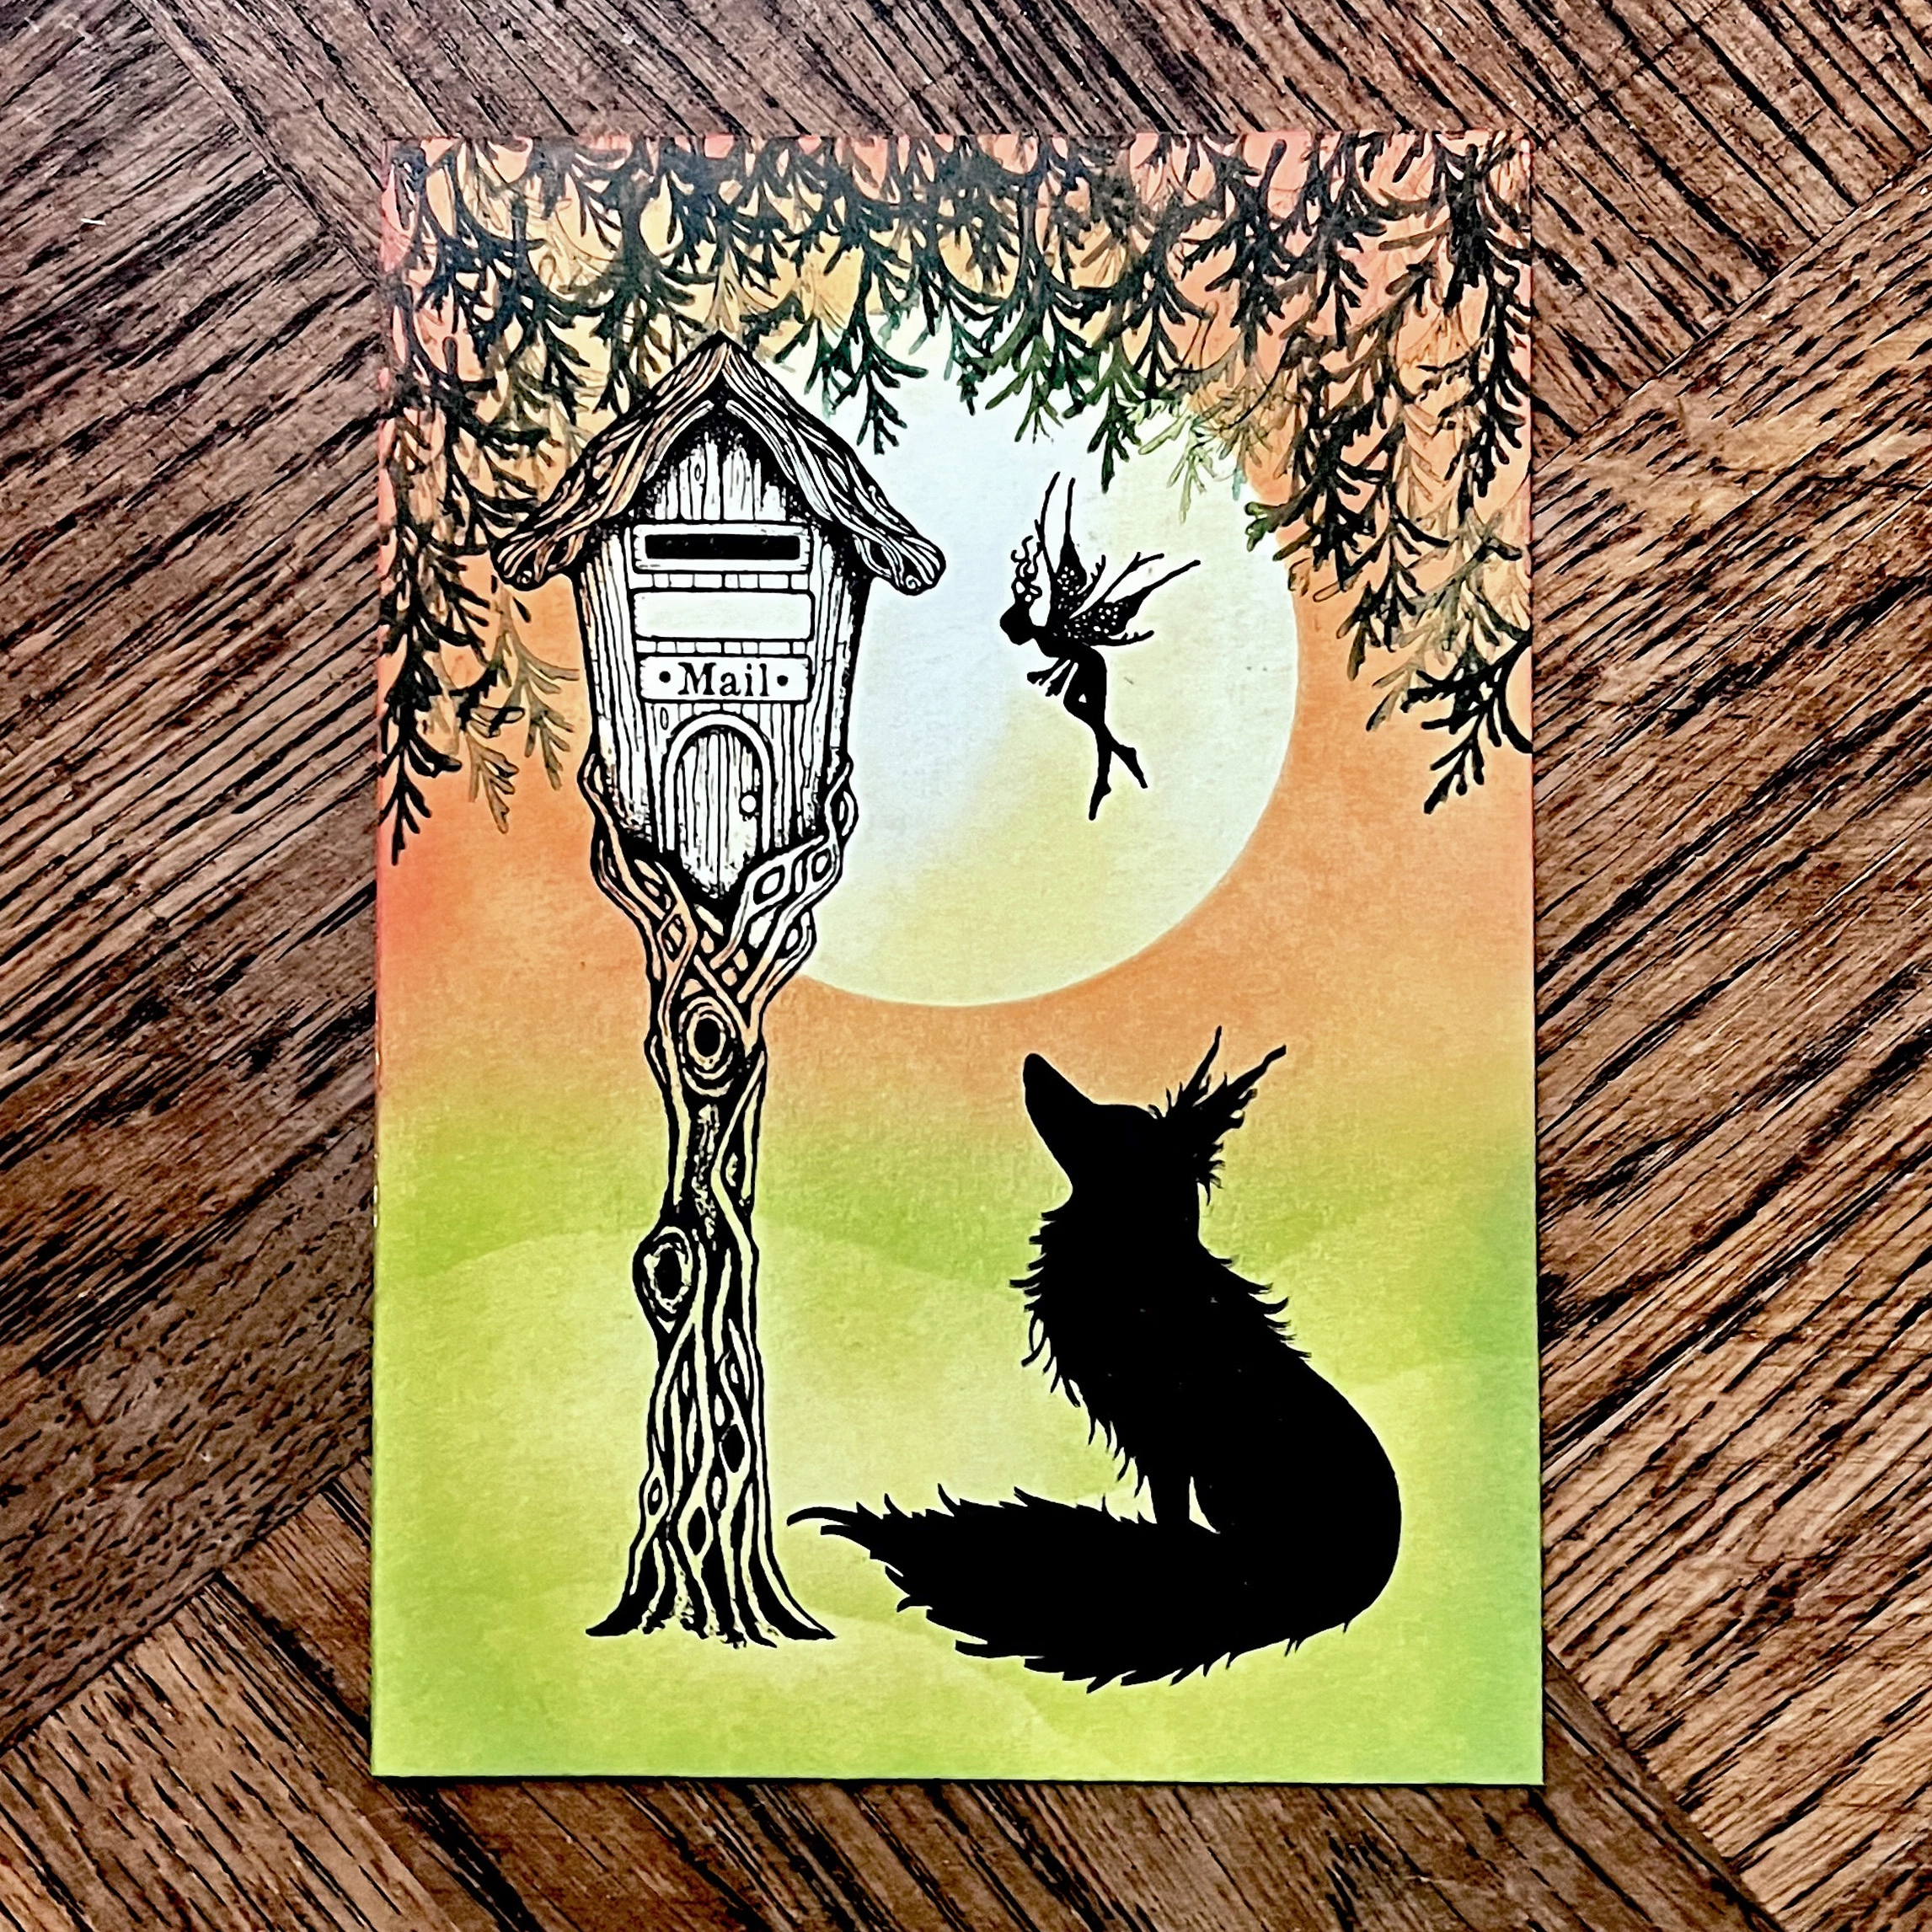
Add to basket Winter Foliage Stamp
£6.10
Add to basket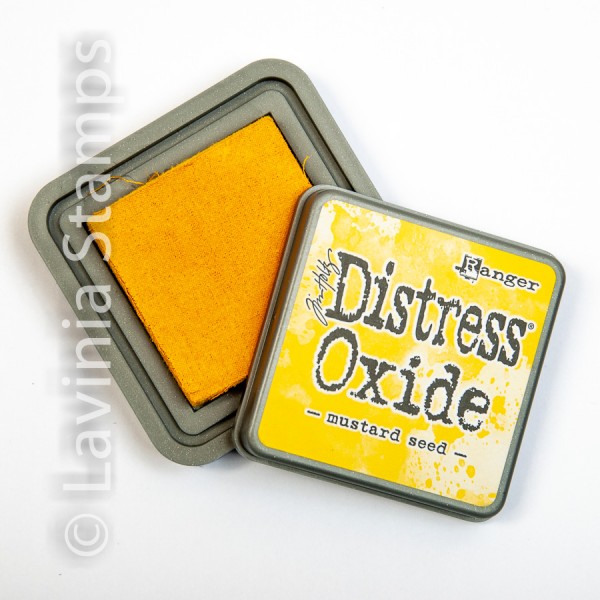 Distress Oxide Ink Pad – Mustard Seed
£6.25
Add to basket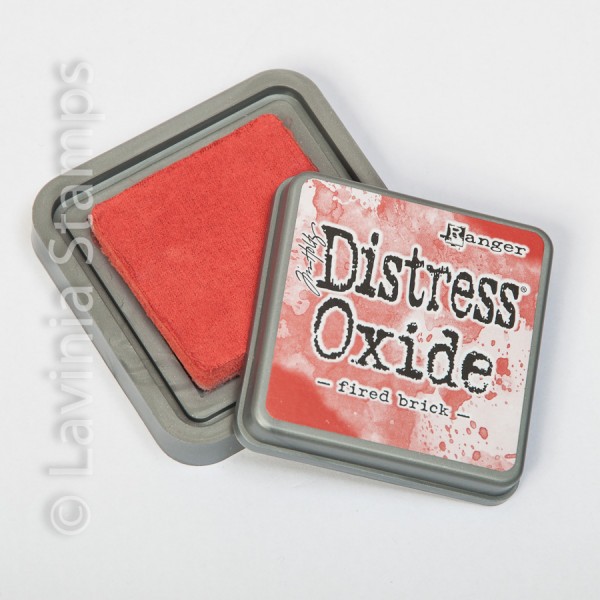 Distress Oxide Ink Pad – Fired Brick
£6.25
Add to basket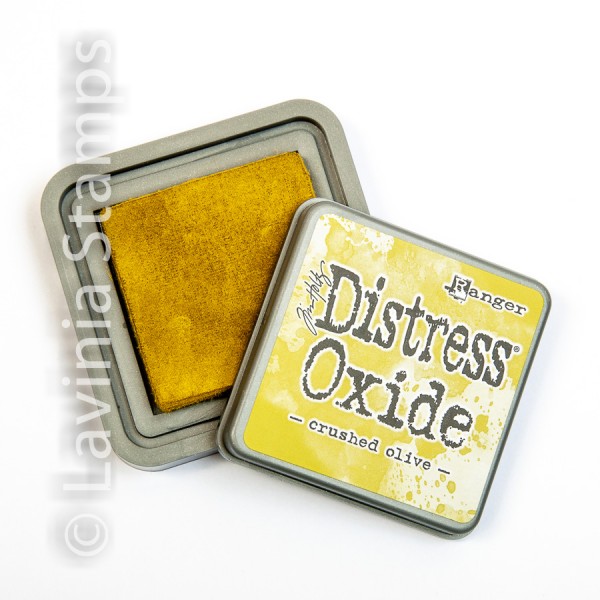 Distress Oxide Ink Pad – Crushed Olive
£6.25
Add to basket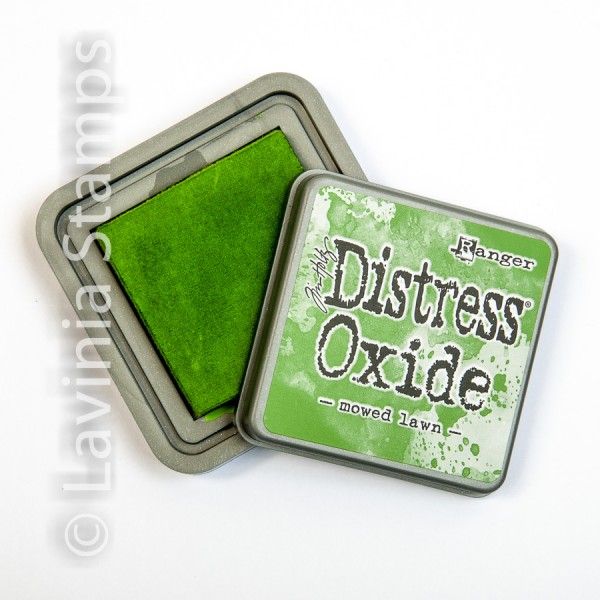 Distress Oxide Ink Pad – Mowed Lawn
£6.25
Add to basket Versafine Clair Ink Pad – Nocturne
£5.80
Add to basket Versafine Clair Ink Pad – Shady Lane
£5.80
Add to basket Versafine Clair Ink Pad – Rain Forest
£5.80
Add to basket Mondeluz Watercolour Pencils 72 Set
£59.95
Read more