Step by Step by Mona Hauge
Hello everyone,
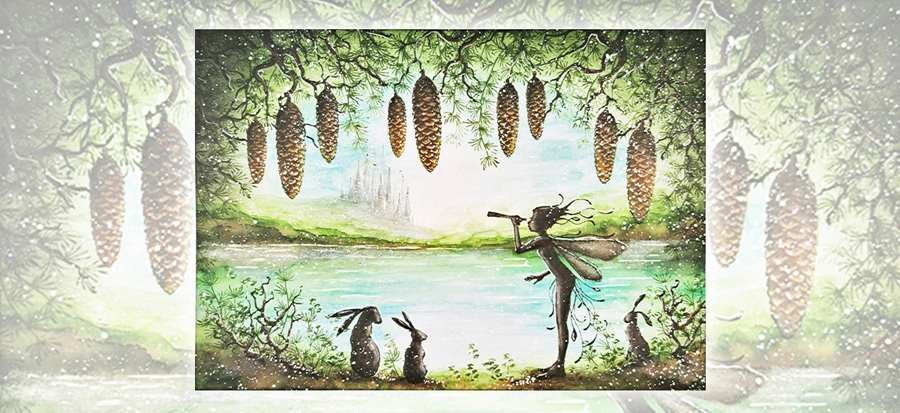
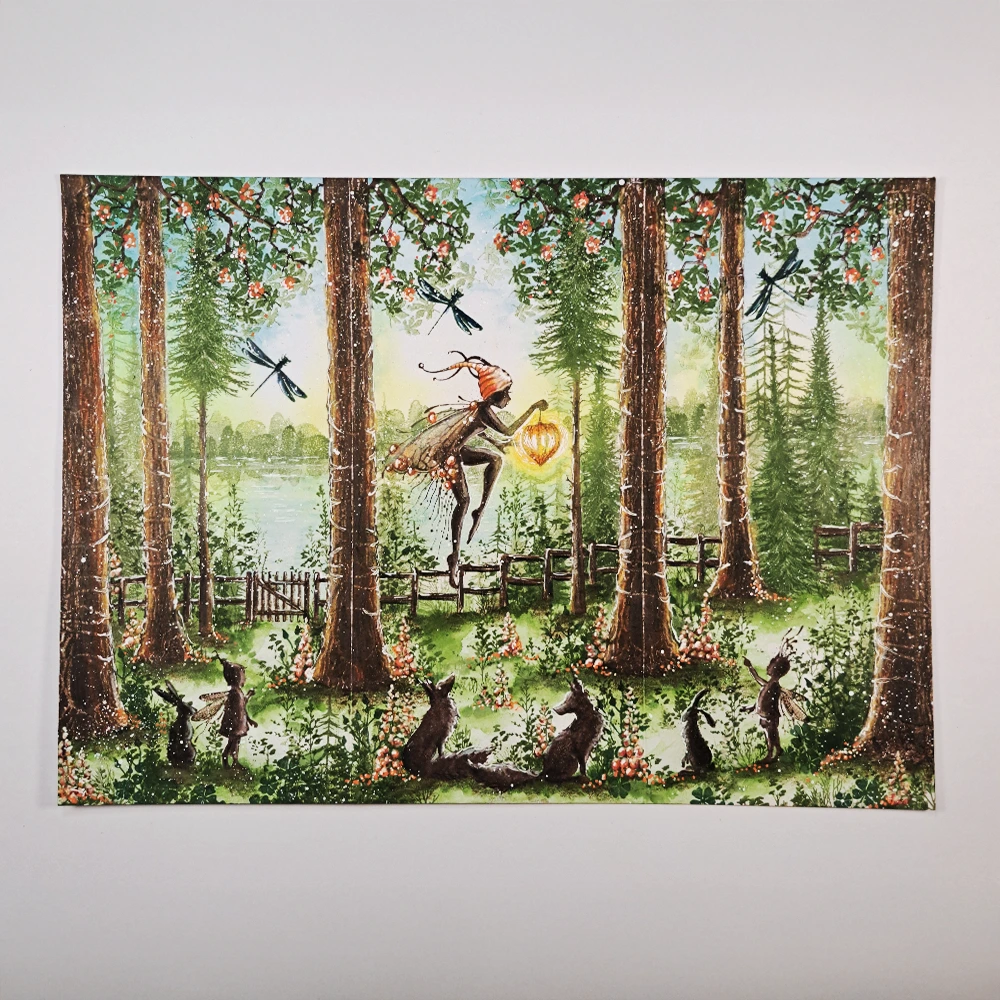
Mona here with my latest Step By Step Tutorial called The Enchanted Forest.
Hope you like it. 🧚♂️
Step 1.
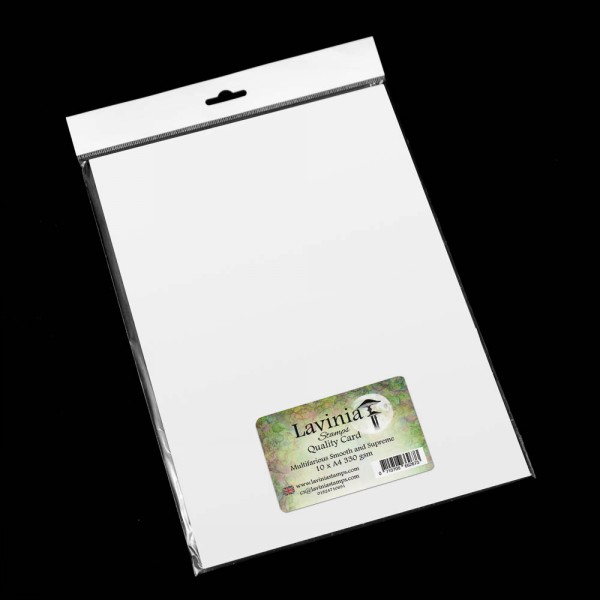
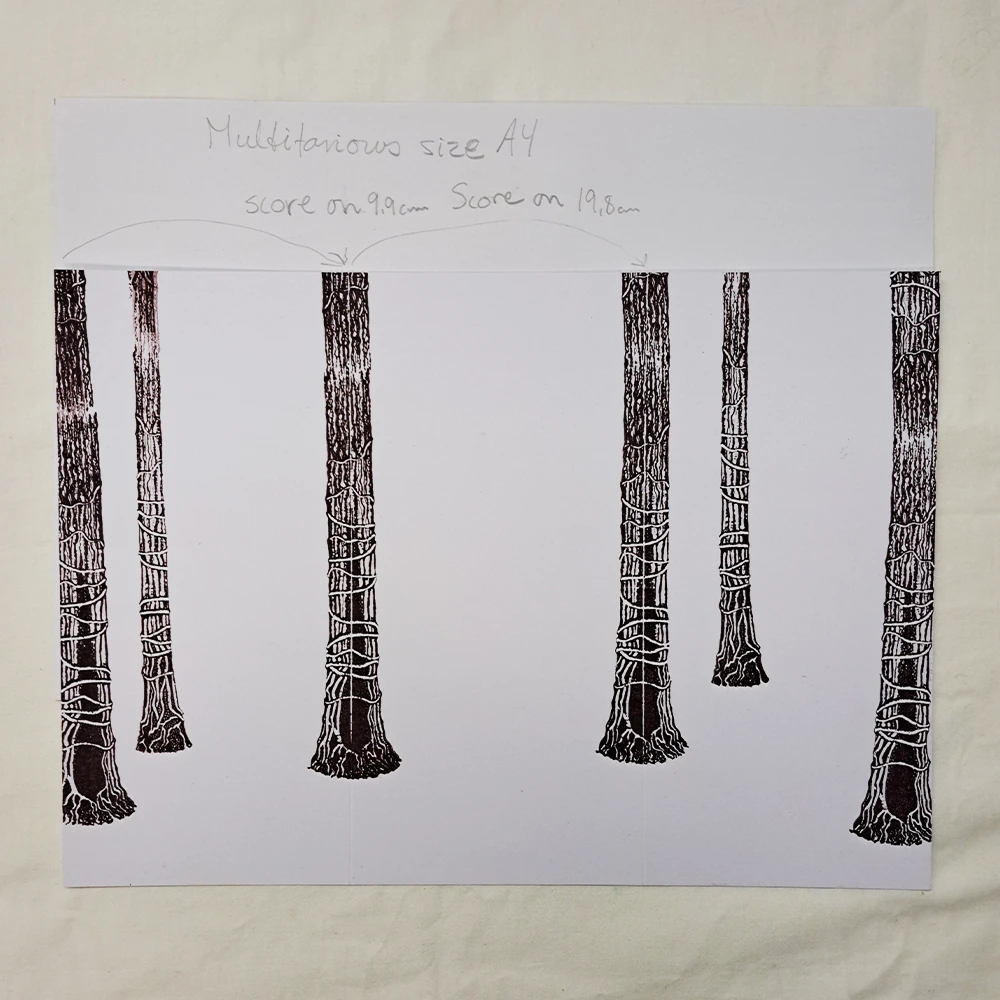
Begin with a sheet of Multifarious card White size A4.
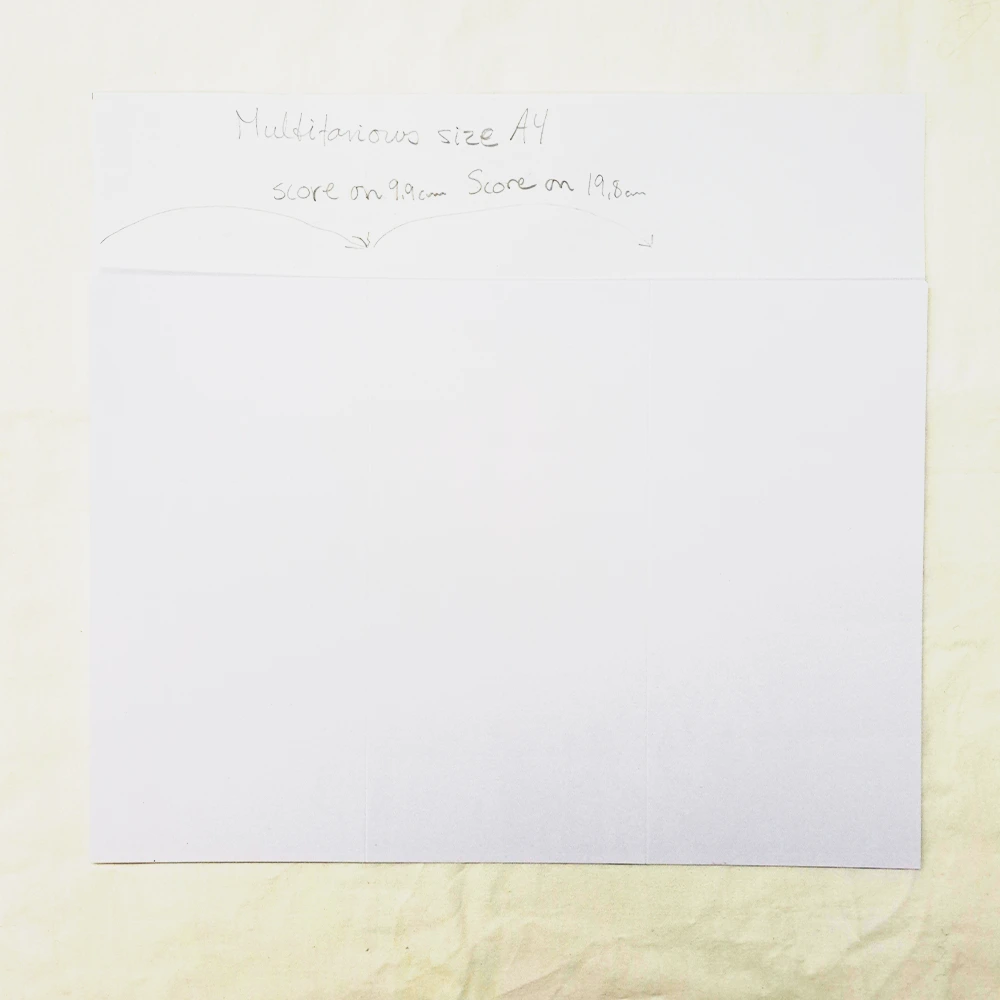
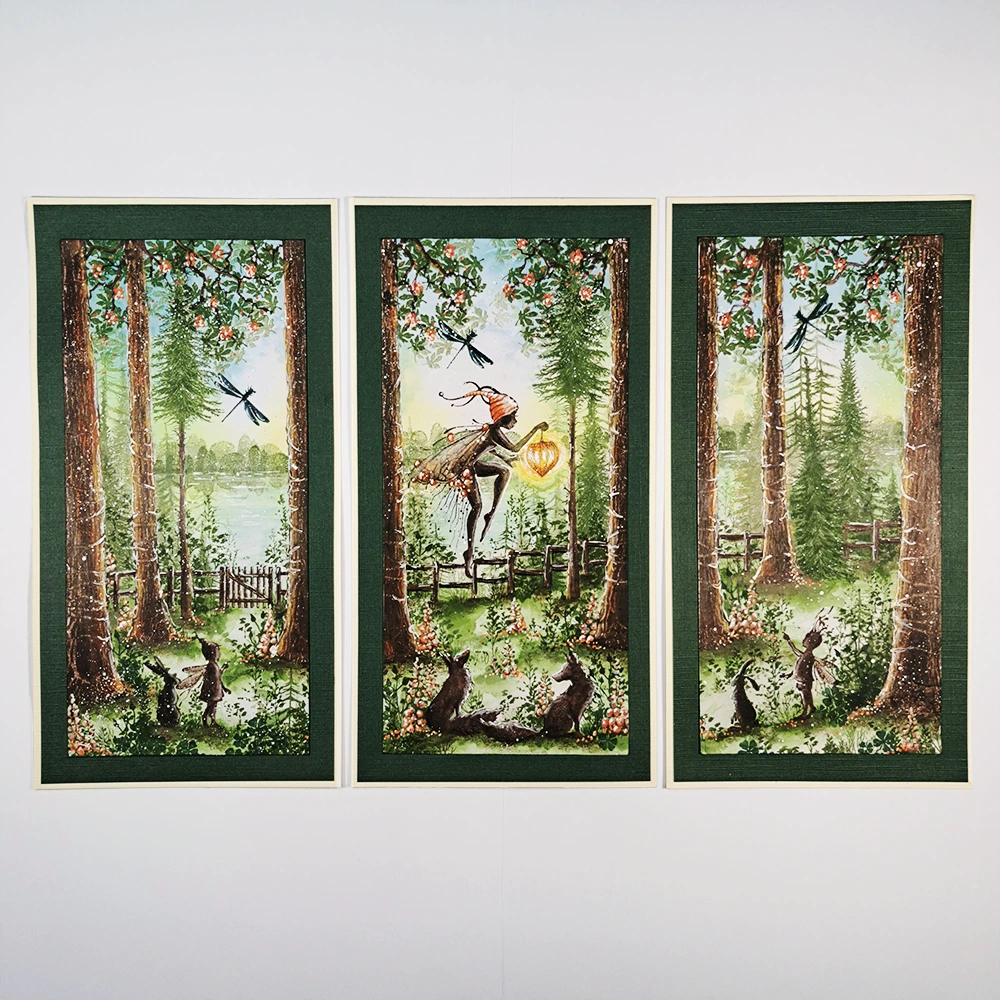
We are going to make one Picture that we will cut into three parts at the end. So we will start by scoring on 9.9 cm and then on 19.8 cm. The scoring lines are there to help us place the trees in the right places.
Step 2.
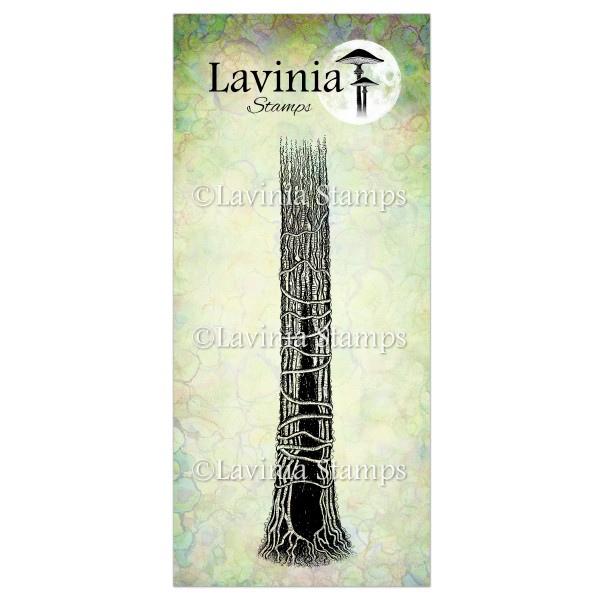
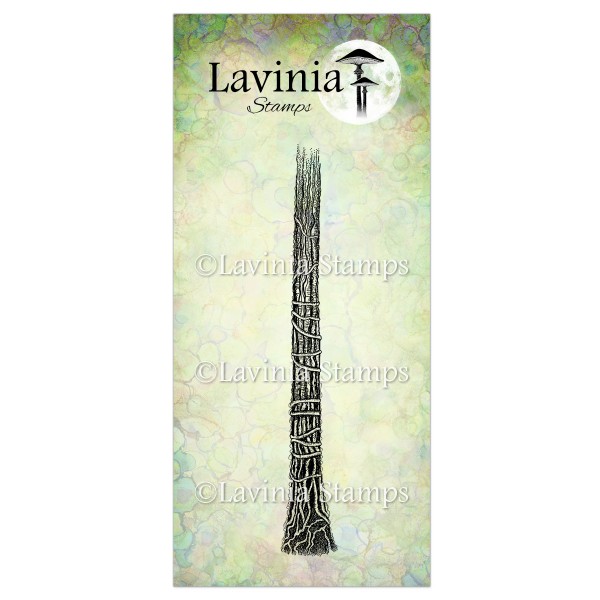
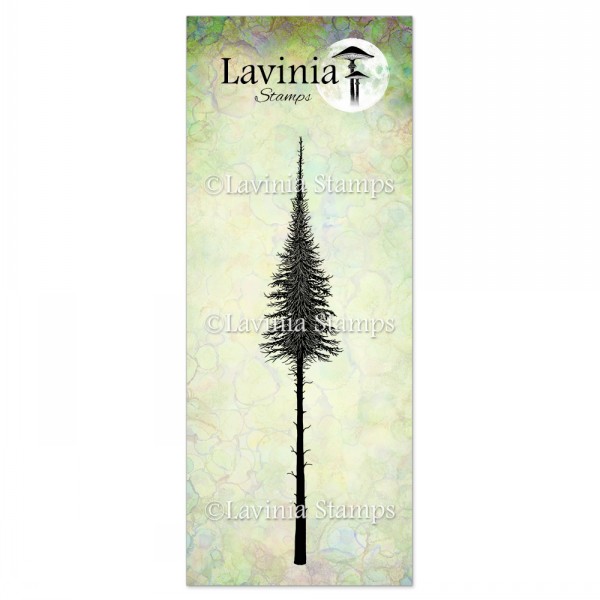
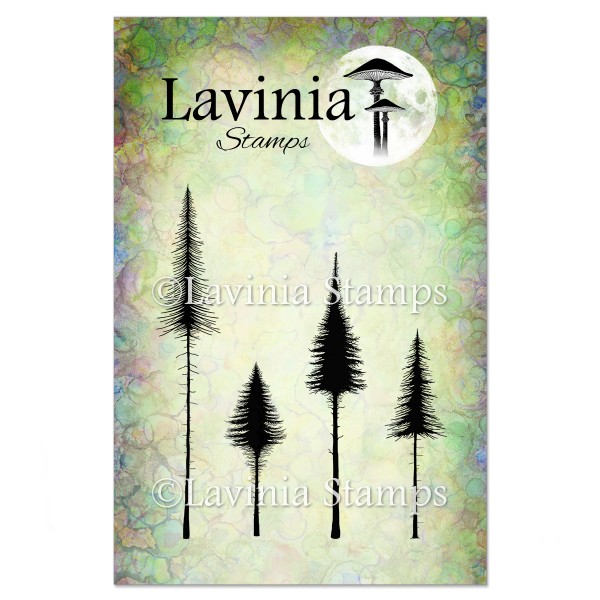
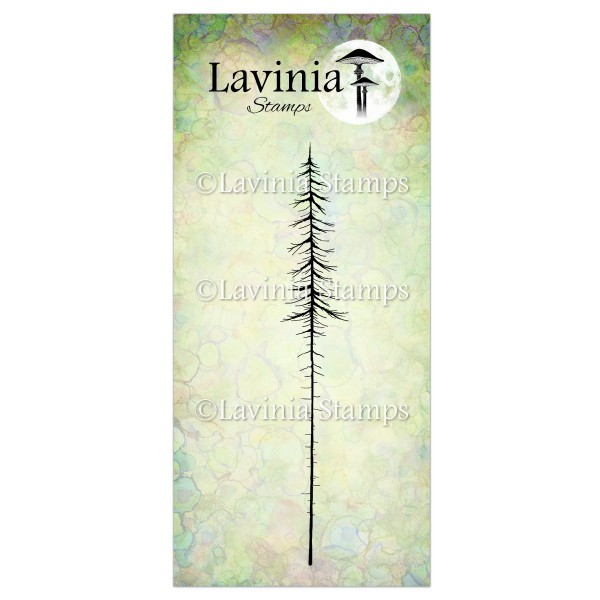
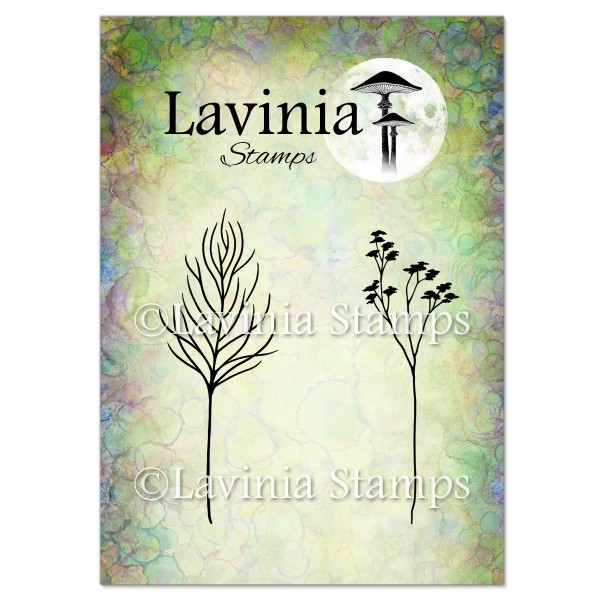
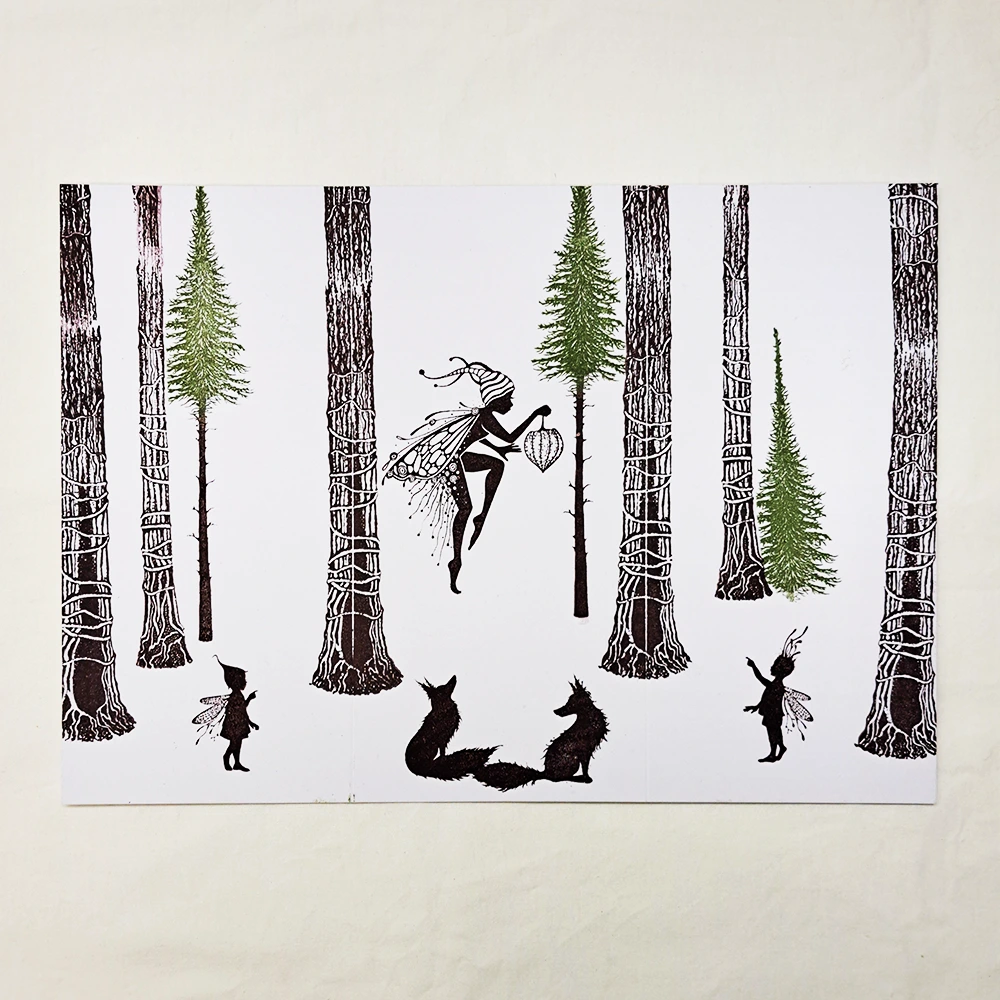
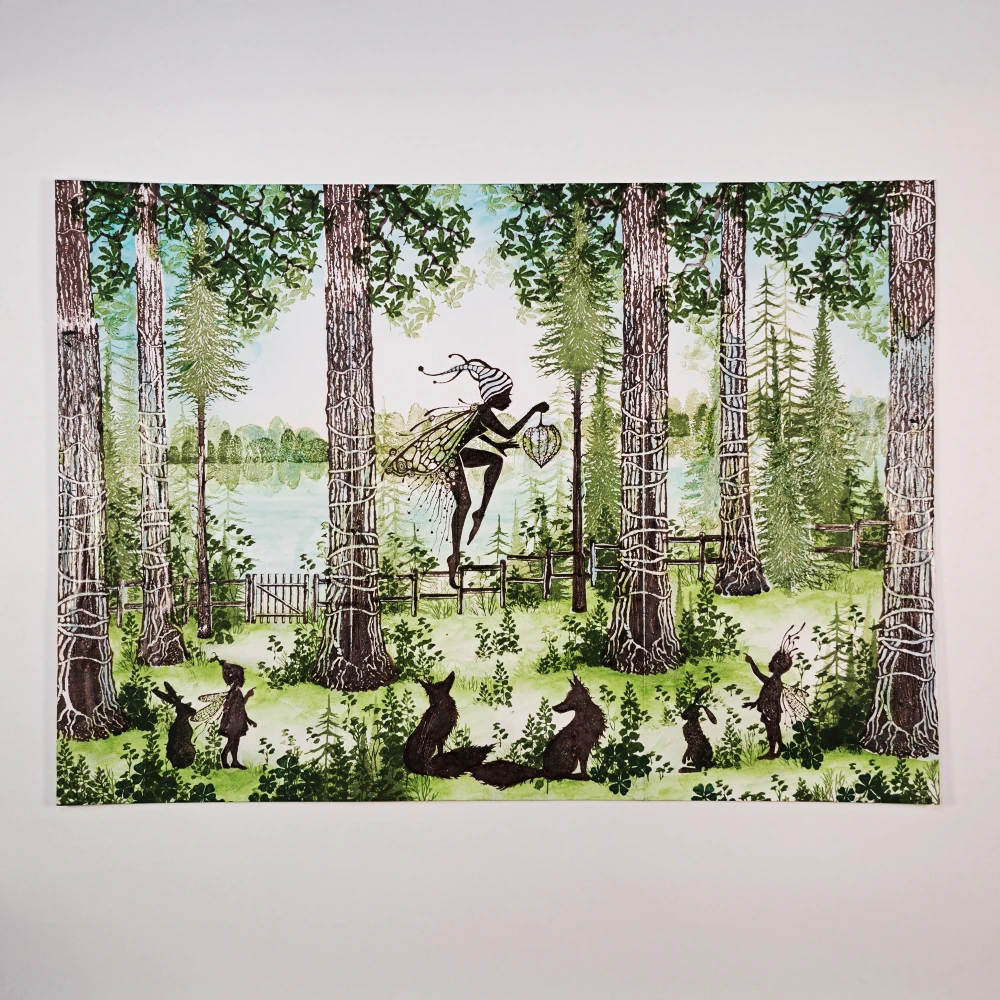
Stamp the beautiful Tree Den LAV642 and The Tree Stem LAV643 in Versafine Clair Pinecone. Two of the Tree Den are stamped so that the score line is in the middle of the tree.
Step 3.
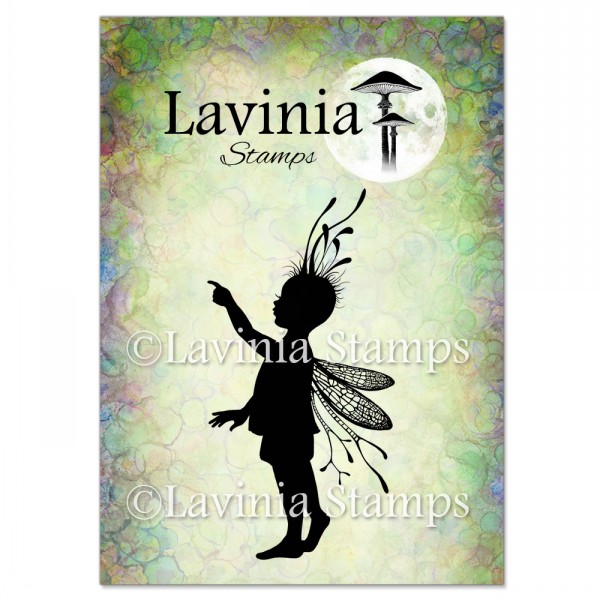
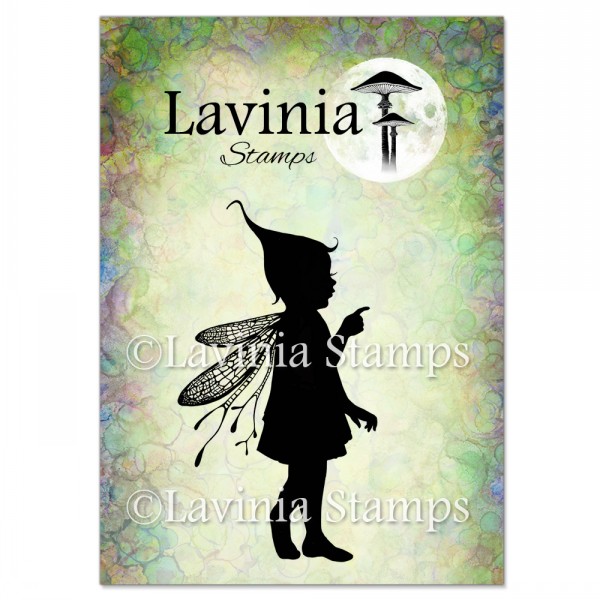
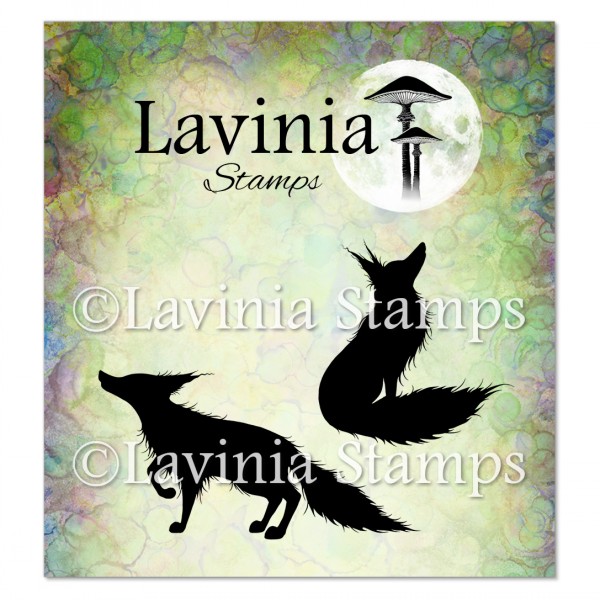
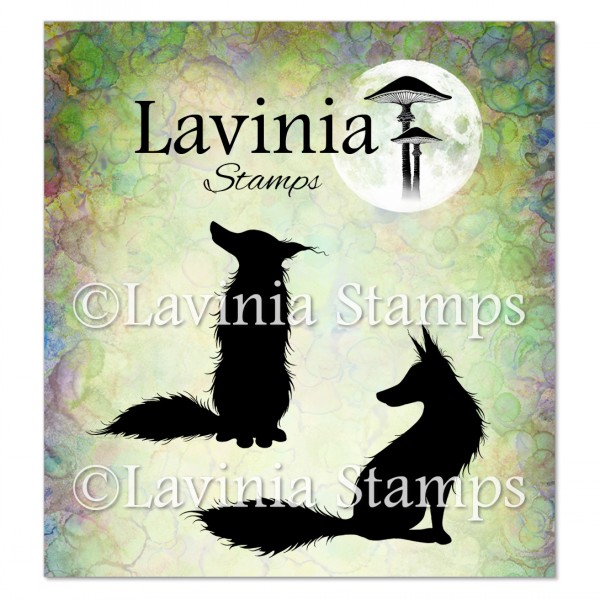
We want Eve LAV833, Rory and Darcy LAV549, a fox from each of the Fox sets 1 and 2 LAV636 and LAV635 all stamped in Versafine Clair Pinecone. The Fairy Fir Tree Stamp LAV478 we will stamp in Versafine Pinecone on it’s stem and Versafine Clair on the tree top. Look at the Picture for placement.
Cover everything with Liquid Masking Fluid .
Step 4.
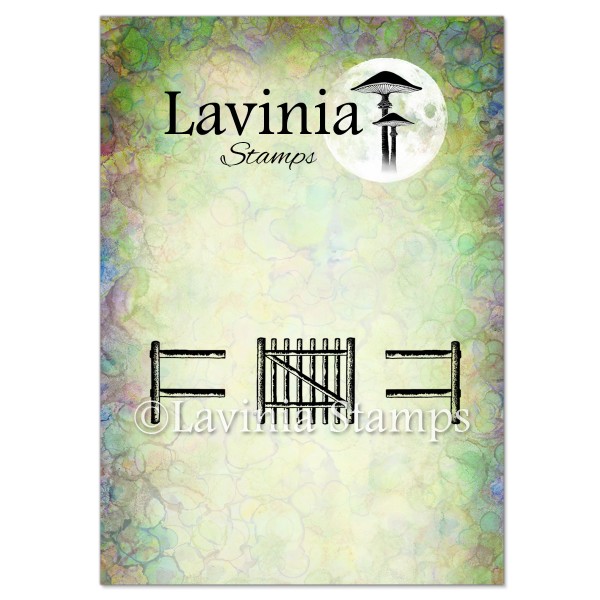
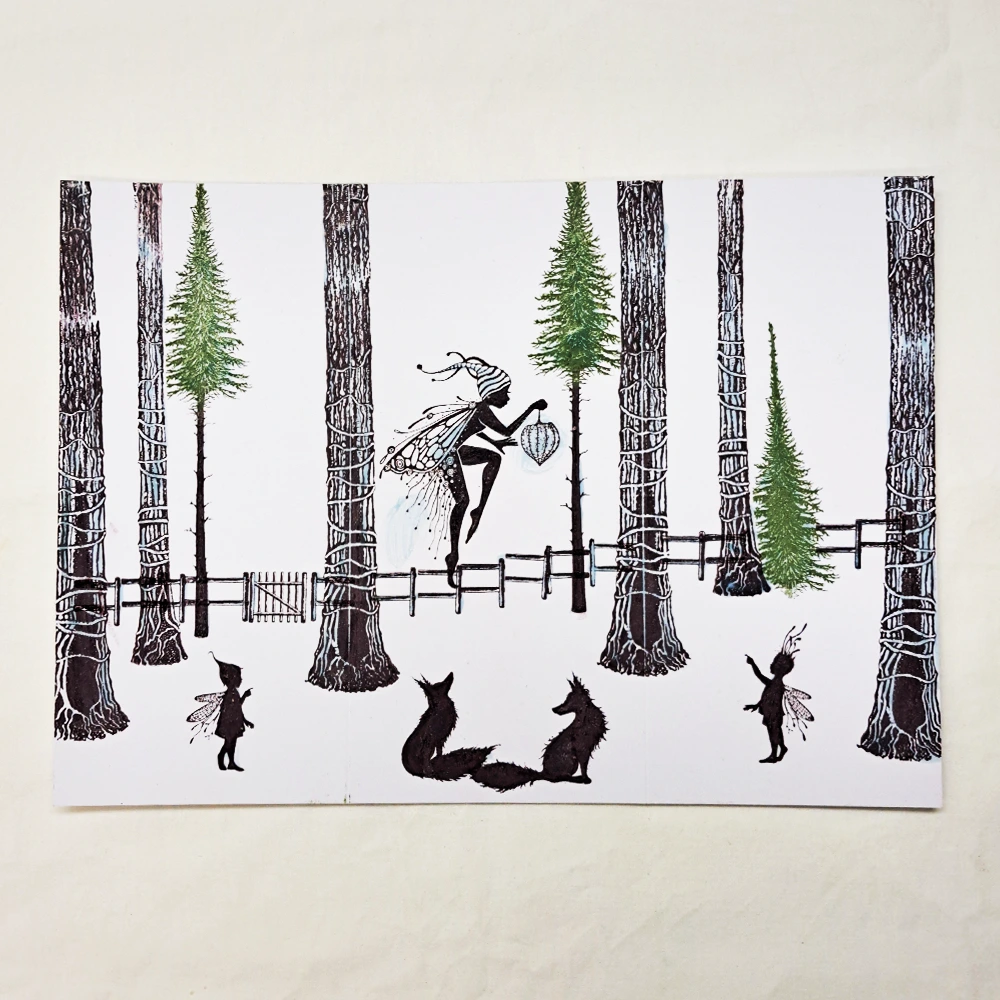
Stamp the Gate and Fence LAV752 in Versafine Clair Pinecone. Cover with Liquid Masking Fluid .
Step 5.
We need lots of trees! The Fairy Fir Tree LAV478, Small Pine Trees LAV836 and The Red Pine Small LAV592 all stamped in Versafine Clair Shady Lane. Do both first and second generation stamping. Cover with Liquid Masking Fluid.
Step 6.
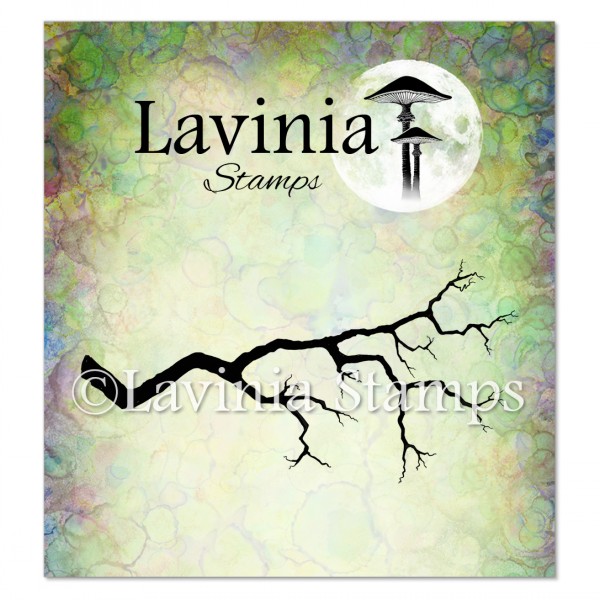
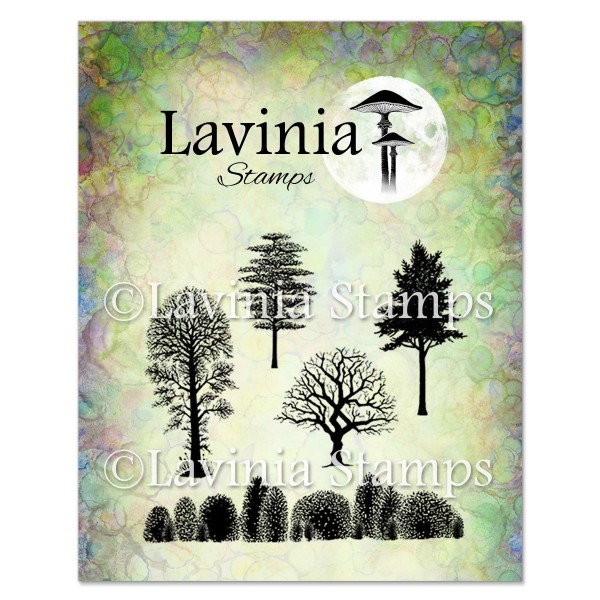
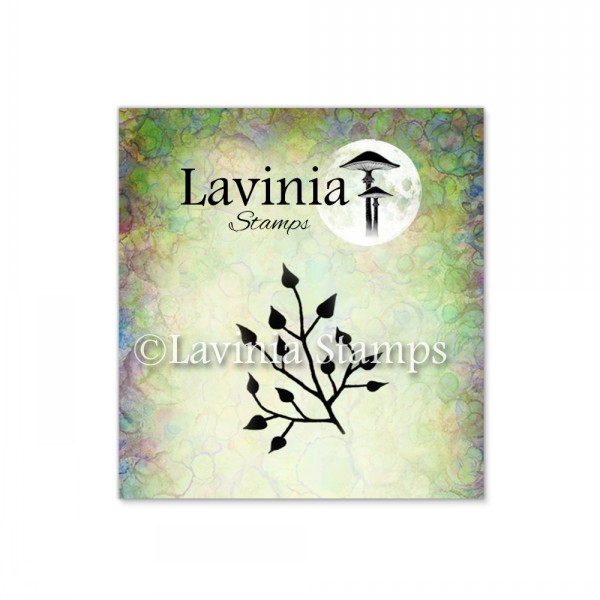
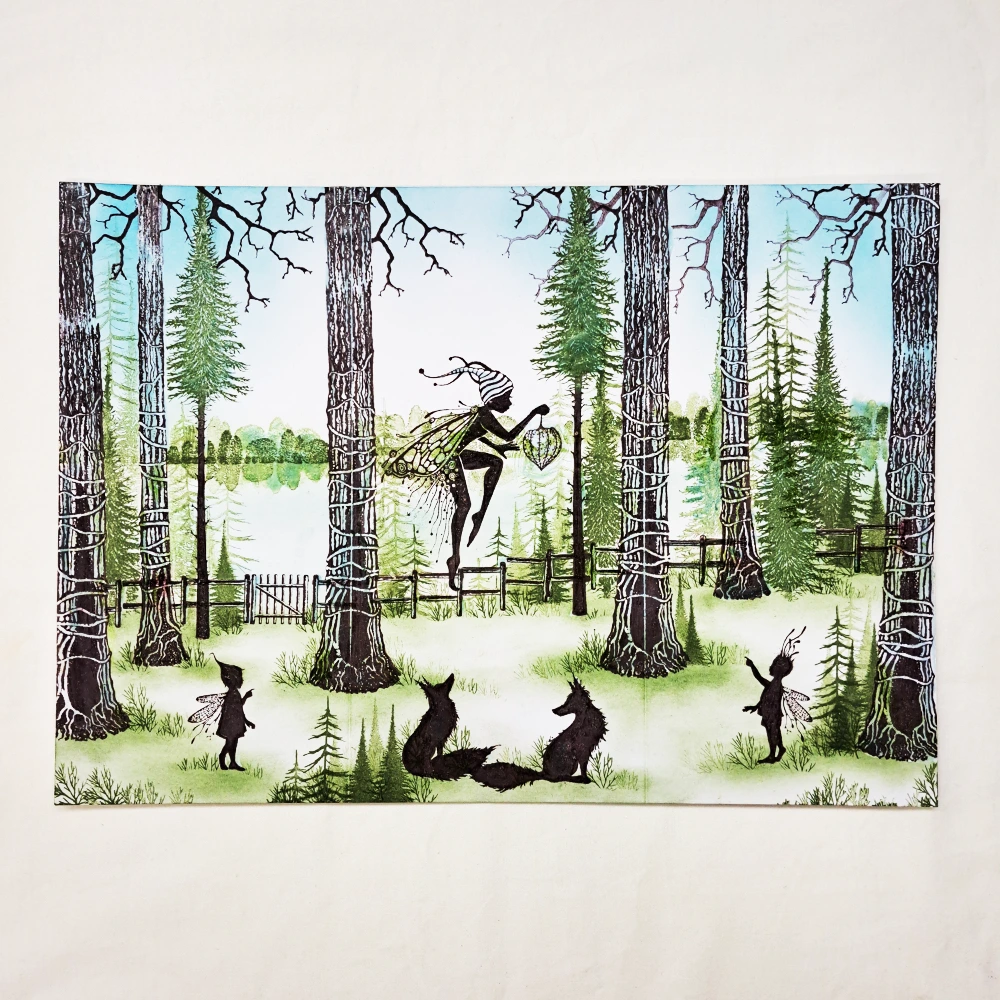
Some Tree Branches LAV506 stamped in Versafine Clair Pinecone will look good coming in from the top. We need The Tree Scene Stamp LAV219 to create the forest across the water. Stamp in Versafine Clair Shady Lane. Do both first and second generation stamping.
Brush on some Elements Ink Blue Atoll for the sky and for some water. To colour the ground we will use Elements Ink Olive. Add some Dill LAV938 as grass.
Step 7.
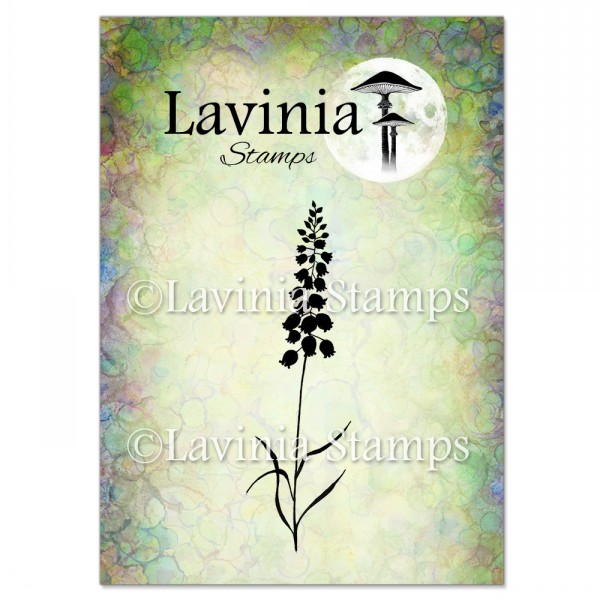
Let’s add some Wild Hares Small LAV614 in Versafine Clair Pinecone. Now we need lot’s of greenery. The Silver Leaves Mini LAV891 looks good as leaves on our branches, some Flora Set LAV698 and some Bluebells LAV002 will be beautiful all stamped in Versafine Clair Shady Lane. We want some Lucky Clover LAV889 as well, stamped in Versafine Clair Rain Forest. Look at the Picture for placement.
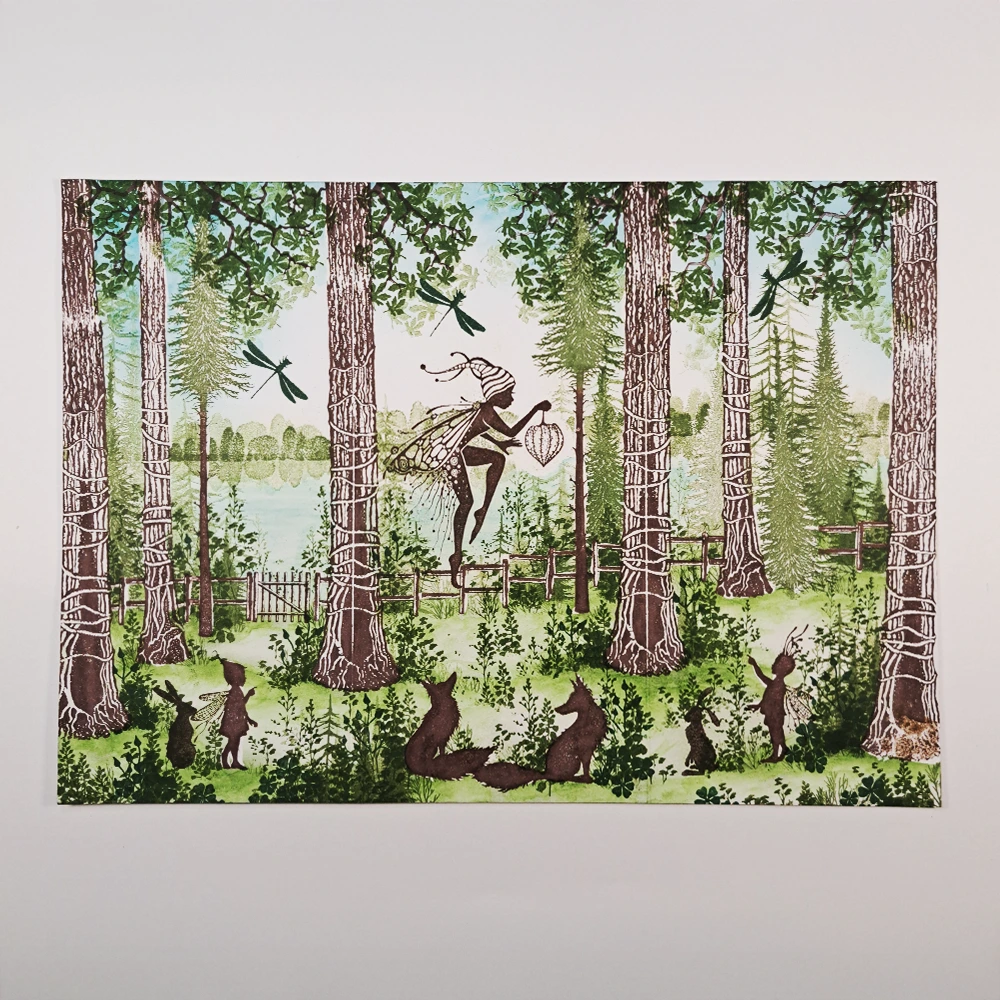
Step 8.
Time to remove the Masking. Always make sure that the card is completly dry before you start rubbing of the masking. Add some Dragonflies stamped in Versafine Clair Rain Forest.
Step 9.
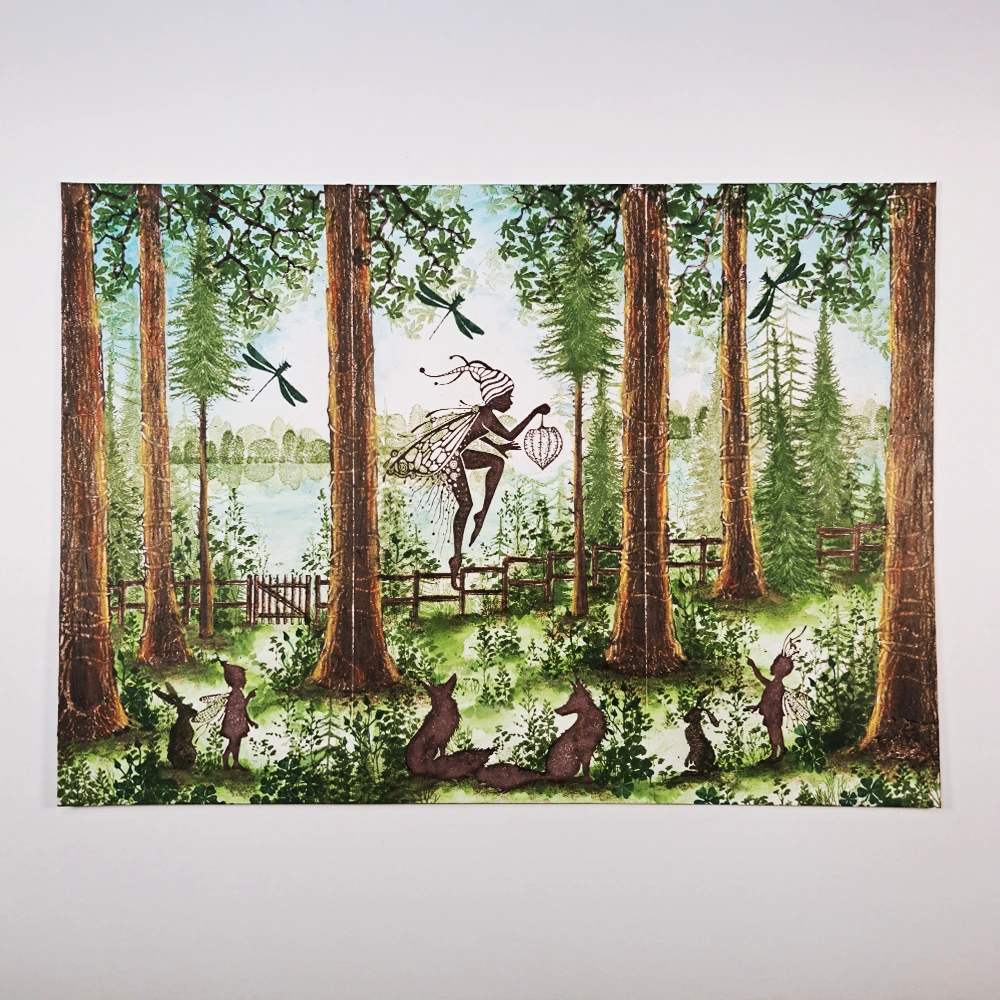
Let’s start colouring. I love to use my Mondeluz Watercolour Pencils because they are so soft and vibrant in colour. They also blend very well even without water.
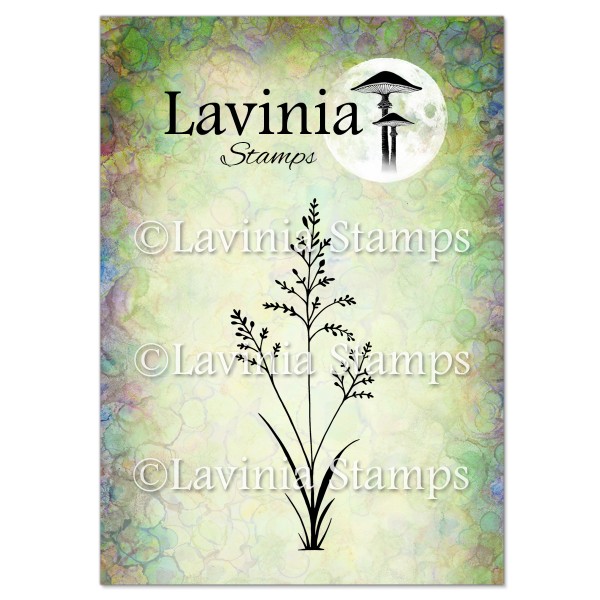
For our trees we will be using Dark Brown, Brown, Reddish Brown and Ochre. Using multiple colours will give more life to the objects we colour. Use a Watercolour brush to get more movement in the sky and on the ground. Also we need more vegetation. Stamp the Orchard grass LAV672 and the Mini Leaf 2 LAV265 in Versafine Clair.
Step 10.
Colour Rory, Darcy, Eve and the Hares with some Browns and use a lighter colour to create some Highlights.
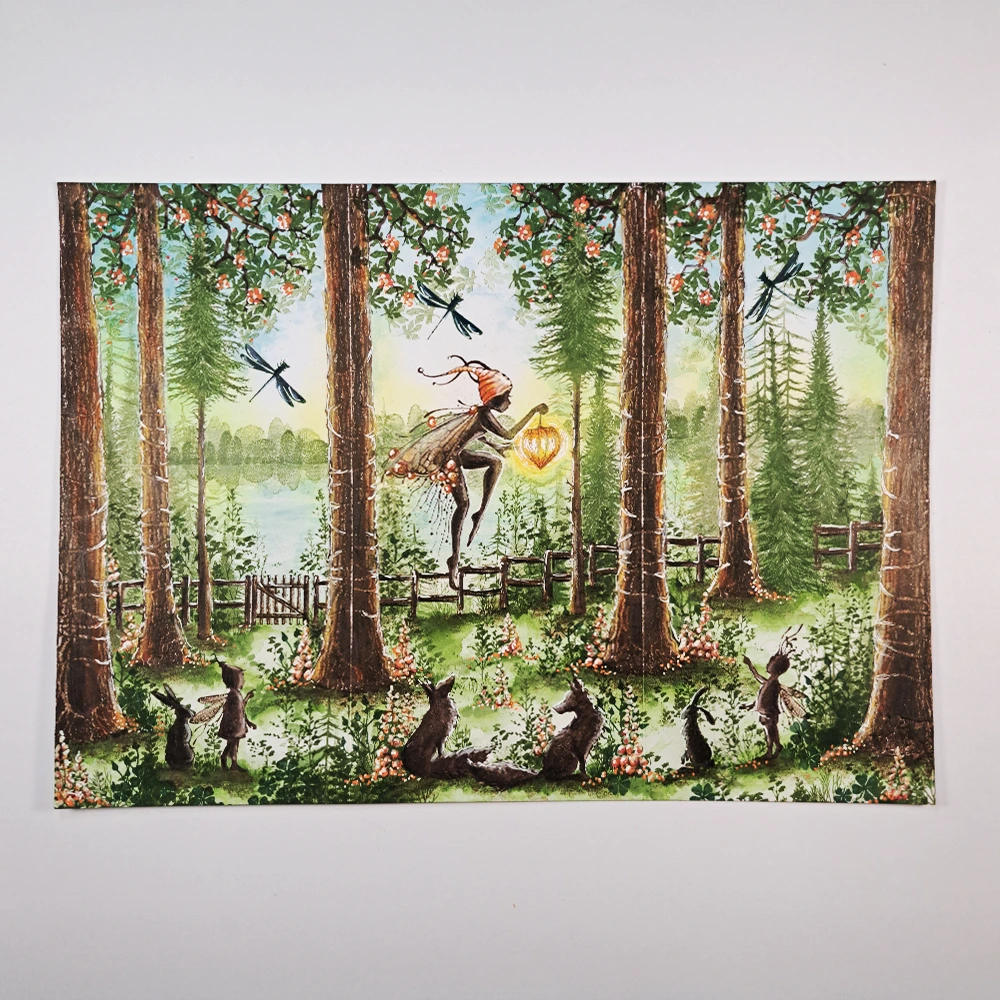
Eve has some beautiful detail that we colour in Red, Orange and Beige. Colour some of the flowers with the same colours as used on Eve’s details. To bring some colour to the top of our card we can create some flowers on the trees. Use an Orange Posca Pen and draw 5 dots in a circle.
To create a little glow in our blue sky we will use PanPastel Hansa Yellow. Look at the picture for placement.
Everything needs some White highlights. A Signo Uniball pen is good for this.
Step 11.
For our finishing touch we will do some White Posca Pen splatter. This gives our Picture some feeling of movement. .
Step 12.
Now we will cut the card into the tree parts and then mount them on some cardstock.
We are now finished and I hope you enjoyed following my Step By Step .
If you have any questions, please send me a message and I will answer as soon as I can.
Hugs from Mona