Hi Lavinians, we hope you enjoy this brilliant new step-by-step tutorial by Sarah Summerton called Triangle Box. These little boxes are perfect for wrapping little gifts, as a table favour or for hanging from your Christmas tree.🎄
Step 1.
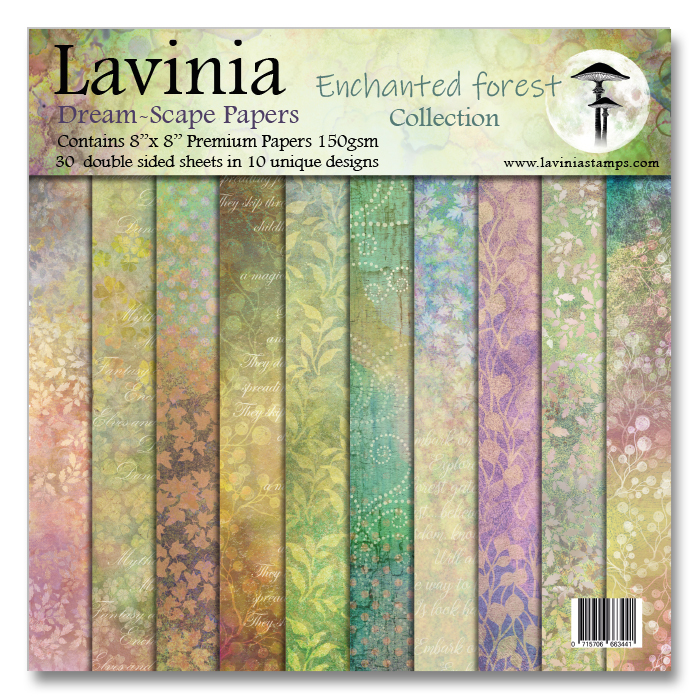
Take a piece of Dreamscape paper (I have used the Enchanted Forest pad) and cut it in half. Decide which side you want to be the outside of your box, then fold the wrong sides together as shown.
Step 2.
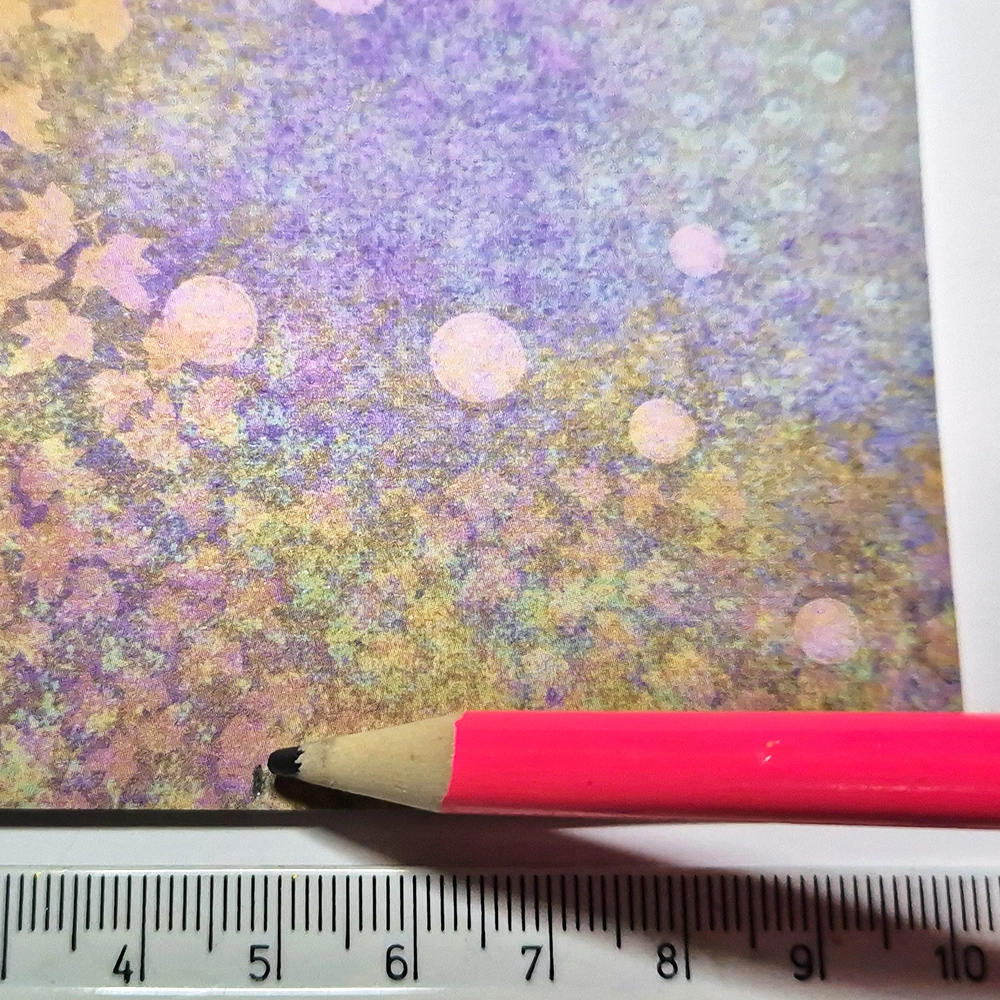
Take a pencil and ruler and on the wrong side mark the halfway point of each short edge. It should be 5cm or thereabouts.
Step 3.
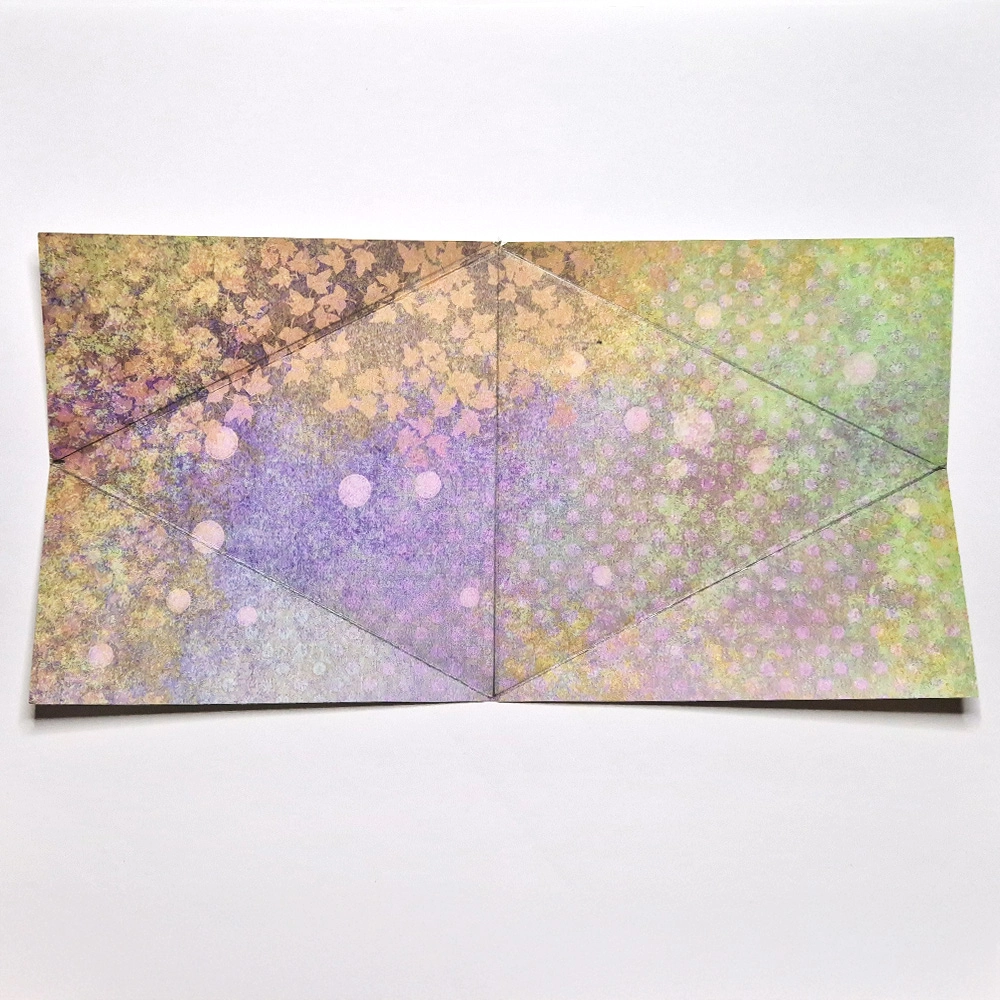
Score a line from the halfway fold edge to the pencil mark- I have marked it in pencil on the photo to help guide you. Fold all the score lines and press down.
Step 4.
Fold the paper in half again, then the triangle sides toward each other. They should align and make a basic triangular box shape. In turn, hold each side together and using a single hole punch make a hole about 1cm down from the top edge. You are punching through both pieces of each side.
Step 5.
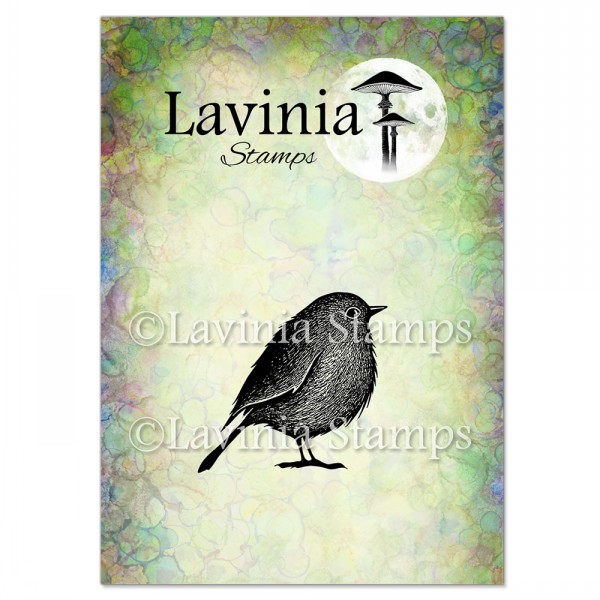
Open up the paper and stamp Bobby LAV922 on the right side.
Step 6.
Colour in and embellish. I used one of the larger Robins, but the Christmas Joy tree stamp fits perfectly too.
Step 7.
Refold the box and thread some yarn or ribbon through the holes. It’s easier if you thread the sides one at a time, rather than trying to do them both together.
Step 8.
Pop some sweets, chocolates or gifts inside the box.
Step 9.
Tie the yarn to close the opening and you have a lovely little gift box or table favour. They would even look lovely if you hung them in your Christmas Tree.


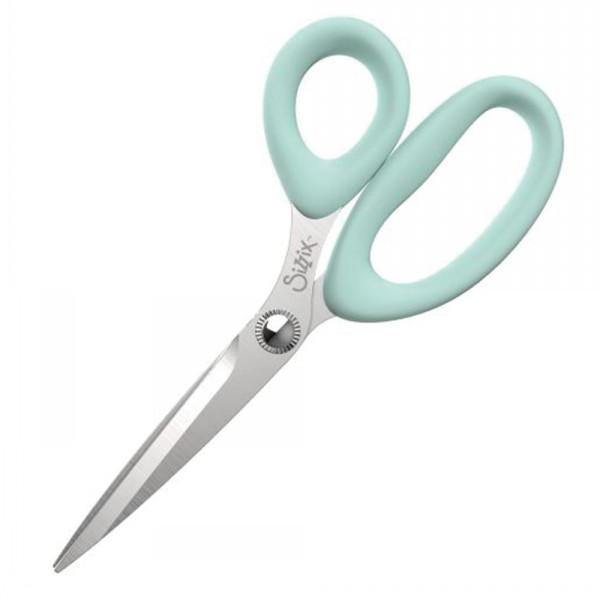 Scissors – Large
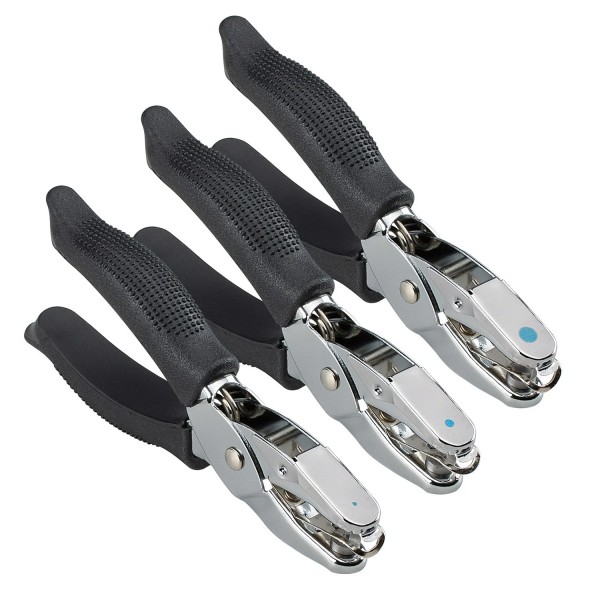 Hole Punch Set – Round
 Crafting Yarn – Earth Green
 Tim Holtz – Guillotine 22cm