

 Dill Stamp
£5.60
Add to basket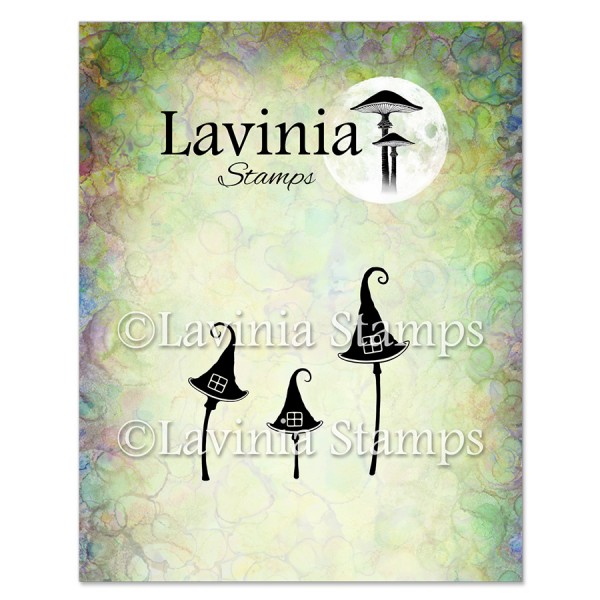 Small Shrooms Stamp
£6.90
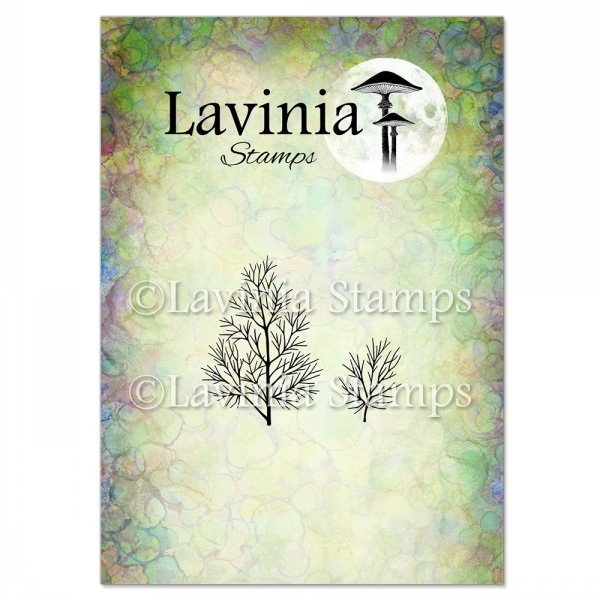
Add to basket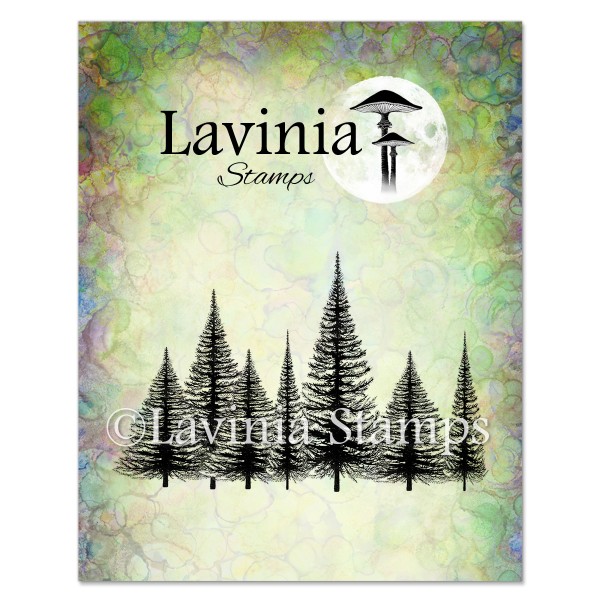 Christmas Tree Group Stamp
£6.80
Add to basket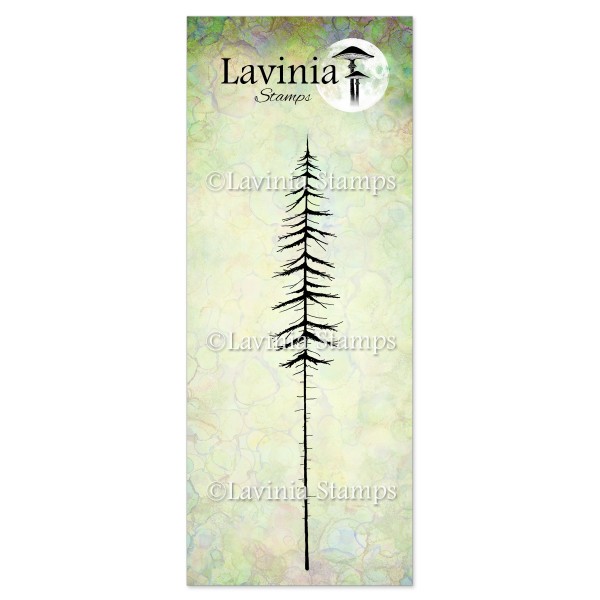 Red Pine (Large) Stamp
£7.10
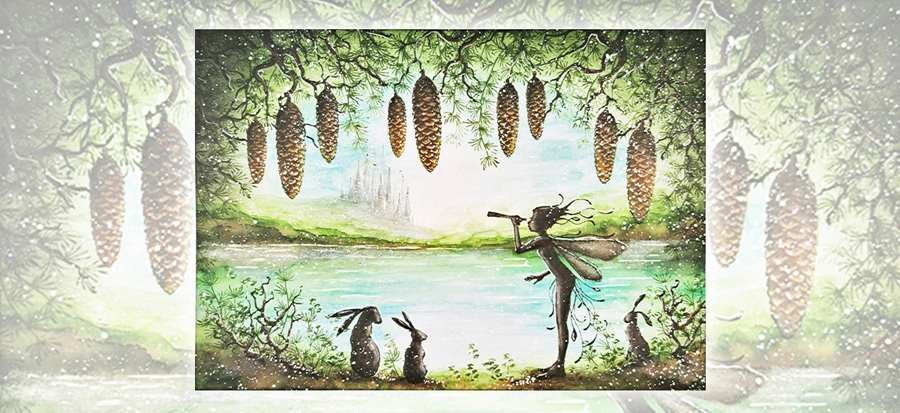
Add to basket Fairy Fir Tree 2 Stamp
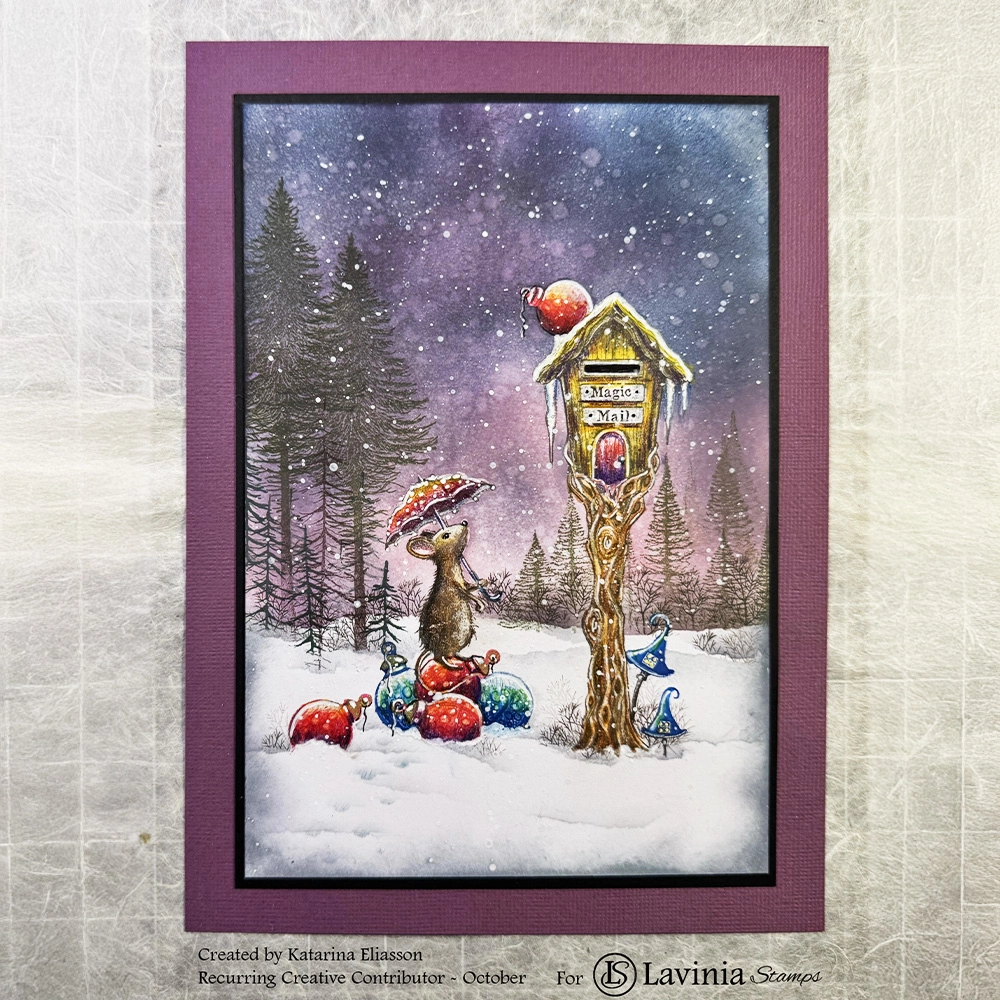
£7.20
Add to basket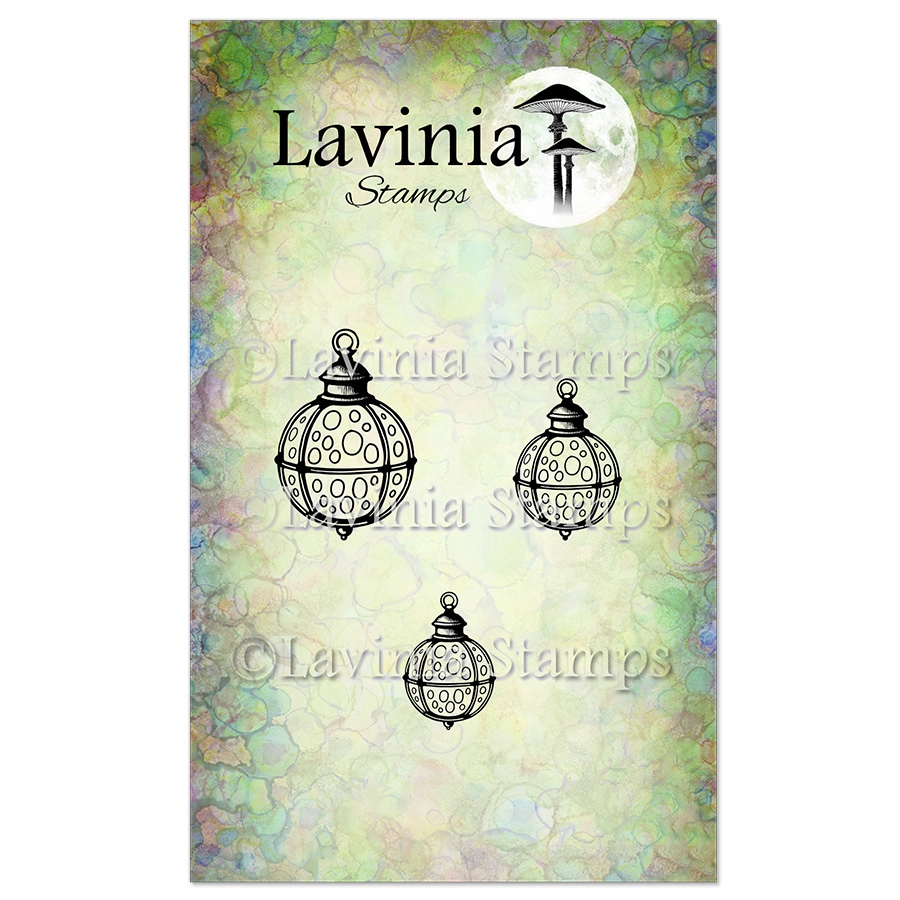 Glimmer Orbs Stamp
£5.80
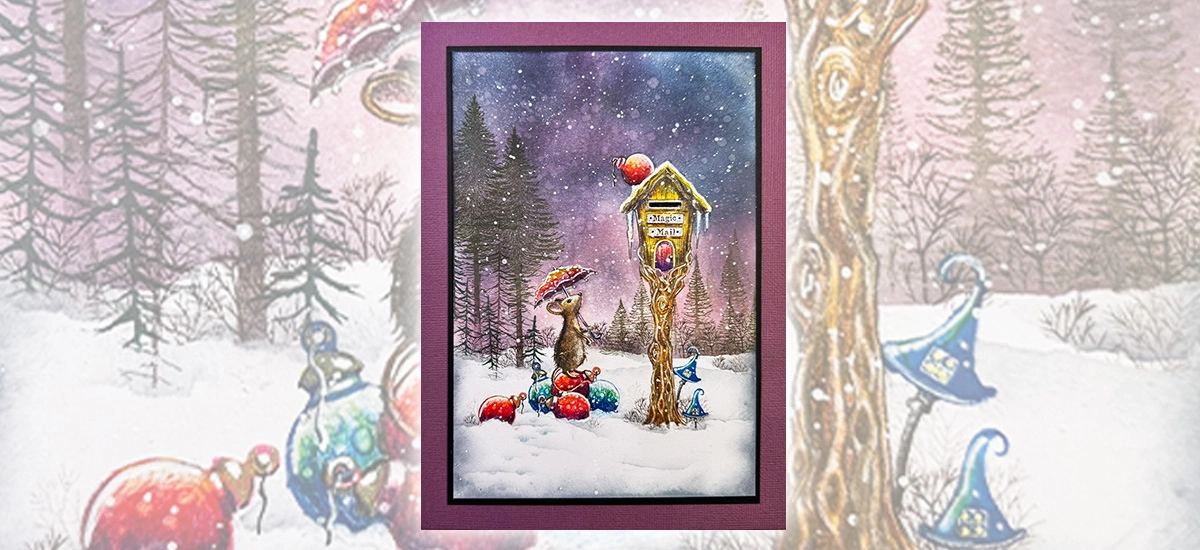
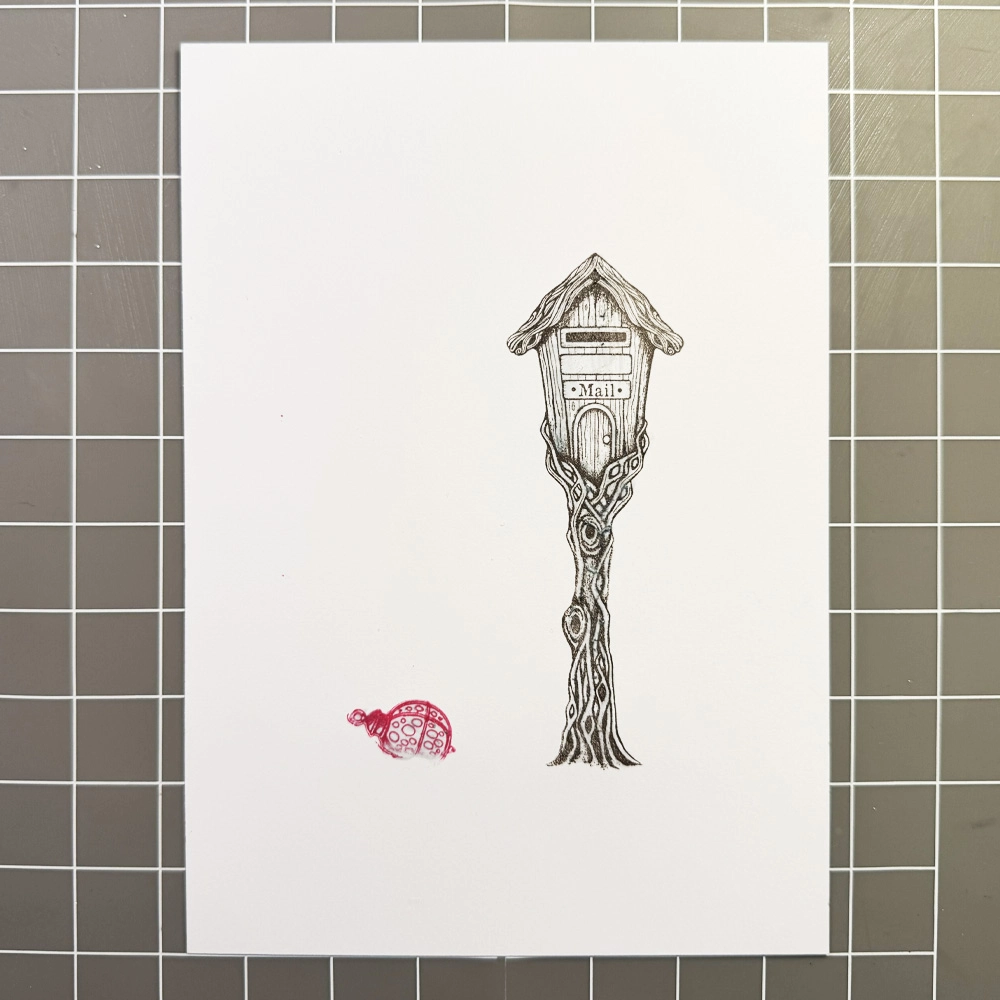
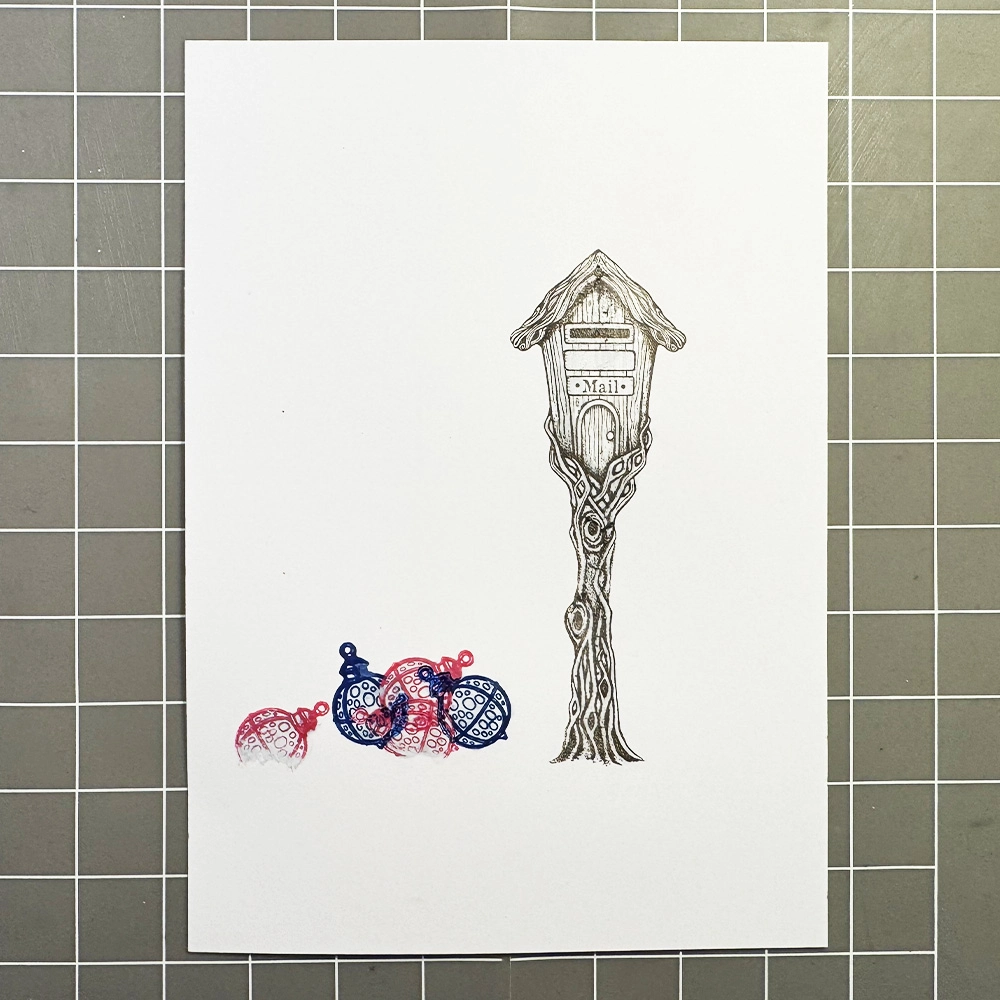
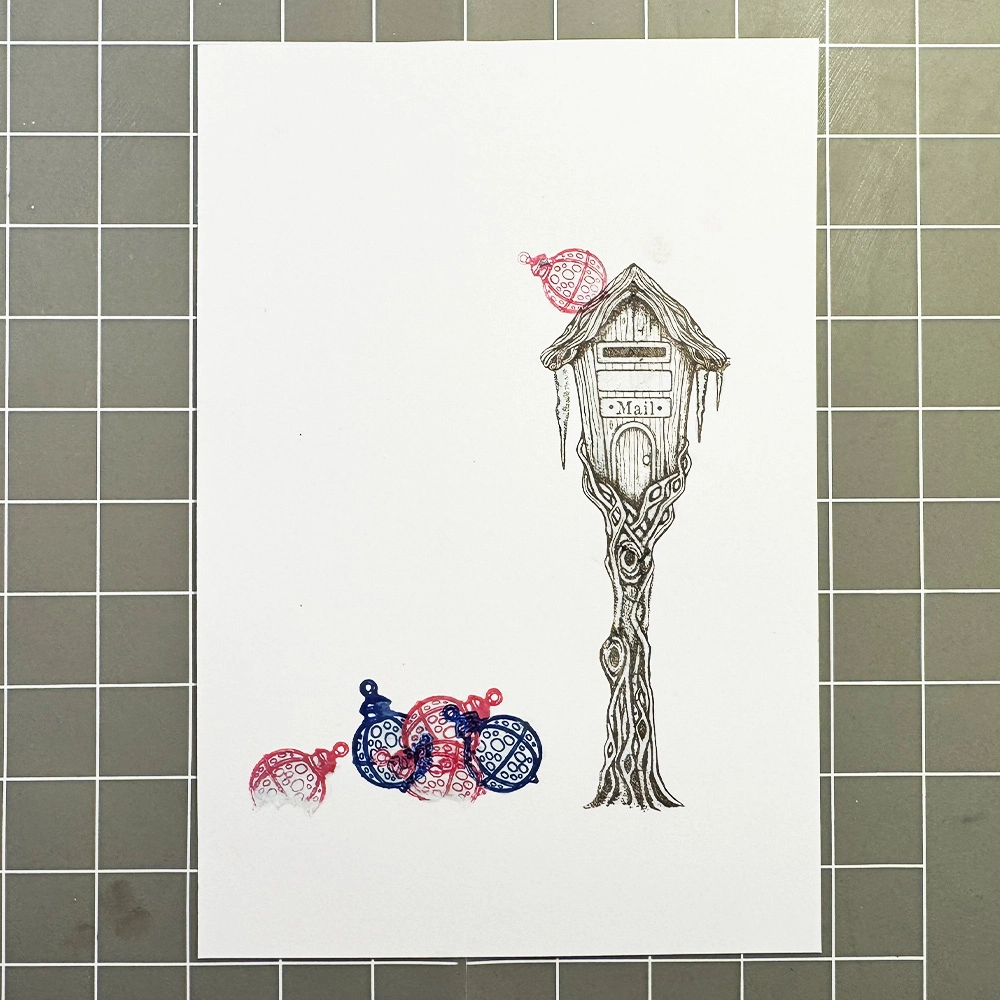
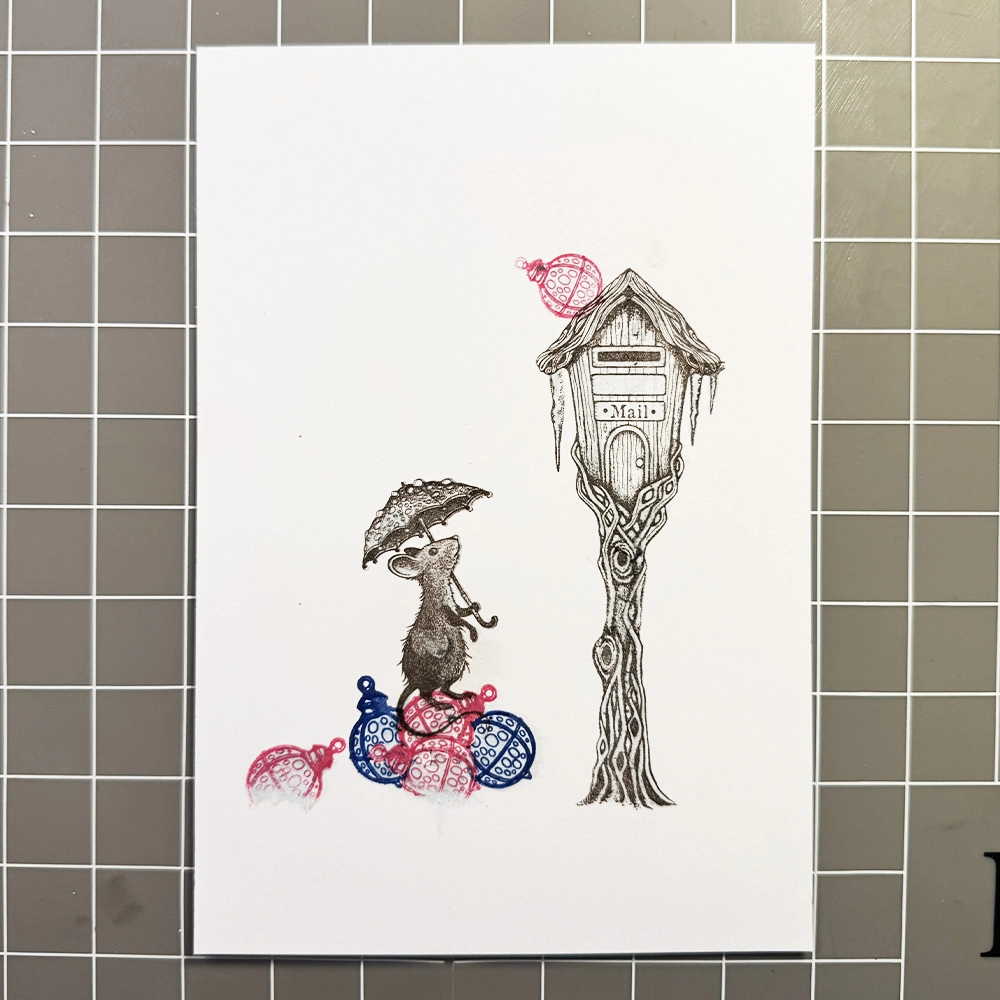
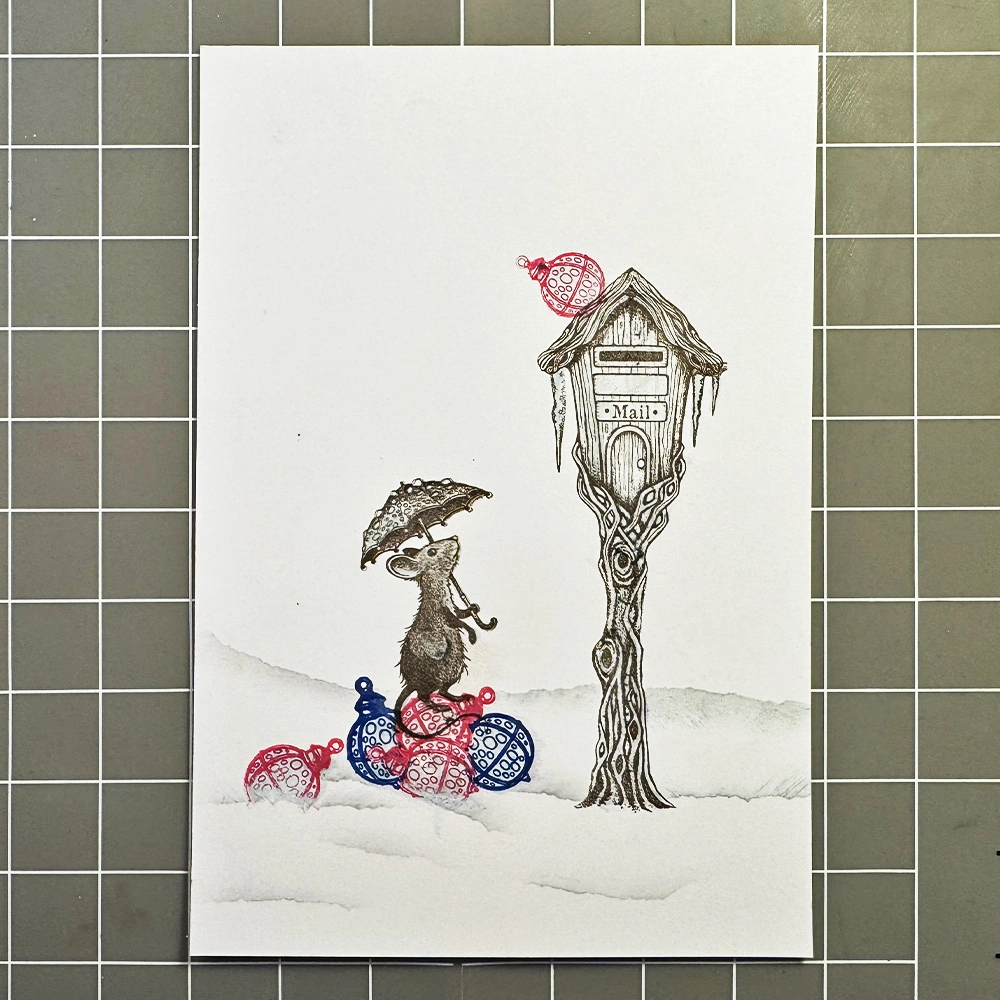
Add to basket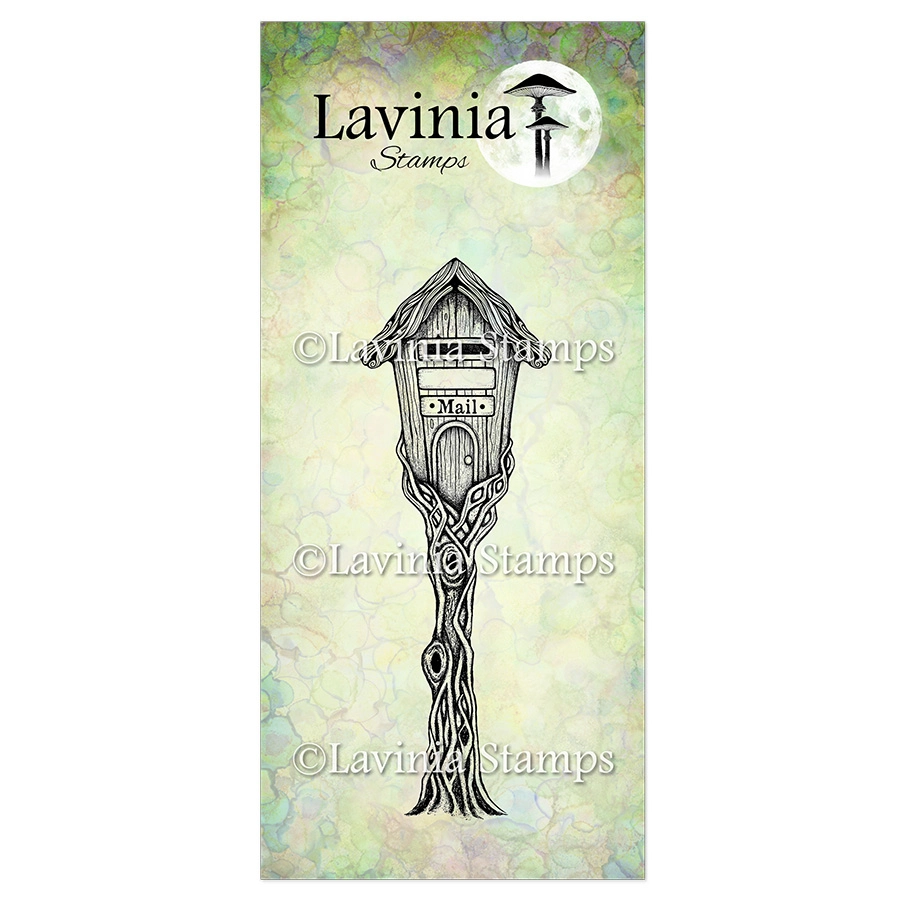 Wishing Post Stamp
£8.80
Add to basket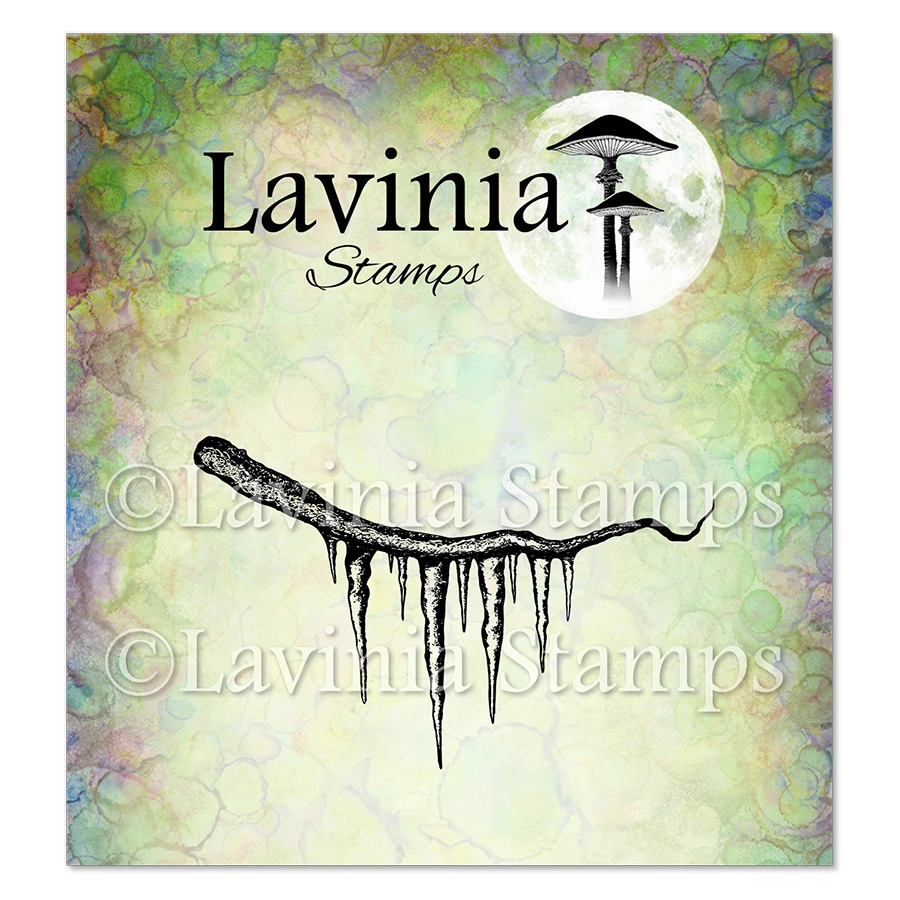 Moonspikes Stamp
£6.10
Add to basket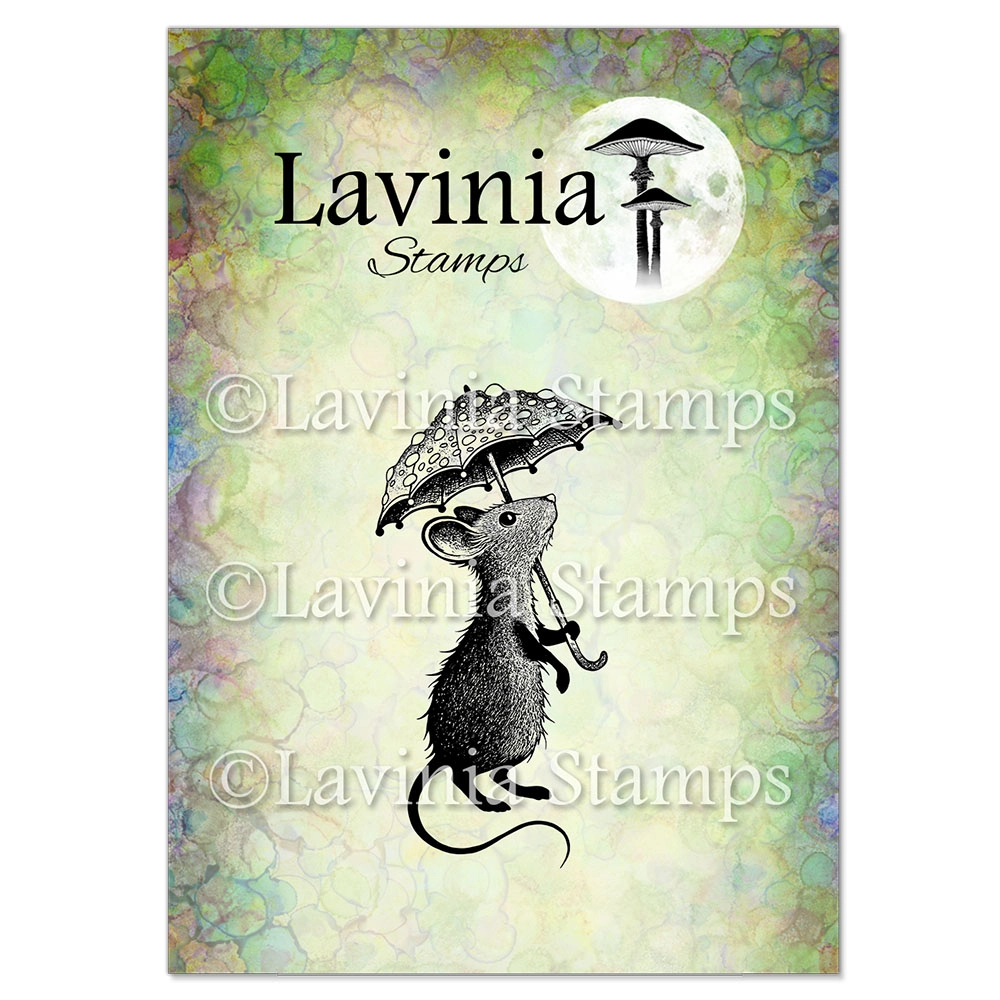 Thistlewhisk Stamp
£6.40
Add to basket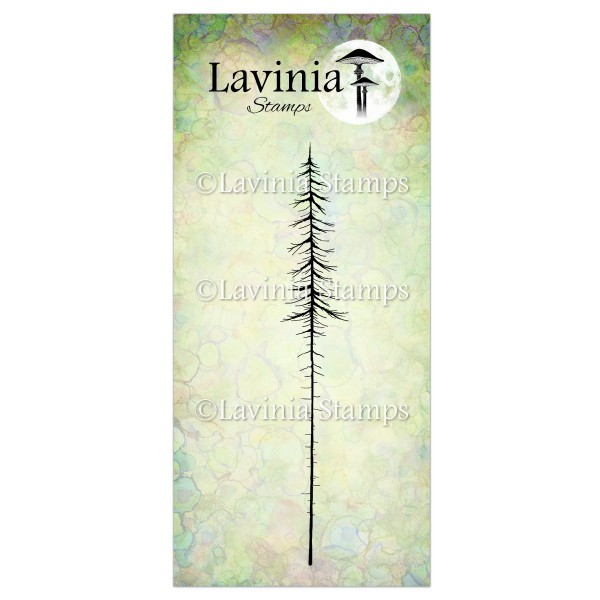 Red Pine (Small) Stamp
£6.30
Add to basket Mailbox Names Stamp
£3.40
Add to basket Elements Premium Dye Ink – Dark Denim
£5.85
Add to basket Versafine Clair Ink Pad – Fallen Leaves
£5.80
Add to basket Versafine Clair Ink Pad – Shady Lane
£5.80
Add to basket Versafine Clair Ink Pad – Rain Forest
£5.80
Add to basket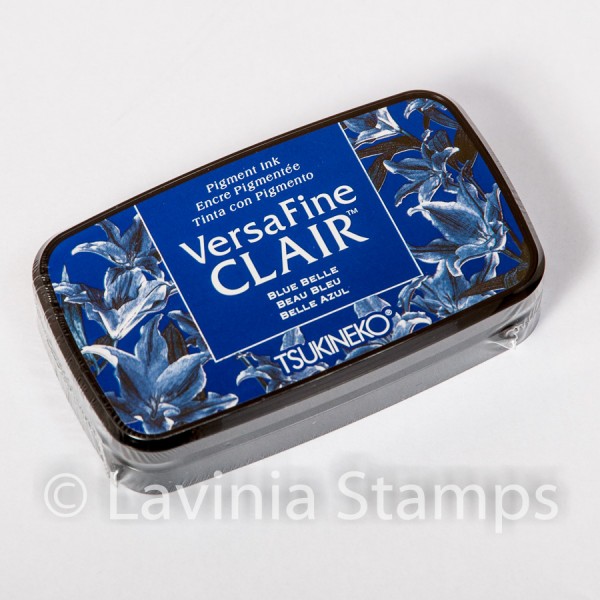 Versafine Clair Ink Pad – Blue Belle
£5.80
Add to basket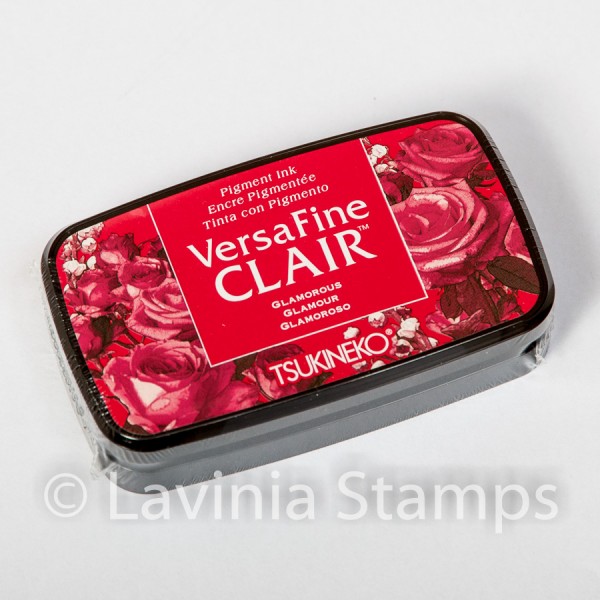 Versafine Clair Ink Pad – Glamorous
£5.80
Add to basket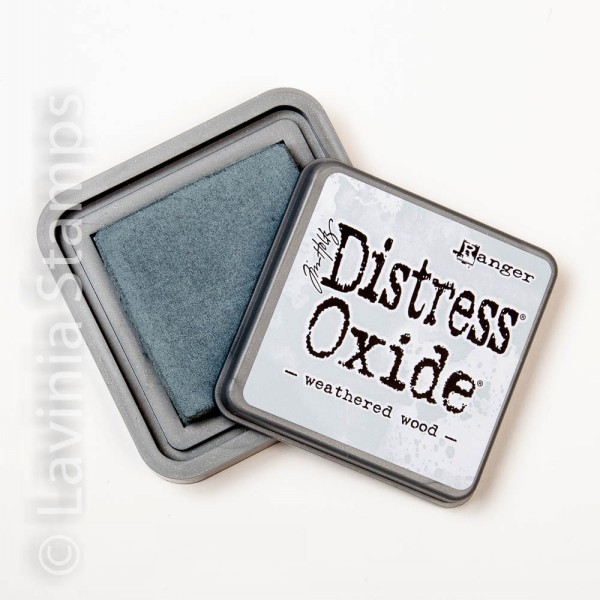 Distress Oxide Ink Pad – Weathered Wood
£6.25
Add to basket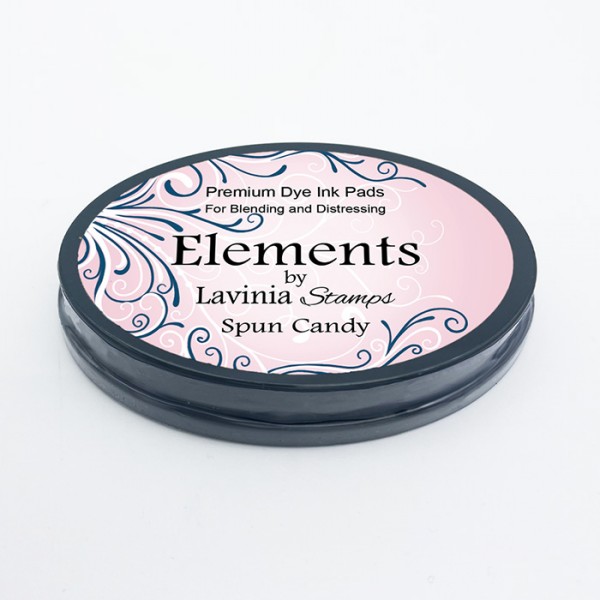 Elements Premium Dye Ink – Spun Candy
£5.85
Add to basket