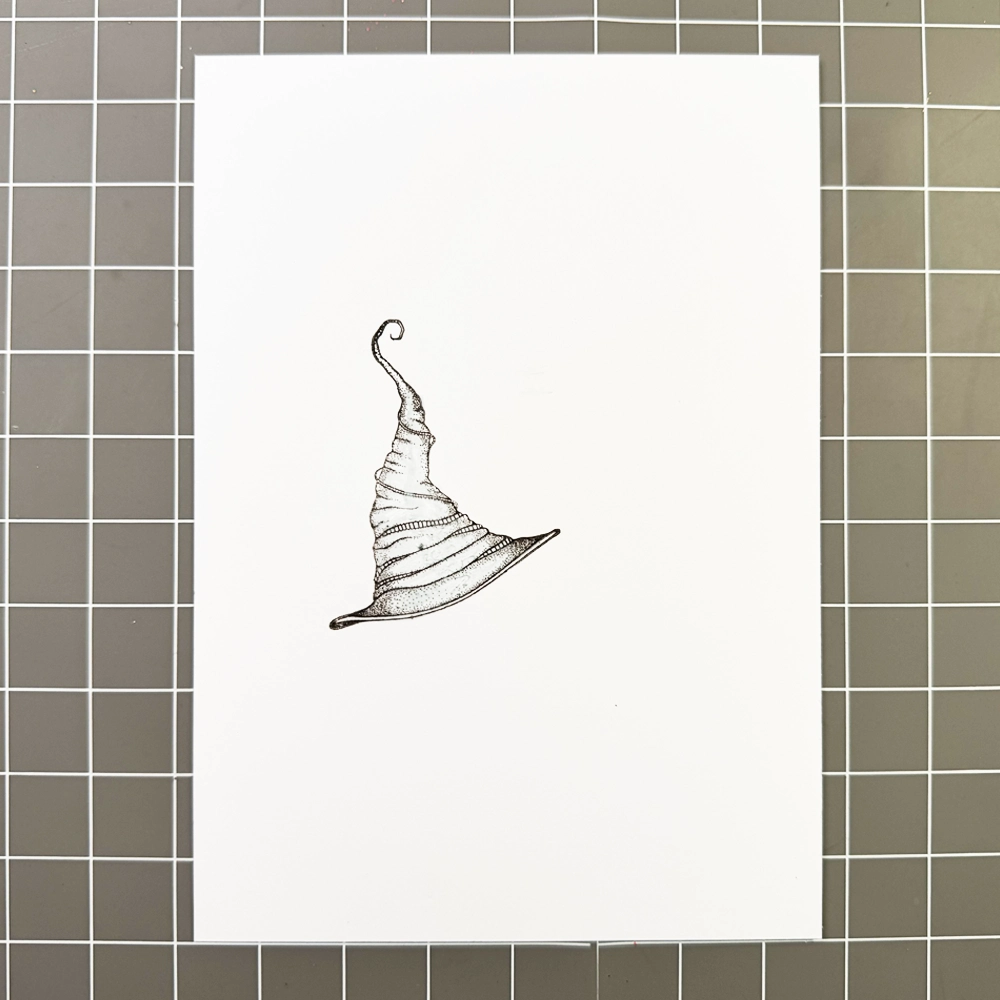


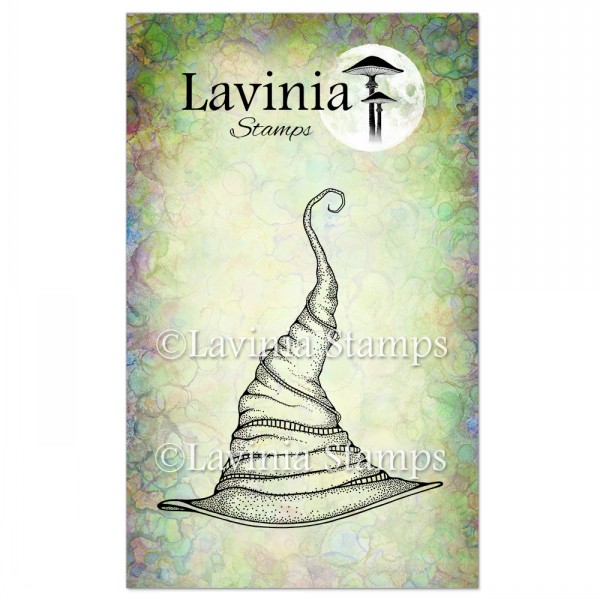
 Witches Hat Stamp
£6.80
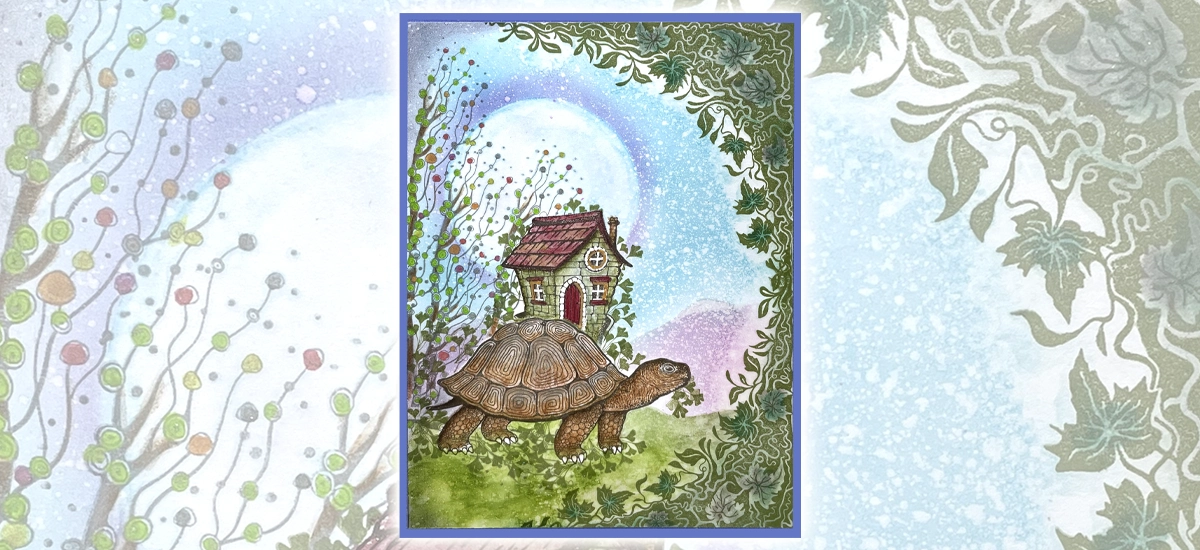
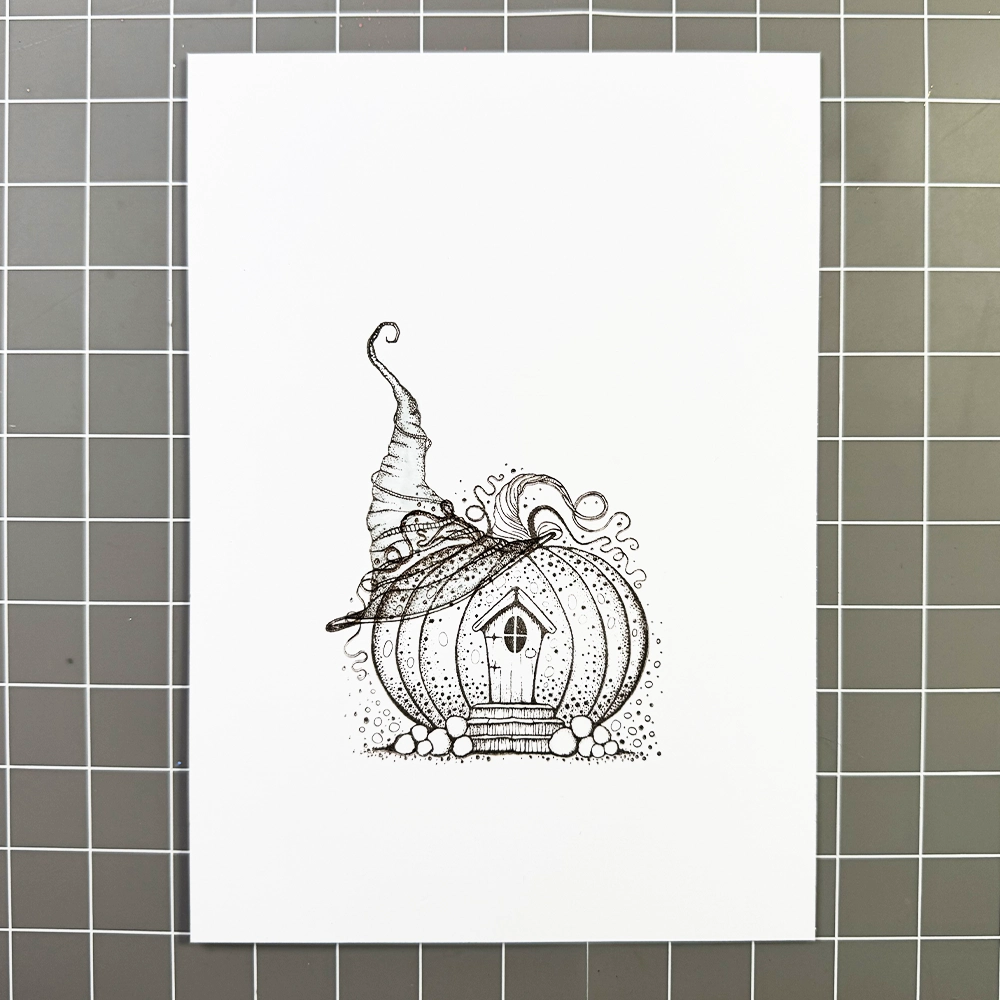
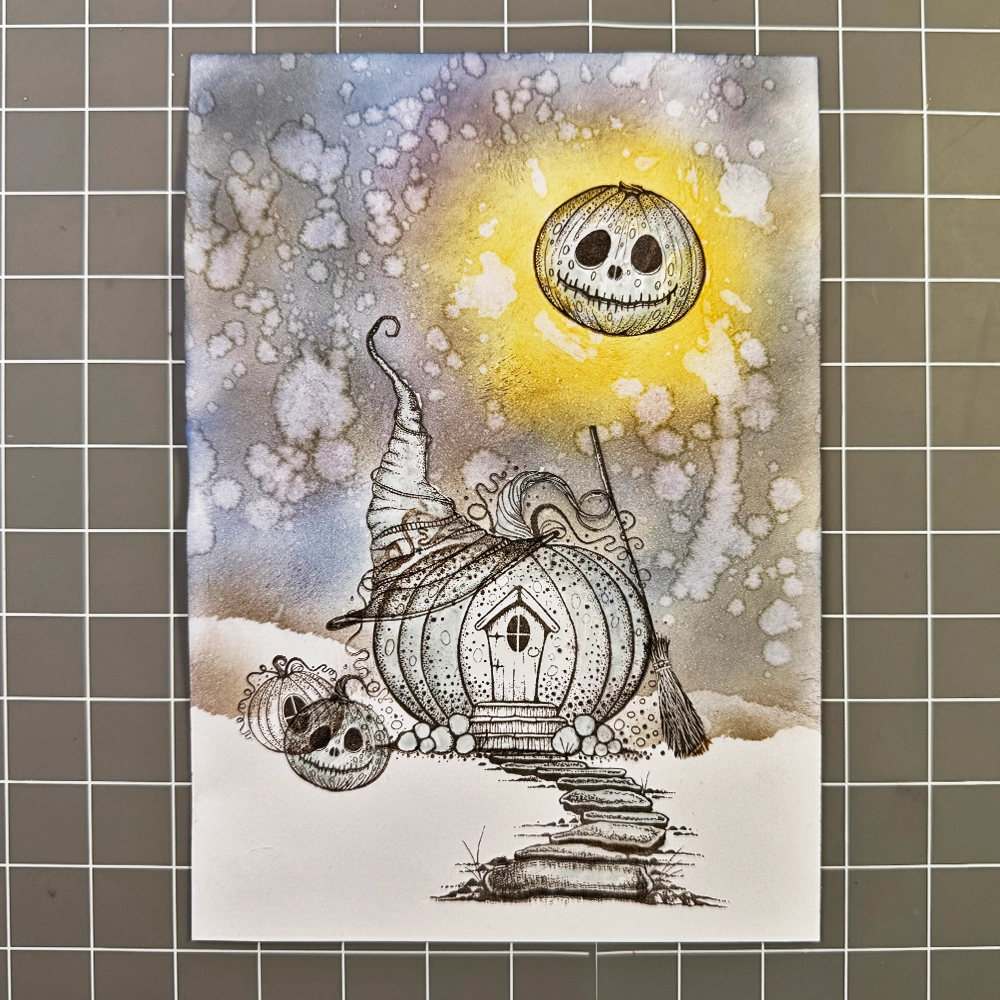
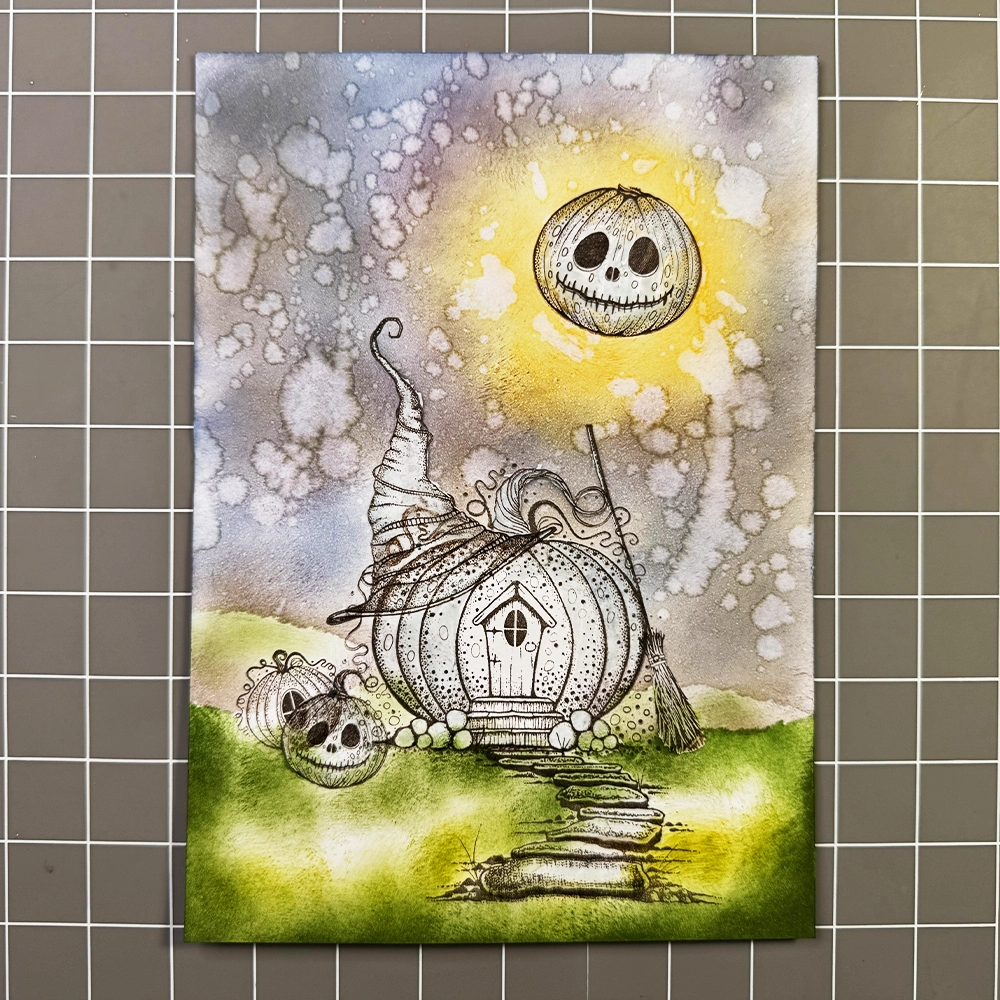
Add to basket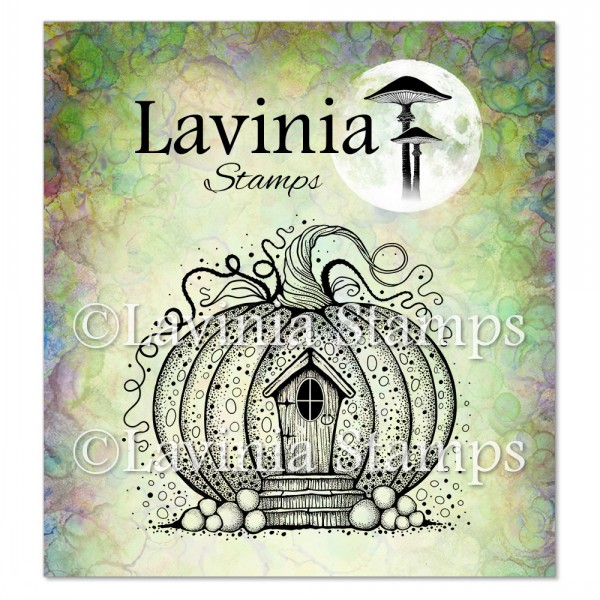 Pumpkin Lodge Stamp
£8.60
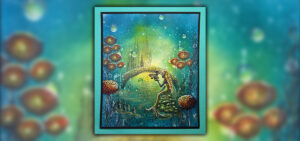
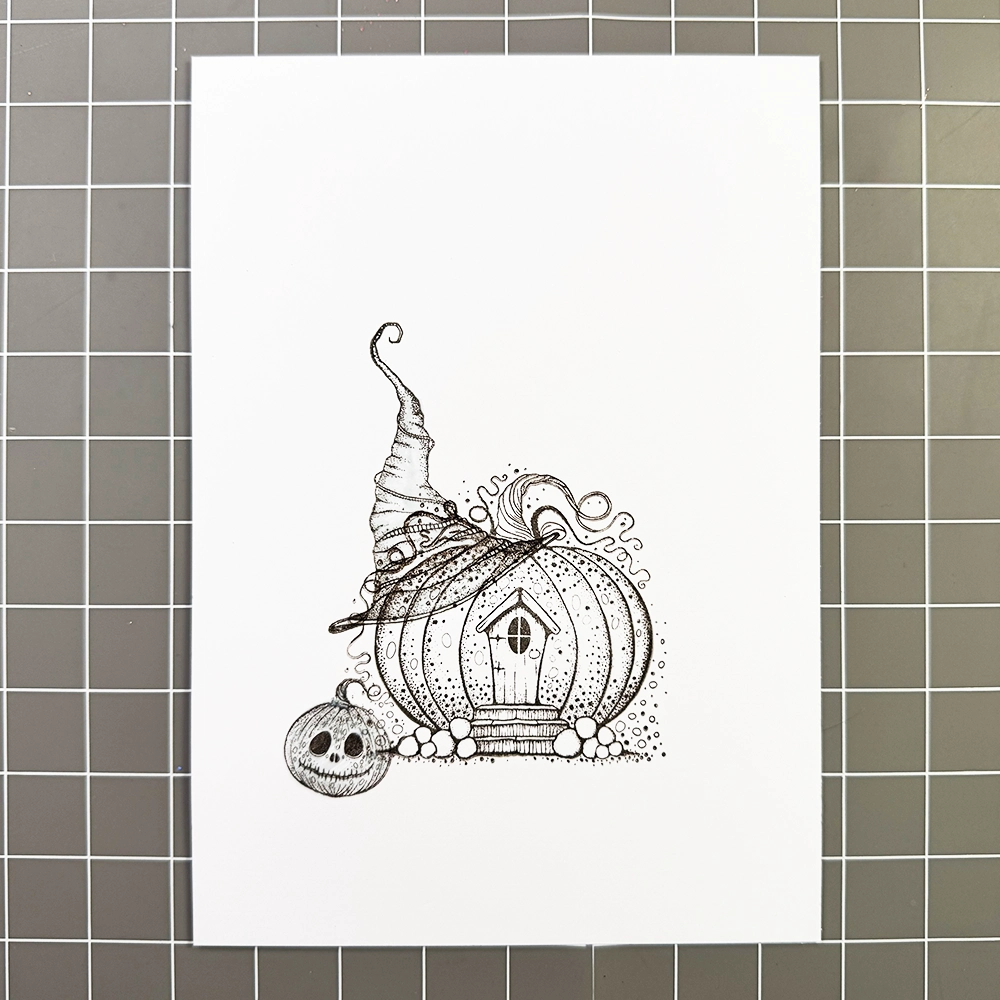
Add to basket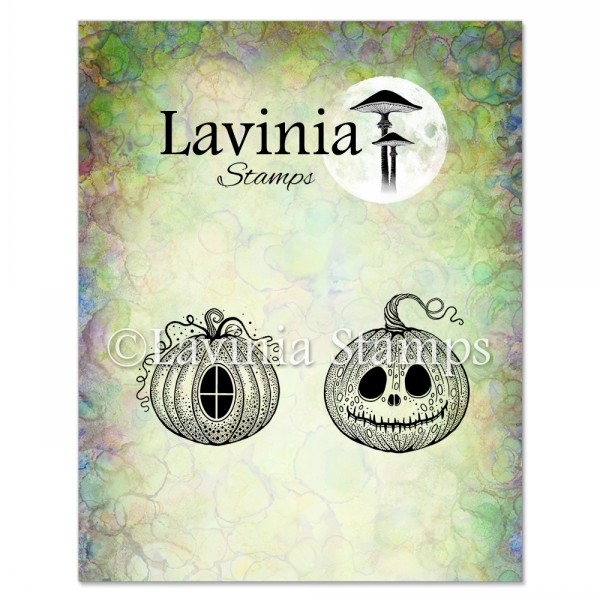 Ickle Pumpkins Stamp
£6.80
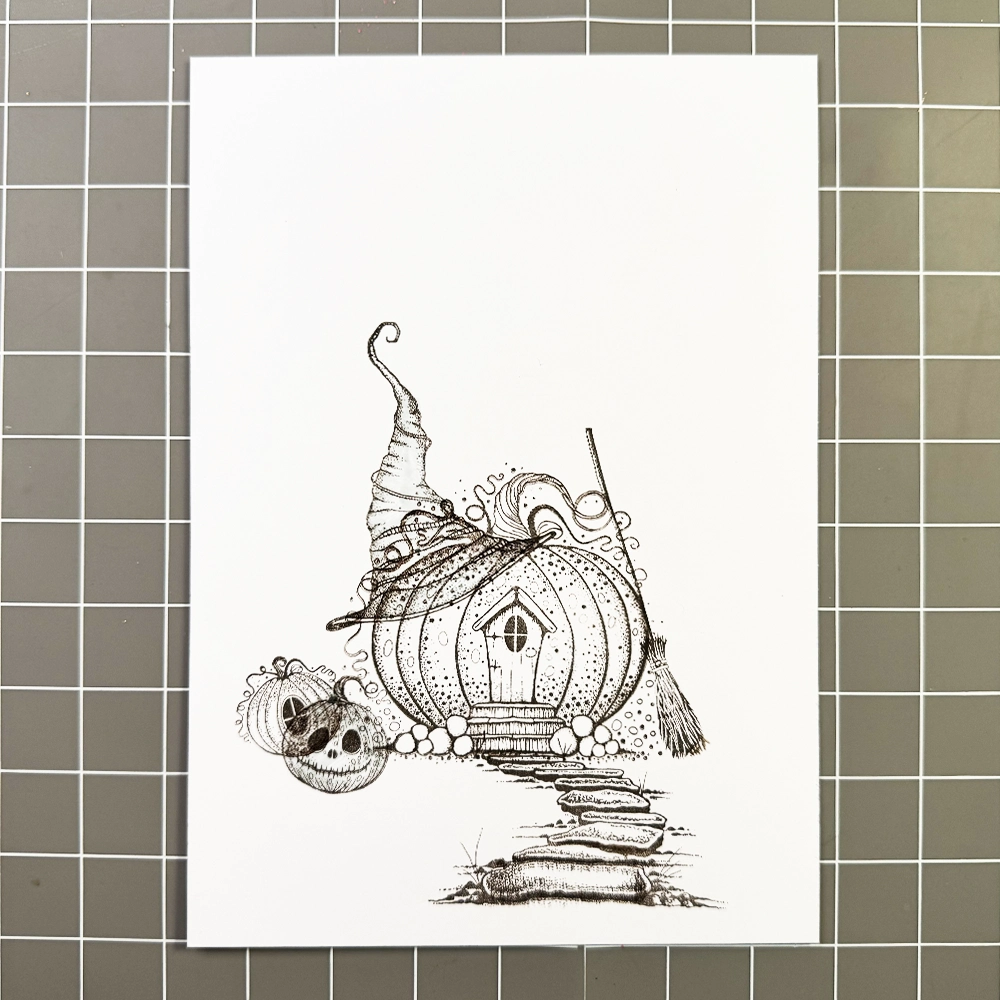
Add to basket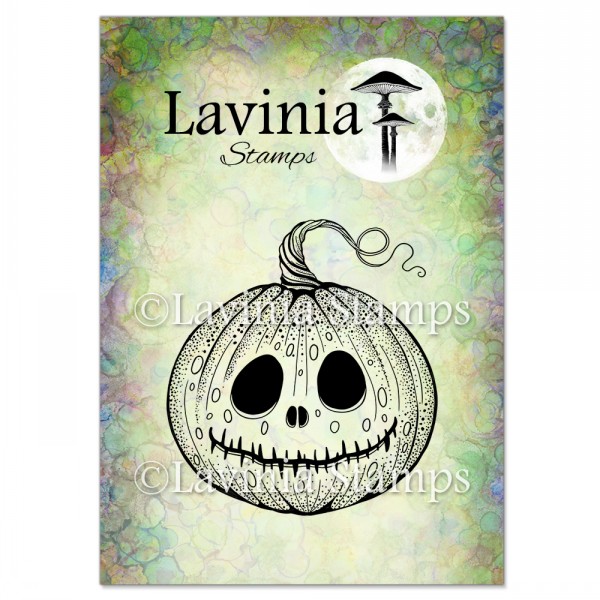 Playful Pumpkin Stamp
£5.90
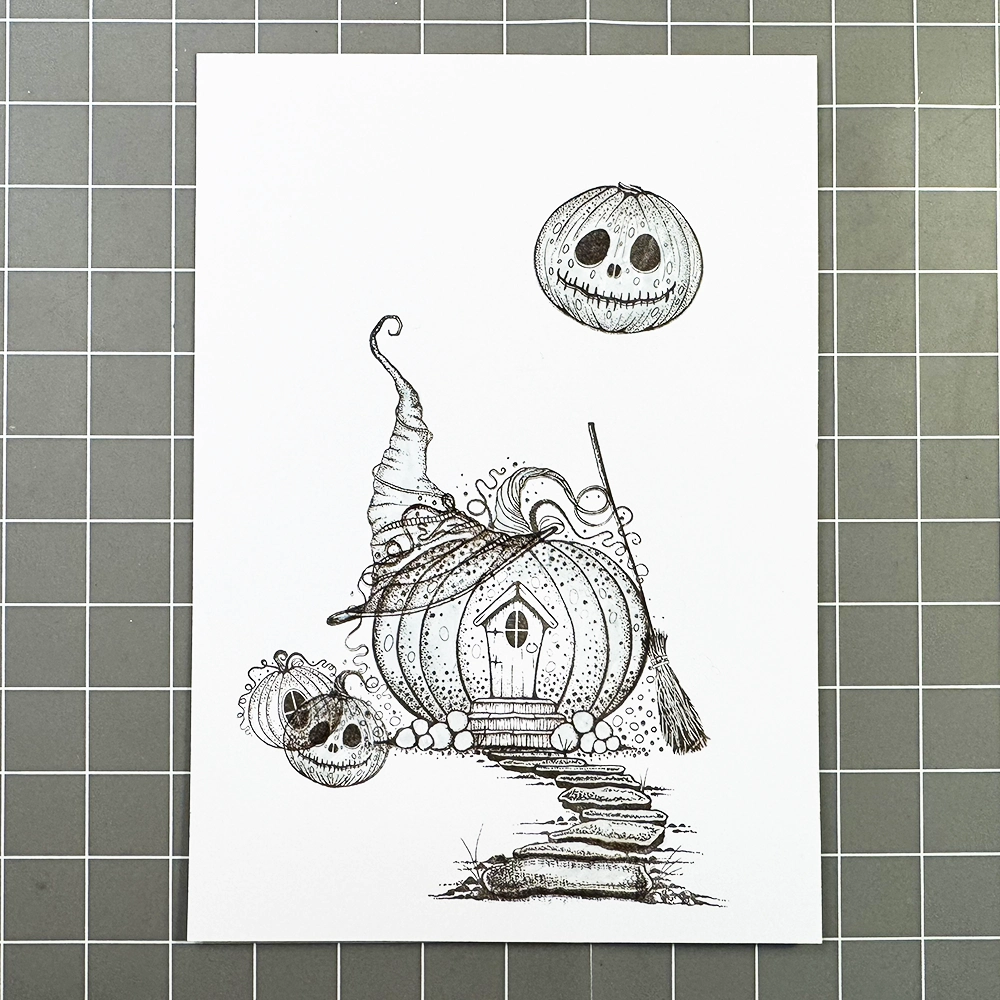
Add to basket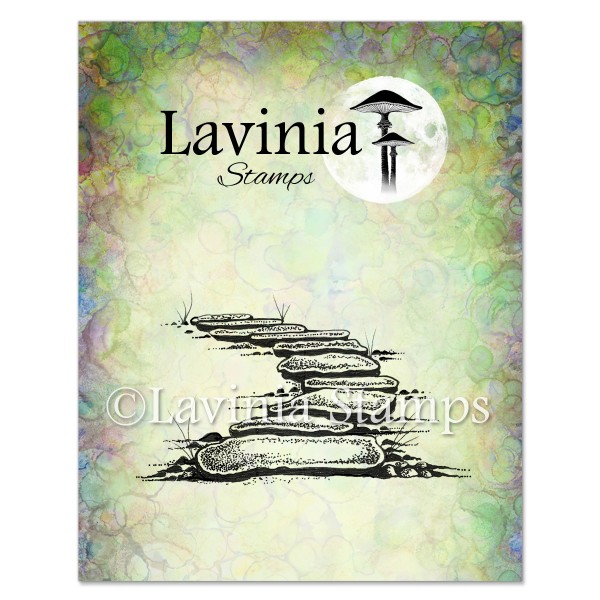 Fairy Path Stamp
£6.90
Add to basket Tree of Courage Stamp
£10.80
Add to basket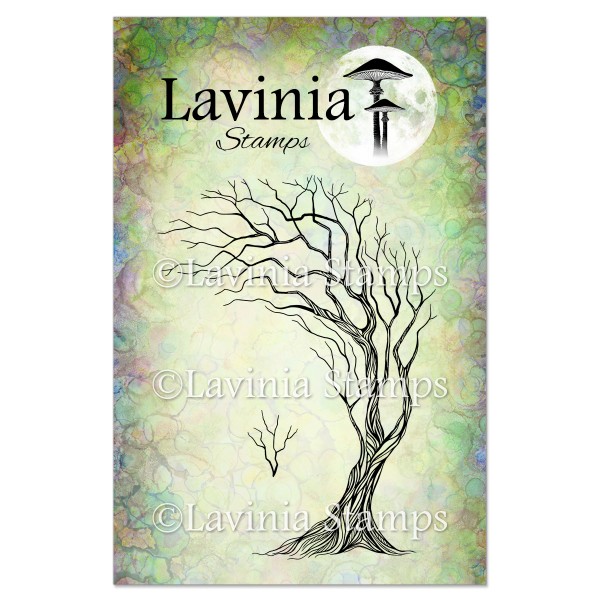 Tree of Hope Stamp
£10.80
Add to basket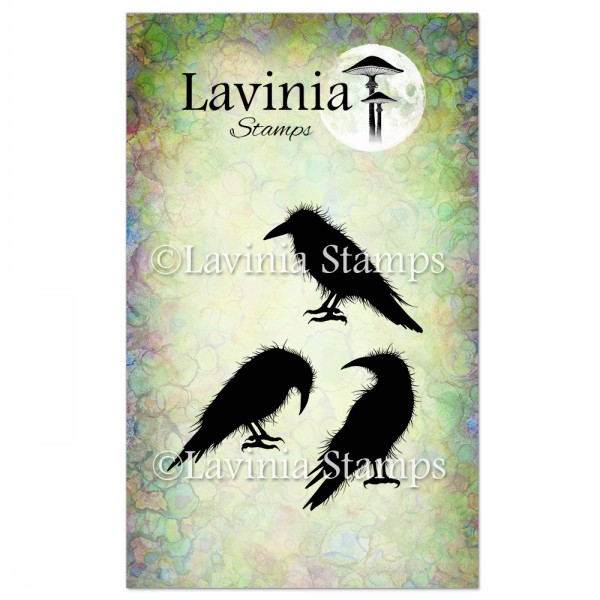 Crow Set Stamp
£8.20
Add to basket Brodwin and Maylin Stamp
£7.20
Add to basket Fairy Towns Stamp
£7.60
Add to basket Broomsticks Stamp
£7.20
Add to basket Potions Stamp
£7.80
Add to basket Small Pixy Houses Stamp
£3.90
Add to basket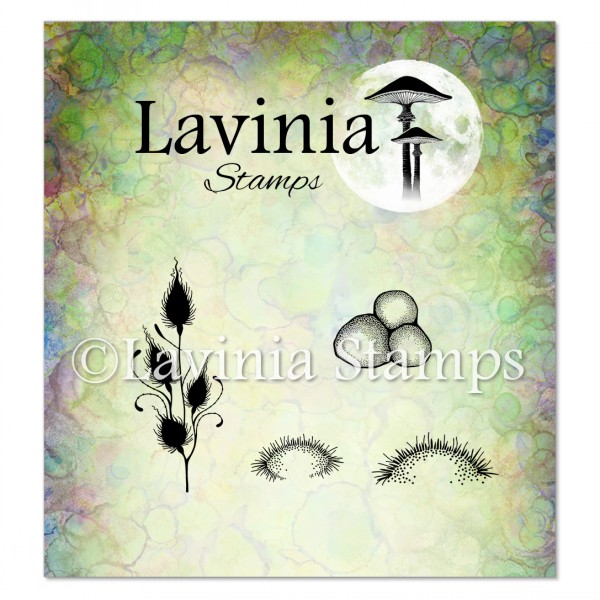 Forest Moss Stamp
£6.60
Add to basket Elements Premium Dye Ink – Midnight Blue
£5.85
Add to basket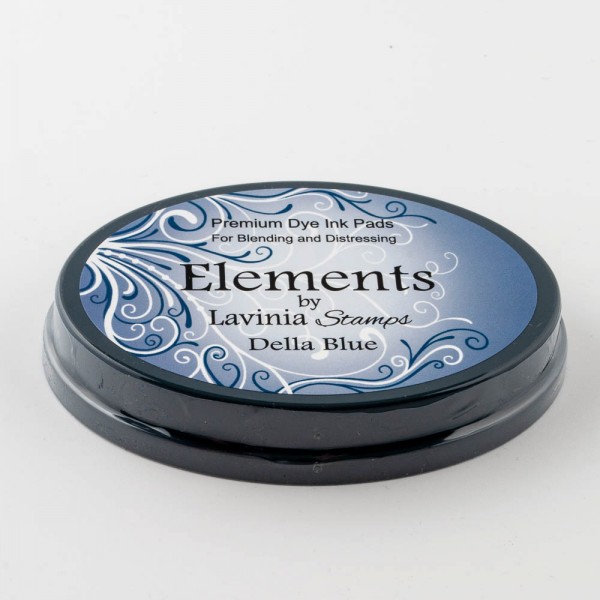 Elements Premium Dye Ink – Della Blue
£5.85
Add to basket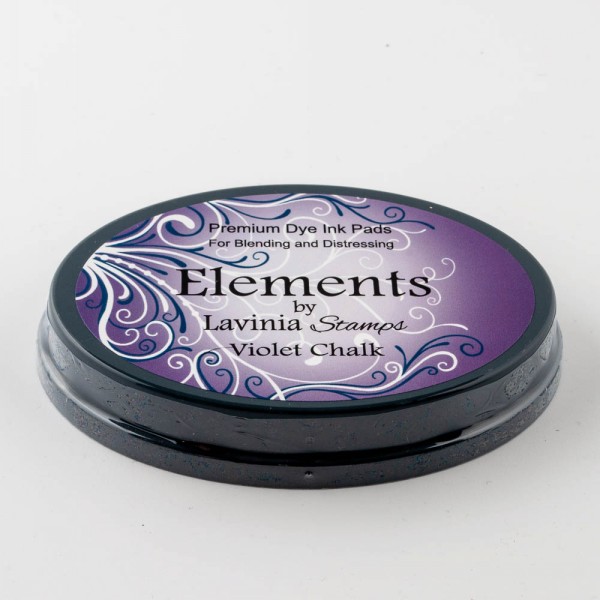 Elements Premium Dye Ink – Violet Chalk
£5.85
Add to basket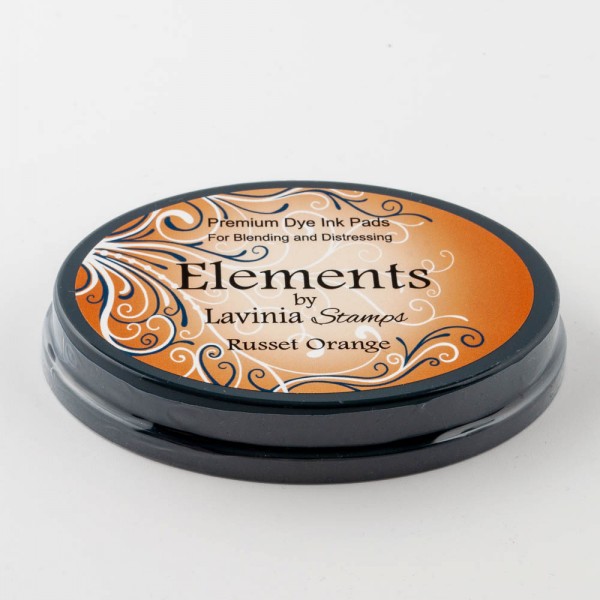 Elements Premium Dye Ink – Russet Orange
£5.85
Add to basket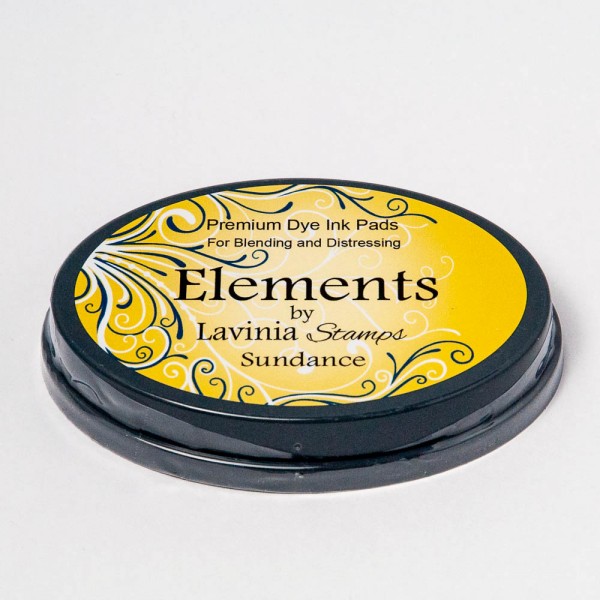 Elements Premium Dye Ink – Sundance
£5.85
Add to basket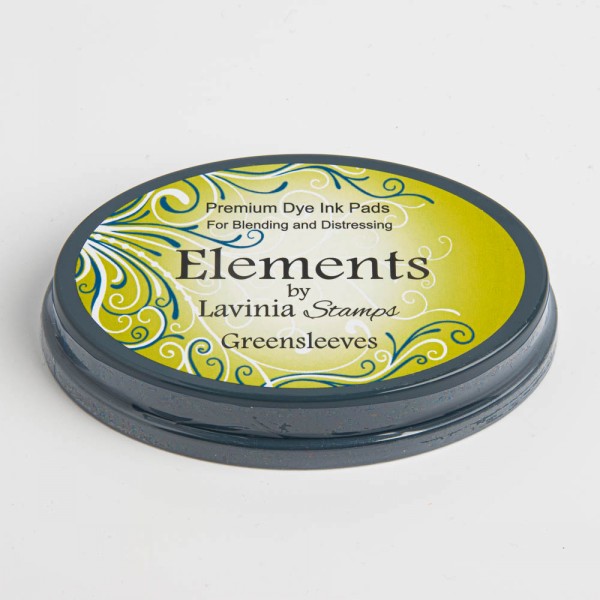 Elements Premium Dye Ink – Greensleeves
£5.85
Add to basket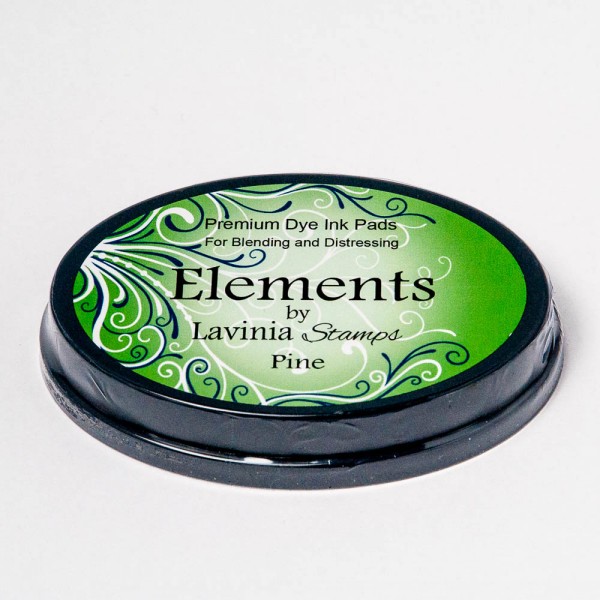 Elements Premium Dye Ink – Pine
£5.85
Add to basket Elements Premium Dye Ink – Olive
£5.85
Add to basket Versafine Clair Ink Pad – Fallen Leaves
£5.80
Add to basket Versafine Clair Ink Pad – Nocturne
£5.80
Add to basket Mondeluz Watercolour Pencils 72 Set
£59.95
Read more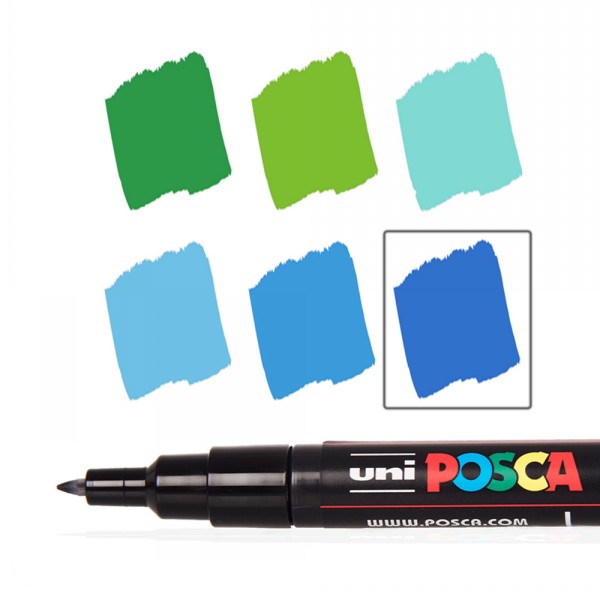 Posca Fine Tip Pens Spring Collection
£3.16
Select options Posca Fine Tip Pens Summer Collection
£3.16
Select options PanPastels – Hansa Yellow
£9.30
Add to basket