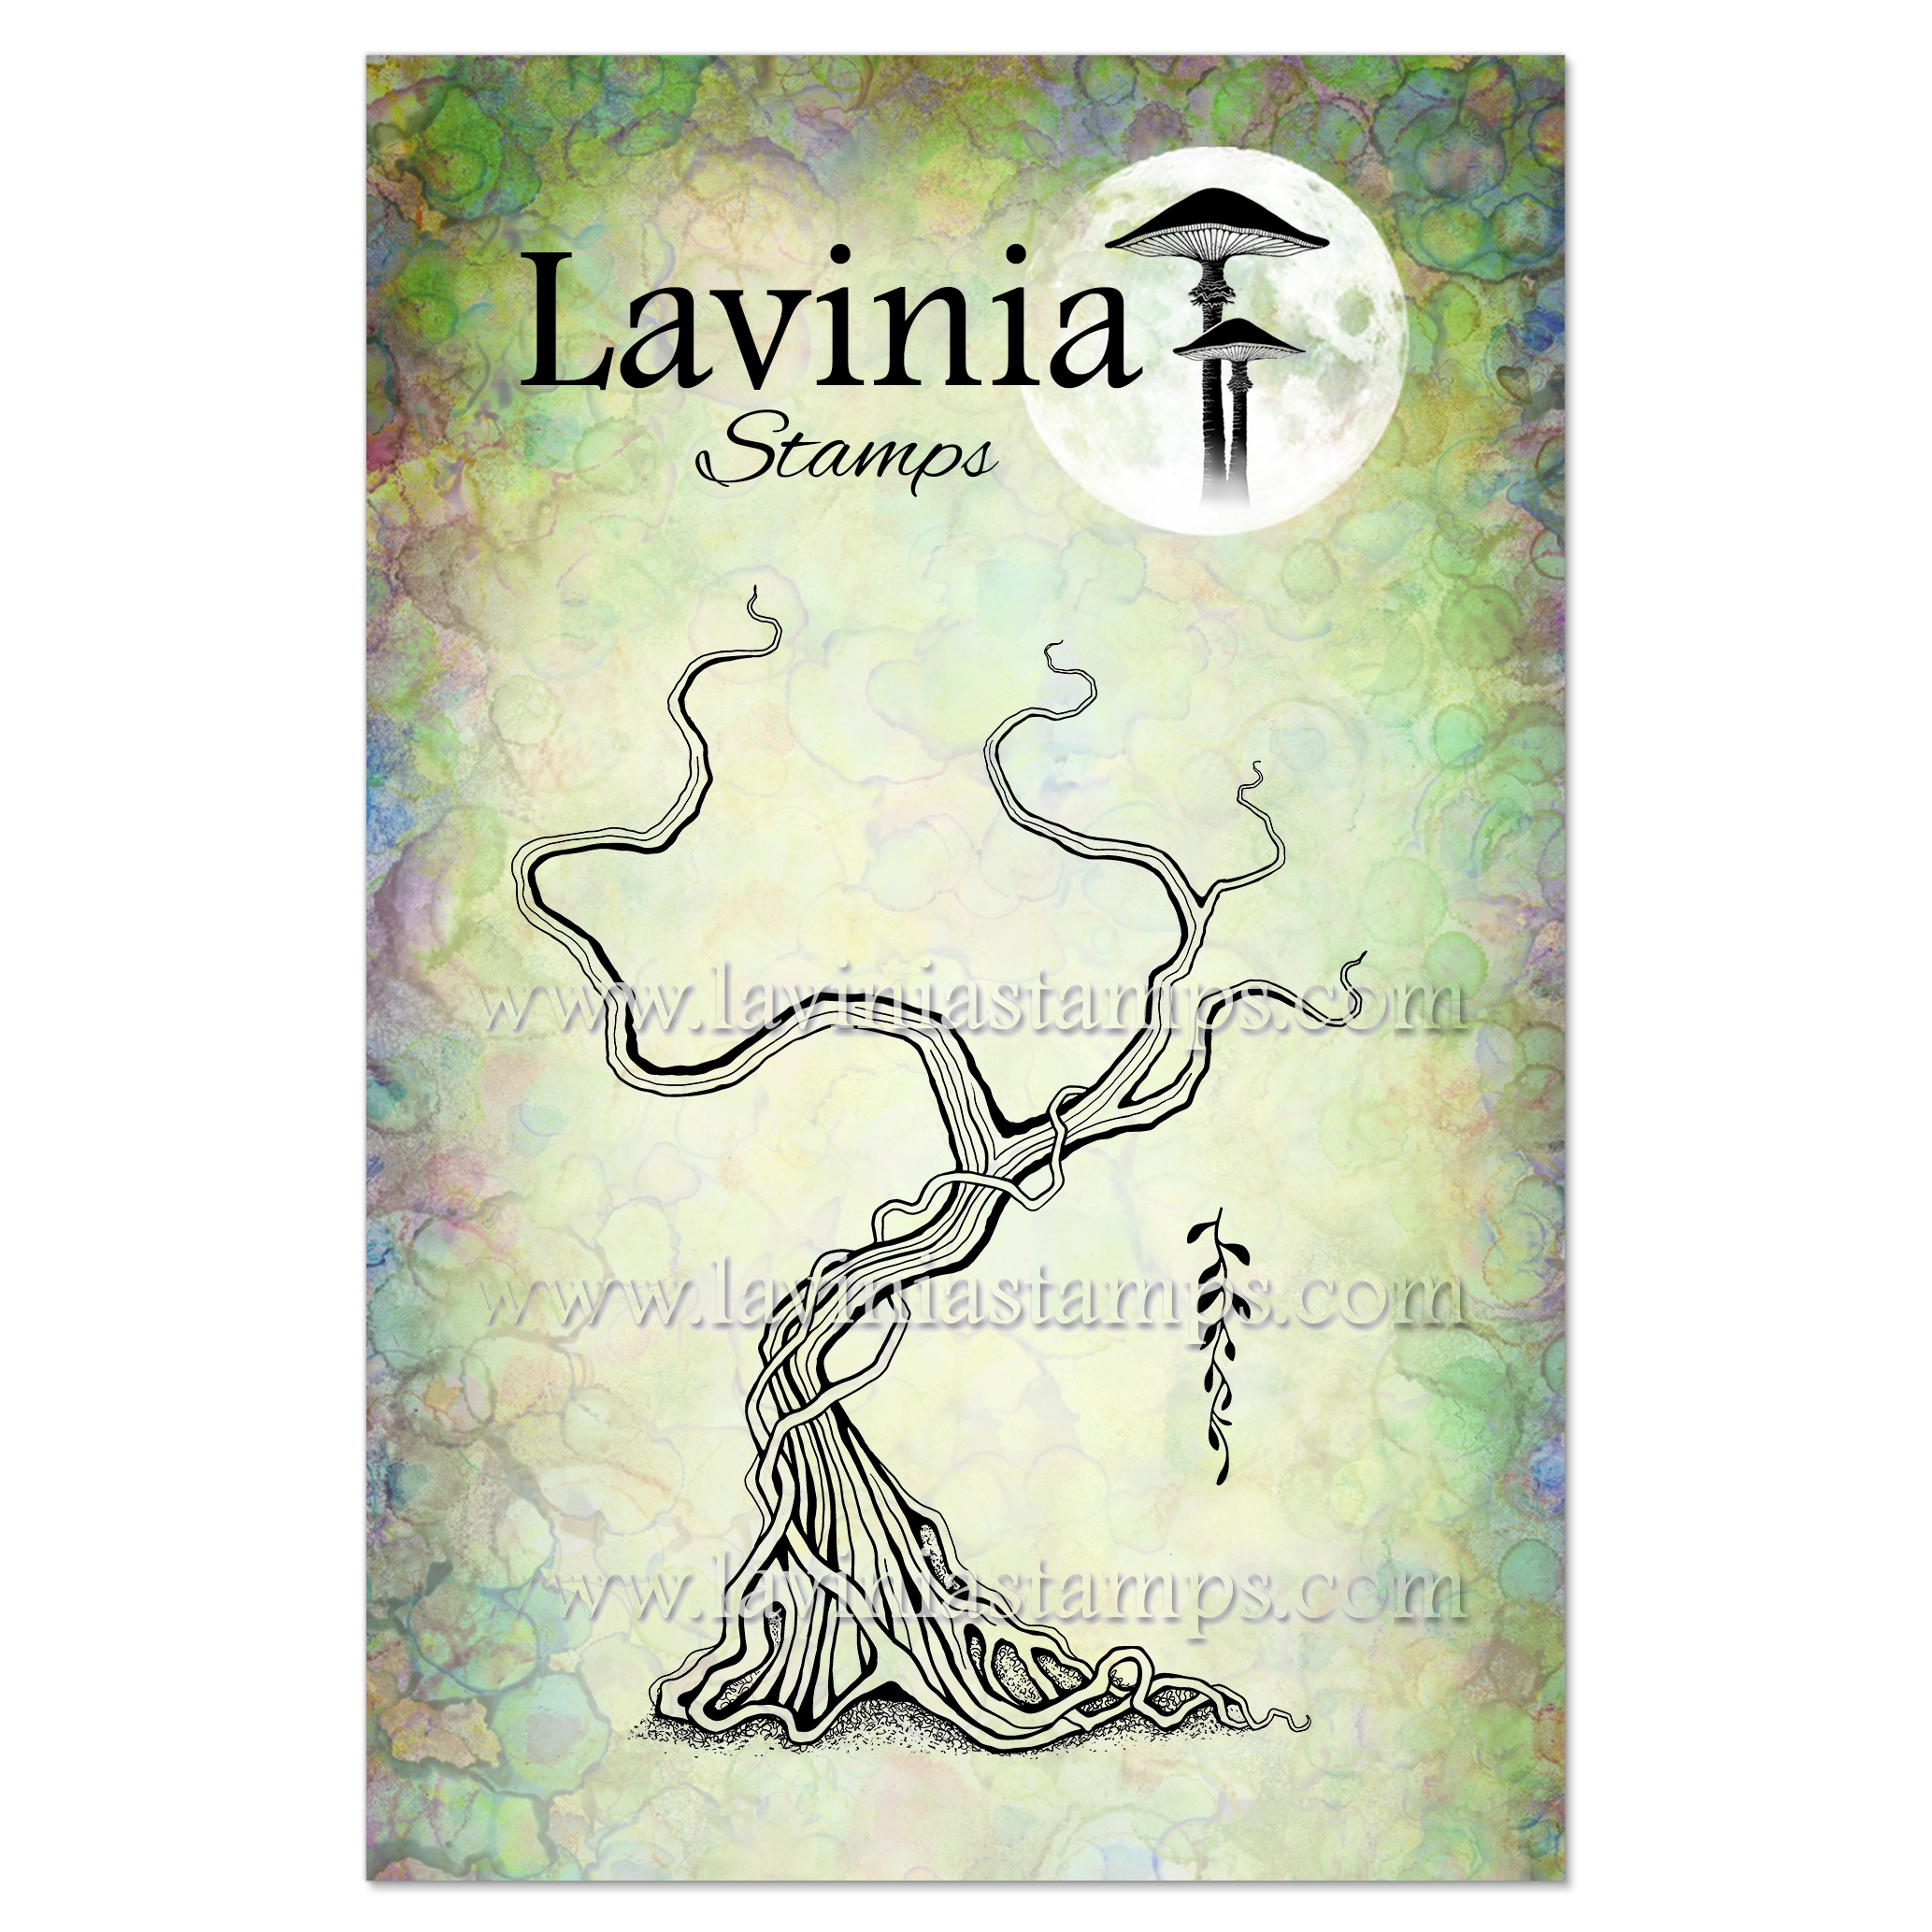
 Moonbark Stamp
£10.80
Add to basket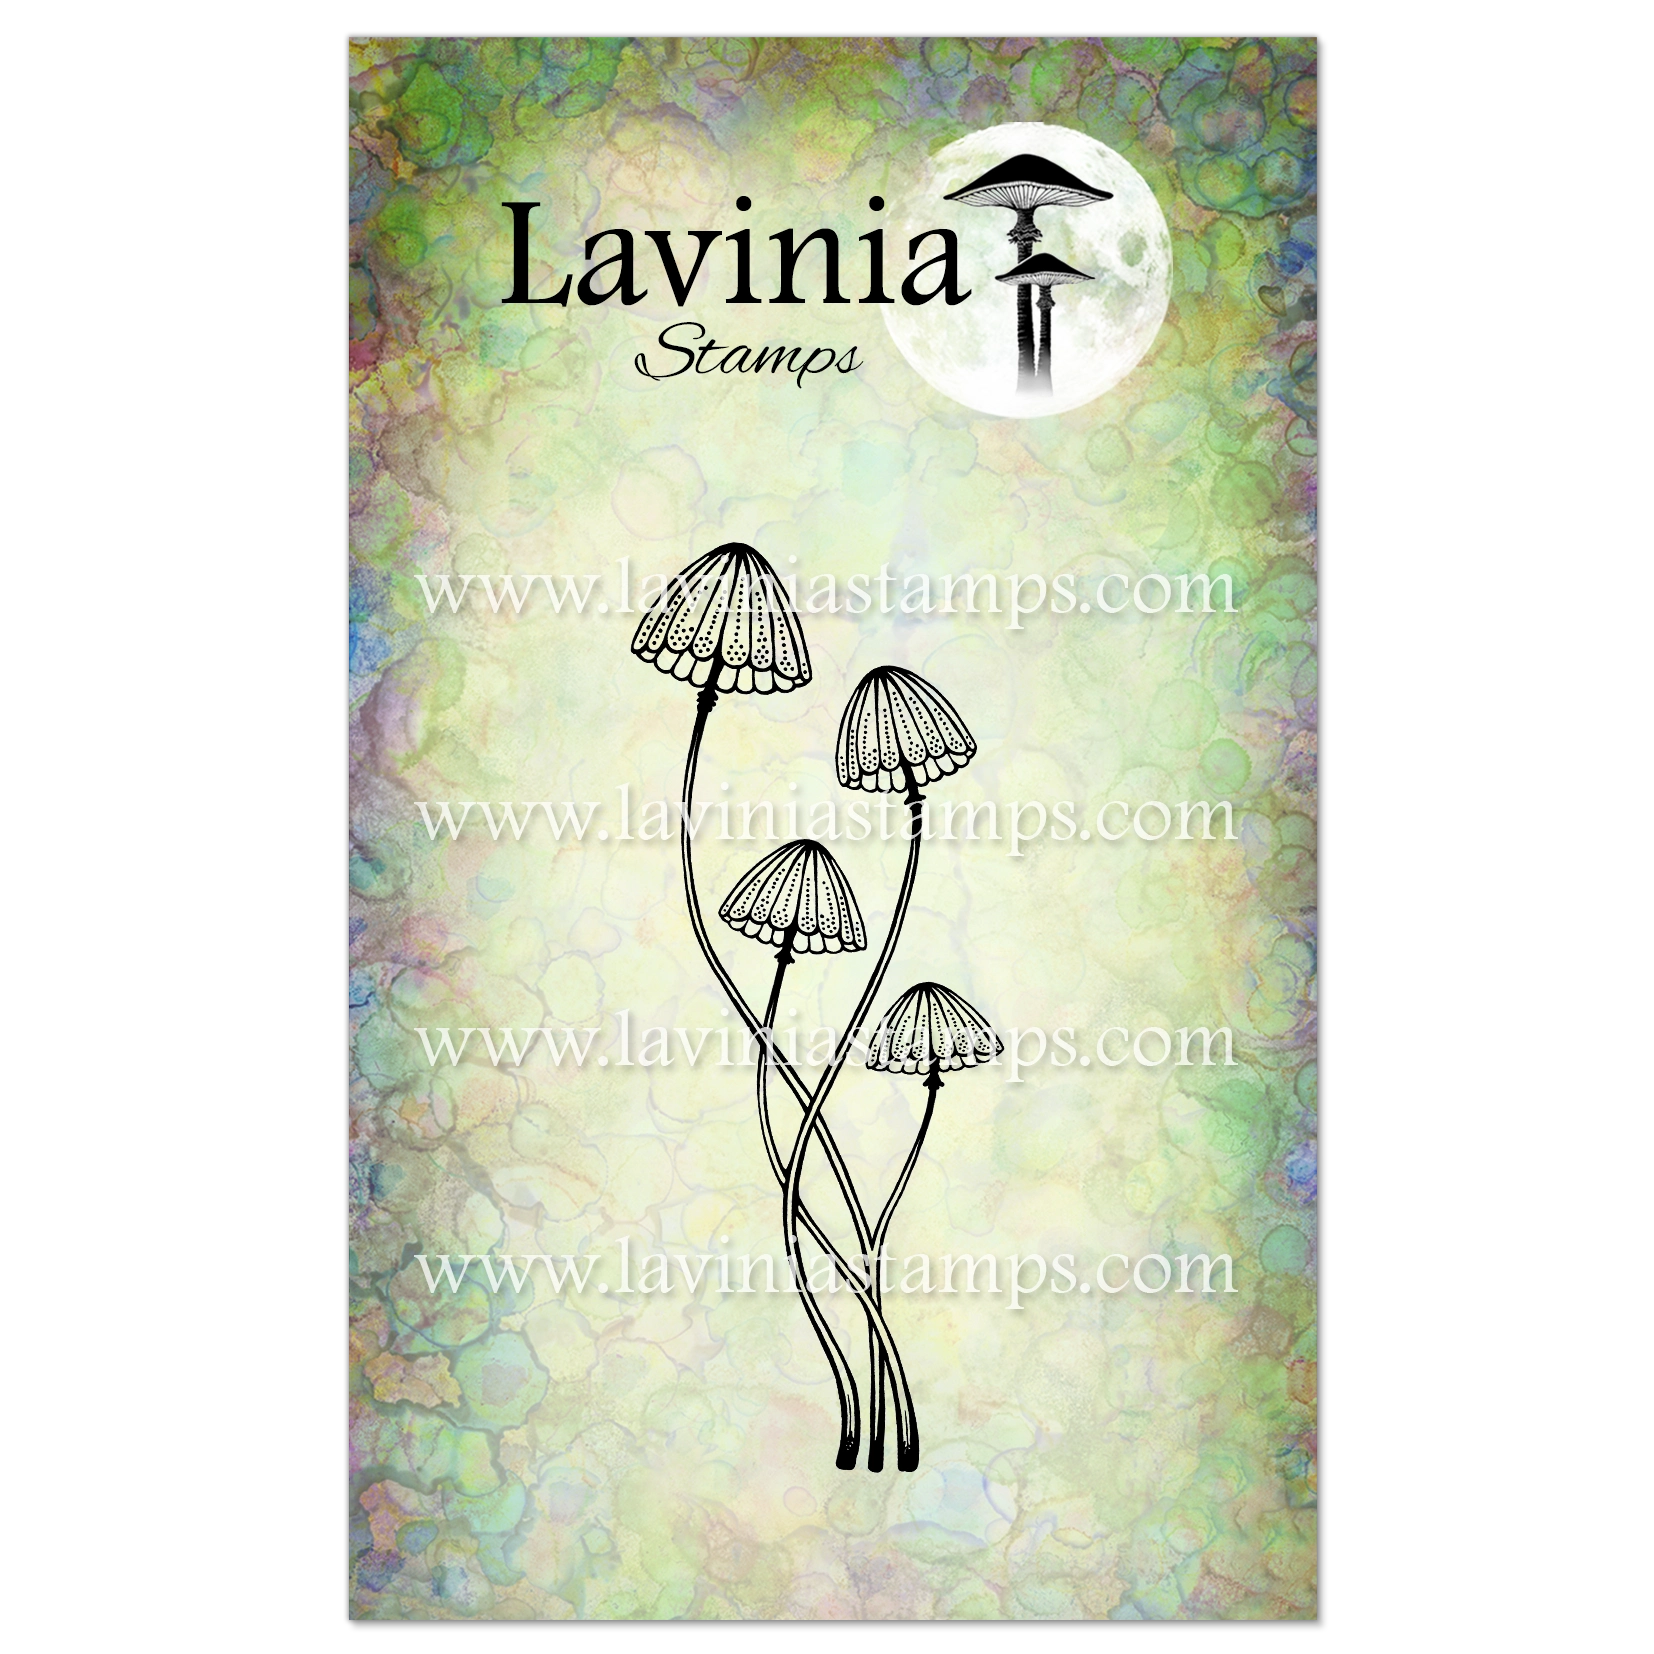 Faedew Stamp
£6.90
Add to basket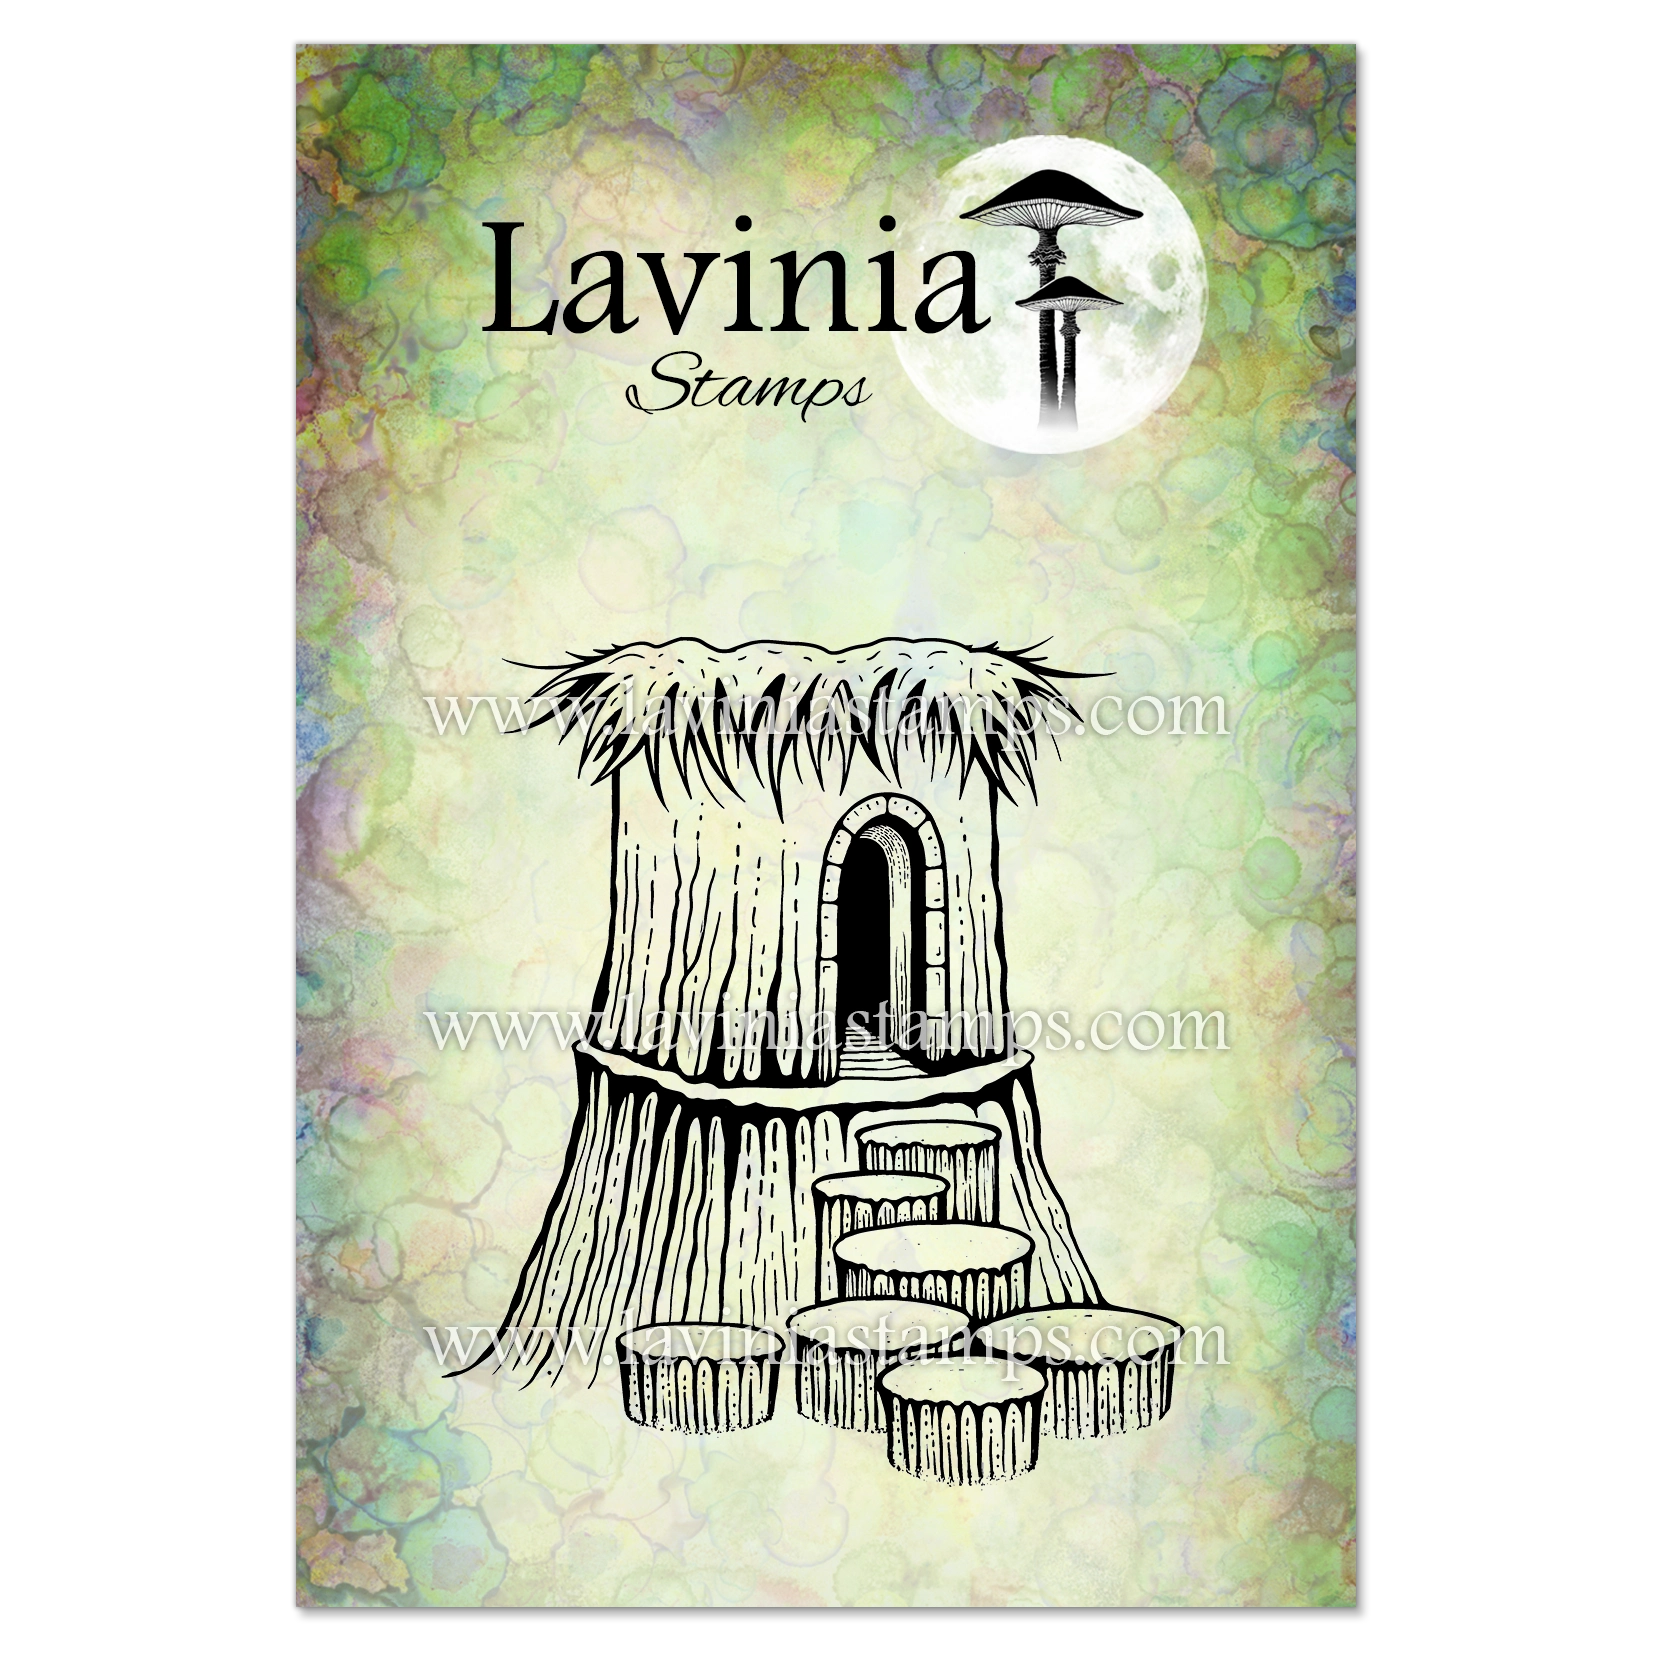 Faelorn Rest Stamp
£8.90
Add to basket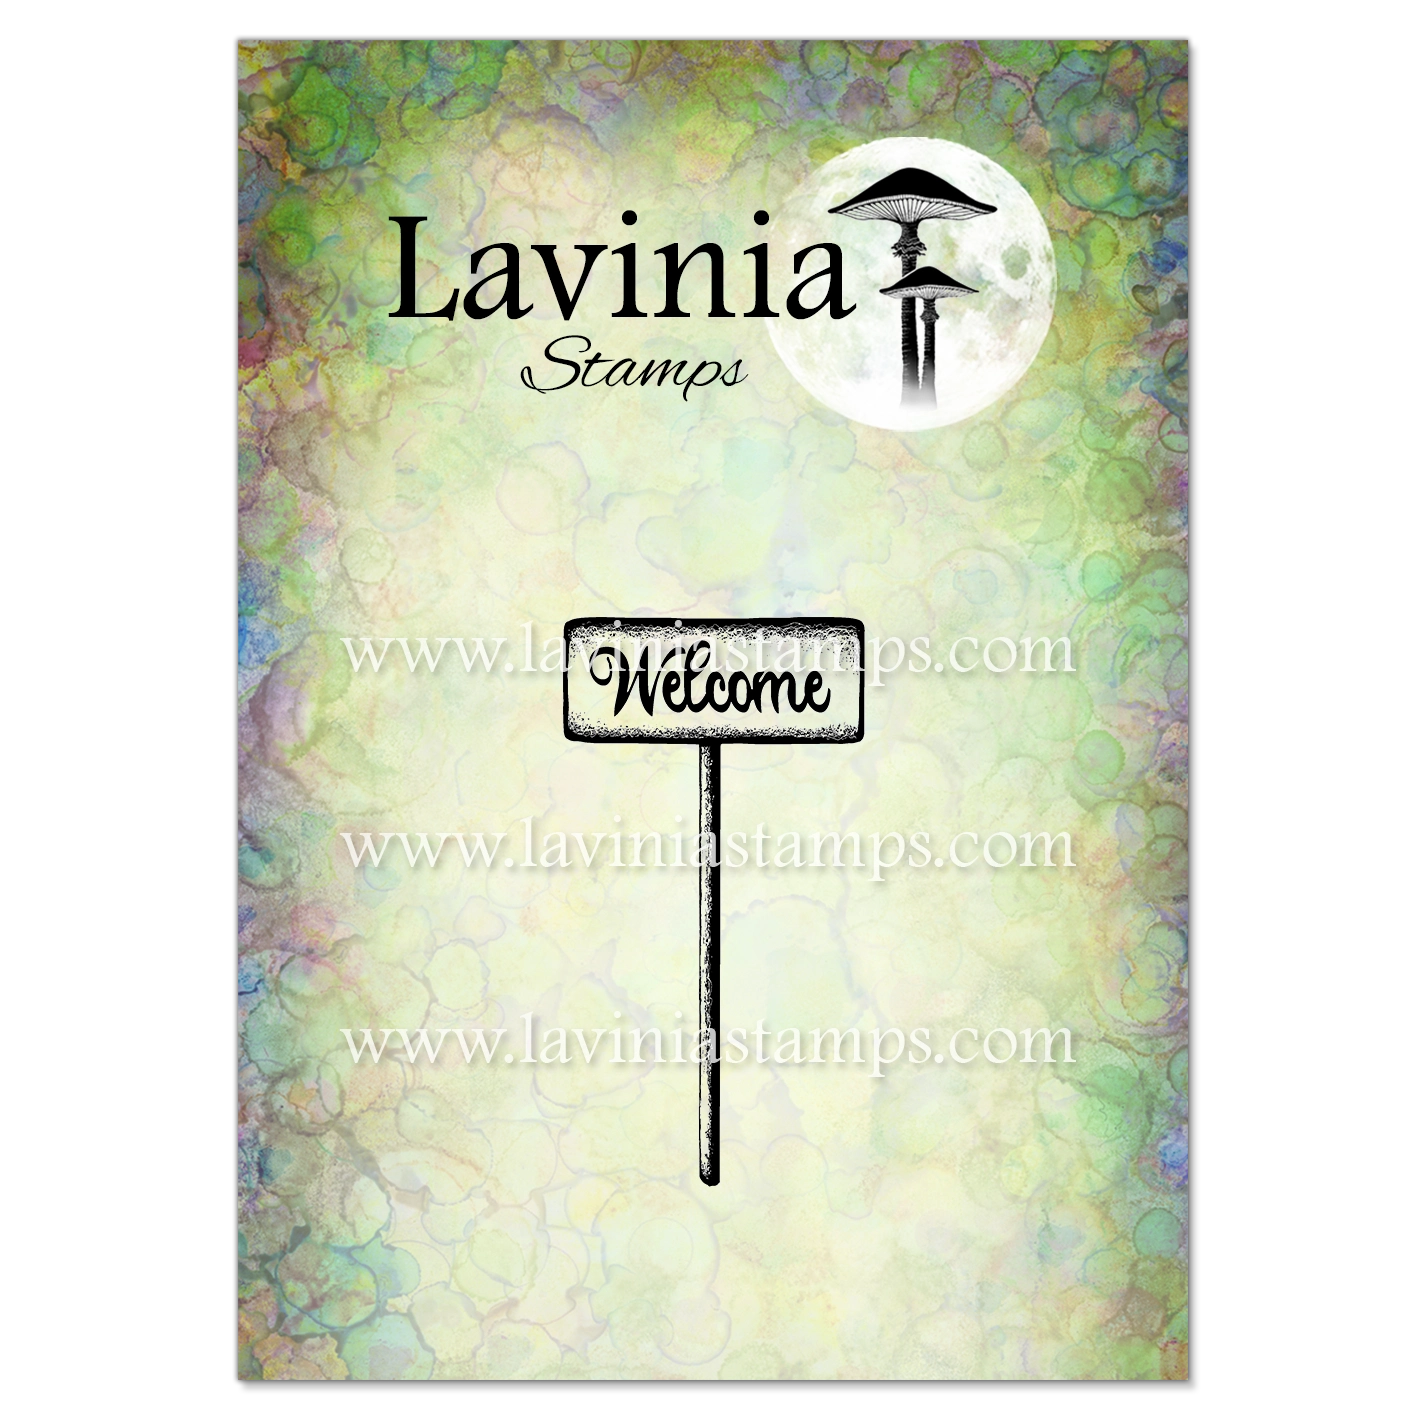 Welcome Stamp
£4.60
Add to basket Minni and Moo Stamp
£7.20
Add to basket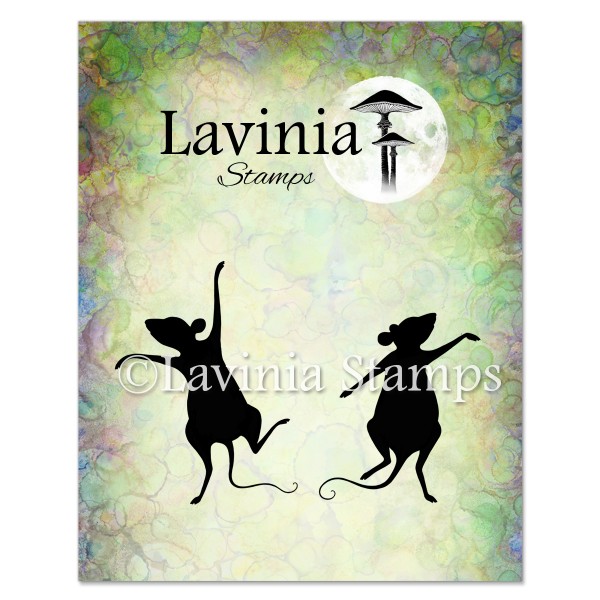 Tilly and Tango Stamp
£7.20
Add to basket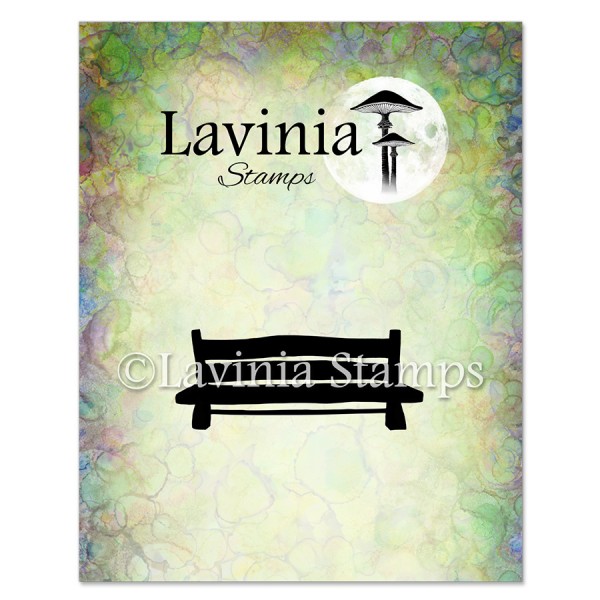 Bench Stamp
£5.20
Add to basket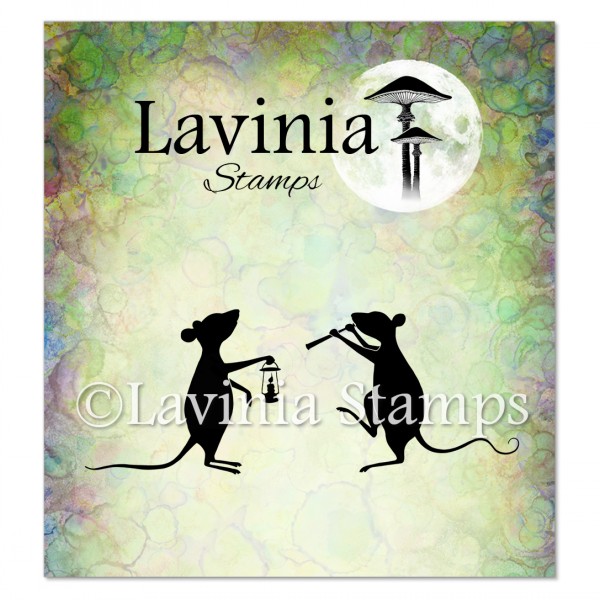 Basil and Bibi Stamp
£7.20
Add to basket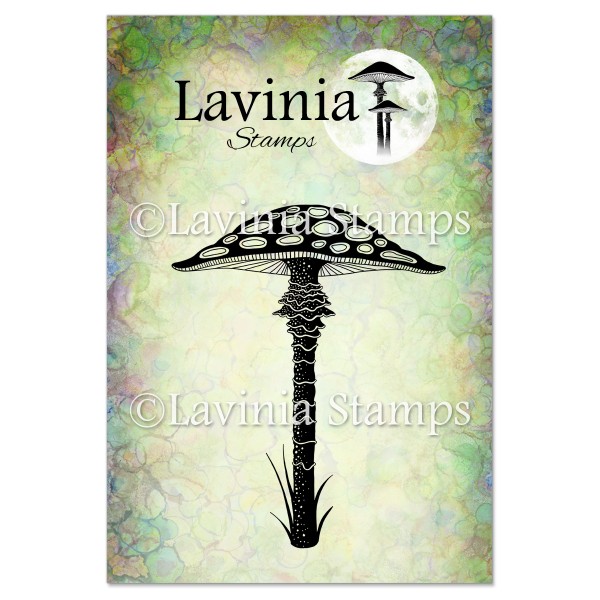 Fairy Toadstool Stamp
£7.50
Add to basket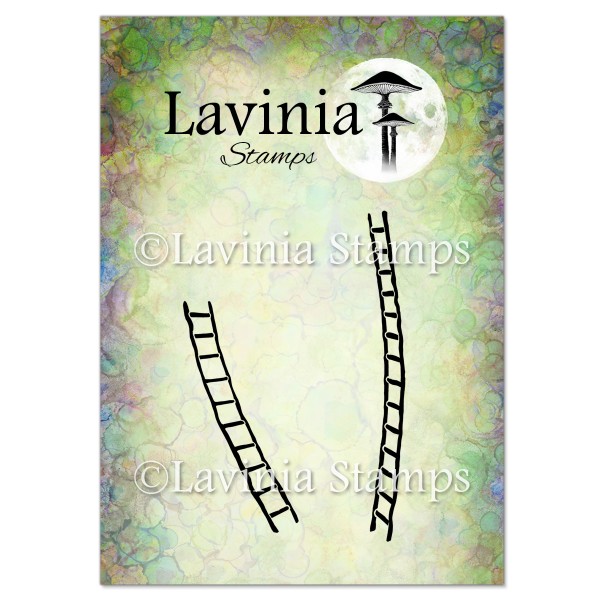 Fairy Ladders Stamp
£5.80
Add to basket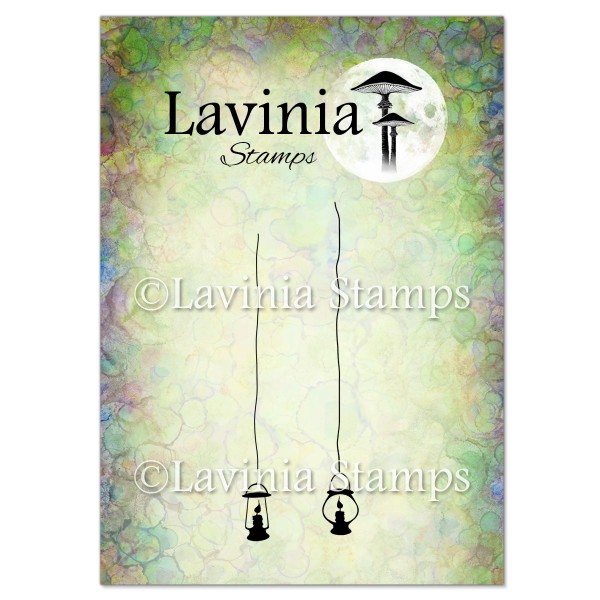 Small Lanterns Stamp
£5.80
Add to basket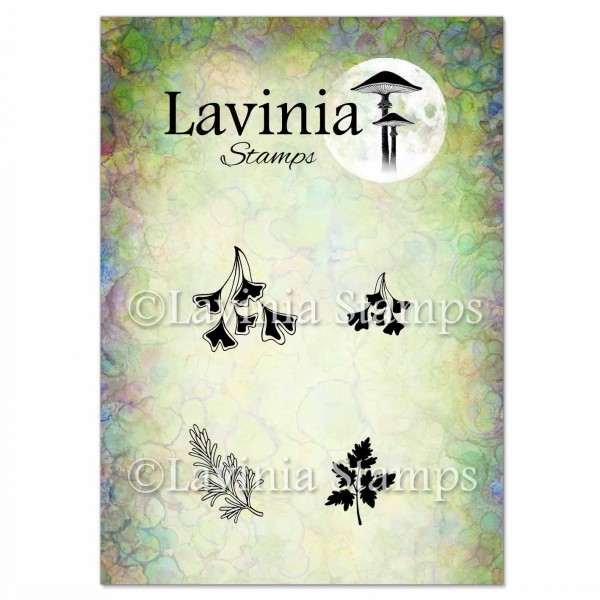 Wild Foliage Stamp
£6.30
Add to basket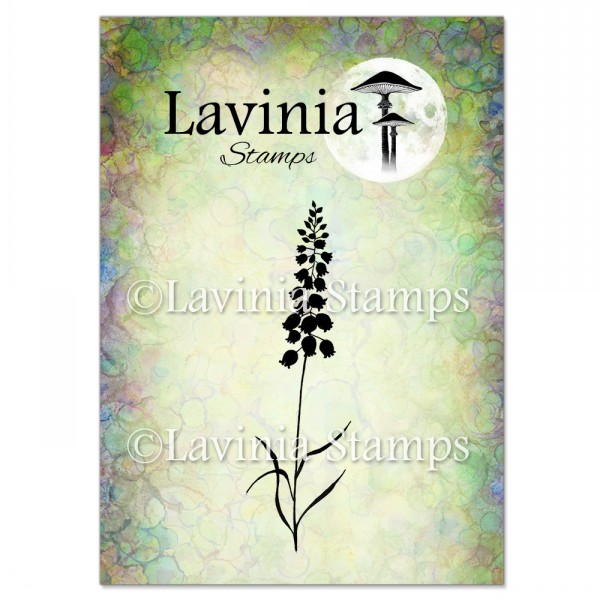 Bluebells Stamp
£5.80
Add to basket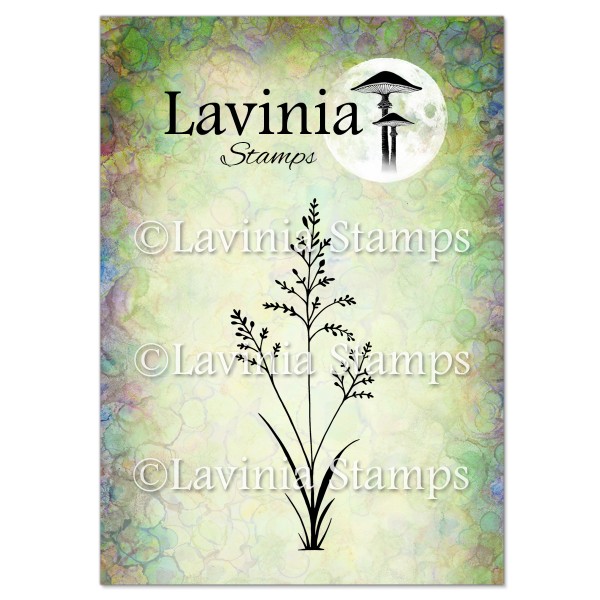 Orchard Grass Stamp
£5.60
Add to basket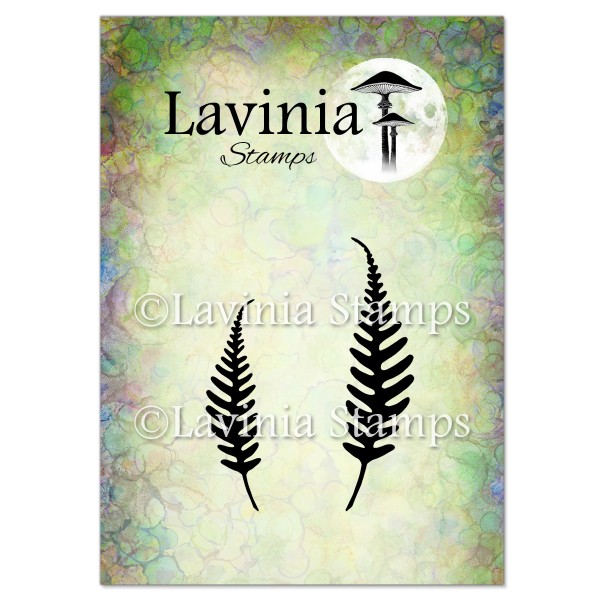 Woodland Fern Stamp
£4.30
Add to basket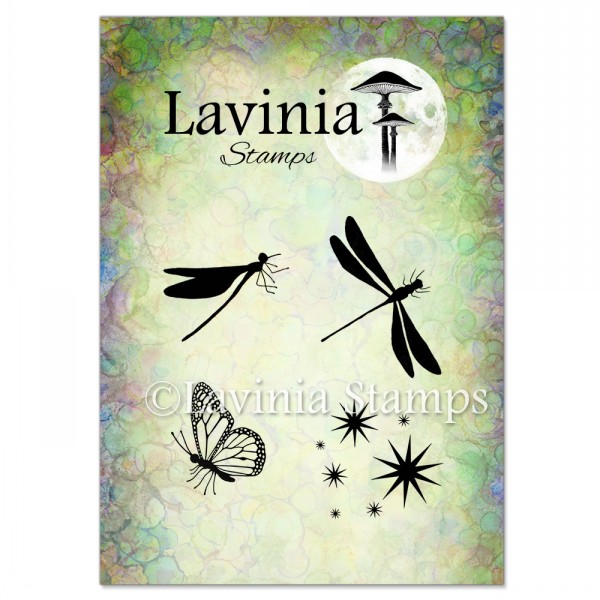 Fairy Bugs Stamp
£4.30
Add to basket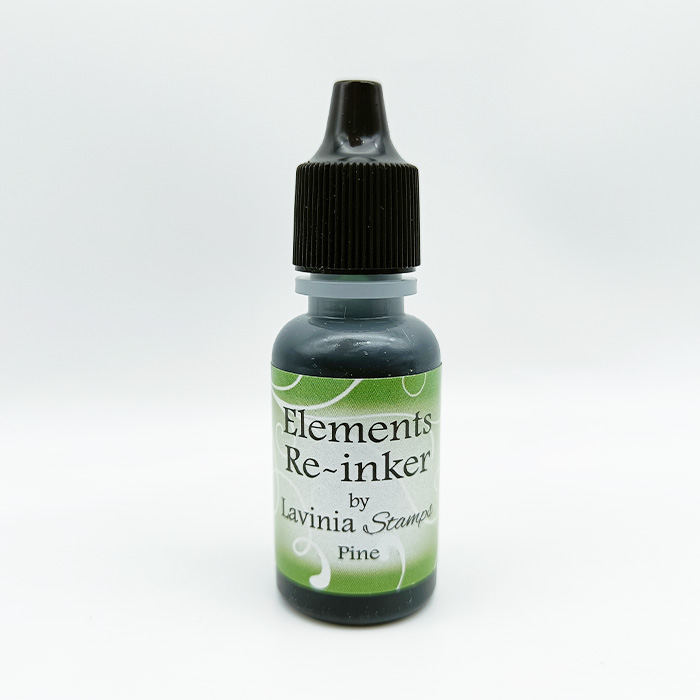 Elements Re-Inker by Lavinia Stamps – Pine
£4.85
Add to basket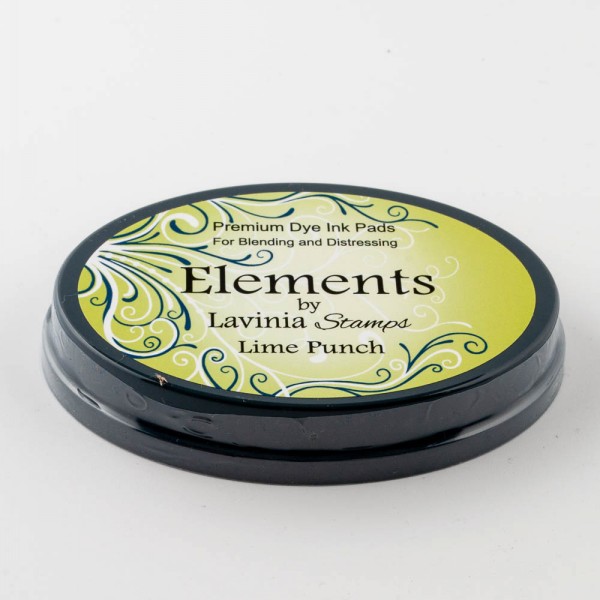 Elements Premium Dye Ink – Lime Punch
£5.85
Add to basket Elements Premium Dye Ink – Mulberry
£5.85
Add to basket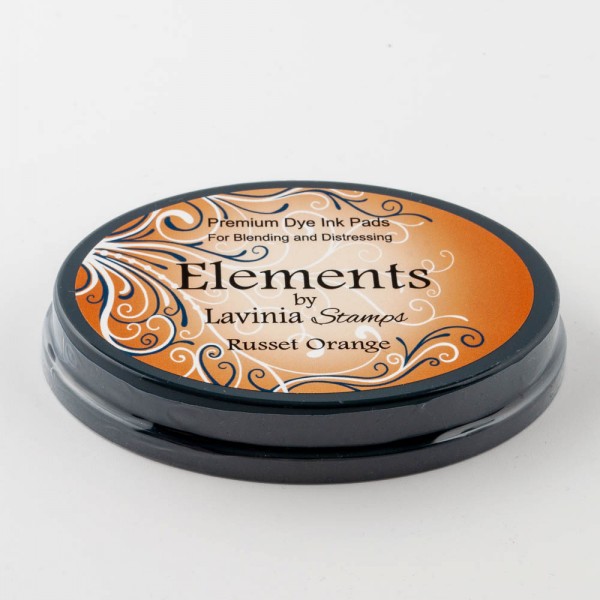 Elements Premium Dye Ink – Russet Orange
£5.85
Add to basket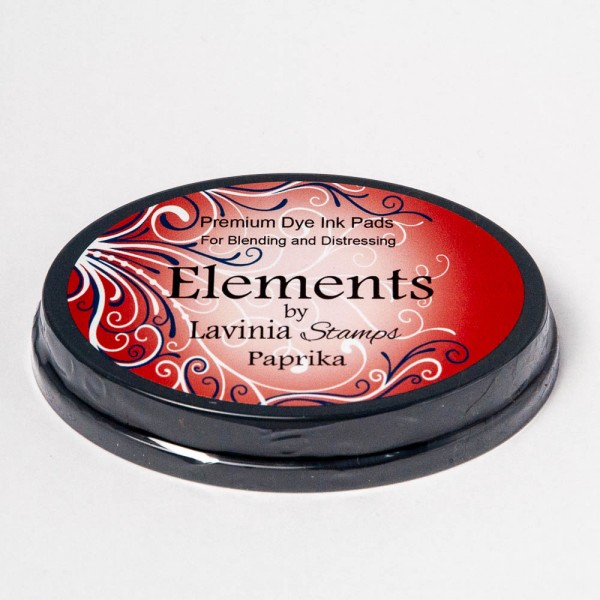 Elements Premium Dye Ink – Paprika
£5.85
Add to basket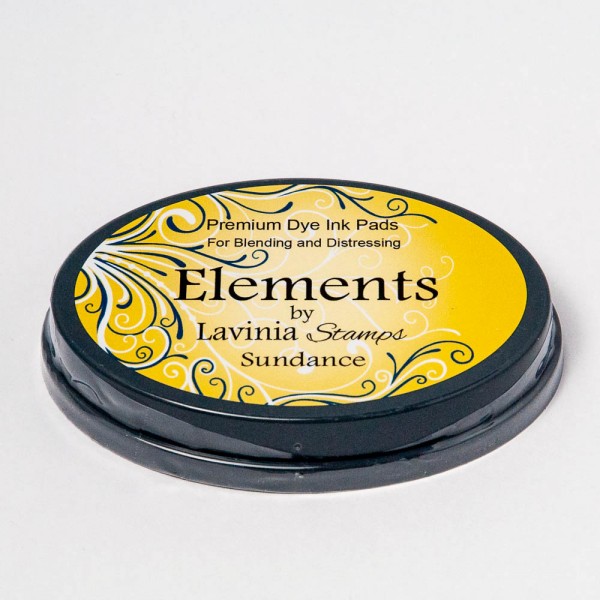 Elements Premium Dye Ink – Sundance
£5.85
Add to basket Versafine Clair Ink Pad – Fallen Leaves
£5.80
Add to basket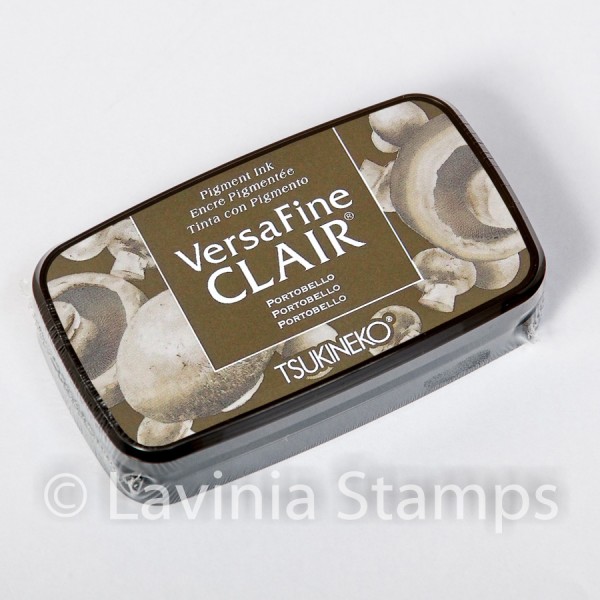 Versafine Clair Ink Pad – Portobello
£5.80
Add to basket Versafine Clair Ink Pad – Shady Lane
£5.80
Add to basket Versafine Clair Ink Pad – Morning Mist
£5.80
Add to basket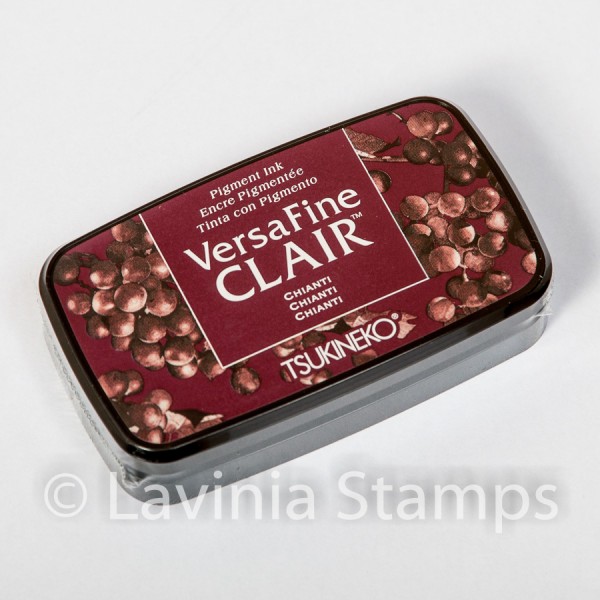 Versafine Clair Ink Pad – Chianti
£5.80
Add to basket Versafine Clair Ink Pad – Nocturne
£5.80
Add to basket PanPastels – Hansa Yellow
£9.30
Read more