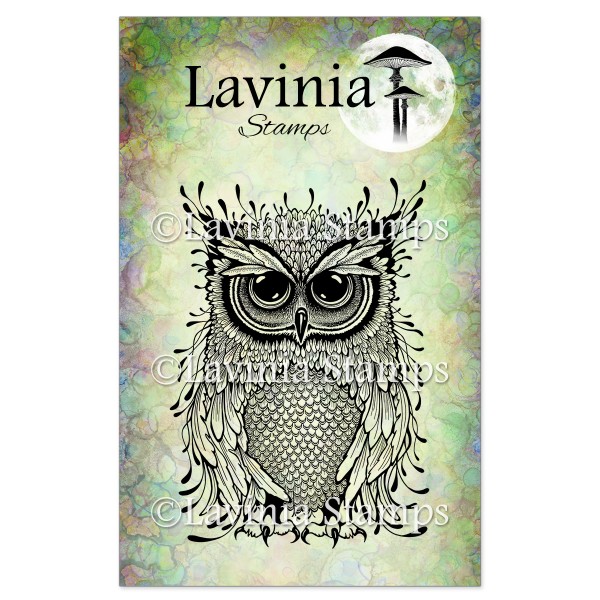
Today’s Step-by-Step tutorial comes from Guest design team member, Katarina Eliasson, and it features the magnificent and finely detailed Erwin.This fine feathered fellow is the largest owl in our Forest Fantasy collection.
Don’t you think he looks a bit confused that the cute little mice, which he would normally see as being a tasty snack, just seem to want to dance and play?
I’m sure Erwin is too kind and wise to spoil their fun!
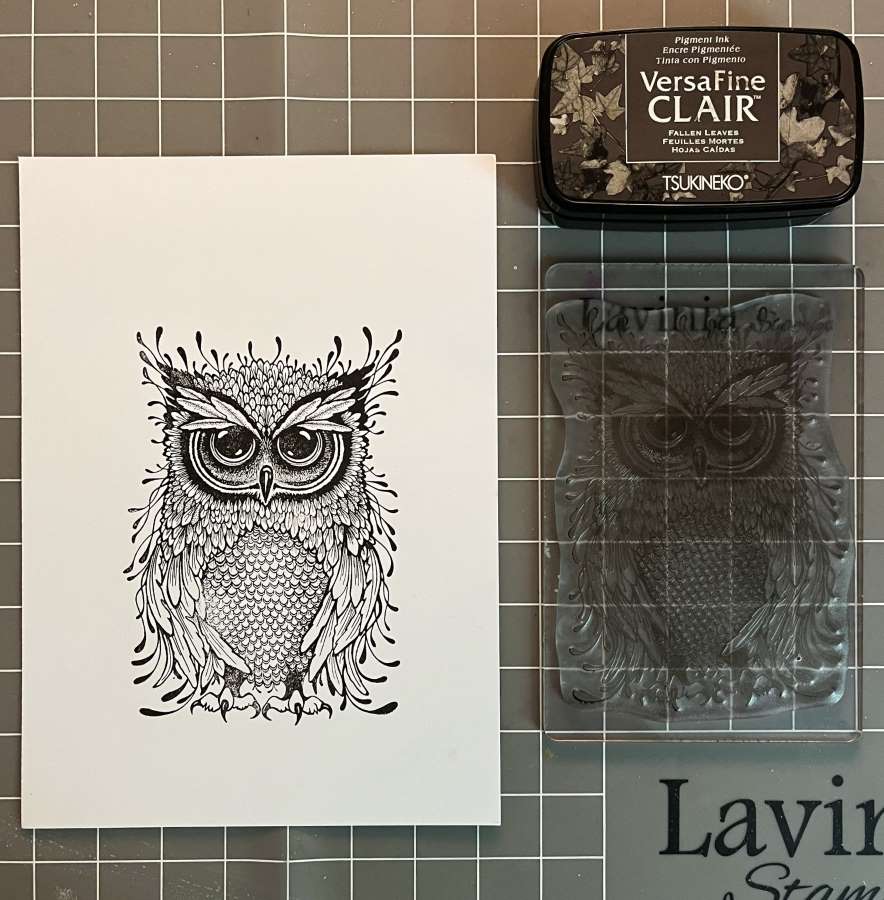
Step 1 Stamp Erwin with Versafine Clair Fallen Leaves onto A5 white Multifarious card.
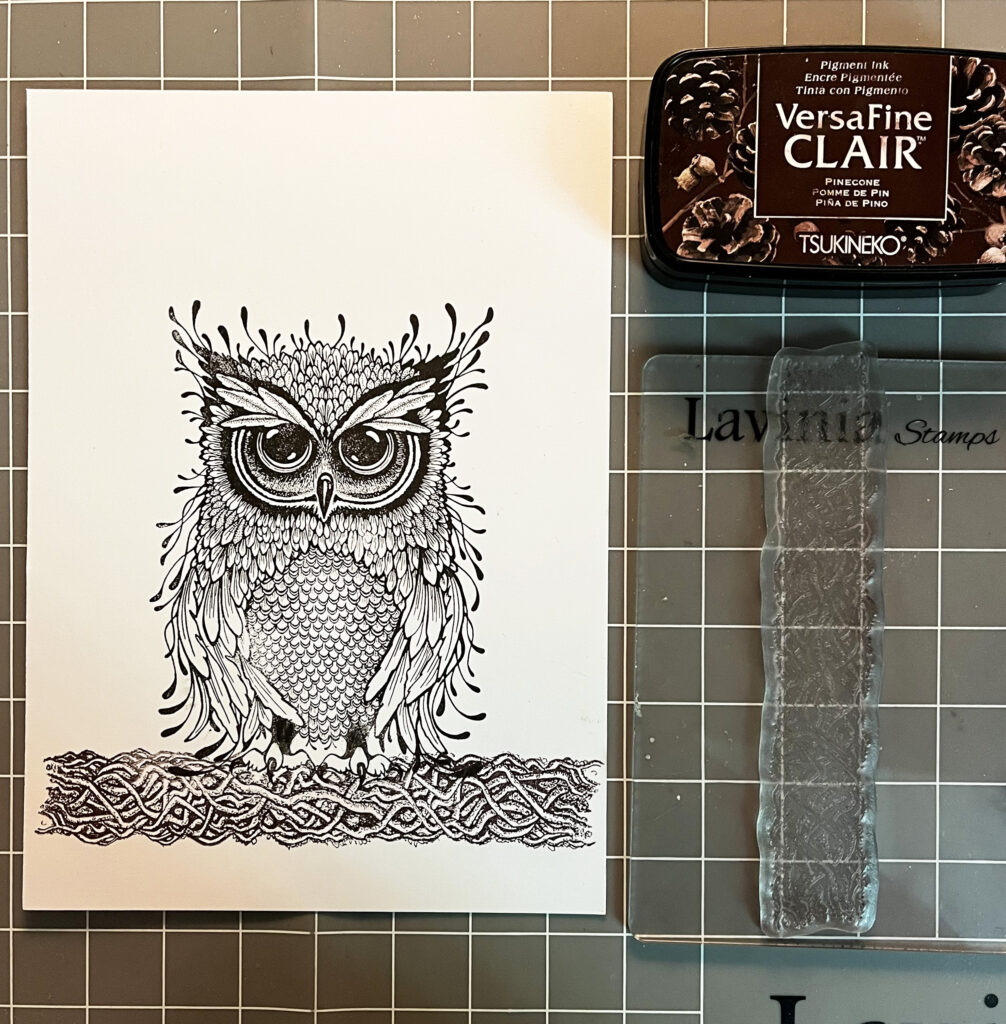
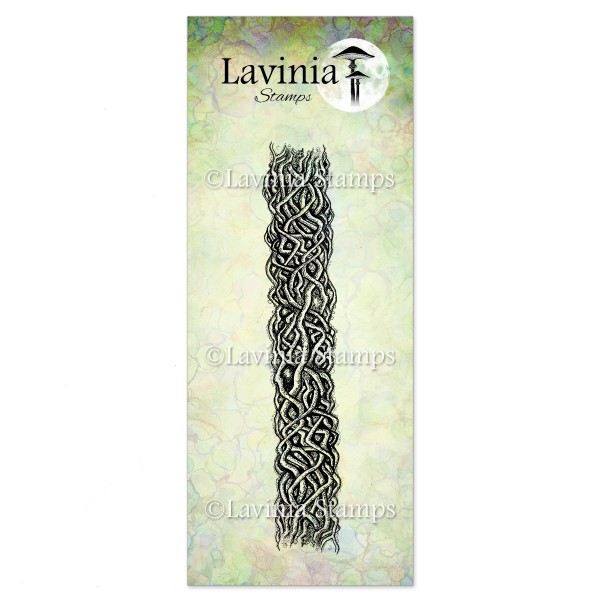
Step 2 Stamp Erwin’s feet onto a Masking Sheet and cut out; or you could use Masking Fluid to mask the feet before stamping the Twisted Willow in Versafine Clair Pinecone. Remove the masking.
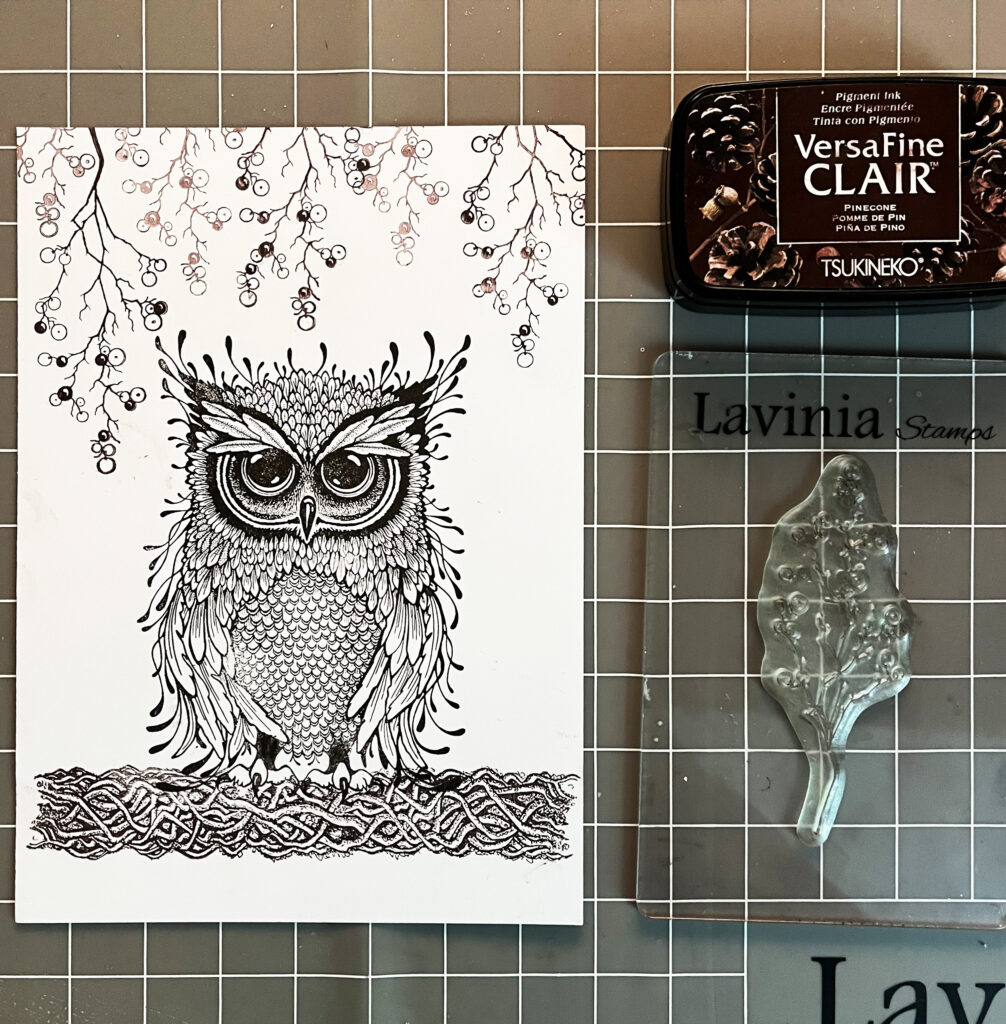
Step 3 Now use the large stamp from the Wild Berry set. Stamp it in Versafine Clair Pinecone, using both first and second generation stamping.
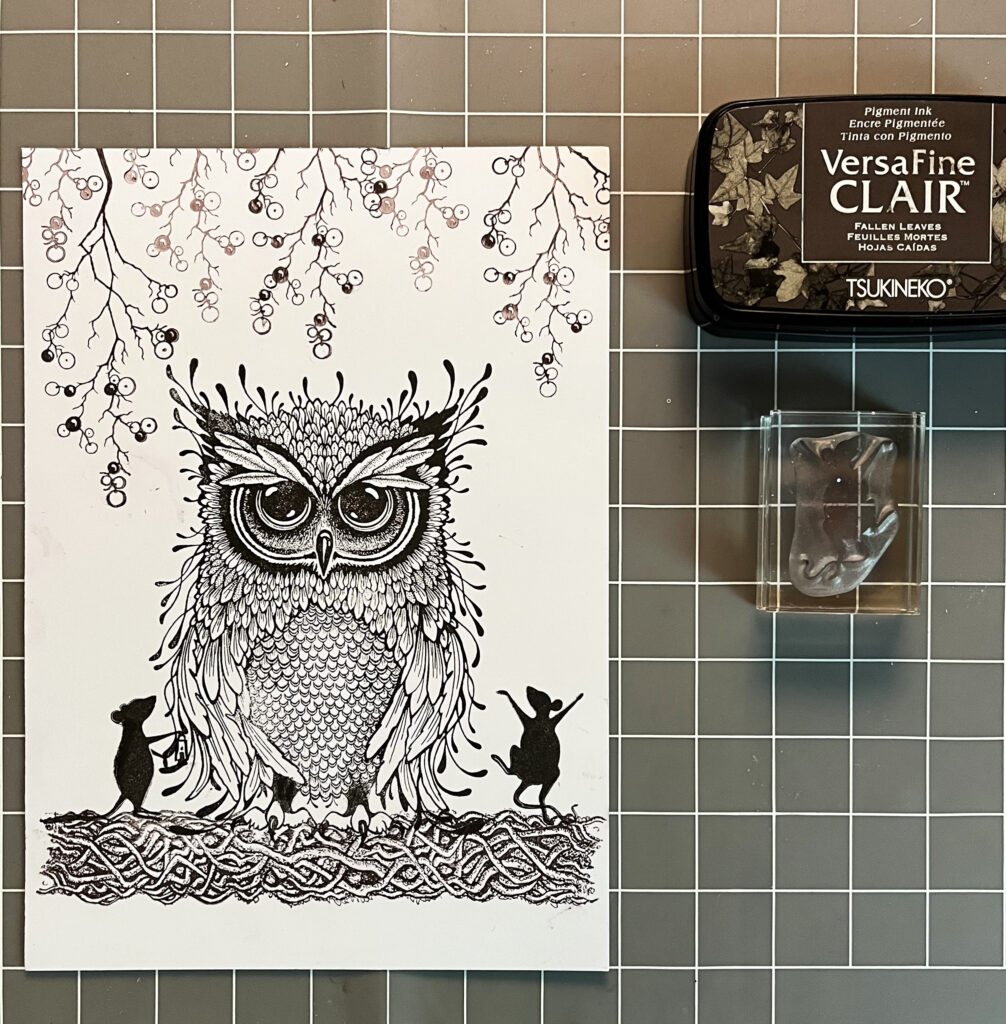
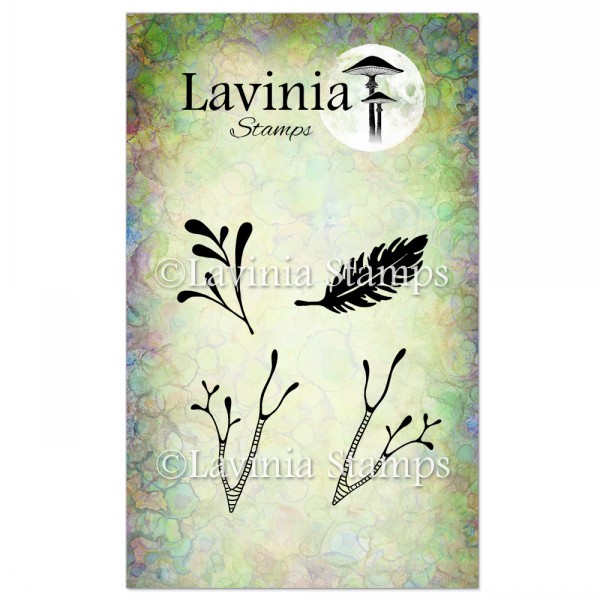
Step 4 Stamp Basil and Moo onto Twisted Willow in Versafine Clair Fallen Leaves.
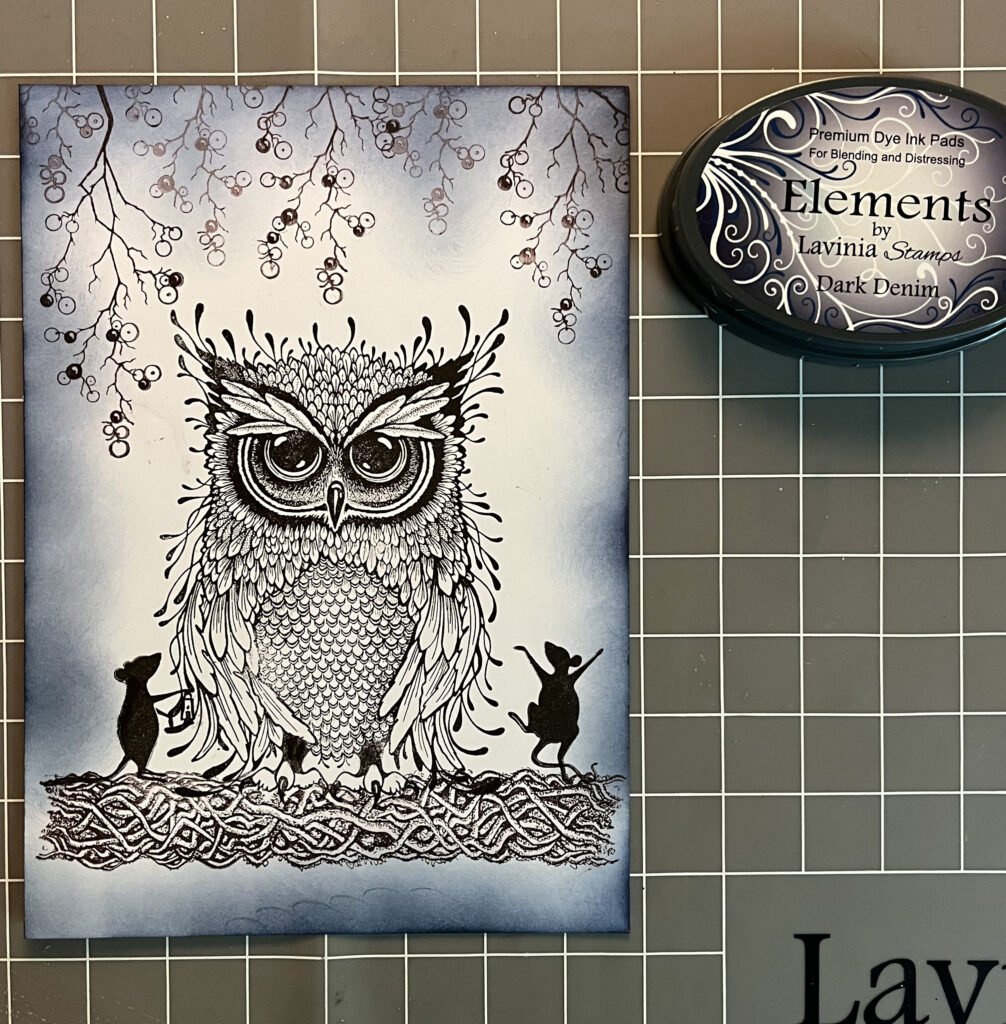
Step 5 Now it’s time to make the background. Use a blending brush and start with the Dark Denim Elements Ink. Colour the edges and a little way into the card.
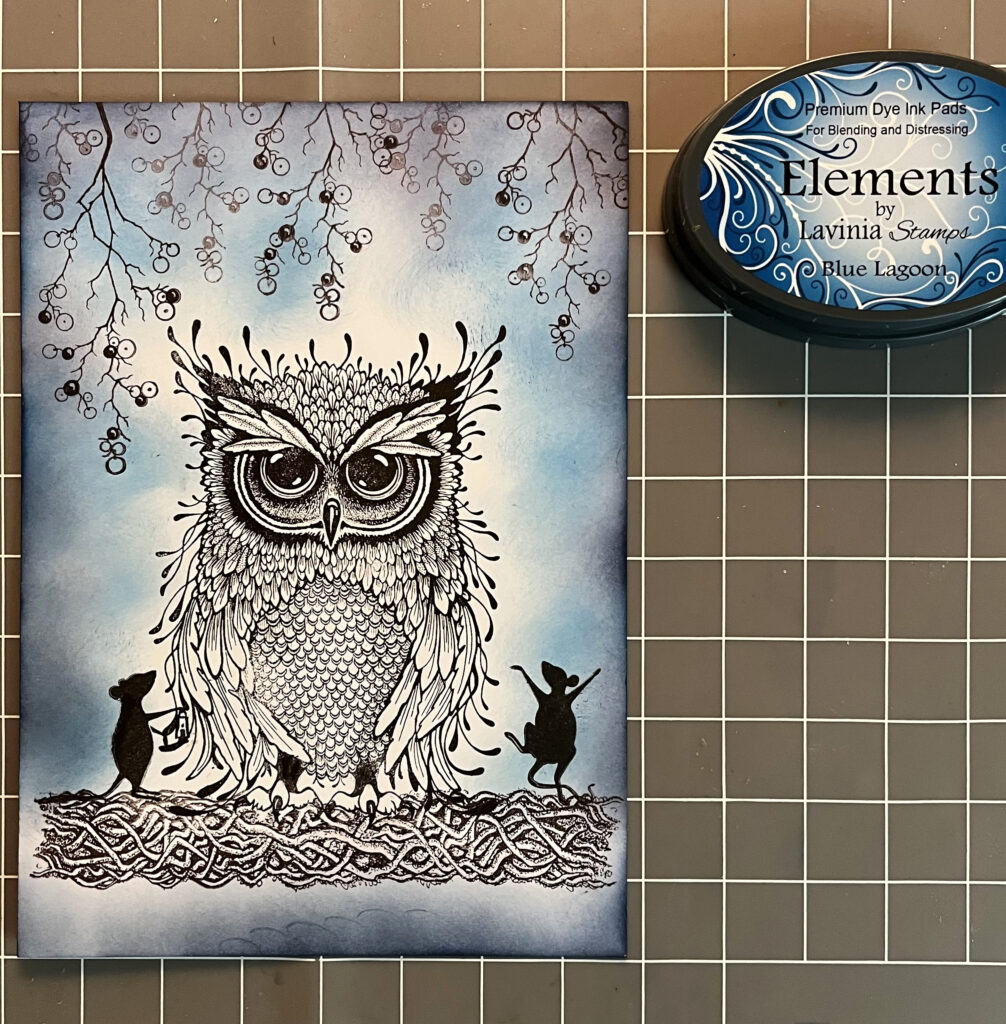
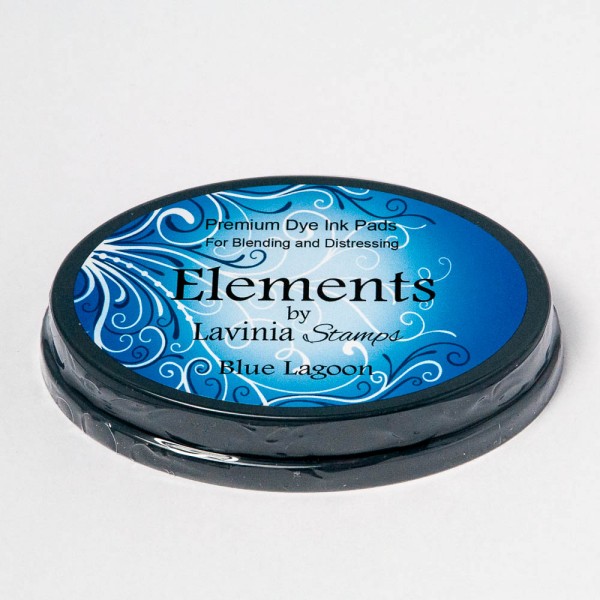
Step 6 Now use Elements Ink Blue Lagoon, starting over the Dark Denim and working towards the middle.
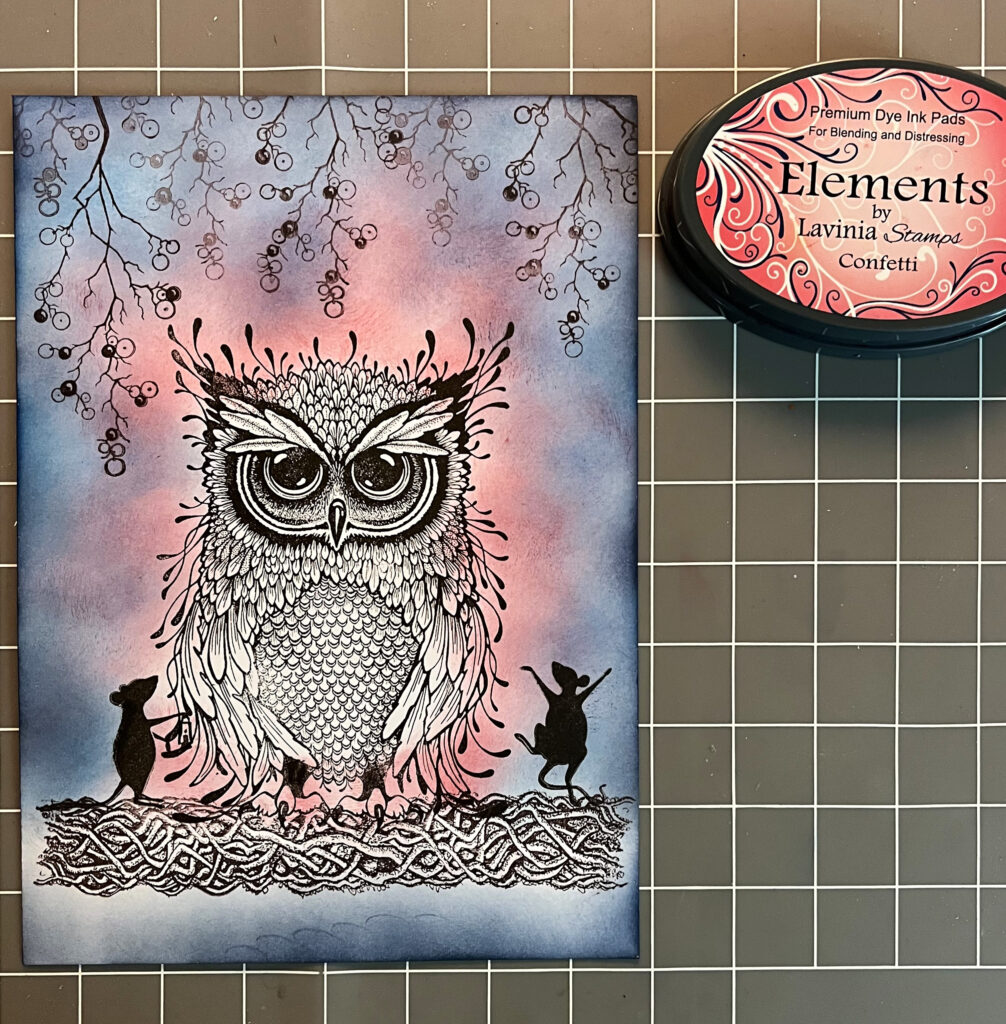
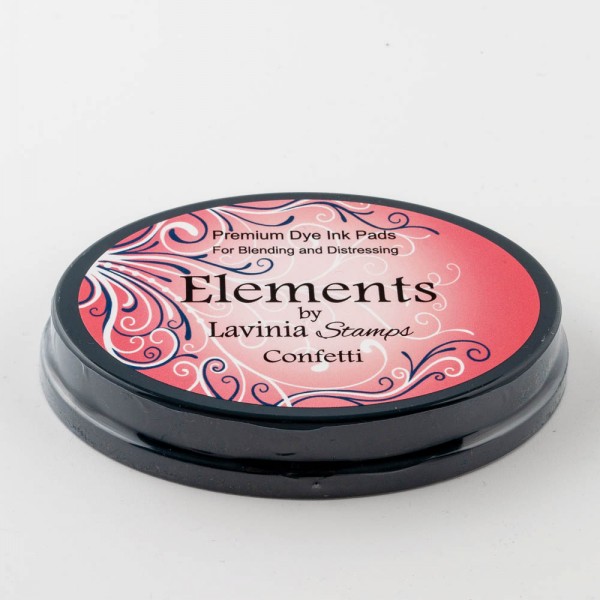
Step 7 The last colour is Elements Ink Confetti. Start over the Blue Lagoon and colour what’s left in the centre and around the owl.
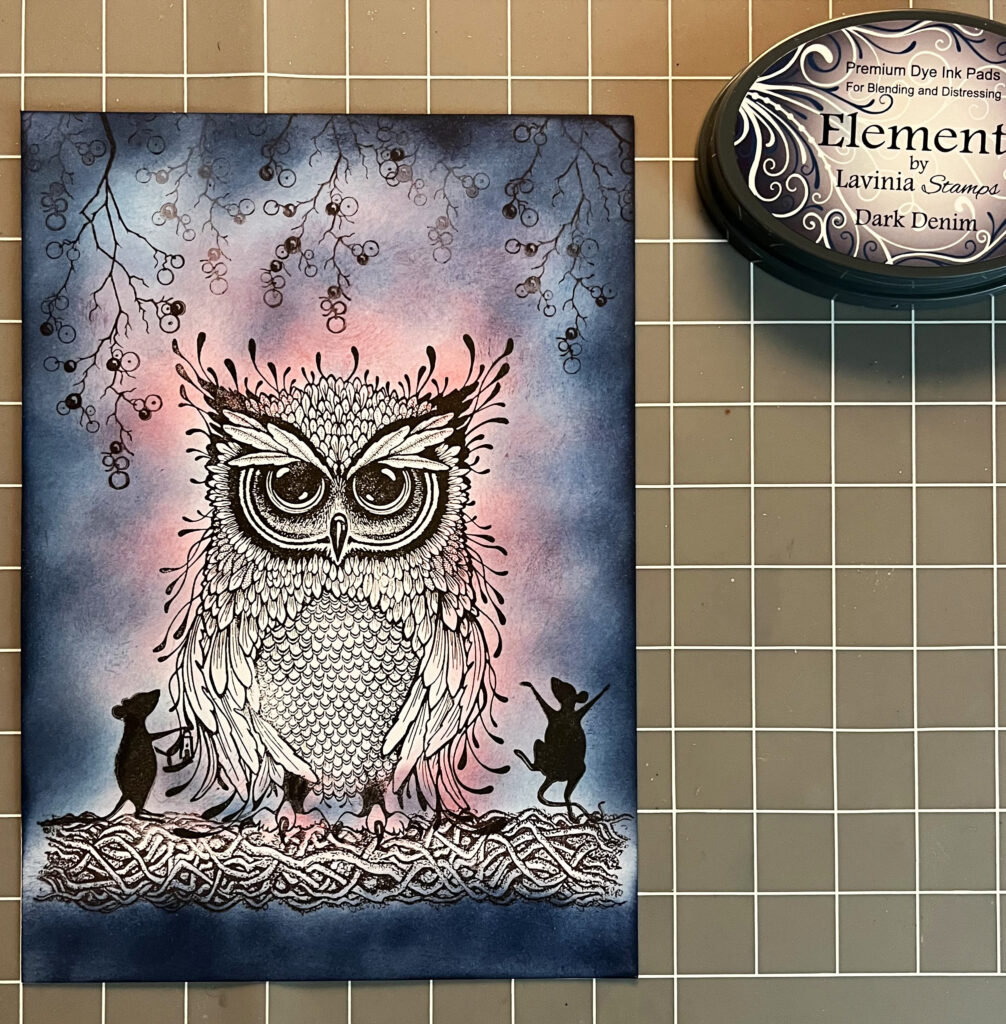
Step 8 To make the card a bit darker go over with Elements Dark Denim again.
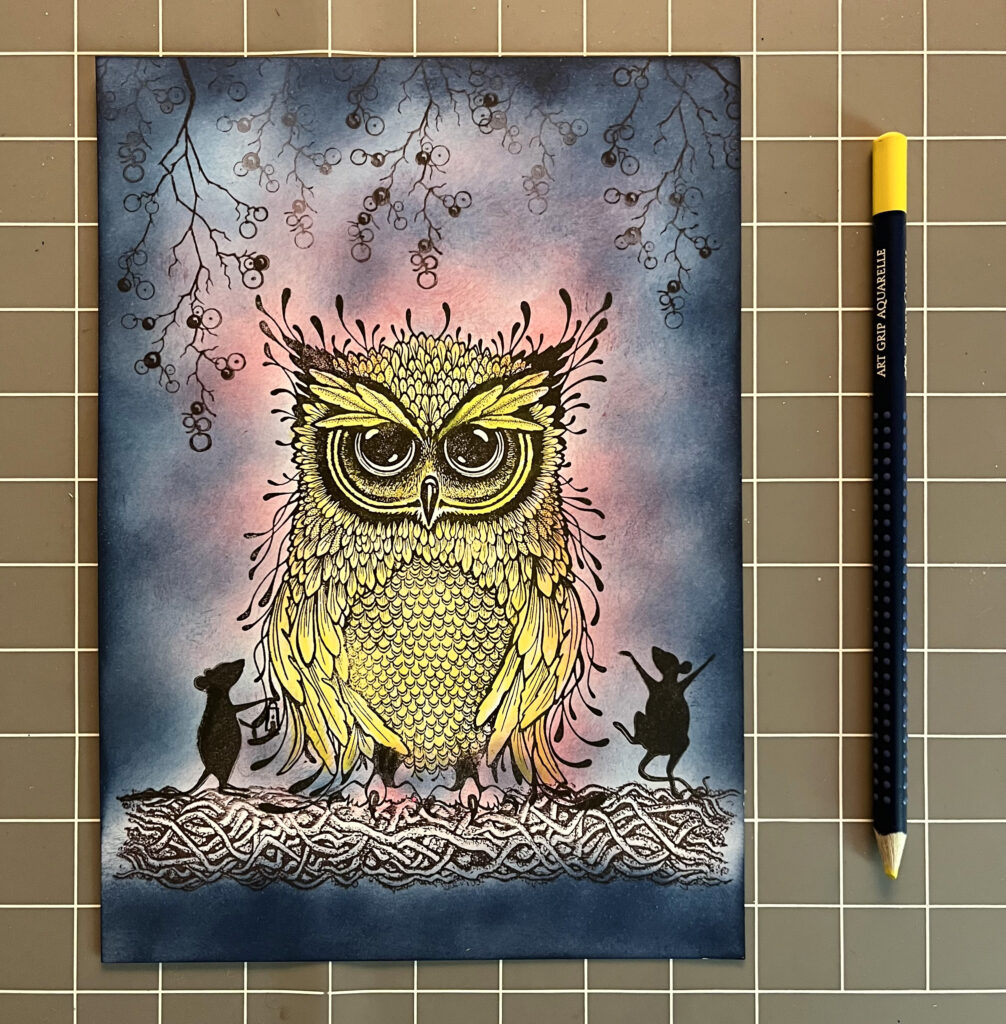
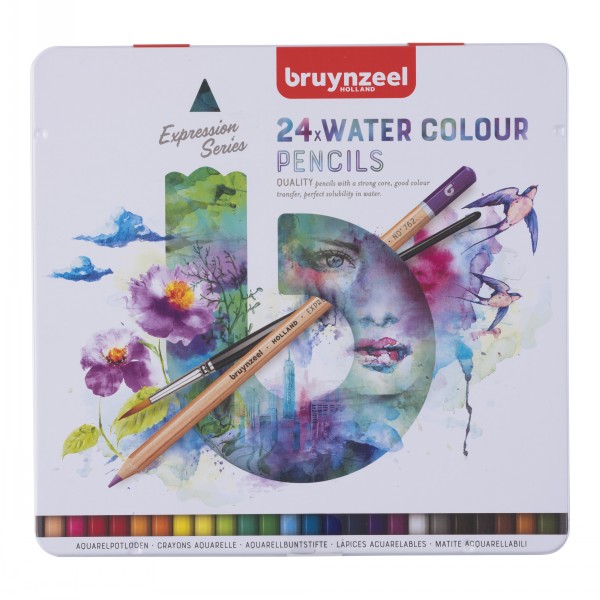
Step 9 Time to give Erwin some colour. Start by colouring all of him all over with yellow watercolour pencil, except for the eyes and beak.
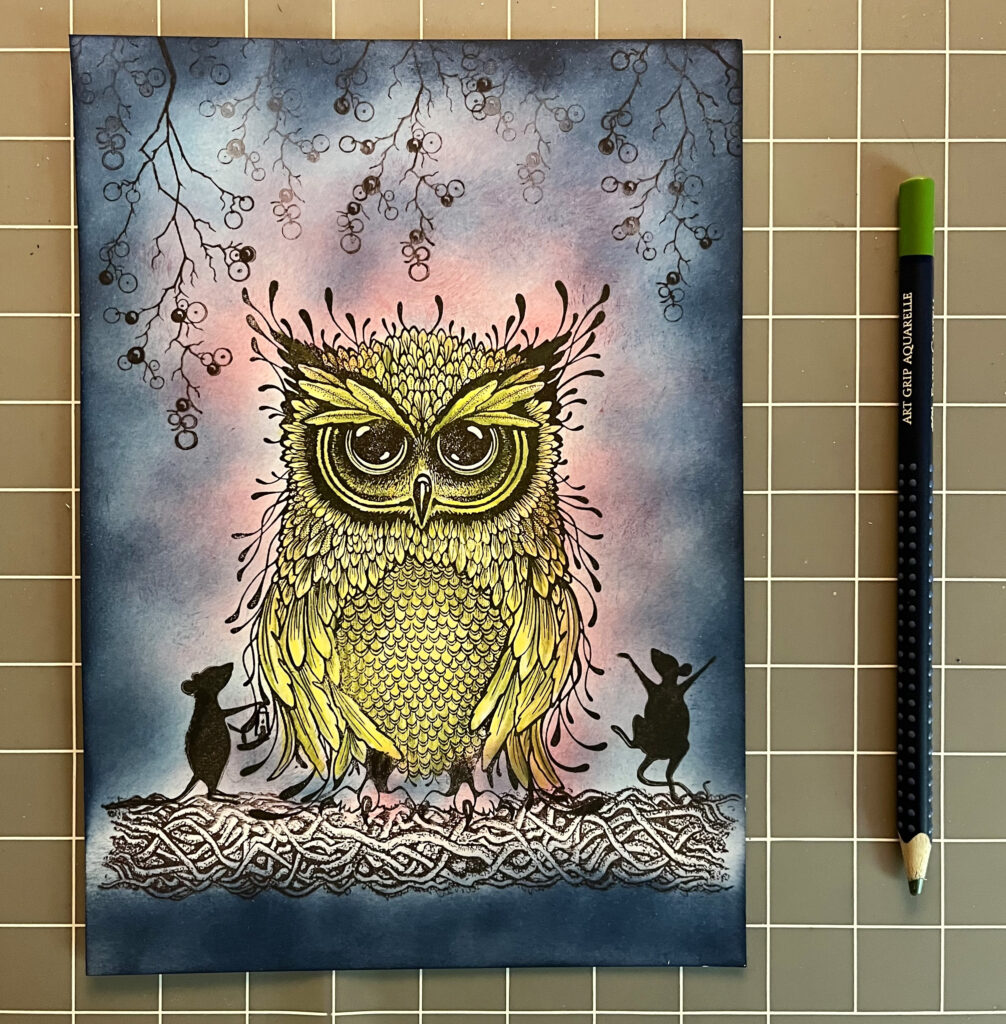
Step 10 Add shadows to the feathers with light green watercolour pencil.
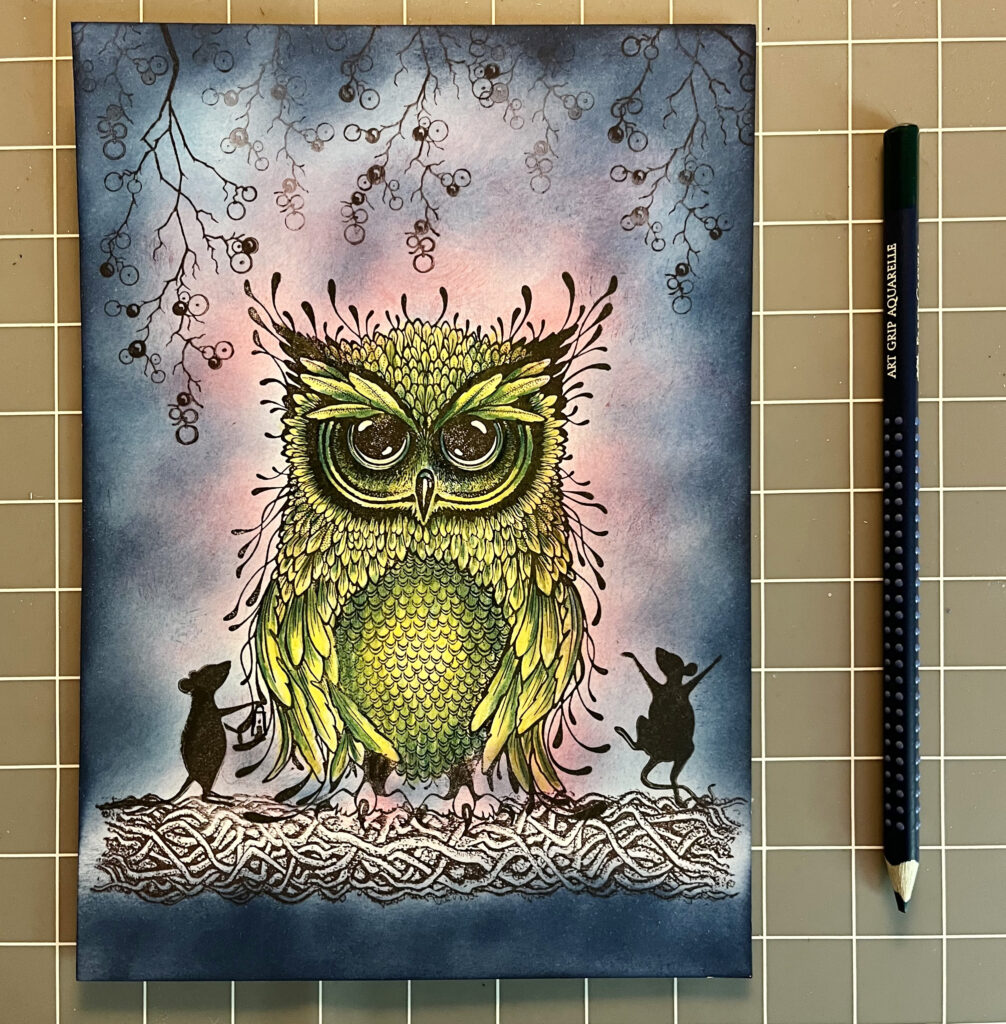
Step 11 Now make some of those shadows even darker with dark green watercolour pencil.
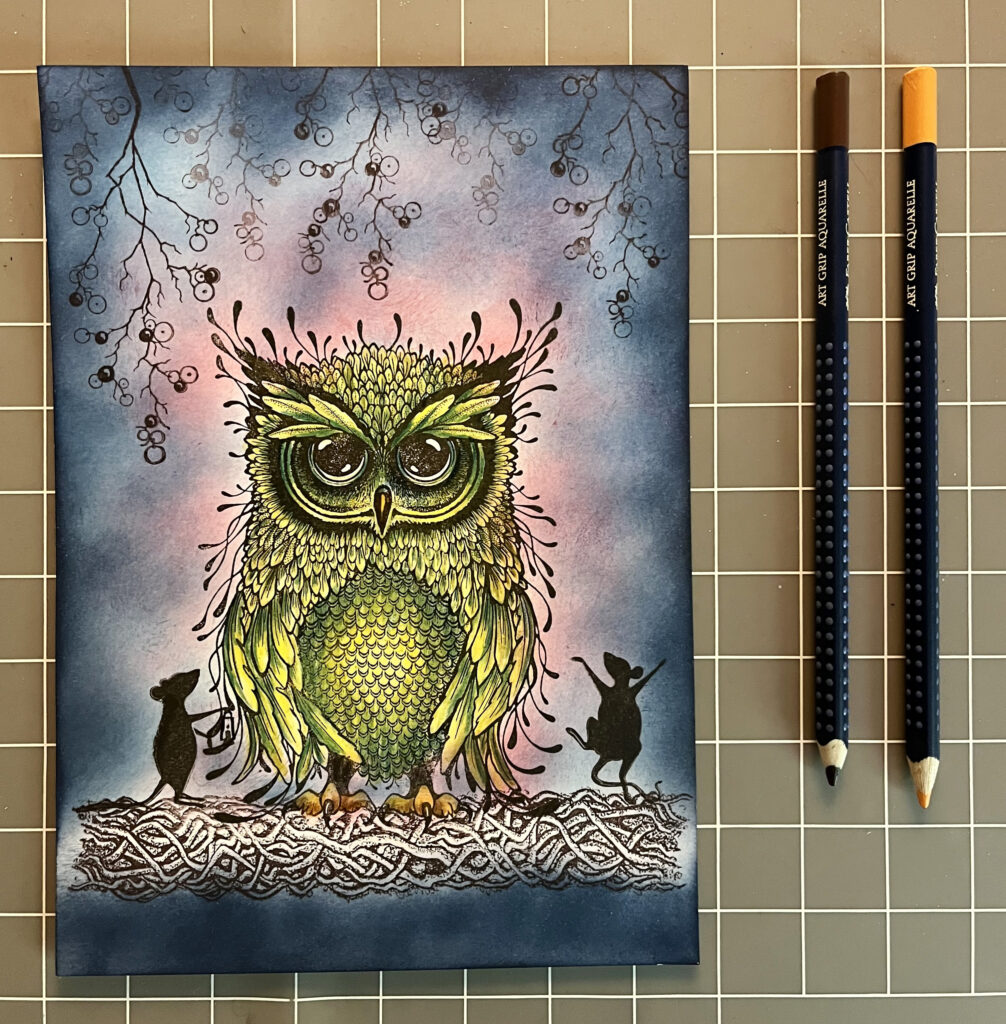
Step 12 Colour the feet and beak in orange, with the shadows in dark brown.
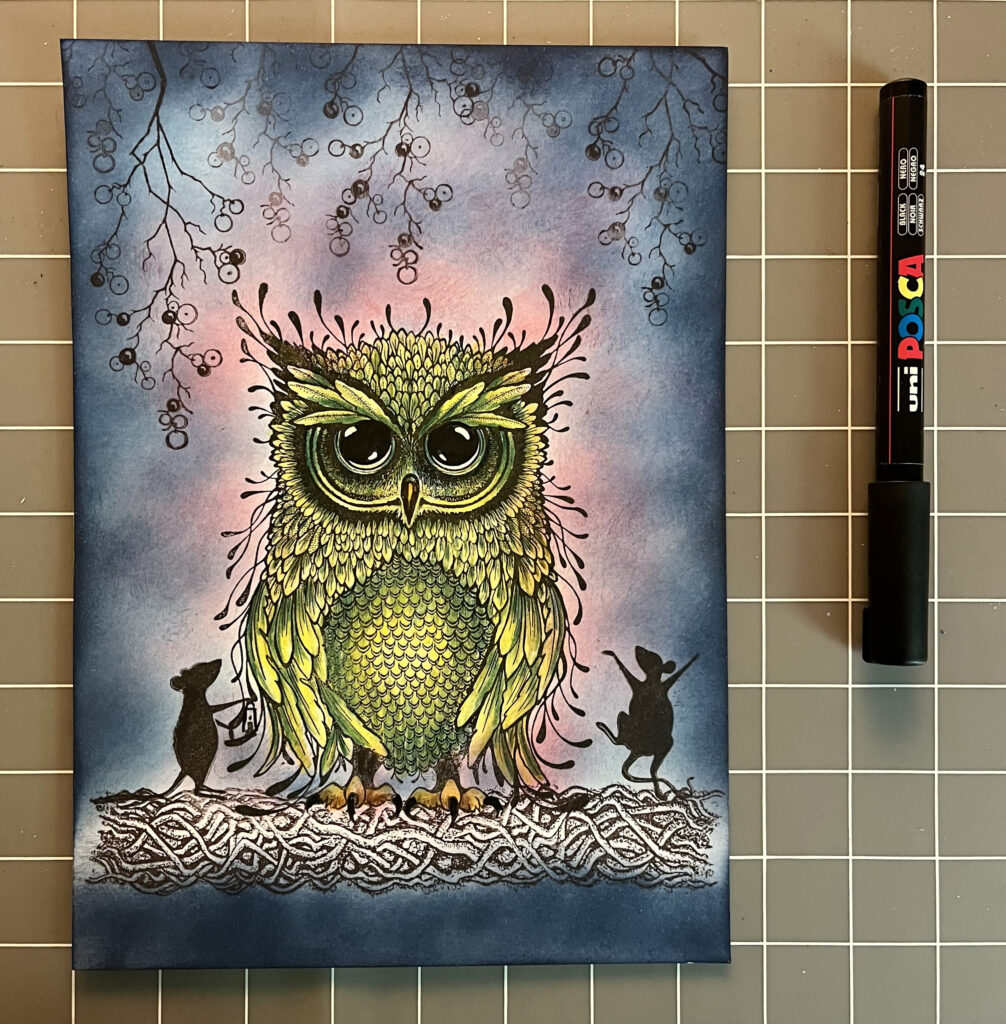
Step 13 Use the black Posca pen to make the eyes and claws a deeper black.
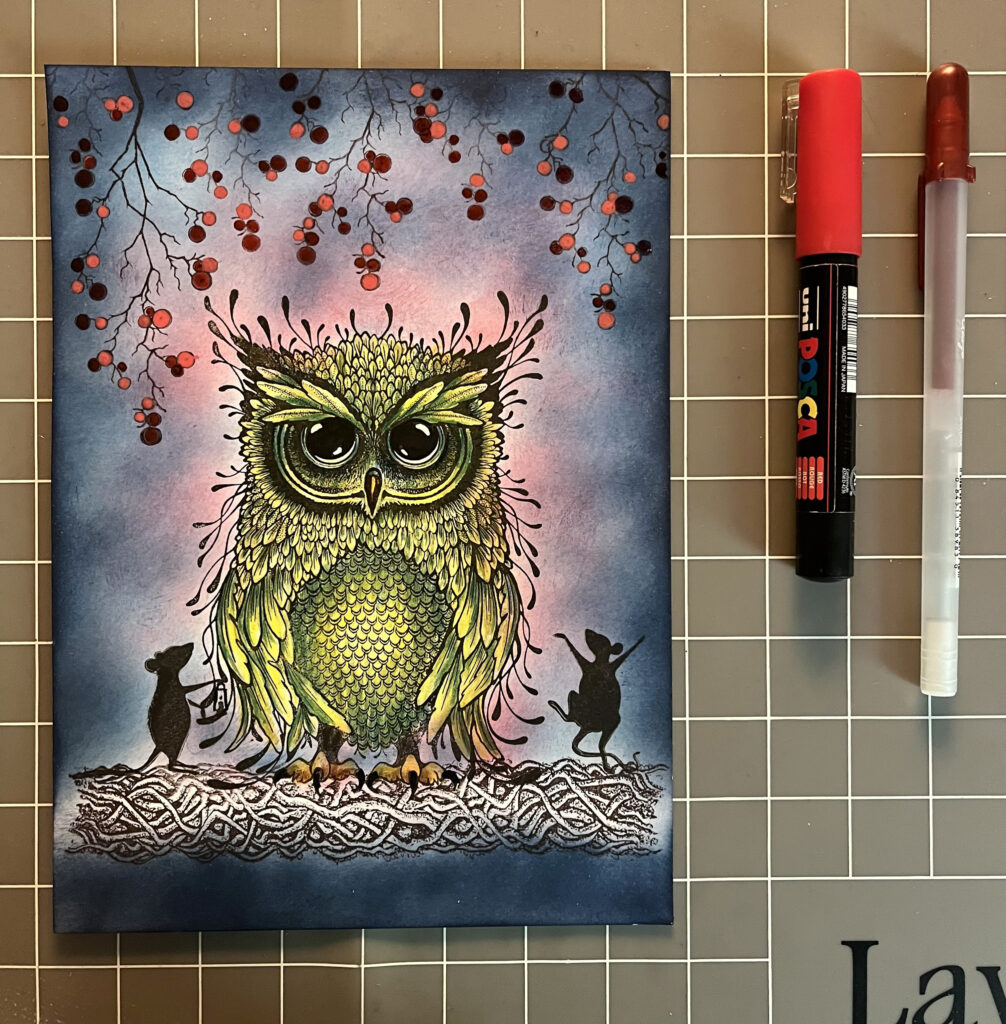
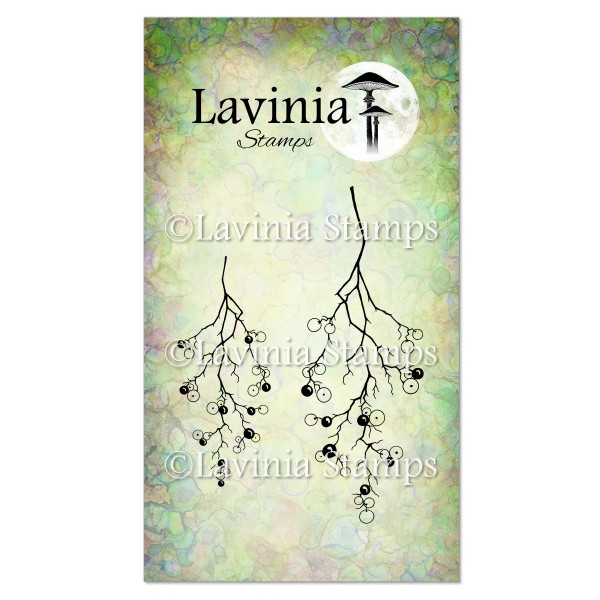
Step 14 Use a red Posca pen and a Gelly Roll – Glaze 3D Deep red for the berries. Make some of them red and some deep red.
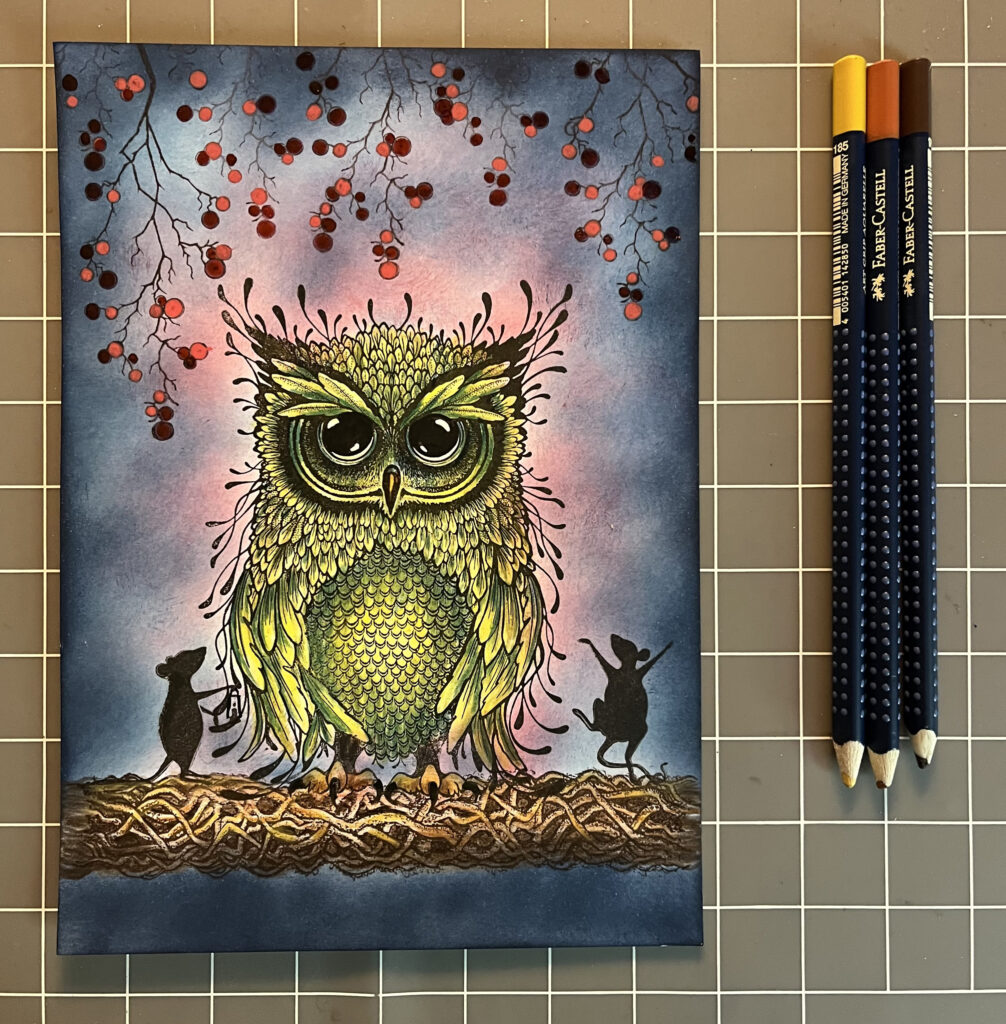
Step 15 For the Twisted Willow, use yellow, light brown and dark brown watercolour pencils. Make the lower part of the Willow, and in between the branches, dark brown.

Step 16 Add some dots on the berries with a white Posca pen to make them shine. Highlight some of the branches and Erwin feet and beak too. Highlight the Mice, using the white pastel pencil.
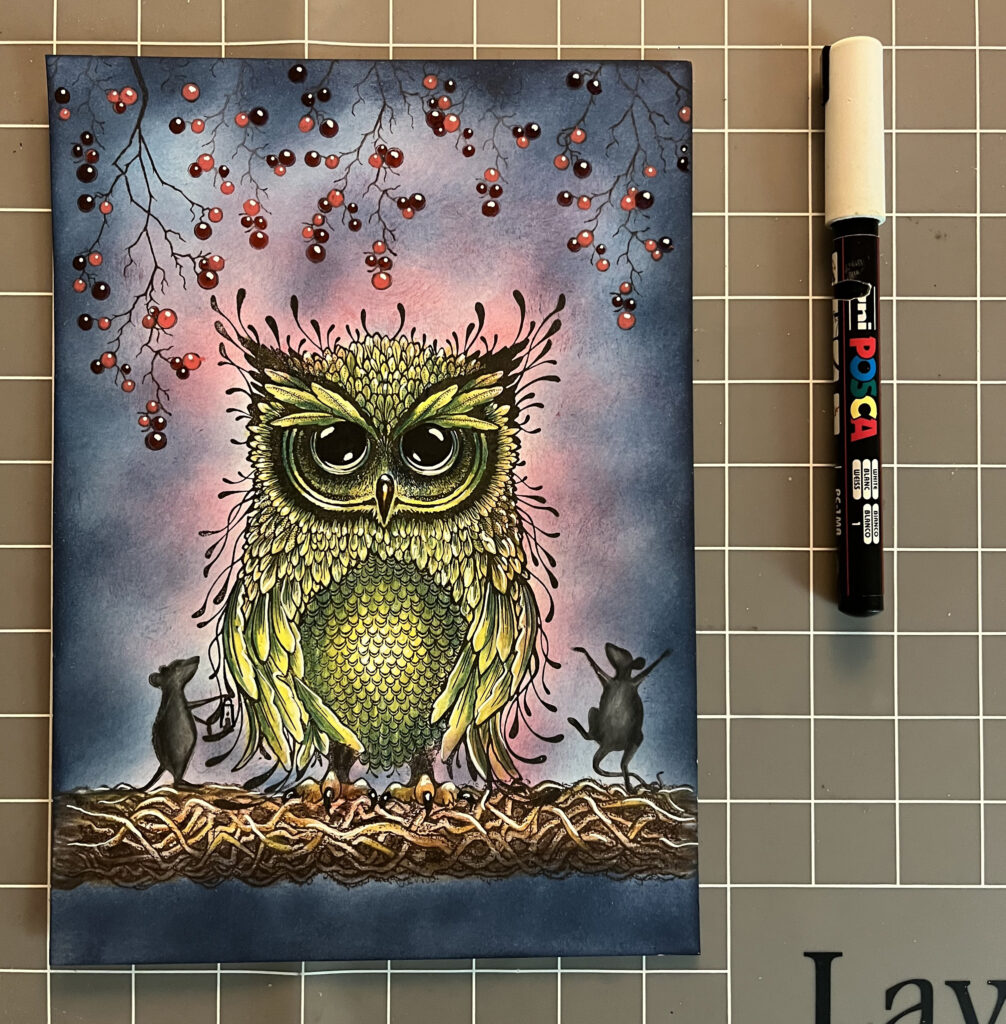
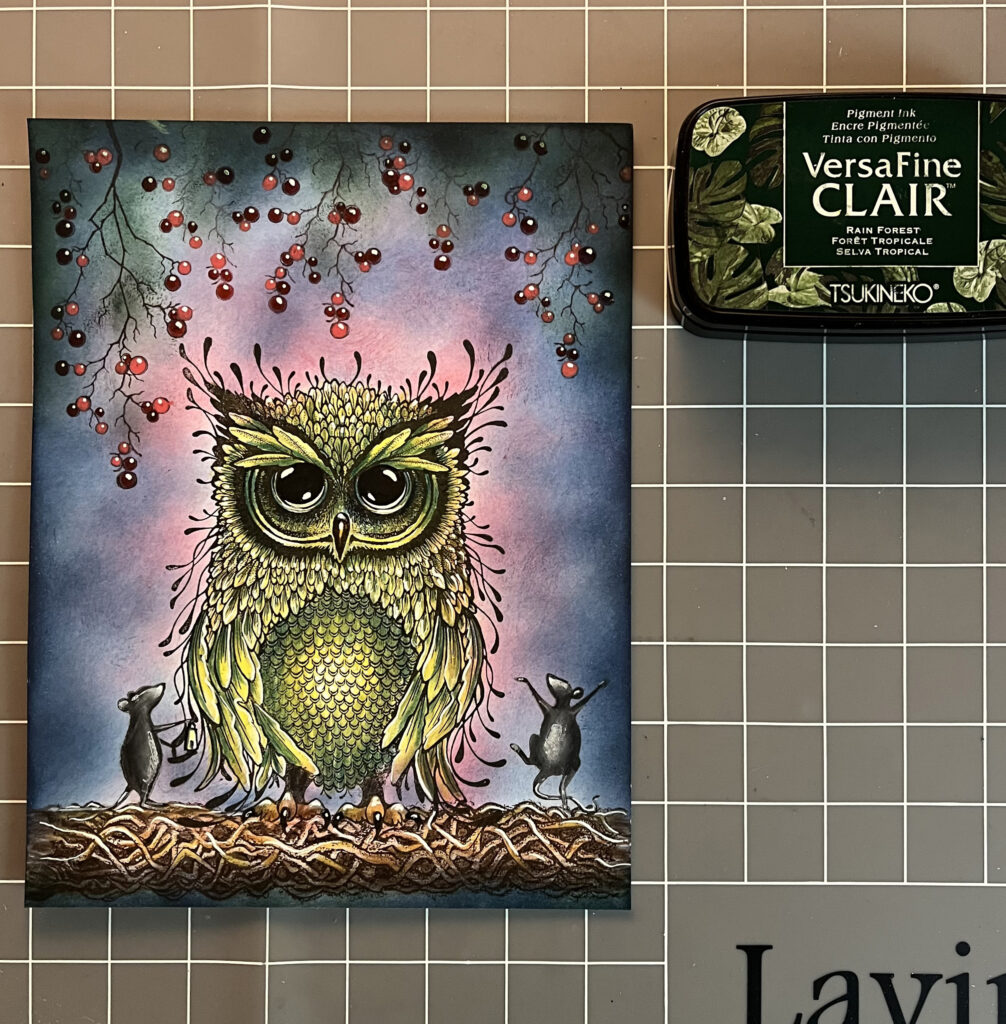
Step 17 Use Versafine Clair Rain Forest to add some greenery to the top of the card, among the berries. For more highlight on the Mice use the white Posca pen.
Step 18 Take the leaf from the Woodland Set and stamp with Versafine Clair Fallen Leaves. Use yellow, light green and dark green in watercolour pencils. Then add white Posca pen for the highlight and on the little lamp. I decided to cut off a piece on the bottom of the card. I think it looks better.

Step 19 Now it’s time to mount the card. Spray water on the Lokta paper and dry it with a heat tool. Then tear the edges and glue it to the card. Finally glue it to green cardstock and the card is finished!
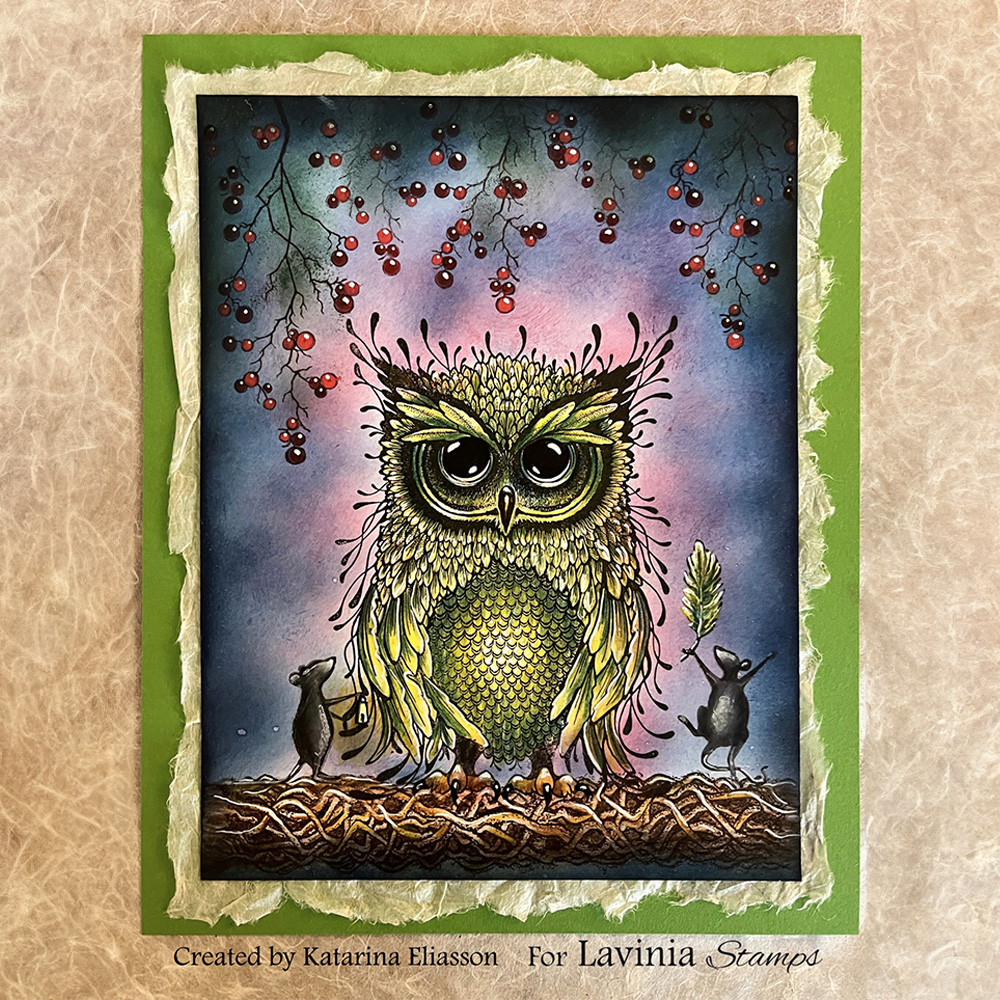
Hope you like it and give it a try!
Katarina.
Happy Crafting!