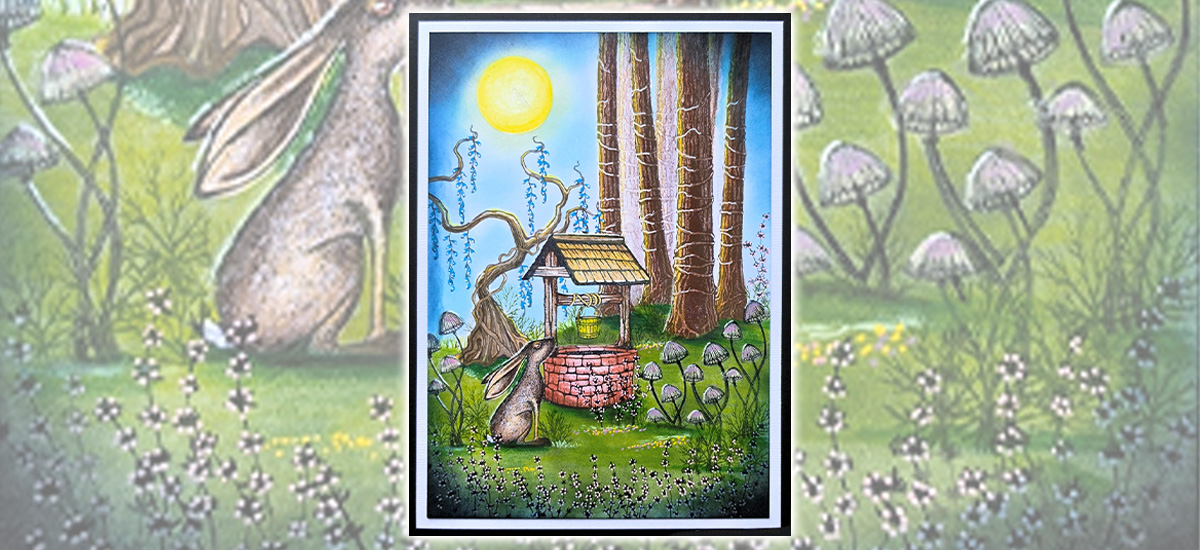
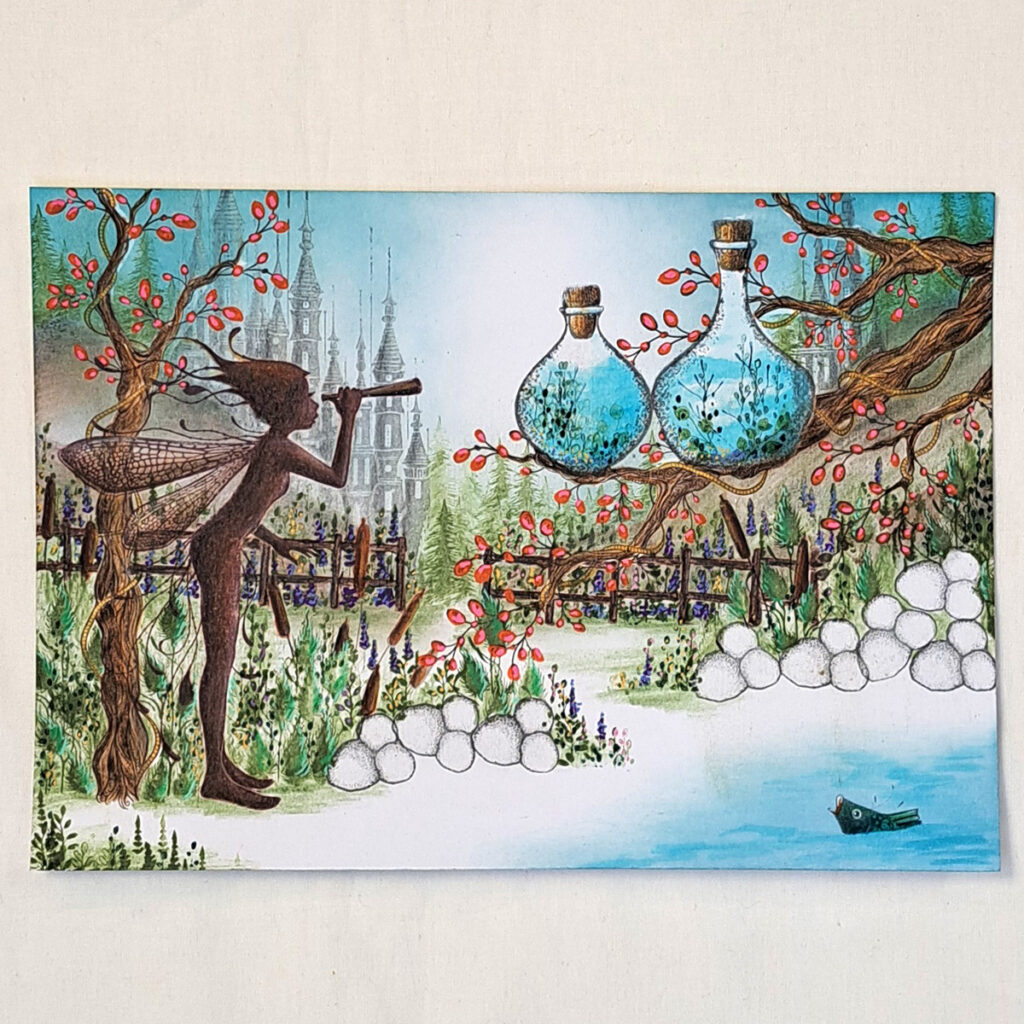
Daycare, by Mona Hauge.
Hi everyone, Mona here 🧚♀️
Here is a new Picture Tutorial from me called “Daycare”.
The fabulous new stamps from the” All Things Magical” collection made my imagination run wild. I love when that happens.
Hope you like it.
Multifarious card size A5 White.
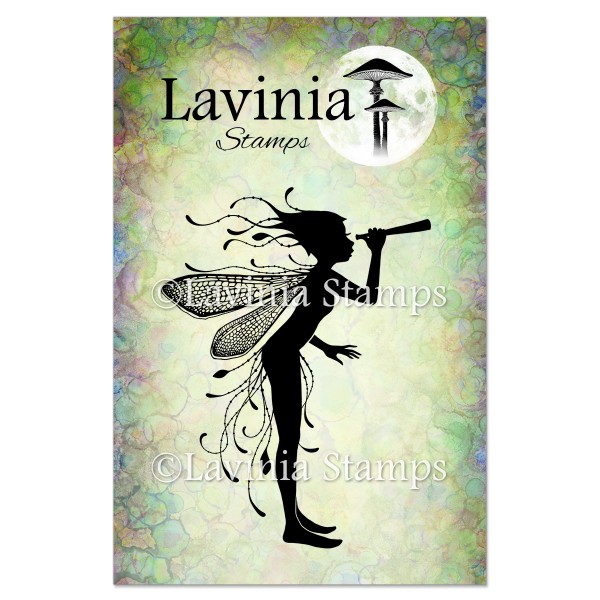
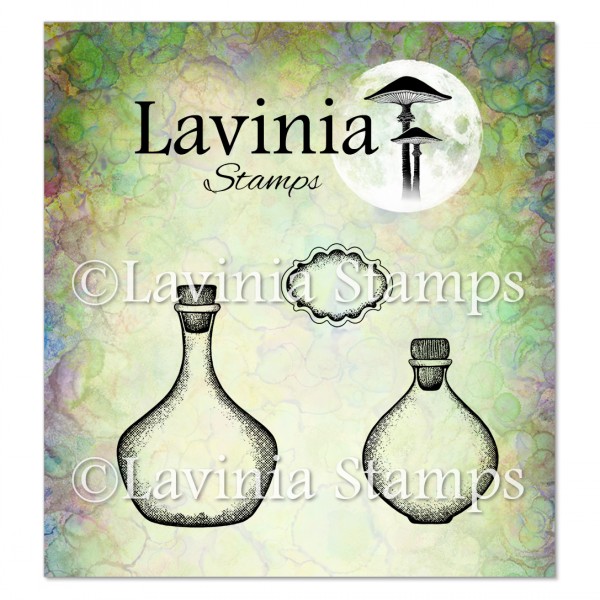
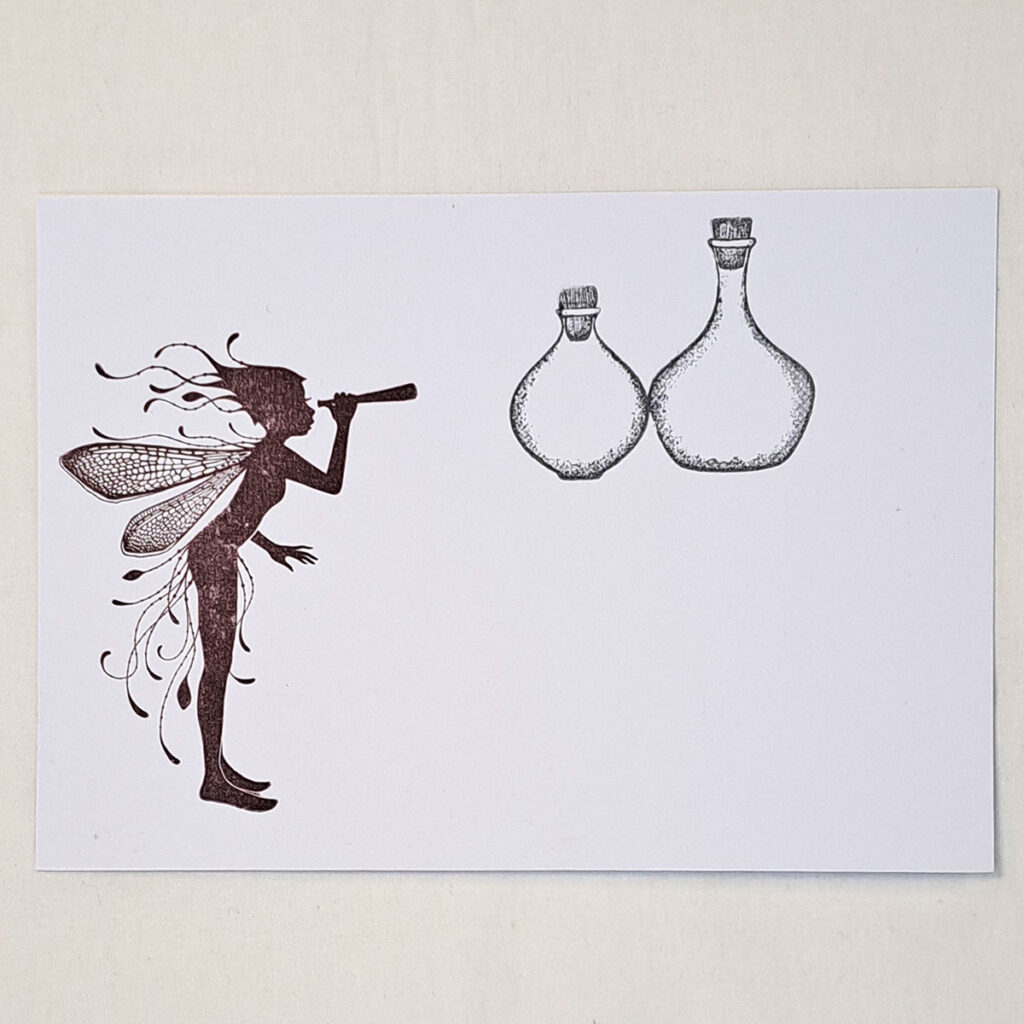
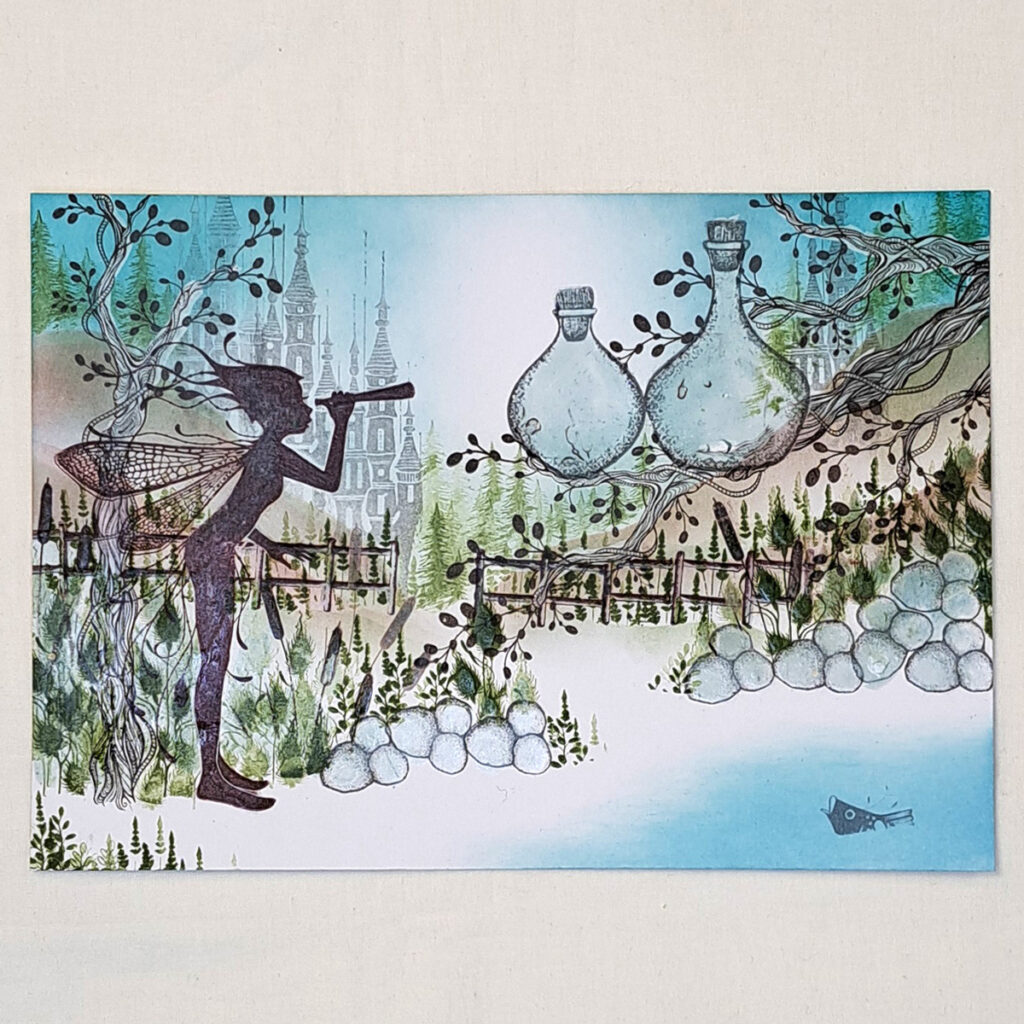
We start with the beautiful Scout Large and we ink up with Versafine Clair Pinecone. The fabulous Spellcasting Remedies 1 are going to be the daycare centre on the tree branch. Stamp up with Versa fine Clair Morning Mist. Cover everything with Liquid Masking fluid.
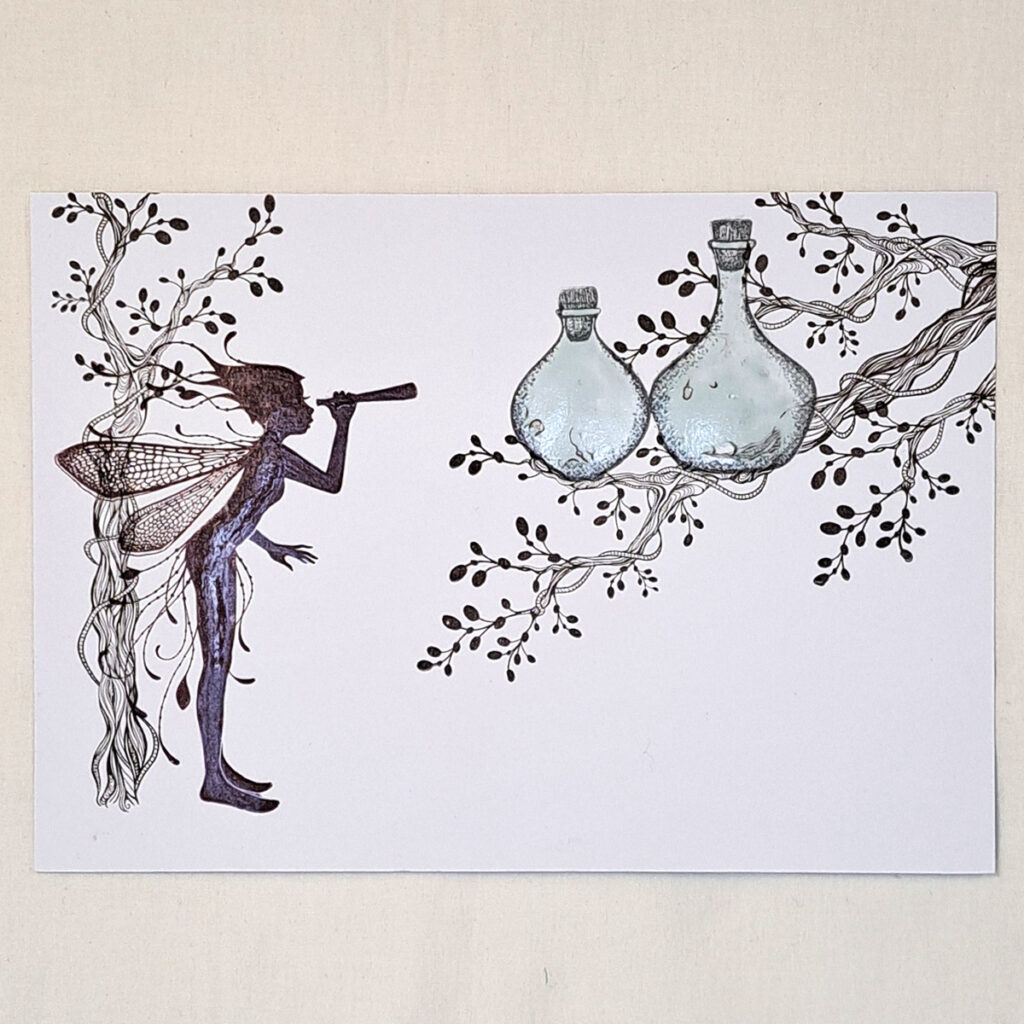
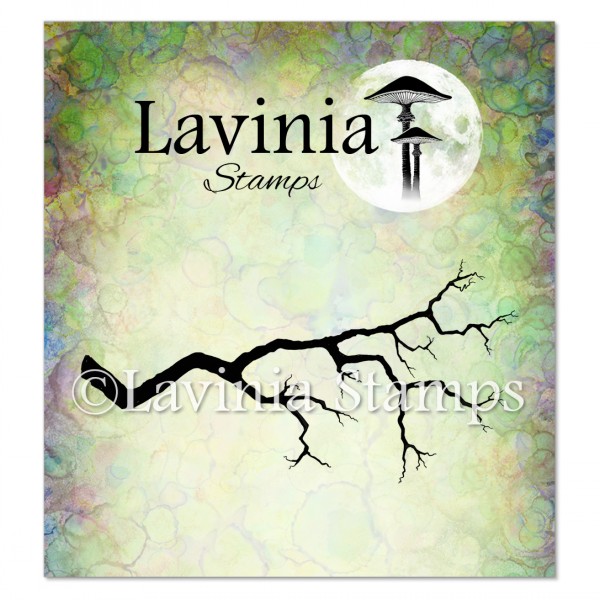
The Vine Branch stamp will do great both as a branch and as a tree. Stamp up with Versafine Clair Fallen Leaves. Look at the picture for placement.
Cover the branch and tree with Liquid Masking Fluid.
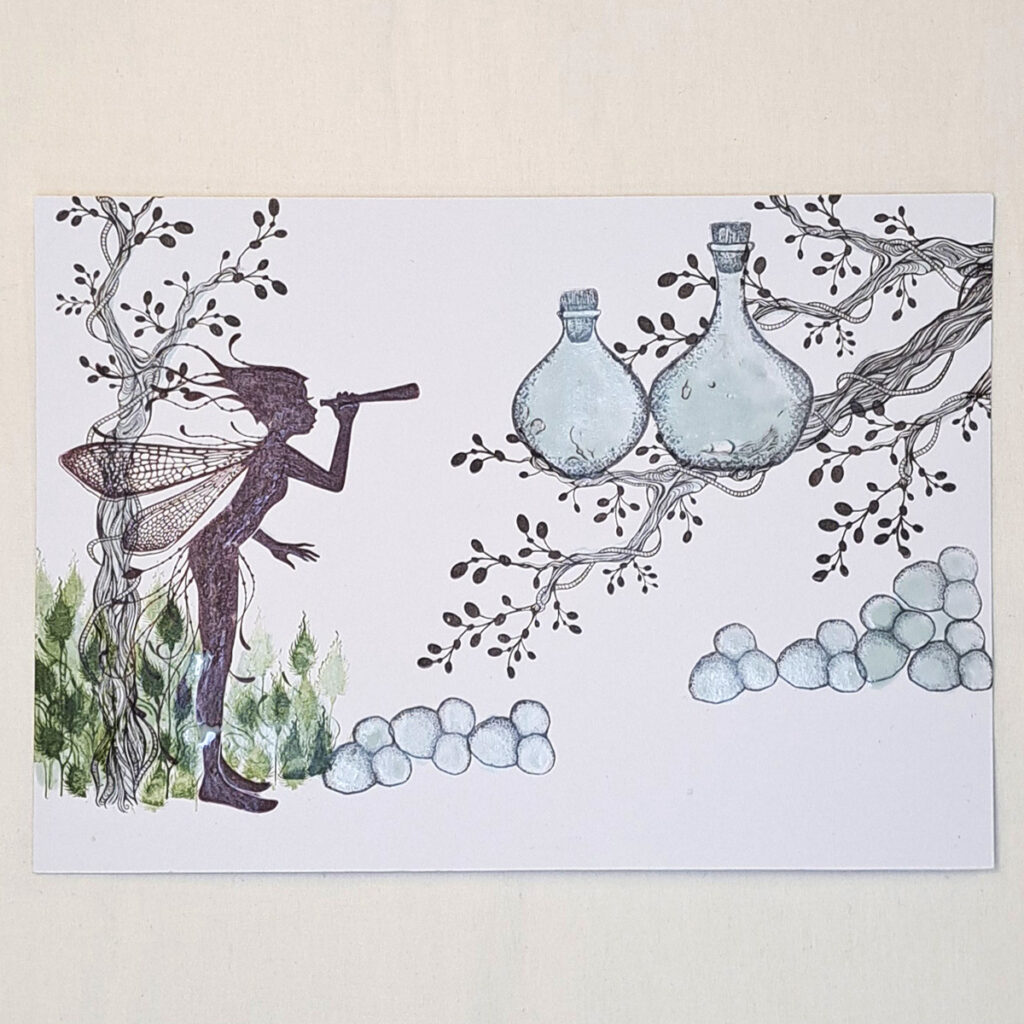
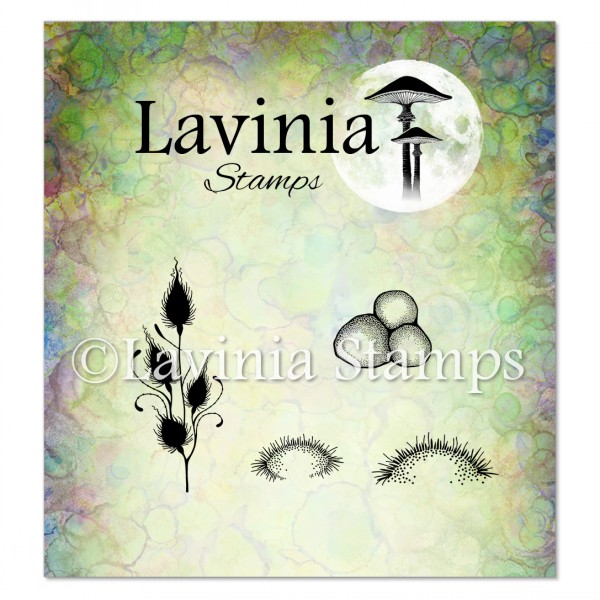
The Forest Moss stamp has a separate stones stamp, which we will use to create a beach scene. Stamp up with Versafine Clair Morning Mist and look at the picture for placement. On the left side we need some flowers. The Forest Moss stamp also has a beautiful flower, and we stamp up with Versafine Clair Shady Lane. Cover the stones and the flowers with Masking Fluid.

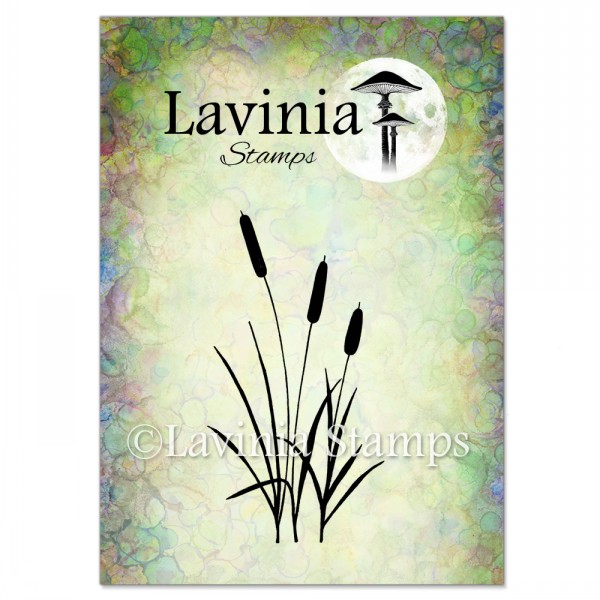
We need some more flowers so the Forest Moss will be behind the stones, and we stamp up with Versafine Clair Shady Lane. Some Bulrushes are always great with a beach scene. We stamp up with Versafine Clair Pinecone for the Bulrushes. Cover all with Liquid Masking Fluid.
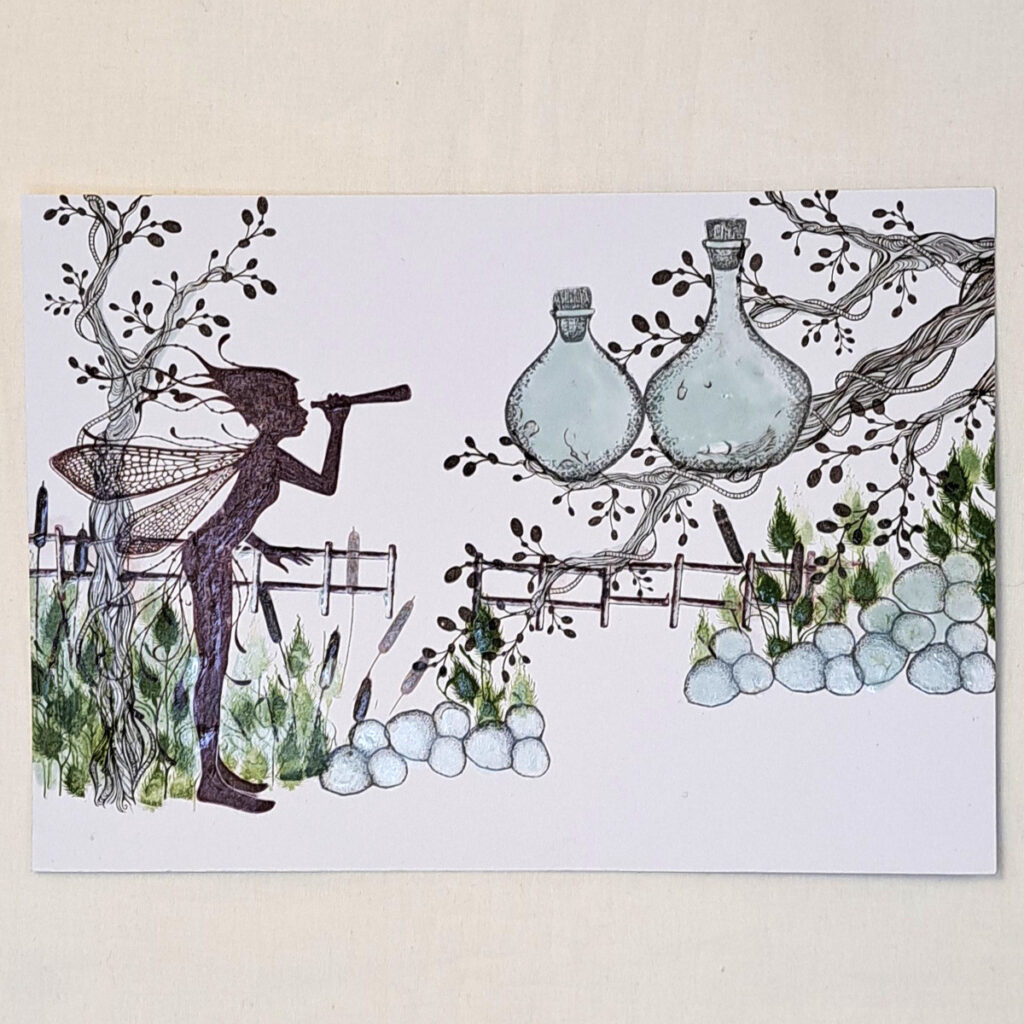
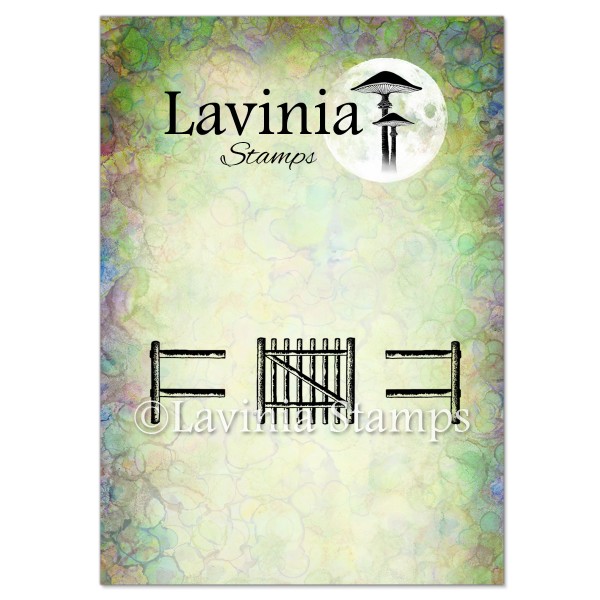
Stamp up some Versafine Clair Fallen Leaves on the Gate and Fence stamp and place them like you see in the picture. Then put Liquid Masking Fluid on them.
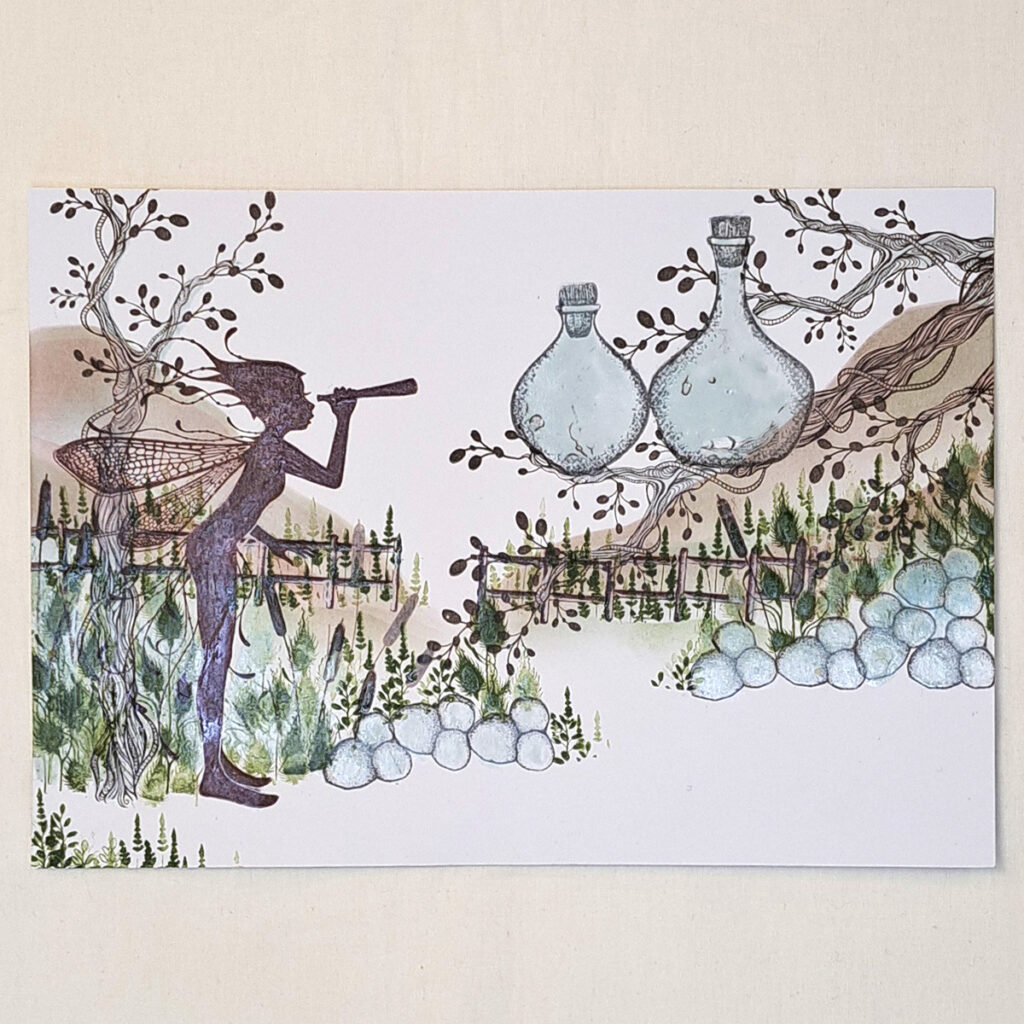
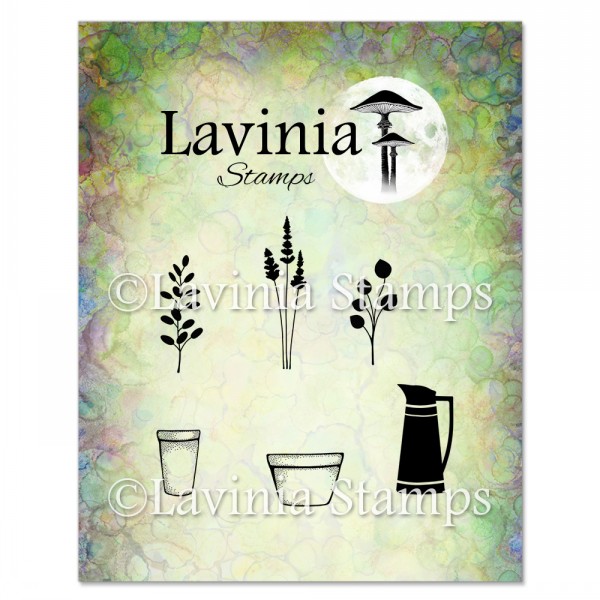
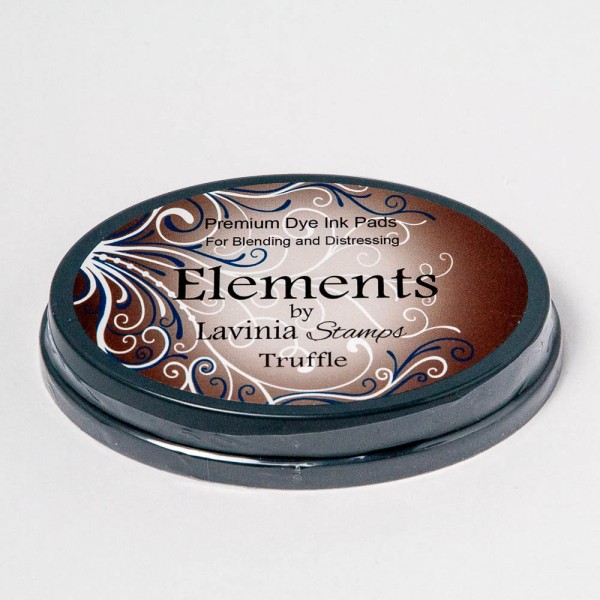
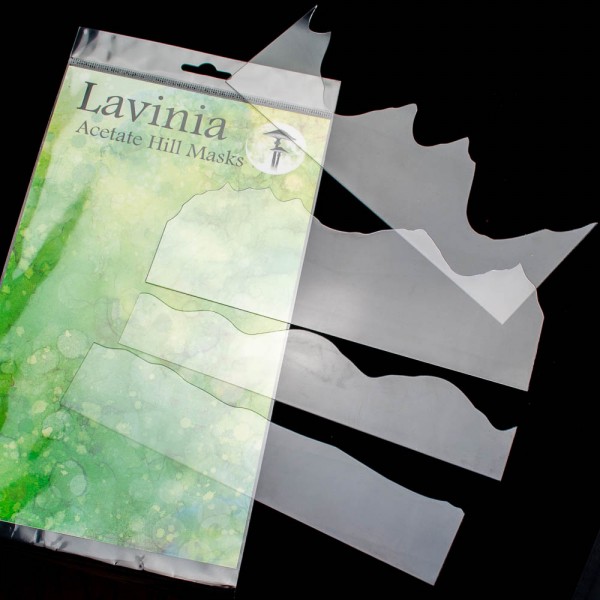
Use a Hills Mask to create the hills in the background. I used a mix of Elements Olive and Truffle. Be sure to not use to much colour. A softer colour gives the impression of them being far away. We need more flowers so we will use the Flower Pots stamp. Use a few different ones and stamp up with Versafine Clair Shady Lane. Do both first and second generation stamping. This creates some depth in our picture.

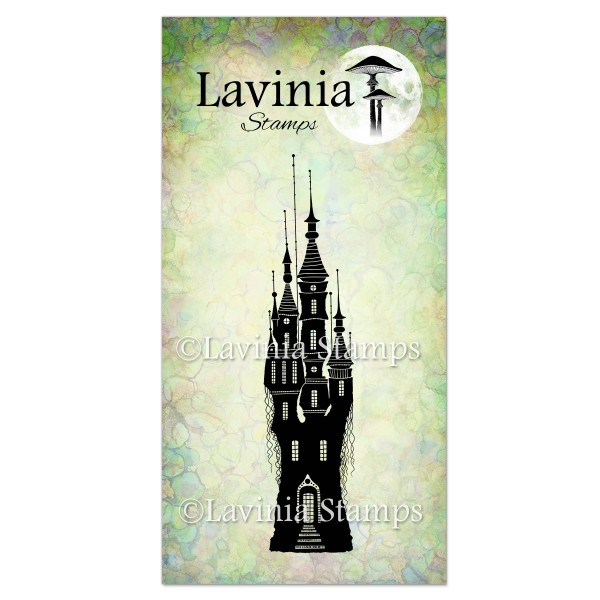
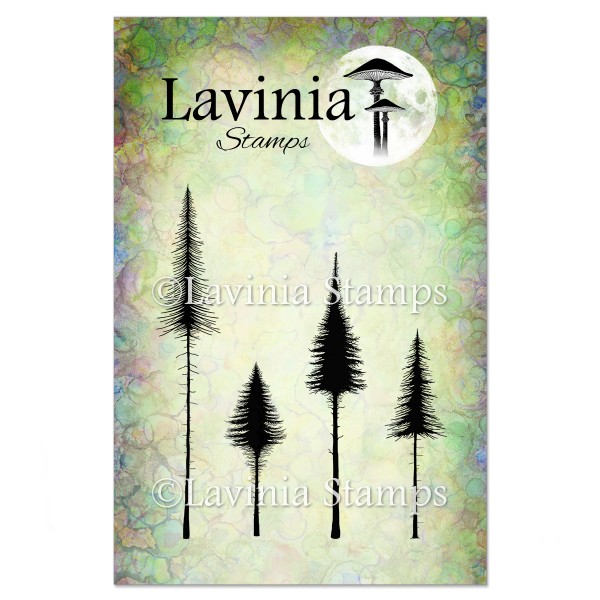
I love the Far World Castle so much. So let us place it in the far distance. Stamp up with Versafine Clair Morning Mist and use second and third generation stamping. The small Pine Trees Stamp have perfect sized trees for creating a forest in the far distance. Stamp up with Versafine Clair Shady Lane and do a mix of first, second and third generation stamping. We have Masking on everything but the hills so you can just cover the hills with some thin paper when you stamp the Castle and the trees.
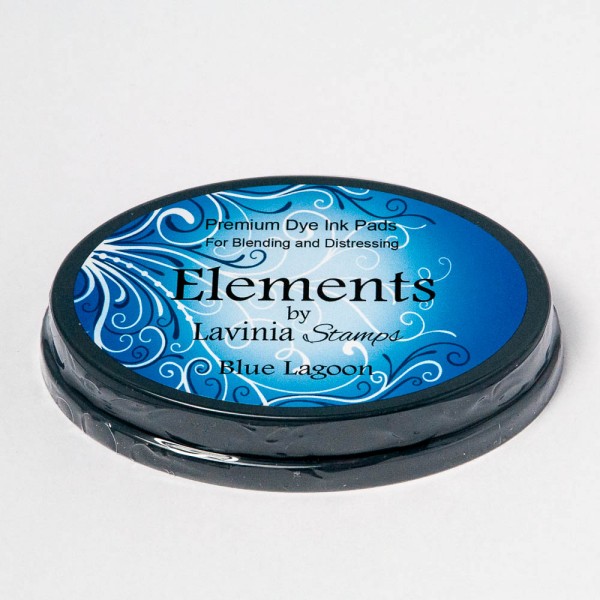
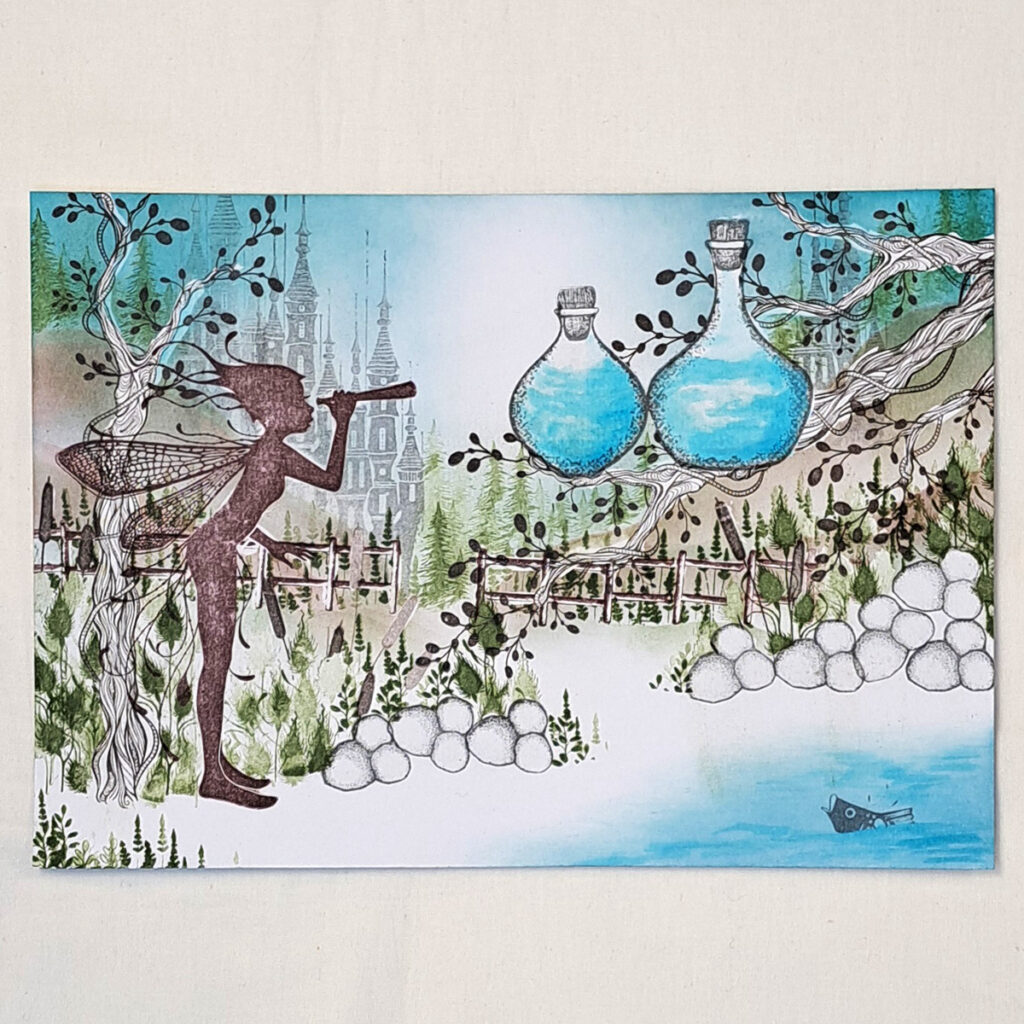
For the colour of the sky and water I used
Elements Blue Atoll and Elements Blue Lagoon. The Blue Lagoon colour is a
bit darker, so I put it in the corners and then I blended with the Blue Atoll
towards the centre of the sky and fade the colour on to the beach. Look at the
picture for placement.
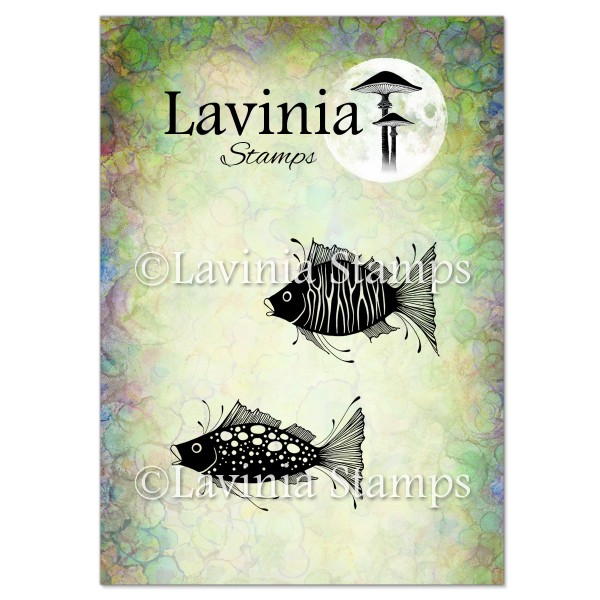
In the water we need a little fish mother or
father. One of the fish from the Fish Set Stamp. Just put a thin piece of paper
on the water and stamp the fish so it looks like it has only her head above
water. Stamp up with Versafine Clair Morning mist.
Now it is time to remove all the masking. Be absolutely sure that your card is 100% dry!!! Only a little bit of moisture can make the paper tear. Also, you need to wipe off the ink that is on top of the Masking as the ink does not dry on top of the masking and may smudge the ink onto your card when removing the masking fluid. So just lightly dab some paper towel on your picture to remove the extra ink.
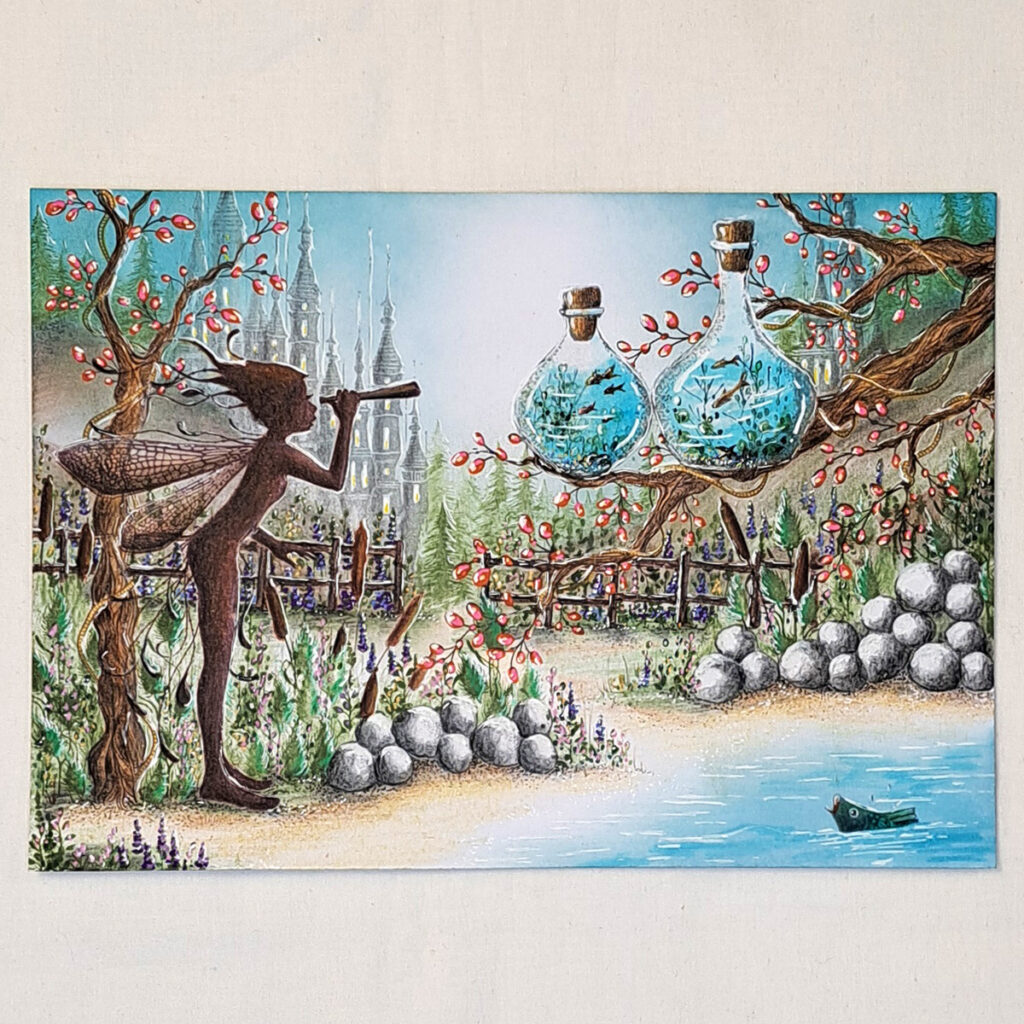
Wipe gently to remove the Masking, no need to rush.We need some water in our bottle daycare centres. I used a water brush and picked up the colour from the lid of the Elements Blue atoll and Blue Lagoon. Try to colour it a bit uneven and not one solid colour.
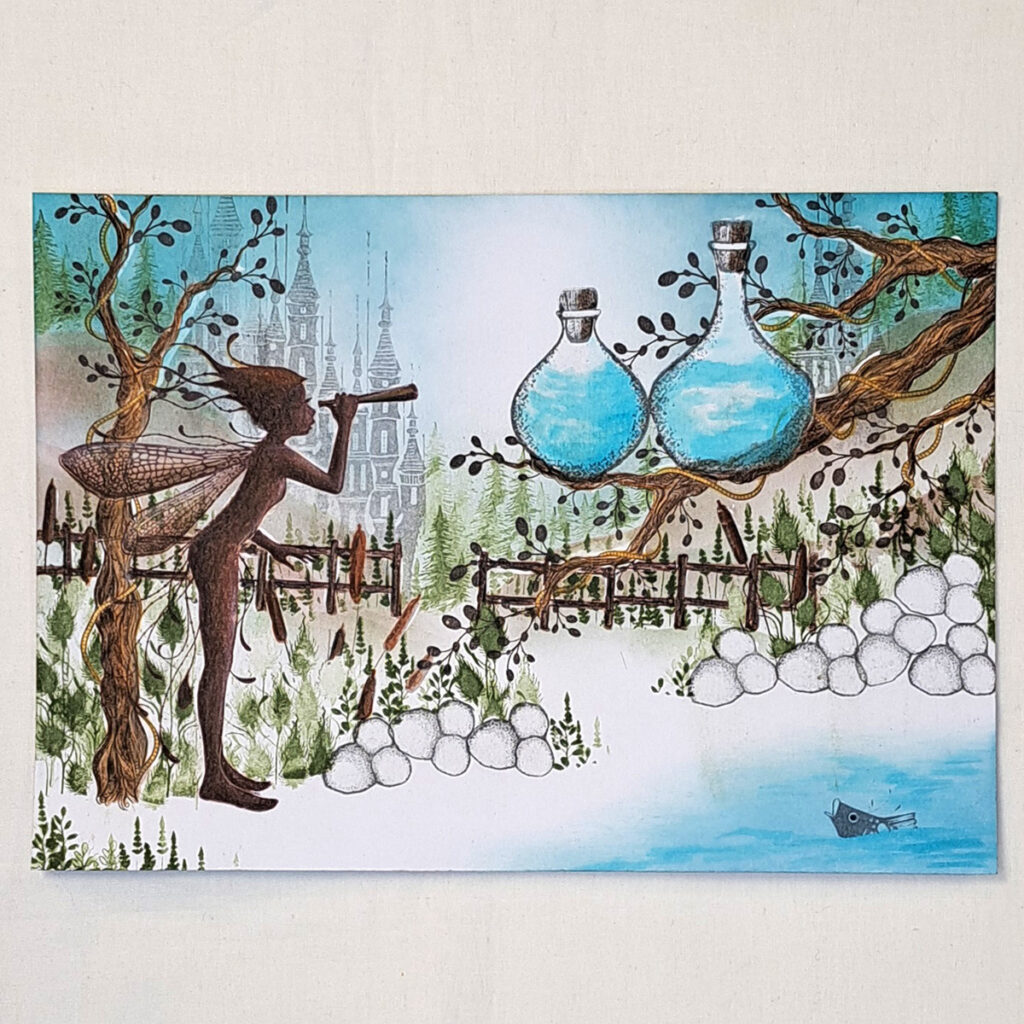
Let us start colouring with our wonderful Mondelez aquarelle pencils. If you only have other colour pencils use those. Start colouring in the lovely Scout with a darker brown on her back and go lighter towards her front. Her wings I only colour very gently because I want to keep them see through. The branch I colour with three different colours, brown, dark brown and ochre. This gives the branch a little more life. The rope around the branch I colour with the more golden ochre colour. The fence only needs one colour, and we will add highlights on it later.
Now we need to get some colour on part of the ground an also fill in where there are white spaces between the flowers and between the trees. Use a green that matches with the colour of the Versafine Clair Shady Lane colour. Look at the picture for placement.
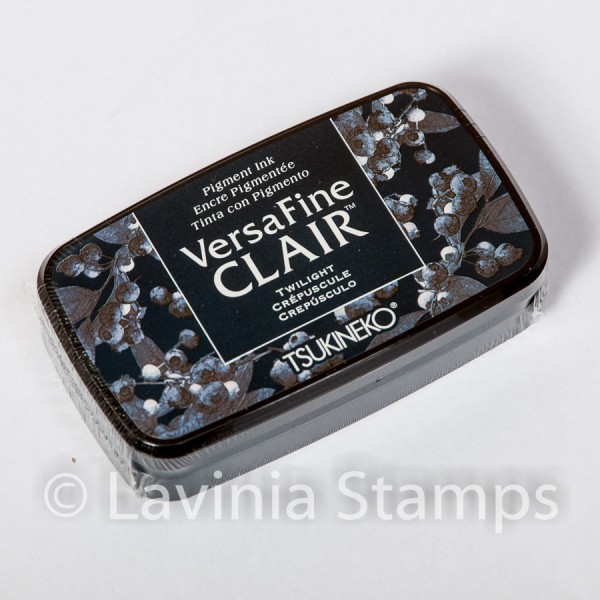
We need some plants in our Daycare Bottles. The Flowerpots Stamps are perfect. Stamp up with Versafine Clair Shady Lane. And we want a little bit of Leaf Creeper Stamped in Versafine Clair Rain Forest and a little bit of Small Branch stamped in Versafine Clair Twillight.
The Leaf Creeper stamped up in Versafine Clair Rain Forest will be lovely to use on the ground amongst our flowers and under the fence. Do first, second and third generation stamping with the Leaf Creeper.
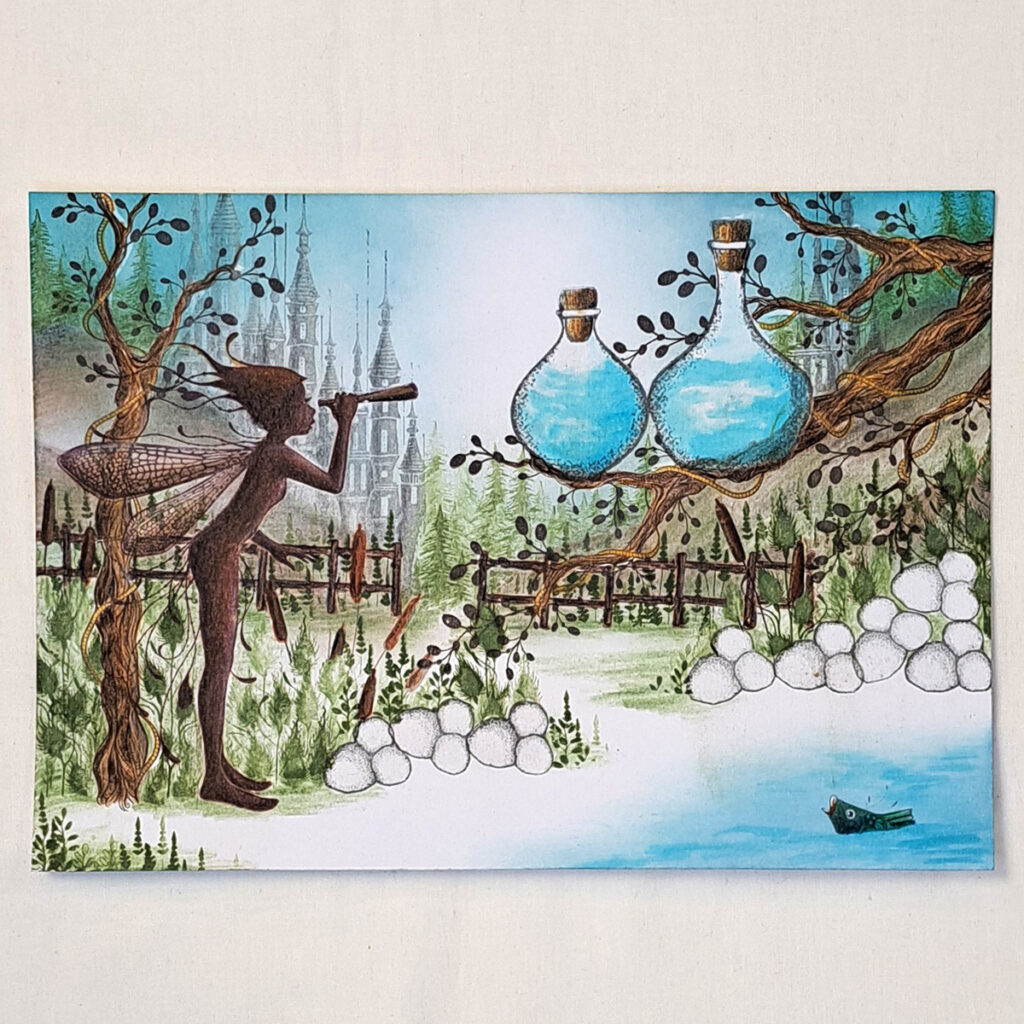
The Far World Castle needs some shading also. A slightly darker grey than the stamped image will help to give the castle a little more dimension. The Bulrushes also needs to be coloured in and the corks in the bottles can have the same colours, use two shades of brown and Ochre. The Flowers from the Forest Moss stamp needs a little shading as well. The little fish needs a little green and blue colour. Look at the picture for placement.

Add a generous amount of foliage using green Gelly rolls.
Some Posca pens or Gelly rolls are wonderful to colour the flowers with. I used Posca colours pink, orange, straw yellow, lilac, purple and apple green Gelly Roll. Look at the picture to see how to colour.
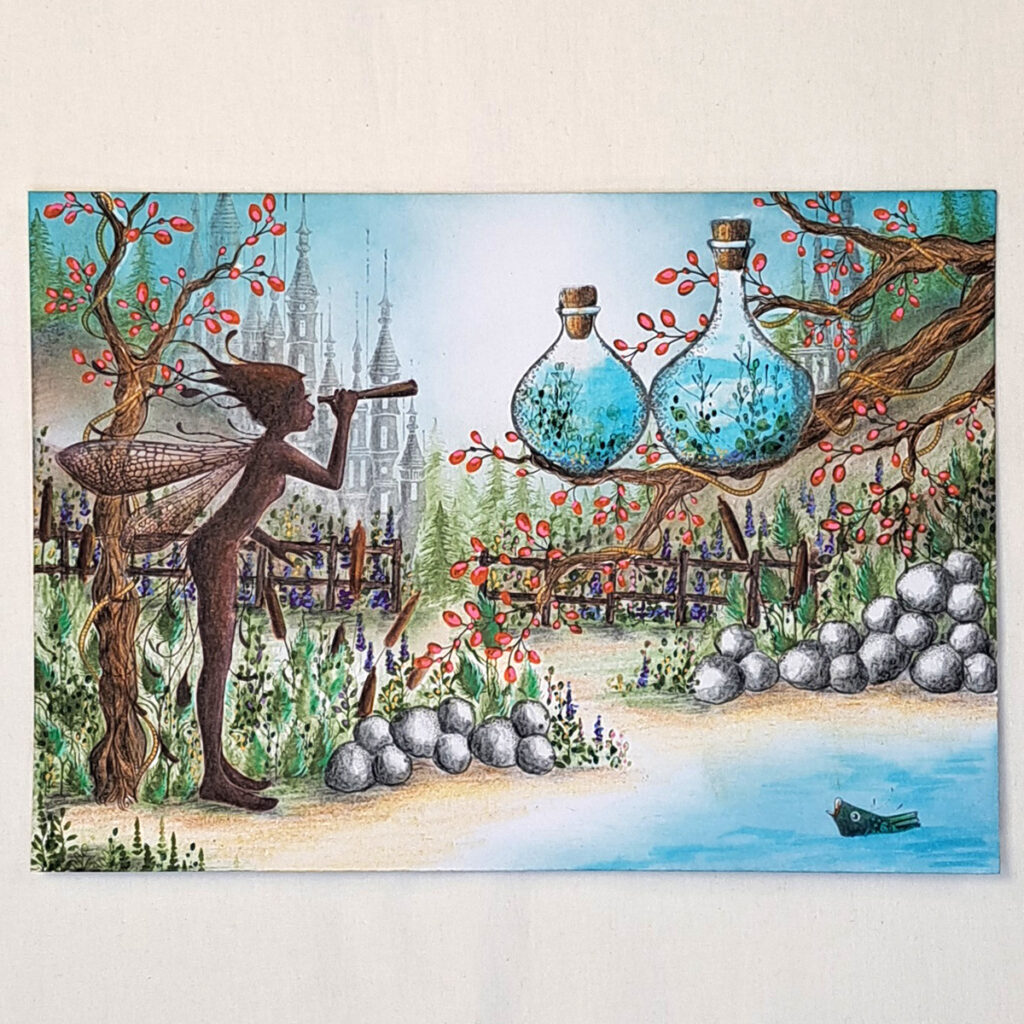
The ground and our beach needs colour. I used a dark grey under all the stones, Scout, and the tree and on top of the grey I used a medium brown colour and then I used an Ochre colour to fade over to look like sand. Under the fence we need to do a little more shading on the ground. The Forest Flowers looks great with a little light green to create a little highlight.
Our stones need colour and I always use Black, dark grey and light grey. I colour with the dark grey colour first and then I use the black colour on top to create the darkest shadow. Then I use the light grey to colour where the light hits.

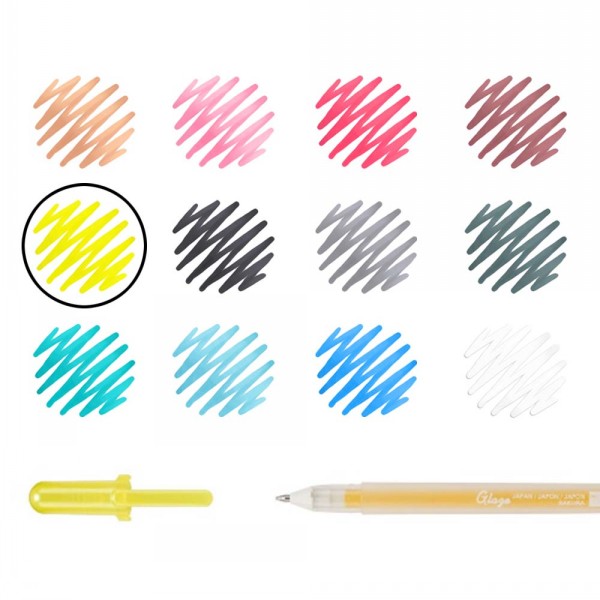
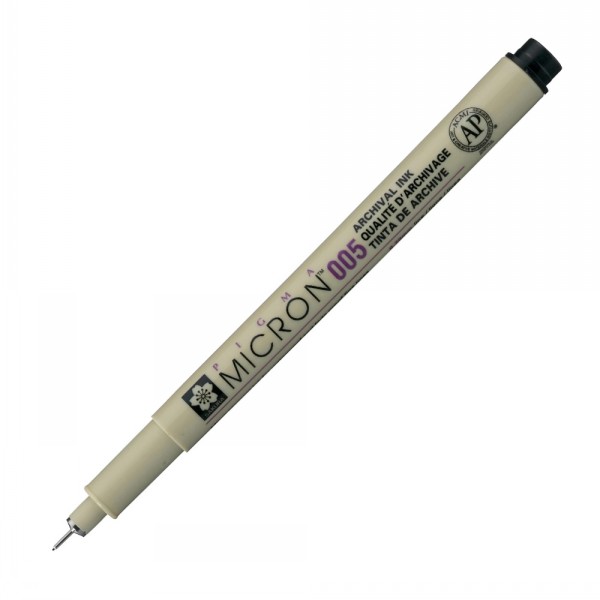
Now for fun part. Use a Micron pen size 005 dark grey to draw our little babies in the daycare. Draw some different sizes to illustrate different ages of the children.
Use either a Posca pen, or Gelly roll to highlight.
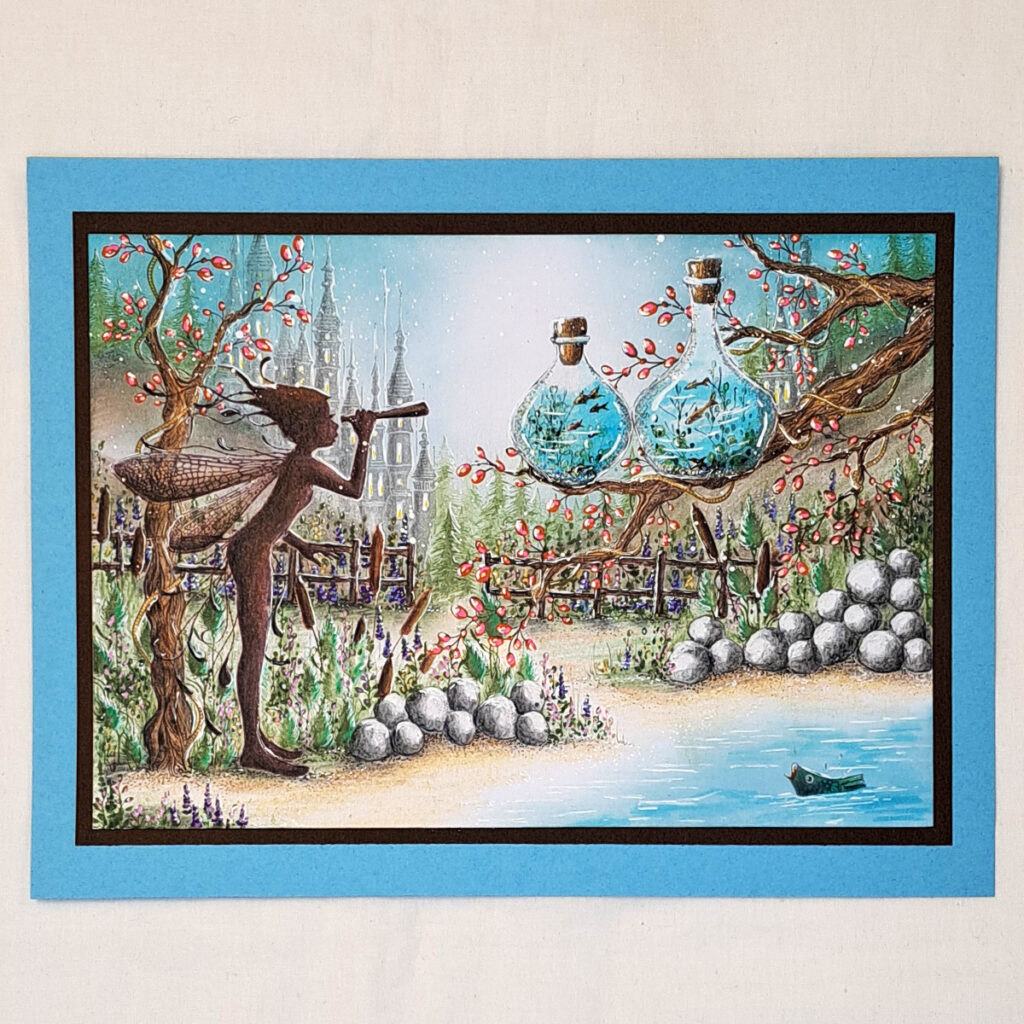
I really hope you enjoyed following this picture tutorial. If you have any questions just ask me and I will answer as soon as I can.
Big hugs from Mona 🧚♀️