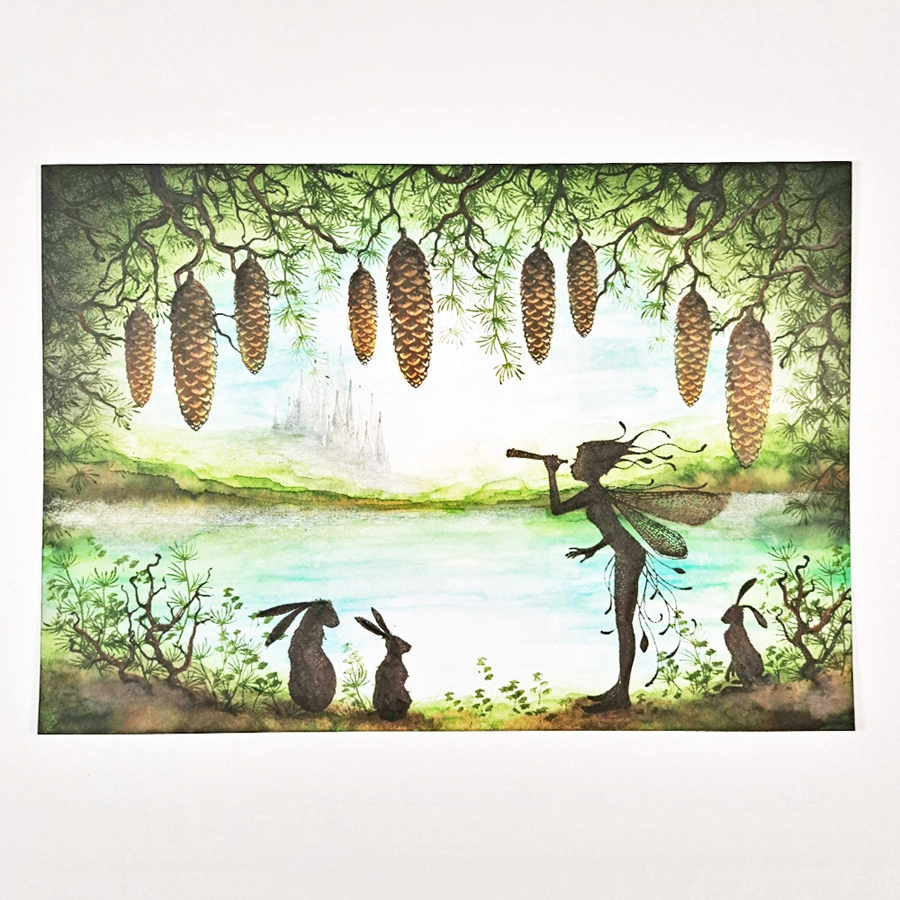
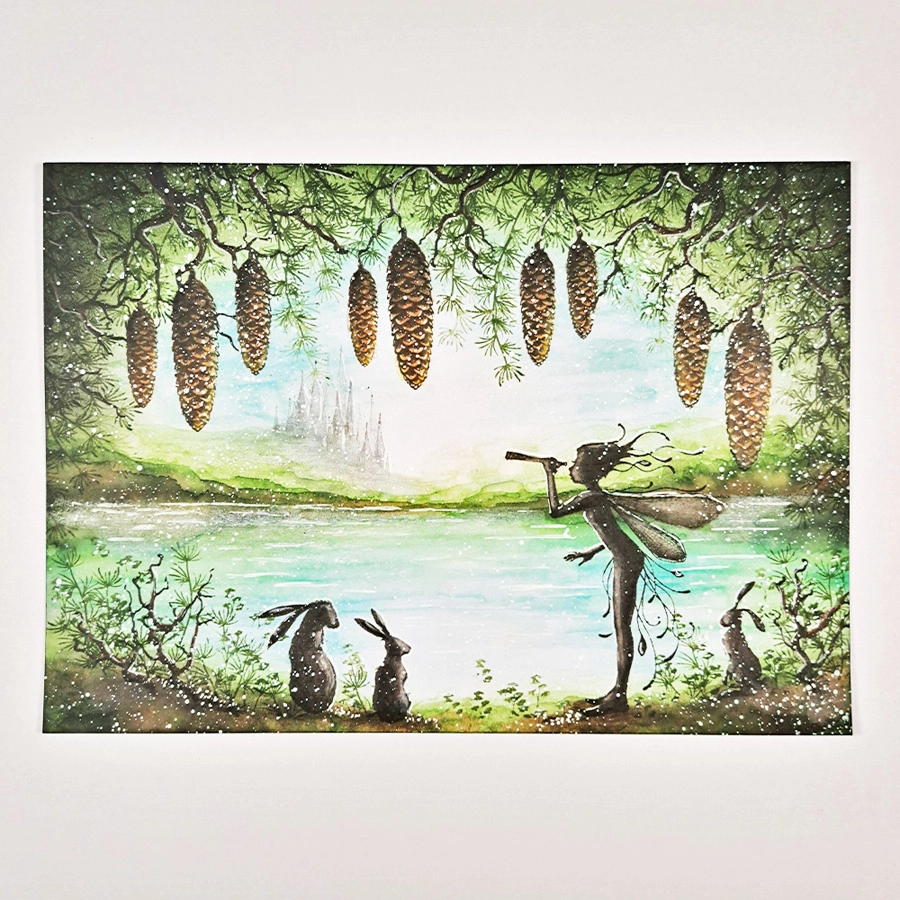


 Everdusk Tree Stamp
£8.60
Add to basket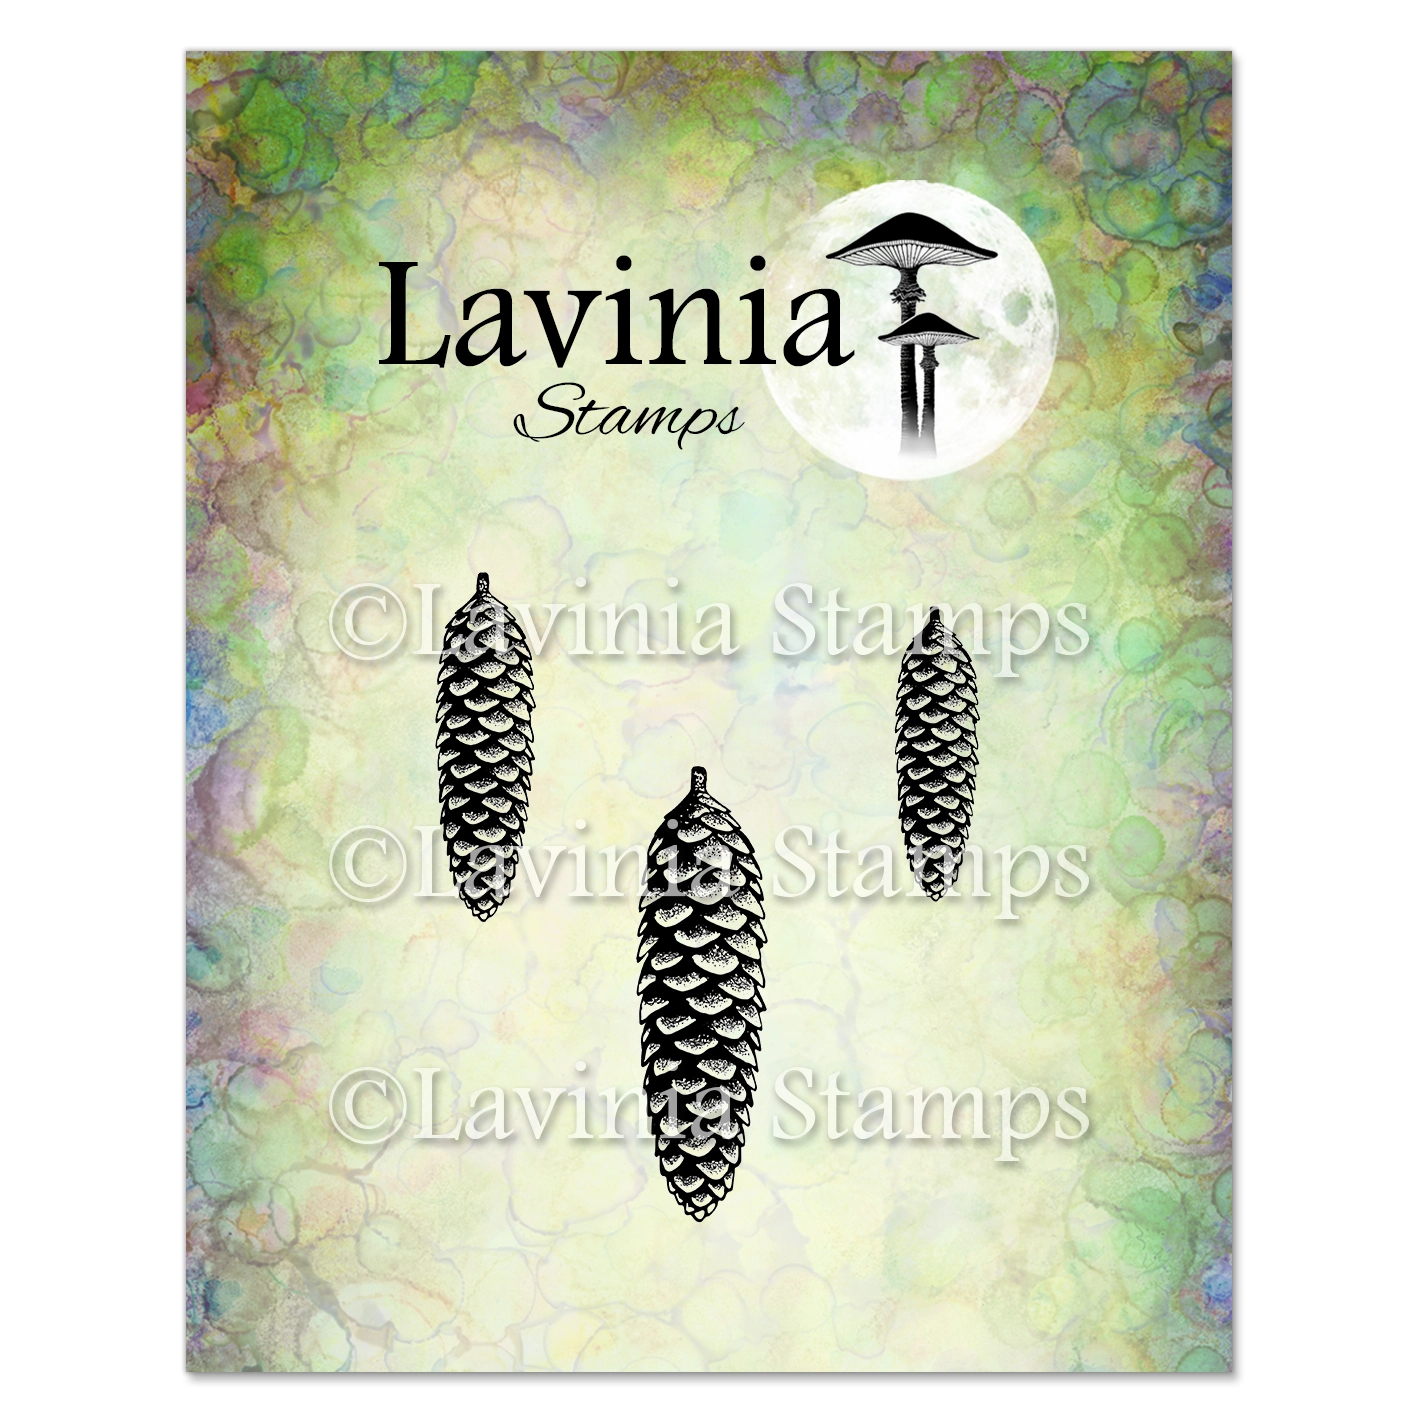 Sugar Pine Cone Stamp
£5.30
Add to basket Winter Foliage Stamp
£6.10
Add to basket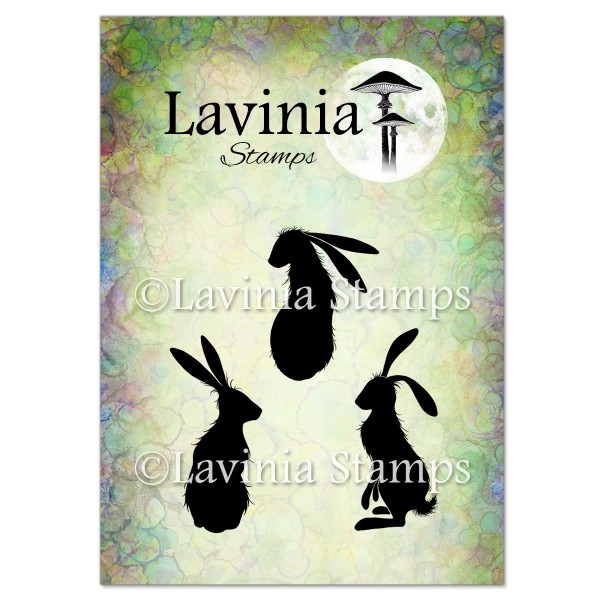 Wild Hares Set (Small) Stamp
£6.80
Add to basket Wild Hares Set (Large) Stamp
£7.80
Add to basket Scout Small Stamp
£7.30
Add to basket Flora Set Stamp
£7.20
Add to basket Castle Mini Stamp
£1.10
Add to basket Elements Premium Dye Ink – Olive
£5.85
Add to basket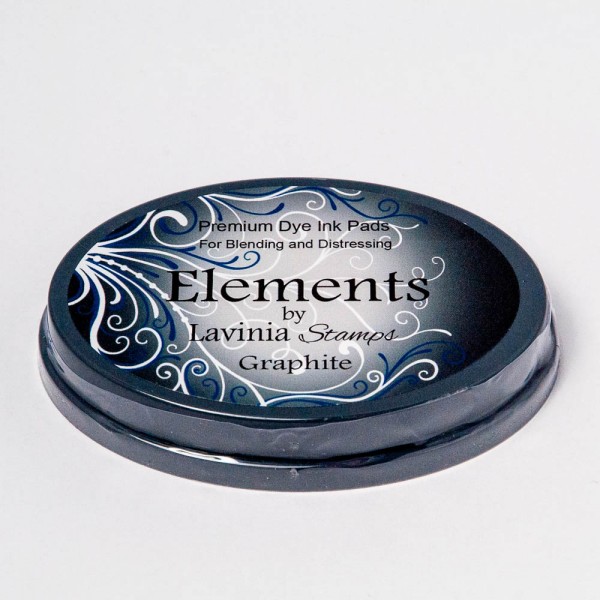 Elements Premium Dye Ink – Graphite
£5.85
Add to basket Elements Premium Dye Ink – Blue Atoll
£5.85
Add to basket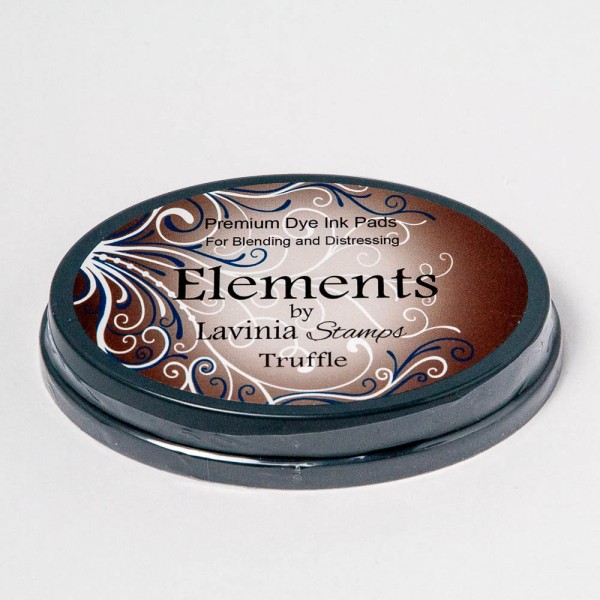 Elements Premium Dye Ink – Truffle
£5.85
Add to basket Versafine Clair Ink Pad – Shady Lane
£5.80
Add to basket Versafine Clair Ink Pad – Morning Mist
£5.80
Add to basket Mondeluz Watercolour Pencils 72 Set
£59.95
Read more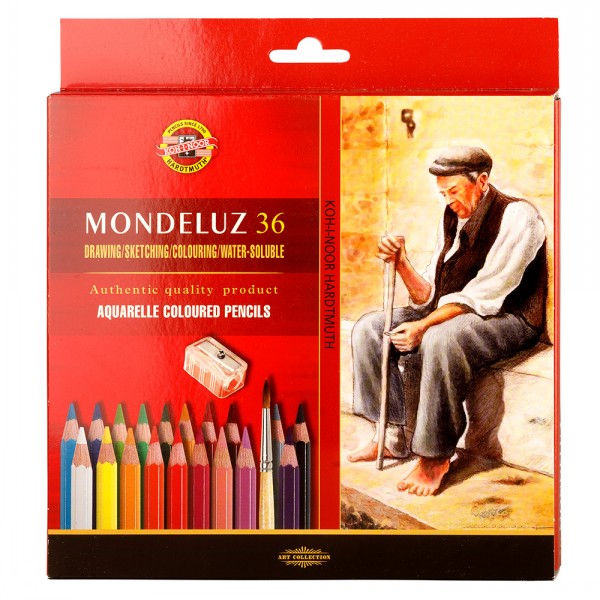 Mondeluz Watercolour Pencils 36 Set
£34.95
Add to basket