Step by Step by Cathryn Turner
Hello everyone, its Cathryn here with a new step-by-step tutorial.
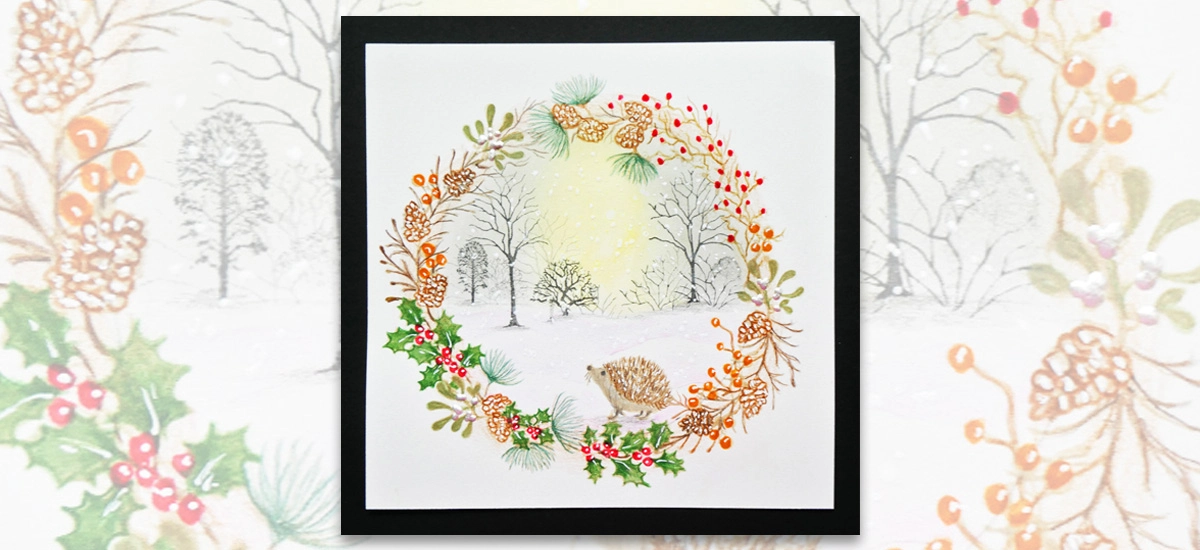
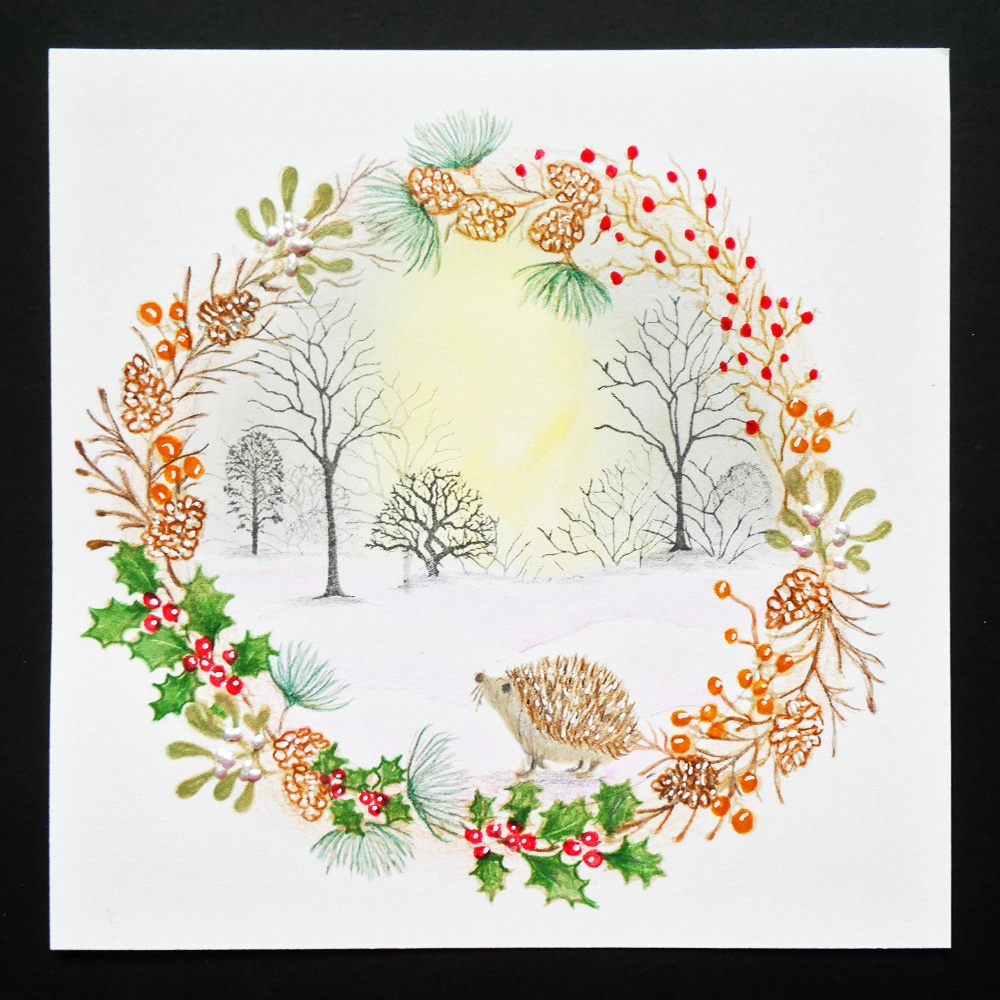
Today I’ll be showing you a make called ‘Heading Home to Hibernate’.
I hope you like it. Let’s get started! 🧚
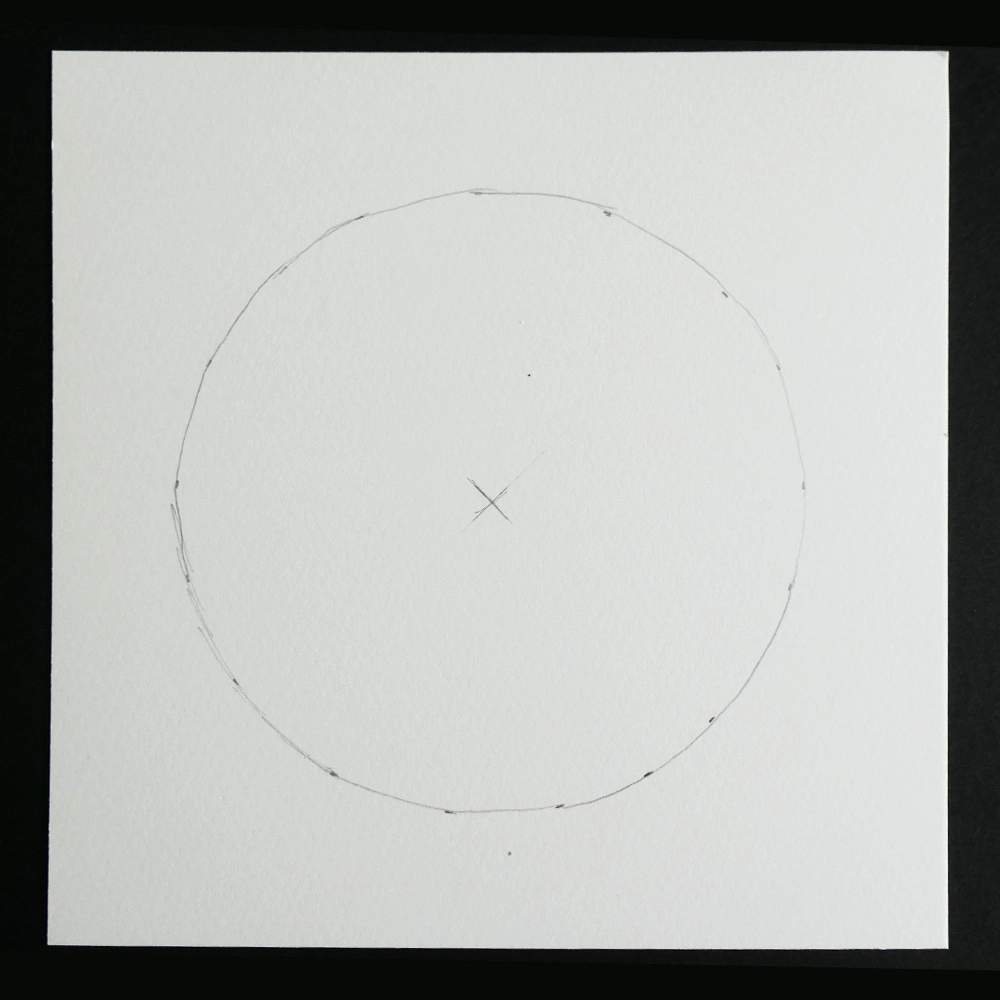
Step 1:
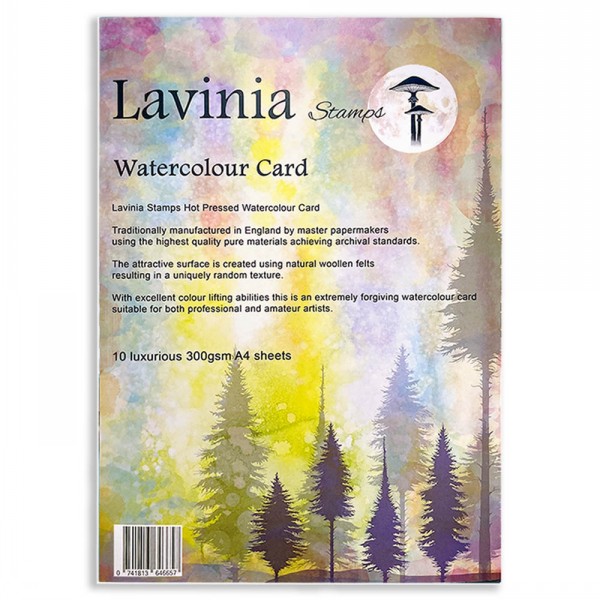
Cut a sheet of watercolour card to measure 6½ inches square. To find the centre, draw two diagonal lines from corner to corner, and mark the point where they intersect. Using this centre point as your guide, make small pencil marks 2¼ inches from the centre at regular intervals around the square. Finally, join the marks smoothly to form a rough circle.
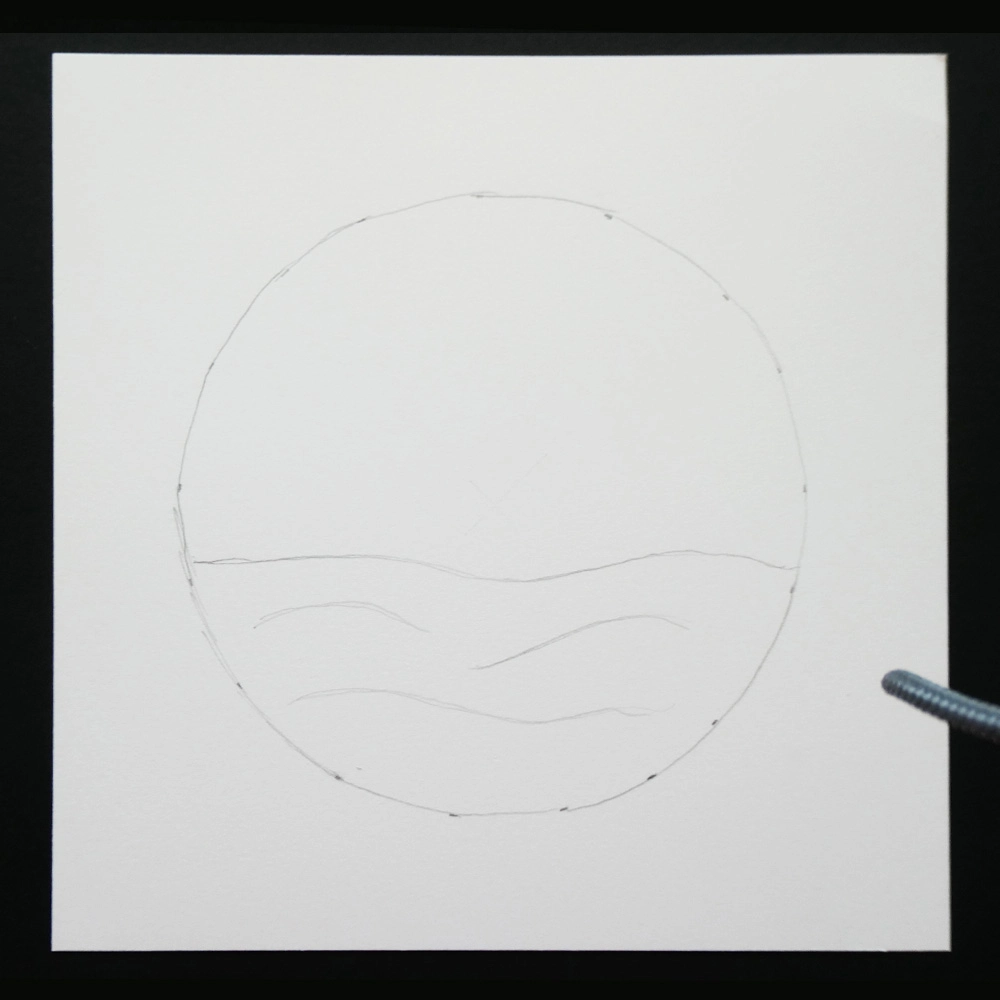
Step 2:
Lightly draw a horizontal, wavy line just below the halfway point of the circle to create the horizon. Below this line, sketch three gentle curved lines to represent the snow banks you’ll add later. Once you’ve finished, carefully erase the centre pencil lines to tidy up your drawing.
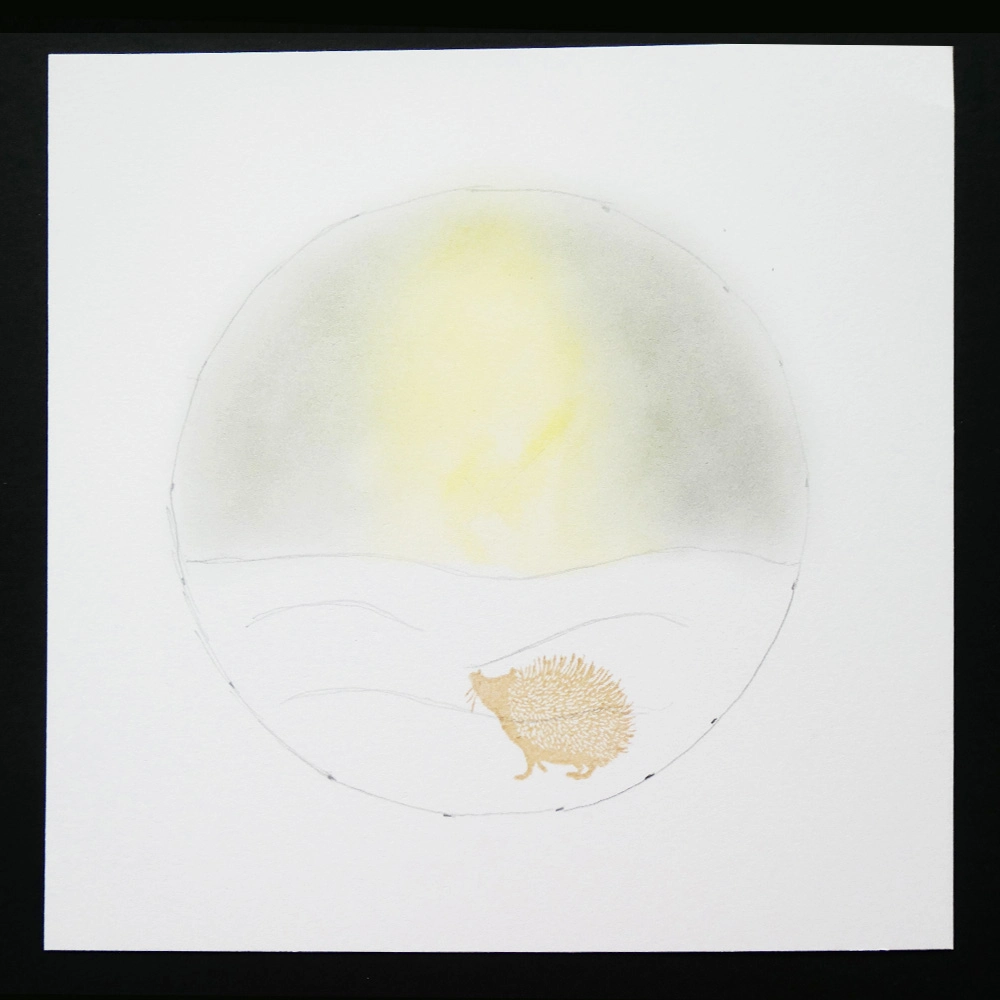
Step 3:
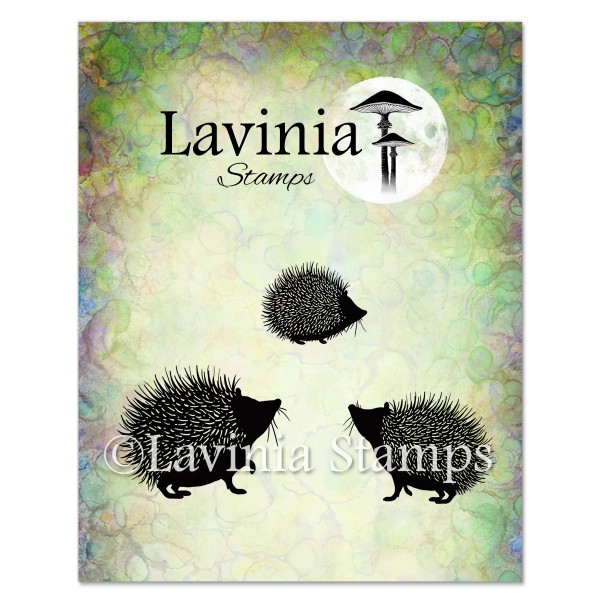
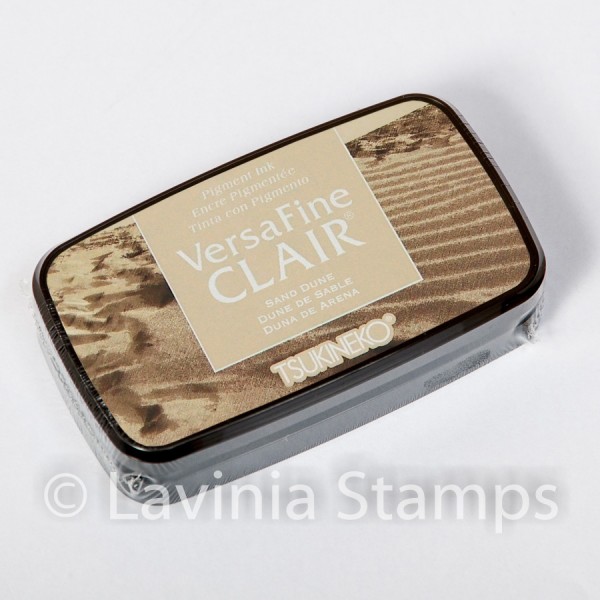
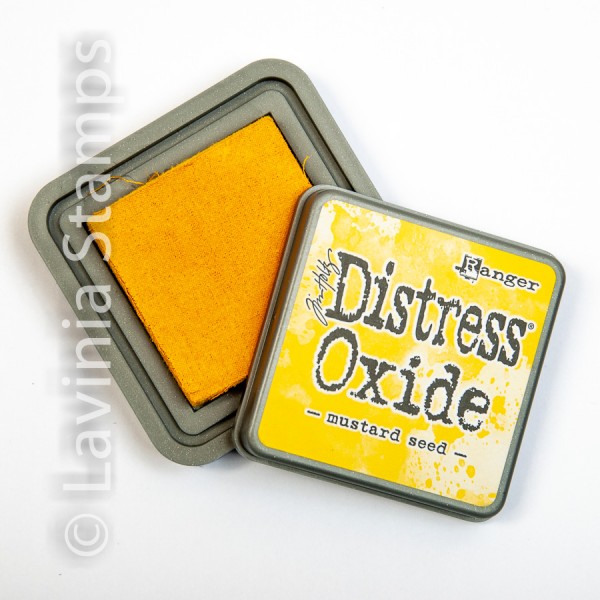
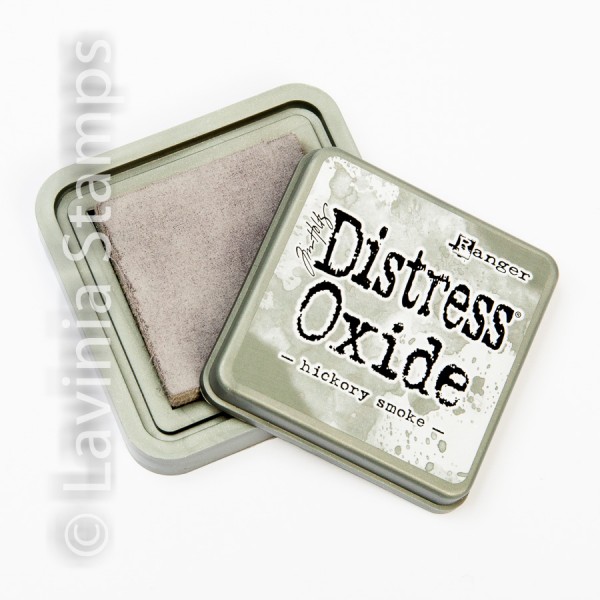
Using a Stencil Brush 7, lightly apply Distress Oxide in Mustard Seed to the centre of the sky area. Then, gently blend Distress Oxide in Hickory Smoke around the edges of the sky to create a soft gradient. Next, use VersaFine Clair Ink in Sand Dune to stamp the medium hedgehog from The Wallace Family (LAV531) near the bottom of the circle. Allow the ink to dry completely, then cover the hedgehog with masking fluid, ensuring it’s fully protected. Let the masking fluid dry thoroughly before continuing.
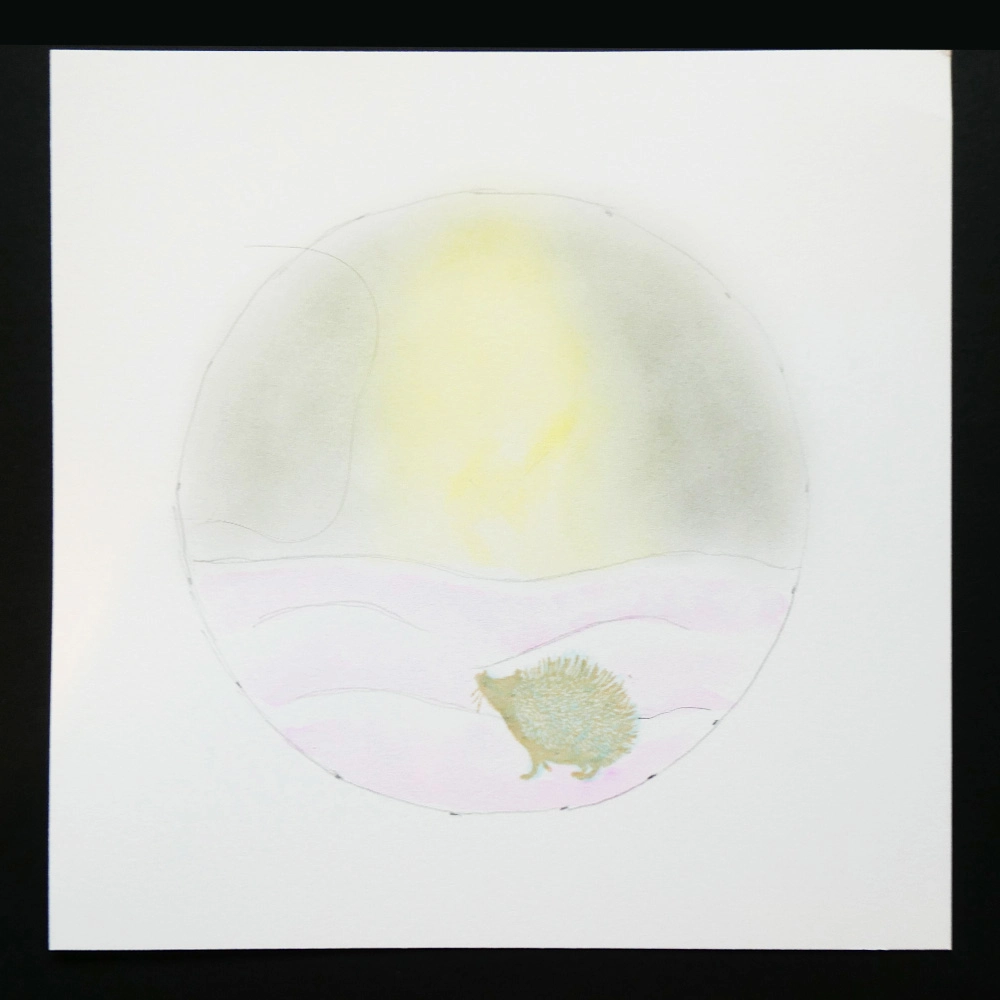
Step 4:
Add a small amount of Distress Oxide in Hickory Smoke to your craft mat and dilute it well with water to create a light wash. Use this mixture to gently add colour to the snow areas at the bottom of your scene, leaving the area directly beneath the pencil lines blank for highlights. Once you’re happy with the shading, dry the piece thoroughly, then carefully erase the pencil lines from the snow area.
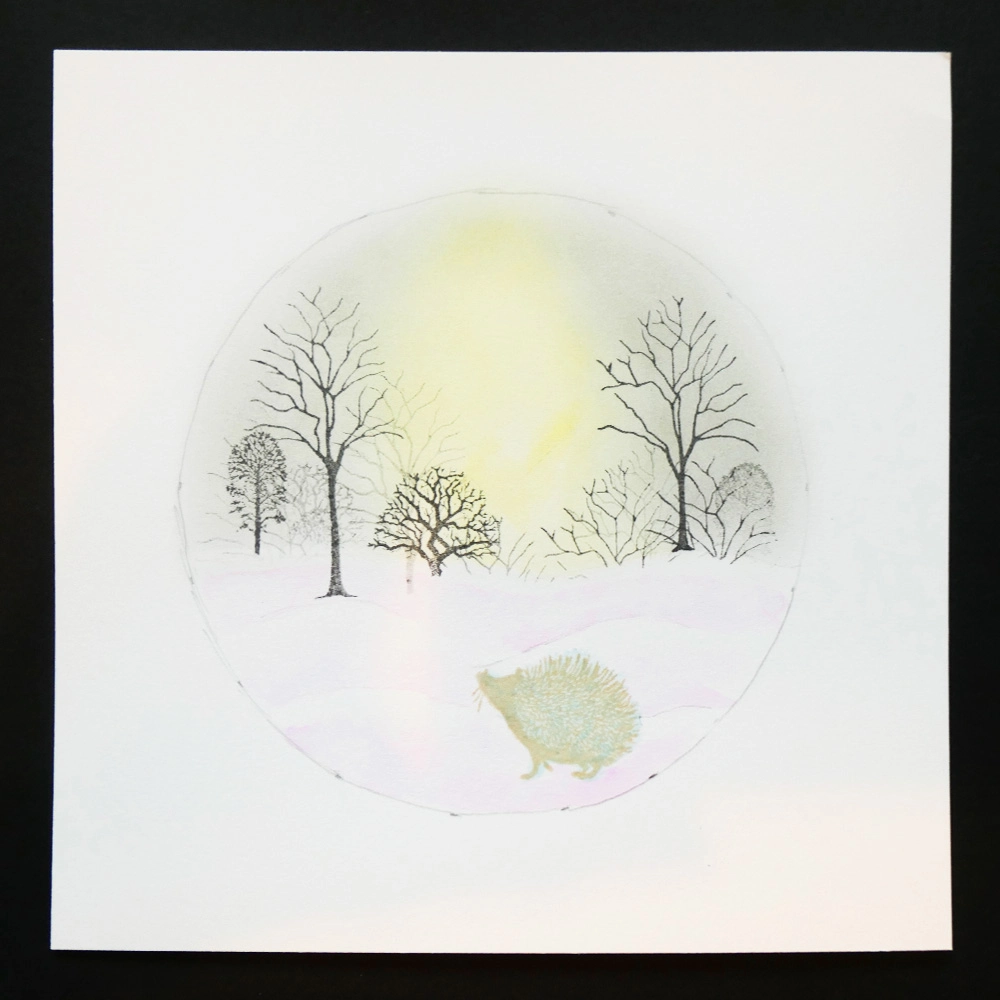
Step 5:
Use VersaFine Clair Ink in Morning Mist ink for stamping. Mask the snow area at the bottom with a piece of copier paper to protect it. Stamp along the horizon line and just below it is using both trees from Small Trees (LAV663), applying with both 1st and 2nd generation stamping for depth. Then, repeat the process with the trees from the Tree Scene Pack (LAV219), again using 1st and 2nd generation stamping to create variation. Allow the ink to dry completely.
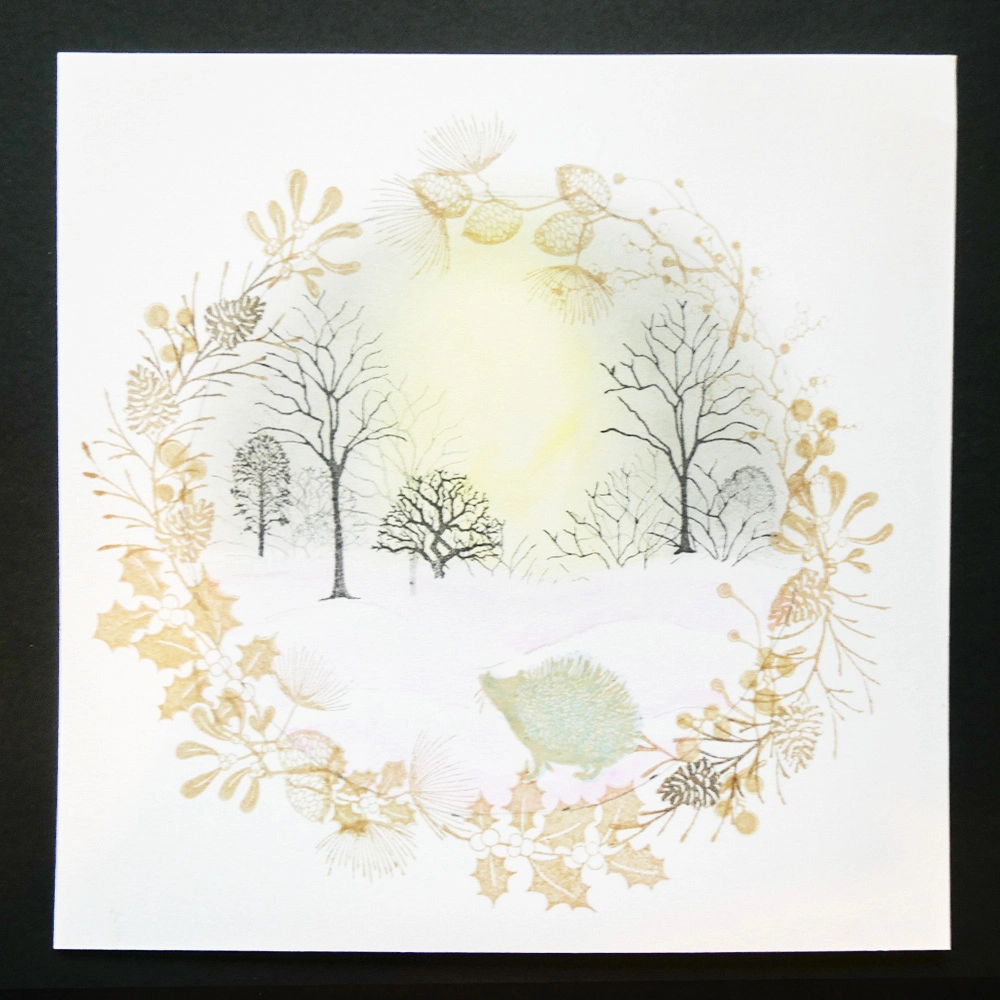
Step 6:
Stamp the outer wreath using VersaFine Clair Ink in Sand Dune. Refer to the finished picture for guidance on placement. Stamp in the following order:
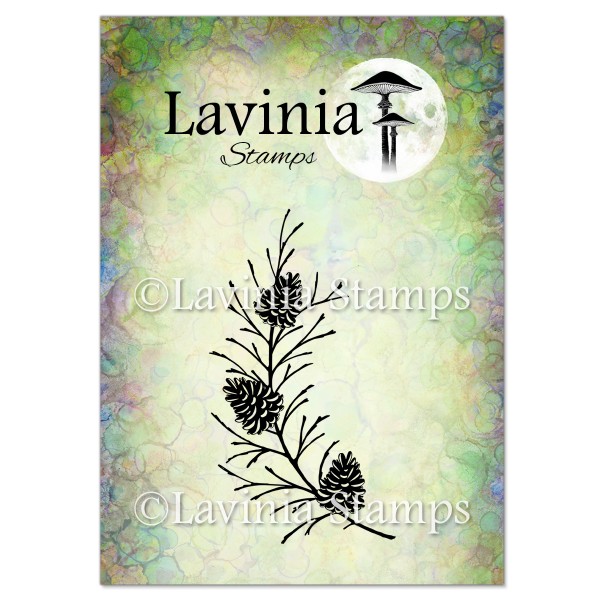
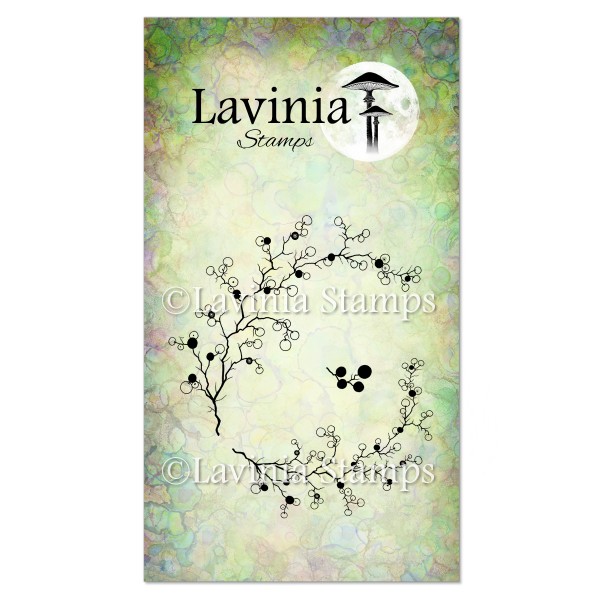
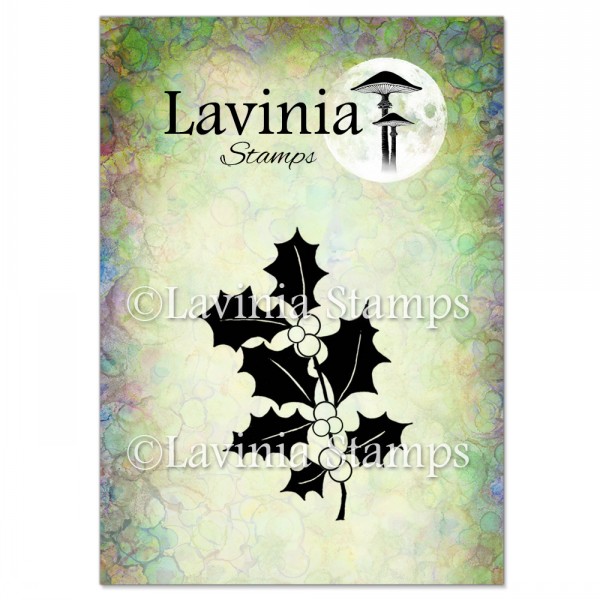
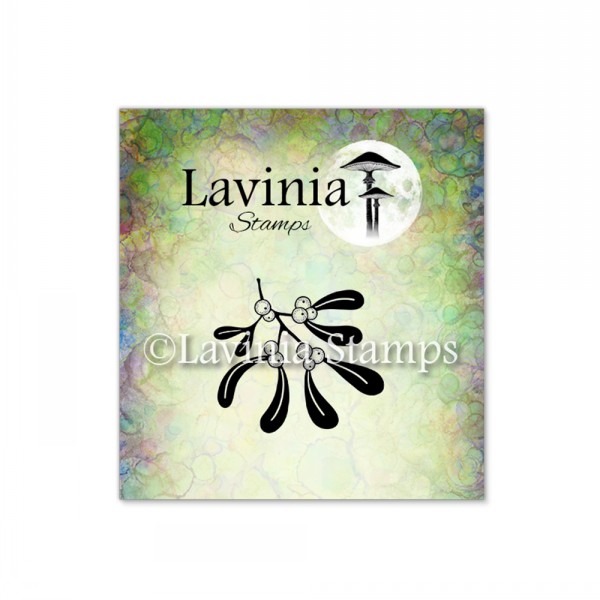
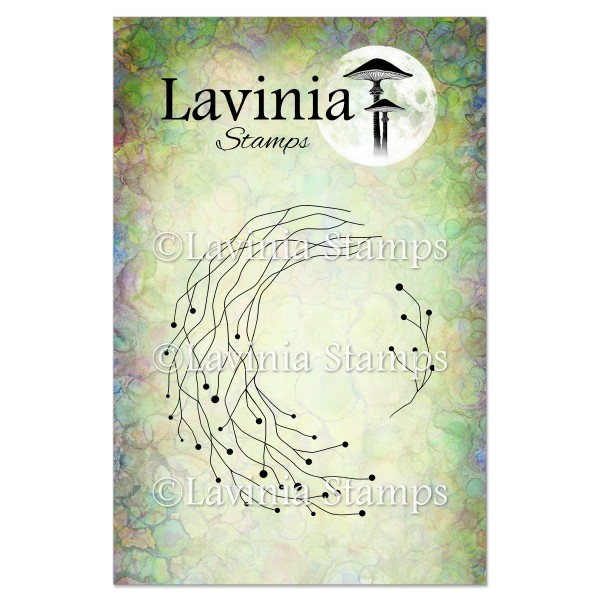
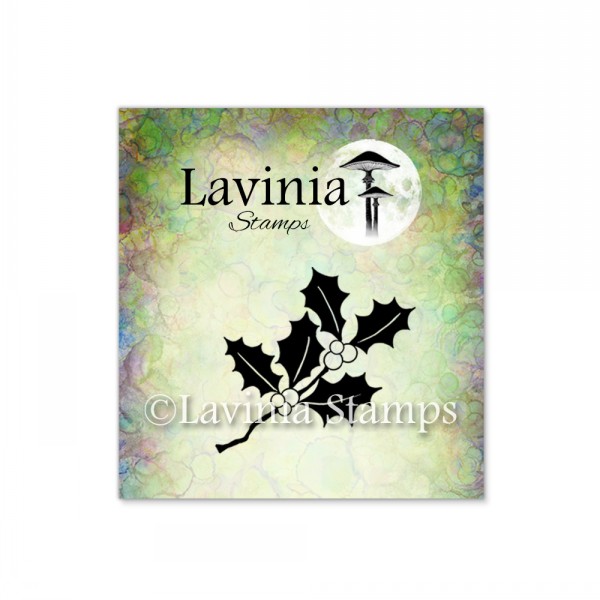
Fir Cone Branch (LAV580), Cedar (LAV759), Berry Wreath (LAV568), Holly (LAV086), Mini Mistletoe (LAV926), Red Berry Wreath – Small (LAV704), Mini Holly (LAV510), Cone from the Cedar Stamp (LAV759) and Berries from the Berry Wreath Stamp (LAV568).
Allow the ink to dry completely.
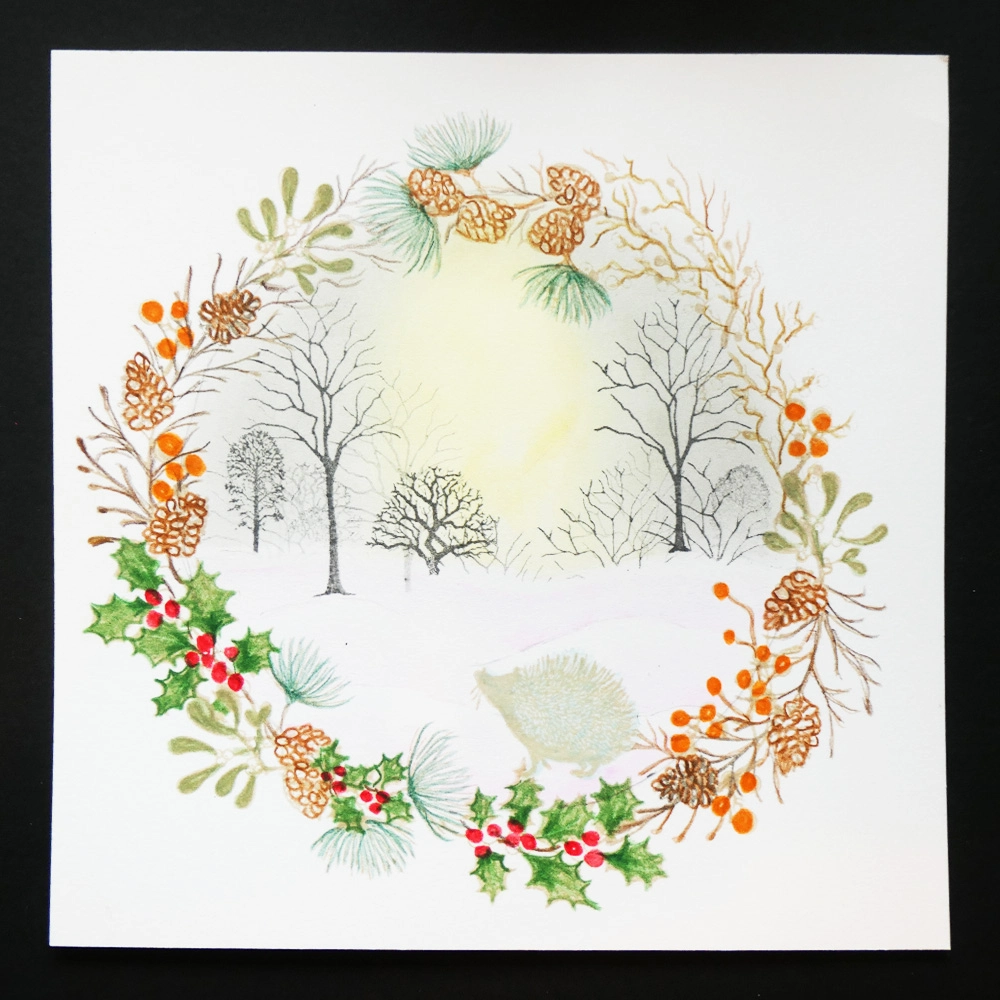
Step 7:
Colour the wreath using the Mondeluz Watercolour Pencils in the following shades:
- 26 Cedar (LAV759),
- 63 Mini Mistletoe (LAV926)
- 61 Holly (LAV086) and Mini Holly (LAV510)
- 32 Fir Cones (LAV580)
- 33 Fir Cone Branch (LAV580)
- 66 Berry Branch (LAV568)
- 68 Holly Branch (LAV086) and Mini Holly Branch (LAV510),
- 170 Holly Berries (LAV086) and Mini Holly Berries (LAV510),
- 126 Large Berries (LAV704)
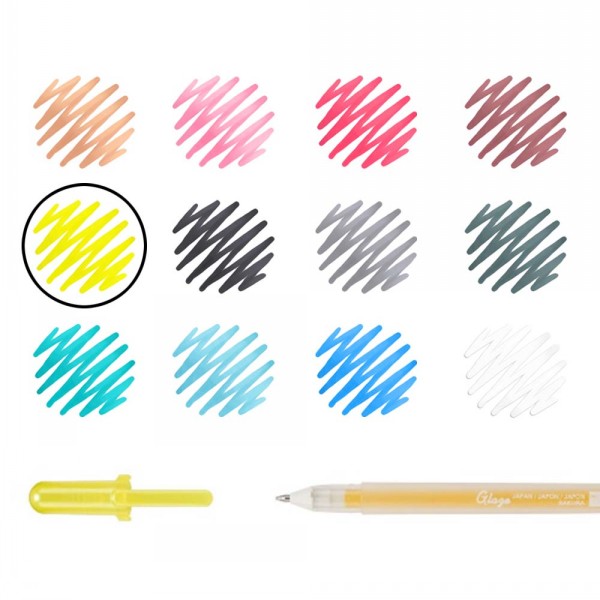
Activate the colours with a little water and a fine brush (Lavinia 2/0), blending gently for a soft, natural look. Use an 822 Glaze Jelly Roll Pen to add shine to the Red Berry Wreath berries. Allow everything to dry thoroughly before moving on.
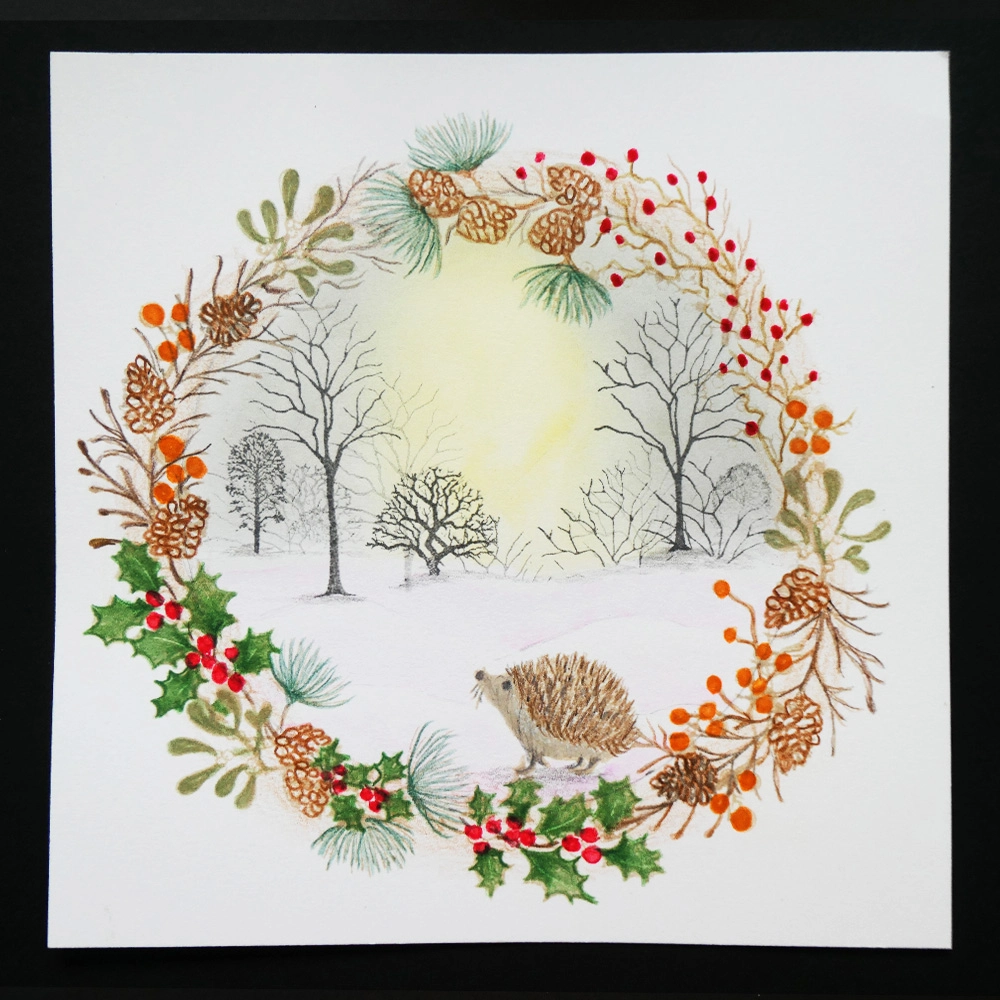
Step 8:
Lightly shade around the wreath using a brown watercolour pencil in 32, keeping it dry without activating with water. Carefully remove the masking fluid from the hedgehog, then colour the hedgehog using browns 33 and 68, and greys 69 and 70, again leaving the colours dry. Finally, use a brown pencil to lightly add shadows beneath the hedgehog and trees.
Step 9:
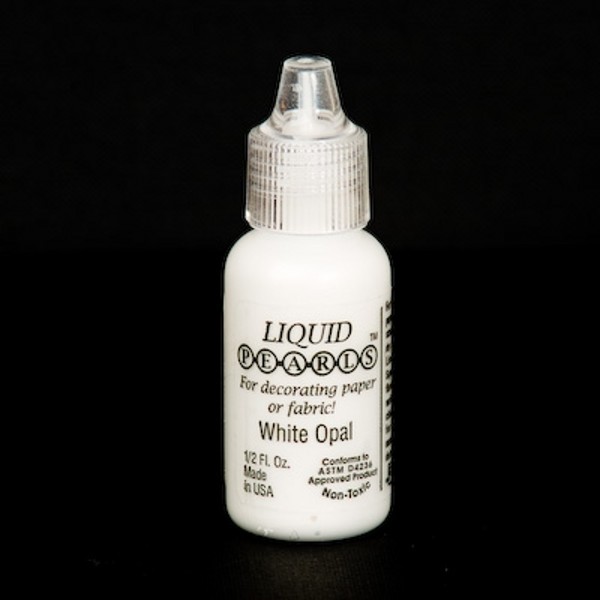
Apply Liquid Pearls in White Opal to the mistletoe berries and allow to dry. Then use a white gel pen to add highlights to the following areas:
- Tips of the pinecones
- Berries
- A few of the hedgehog’s spikes
- Holly leaves
Let all the highlights dry thoroughly.

Step 10:
Cover the wreath and hedgehog with torn kitchen paper, leaving only the central area exposed. Use white acrylic spray paint by tapping small droplets from the tube to create a snowy effect, then allow it to dry. Add smaller snowflakes by dotting with a white gel pen across the scene.
You are finished! I hope you enjoyed creating your wreath.