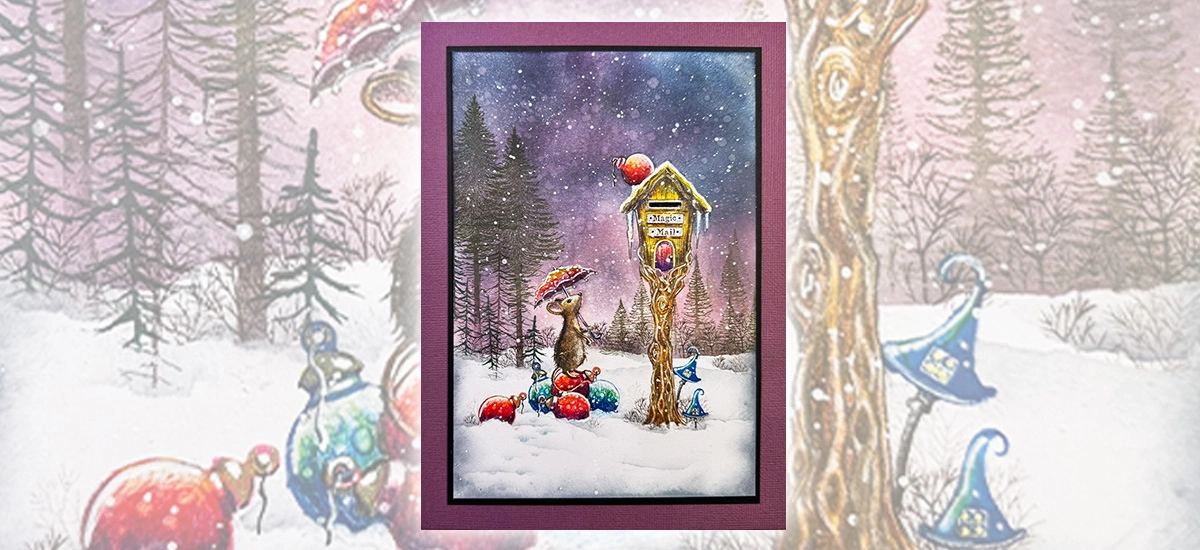
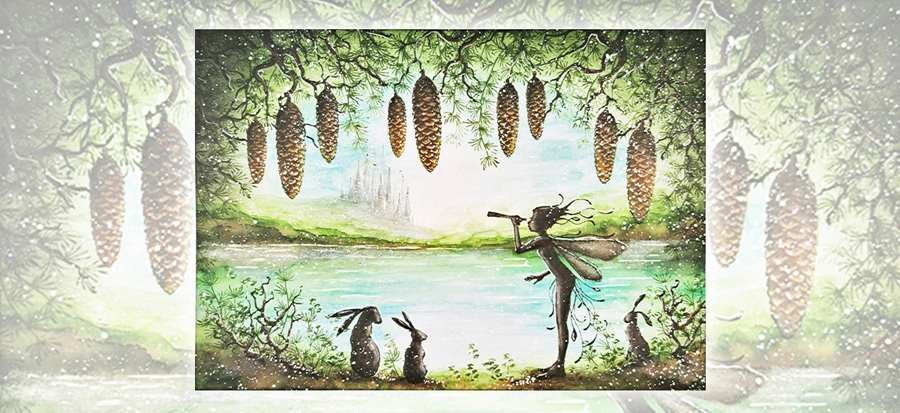
Step by Step by Emma-Jo
Hi everyone, it’s Emma-Jo here with a flower filled picture tutorial. I hope you like it. 🧚♂️
Step 1.
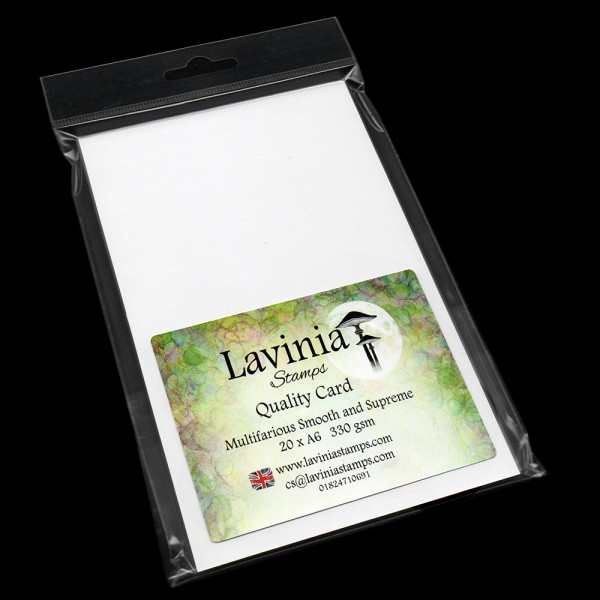
Start with some white A6 multifarious card. Put it onto a few sheets of copier paper.
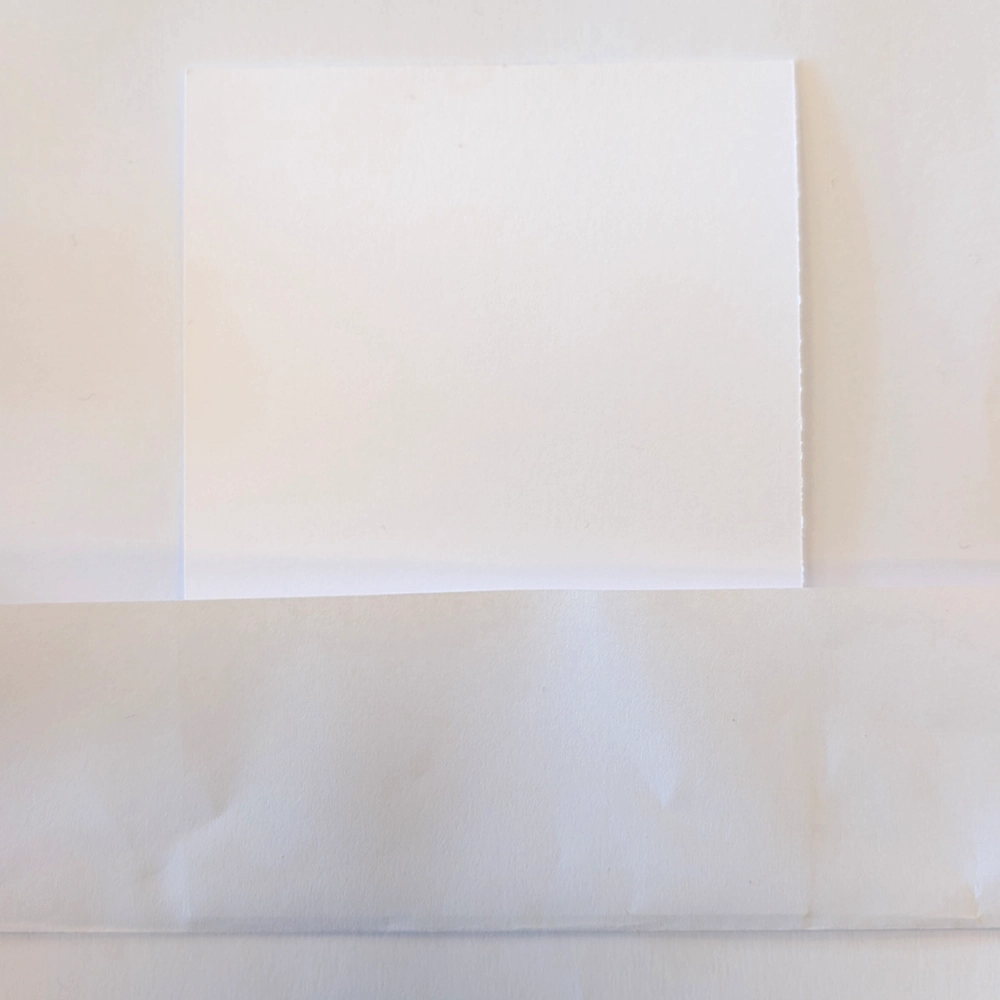
Step 2.
Fold the copier sheet underneath the multifarious card so that it creates a pocket for the A6 card to sit in. The pocket needs to be straight. You can do this by checking that the edges of the folder match exactly. The pocket should hide about one third of the card from view. This will keep it clean and tidy for later.
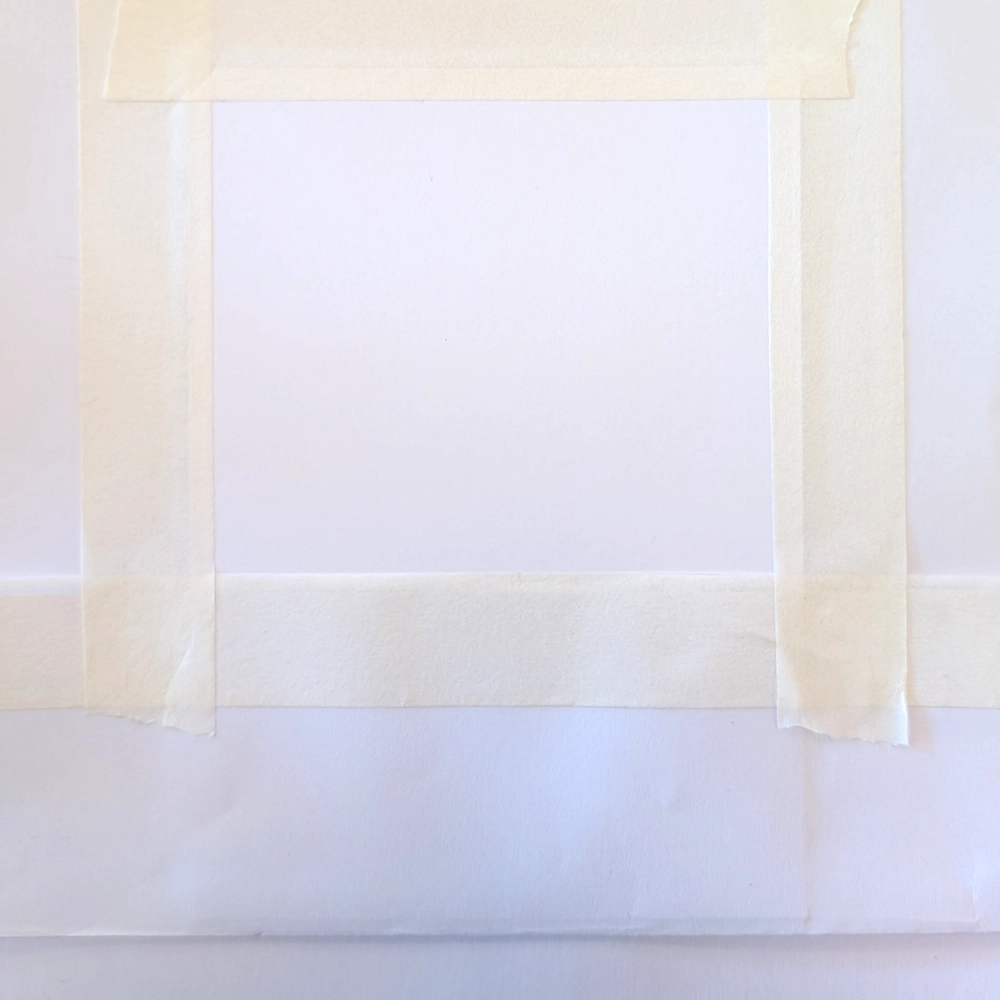
Step 3.
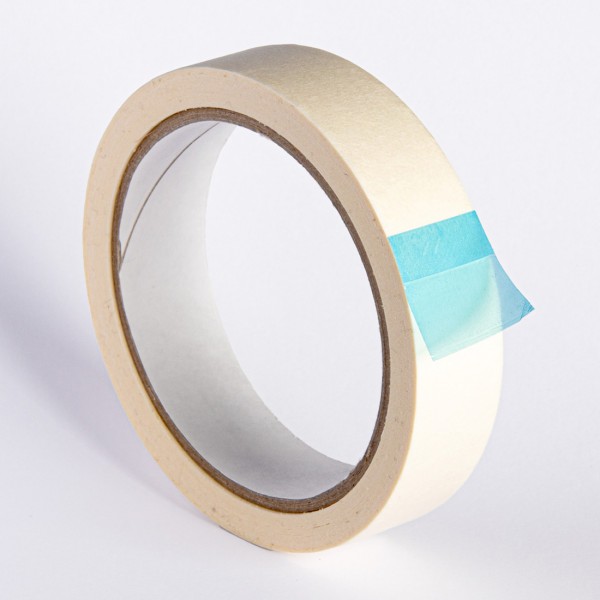
Now secure your multifarious card into the pocket using low tack masking tape. First, apply the tape above the top of the pocket, overlapping at the sides. Then attach the tape to the side and top of the card. Try to make sure that the sides and top are even as this will leave a nice border once we are finished.
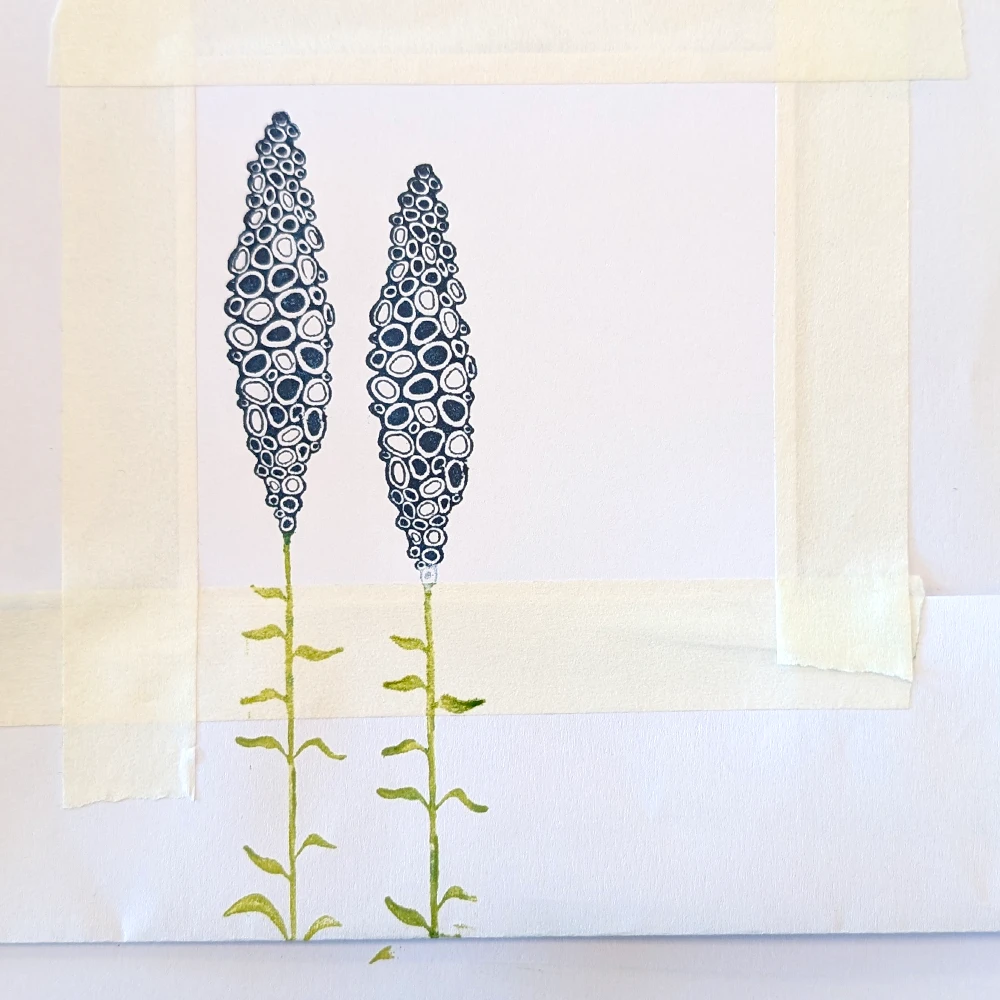
Step 4.
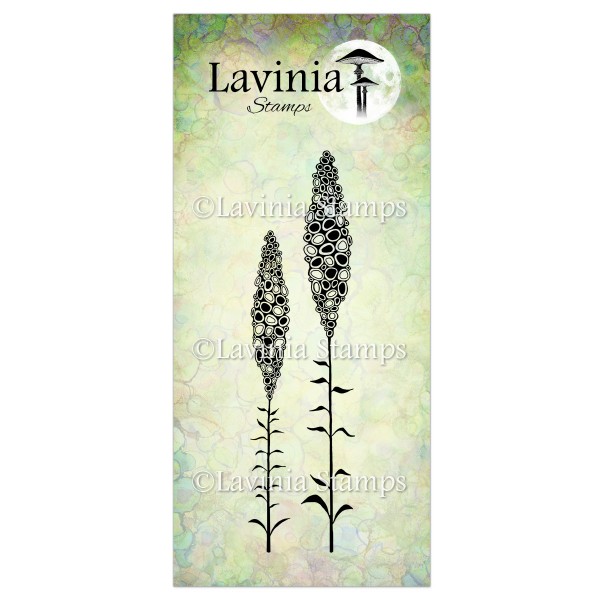
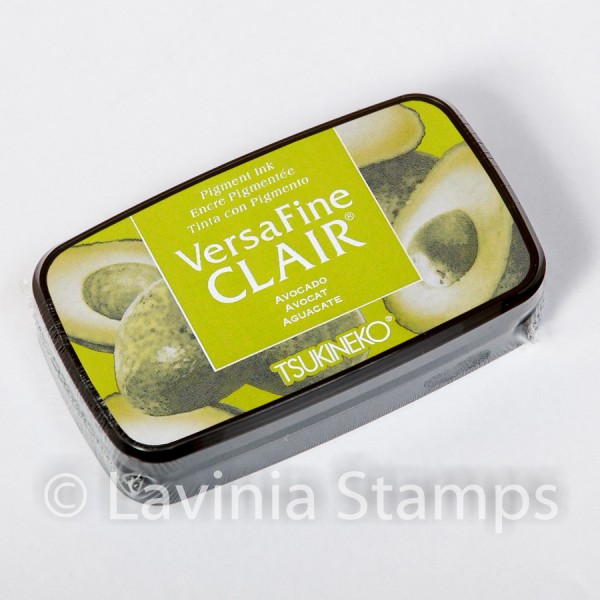
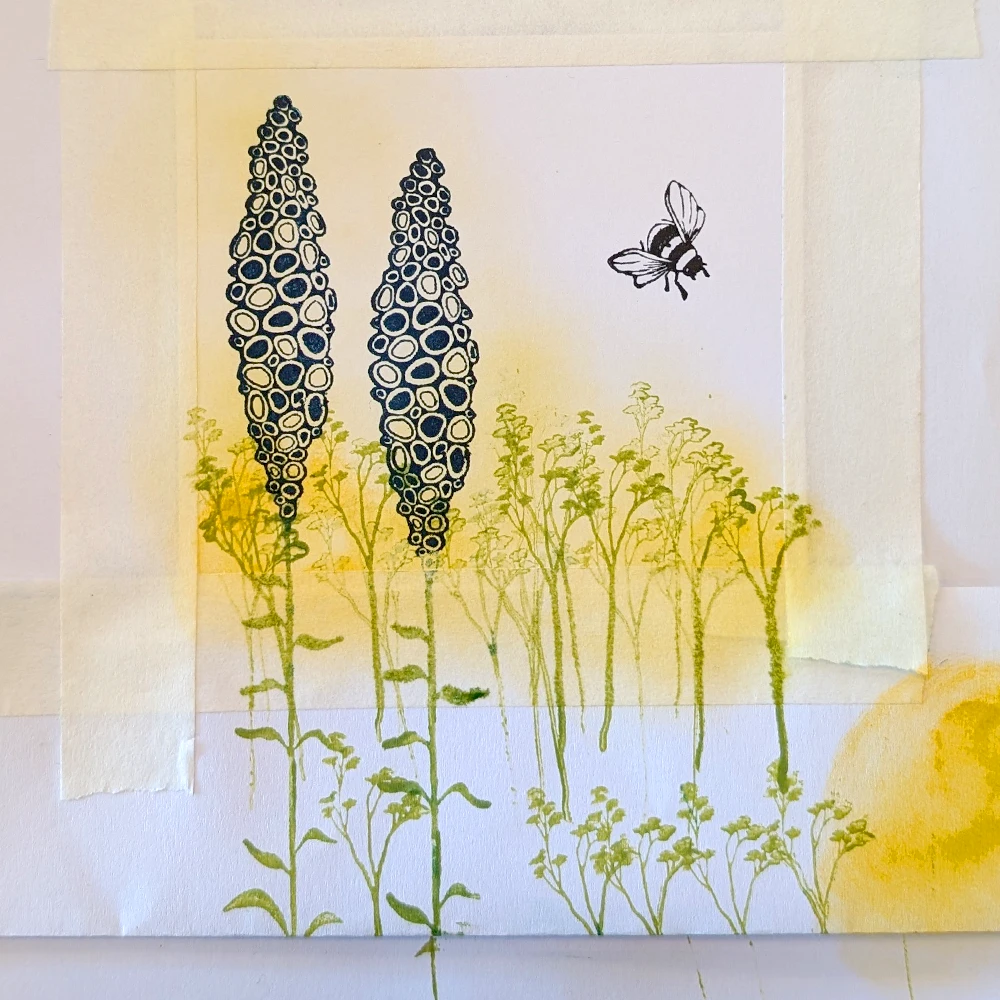
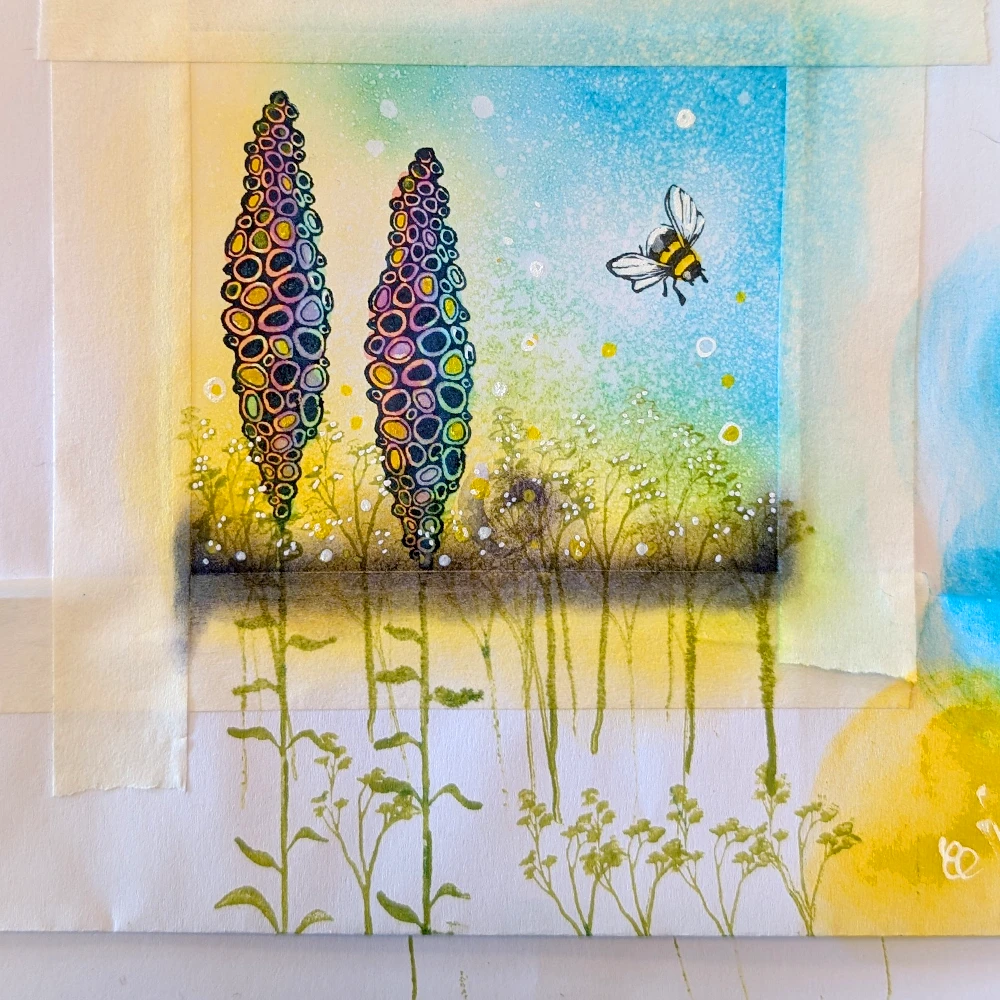
We will start with the stamping first. Stamp the Fairy Buds LAV449 on the left of the space, inking the flower tops up in Versafine Clair Twilight and the stem in Versafine Clair Avocado.
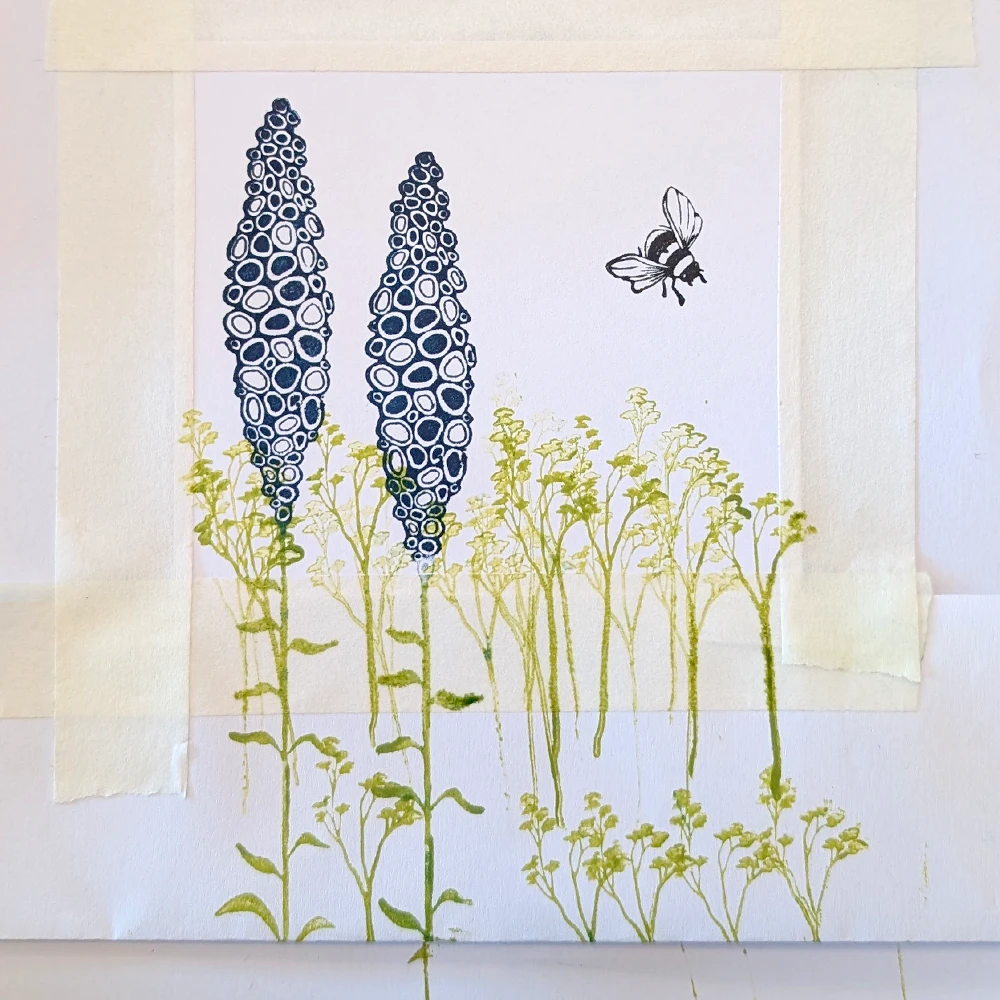
Step 5.
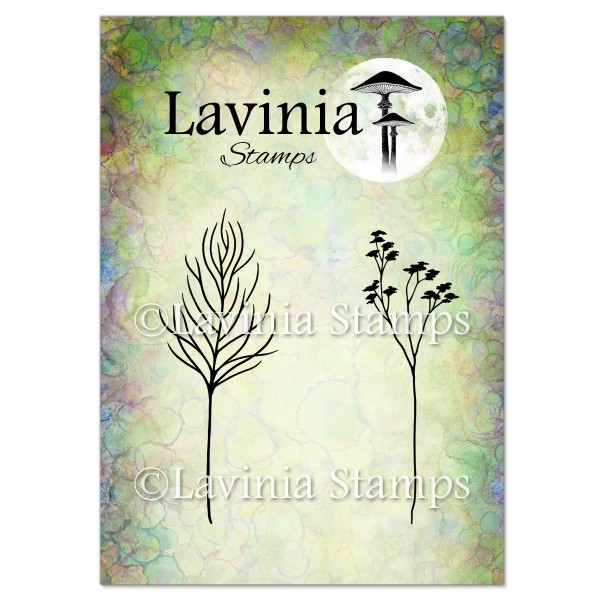
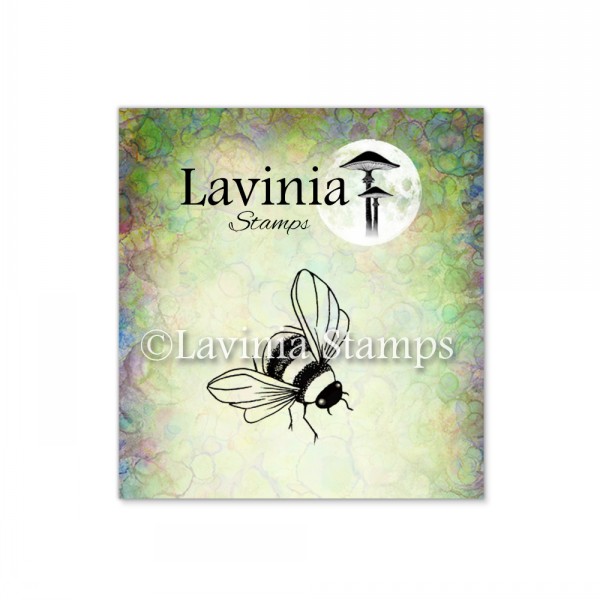
Stamp the floral silhouette stamp from Flora Set stamp LAV698 in Versafine Clair Avocado. If you stamp it in both first and second generation stamping this will help to add depth to the design. Now stamp the mini-Bee LAV 132 in Versafine Clair Nocturne on the right above the flowers below.
Step 6.
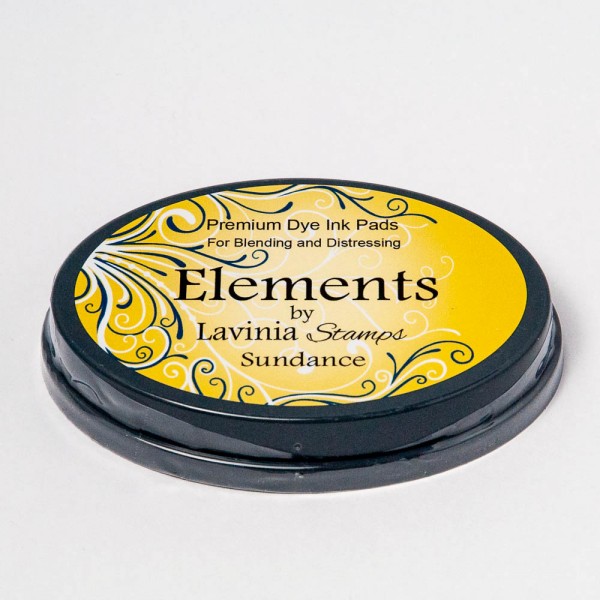
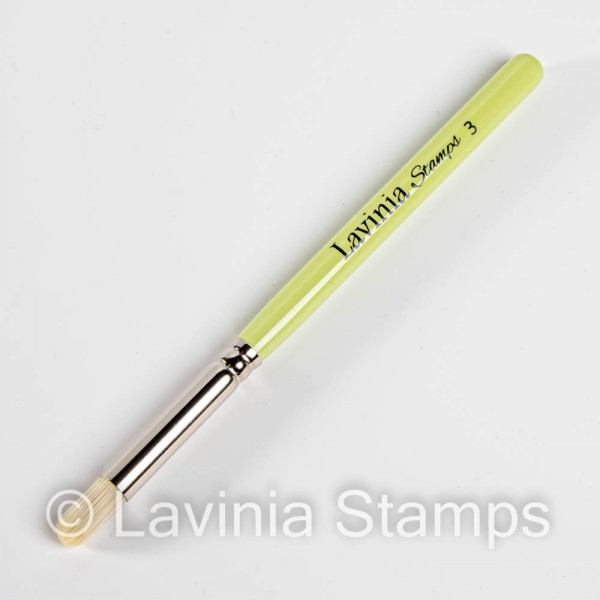
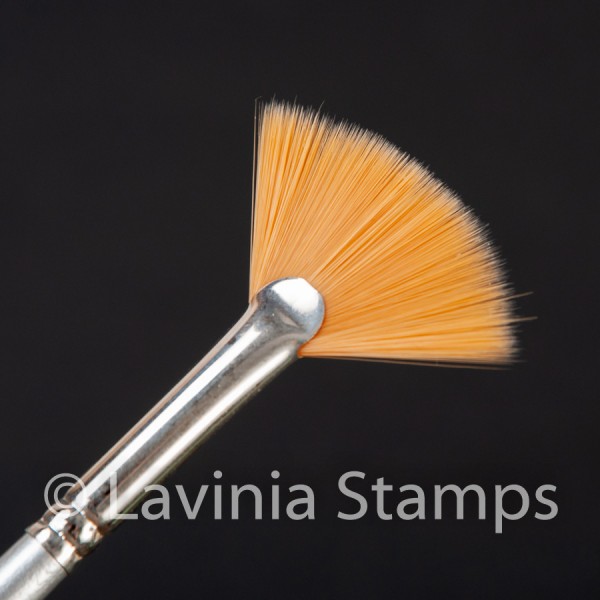
With a Series 9 Stencil Brush begin softly blending some Elements ink Sundance across the bottom of the picture. If you start at the bottom and work your way up around the flowers, it gives the appearance of summer sun and a bit of a heat haze.
Step 7.
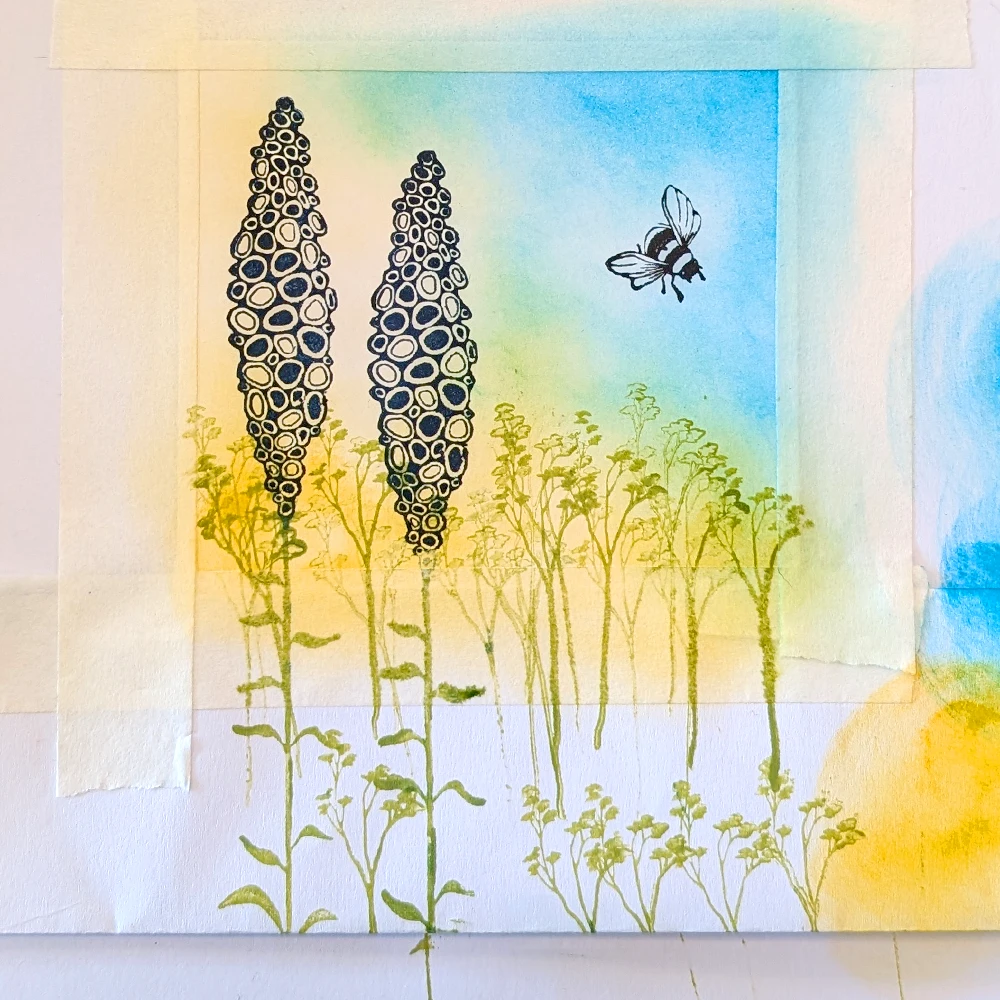
To the top right-hand corner of the picture, blend in some Elements inks Blue Atoll using a Series 9 Stencil Brush.
Step 8.
Now using a Series 3 Stencil Brush add a touch of Elements inks Dark Denim, just along the top of the masking tape and blending lightly into the yellow. Dip your fan brush in some water and tap off the excess water. Now add some water to the blue area of the design.
Step 9.
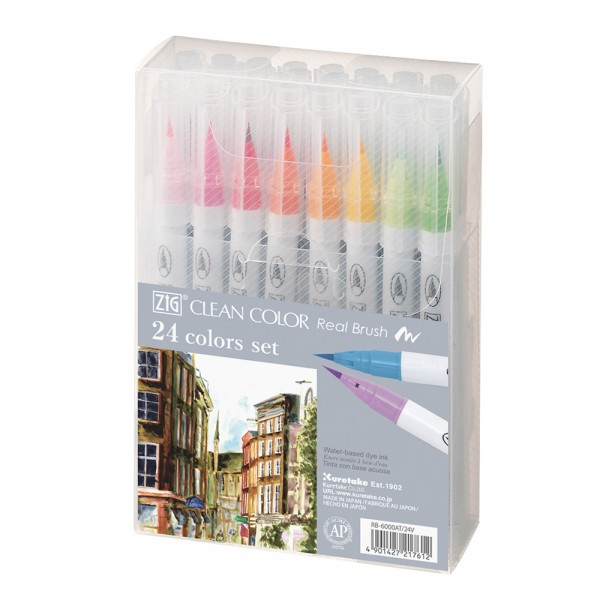
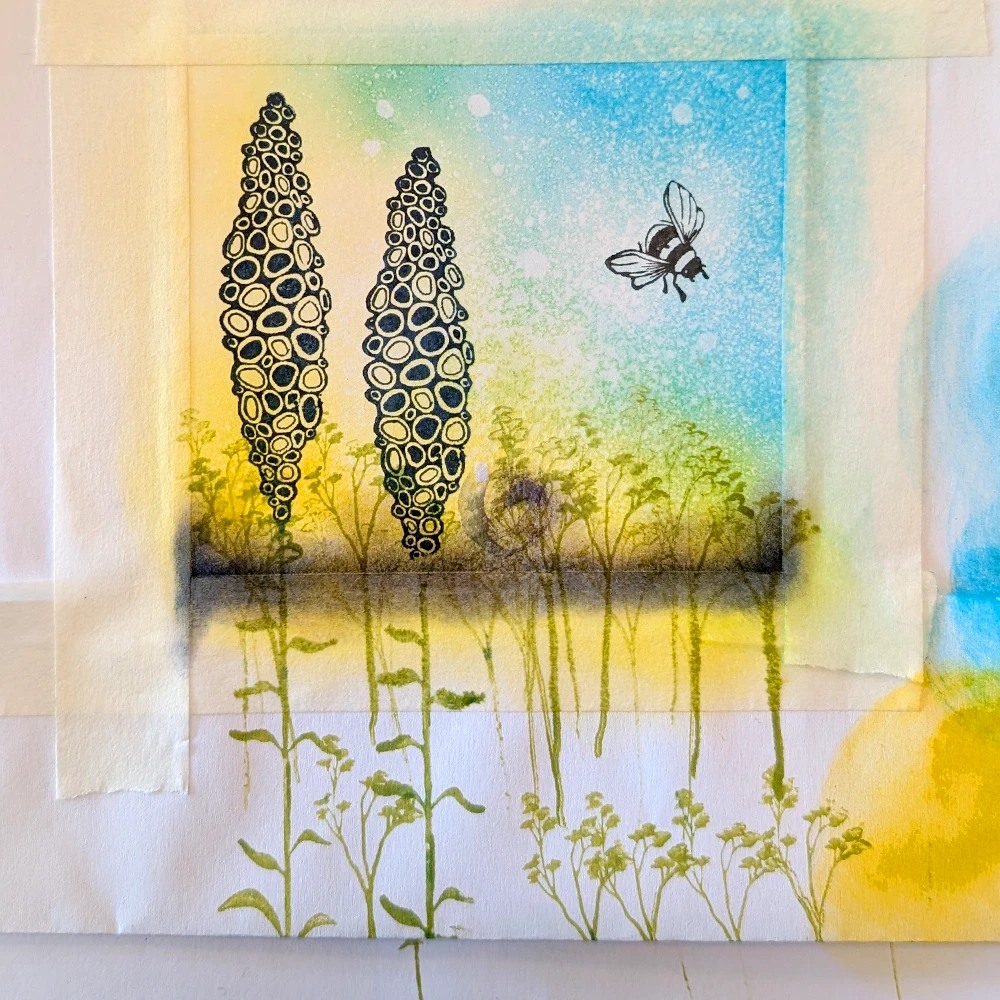
Using the Kuretake Clean Colour Real Brush pens start on the right-hand side and use a very pale blue from top to bottom of the flower, then for the middle use a pale lilac. Finally on the left add some yellow Posca Pen to the flowers and any of the centres that are missing some colour. Also add some occasional Yellow Posca pen circles to the design starting from below the flowers to just under the bee. See the picture for placement.
Step 10.
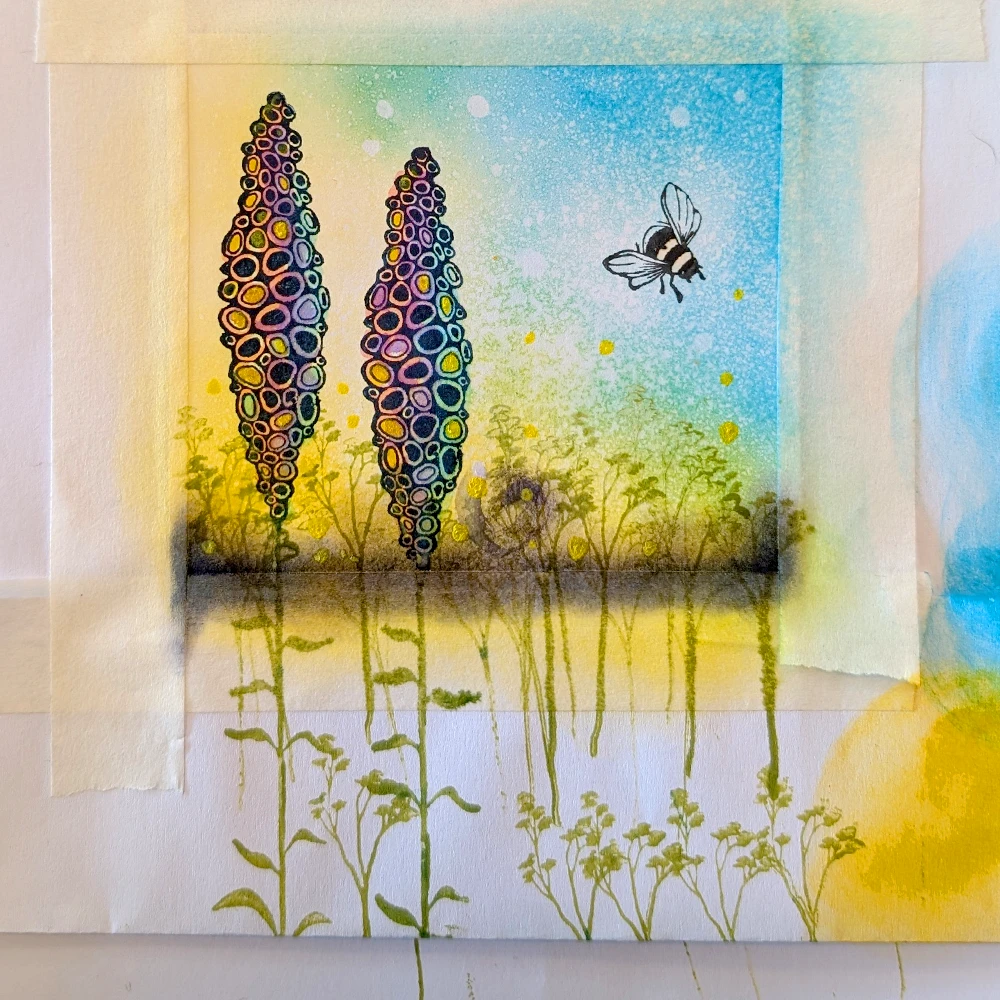
Now colour in the Bee using Yellow and White Posca Pens. Make the wings and the end of the bee white and the stripes yellow. Add some dots to the buds at the ends of the foliage so that it looks like a dainty hedgerow plant. Add some larger white Posca circles to the base of the flowers and above the bee. See the picture for placement. Add some white circles around the yellow Posca circles to lift the colour and tone of the design.
Step 11.
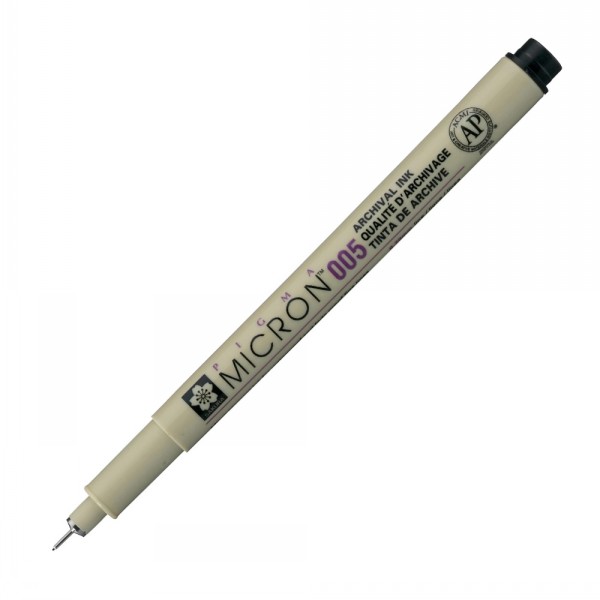
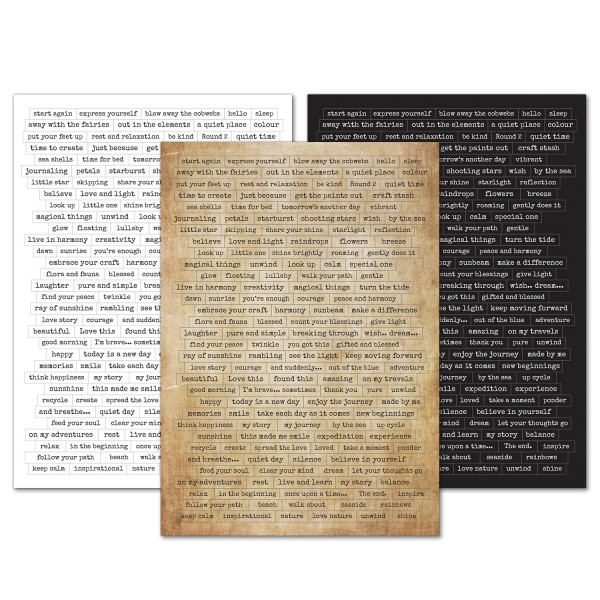
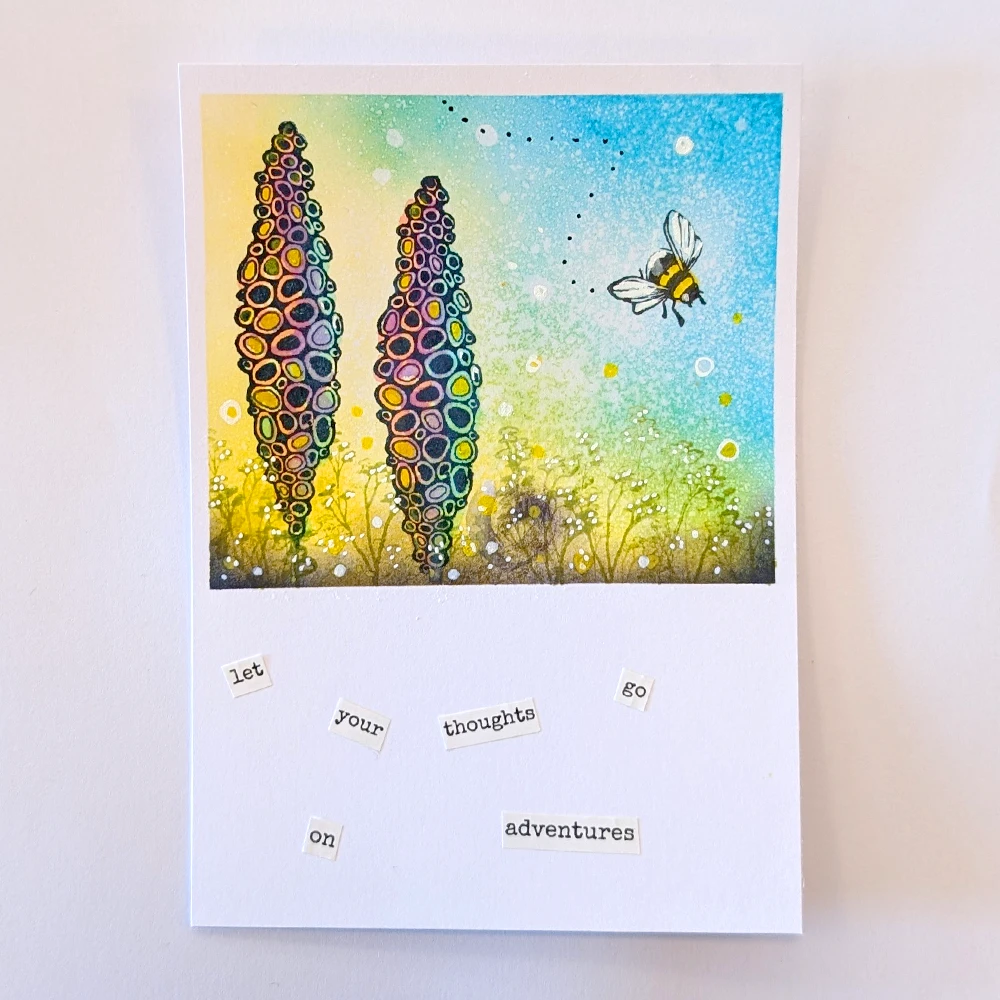
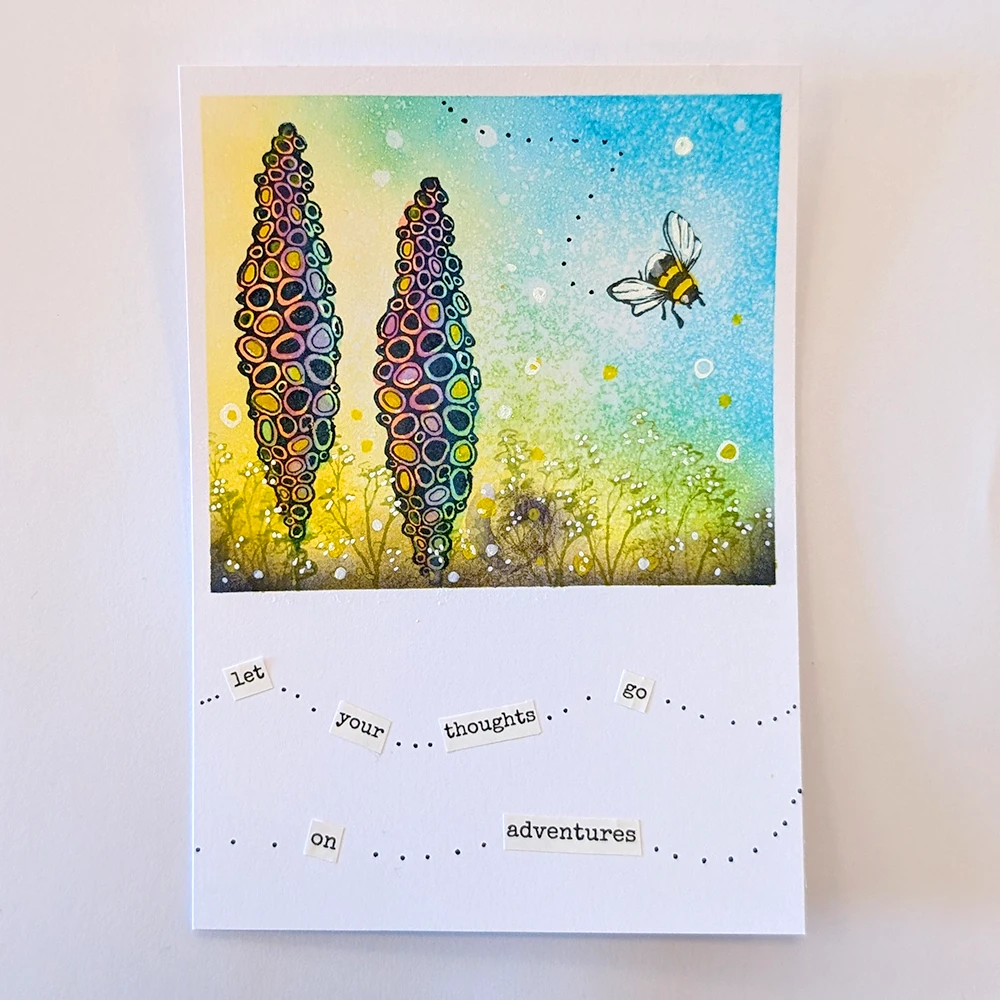
Remove all the masking tape to reveal a lovely white frame. The white frame looks great with this design. Using a Pigma micron pen Black 0.2 add some dots to show the flight path of the bee. Add some stickers from the Sentiment Stickers set 6. I’ve chosen to create the phrase: “Let your thoughts go on adventures”. Cut each word individually and stick in two lines but on a jaunty angle.
Step 12.
Finally using a Pigma micron black 0.2 add some dots from word to word. This helps make it easier to read and also mimics the flight of the bumblebee! Your card is now complete! I hope you have enjoyed this tutorial. I look forward to seeing your makes. Until next time. Have fun creating! Emma-Jo. 😊