Step by Step by Ellie Evans
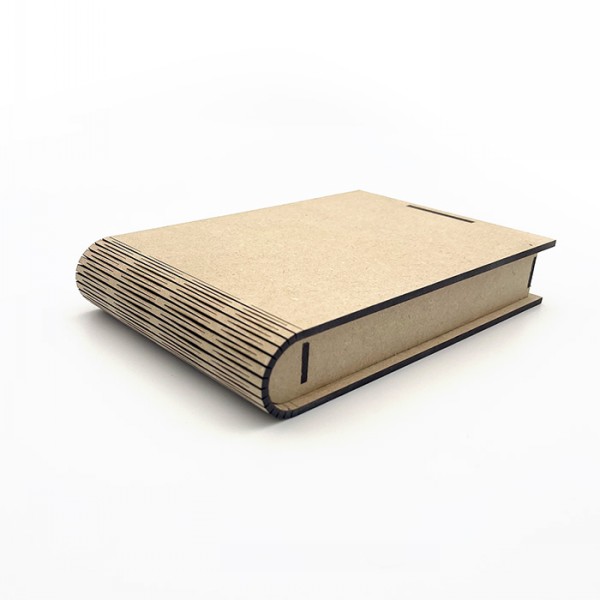
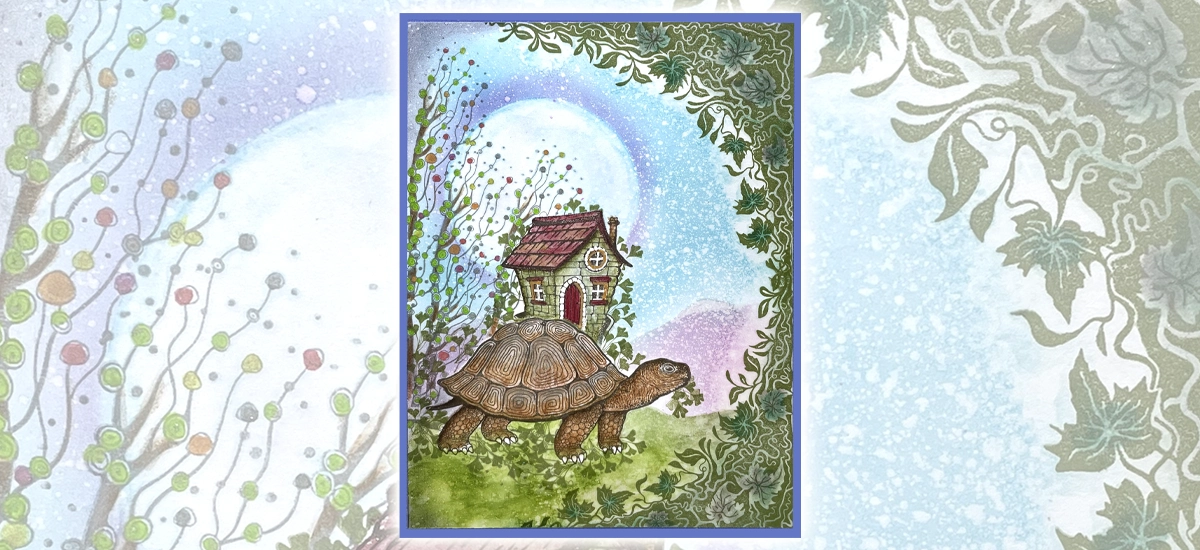
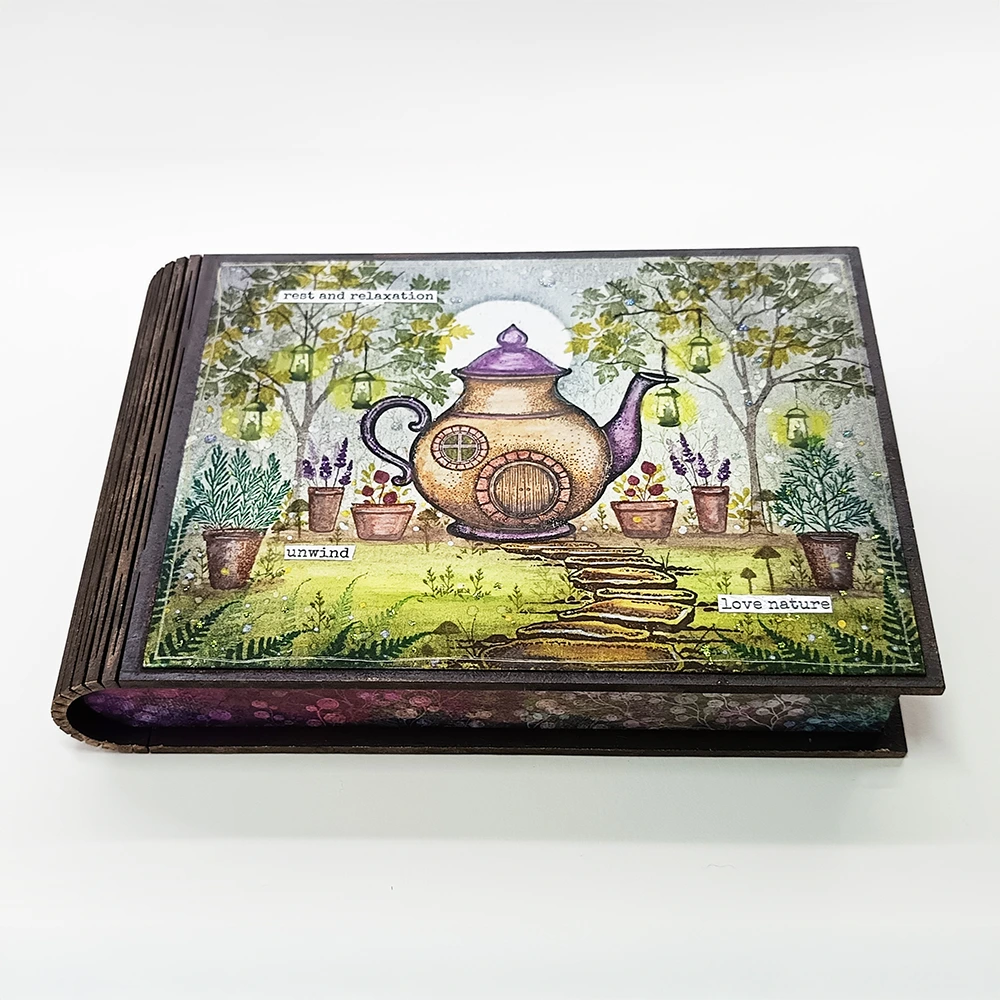
Here is my new step-by-step tutorial using a mixture of the new and old stamps. To create this, I’m using this lovely Flexi-hinge box and the fabulous Enchanted Forest Dreamscape Papers pad to decorate it.
I hope you like it. 🧚♂️
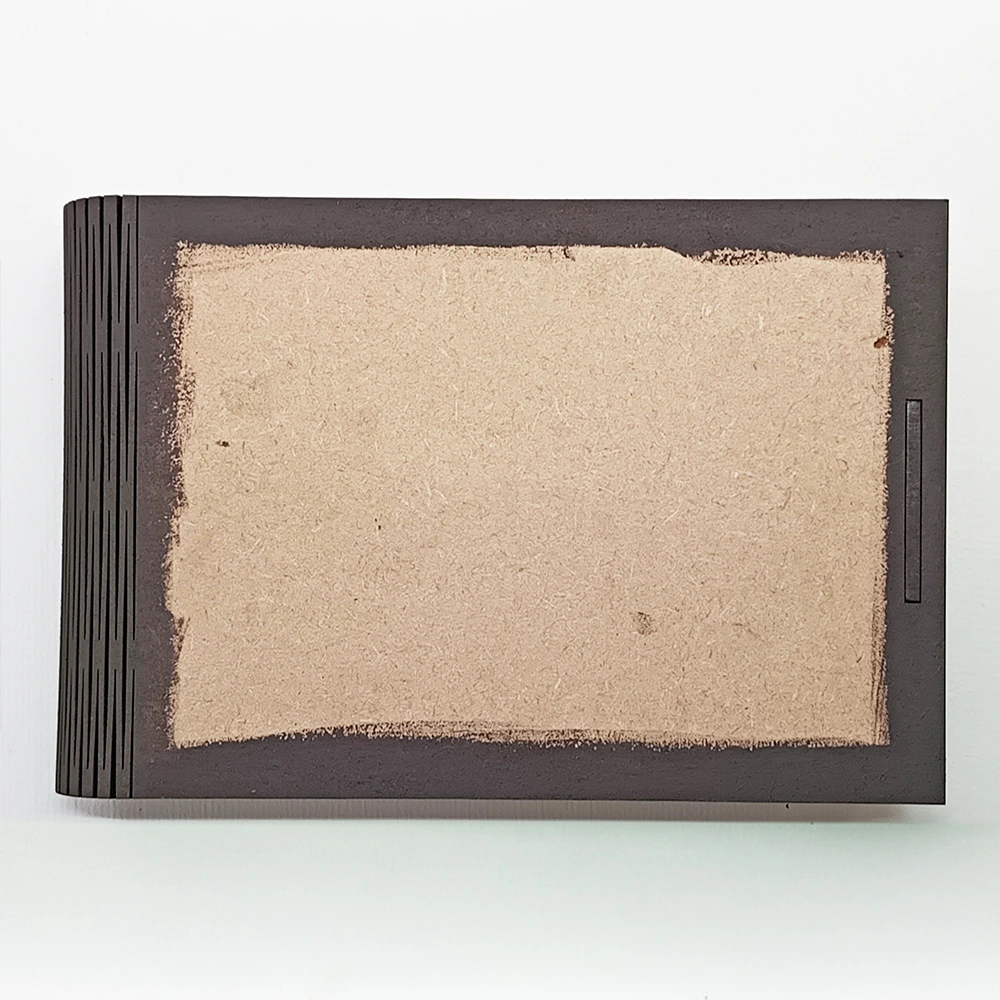
Step 1.
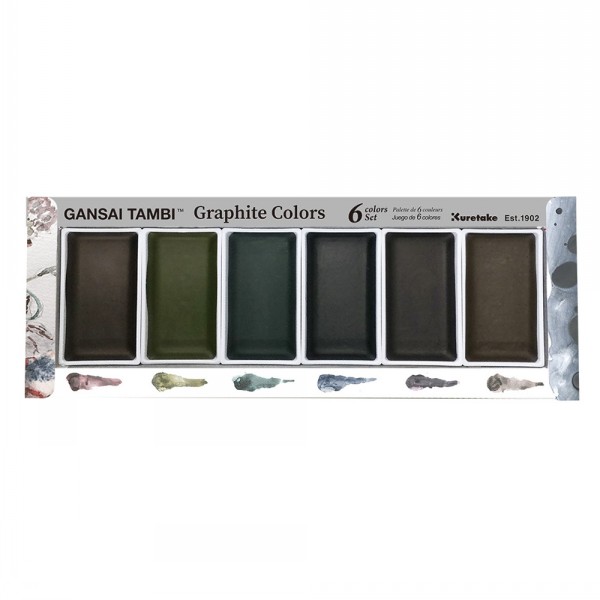
Using a medium sized Flexi hinge wood box apply the Gansai Tambi Graphite Colour watercolours to paint the box. I painted the hinge and around the edges inside and out.
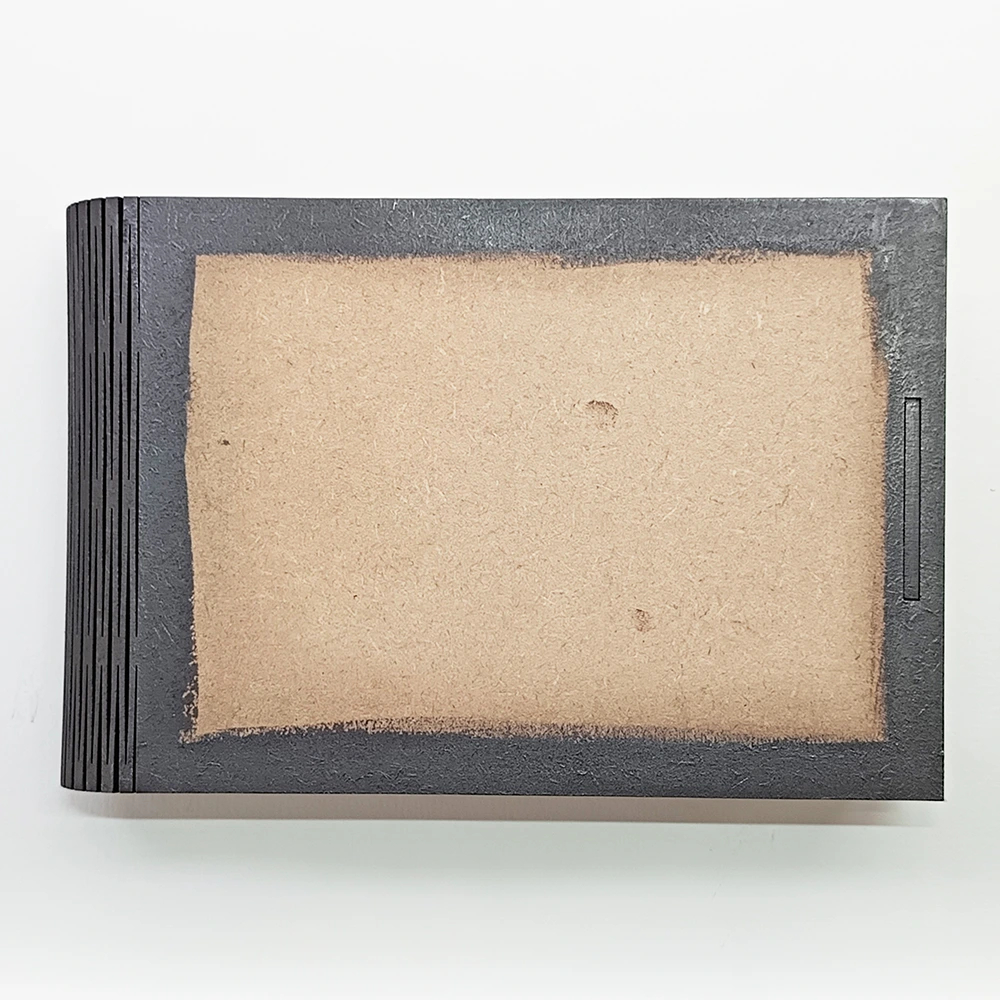
Step 2.
When it has dried completely you can buff it up to reveal a metallic lustre.
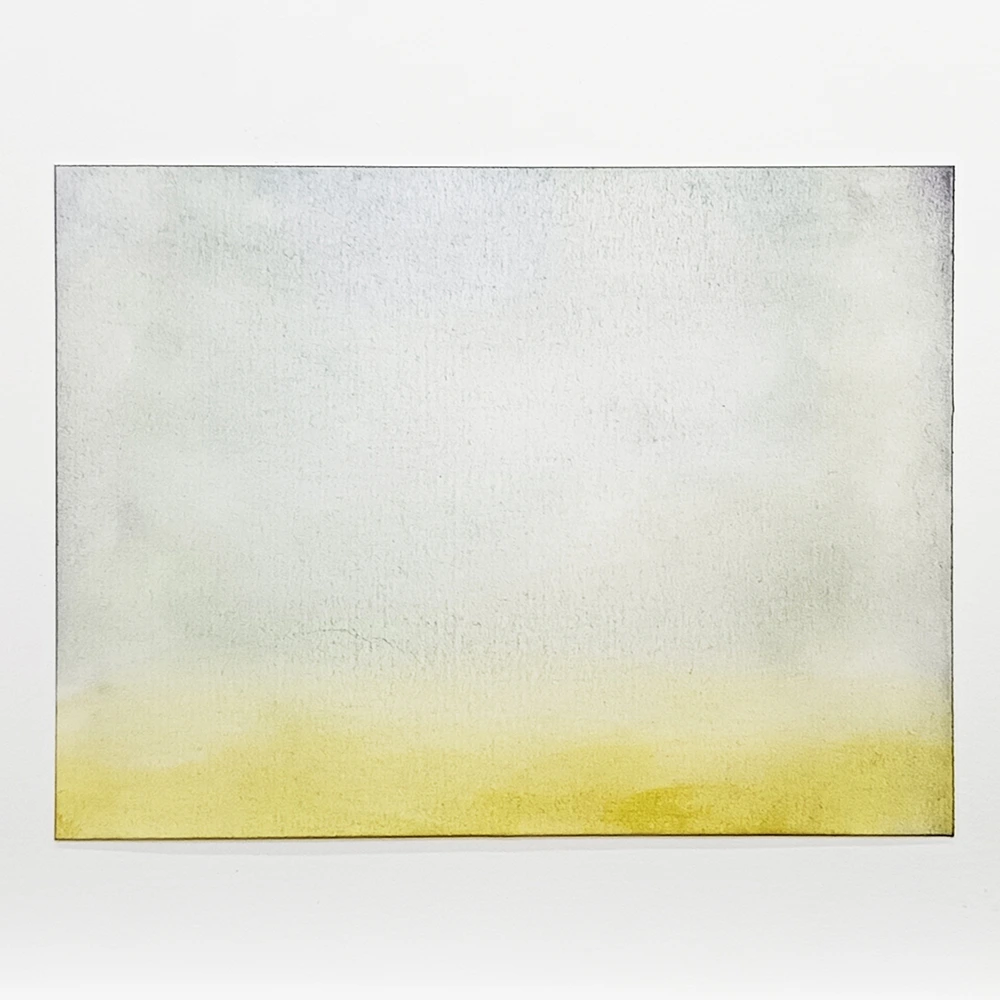
Step 3.
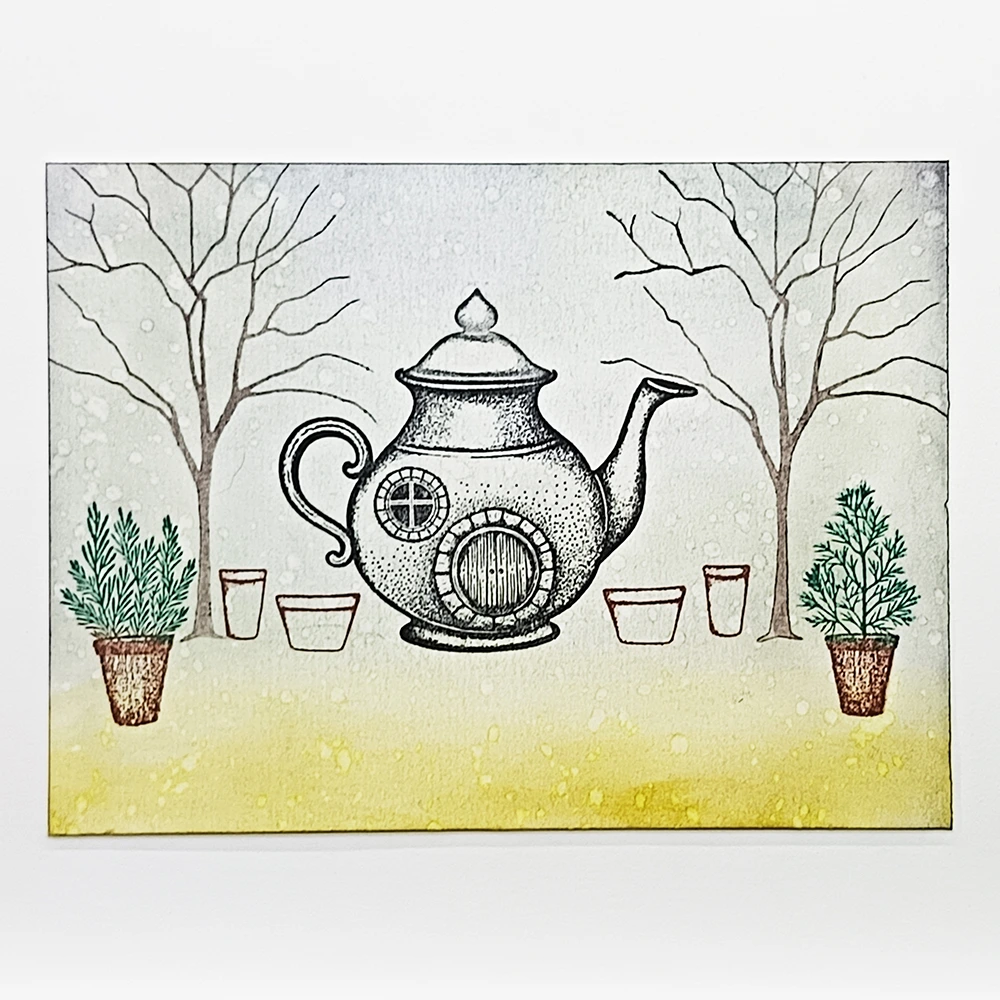
Now cut a piece of A5 multifarious card to 15.2 cm x 11.4 cm and blend some colour onto your card using a series 9 stencil brush. For the bottom use Elements Greensleeves then Elements Della Blue for above it, add a little bit of Midnight Blue at the sides.
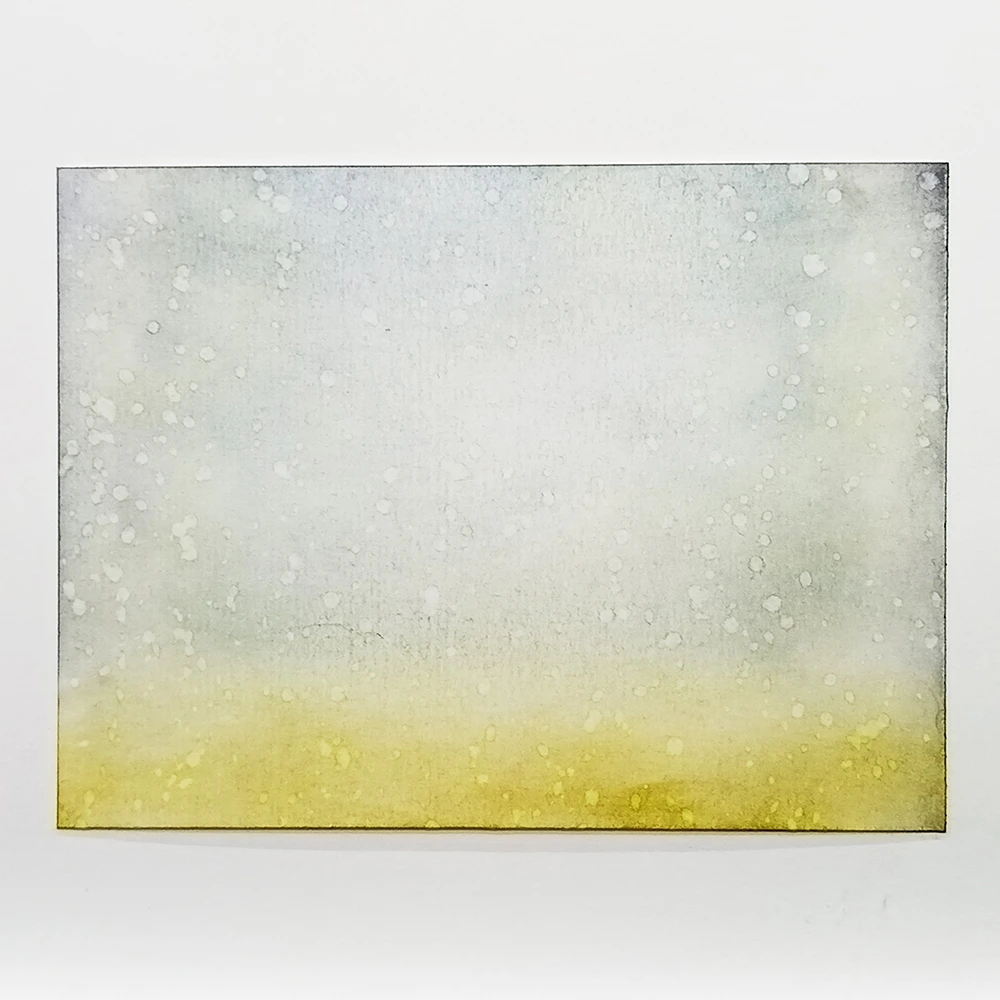
Step 4.
Next, we do a bit of faux bleaching over the whole card with some water. Let that interact with the ink and then use a cloth to dab the water off and you get those lovely water-droplet marks on your back ground as in the picture.

Step 5.
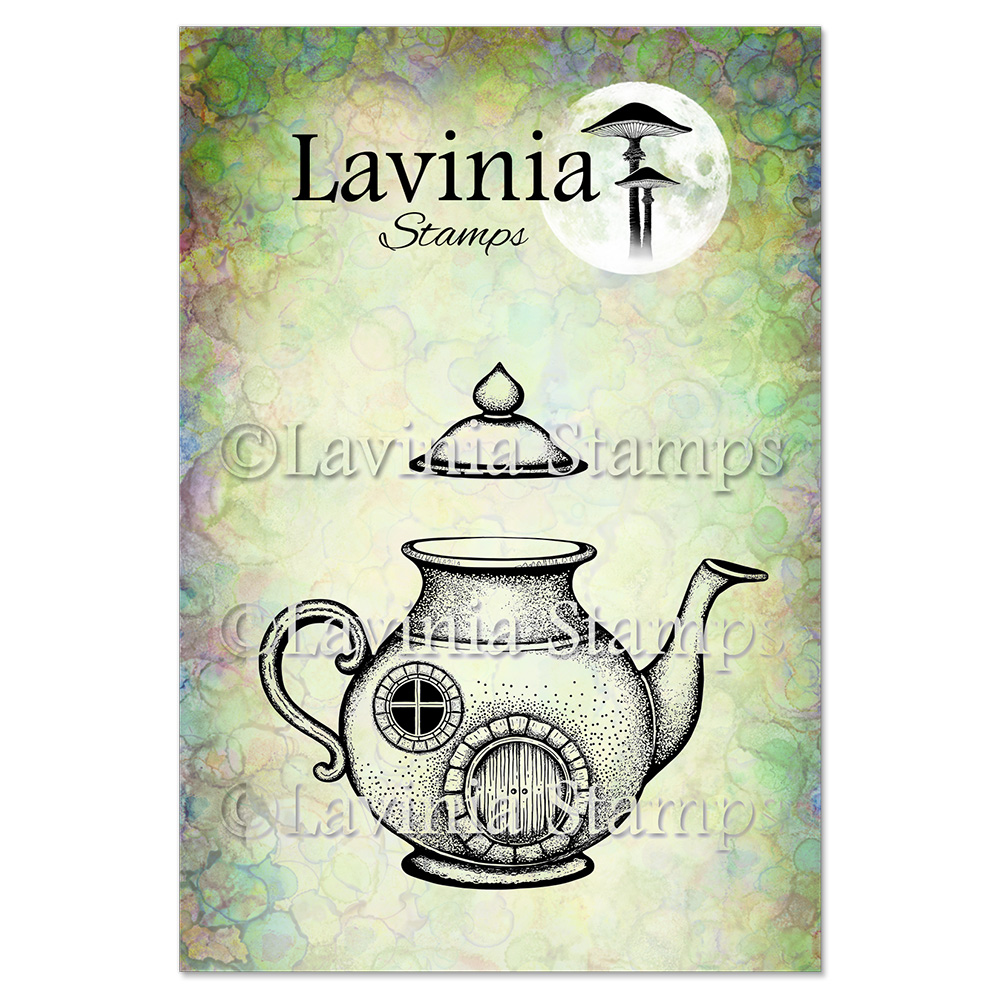
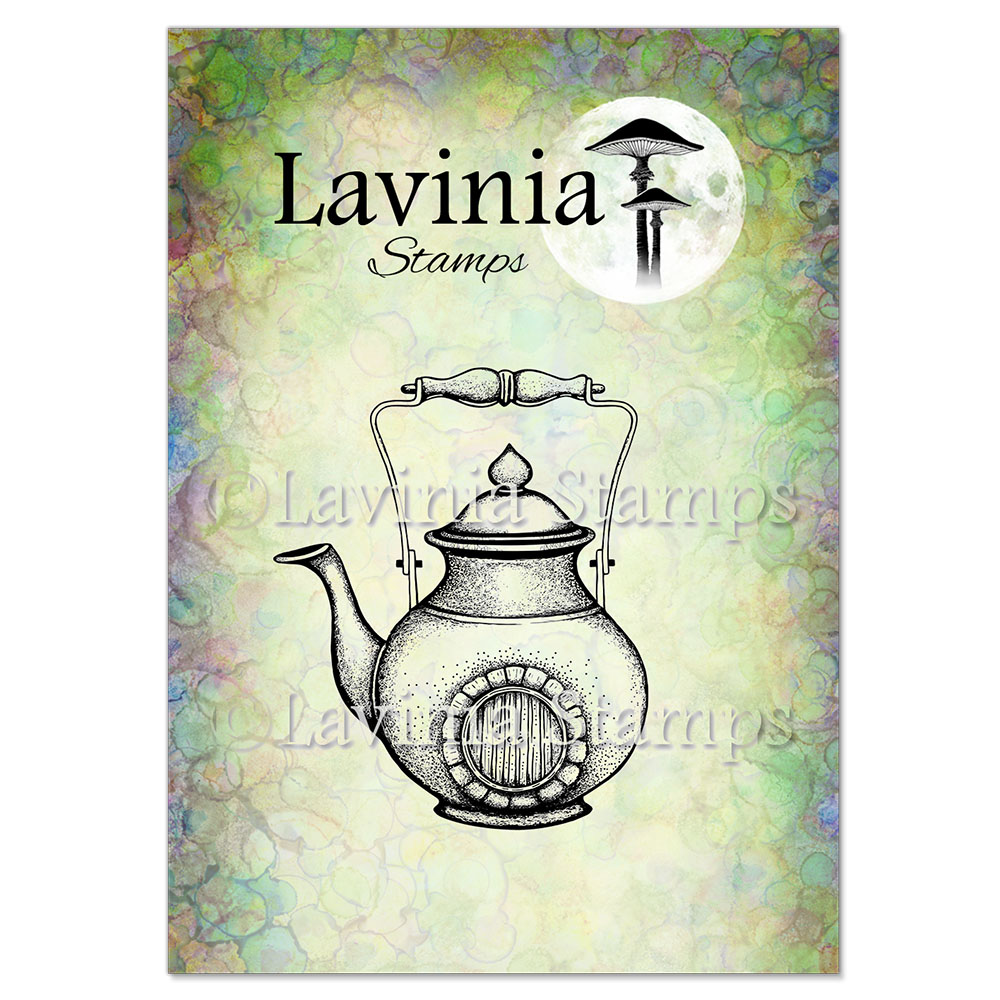
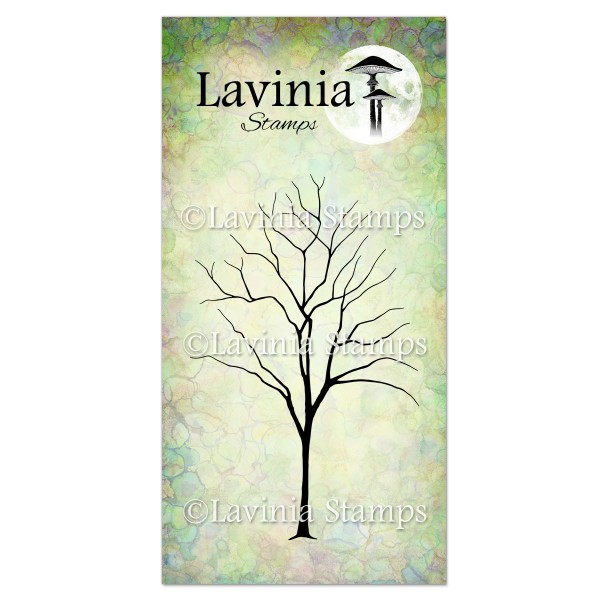
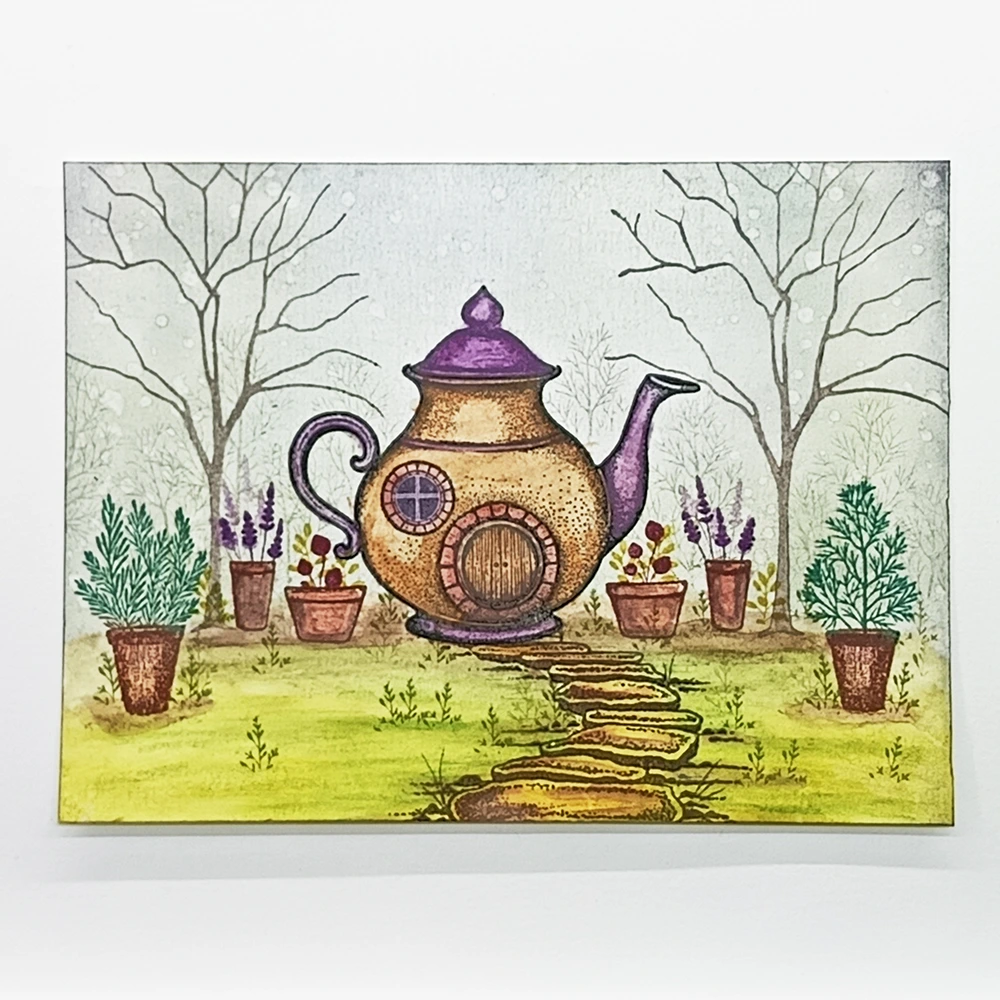
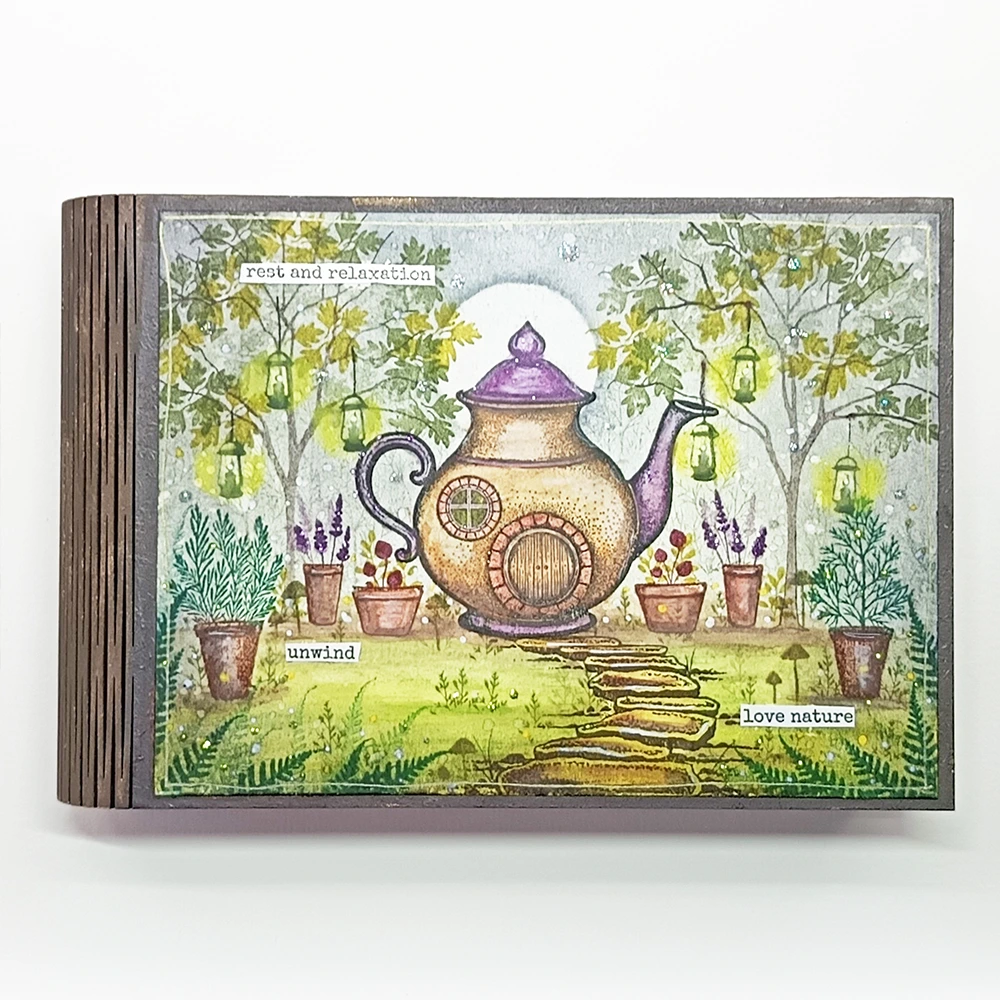
Stamp the Teapot Cottage LAV995 lid first, then stamp it on some copier paper and cut it out. This cut out will act as a mask. Place the mask over the stamped image on your card and then stamp the Teapot Cottage. Stamp the Elm Tree LAV652 in Versafine Clair Fallen Leaves in second generation stamping.
Step 6.
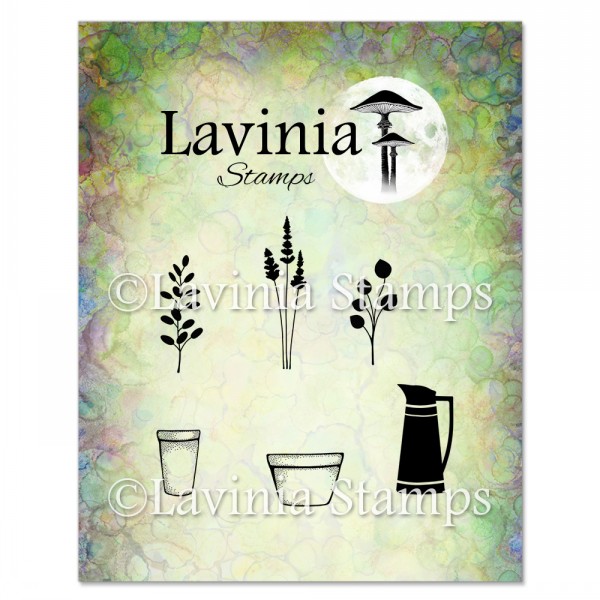
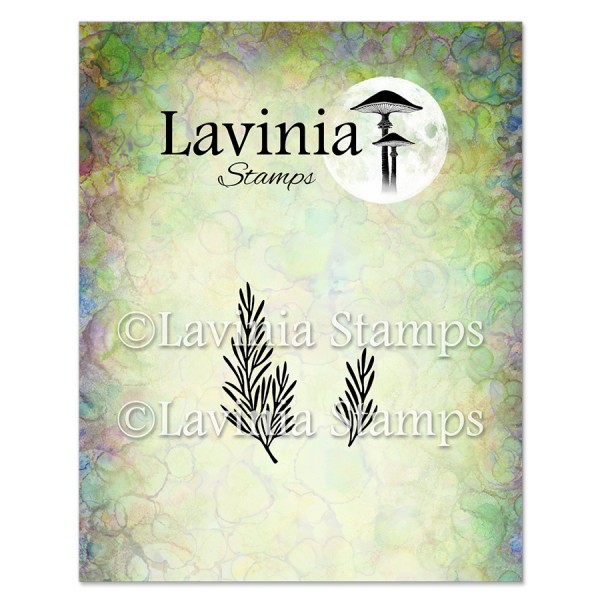
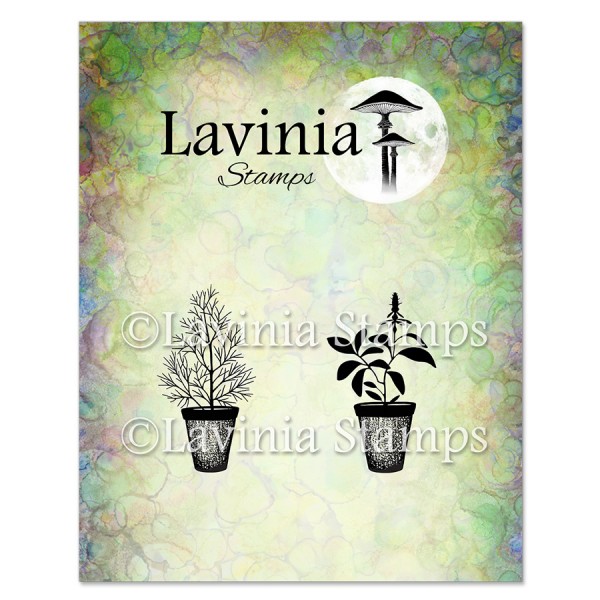
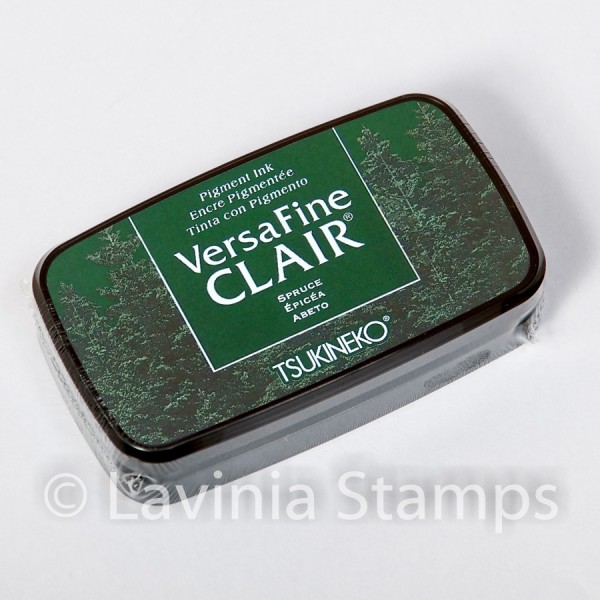
Stamp the Flower Pots LAV826 in Versafine Clair Fallen Leaves. Add Dill LAV939 and the Rosemary LAV948, stamping the pots in Versafine Clair Fallen Leaves and the herbs in Versafine Clair Spruce.
Step 7.
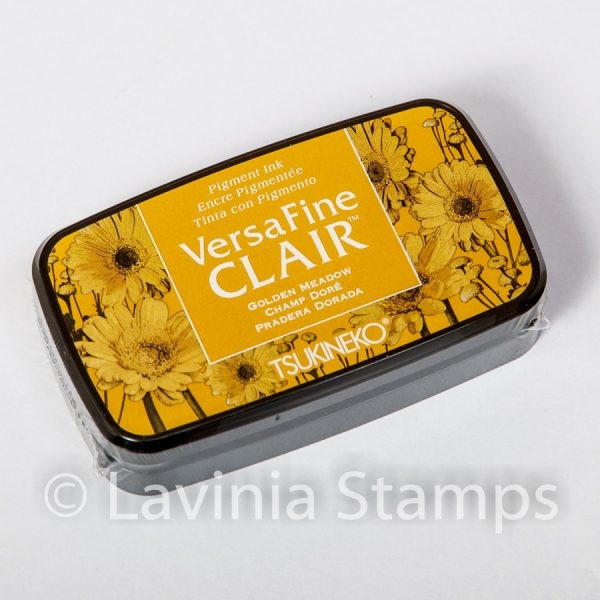
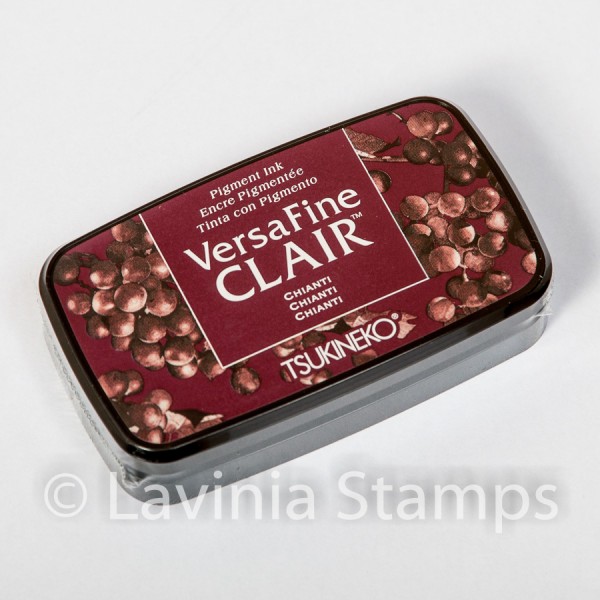
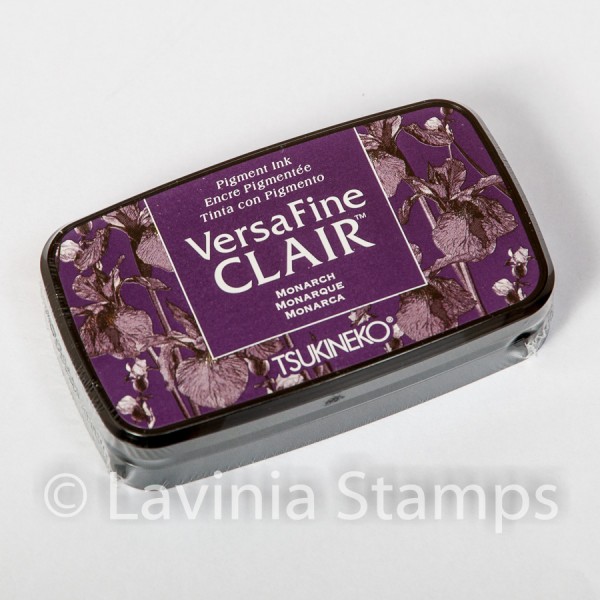
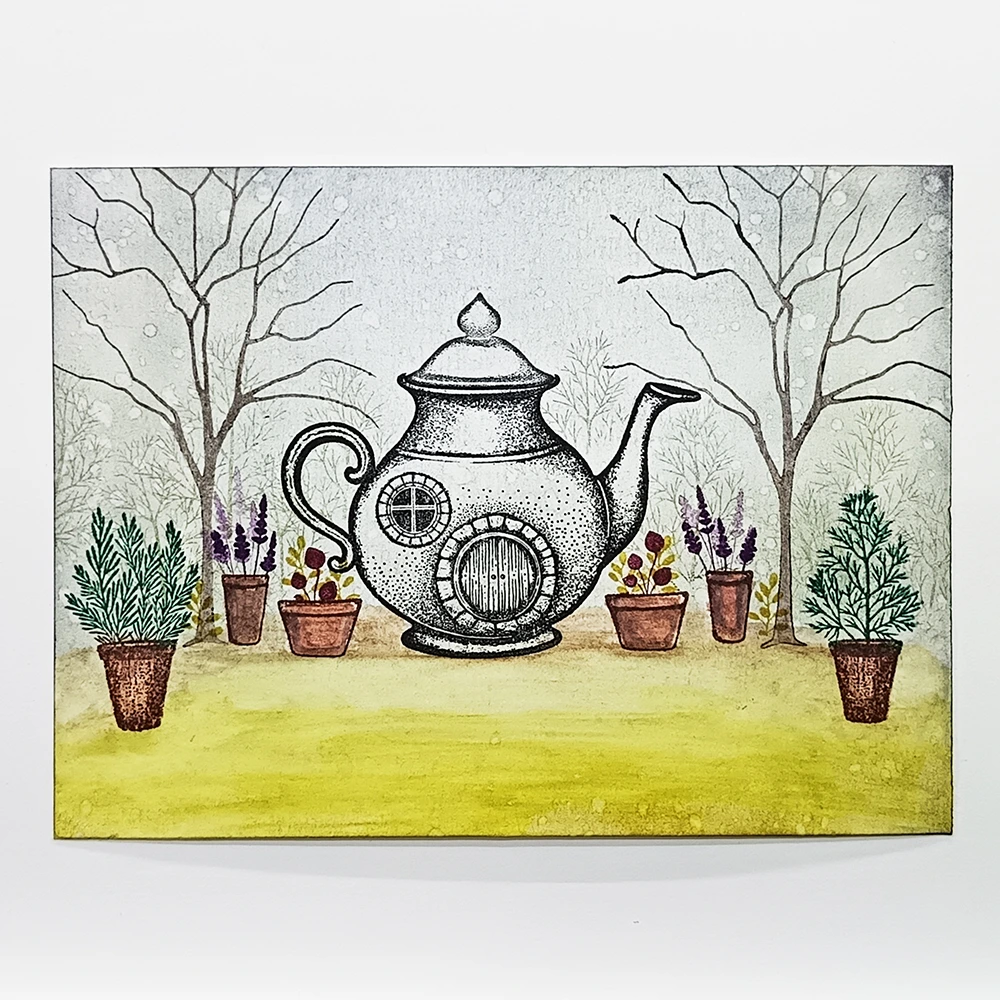
Fill the flower pots with the flowers LAV826. Lavender can be stamped in 1st and 2nd generation stamping using Versafine Clair Monarch. Stamp the leaves in Versafine Clair Golden Meadow and the other flower stamp in Versafine Clair Chianti. Stamp the Dill LAV938 in 2nd generation stamping Versafine Clair Shady Lane in the background to build up the scene. Colour the pots brown using Mondeluz Watercolour pencils.
Step 8.
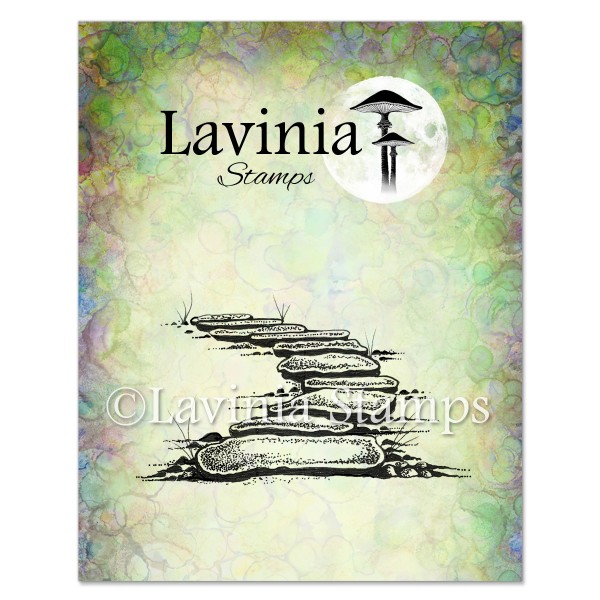
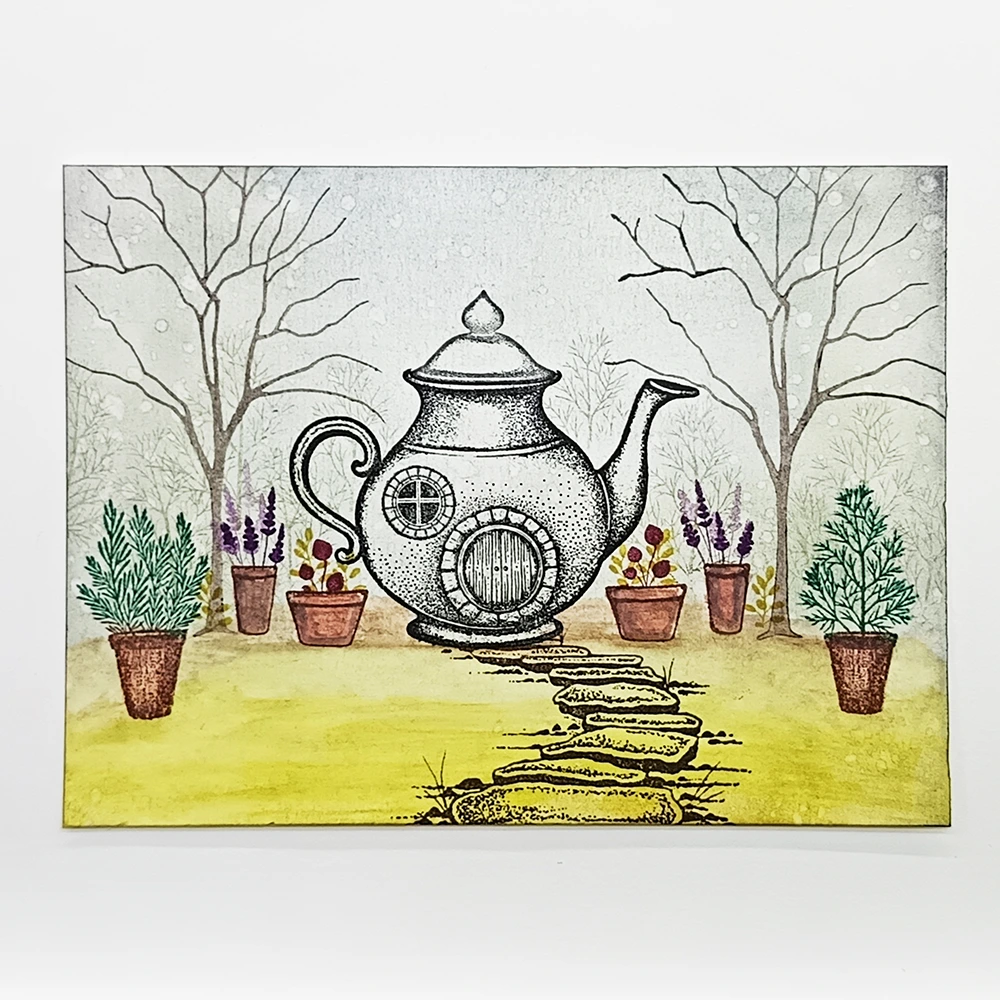
Stamp the Fairy Path LAV246 in Versafine Clair Fallen Leaves so that it leads up to the teapot home.
Step 9.
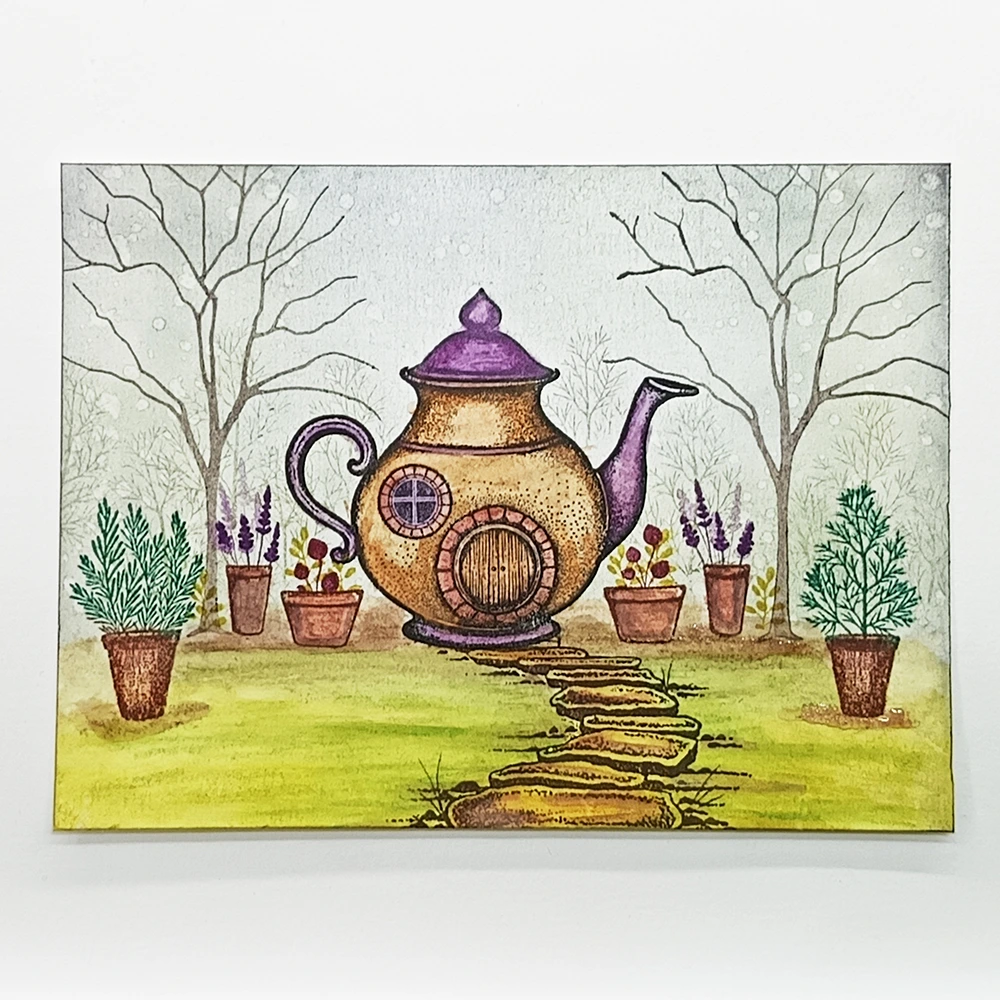
I am using Mondeluz Watercolour pencils to add colour to the design. The teapot is coloured with (3710/182) Dark violet or a purple for the handle, spout, base and the lid. For the teapot (3710/64) Burnt Ochre which is like a light orange/brown colour. For the brickwork around the window and door I used a terracotta (3710/65) and the door in a dark brown (3710/33). There is also a touch of dark brown shading the fairy footpath LAV246.
Step 10.
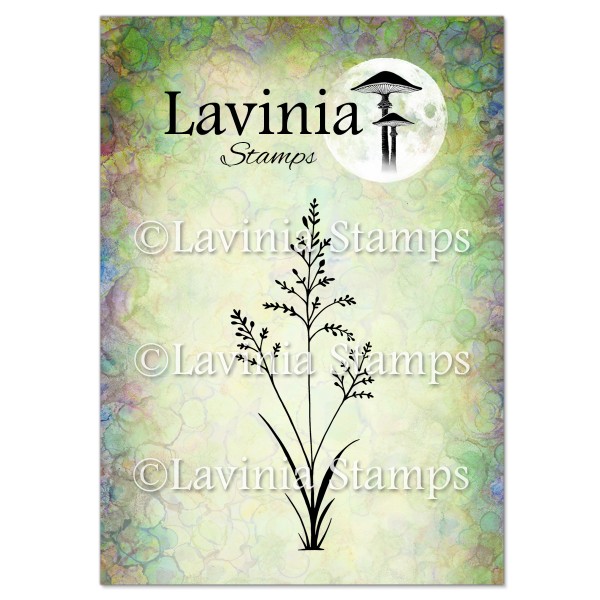
Stamp the tip of the Orchard Grass LAV672 using Versafine Clair Shady Lane by placing the stamp on your index finger and stamping in 1st and 2nd generation stamping.
Step 11.
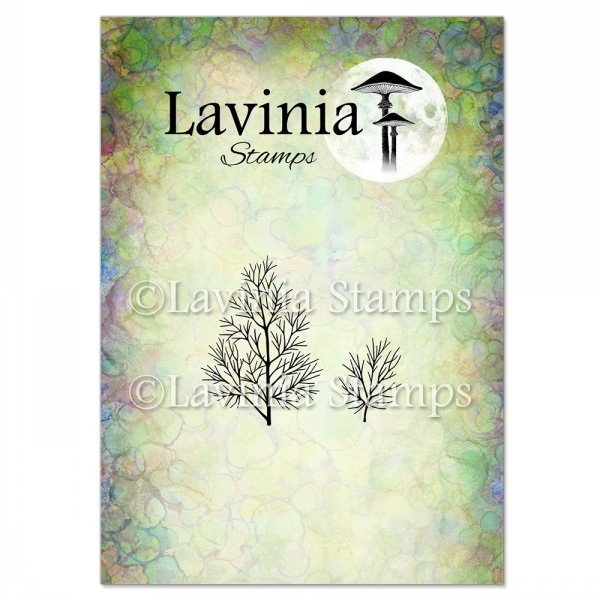
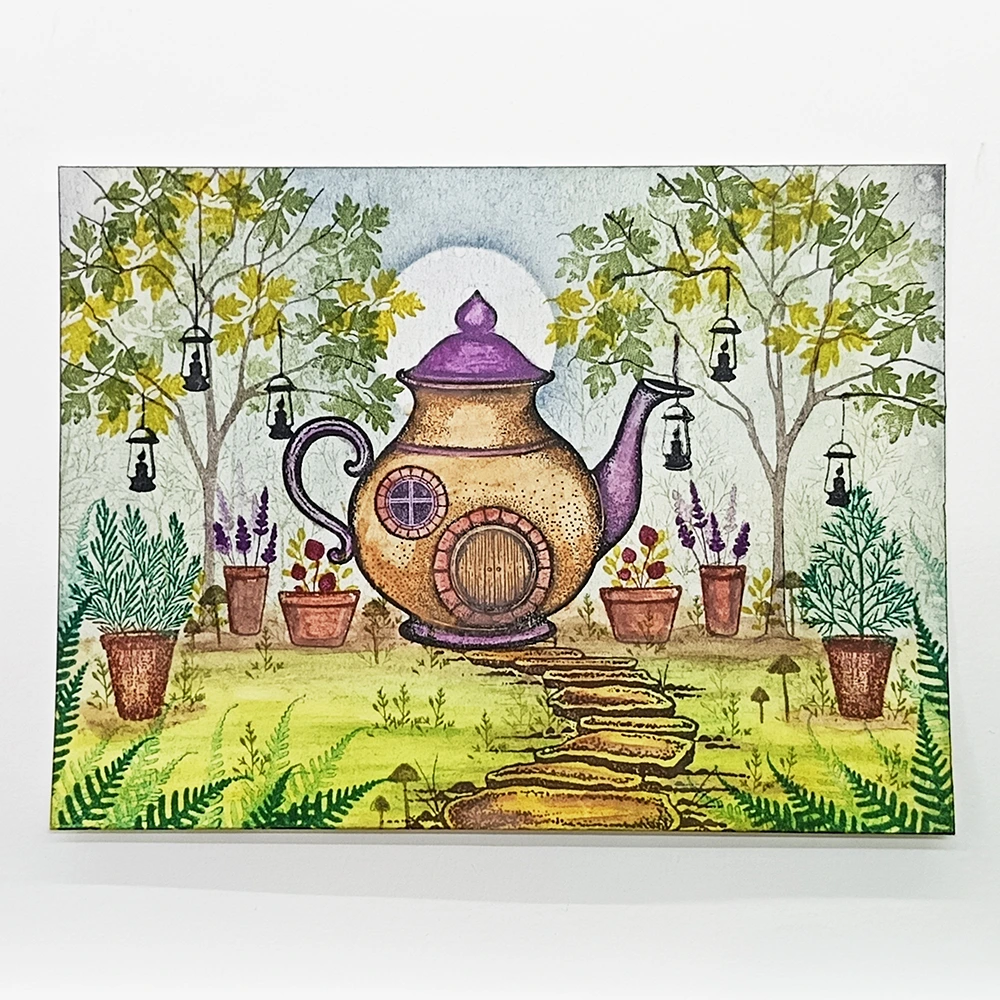
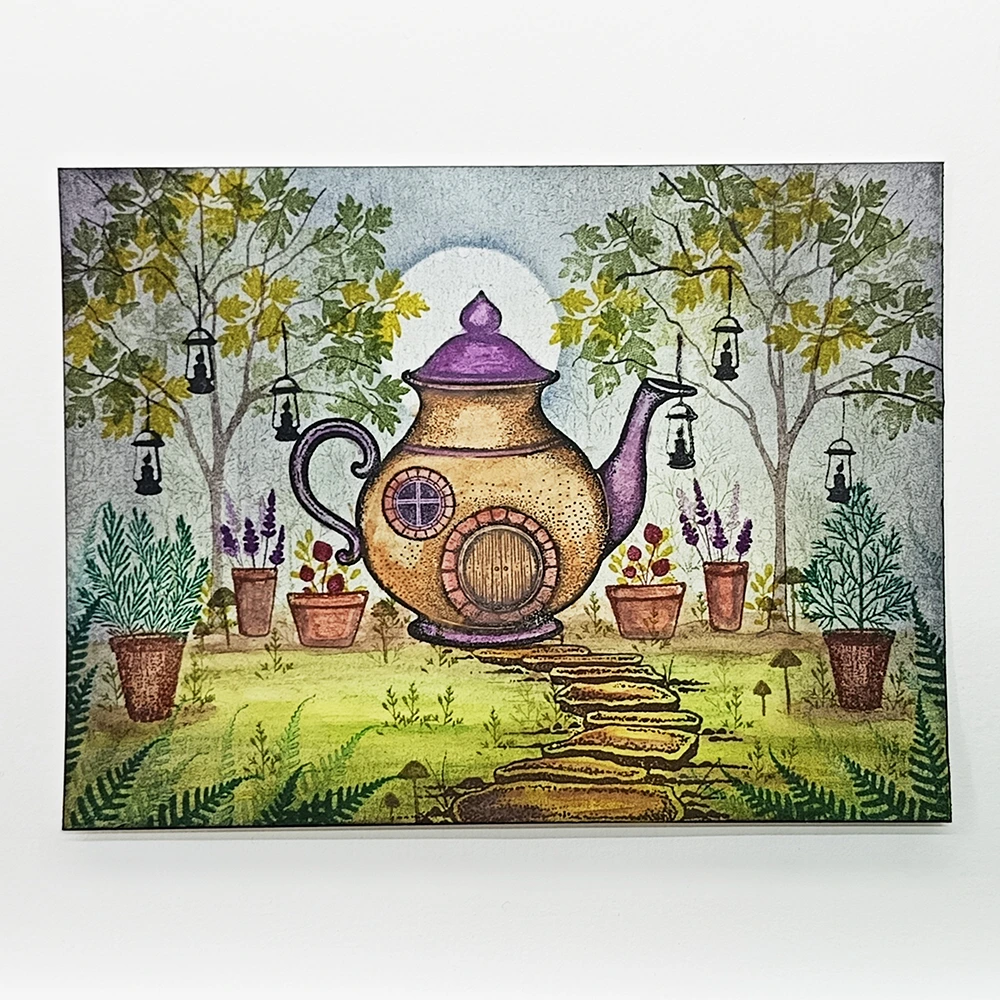
Stamp the Woodland Fern LAV729 in Versafine Clair Rain Forest in 1st and 2nd generation stamping in the bottom corners. On the trees stamp the Mini River Leaves LAV890 in a mixture of Versafine Clair Shady Lane and Golden Meadow. Use the small mushrooms from the Lamp Set LAV758 in Versafine Clair Morning Mist and stamp a few of them by the flower pots and path. Stamp the Small Lanterns LAV728 in Versafine Clair Nocturne.
Step 12.
Now blend some Elements Midnight Blue around the edge of the card and create a moon behind the teapot. The circle is just over an inch in diameter.
Step 13.
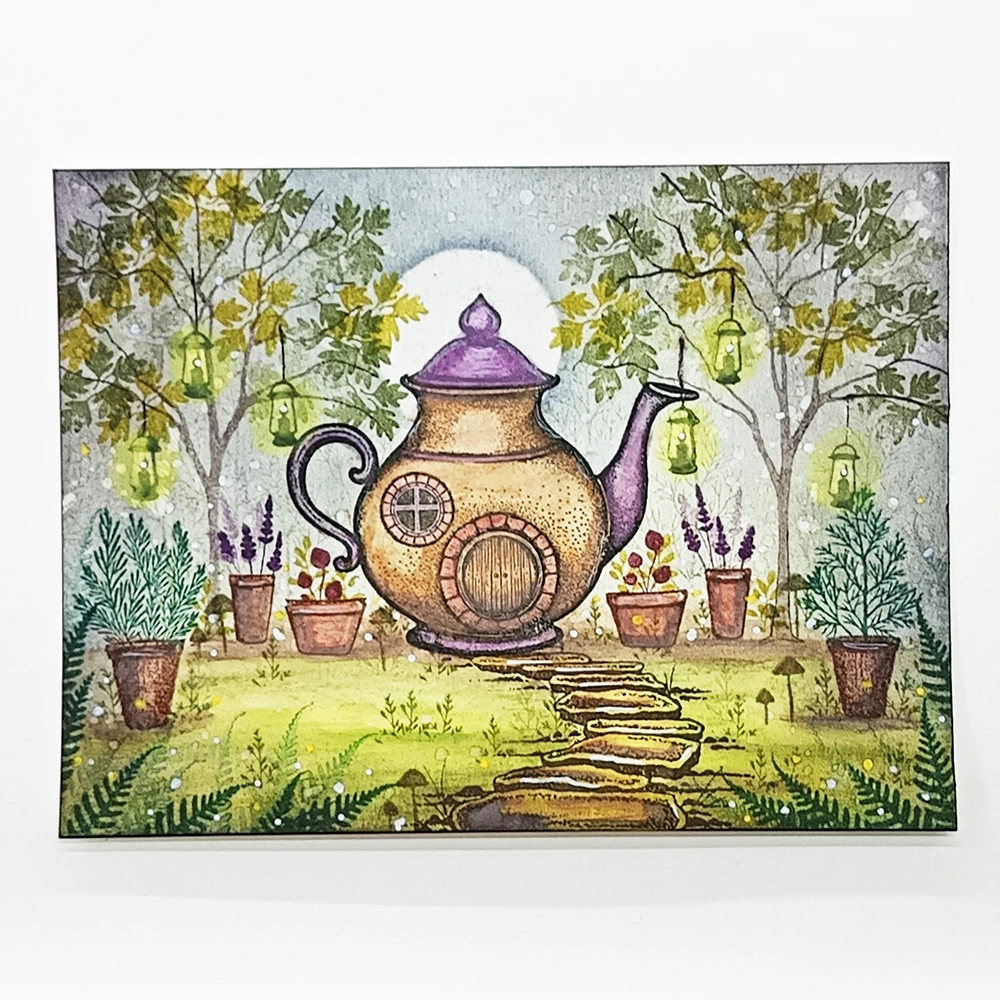
Add some white and yellow dots around the Woodland Fern LAV729. Using White and Yellow Posca Pens. With some Yellow Pan-pastels create a glow around the Small Lanterns LAV728 hanging from the trees.
Step 14.
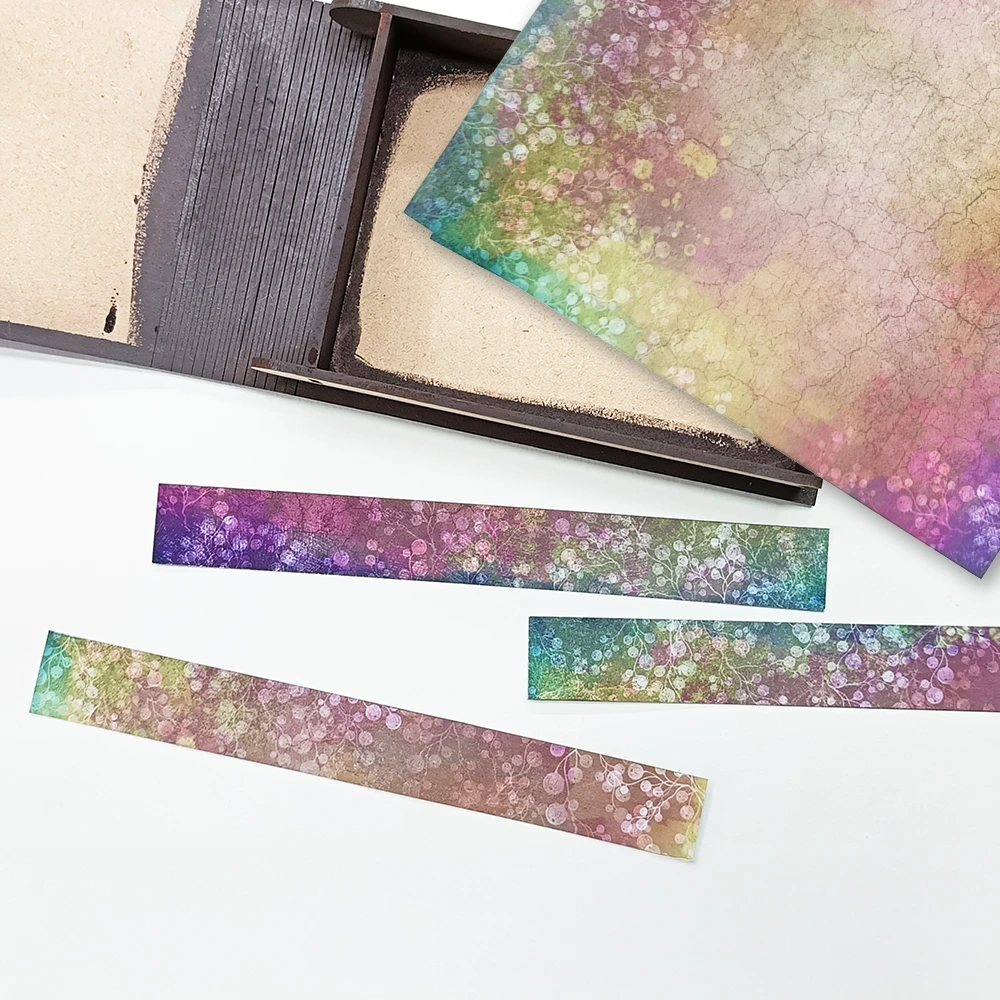
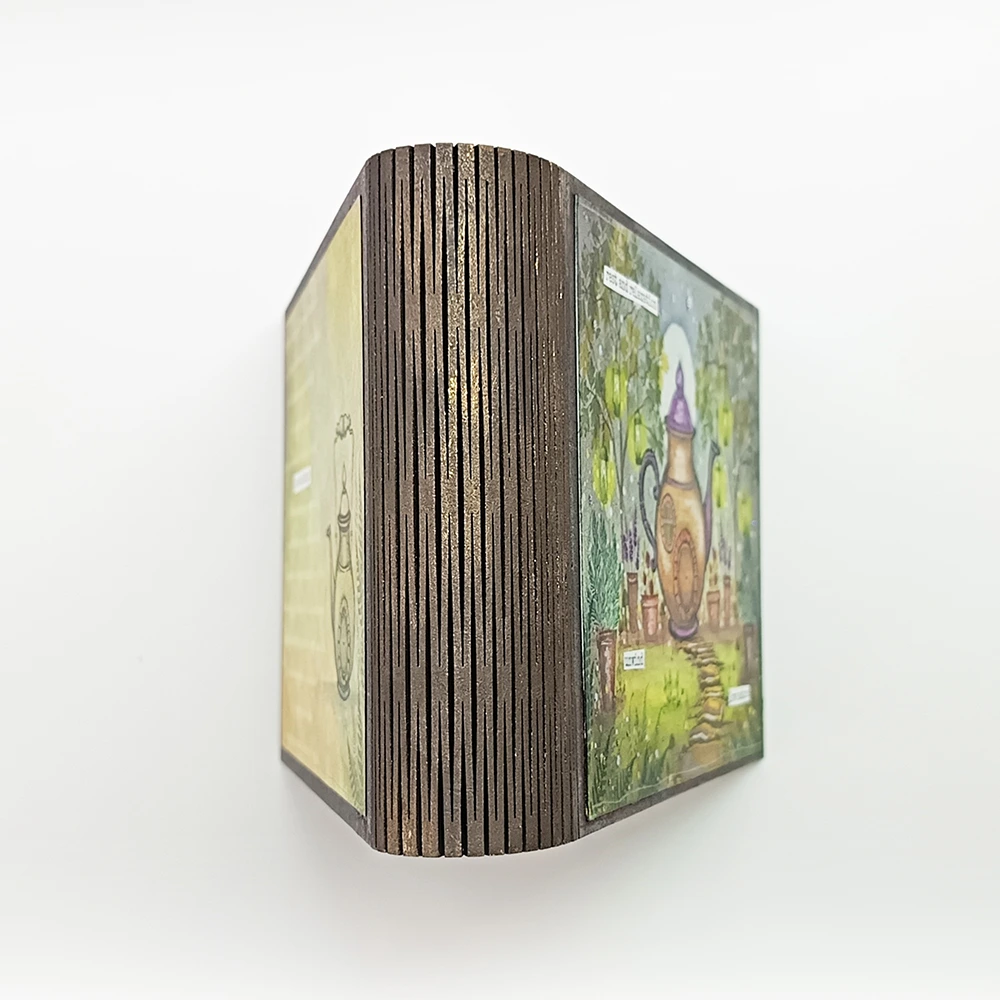
Using some sheets from the fabulous Enchanted Forest Dream-Scape Paper-pad, cut 3 strips that are just short of an inch wide. You can mix and match if you wish.
Step 15.
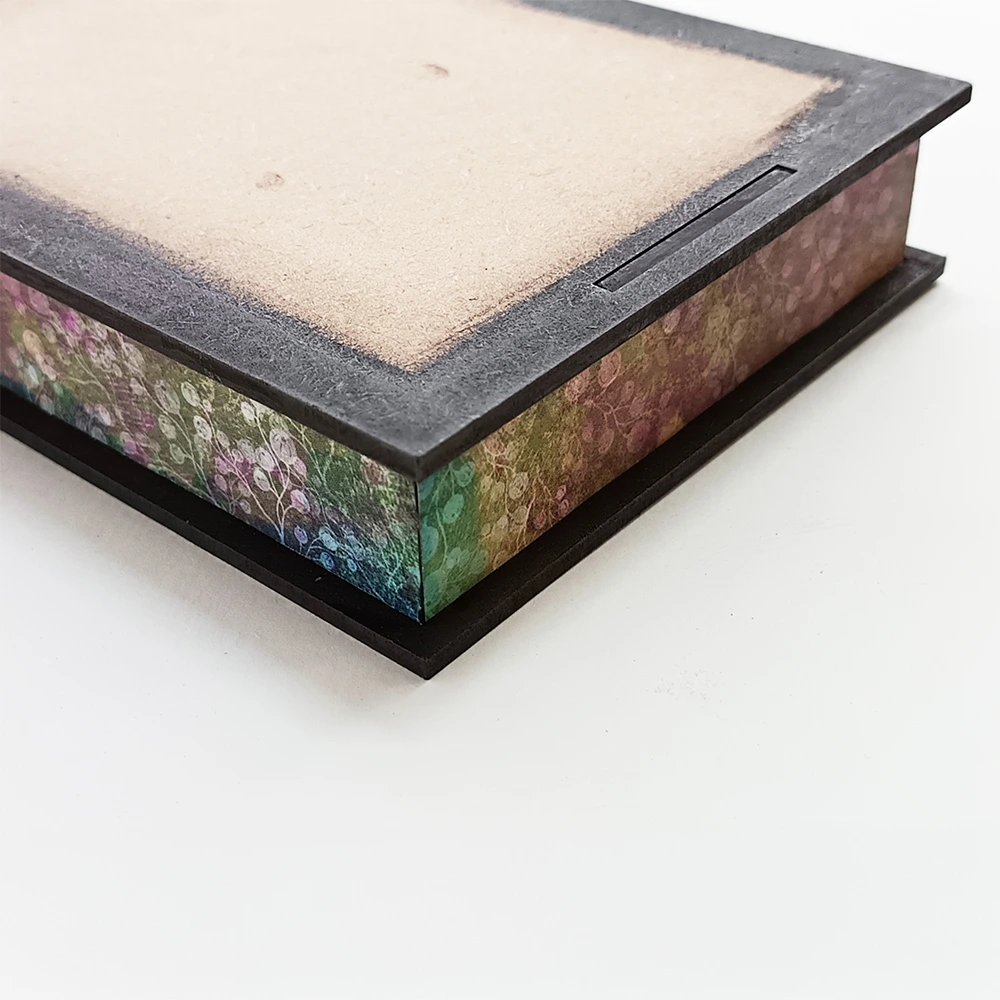
Glue the strips to the sides of the box. Trim them before gluing. I used a nail file to sand the paper to fit perfectly around the edge.
Step 16.
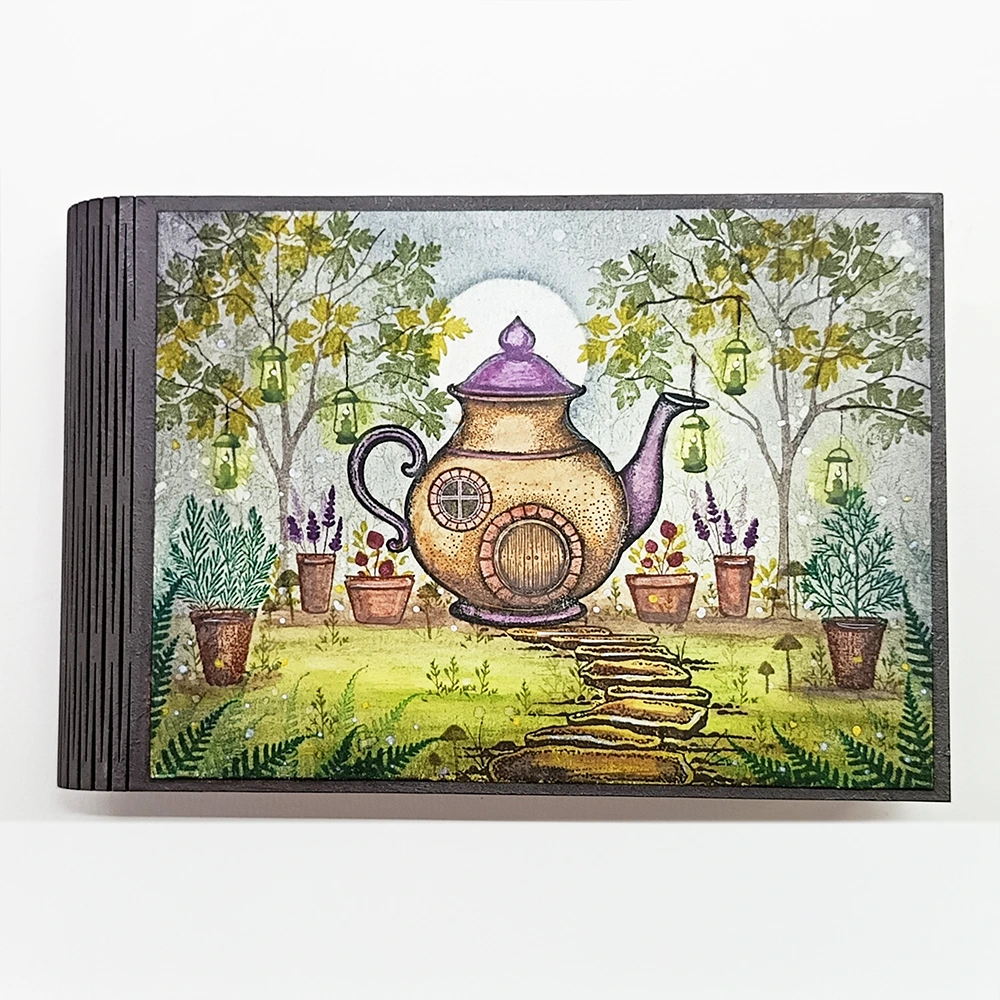
Firmly glue your artwork to the top of the box with Bippity Boppity Glue, making sure it is glued down well.
Step 17.
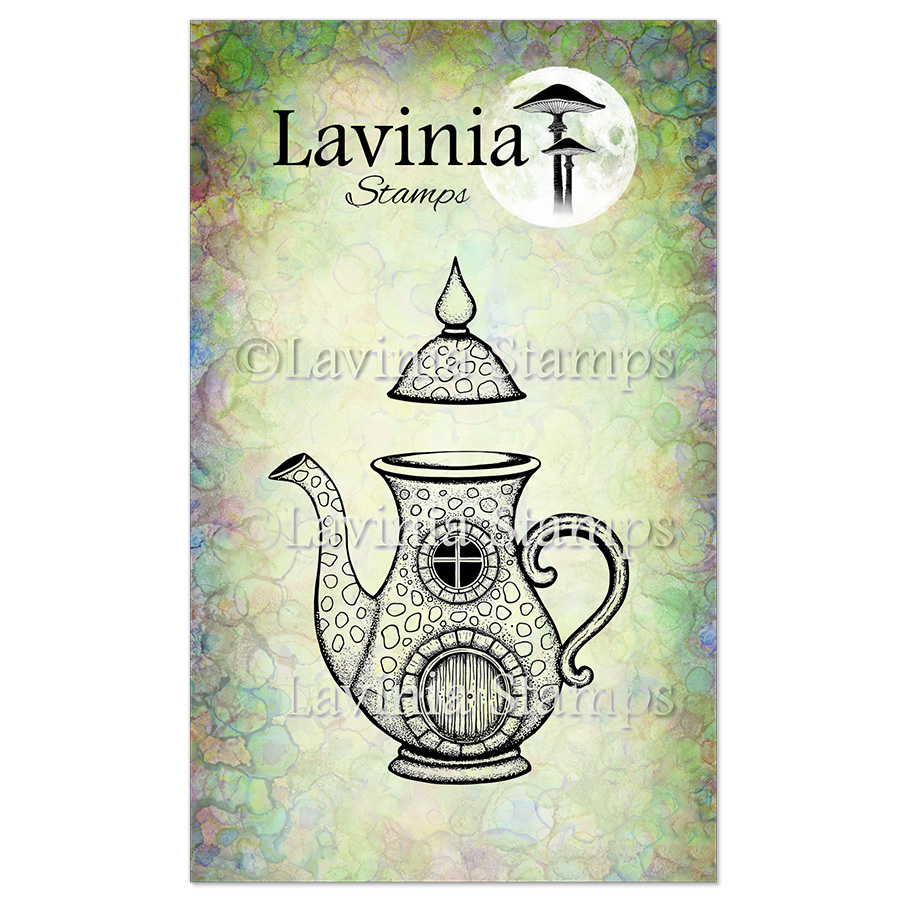
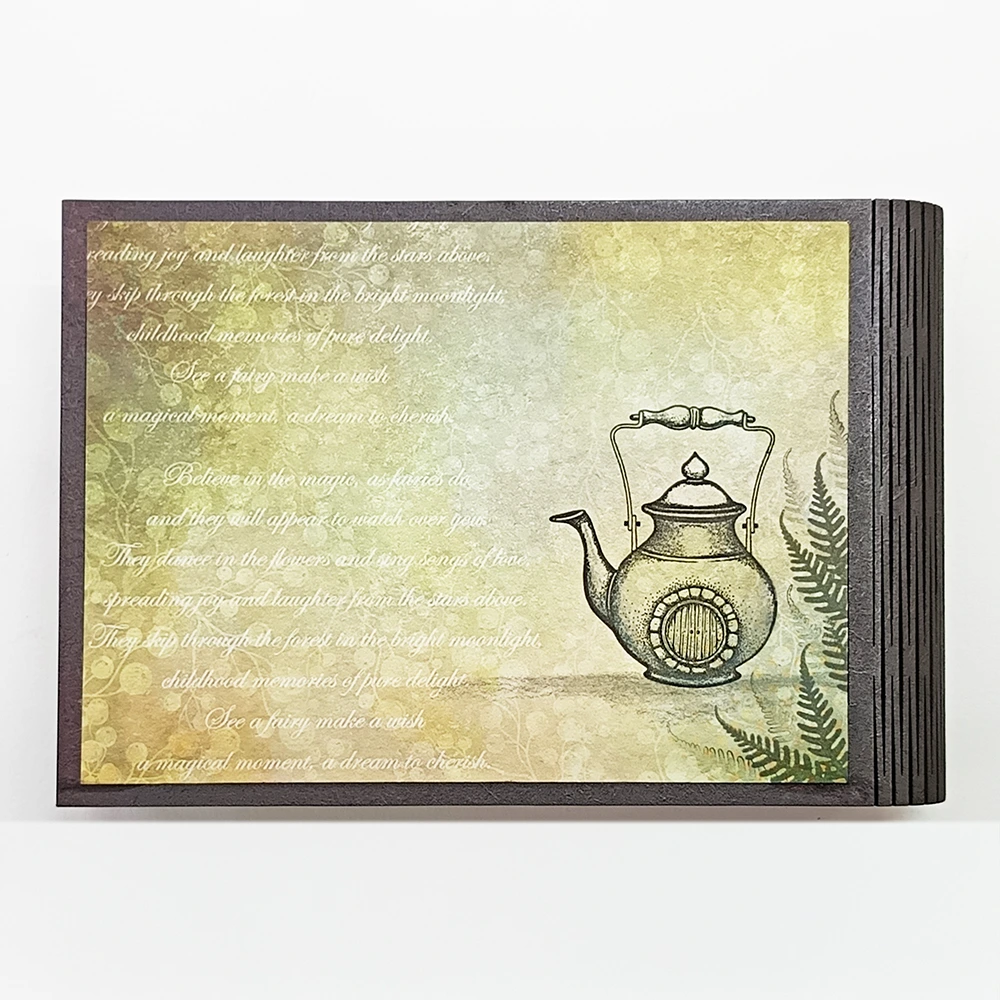
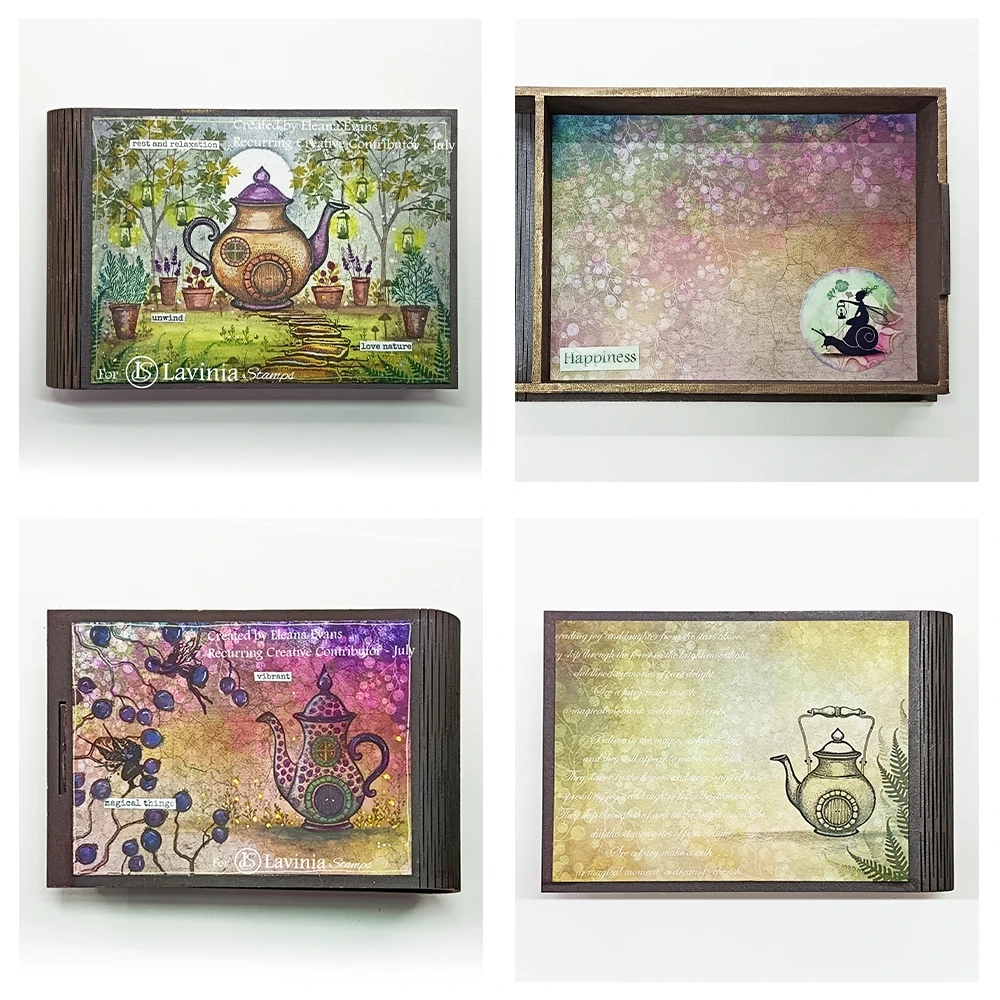
I cut a piece of paper measuring 15.2 cm x 11.4 cm and stamped the Tea Leaf Dwelling LAV994 in Versafine Clair Nocturne. I added a bit of shading under the teapot to ground it. The Woodland Fern LAV729 was stamped in Versafine Clair Shady Lane in 1st and 2nd generation stamping on the bottom right corner. See picture for placement. Glue it to the bottom of the box using Bippity Boppity Glue.
Step 18.
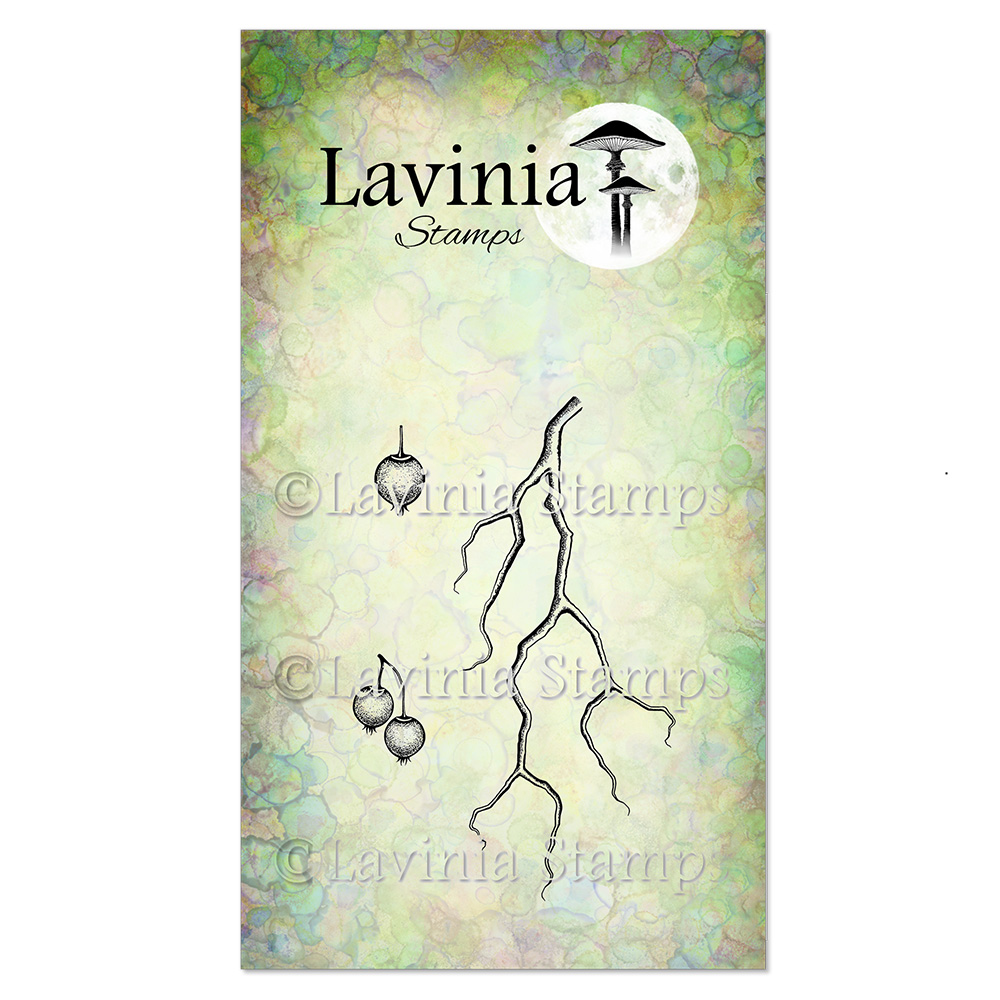
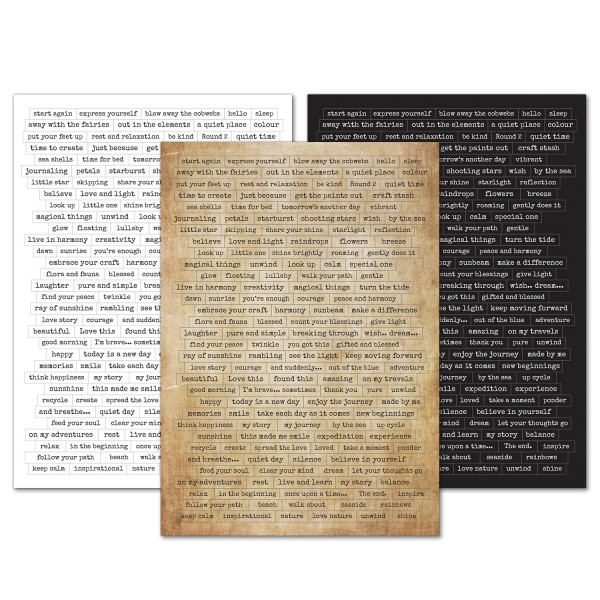
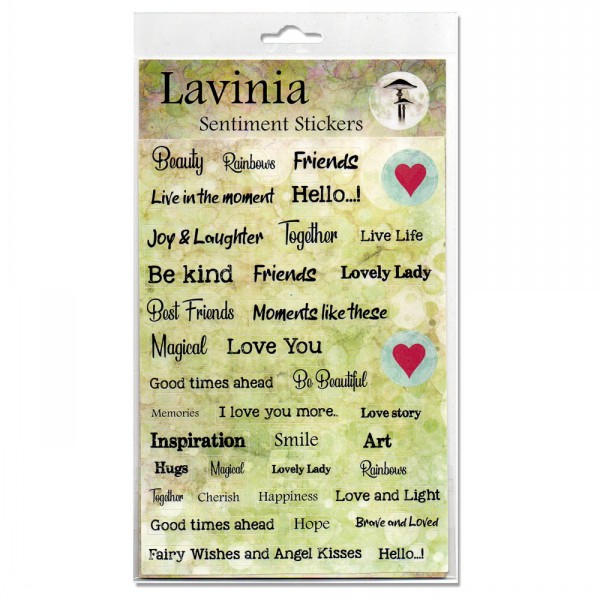
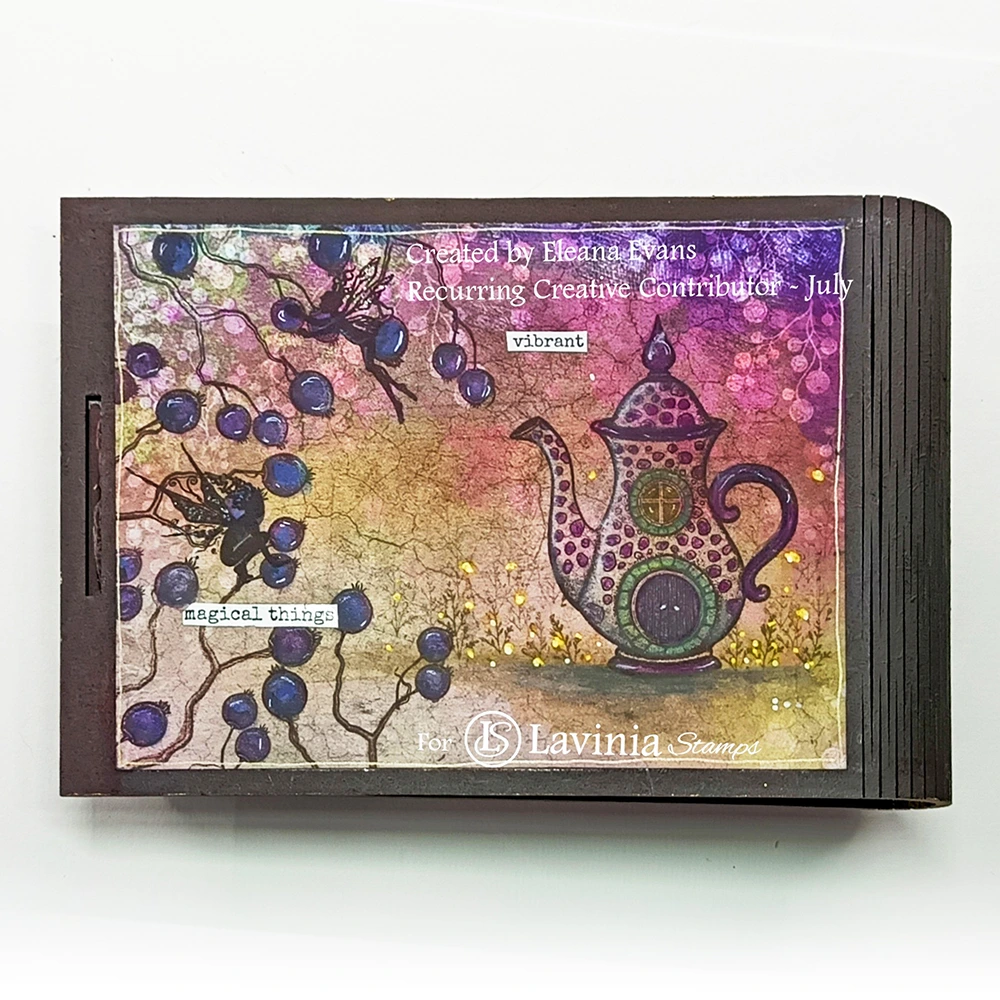
Cut another piece of paper measuring 14.6 cm x 10.1 cm. Making sure you leave the hole for the box to close. Stamp the Earl Grey Lodge LAV985, Berry Branch LAV984 and the berries in Versafine Clair Fallen Leaves. Colour the teapot in with purple dots and add green brickwork around the window and door. Colour the base of the teapot, handle and the very top of the lid with the same purple as the dots and ground the teapot in a dark green, using a bit of copier paper to mask out the ground. Stamp some of the Orchard Grass LAV672 in Versafine Clair Shady Lane in 1st and 2nd generation stamping around the Earl Grey Lodge LAV985. The berries are water-coloured with a purple/blue colour to them, also add a white gel pen for the highlights on them. Stamp a fairy from the Three Dancing Fairies LAV136 and a fairy from the Fairy Foragers LAV498 in Versafine Clair Nocturne in the branches. Then add some yellow and white Posca Pen dots and some Sentiment Stickers 6 as in the photograph.
Step 19.
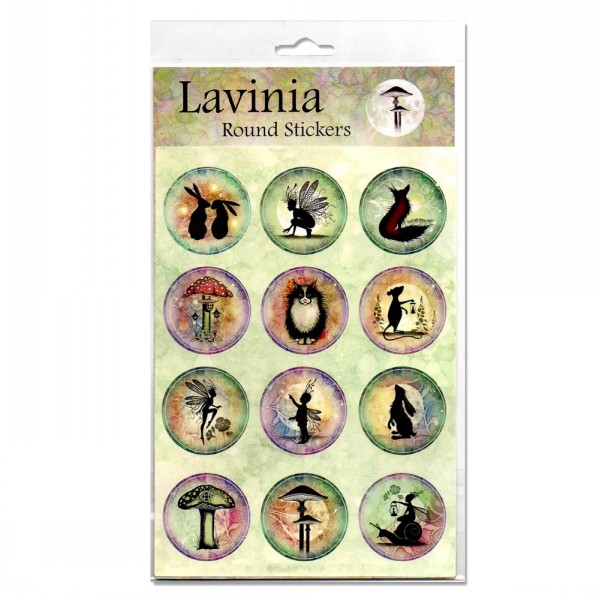
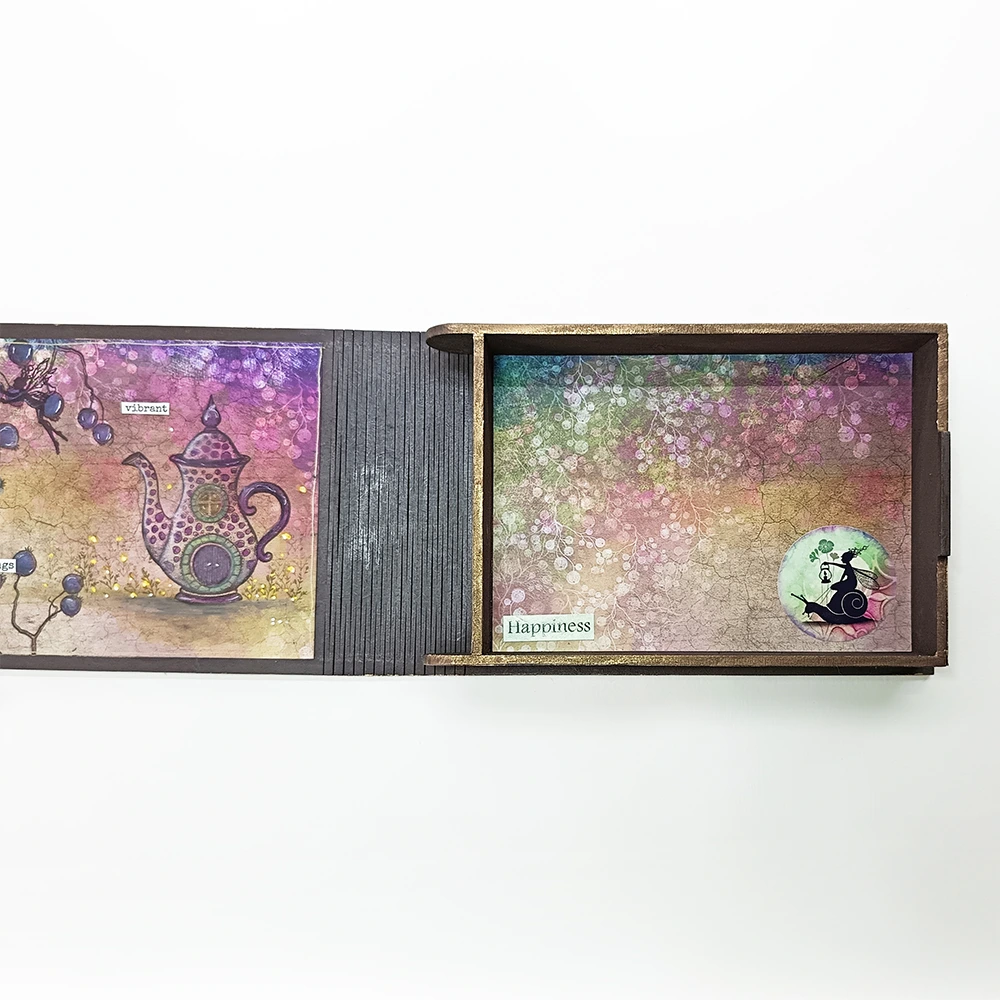
For the inside of the box cut the last piece of Dream-Scape paper so that it fits inside. Measuring just under 14.6 cm x 10.5 cm. Glue it into the box and add a round Journal sticker and a Sentiment Journal sticker as in the photograph. Then around the very edge of the box use some Gansai Tambi Starry Watercolour paints to watercolour a gold around the edges.
Step 20.
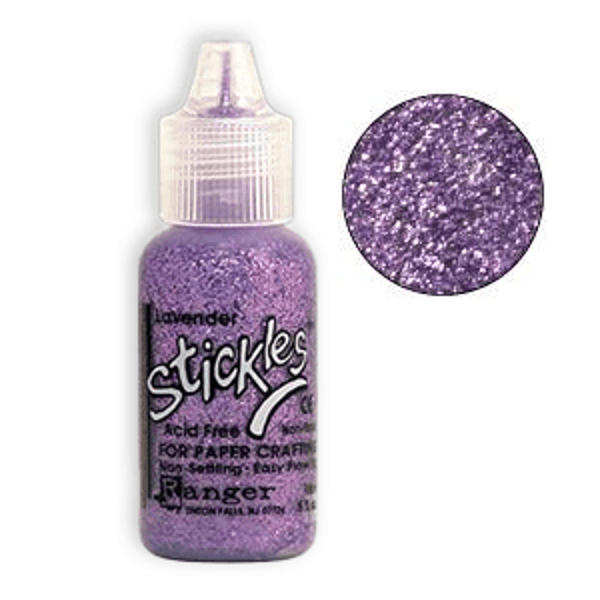
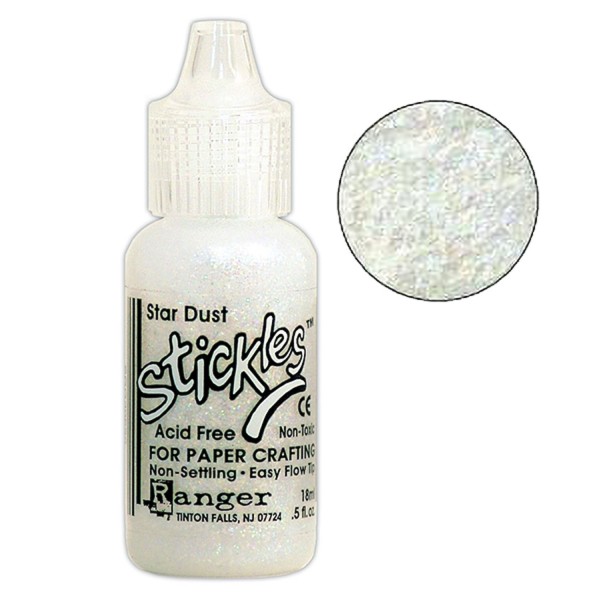
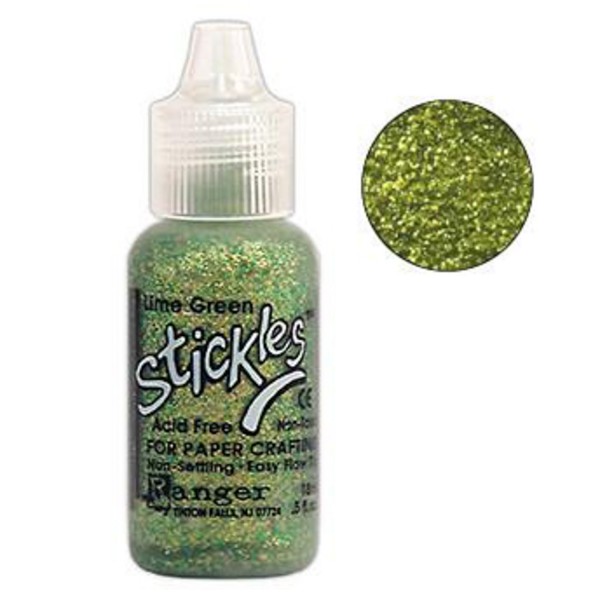
Now stick some Sentiment Stickers 6 to the front of the box, placing them around your design. Use a gold pen to draw a freehand border all around the artwork. Add Stickles Lime Green to the bottom around the Woodland Fern LAV729 and Stickles Lavender to the lavender and to the purple on the Teapot Cottage LAV995. Then add a touch of Stickles Stardust around the trees.
Step 21.
Add a bit of gold to the spine using the Gansai Tambi Starry Colours. This just finishes the box off.
Step 23.
Now the box is finished. This would make a great little gift to give someone with a teatime treat inside to have with a cup of tea or even pop some fruit teabags in that can come individually wrapped. Please make sure you seal your work as you don’t want it to get damaged. I used a matt sealant spray to protect mine. I do hope this tutorial inspires you. There are loads of beautiful boxes to decorate on Lavinia’s Website.
Happy Crafting to you all.
Ellie xx