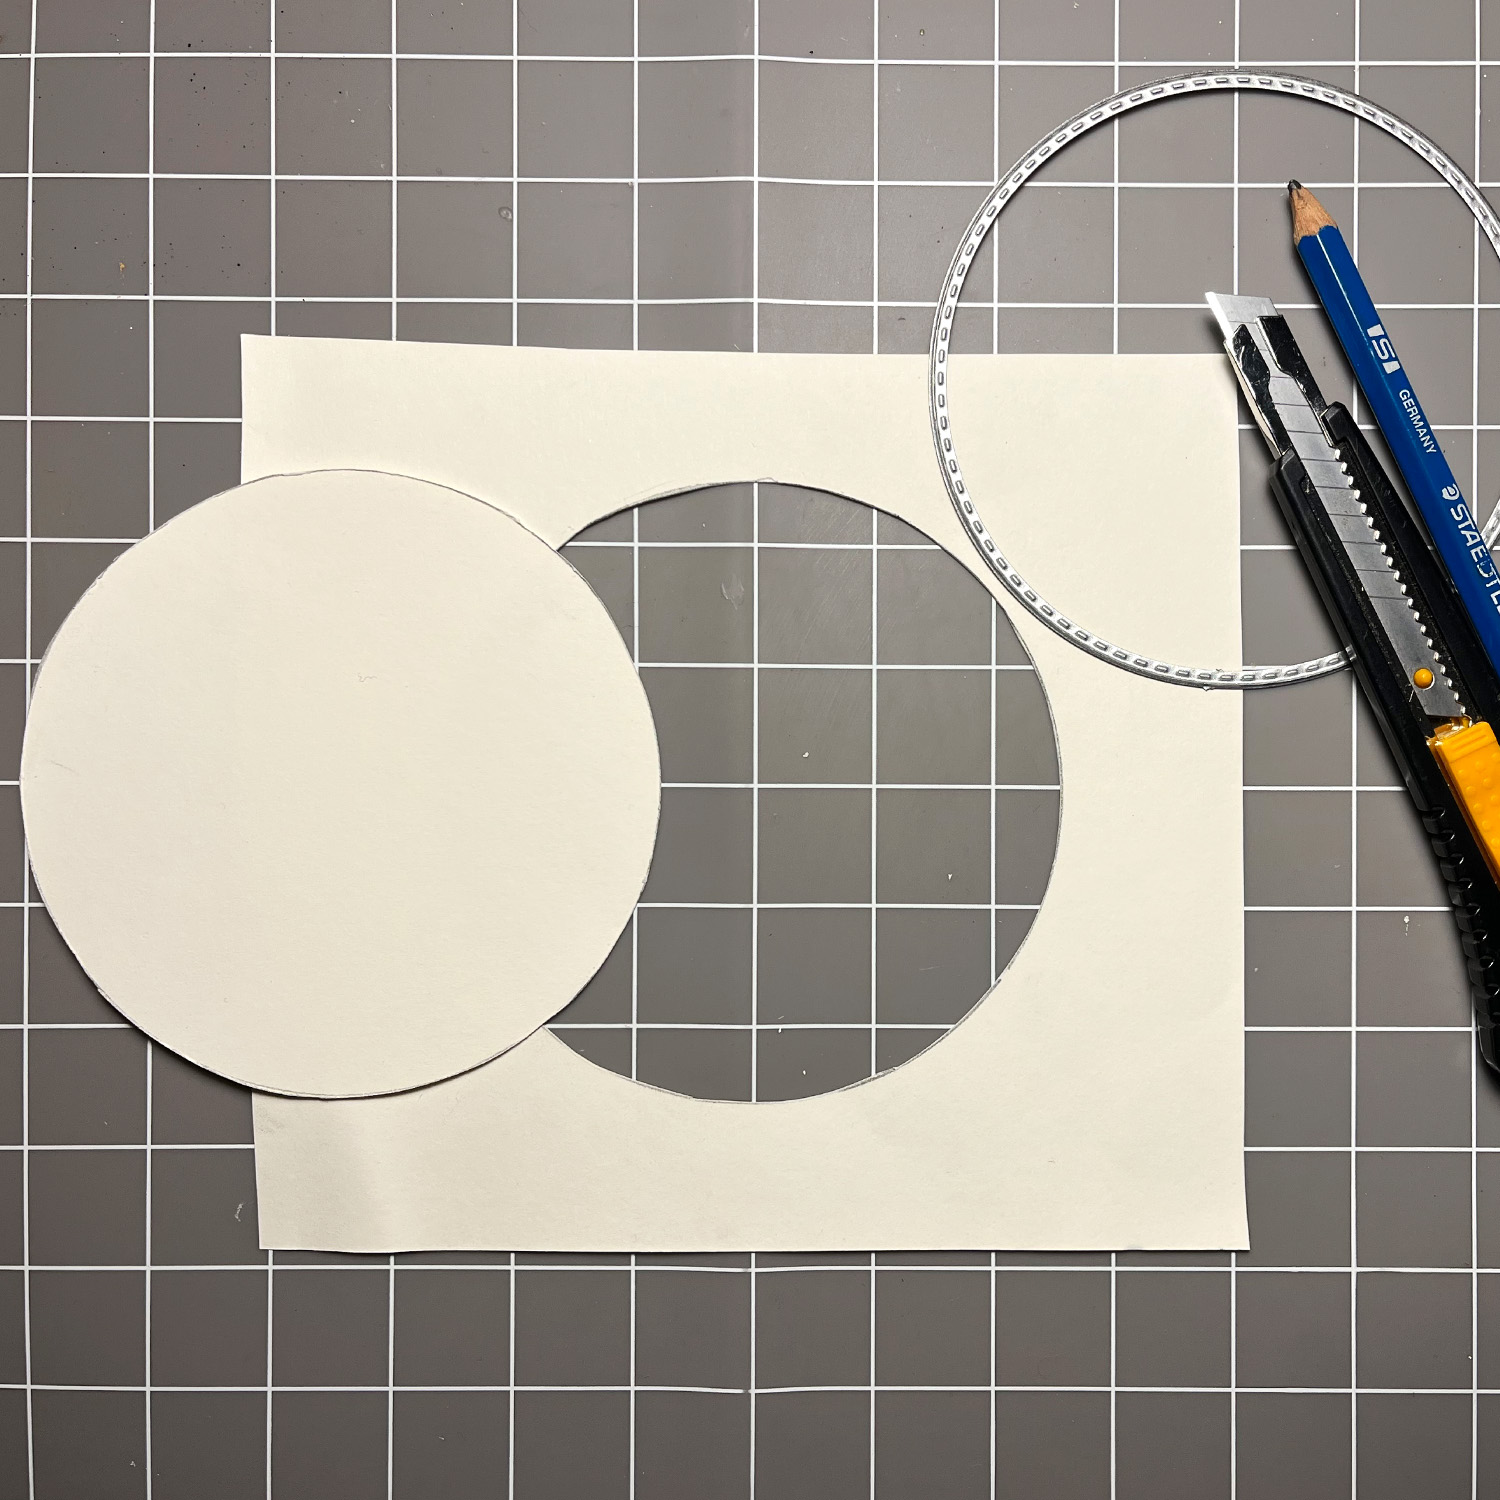
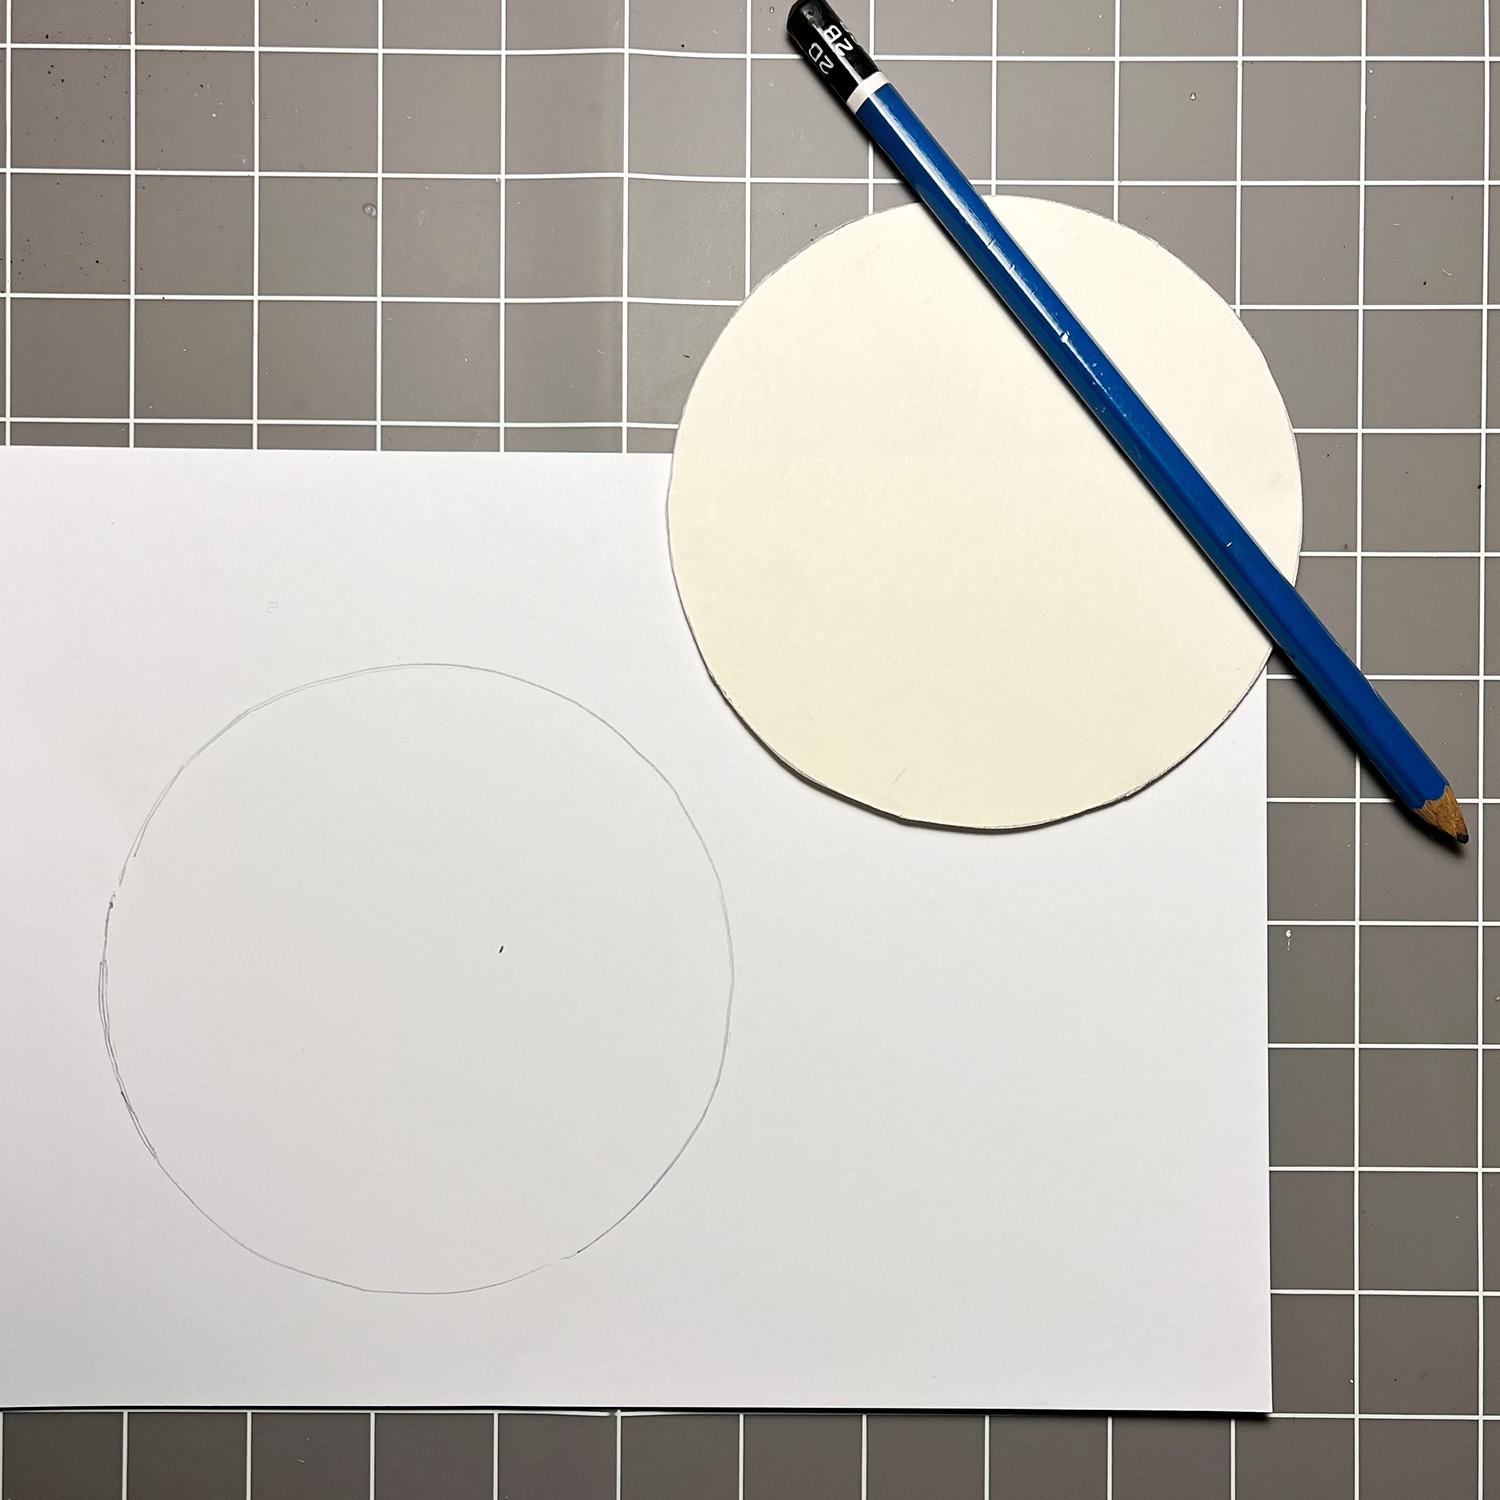
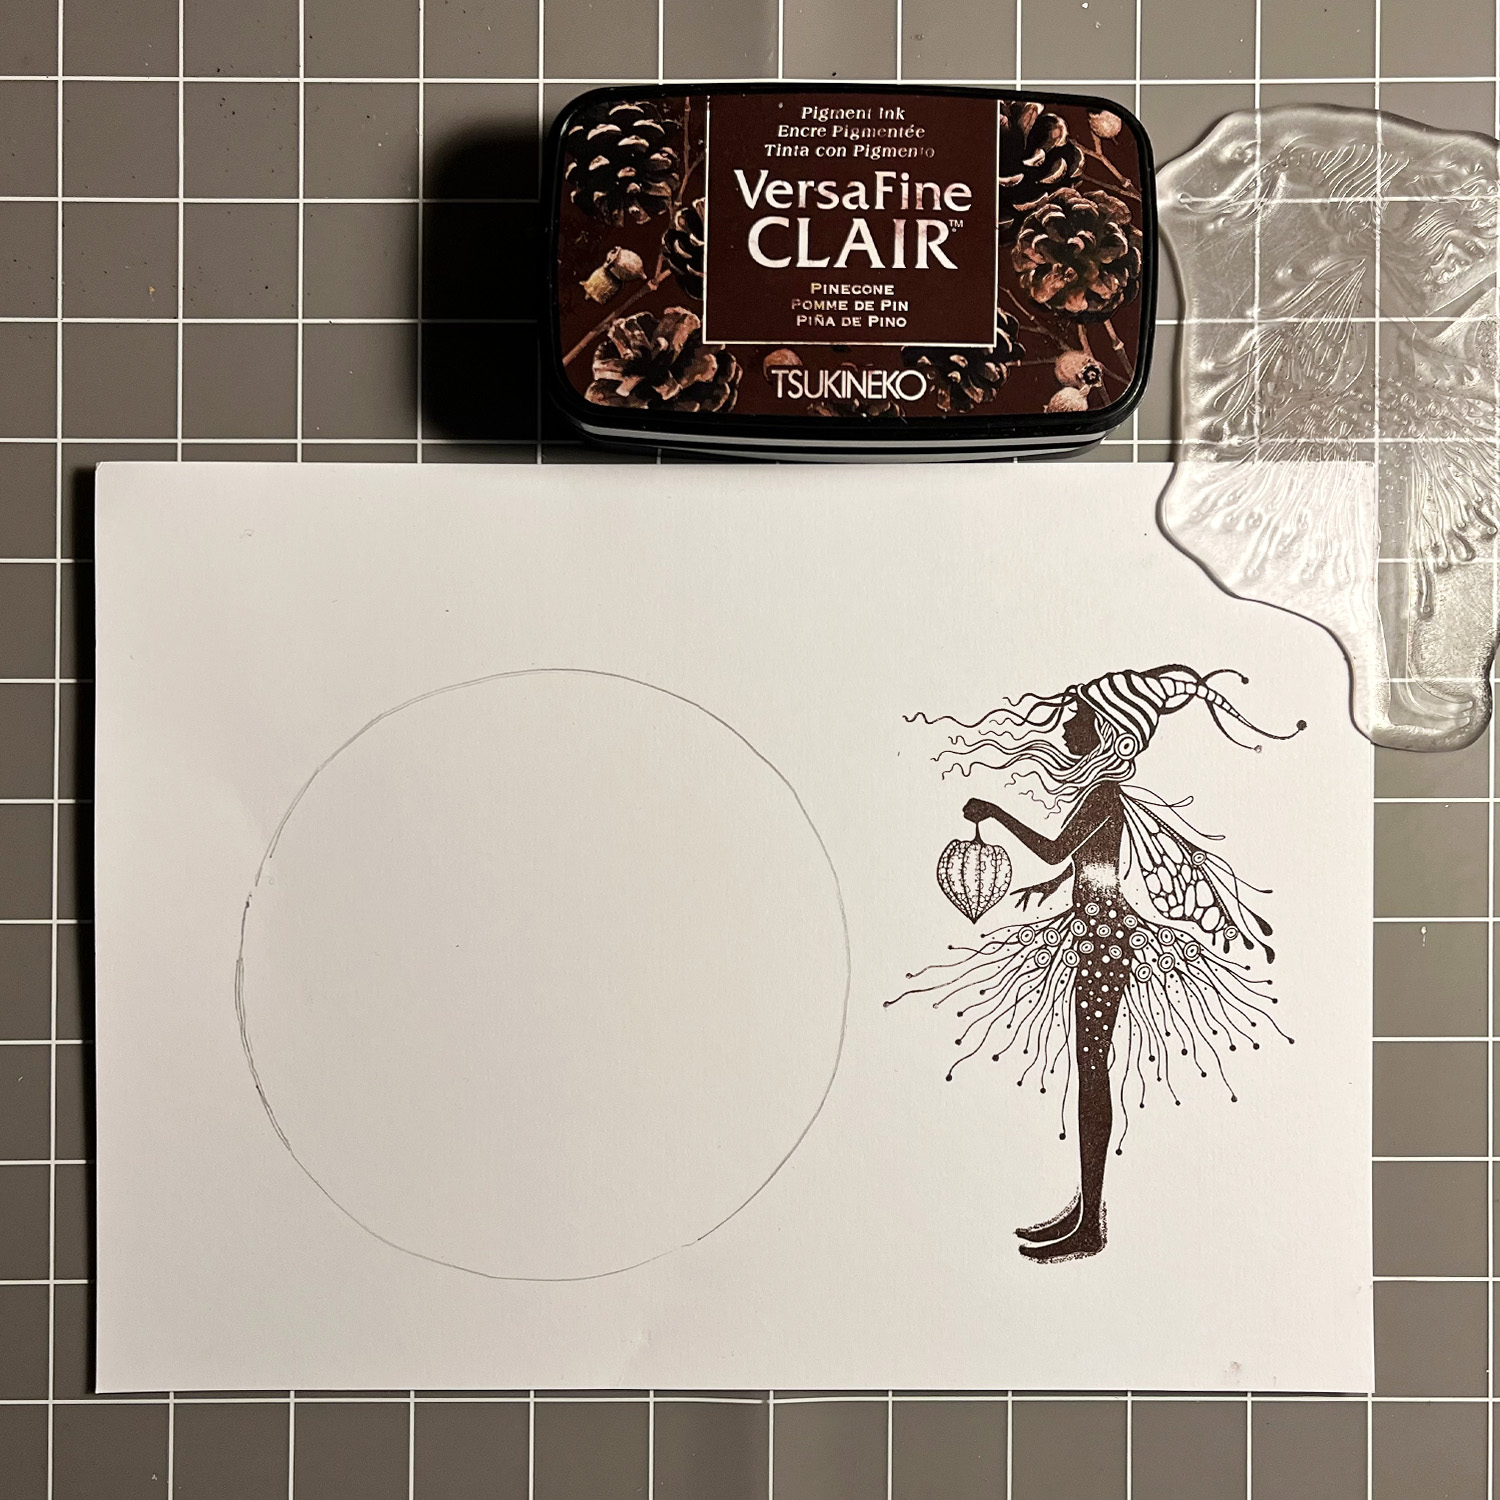
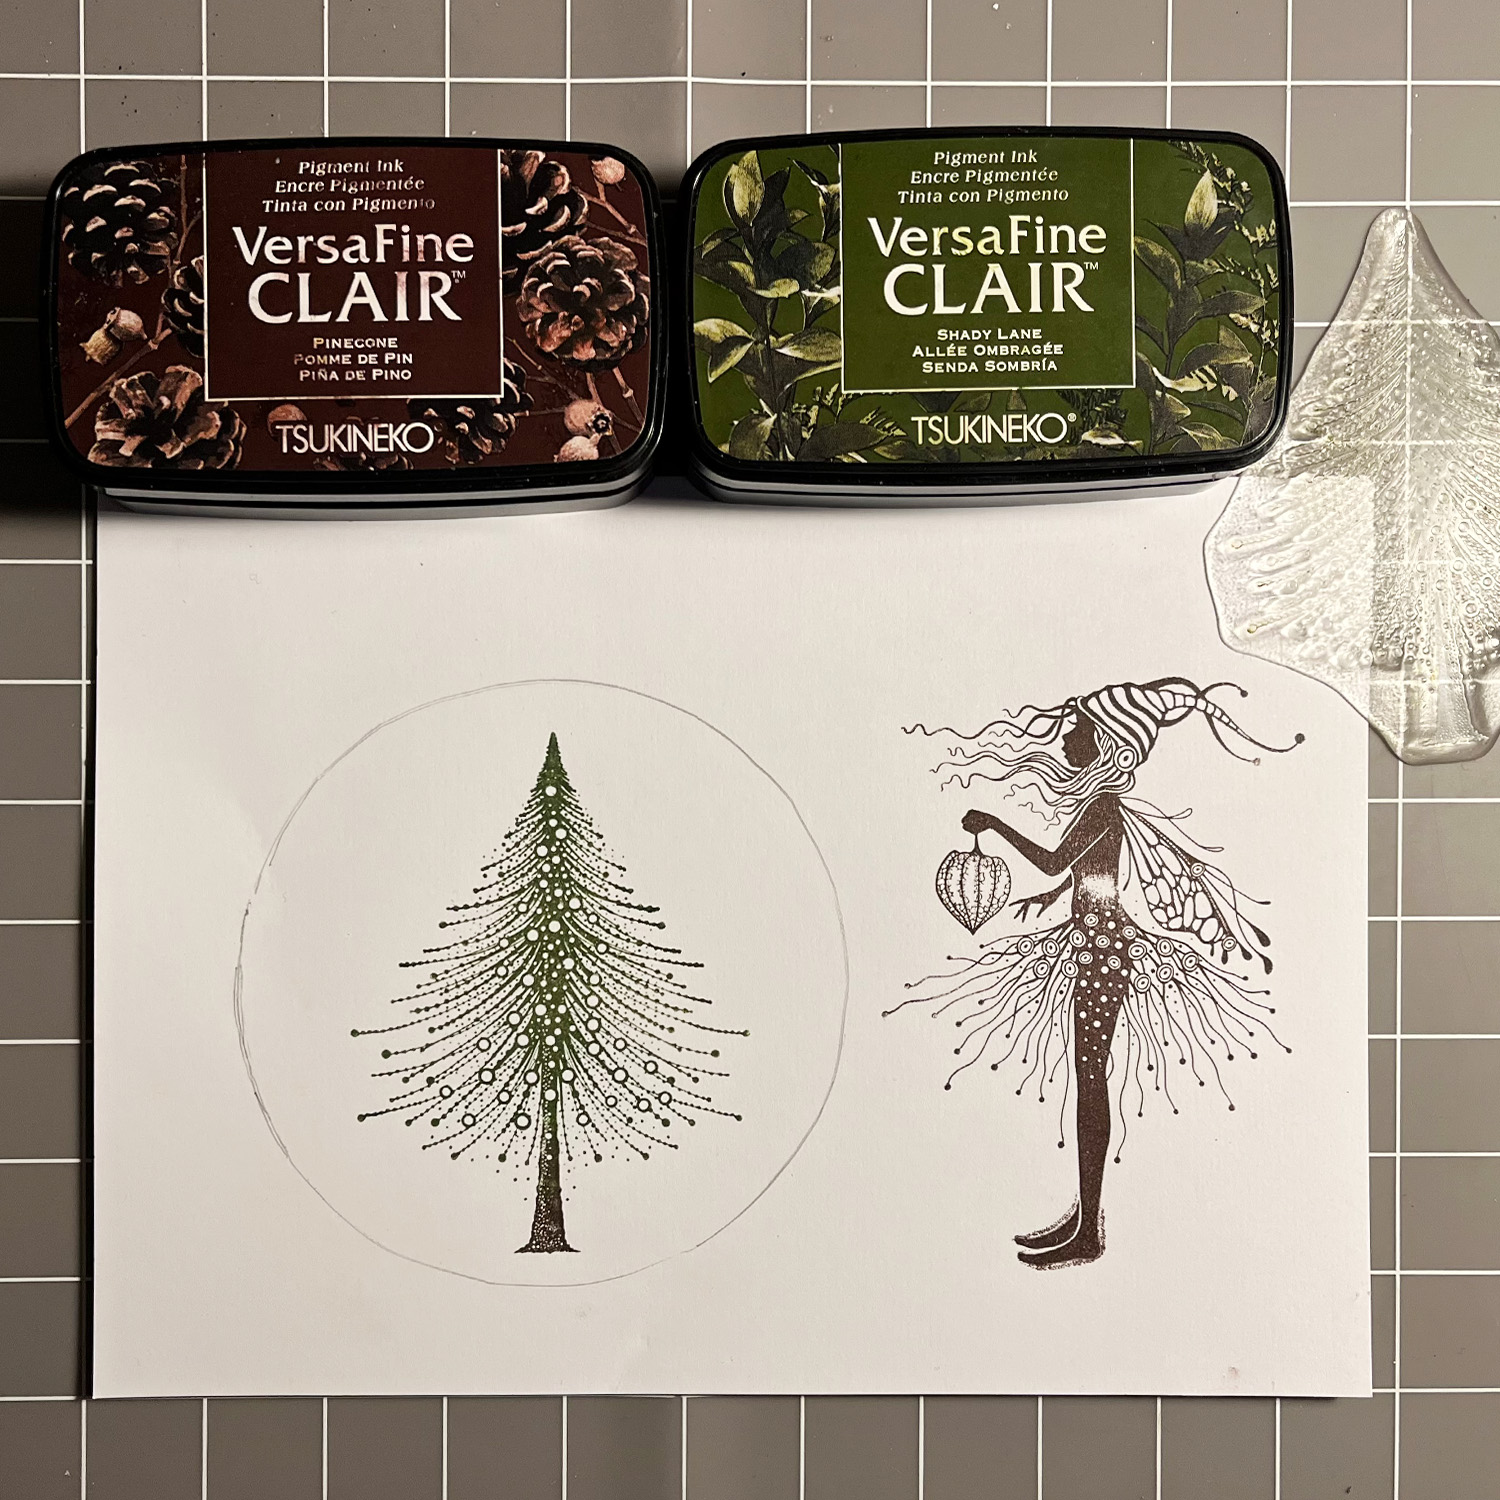
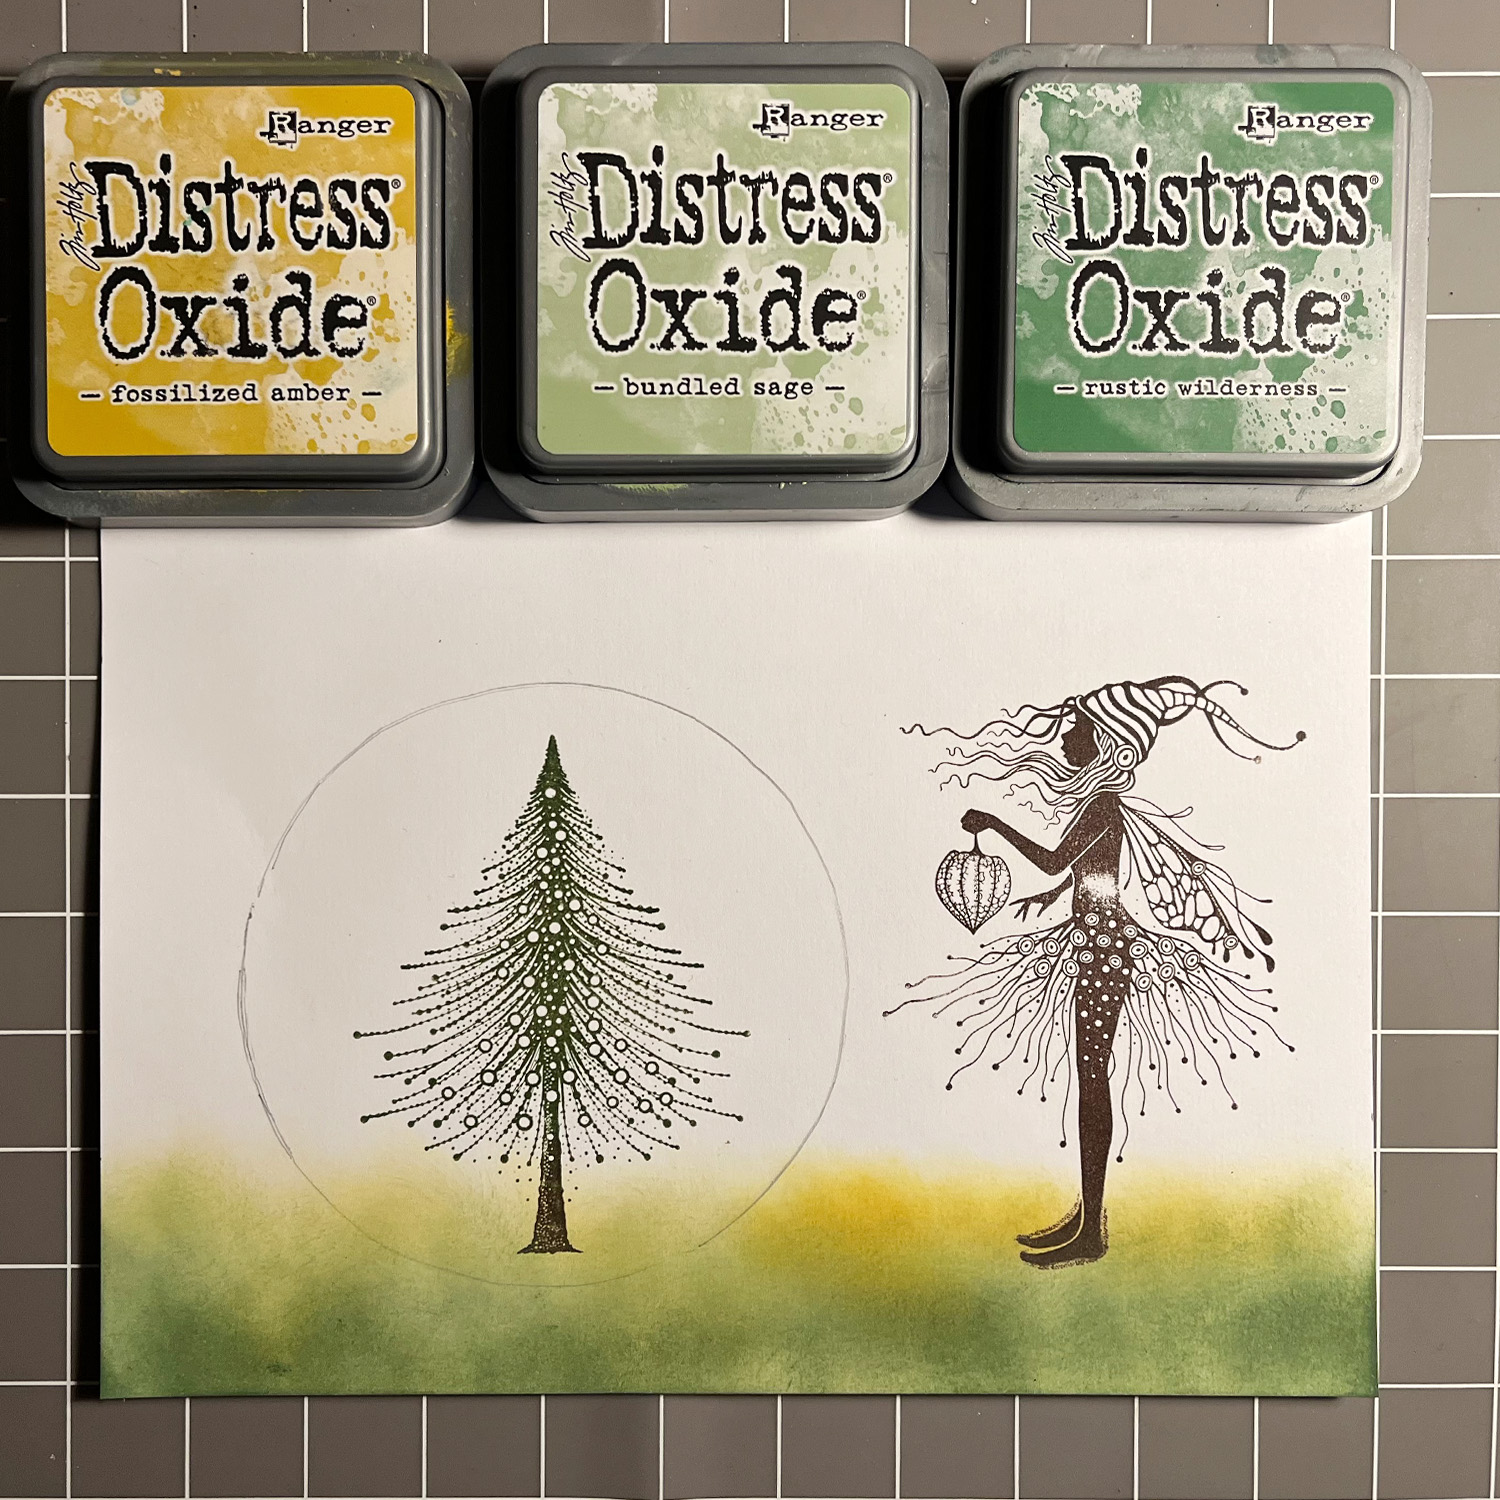
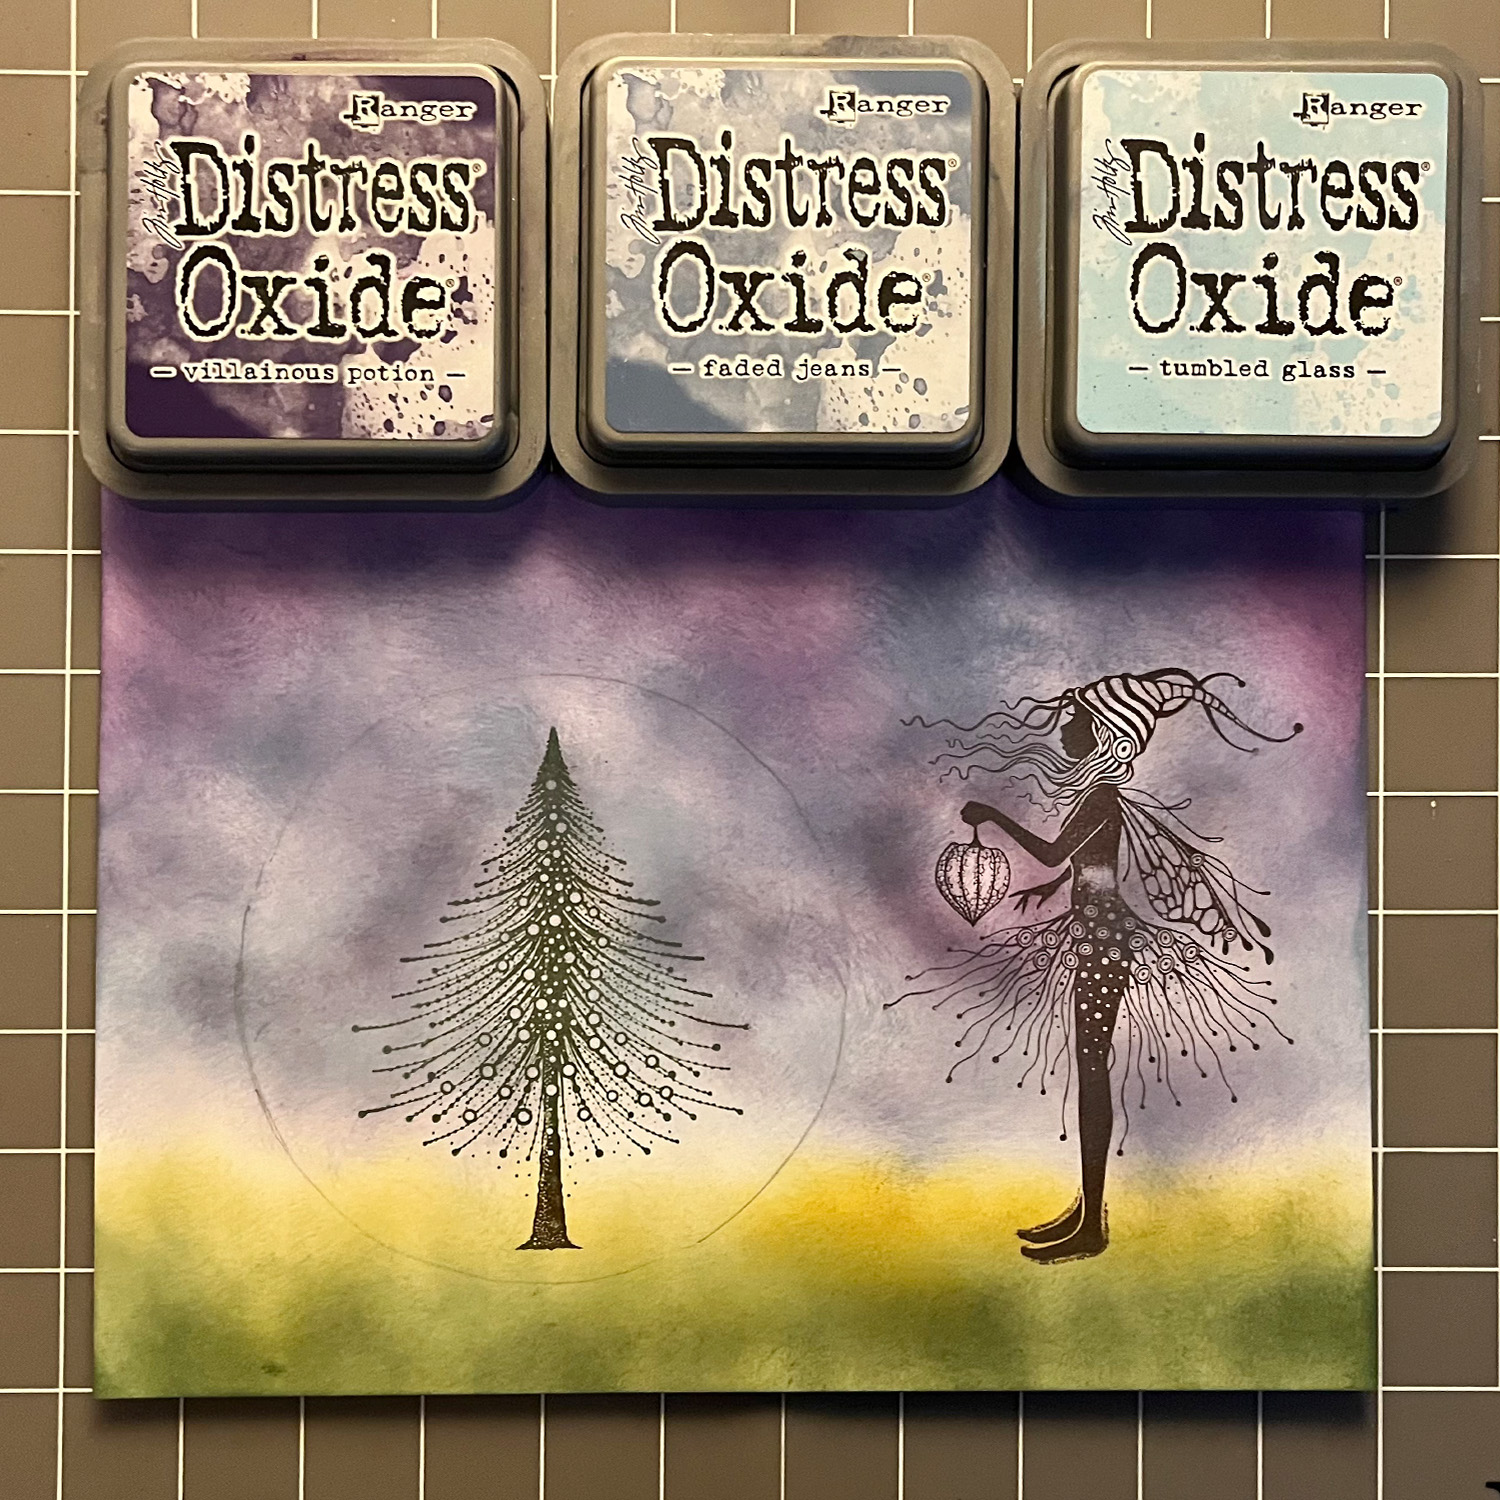
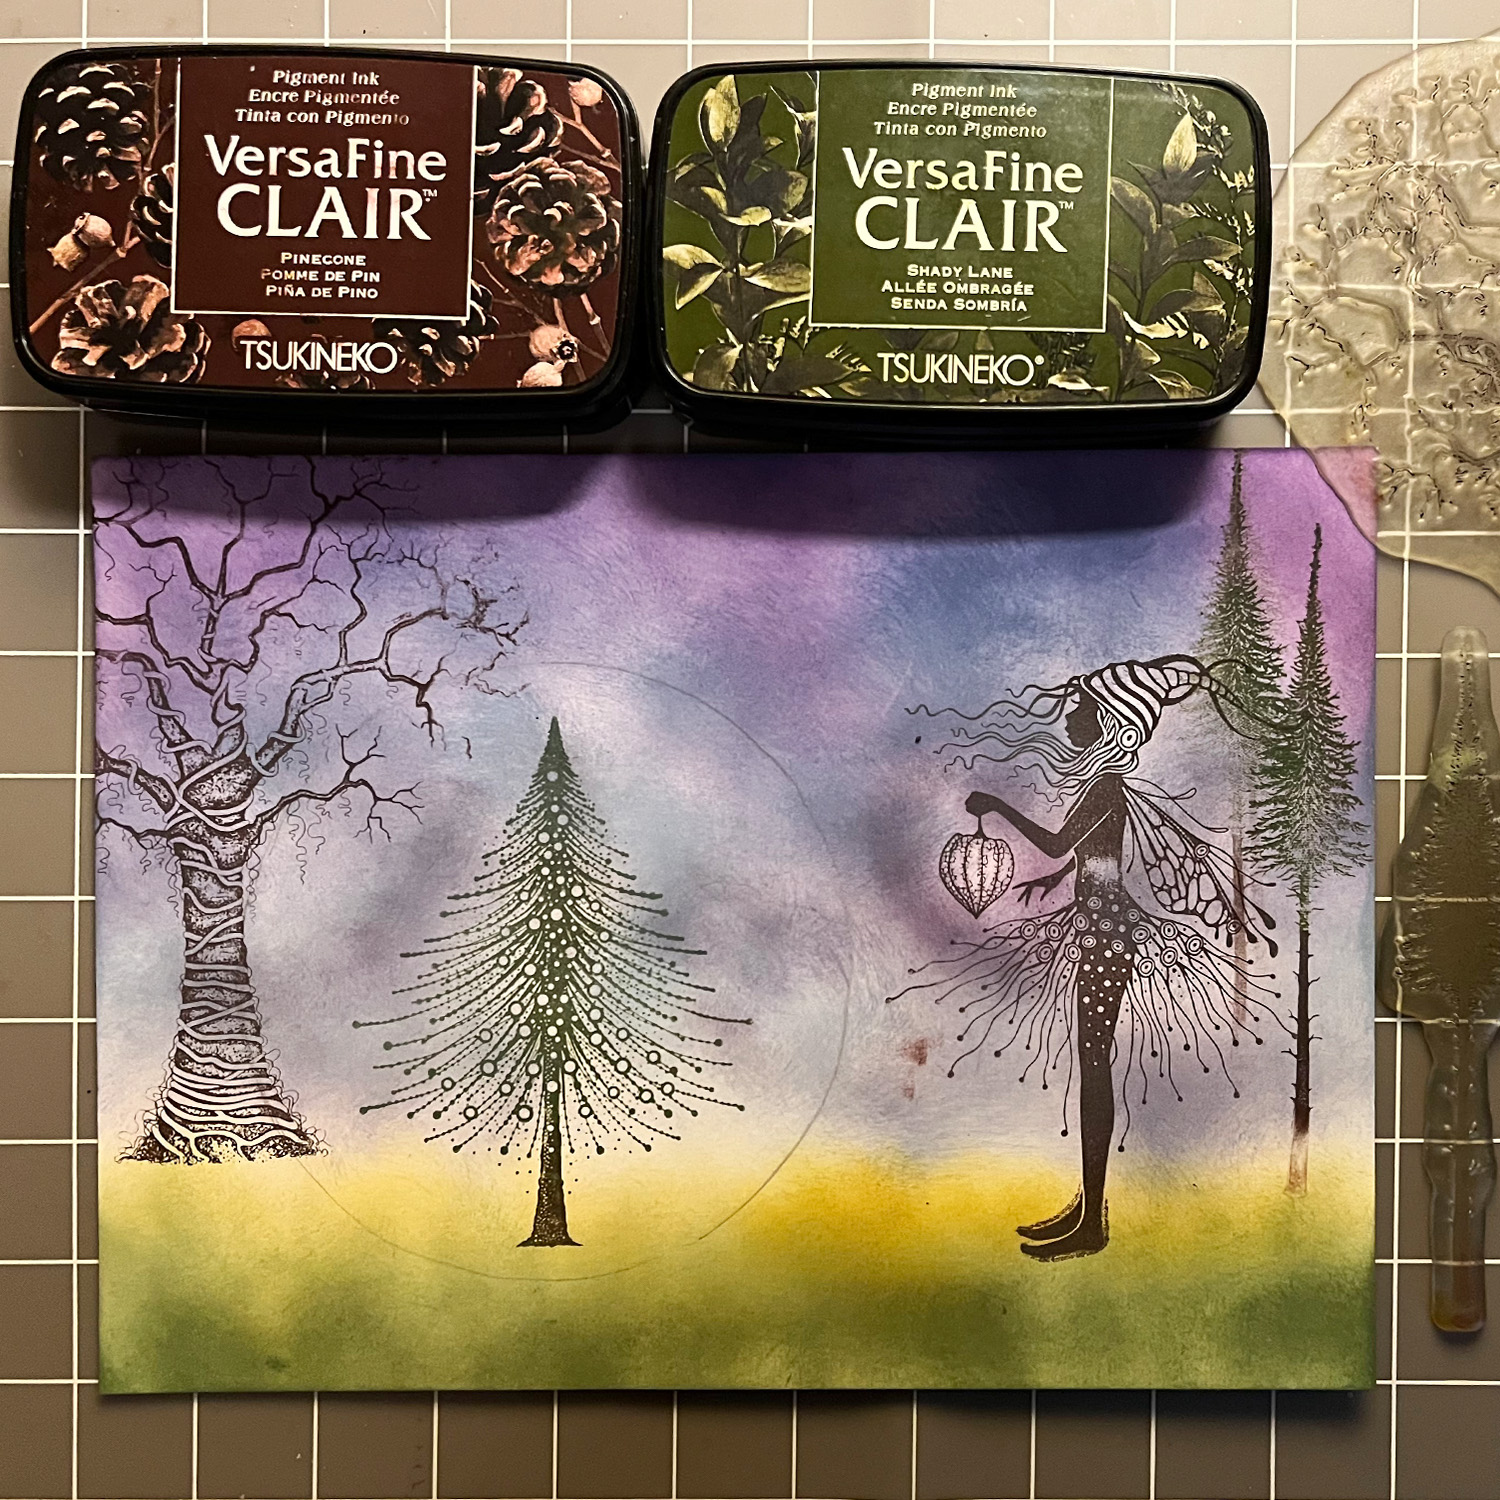
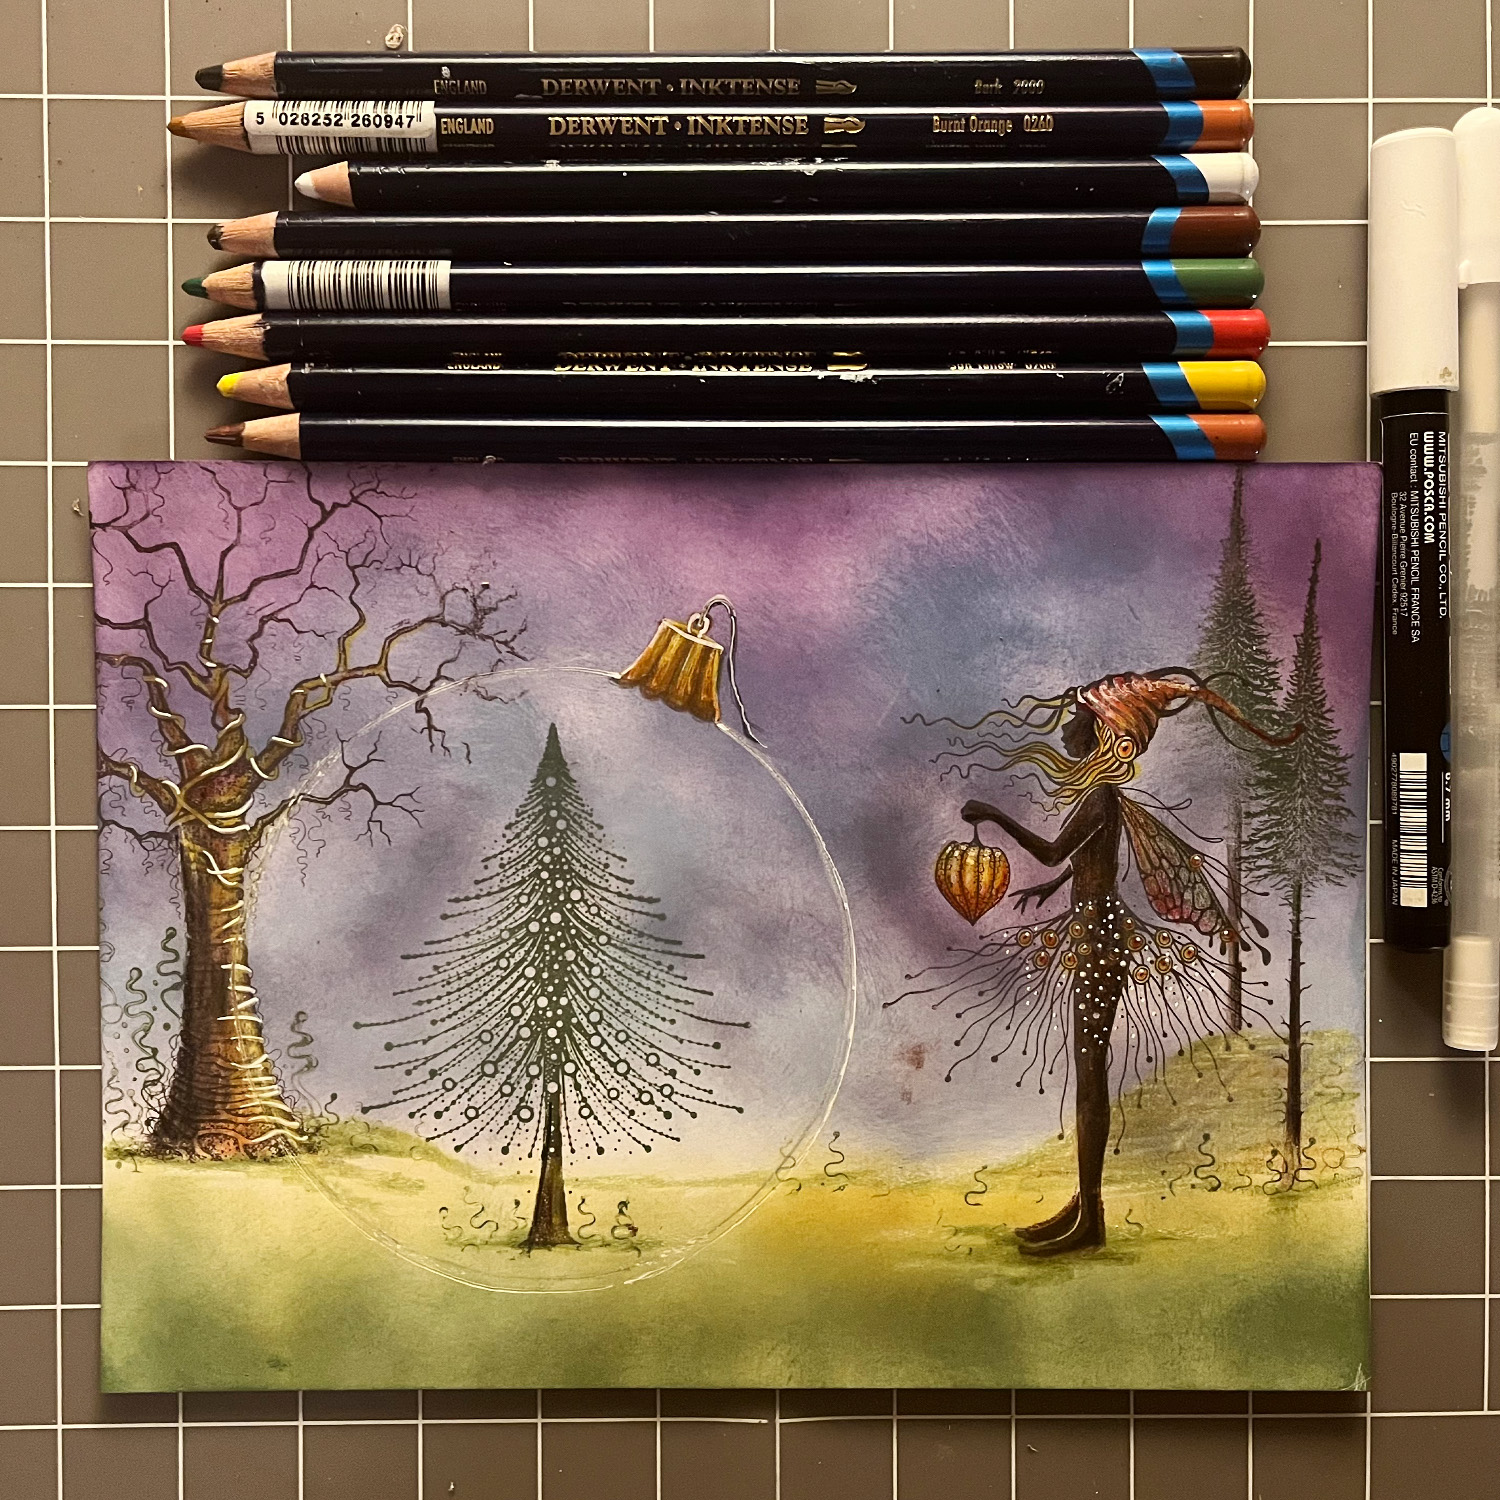
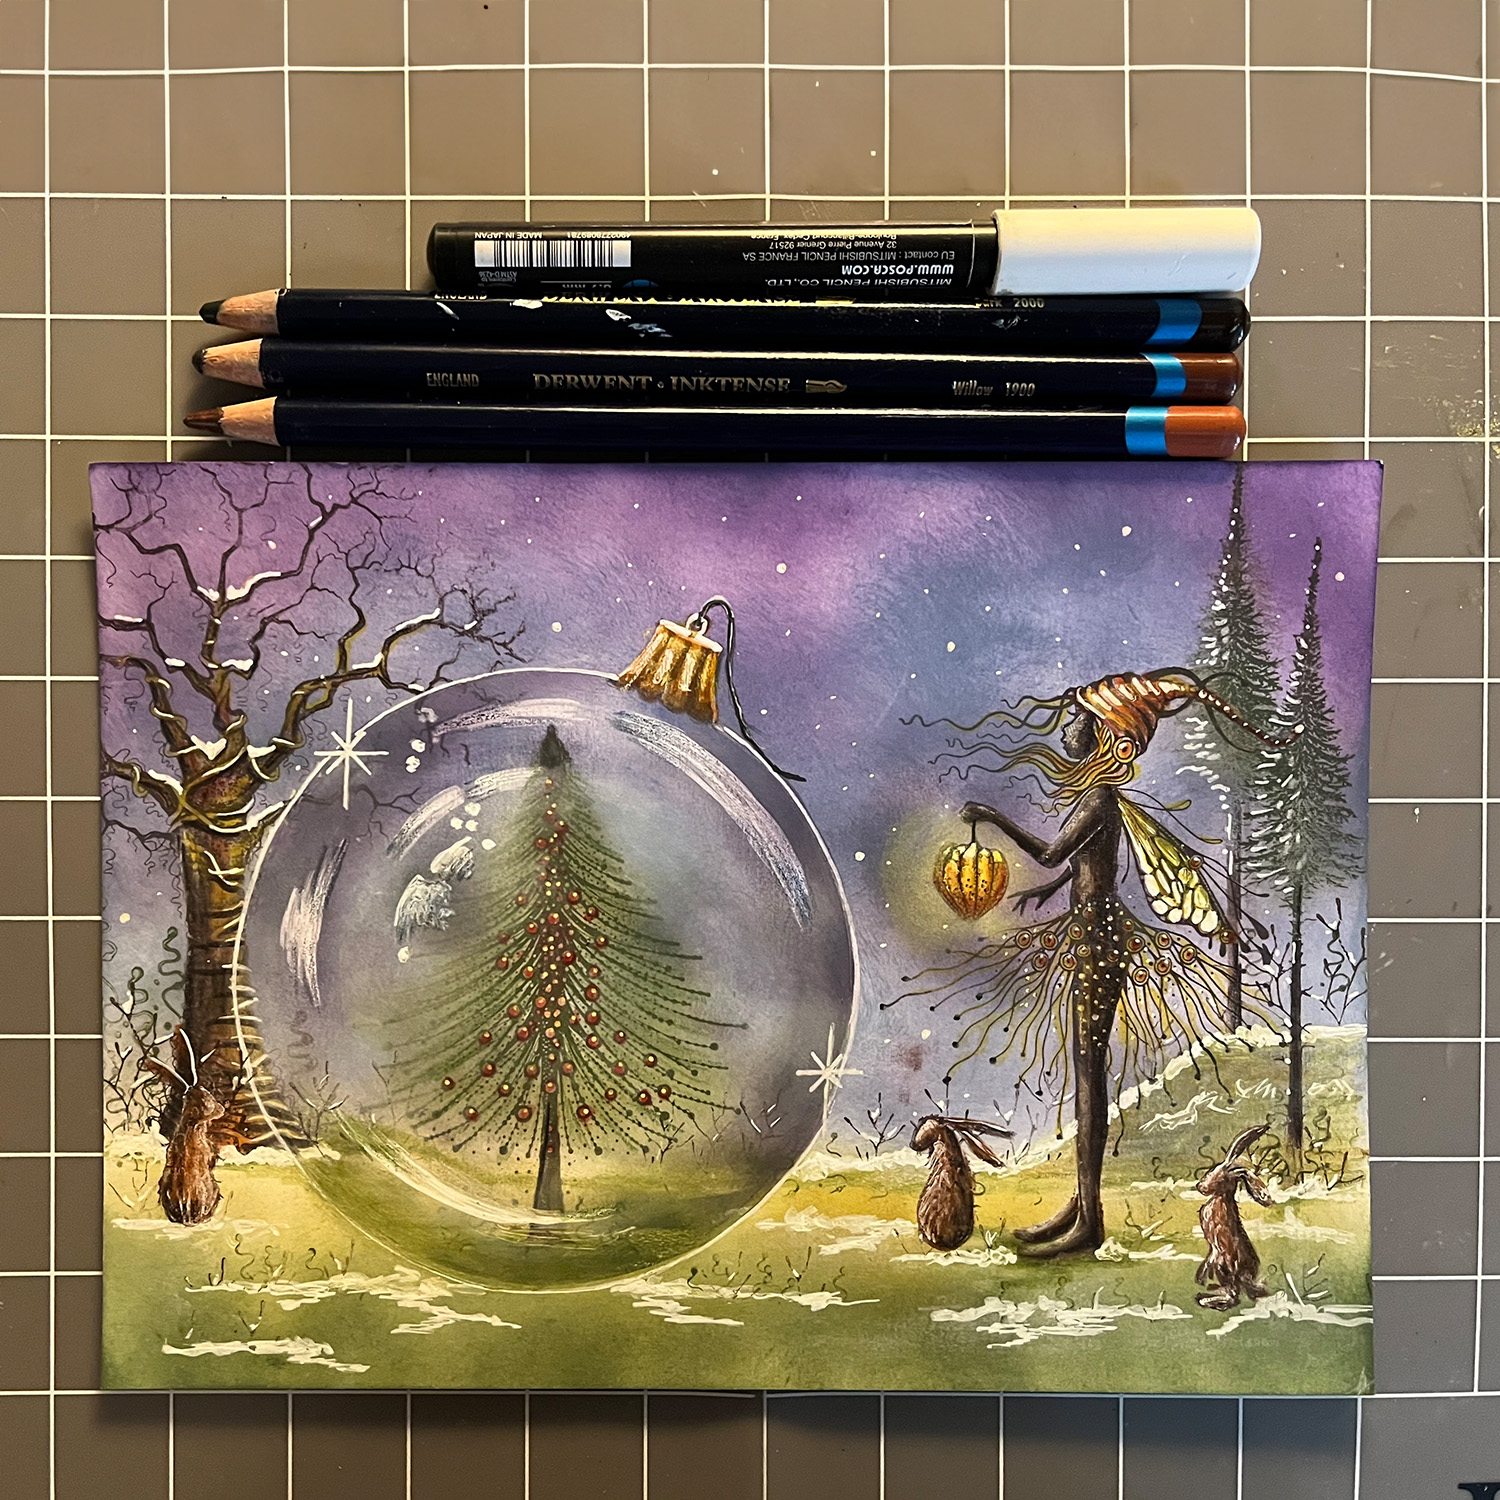
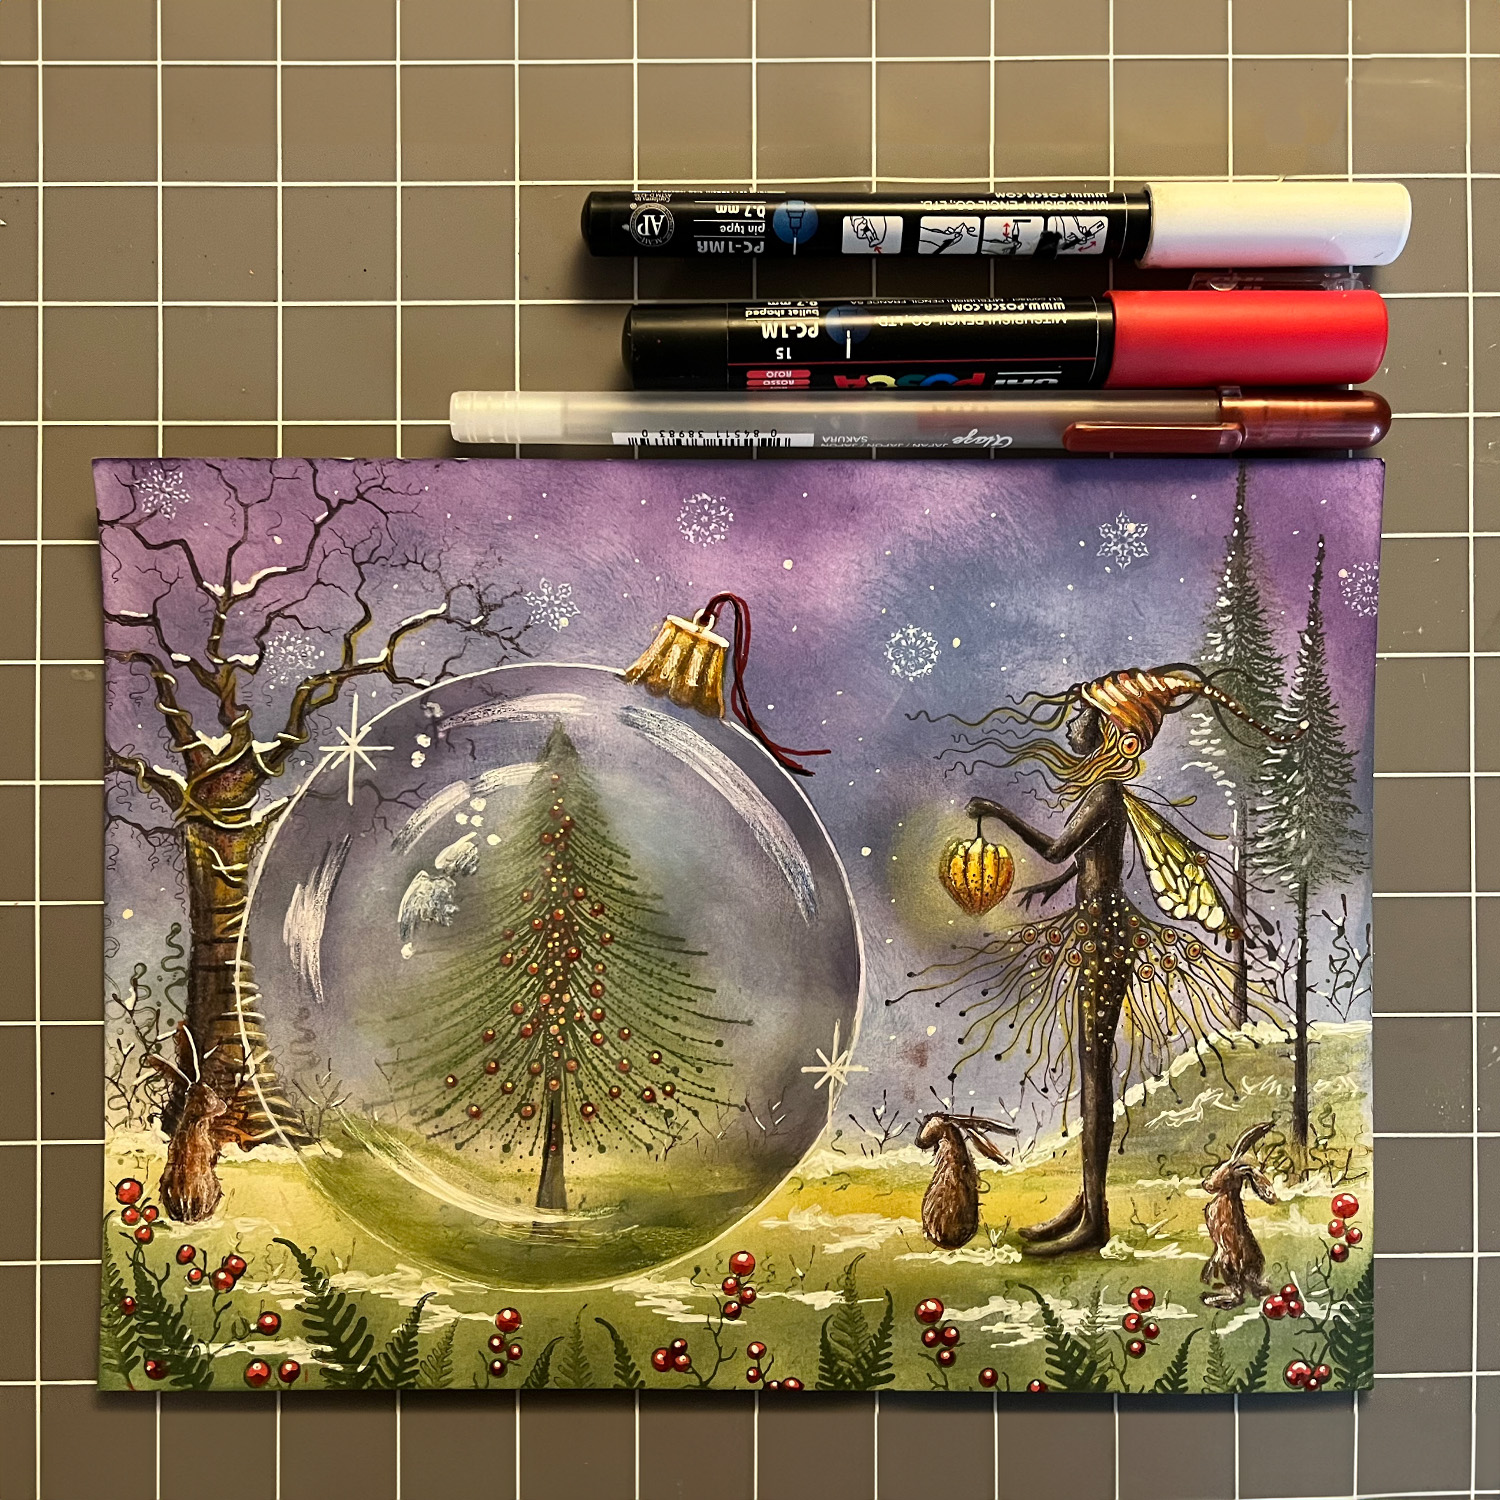
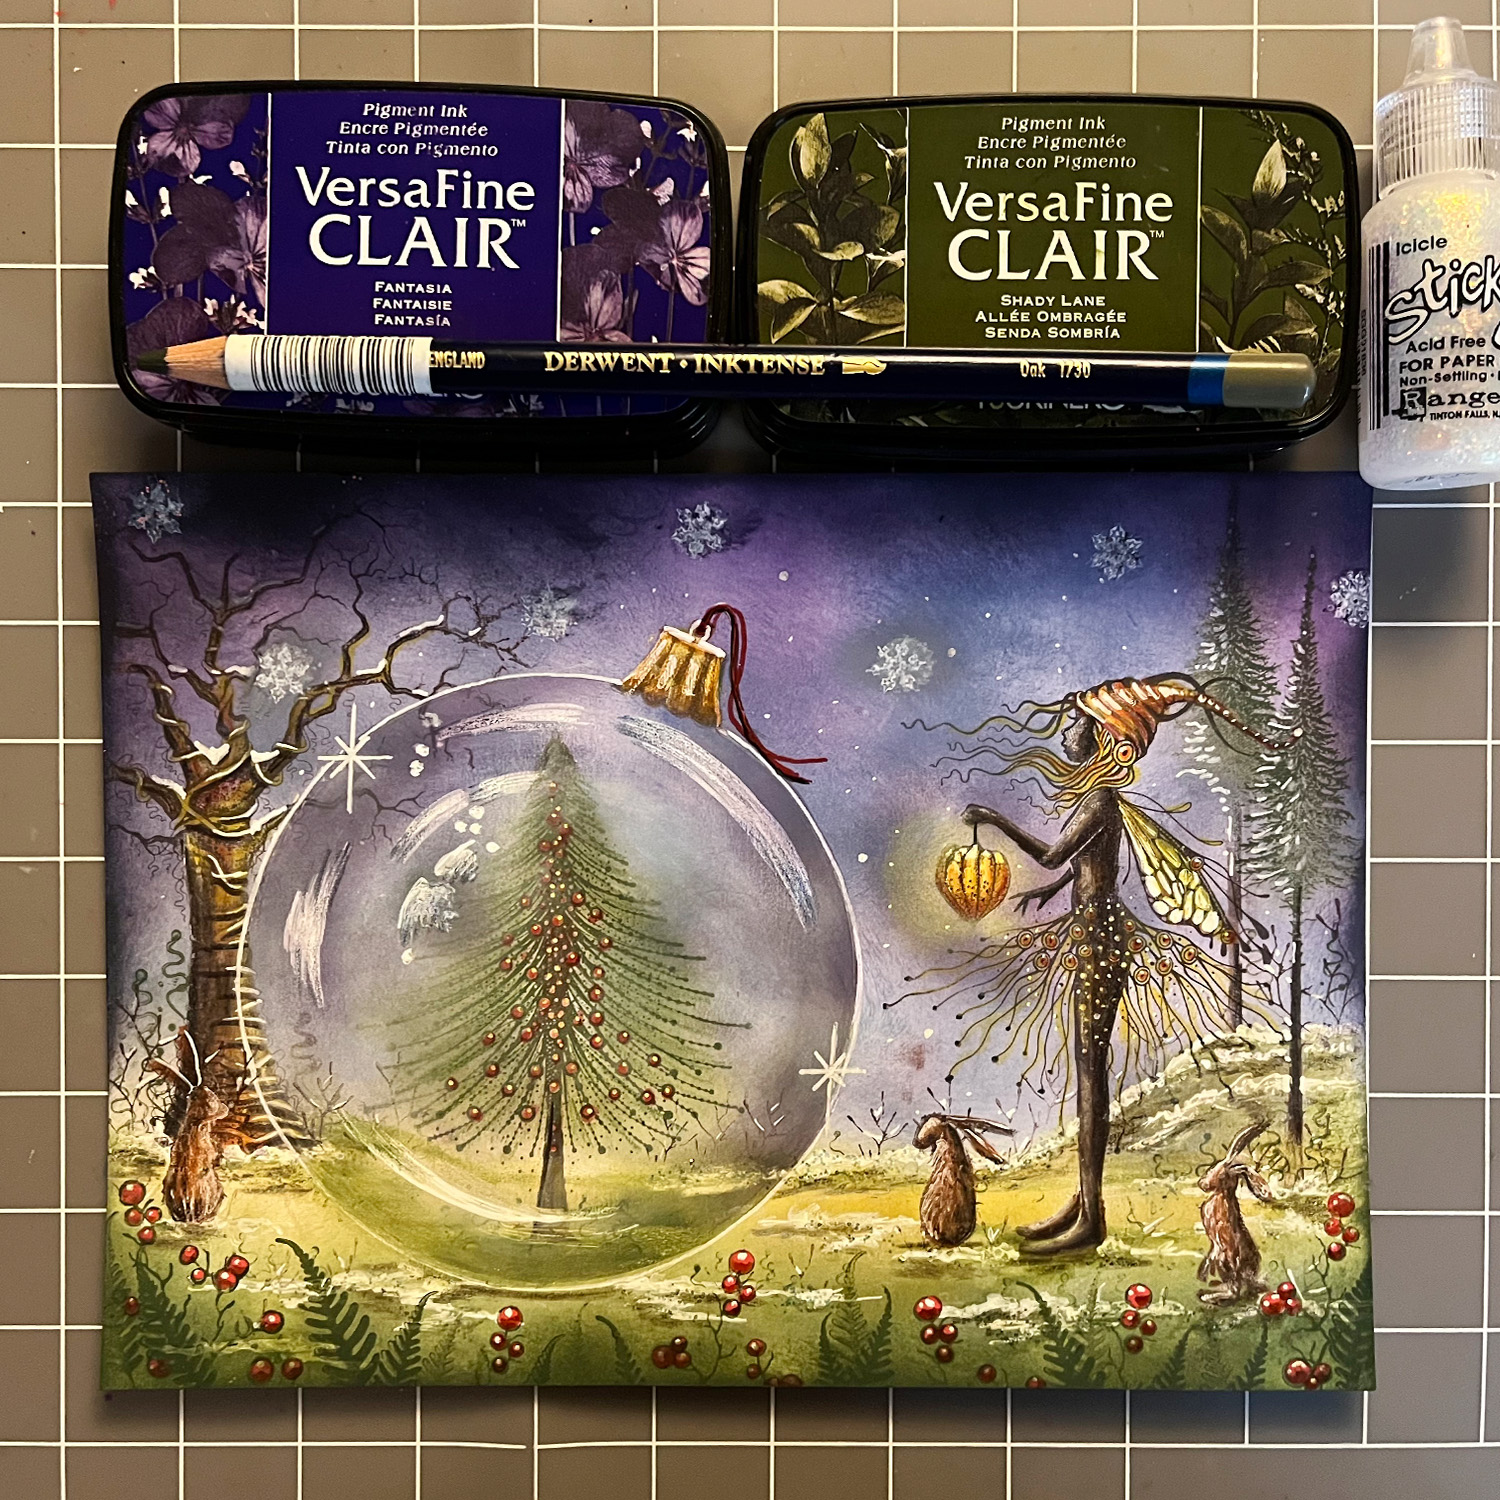
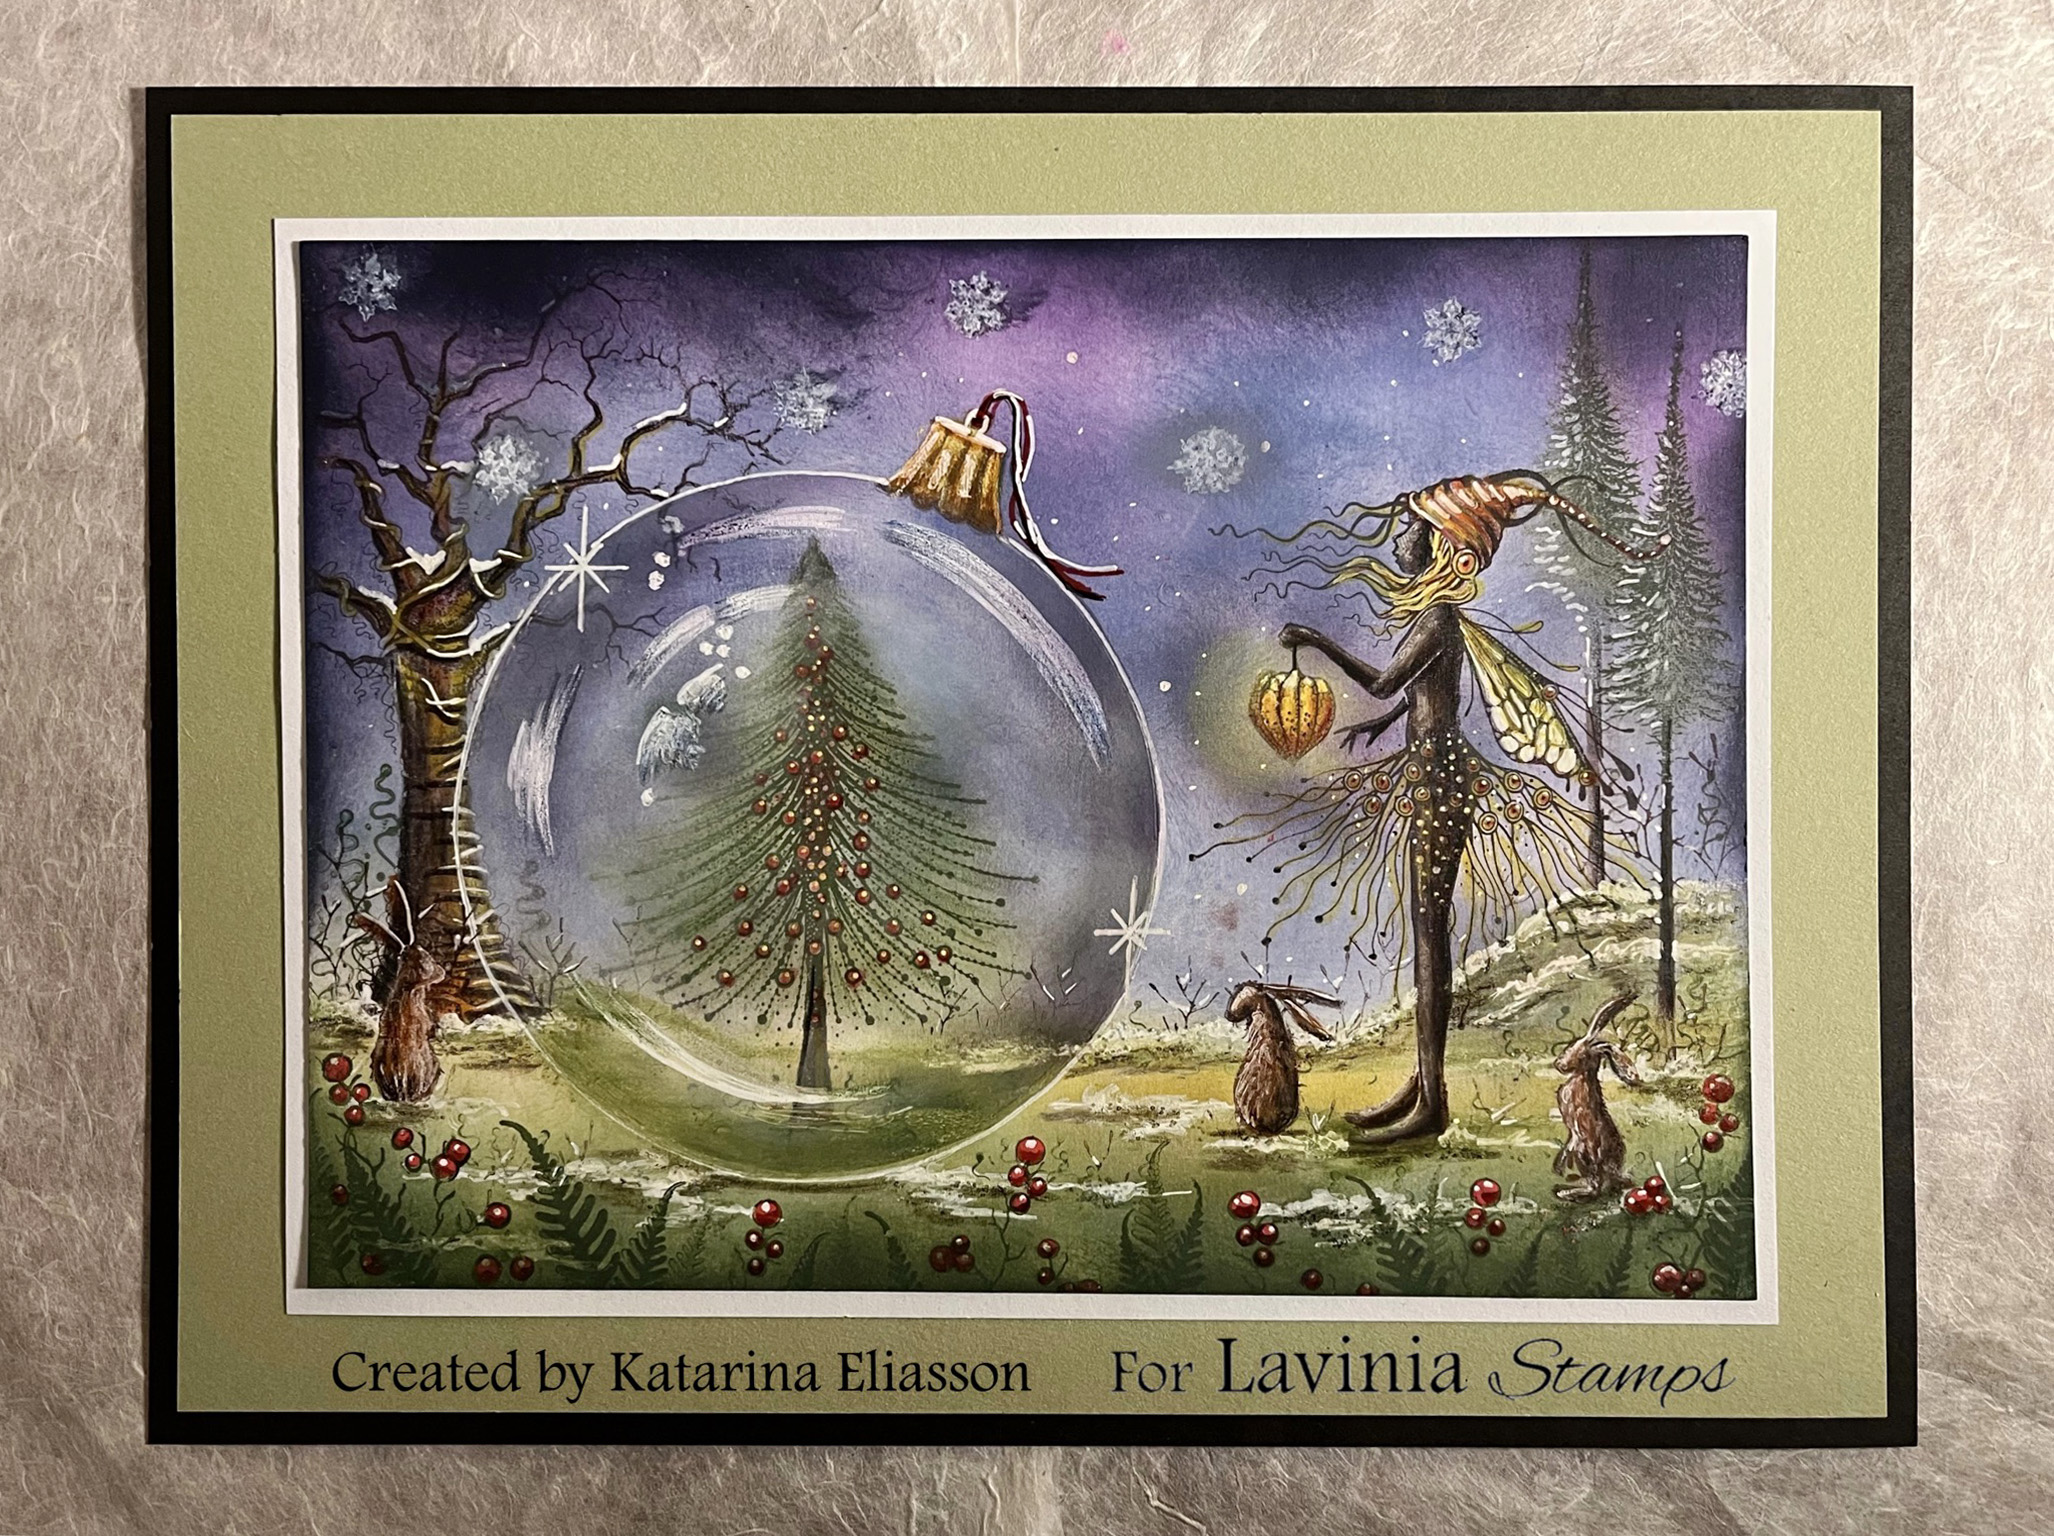
1. Start by making the template for the Christmas bauble. Use one of our Circular Masks or any suitably sized circular object to draw around in pencil onto plain paper. Cut out.2. Position this template on the Multifarious card, where the Christmas bauble will appear, and draw around it.3. Stamp the beautiful fairy, Starr, in the Pinecone, Versafine Clair.4. Time to stamp Christmas Joy in the Christmas bauble. Use Pinecone for the stem and Shady Lane for the branches.5. Use blending brushes to apply the grass. Start with the Distress Oxide, Rustic Wilderness at the bottom, then Bundled Sage, and finish with Fossilized Amber at the top.6. Use Villainous Potion, Faded Jeans and Tumbled Glass to make the sky. Use blending brushes.7. Stamp the Tree of Wisdom with Pinecone. Use Pinecone on the trunk and Shady lane on the branches on the small Fairy Fir tree and stamp in first and second generation.8. Colour the tree and fairy with watercolour pencils. Use the white Posca or Gelly Roll to draw in the outline of the Christmas bauble. Also draw a hanger on it and colour it. Stamp some greenery with Leaf Bouquet in Shady Lane.9. Darken a bit of the inside of the bauble with a mixture of Villainous Potion and Faded Jeans. Highlight the fairy lantern with yellow Posca.10. Use white Posca pens to get the shine on the bauble. Also paint some snow on the ground and trees. Make dots in the sky like snow is falling. Highlight the fairy's hat, wings and lantern.11. Stamp the small Wild Hares in Pinecone in second generation and colour with watercolour pencils. Use white Posca for highlight and to make some more snow. Also make some bushes with Small Branch in Shady Lane. Put some yellow pan pastel around the fairy lantern.12. Stamp Woodland Fern and the large Wild Berry with Shady Lane at the bottom of the card. Paint the berries first with Gelly Roll 3D Glaze Deep red, then some red Posca and finally a dot of white Posca. To make the snowflakes use white stamp pad or white embossing.13. Now it’s time for the finishing touches. Darken the upper part with Versafine Clair, Fantasia and the lower part with Shady Lane. For some glitter on the snow use Stickles Icicle with a brush.14. Mount the card on a colour you like and now the card is finished. Hope you liked my picture tutorial and will give it a go. Happy crafting!
.
Join our mailing list
Get all the latest news and offers
Subscribe and receive information and offers from Lavinia Stamps. Find out more here